W0C/SR-024
Wilcox Mount
4079 m / 13408 ft
July 19, 2014
First Activation
By KX0R
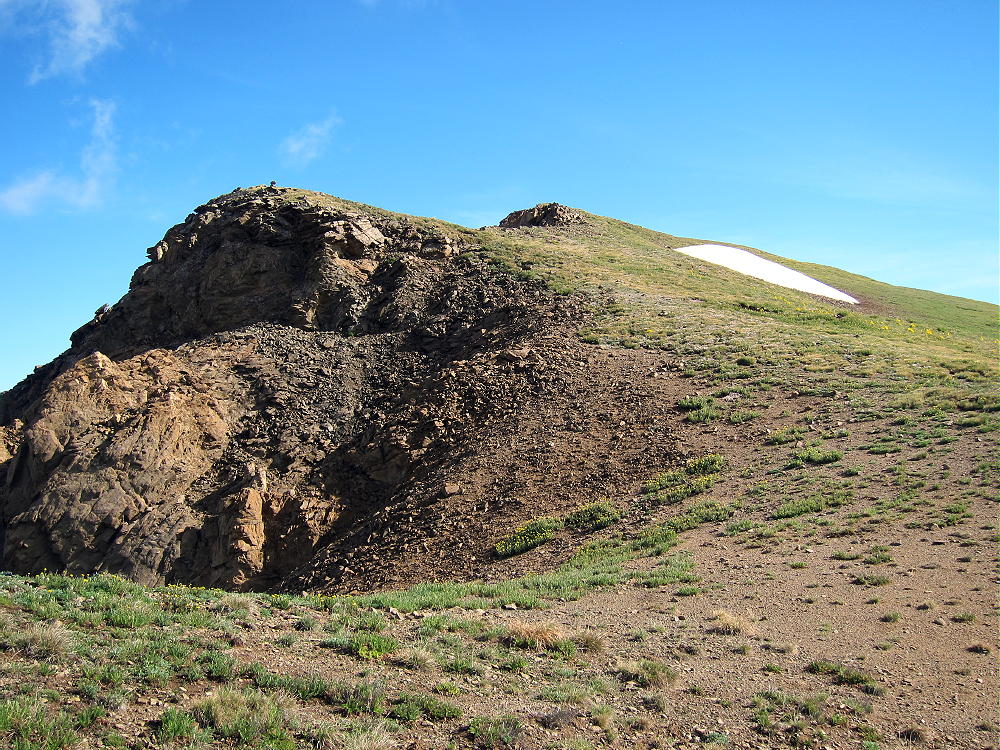
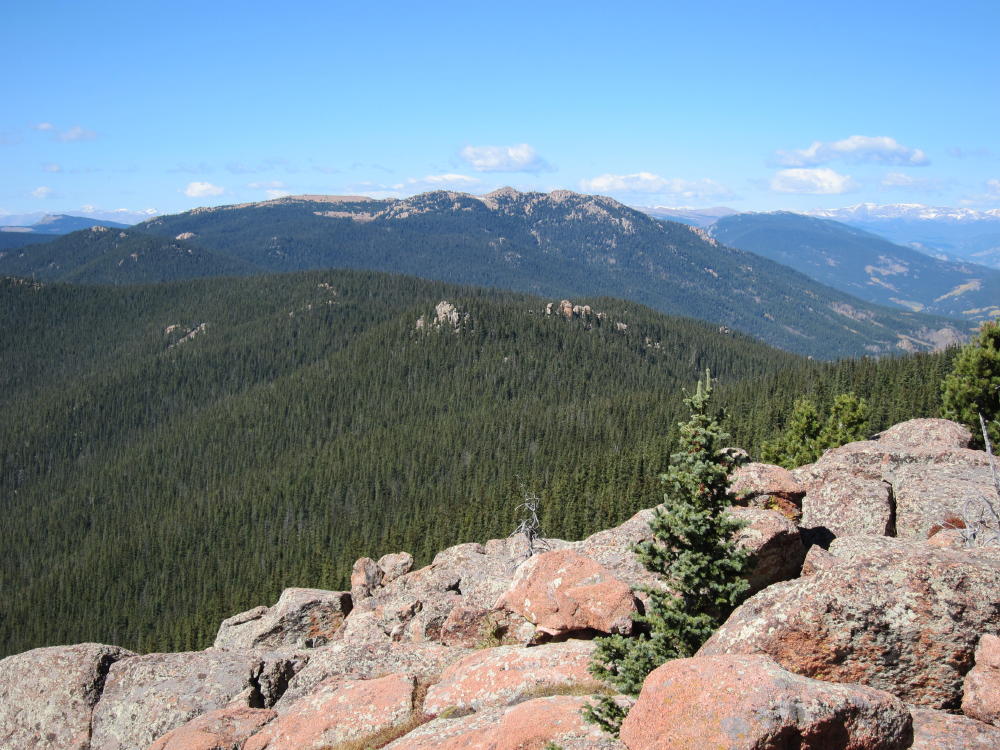
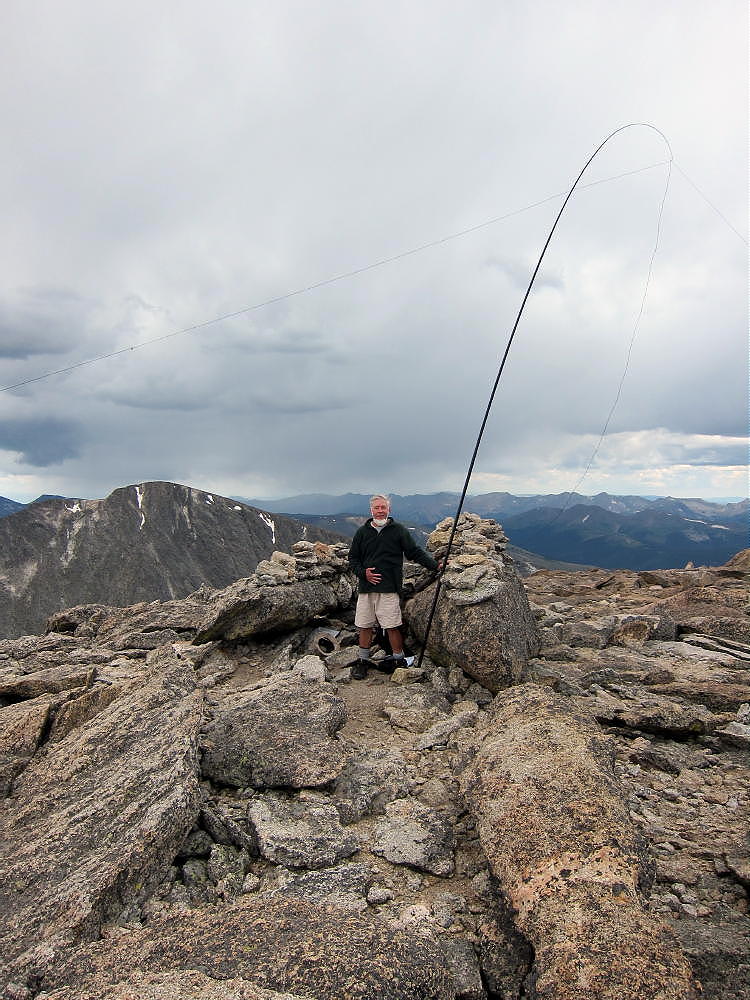
Wilcox Mount, or Mount Wilcox (click this link!) on our maps, is Argentine Peak’s little sister. Wilcox is a summit about 1.2 miles east of the summit of Argentine, on a beautiful high ridge that extends for miles.
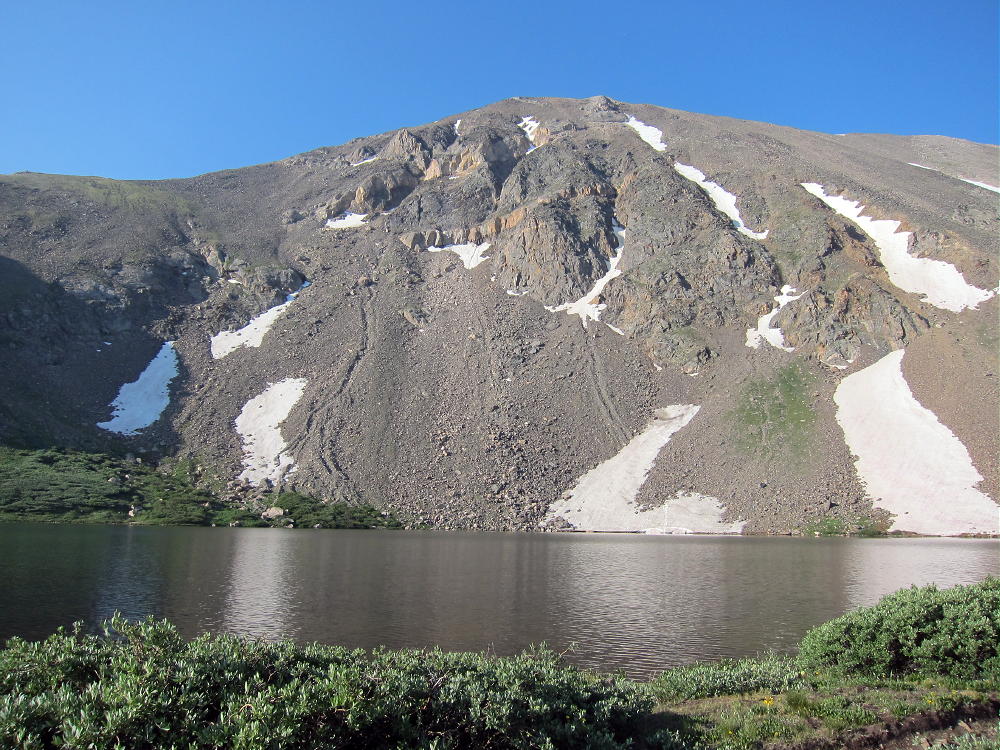
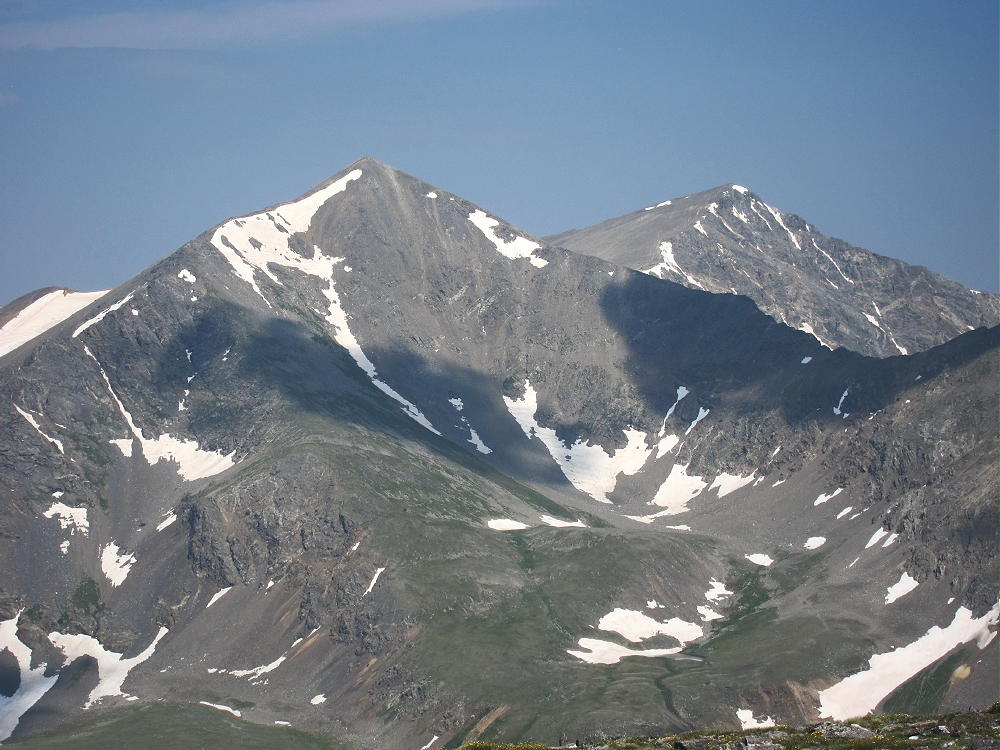
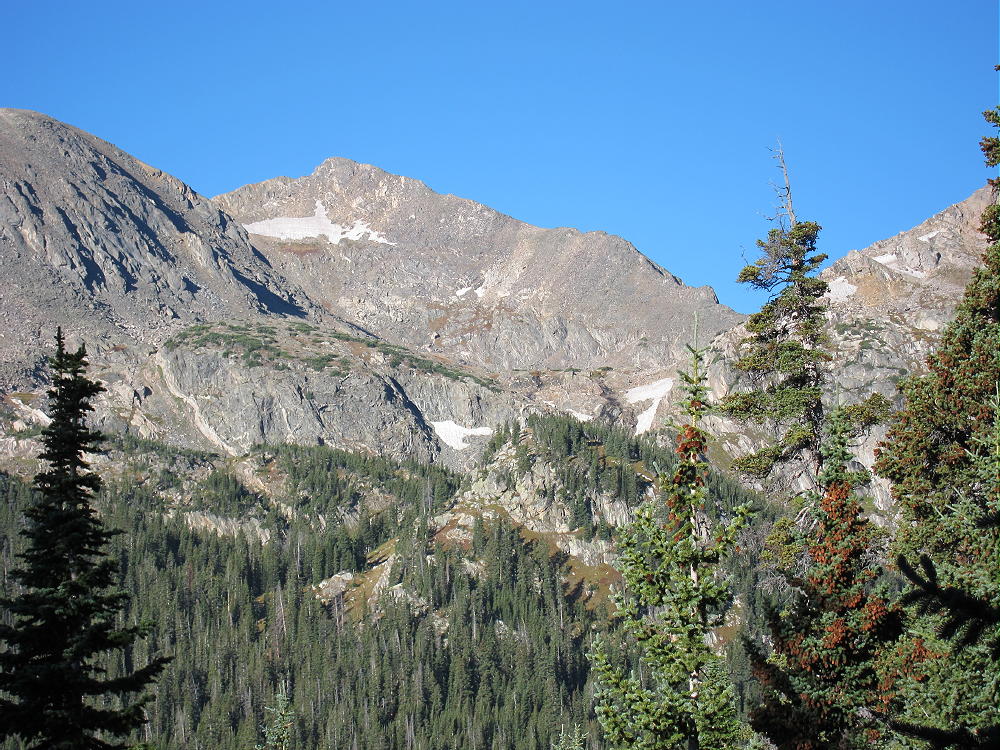
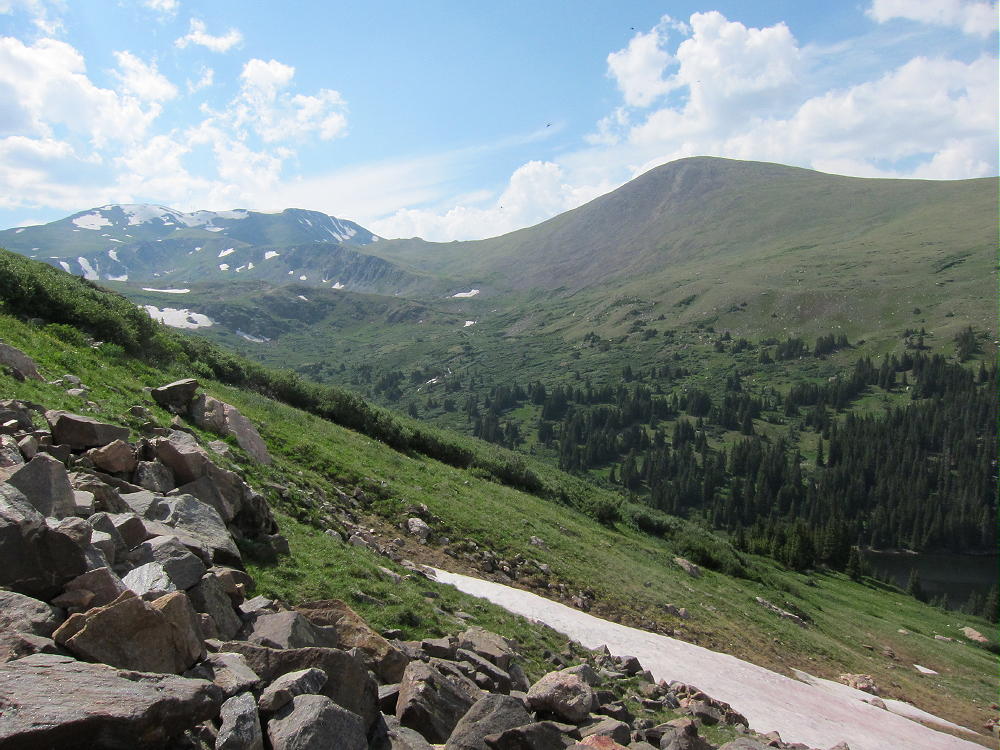
Argentine Peak and Mount Wilcox from Silver Dollar Lake Trail
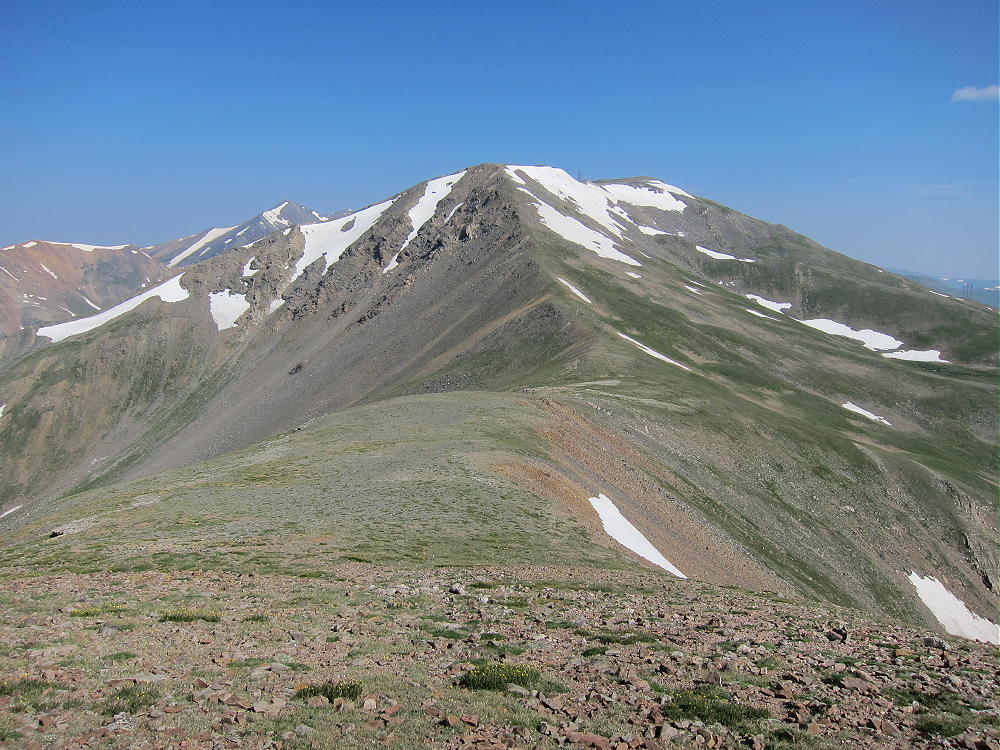
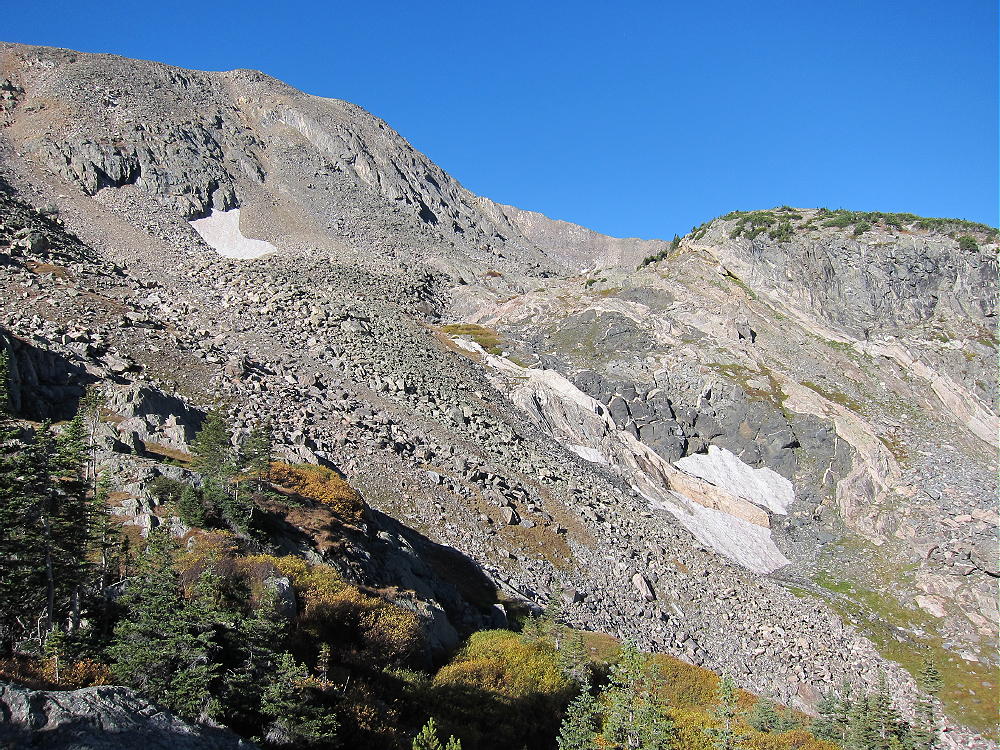
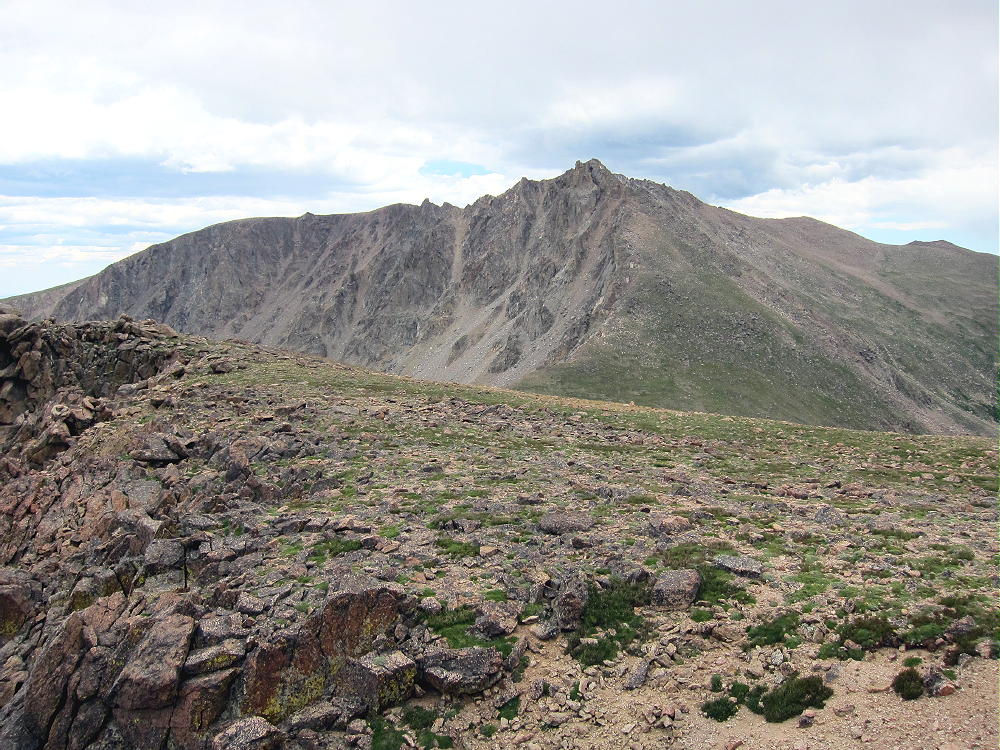
Argentine Peak and East Ridge out to Mount WIlcox
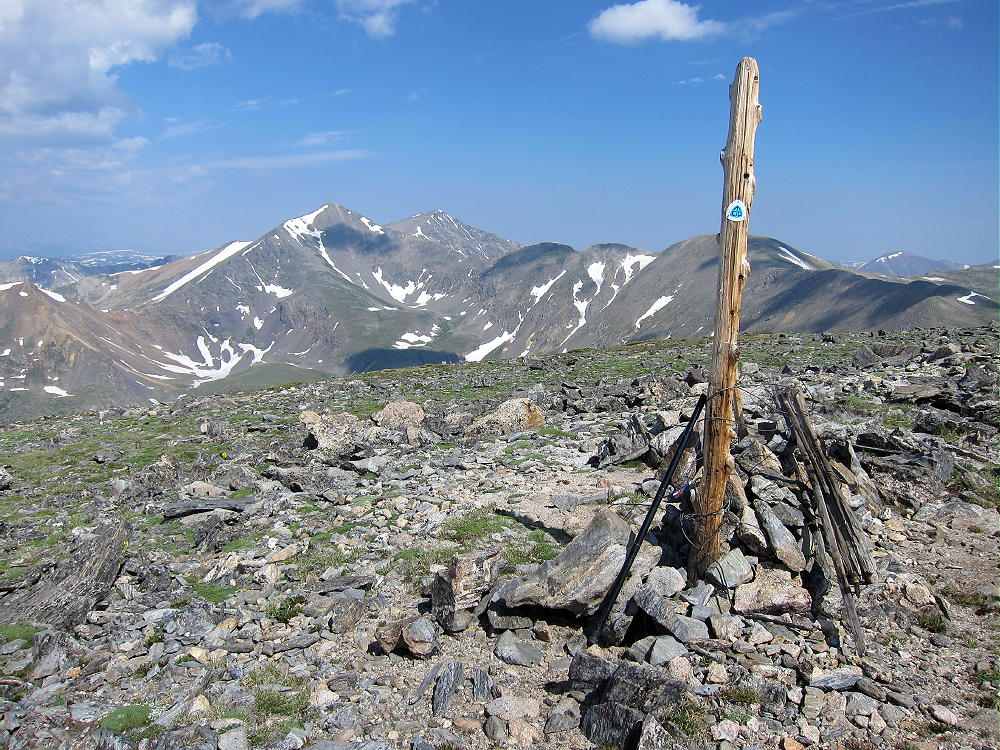
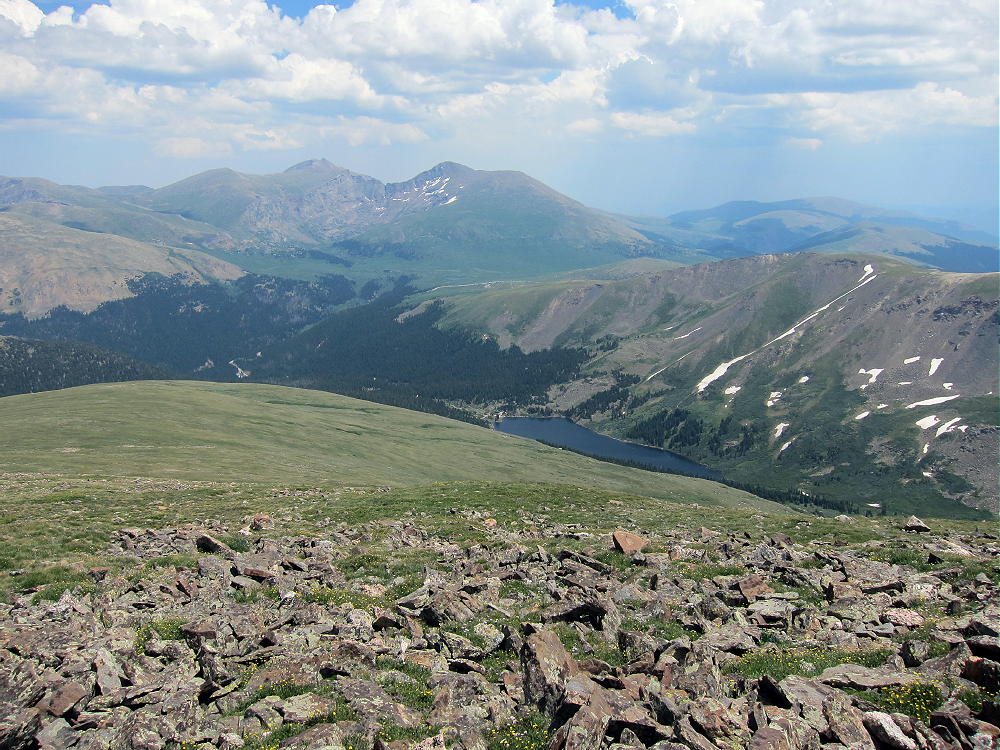
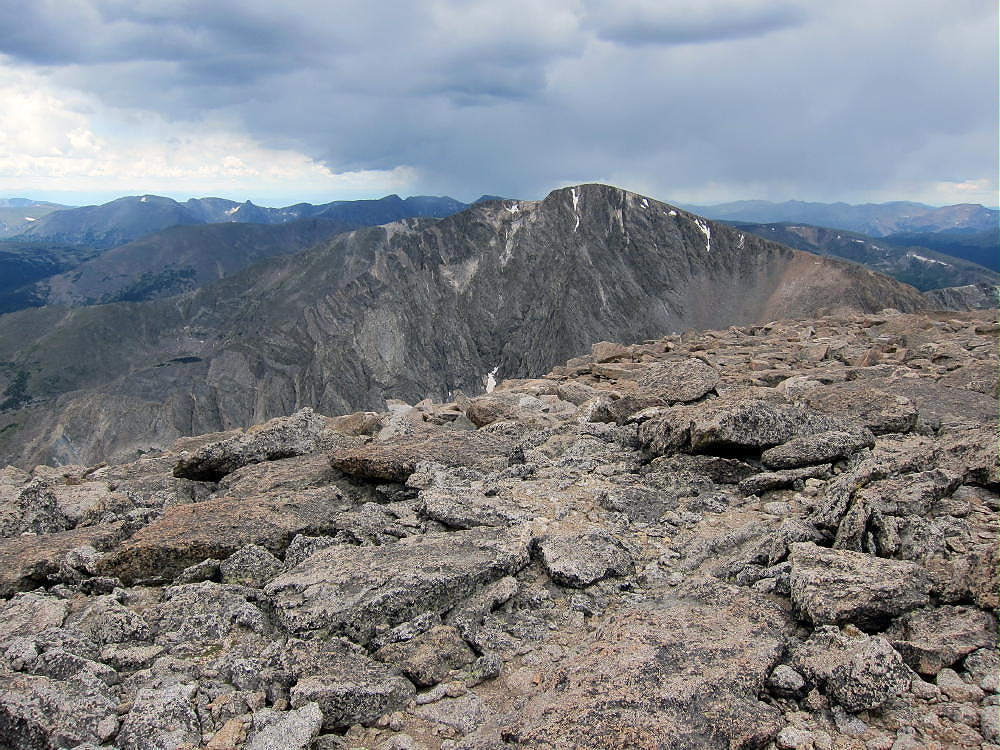
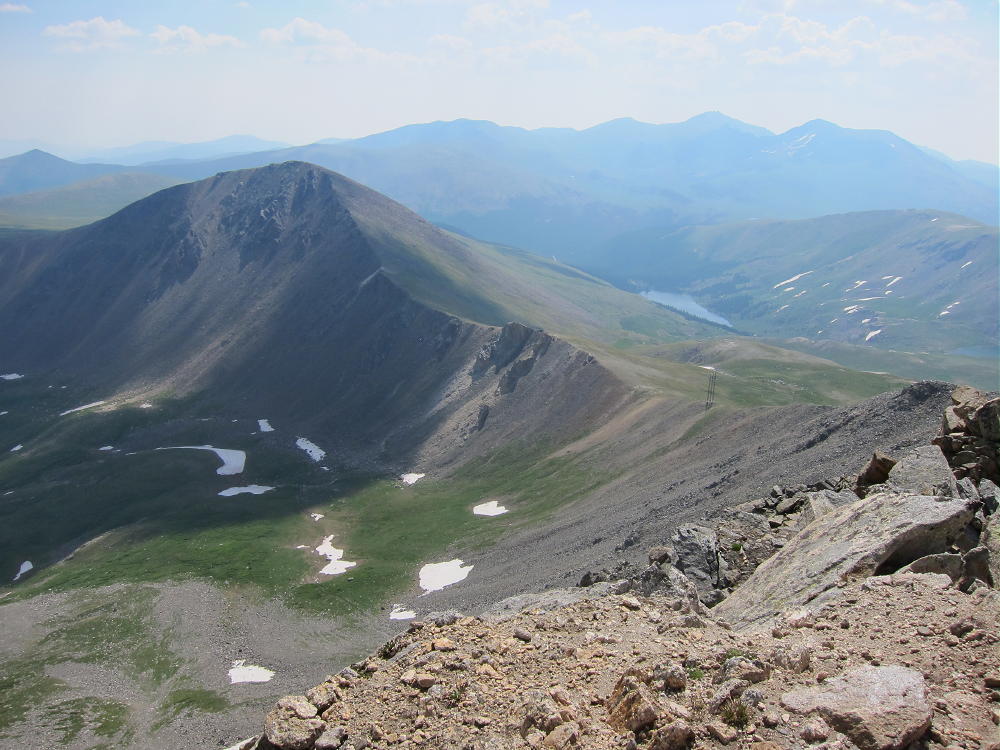
View West from Mount Wilcox to Argentine Peak
Both mountains are high alpine SOTA peaks near Guanella Pass Pass. Most SOTA activators will probably climb Argentine Peak first, and then perhaps climb Wilcox for a dual activation, if conditions are favorable.
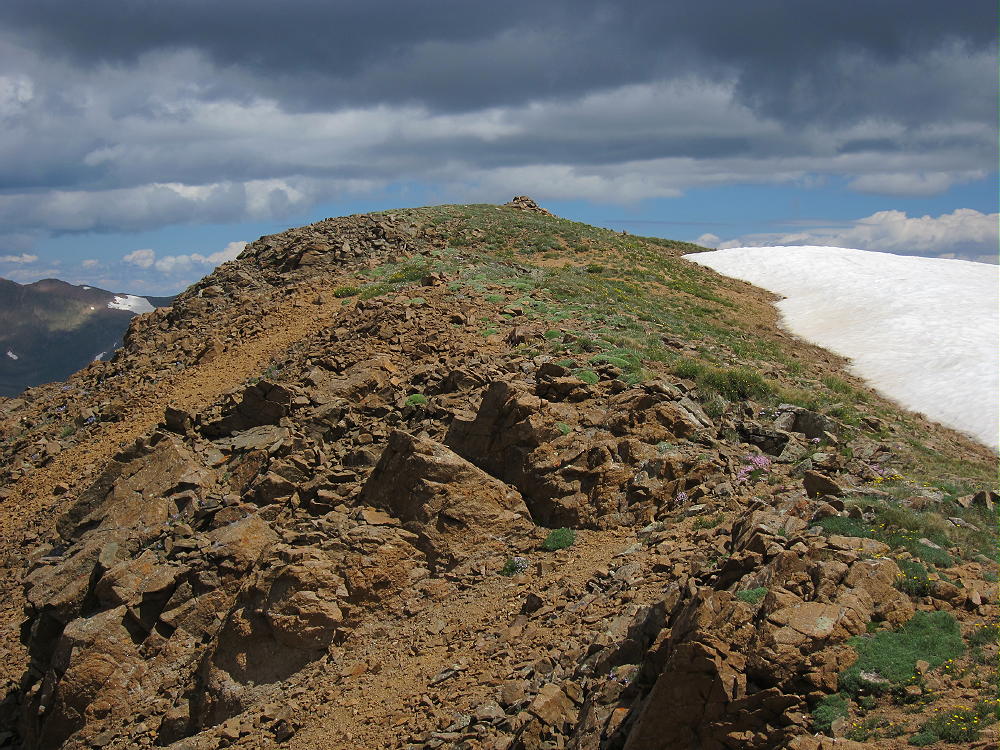
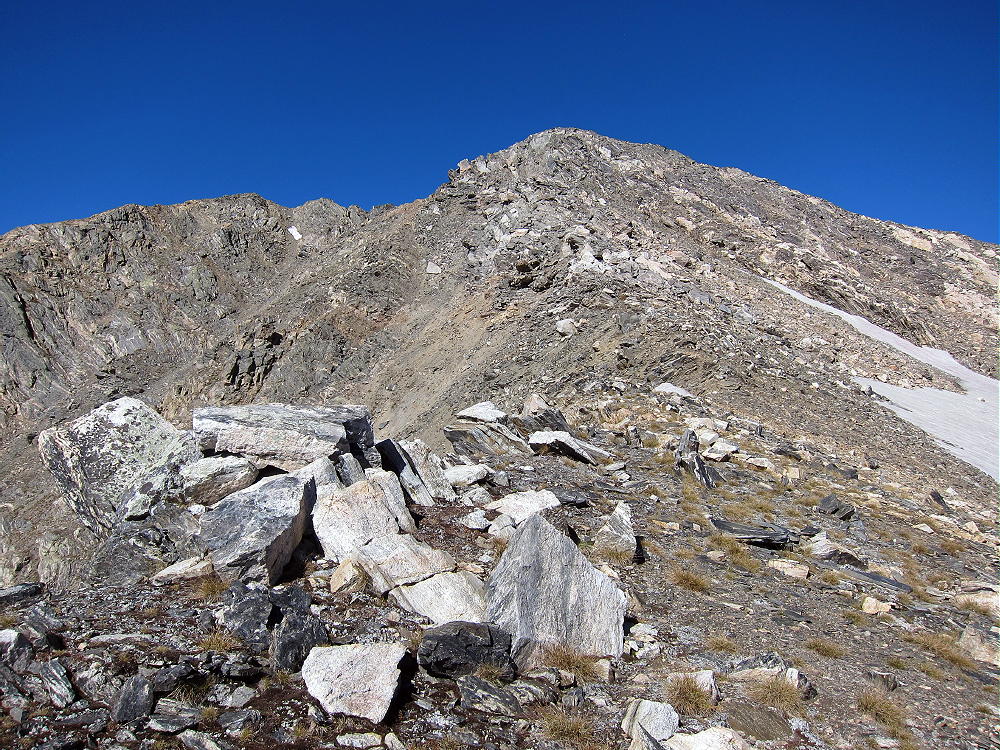
Please read the trip report on Argentine Peak for trailhead directions and how to climb Argentine. From Argentine it’s simple to drop down the moderate East Ridge, walk across the easy saddle, and then ascend about 500 vertical feet on the West Ridge to the summit of Wilcox.
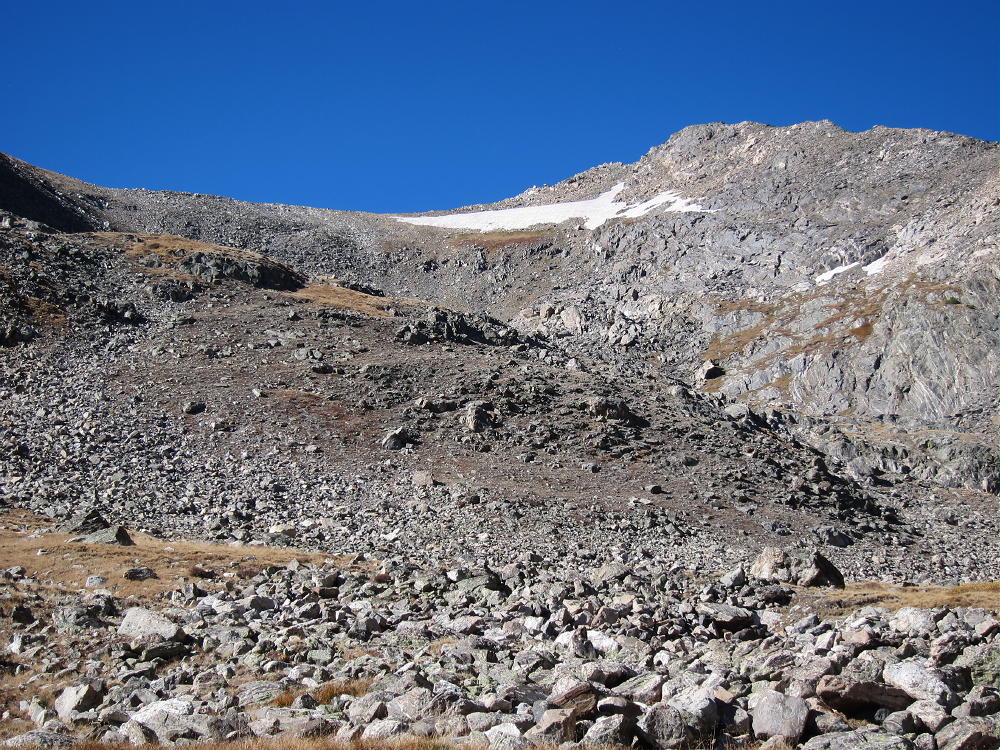
To climb Wilcox by itself, or before climbing Argentine, hike to Murray Reservoir, climb up the tundra slopes to the Argentine-Wilcox saddle, and then climb the West Ridge of Wilcox. After Murray Reservoir, there is no real trail, and you must navigate and choose a good route.
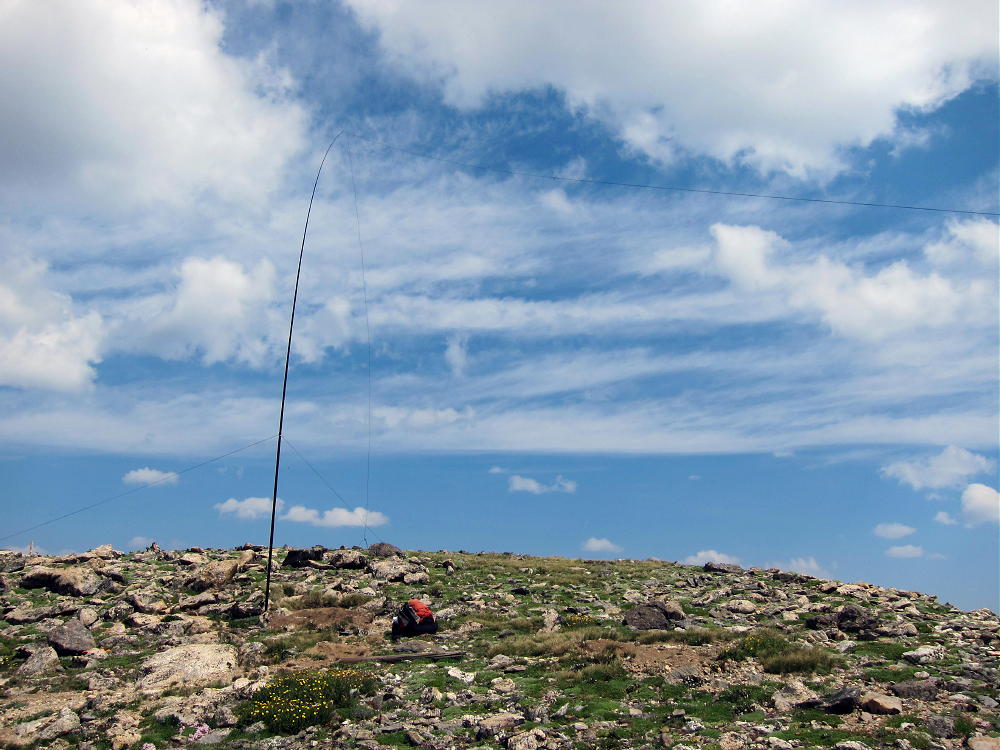
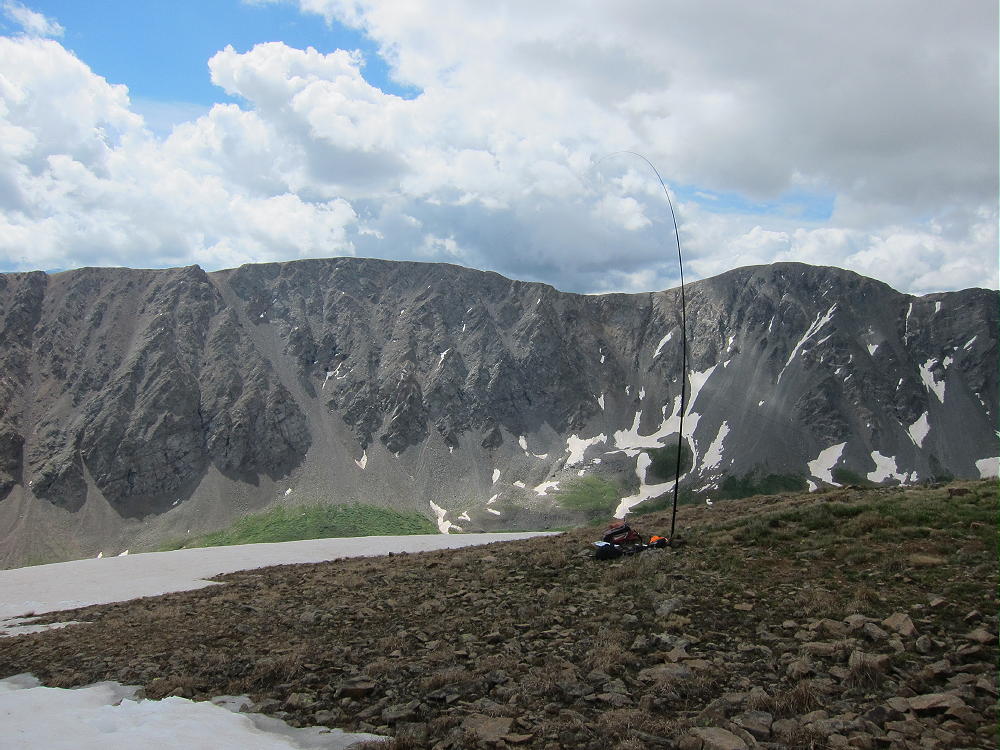
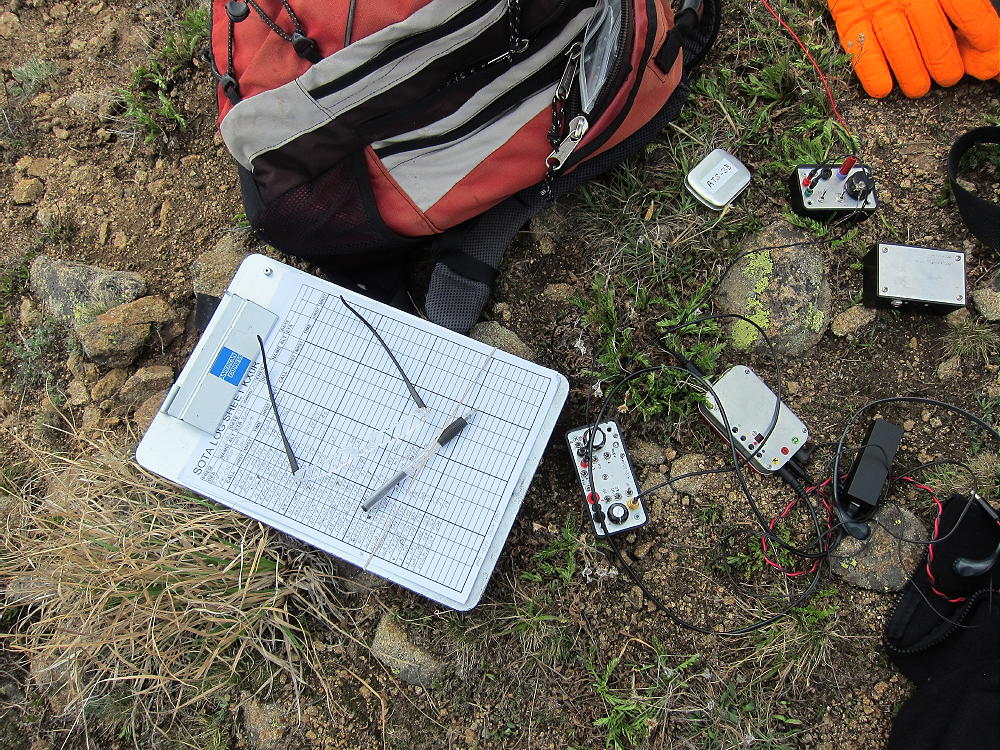
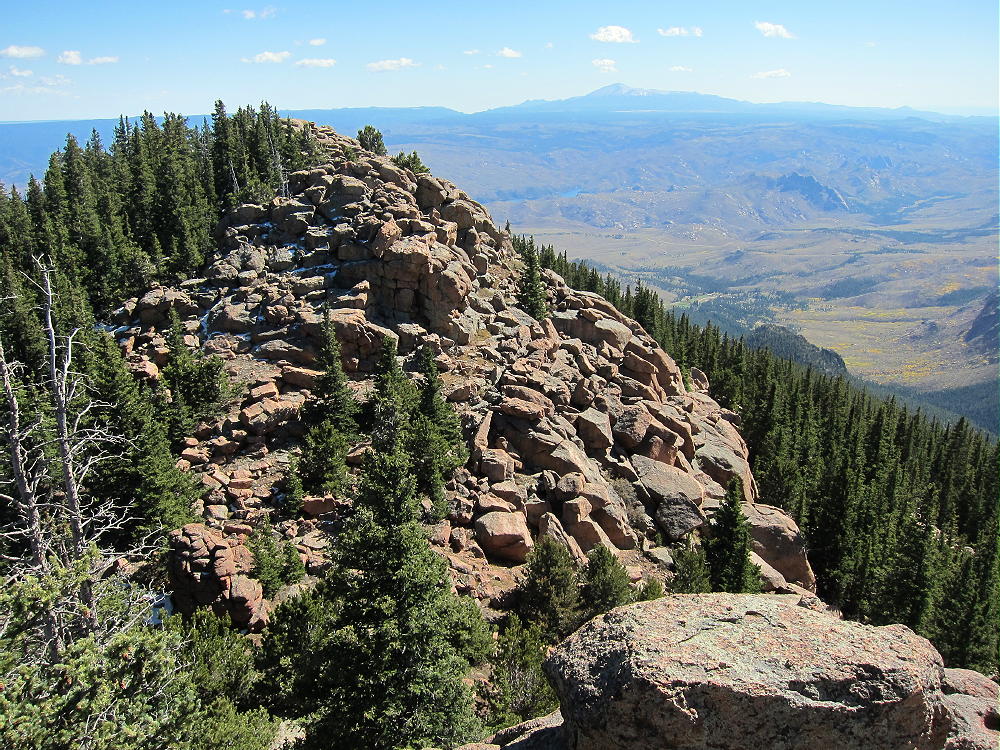
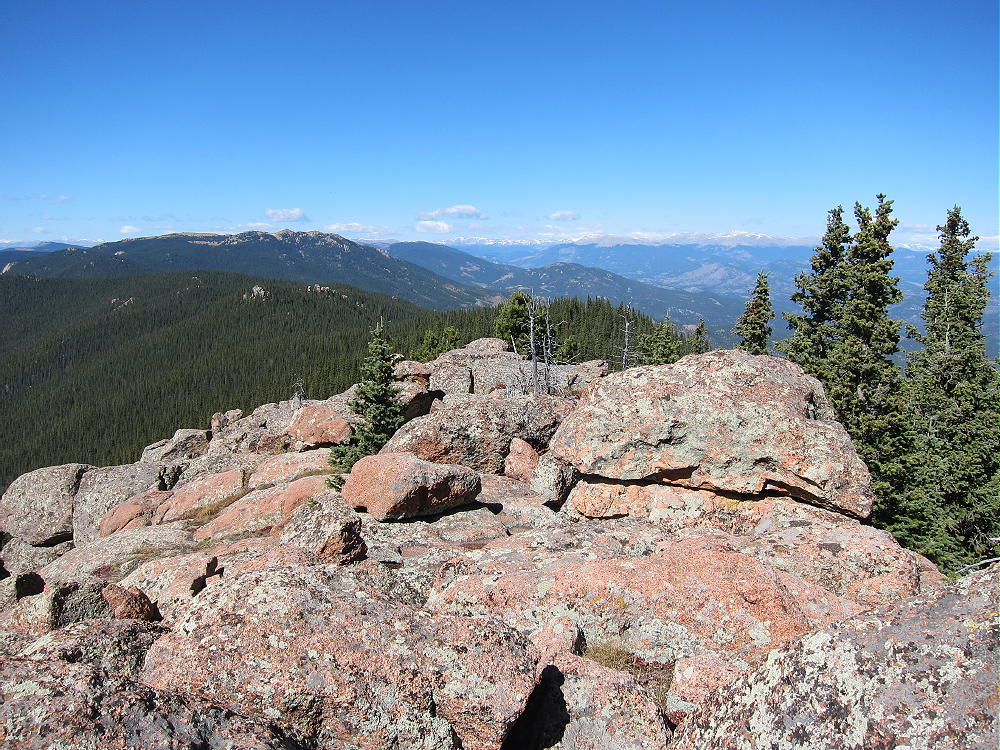
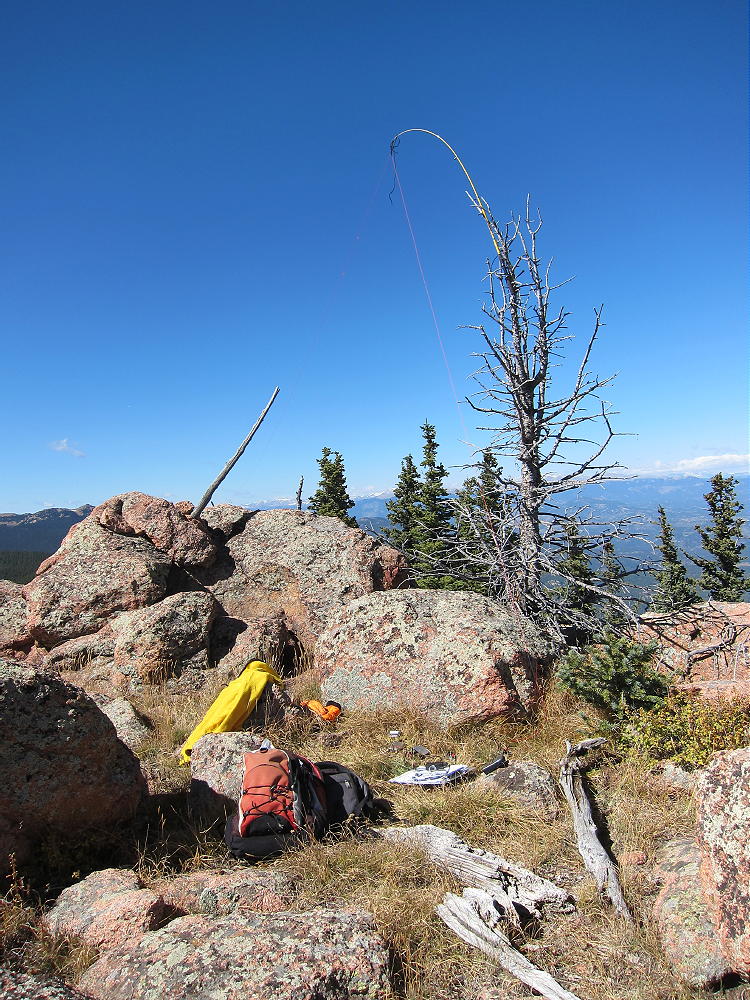
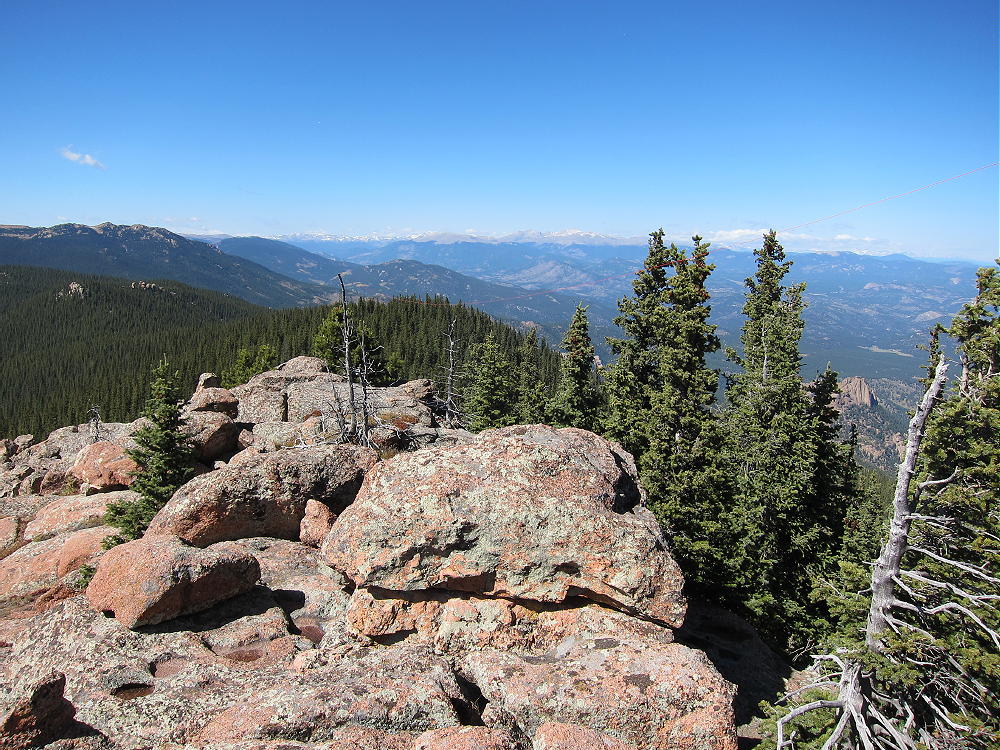
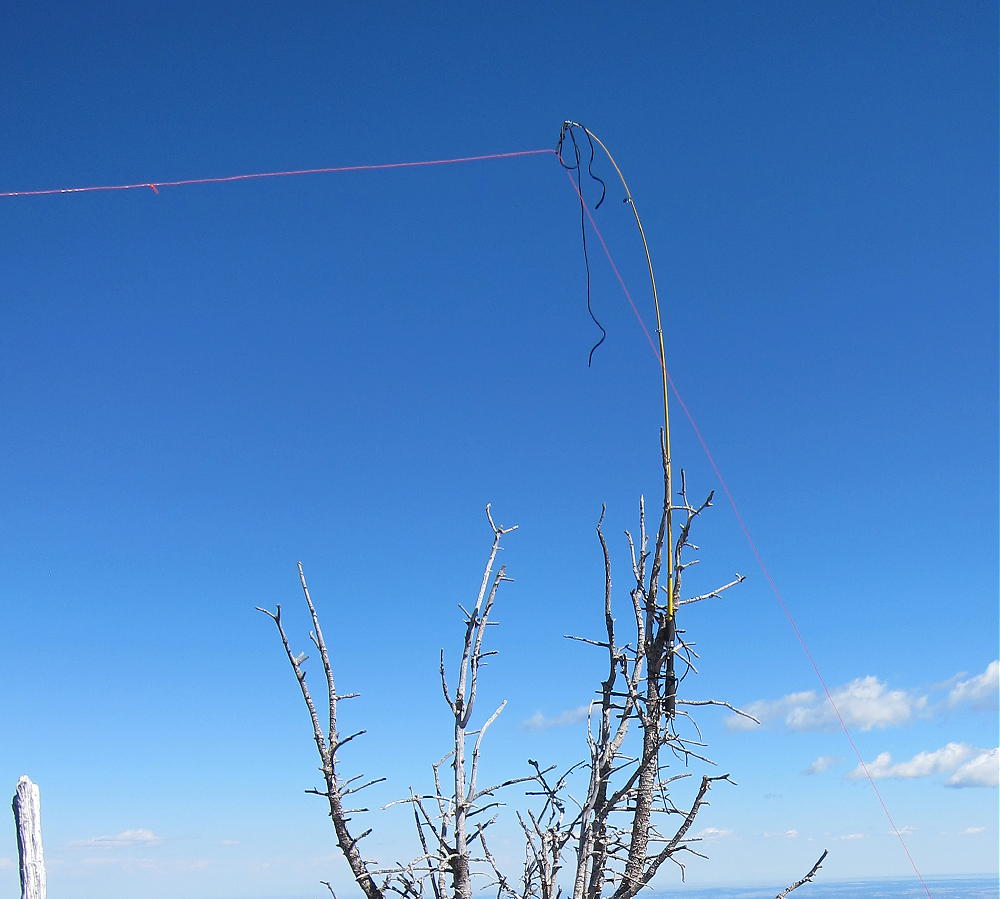
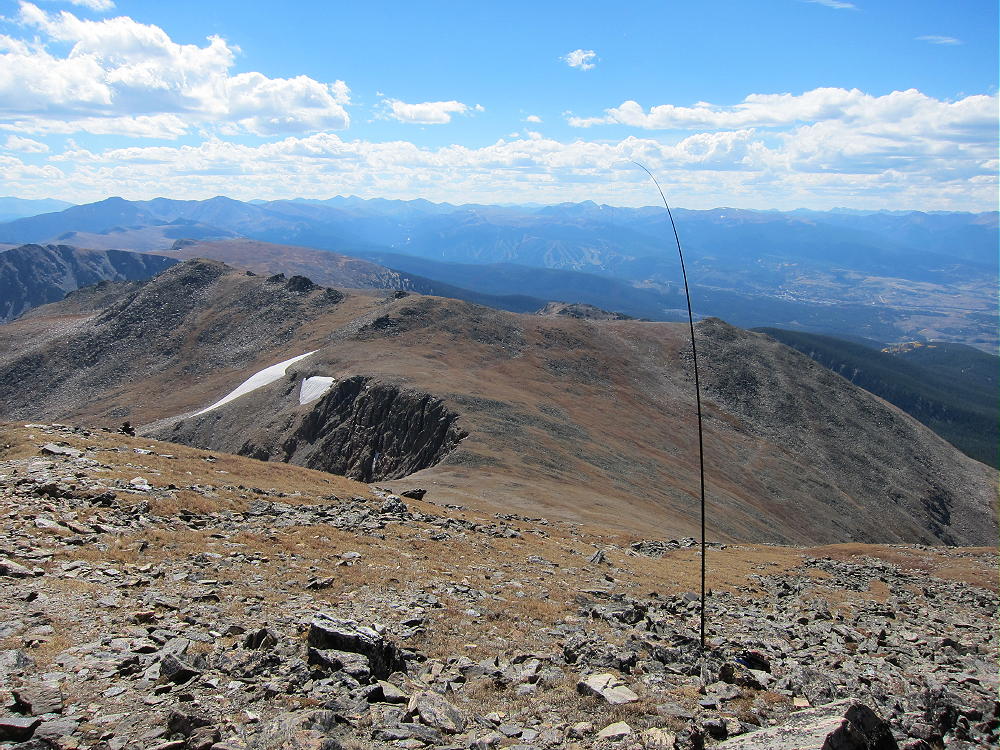
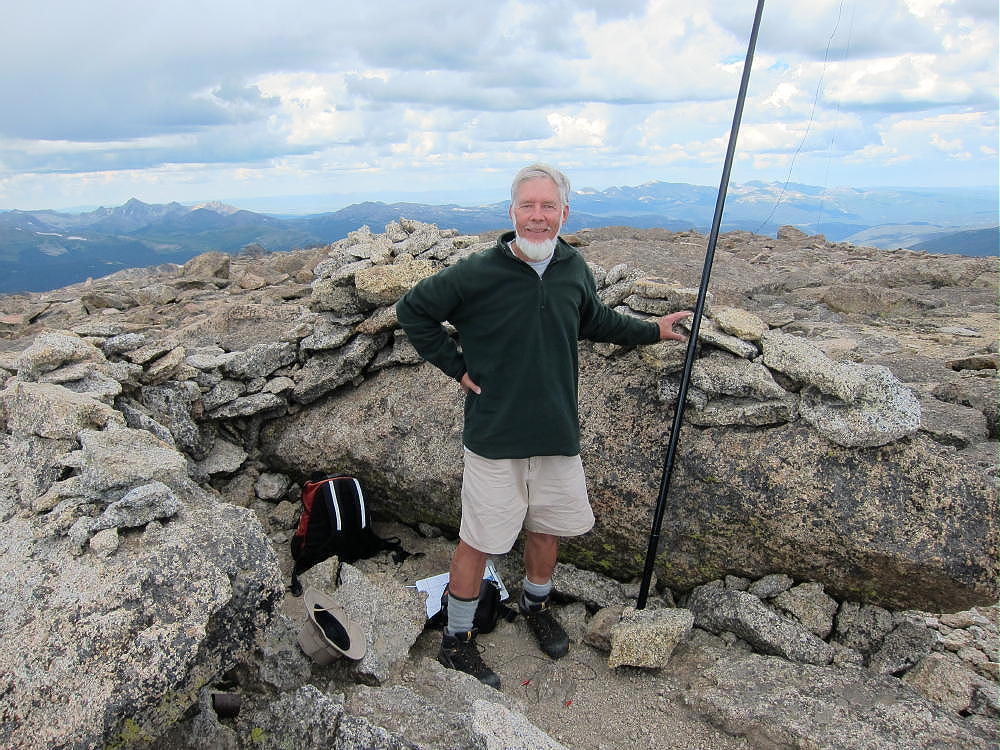
Wilcox has a broad alpine summit, and in good weather, it’s easy to activate on HF with a pole. At only 100 meters below Argentine, it’s also a high peak. The north, east and south slopes of Wilcox are huge meadows. These meadows extend down over 2000 vertical feet to Naylor Lake.
First Activation of Mount Wilcox
To descend Wilcox, choose between:
1) The West Ridge Route, then down the slopes to Murray Reservoir, and then up a short distance to the Silver Dollar Lake Trail
2) Descend the easy meadows from the summit, first east, and then south, to minimize the grade and to avoid steep slopes directly south of the peak. Do not descend to the private property around Naylor Lake! Between 12,400 and 12,200 feet curve west, and then cross the large creek in the valley, just below 12,000 feet. This was not a problem when I was there in mid-July, but it might be a serious hazard early in the summer! Head to Murray Reservoir or up the easy ridge just east of Murray, and join the Silver Dollar Trail on the ridge-top.
Stay away from Naylor Lake – it is private and uninvited hikers are not welcome! (That’s what I read on the Internet…)
The alpine wilderness basin between Wilcox, Argentine, and Square Top is a beautiful place, with lakes, streams, and flowers. There are far fewer hikers than on Bierstadt and Square Top nearby. This is a special place to visit.
73
George Carey Fuller
KX0R
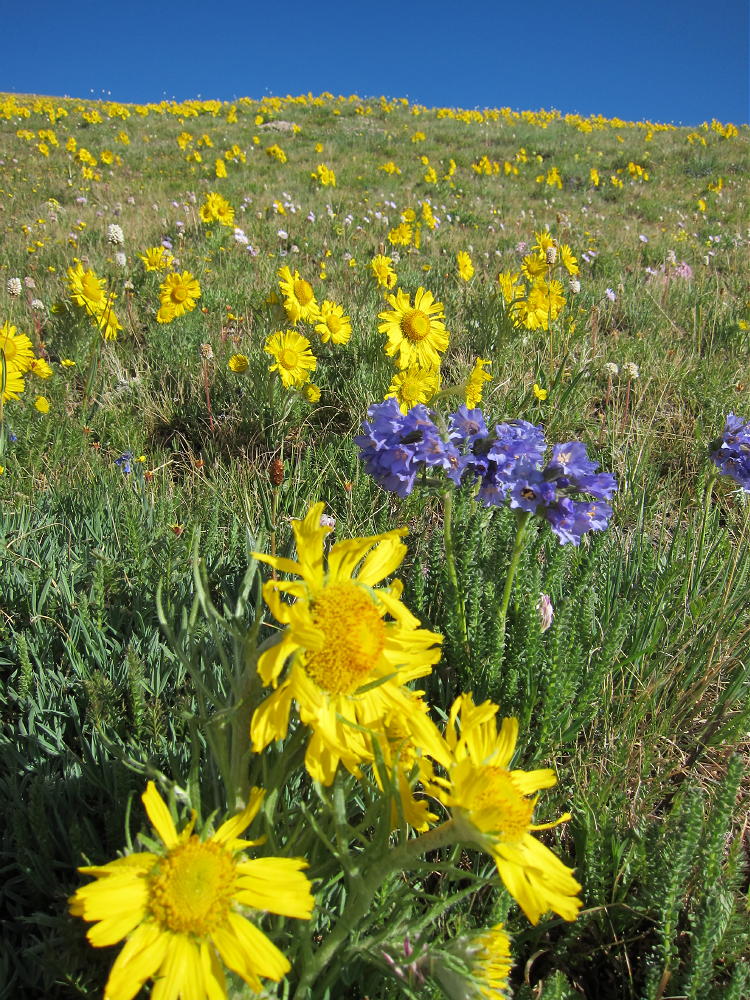
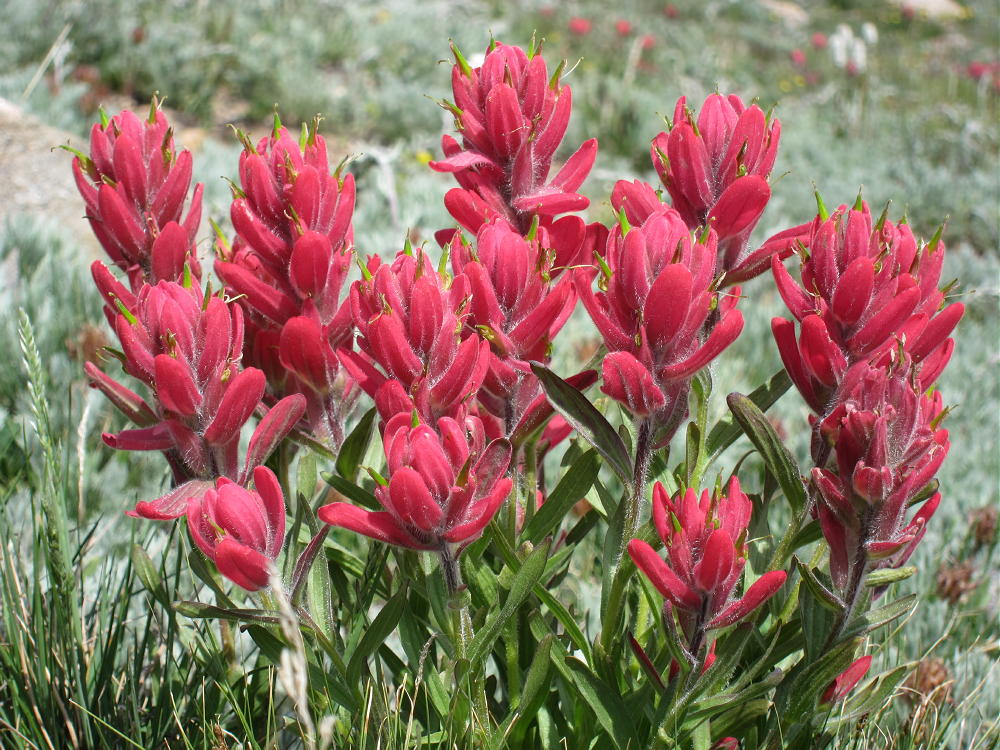
Indian Paintbrush on Mount Wilcox
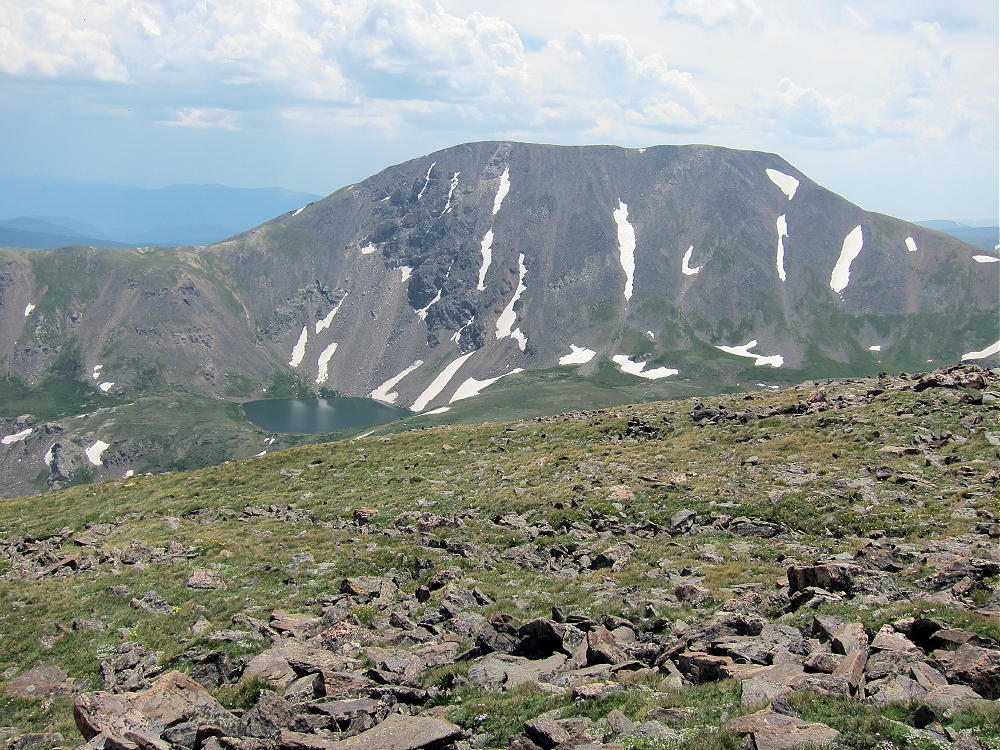
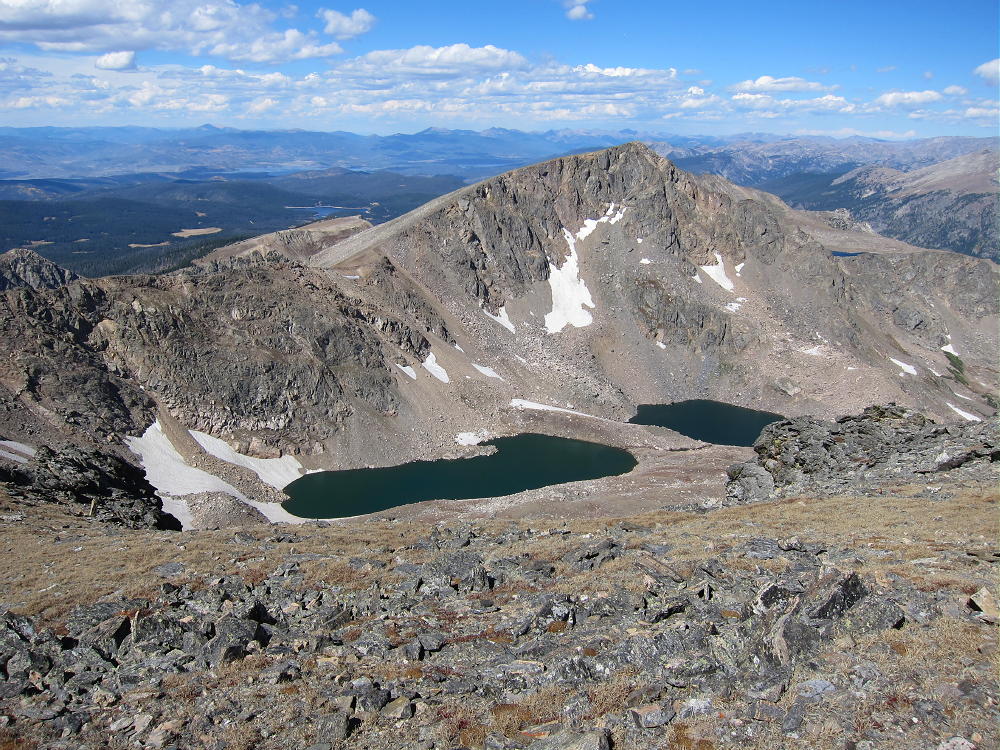
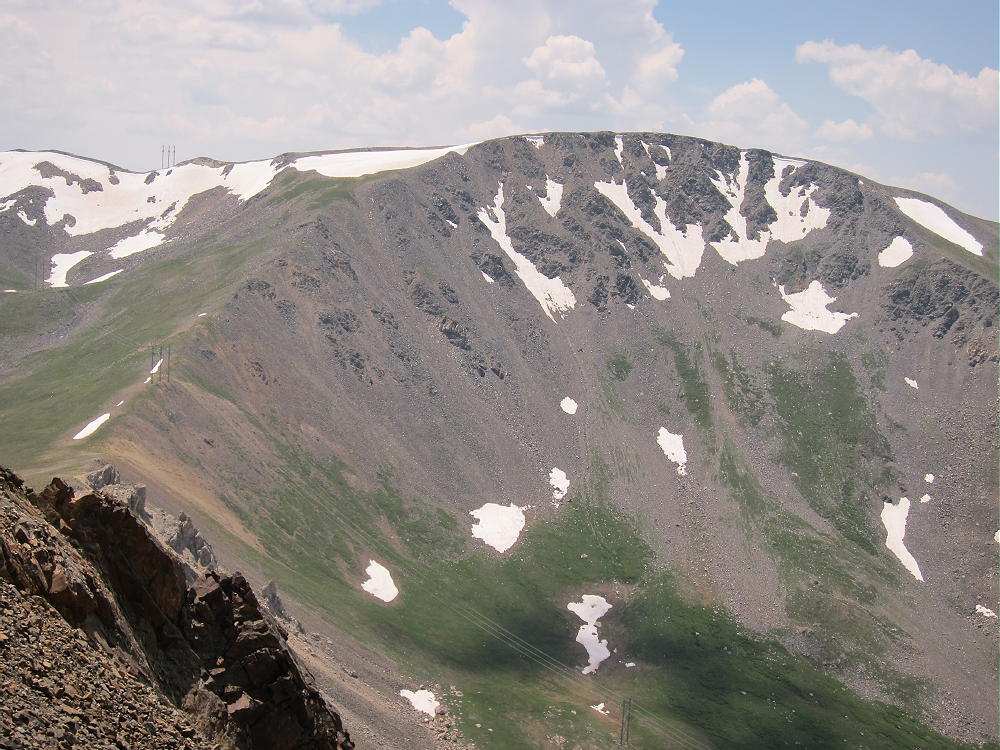
Argentine Peak from Wilcox
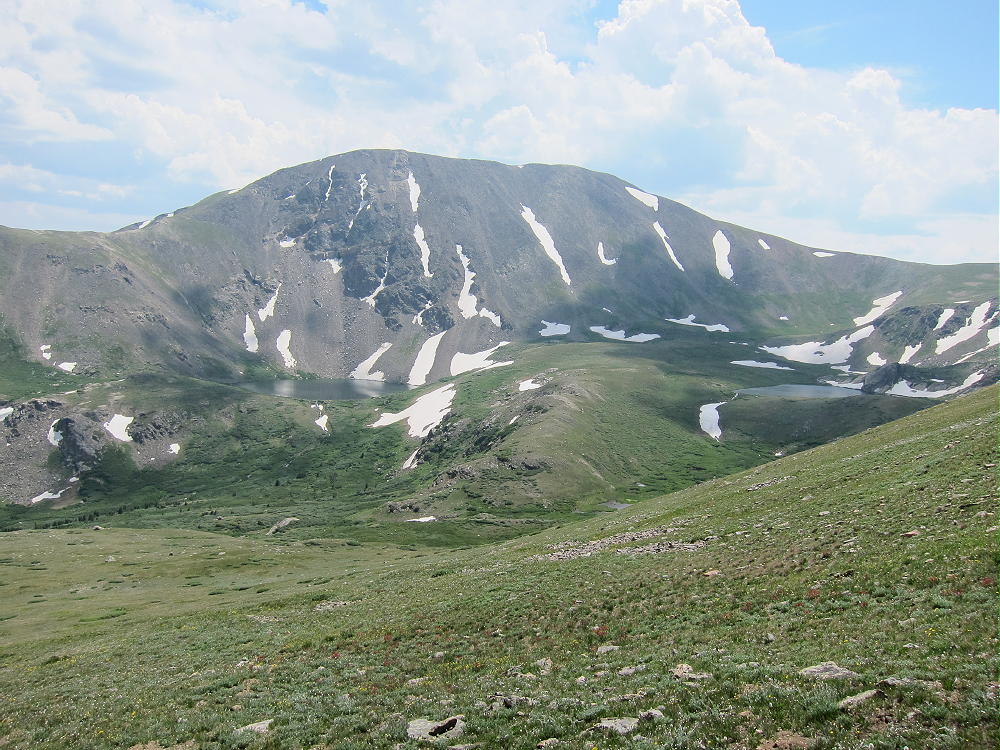
Route of Argentine Peak Hike from Wilcox
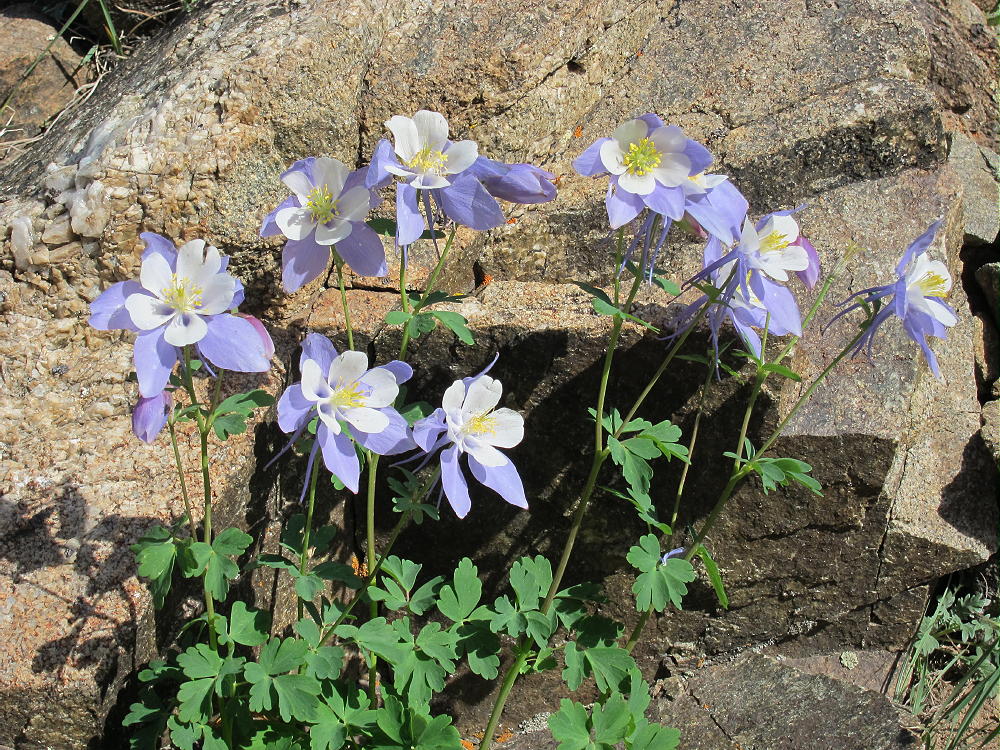
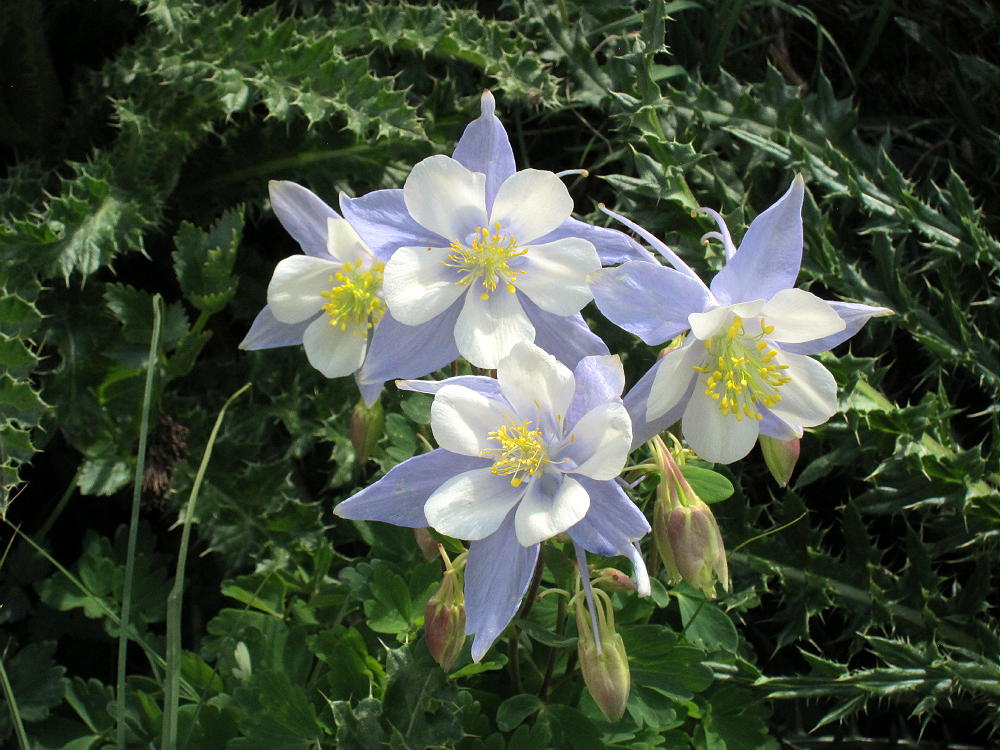
Columbine on Mount Wilcox
!! WARNING !! There are old mountaineers, and
bold mountaineers… there are no old-bold mountaineers.
Hiking and mountain climbing are potentially hazardous activities particularly in Colorado with its extreme elevations. I am not accepting responsibility for any death or injury resulting from activations based on my trip reports. Proper training, experience, and personal capability assessment is required – enjoy!
W0C/SR-019
Argentine Peak
4179 m / 13738 ft
July 19, 2014
By KX0R
Argentine Peak is a high alpine SOTA peak on the Continental Divide northwest of Guanella Pass. The Peak is close to the Denver area, but a significant hike is required to reach the top. The air is thin, and there is no marked trail part of the way. Awesome views and a fine experience are yours if you activate Argentine on a nice day!
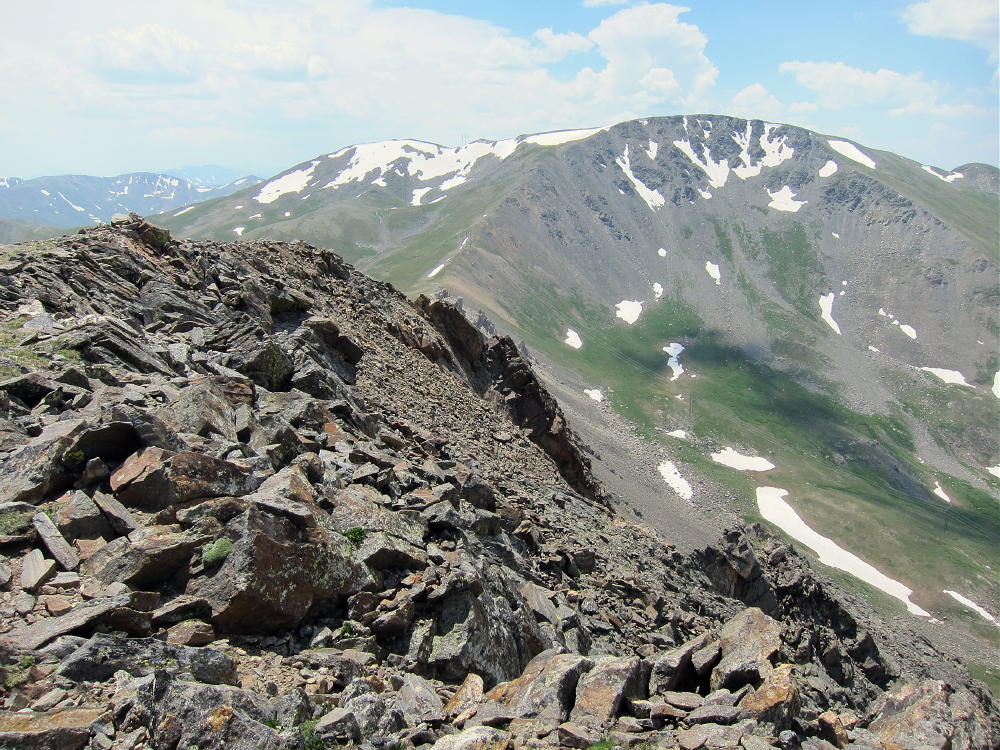
Argentine Peak from Wilcox
Drive up I-70 and exit at Georgetown. Drive through town and follow the signs to Guanella Pass. Drive up the steep, scenic paved highway to Guanella Pass campground at 10,800 feet. Look for a dirt road heading west – Naylor Lake Road. You may be able to drive up this rough 2WD road, depending on your vehicle. Drive or hike up the road about 0.7 miles to the Silver Dollar Lake trailhead at 11,200 feet altitude – there is limited parking. The remainder of the road to Naylor Lake is private.
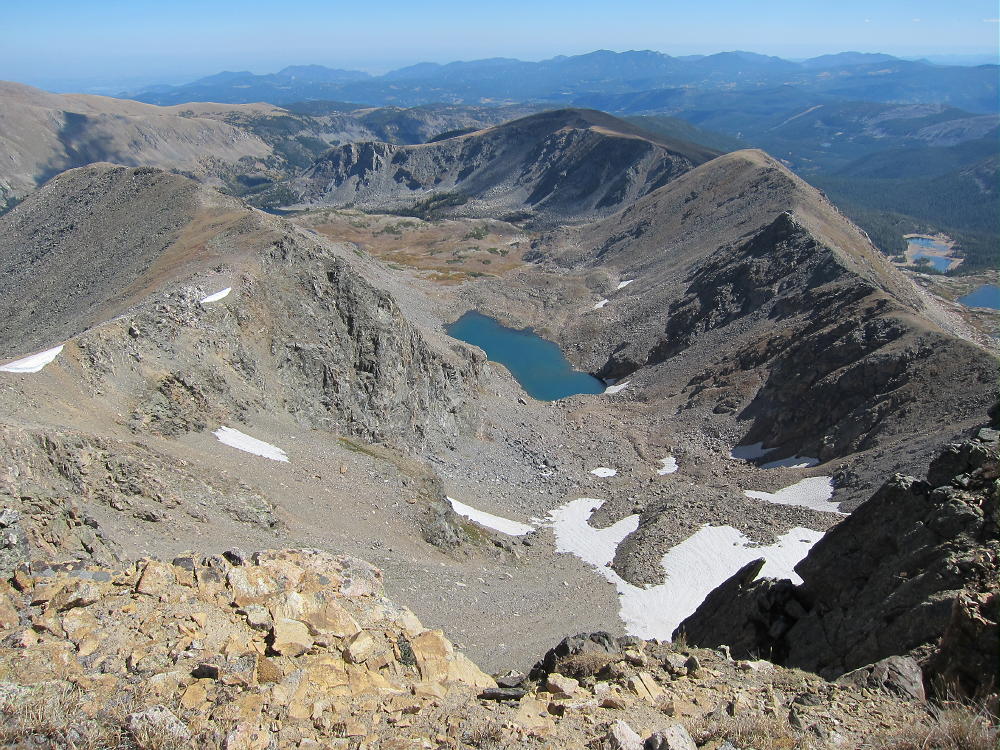
The path continues up about ½ mile to Murray Reservoir at 12,150 feet. Before descending to Murray Reservoir, leave the trail at the ridge-top, and head WSW across the tundra. Climb to the 13,000-foot saddle between Square Top Mountain and Argentine Peak.
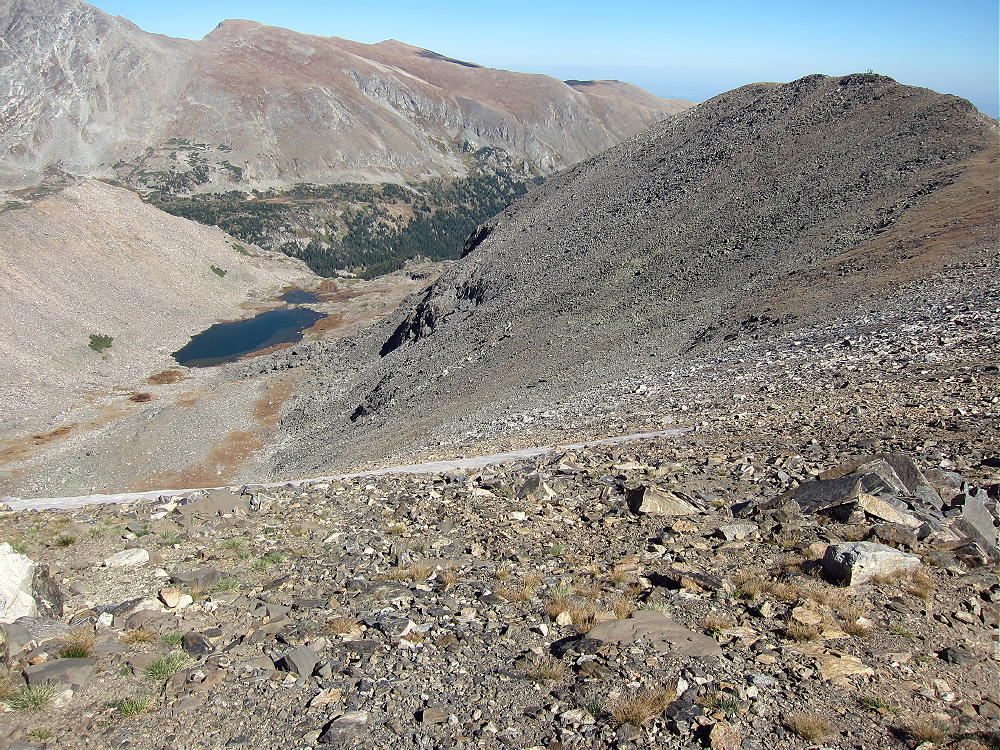
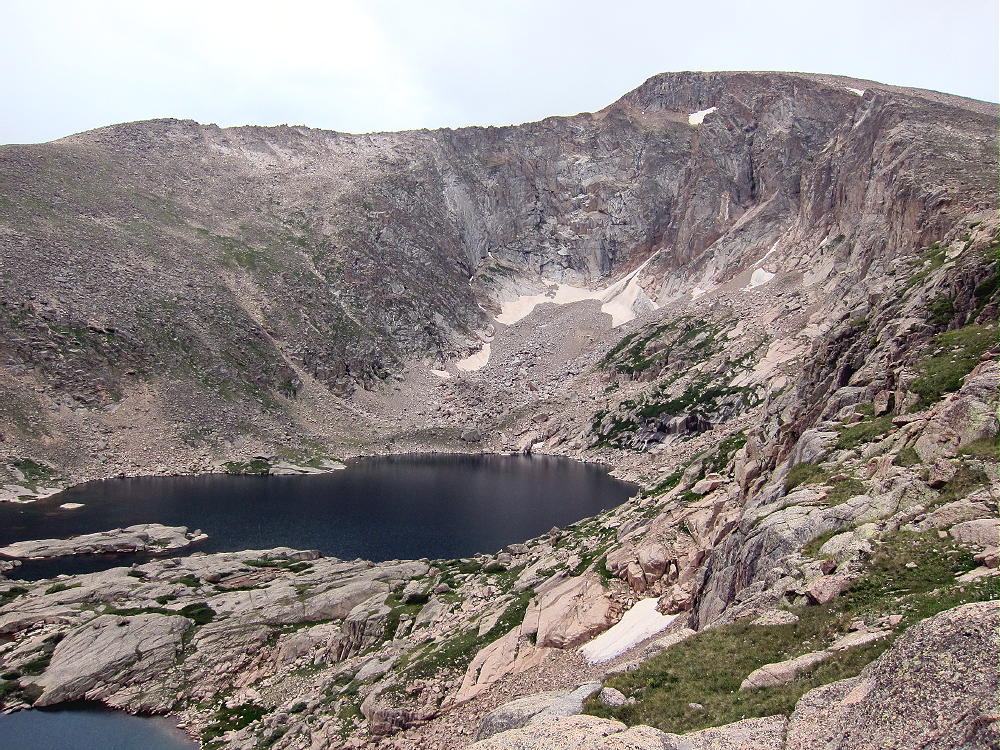
Silver Dollar Lake, Murray Reservoir, and Saddle from Wilcox
Continue climbing NNW along the moderate ridge; some power lines cross the route partway up. The hike is gentle and pleasant close to the top of Argentine.
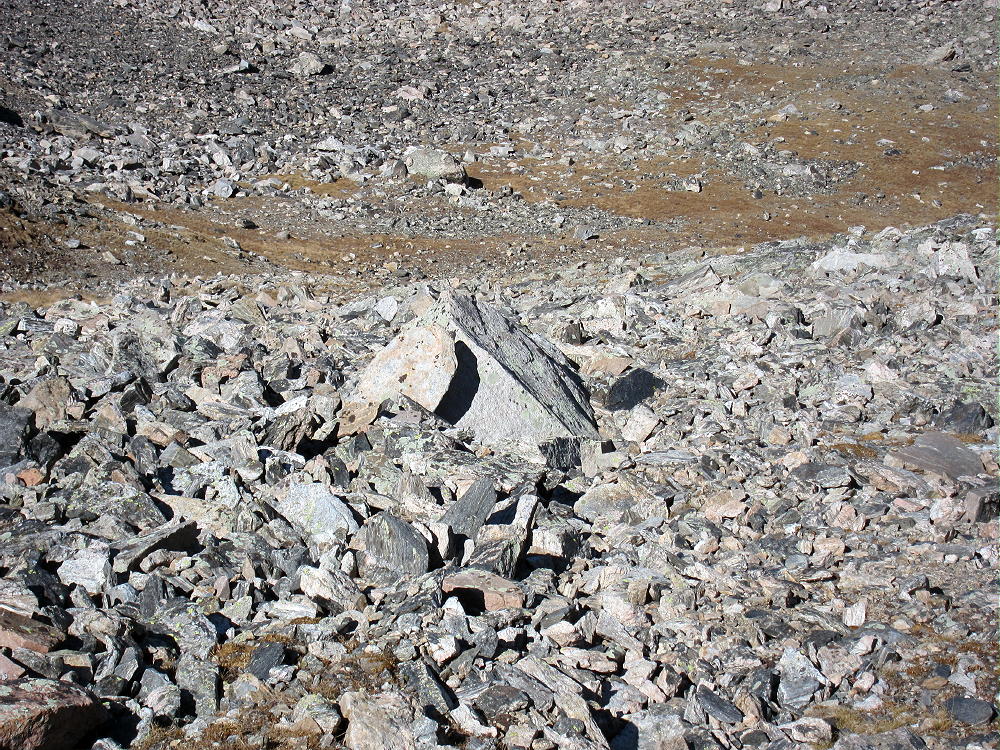
Argentine Peak from South Saddle
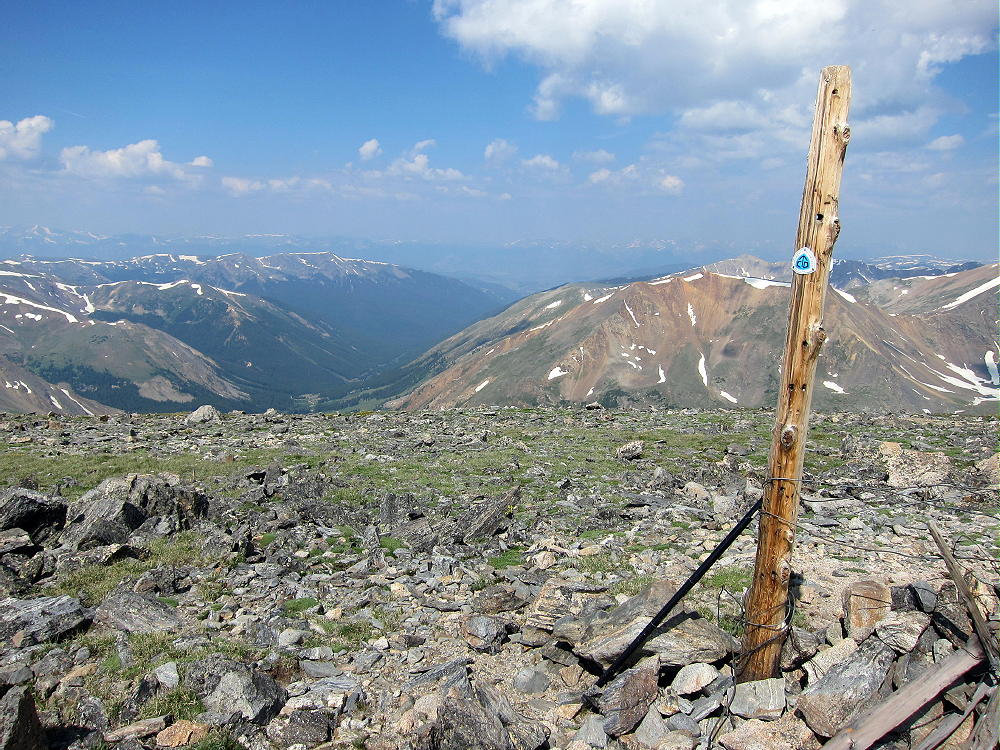
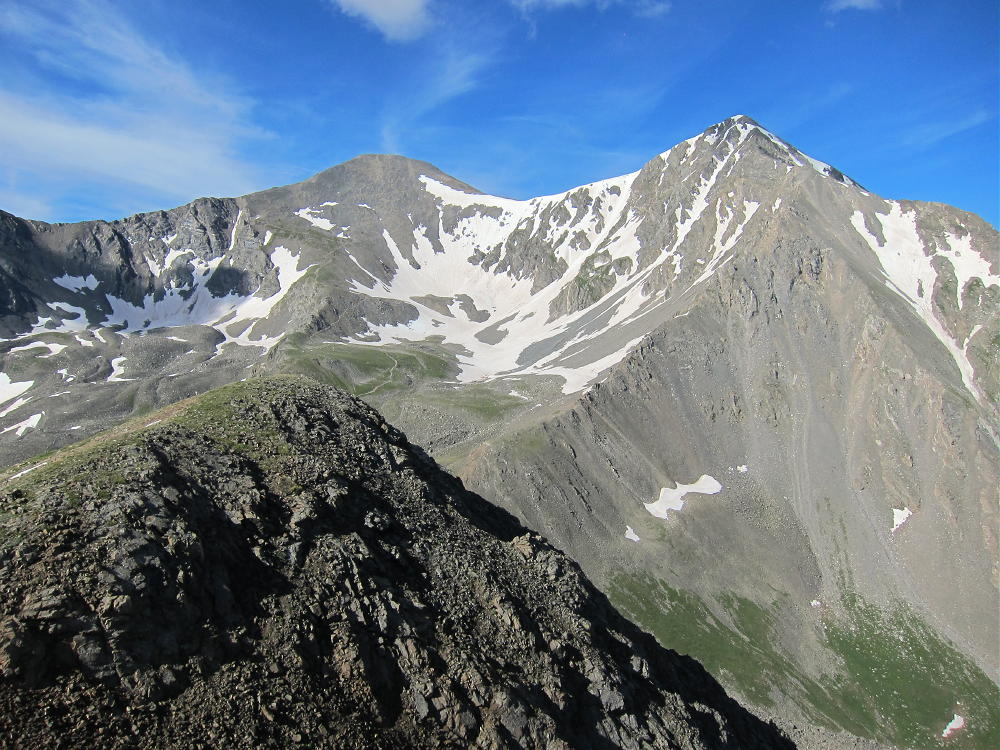
There is a post marking the Continental Divide Trail (CDT) near the summit. The dramatic view of twin 14-ers Grays and Torreys Peaks a few miles to the NW is stunning. 14-ers Mount Evans and Bierstadt stand high to the east. As long as there are no thunderstorms or strong winds, this is spectacular place to set up a pole and activate!
Summit of Argentine Peak with Grays and Torreys Peaks
Square Top Mountain from Mount Wilcox
Grays and Torreys 14-ers from Argentine Peak
Mount Evans, Bierstadt, Guanella Pass from Argentine Peak
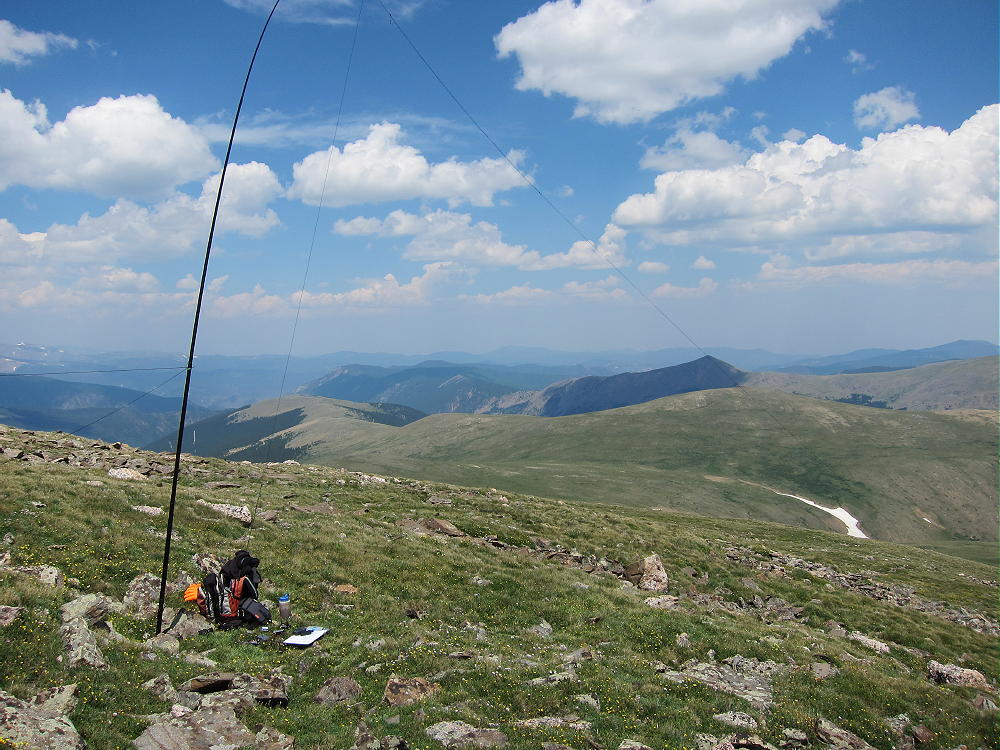
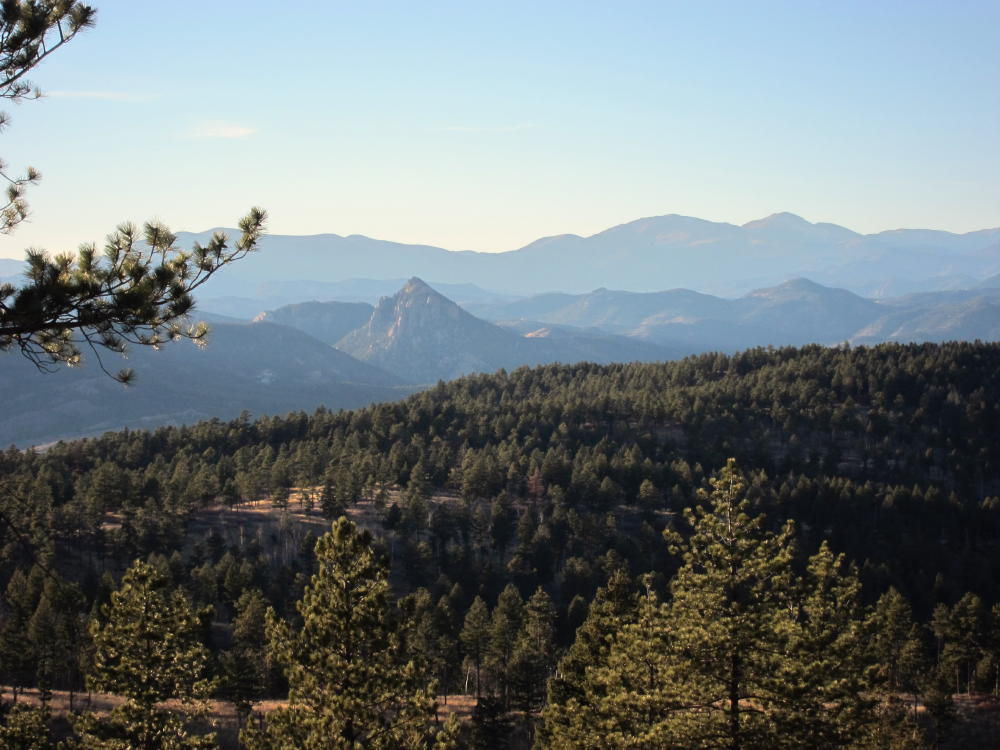
Argentine Peak View West
The site is ideal for HF, and it looks OK for VHF/UHF also. I heard no noise from the power lines down the ridge. It was nice to have such a large area of alpine paradise all to myself for so many hours. Argentine Peak is also accessible from Argentine Pass to the north, so you may see people up there.
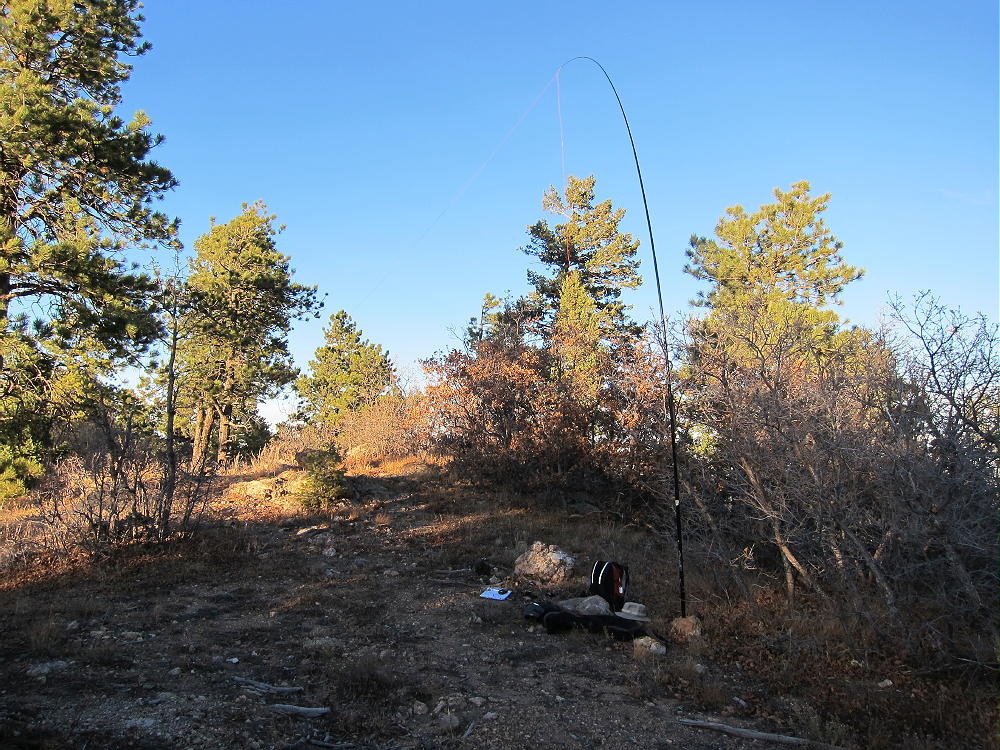
Argentine Activation 1
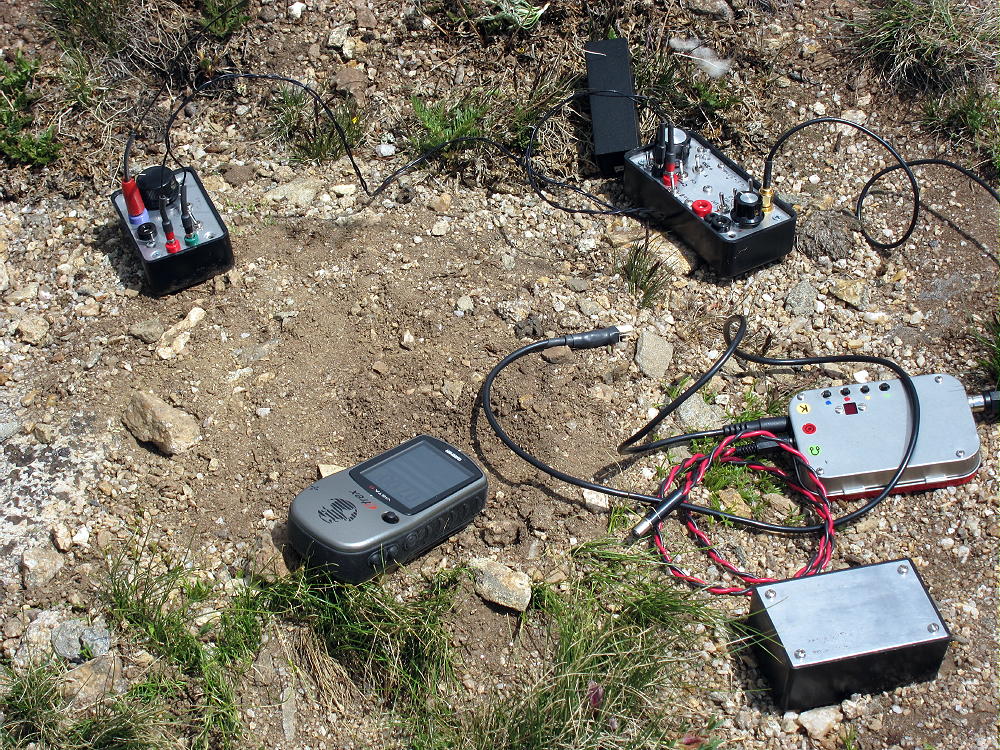
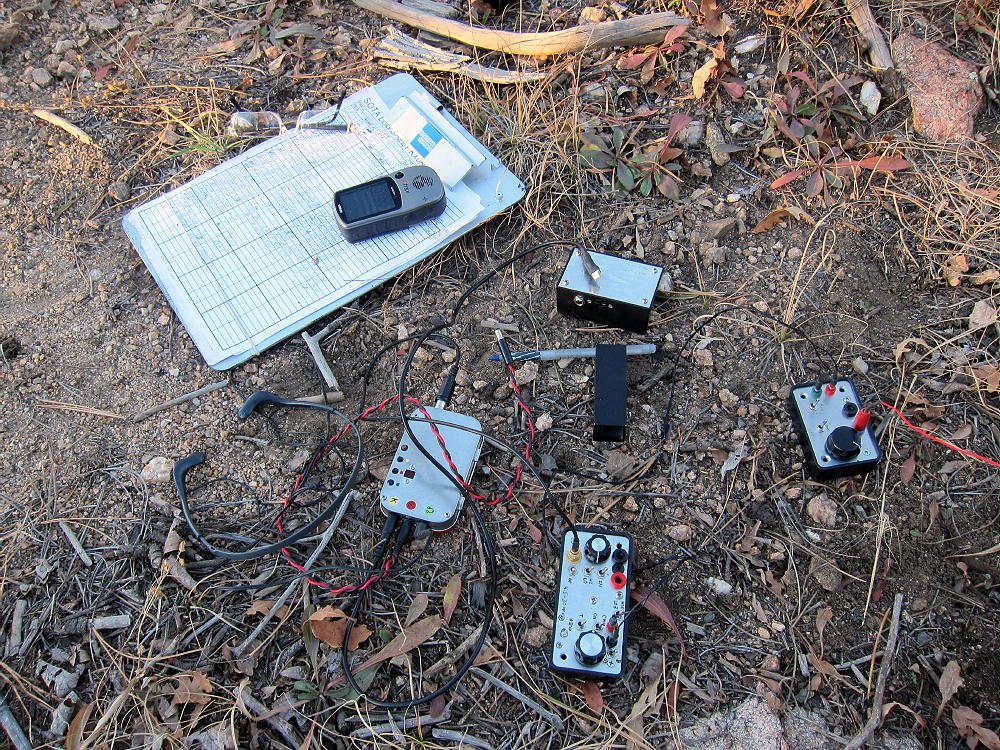
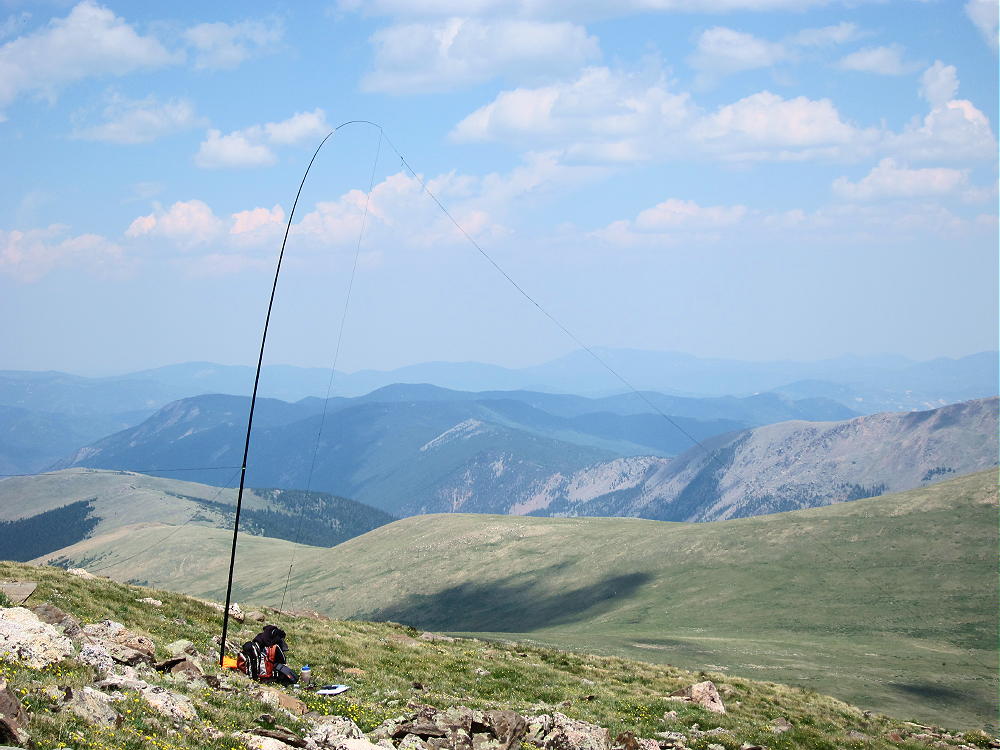
Argentine Peak Activation Rig
Argentine Activation 2
It is possible to activate other summits along with Argentine. The day I was there I had good weather, so I went down the east ridge of Argentine to the saddle and then climbed and activated Mount Wilcox – please see the report on W0C/PR-024.
Argentine Peak and East Ridge out to Mount WIlcox
Another alternative is to climb the NW ridge of Square Top W0C/PR-018 from the saddle – there is a path up through the rocks on the ridge – that route is easier than it looks from below.
Square Top and Saddle from Wilcox
Please be careful with respect to the weather up there. Lightning is an obvious danger, but cold, windy, and wet weather are serious hazards as well.
I’ll still remember Argentine as paradise…
73
George Carey Fuller
KX0R
!! WARNING !! There are old mountaineers, and
bold mountaineers… there are no old-bold mountaineers.
Hiking and mountain climbing are potentially hazardous activities particularly in Colorado with its extreme elevations. I am not accepting responsibility for any death or injury resulting from activations based on my trip reports. Proper training, experience, and personal capability assessment is required – enjoy!
W0C/PR-036
Kelso Mountain
4004 m / 13164 ft
July 13, 2014
First Activation
By KX0R
Kelso Mountain is a minor summit adjacent to the mighty twin 14-ers Grays and Torreys Peaks. I was surprised how much fun it was to activate Kelso!
Grays and Torreys from Kelso
To reach the trailhead, drive west of Denver on I-70, and exit at mile 221. Drive south and start up the rough Stevens Gulch Road 321. The condition of this road has deteriorated in recent years, and it may not be passable in cars. When I drove my old VW bug up in July 2014, the road was badly in need of repair at about 10,400 feet – I barely made it through a large hole in a steep eroded section. Inquire before going too far. This is a good place to avoid on a busy weekend. If you can get to the trailhead one way or another, a wonderful hike is possible.
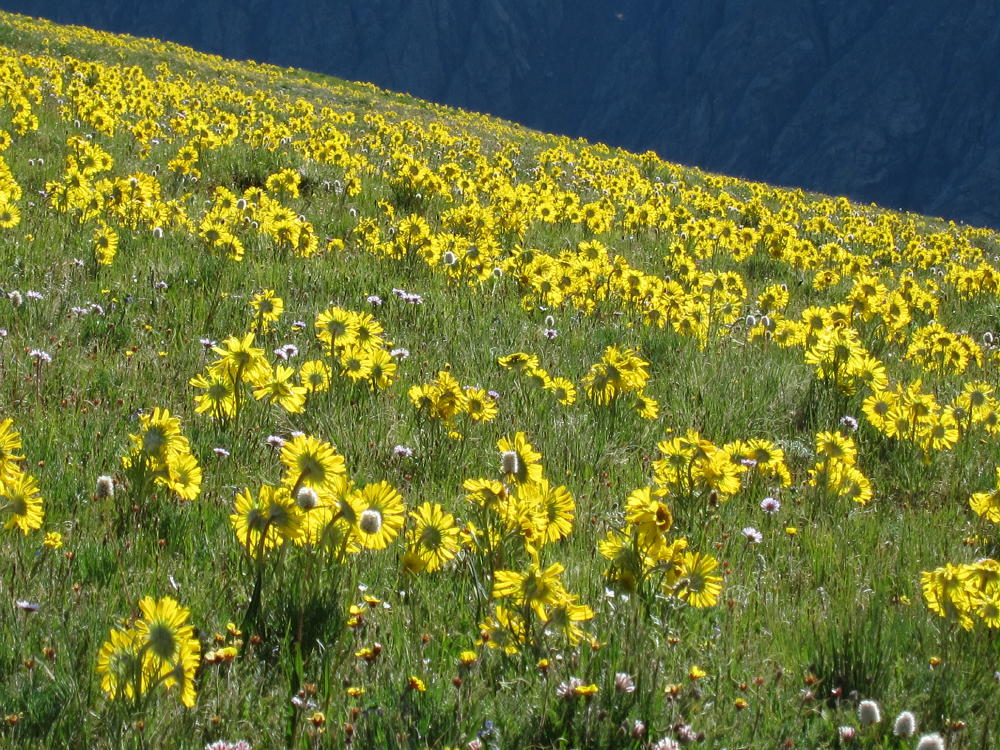
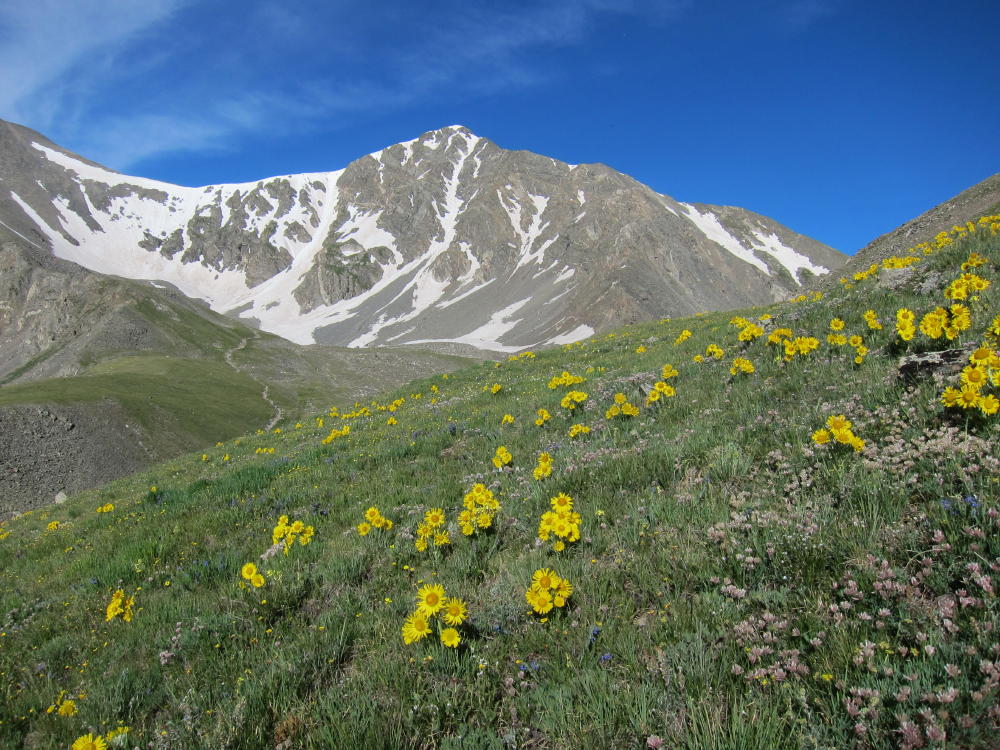
Leave the Stevens Gulch Trailhead at 11,300 feet, cross the creek on a bridge and head up the trail to the southwest. After less than 2 miles, the trail approaches the saddle between Kelso and Torreys, to the north. About ¼ mile before the saddle, at a creek-crossing at 12,200 feet, leave the trail and hike north up the south ridge of Kelso. This is a beautiful alpine meadow filled with flowers – step carefully.
Alpine Sunflowers on Kelso Mountain
The remaining hike up to Kelso is about a mile and almost 1000 vertical feet. It starts steep and then gets easy toward the top of the ridge.
Kelso South Ridge
Kelso Summit
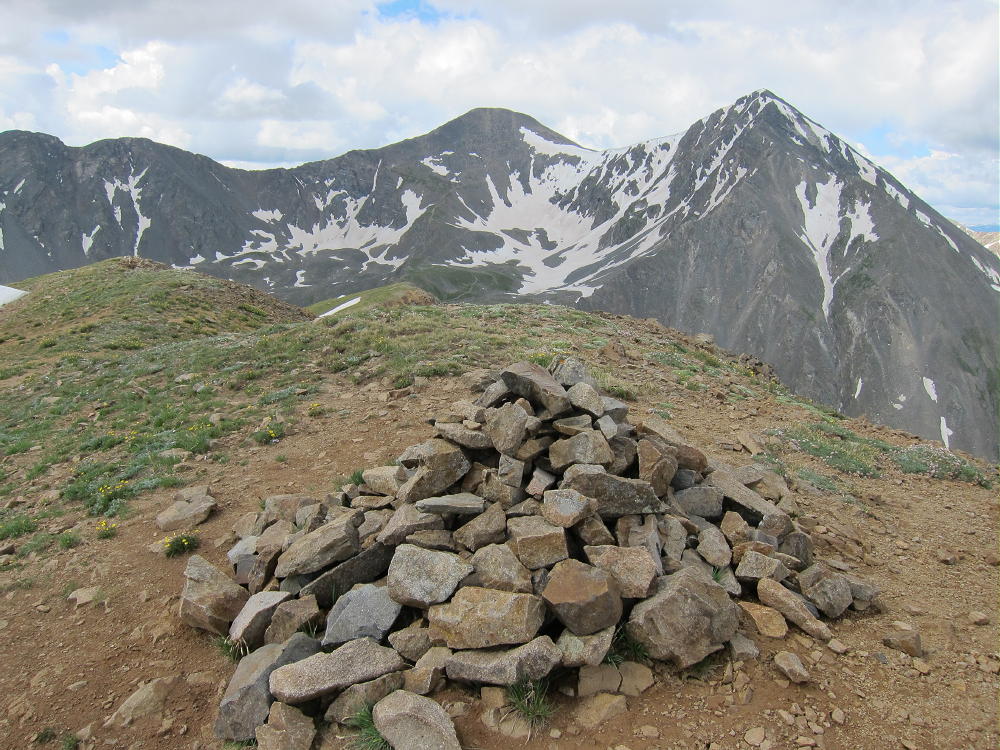
Kelso Summit Cairn
Torreys Peak from Kelso
The summit has a large activation zone with plenty of room to set up and activate. It is ideal for HF, but take a pole.
First Activation of Kelso
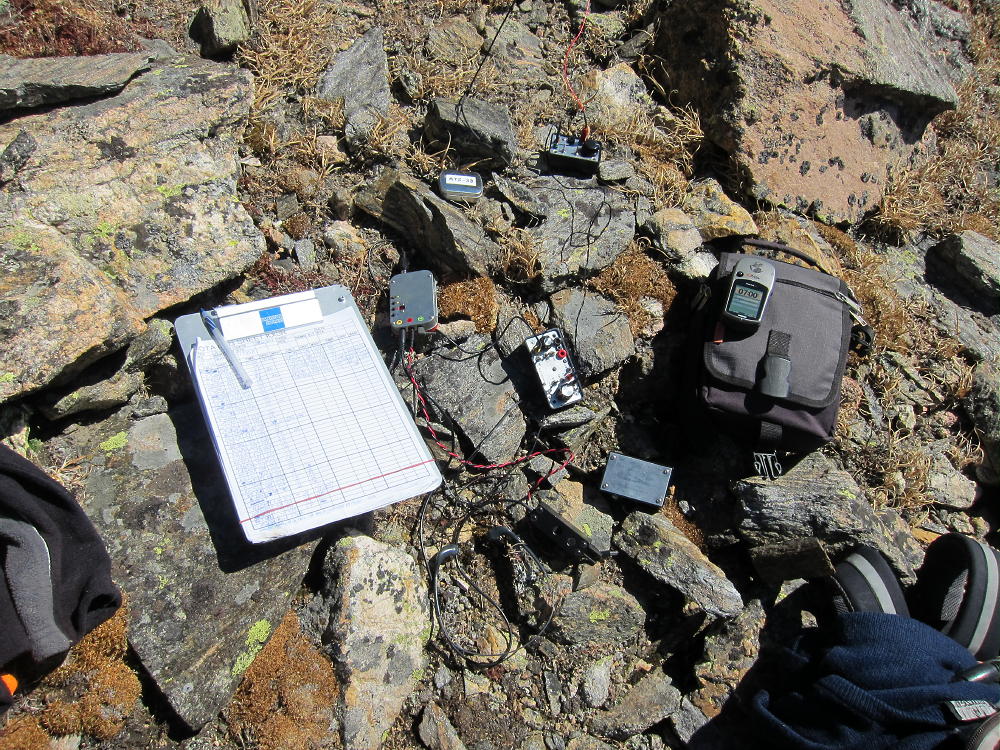
Kelso Activation Gear
This may not be a good VHF/UHF summit – other mountains partially block the path to the east. This area seems to breed storms, so get up there early, and don’t take a chance with dark clouds.
While it is possible to descend Kelso via a different route than the south ridge used for the ascent, those other routes are really steep.
With the many flowers and spectacular views of Grays and Torreys Peaks, on a nice summer day, Kelso Mountain is a SOTA Classic!
George Carey Fuller
KX0R
Flowers on South Ridge of Kelso
Columbines along the Trail below Kelso
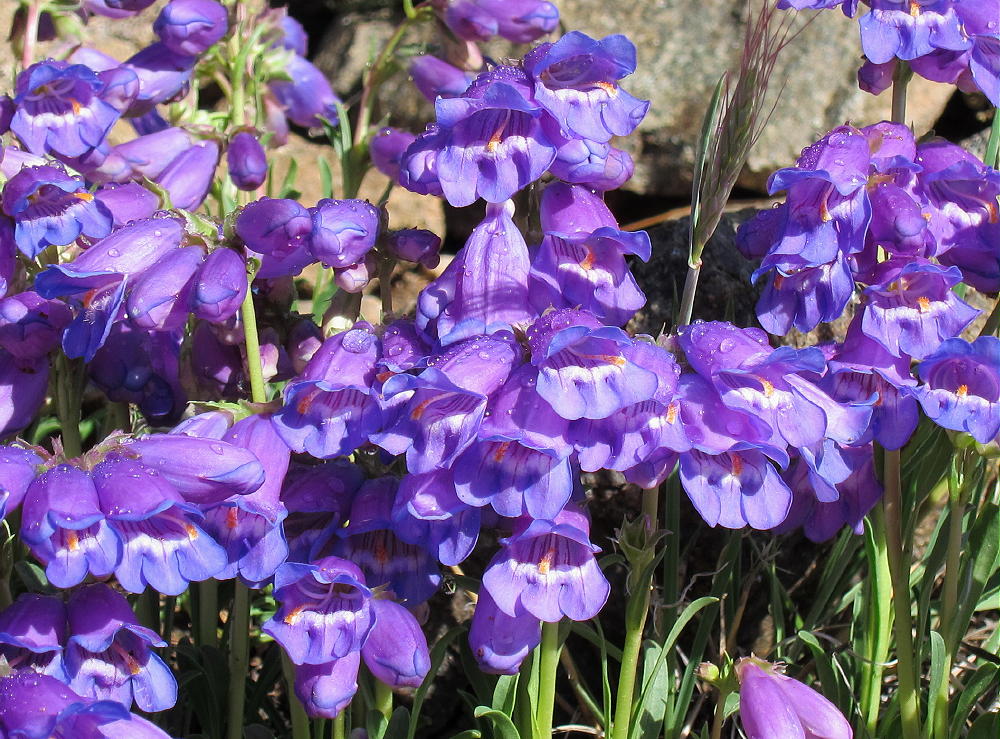
Penstemons along the Trail near Kelso
!! WARNING !! There are old mountaineers, and
bold mountaineers… there are no old-bold mountaineers.
Hiking and mountain climbing are potentially hazardous activities particularly in Colorado with its extreme elevations. I am not accepting responsibility for any death or injury resulting from activations based on my trip reports. Proper training, experience, and personal capability assessment is required – enjoy!
W0C/PR-095
10854
3302 m / 10854 ft
Sep 1, 2014
First Activation
by KX0R
Summits 10854 and nearby 10626 can be combined for an easy 12-point day. The SOTA and Google maps are OK for these two peaks.
To access these summits, drive to Tabernash south of Winter Park via US Highway 40. Just south of Tabernash, turn right, north, and follow marked route 84 (USFS 129) up a canyon several miles to Meadow Creek Reservoir. This area is part of the Arapaho National Recreation Area, and a fee may be required for entry and parking. There is a convenient kiosk before the dirt road climbs all the way to the reservoir.
Meadow Creek Reservoir offers fishing, dispersed camping, and access to the west side of the Indian Peaks Wilderness. It’s a nice place.
10626 Meadow Creek Lake
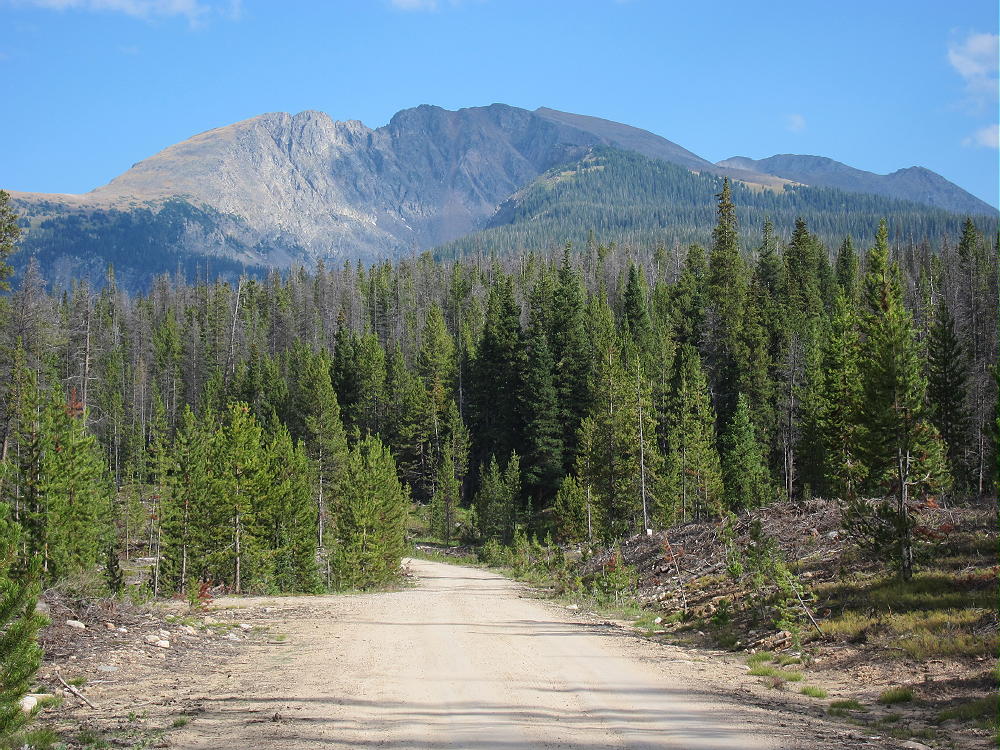
To reach the trailhead for 10854, drive around Meadow Creek Reservoir, head south around the east side, and continue to the southwest on winding FR 129. This road is bumpy, but not steep, and it’s passable in most cars.
10854 Forest Road and Mount Neva
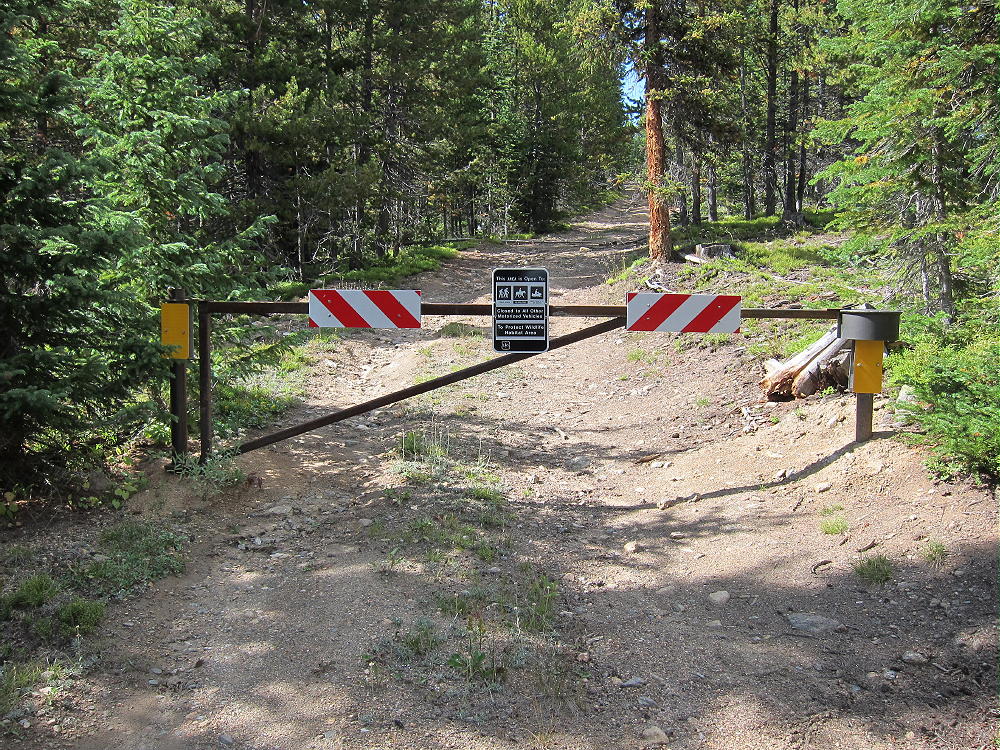
Roughly 2-1/2 miles from the Reservoir, the road reaches 10,500 feet on the east side of the summit ridge of 10854. The mountain has a long north-south ridge, and there are several ways up. FS-129 does not go up across the ridge, but it winds around the north side of the mountain. Park at an un-signed gated jeep road on the east side of the mountain, on the west side of the road; this road leads directly up to the ridge. If you continue on FS 129, you will end up farther from the summit, so park at the gate and consider that the trailhead.
10854 Trailhead
Hike up the closed road to the ridge and head south on a path through open forest and meadows. You can continue on the jeep road if you wish, but leave the jeep road and hike along the ridge-top when the road veers slightly down and right. It’s about half a mile south along the ridge to the actual peak – a good game trail is available. Pass a couple of false summits before the real peak, which is a distinctive rocky knob in the woods.
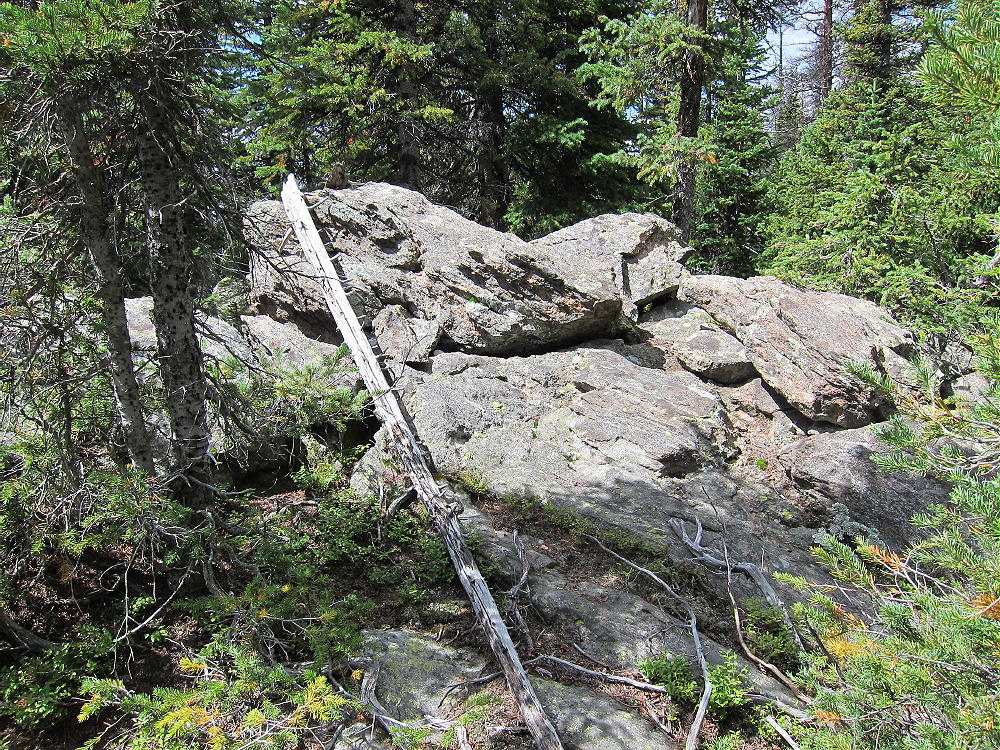
10854 Summit Rock
The summit has a pile of rocks with a jar and paper for signatures. The total hike is about a mile, with about 350 feet of vertical gain.
10854 Signs of Elk
10854 First Activation near Summit
10854 Inverted-L Antenna
10854 Activation Gear
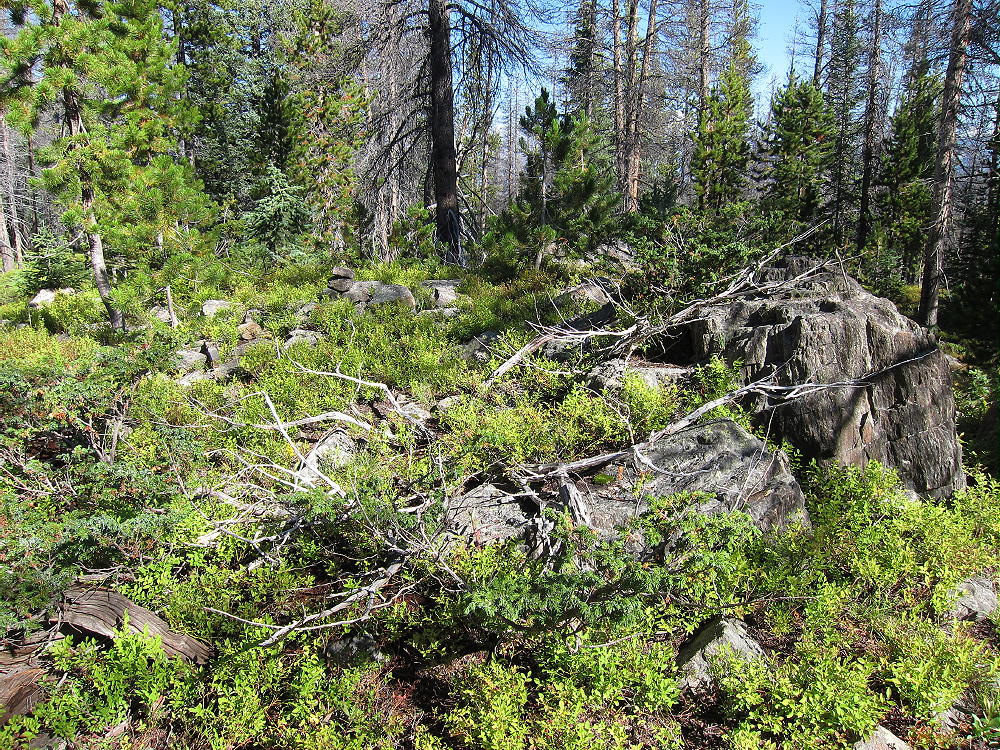
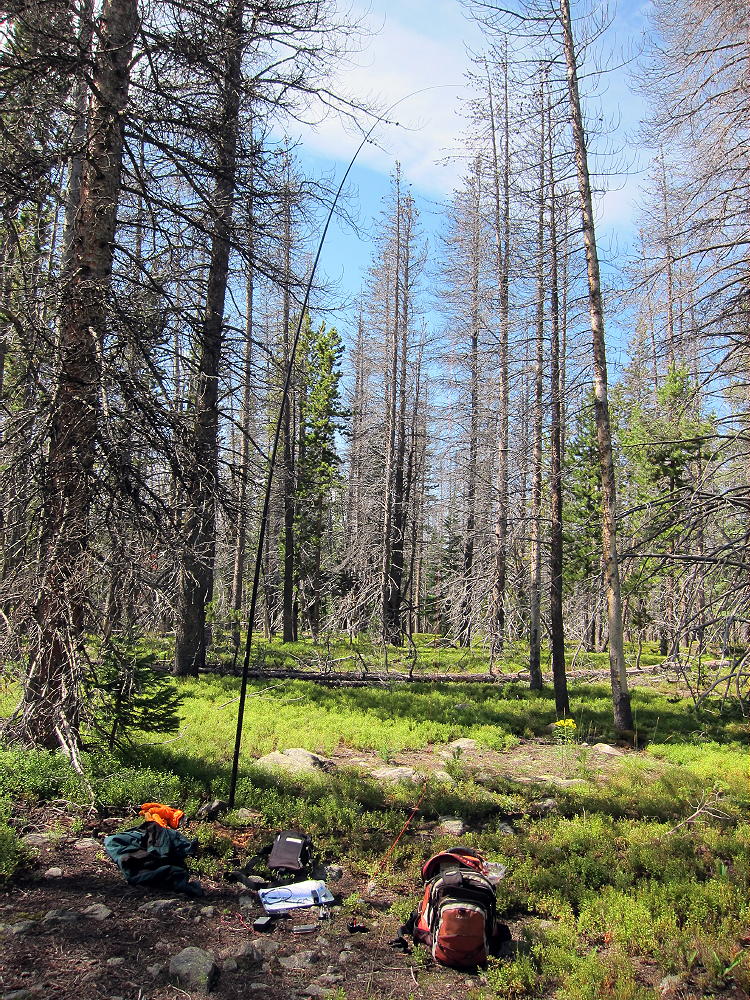
The heavily-forested activation zone is large, so it’s not necessary to operate near the summit. There are many trees, so a pole is not required, if you can erect an antenna in a tree. There are campsites on the ridge, although it looks like a dangerous site if lightning threatens. This peak is one of the easiest 6-point summits in Colorado, and it’s a pleasant place to activate on a good day!
A camping/fishing trip at Meadow Creek Lake could be combined with the dual activation of 10626 and 10854 for a nice 2-day outing. Other SOTA peaks are located within easy driving range.
See W0C/PR-104 (10626) for the other half of this dual activation.
73
George Carey Fuller
KX0R
!! WARNING !! There are old mountaineers, and
bold mountaineers… there are no old-bold mountaineers.
Hiking and mountain climbing are potentially hazardous activities particularly in Colorado with its extreme elevations. I am not accepting responsibility for any death or injury resulting from activations based on my trip reports. Proper training, experience, and personal capability assessment is required – enjoy!
W0C/PR-104
10626
3232 m / 10626 ft
Sep 1, 2014
First Activation
by KX0R
Summits 10626 and nearby 10854 can be combined for an easy 12-point day. 10626 is a little more work, but not bad – old forest trails and game trails go up about 600 vertical feet to a pleasant forested summit covered with kinnikinnick plants with edible berries! The SOTA-Google maps are OK for these two peaks.
10626 Summit
To access these summits, drive to Tabernash south of Winter Park via US Highway 40. Just south of Tabernash, turn right, north, and follow marked route 84 (USFS 129) up a canyon several miles to Meadow Creek Reservoir. This area is part of the Arapaho National Recreation Area, and a fee may be required for entry and parking. There is a convenient kiosk before the dirt road climbs all the way to the reservoir.
Meadow Creek Reservoir offers fishing, dispersed camping, and access to the west side of the Indian Peaks Wilderness. It’s a nice place.
10626 Meadow Creek Lake
To climb 10626, park off the road just north of the lake outlet area . There is no marked trail up 10626, but you can see the broad, simple mountain. Head west to the hill and go up the southeast side. The route is a bit steep at first, but it gets easier as you gain altitude – there are useful game trails. Avoid the steep south, east, and northeast sides. There is a nice viewpoint up high near the east side, above some rocks and cliffs.
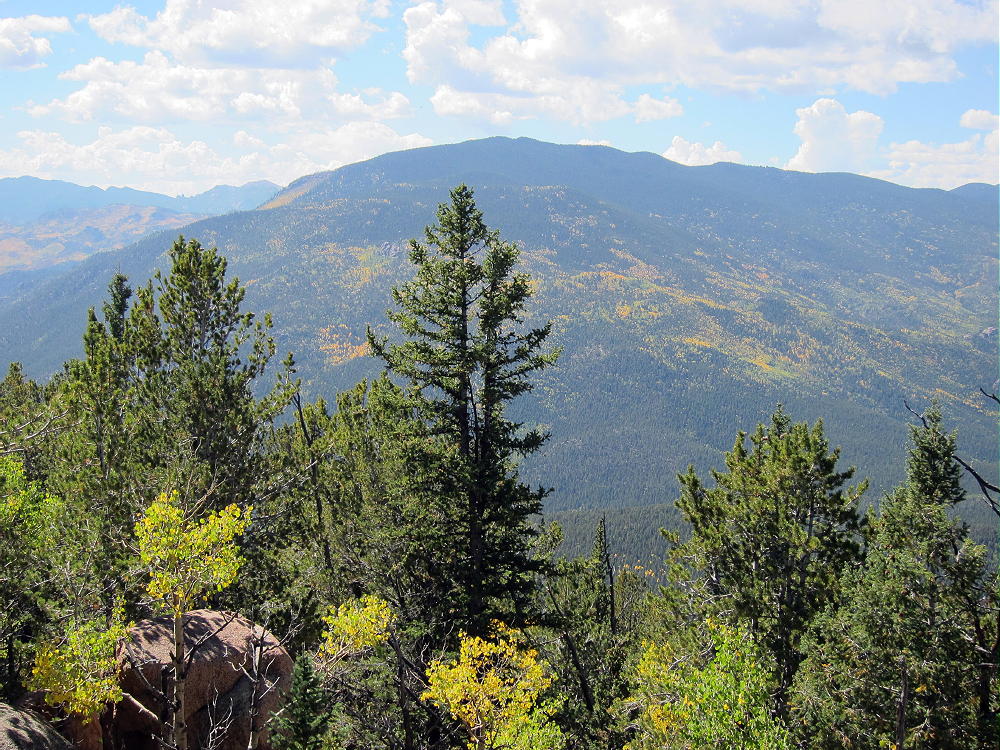
10626 View to the Northeast
Continue on up to the broad summit, and set up in the large, flat, forested activation zone.
10626 First Activation
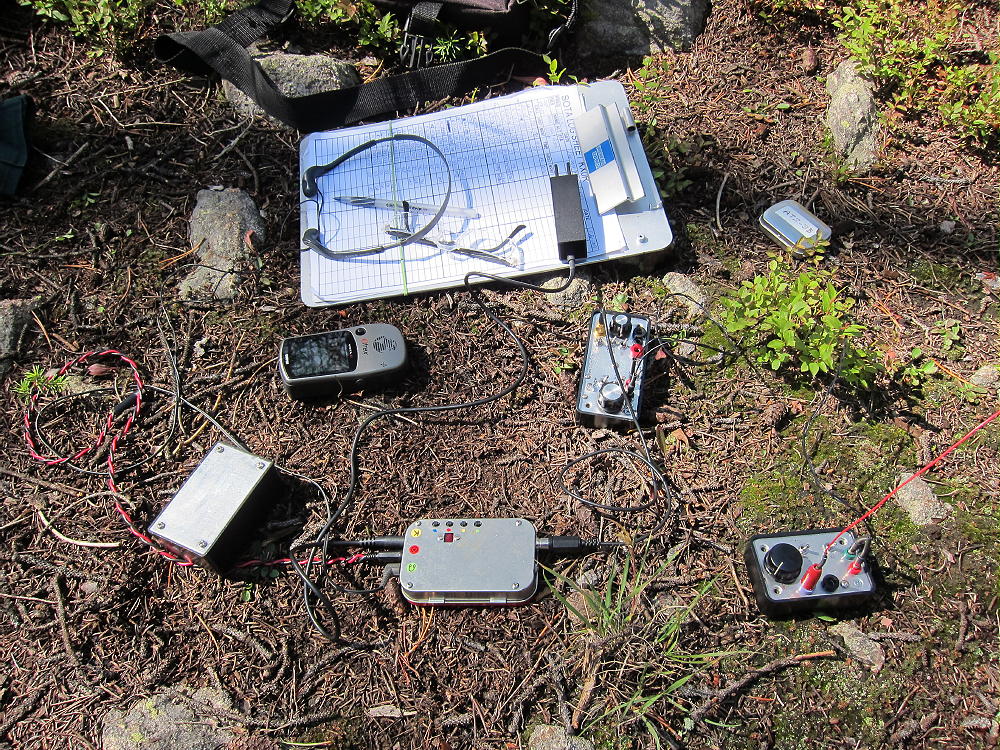
There is a pile of rocks with a jar for signatures at the summit. There are nice trees for antennas – no antenna pole is needed – bring a tool to get a line up high. You will feel like you’re deep in the wilderness on this pleasant summit. It’s probably not a good VHF/UHF site because it’s west of the Divide, but signals surely will reach the towns to the west. On HF it’s as good as most any summit, and the noise level is low; the horizon is not blocked much in most directions.
10626 Activation Gear
I think you’ll find this a pleasant activation if you’re there on a good day!
See W0C/PR-095 (10854) for the report on other half of this dual activation.
73,
George Carey Fuller
KX0R
!! WARNING !! There are old mountaineers, and
bold mountaineers… there are no old-bold mountaineers.
Hiking and mountain climbing are potentially hazardous activities particularly in Colorado with its extreme elevations. I am not accepting responsibility for any death or injury resulting from activations based on my trip reports. Proper training, experience, and personal capability assessment is required – enjoy!
Buffalo Peak (Freeman Peak)
W0C/FR-032
3525 m / 11589 ft
First Activation
Oct 5, 2014
by KX0R
Buffalo Peak, also called Freeman Peak, is a broad, prominent summit in the Pike National Forest, a couple of miles south of Wellington Lake. It’s about three miles inside the Lost Peak Wilderness, and at 11,589 feet, it’s the highest point in Jefferson County. Some time ago I found that it had not yet been “activated” in the SOTA (Summits on the Air) program. Since I started climbing and activating SOTA peaks in 2013, I’ve particularly enjoyed doing “first activations” of local summits. Since the SOTA program has been going for several years, most of the easy, accessible summits have been activated many times, but there are still many peaks in our state that have never been put on the air within the SOTA program.
Buffalo Peak from Green Mountain
I decided it was time to get up there before the route was buried under snow for the winter. I had seen Buffalo first-hand when I first-activated nearby 10,421’ Green Mountain W0C/FR-044. I studied the topo map, which shows no trail up Buffalo; but a reasonable-looking ridge runs 3000 vertical feet in 3 miles up to the summit from Stoney Pass at about 8,500 feet. I knew my VW bug could do the road, although it is a “first gear grade” part of the way. Sometimes climbing a high forested ridge is not too bad – there are game trails, and the slopes are reasonable to climb in good weather. Right before I went down there, I read an online trip report by two tough young ladies who climbed Buffalo in the snow in late October 2013. They pulled it off with no map or GPS – why? – but they posted wonderful photos and clearly “aced it” – I decided to do it. The ladies warned that it was a steep “bushwhack” route most of the way. I posted my “Alert” on the SOTA page, set the alarm for early, got my stuff ready, slept, and drove to Stoney Pass.
Even though it was a perfect Indian Summer day, there was no one at the pass. I locked my GPS on, headed west, up through the easy woods, and glanced at my map as I started up the huge, steep ridge. Gradually the grade increased, and I tried to stay on the faint game trails, dodging numerous downed trees. In less than an hour my GPS said I’d gained 1000 feet.
Buffalo Peak East Slopes Route
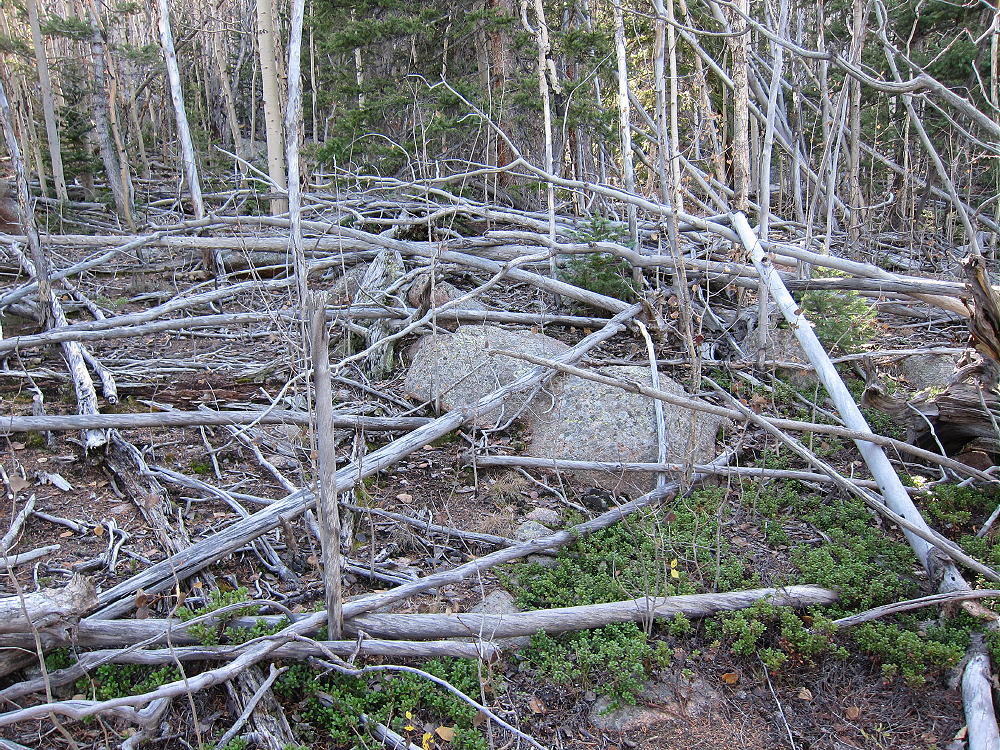
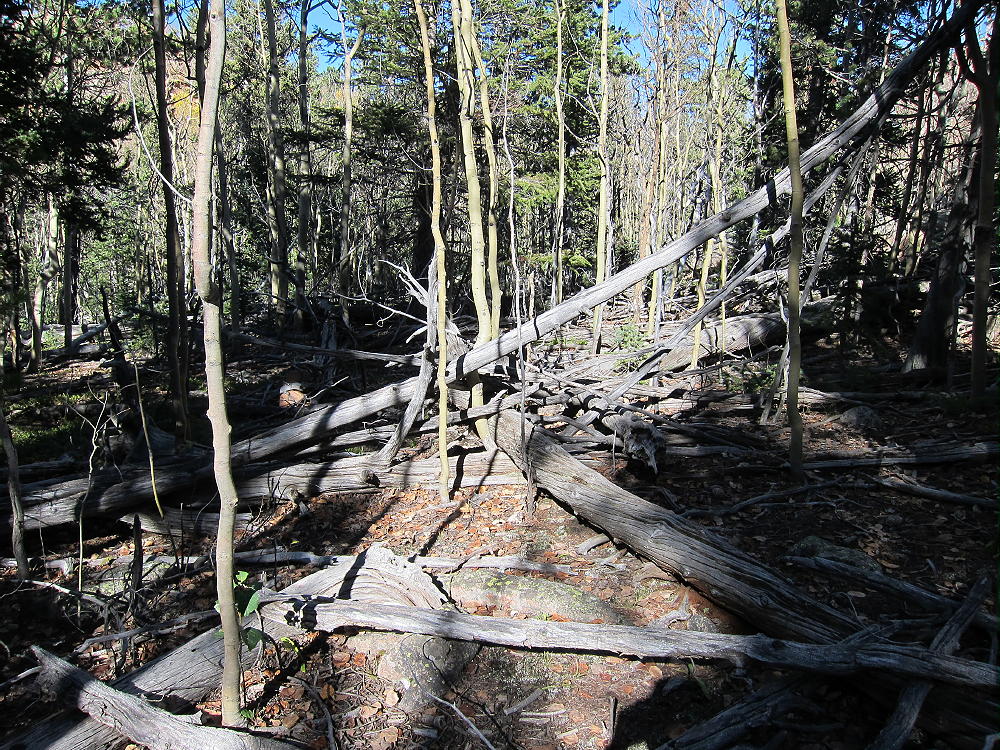
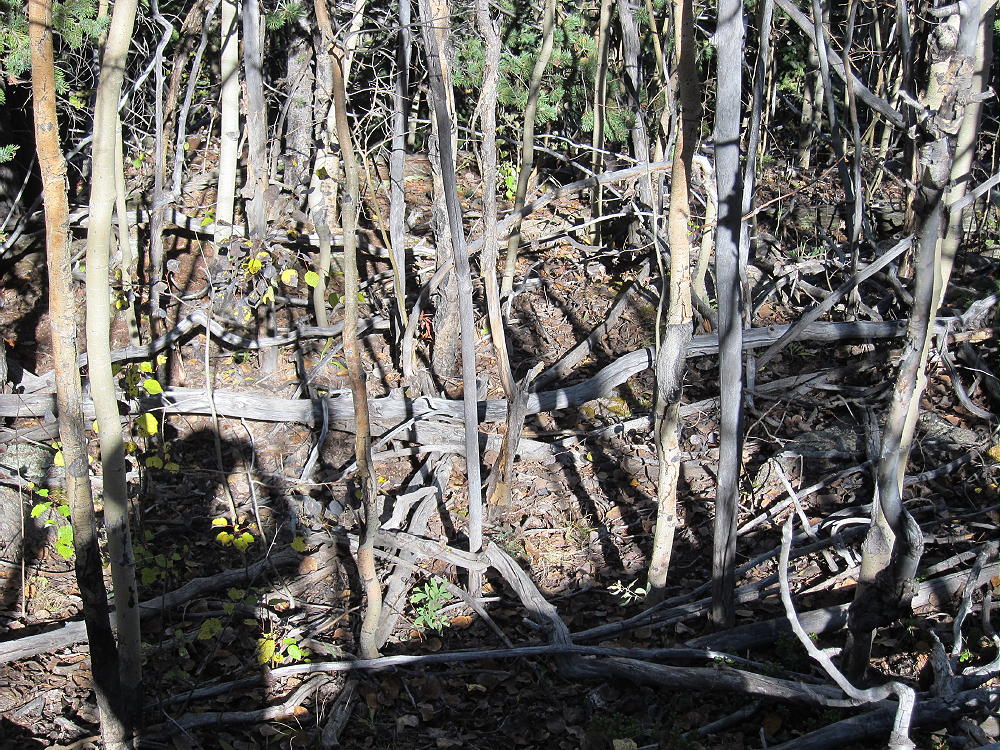
I noticed than there were more and more aspen trees, and fewer lodgepole pines…for the next mile I climbed through endless thickets of dead and live aspens, often with so many fallen trees and dead standing trees that passage was possible only in zig-zag fashion.
Buffalo Aspen Hell
Typical Buffalo Forest Route
More Aspen Hell on Buffalo Route
I was glad that I’d left my 4-foot Black Widow fishing pole at home – I needed both hands to deal with the rocky 3-dimensional thickets I had to traverse. At about 10,200 feet the aspens were no longer a problem, and the deep forest became more open and easier to climb through; but the grade was unrelenting.
Buffalo Easy Sub-Alpine Route
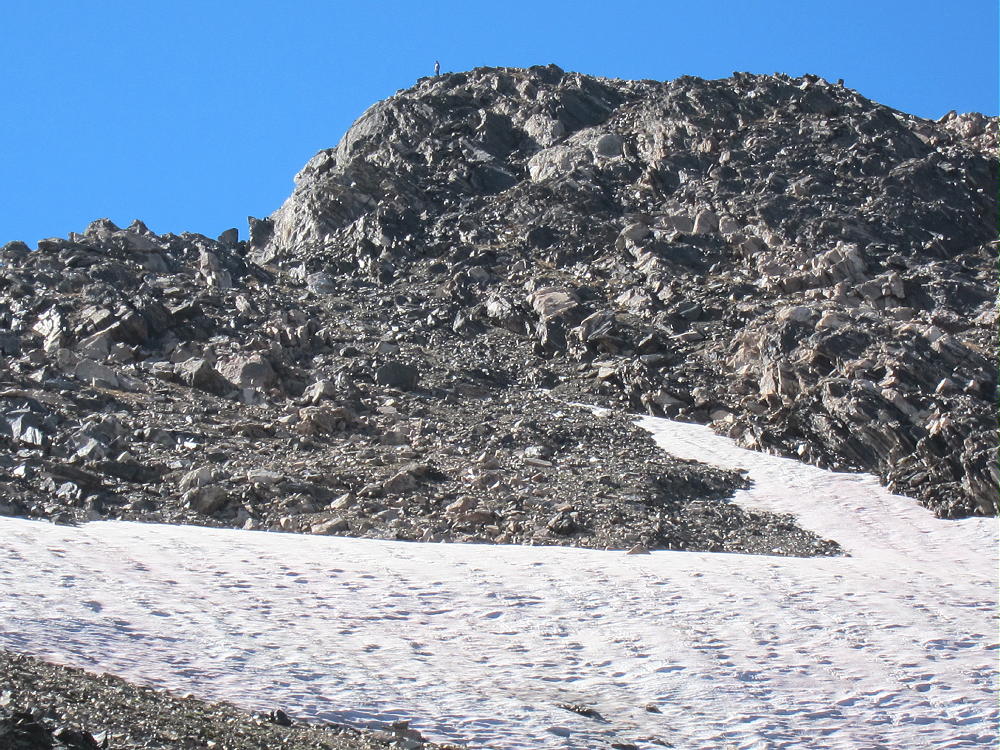
At 11,000 feet everything opened up, the grade decreased, and I was cruising toward the summit. I had to bypass the south summit and then find and climb the north summit; that turned out to be easy class 3 – the route requires a scramble up about 30 feet.
Buffalo Easy Fun Summit Pitch
Then I was on top of a huge elongated orange granite ridge, and the summit rock was right there! The 360-degree view was so incredible I didn’t want to look at first! There was a notebook in a water bottle under some rocks – I opened it – the first signature was Jennifer Roach, guidebook author and wife of climber-author Gerry Roach. Only a few people had signed in 2014 – and 2013, etc. The brass USCGS primary triangulation station bench marker said “FREEMAN”, 1953. This was it! I started getting ready to “activate” SOTA W0C/FR-032.
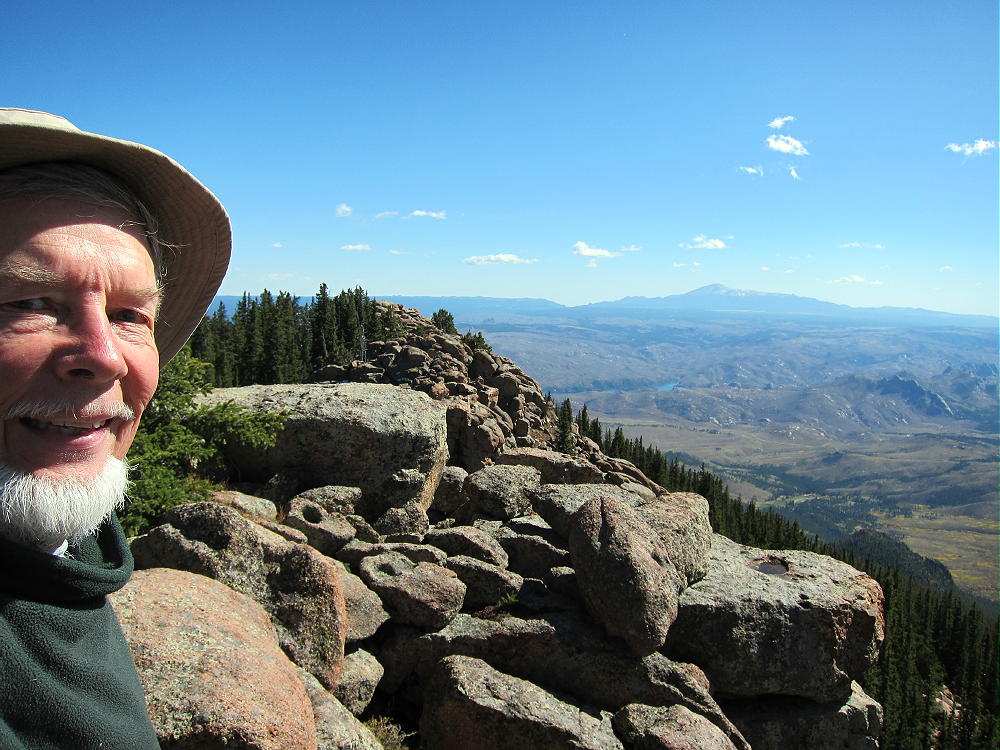
Buffalo South Ridge and Pikes Peak
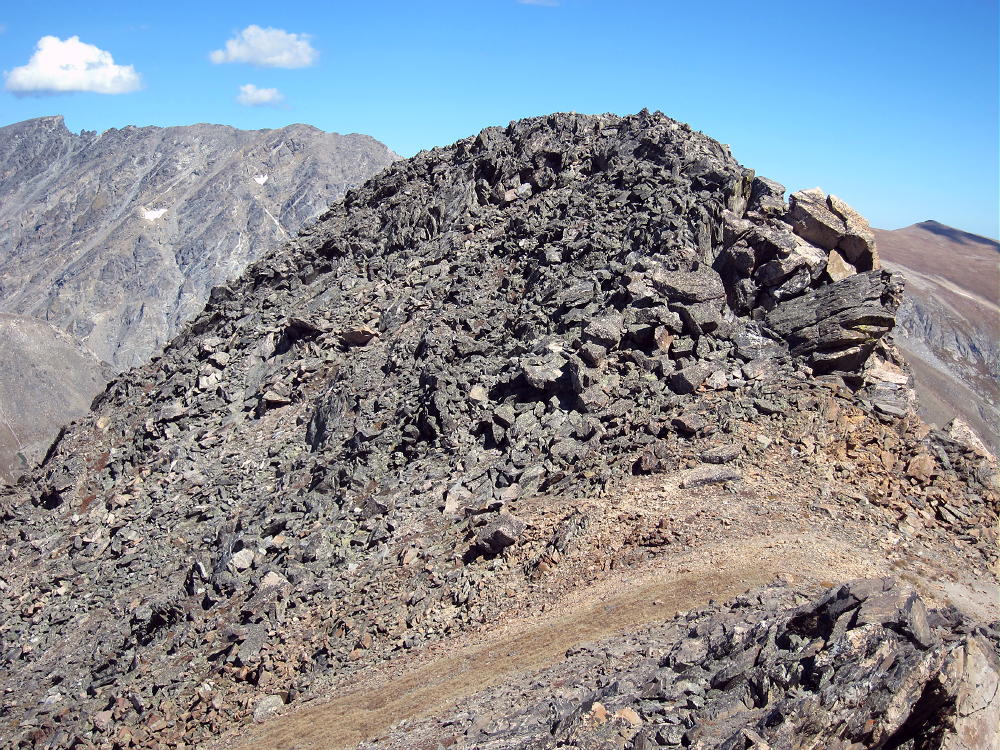
Buffalo Peak Summit – Lost Creek Wilderness
USCGS Geodetic Survey marker Freeman
Windy Peak West of Buffalo
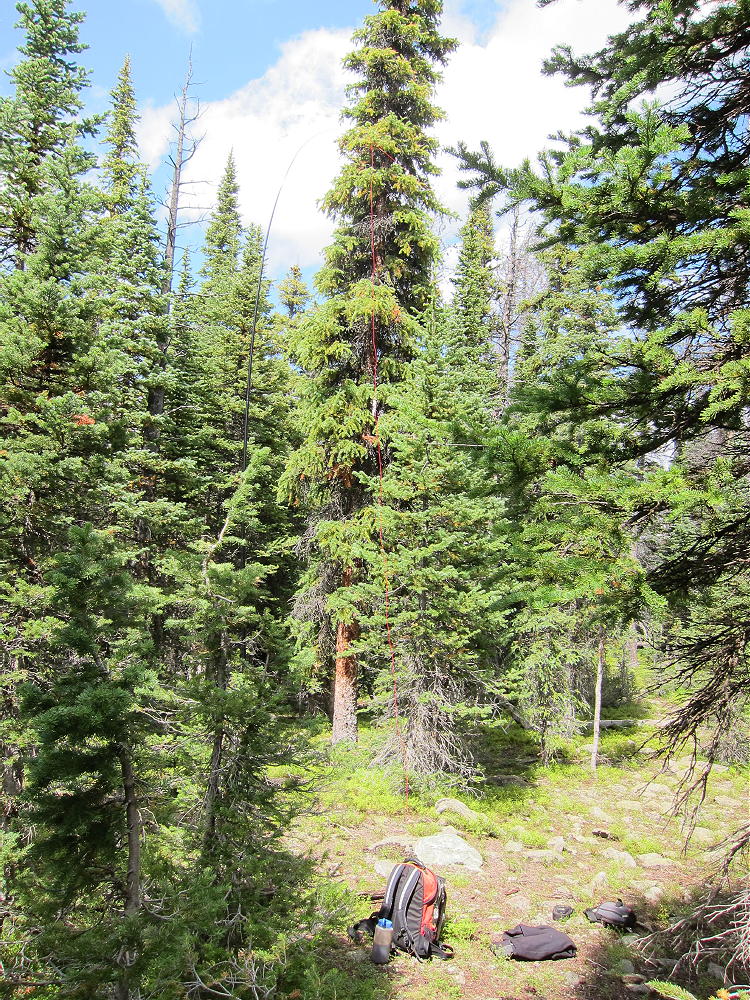
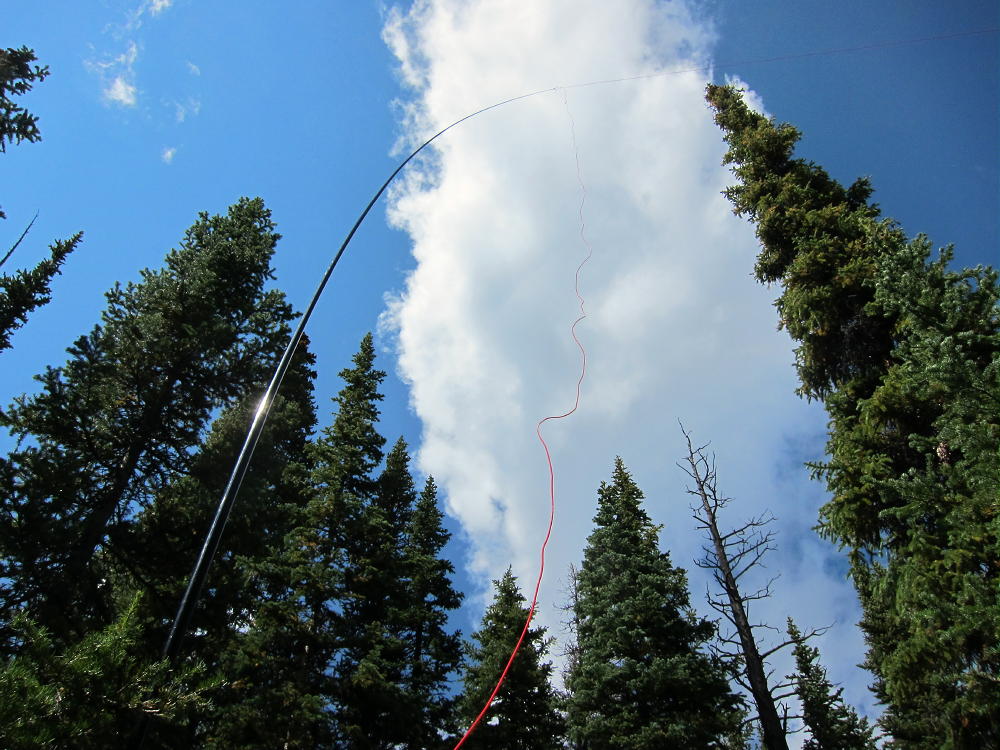
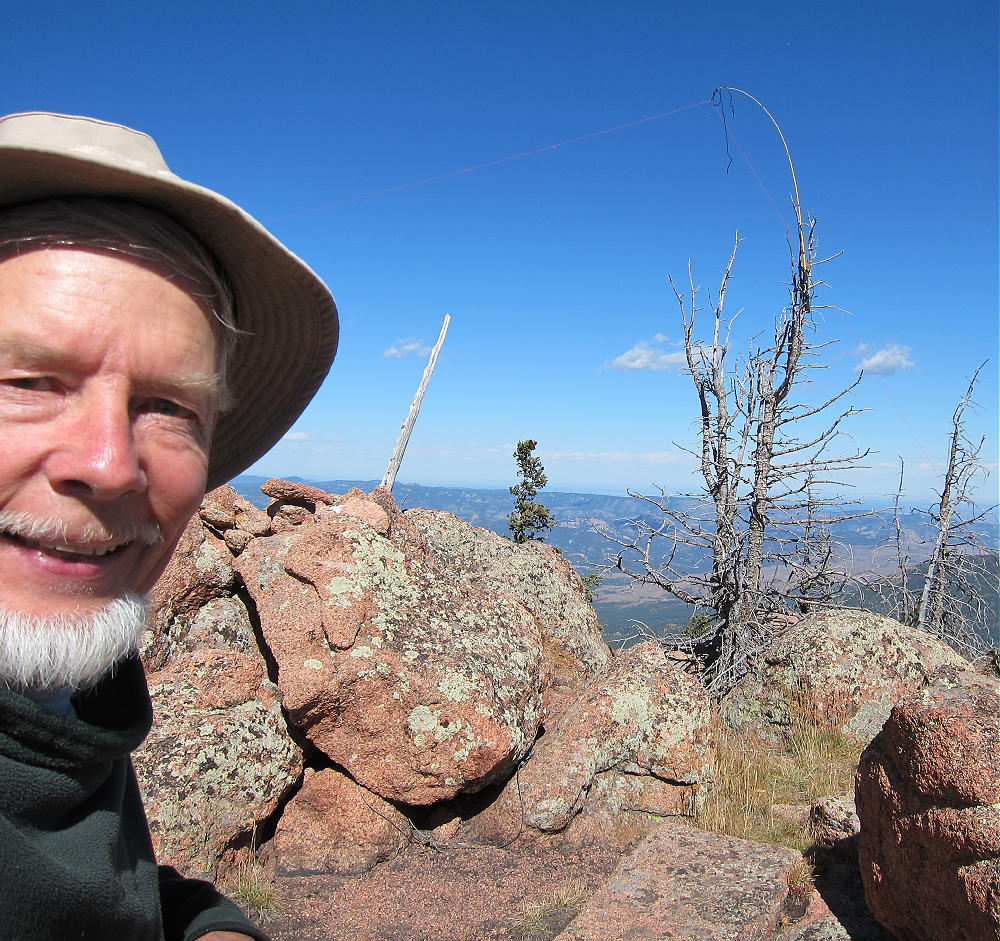
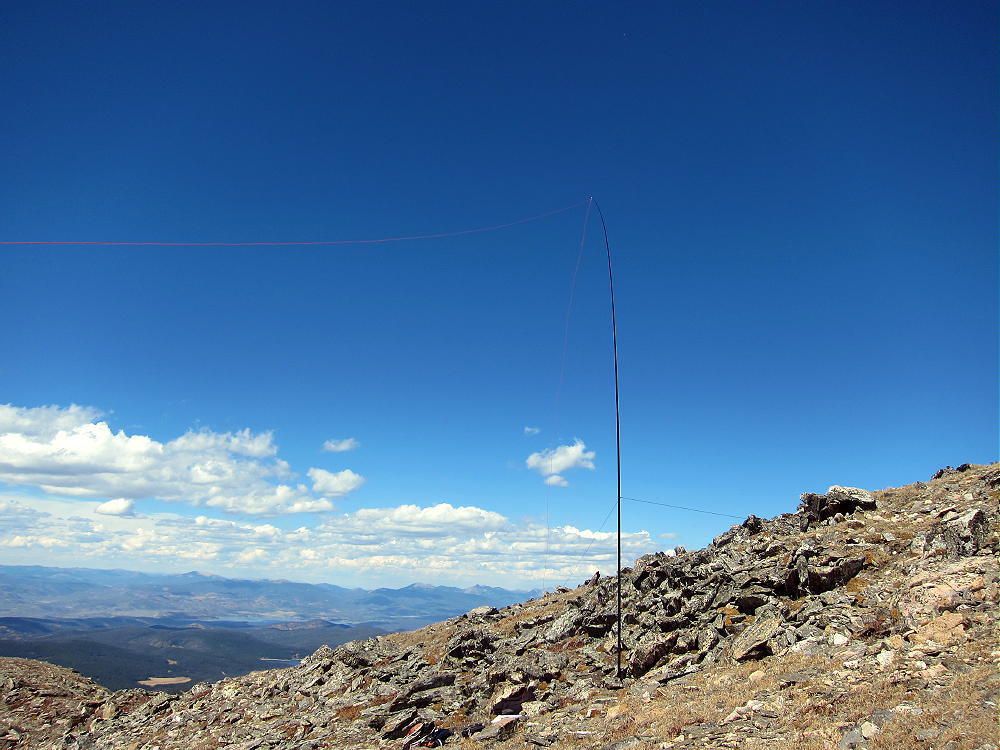
I figured I wouldn’t need a tall pole for my antenna, because the summit is forested…but the trees on top of the exposed granite ridge-top are all small, and the good trees are over 30 feet down below. I wanted to operate from the top, because the weather was perfect. Then the answer gradually came to me in the thin air. I took my 6-foot telescoping fishing pole out of the pack – I usually bring it to throw a weight over a tree to pull up the wire – but this time I tied my antenna wire to the top of the little pole. Then I stood on a big rock, reached up as far as I could, and tied the pole into the top of the only significant dead tree near the top. I took the wire spool and moved carefully down the spectacular exposed ridge stringing out 67 feet of #24 teflon and another 20 feet of Dacron.
Buffalo Improvised Activation on Summit
Buffalo Antenna Far End
Detail of Fishing Pole DX Antenna
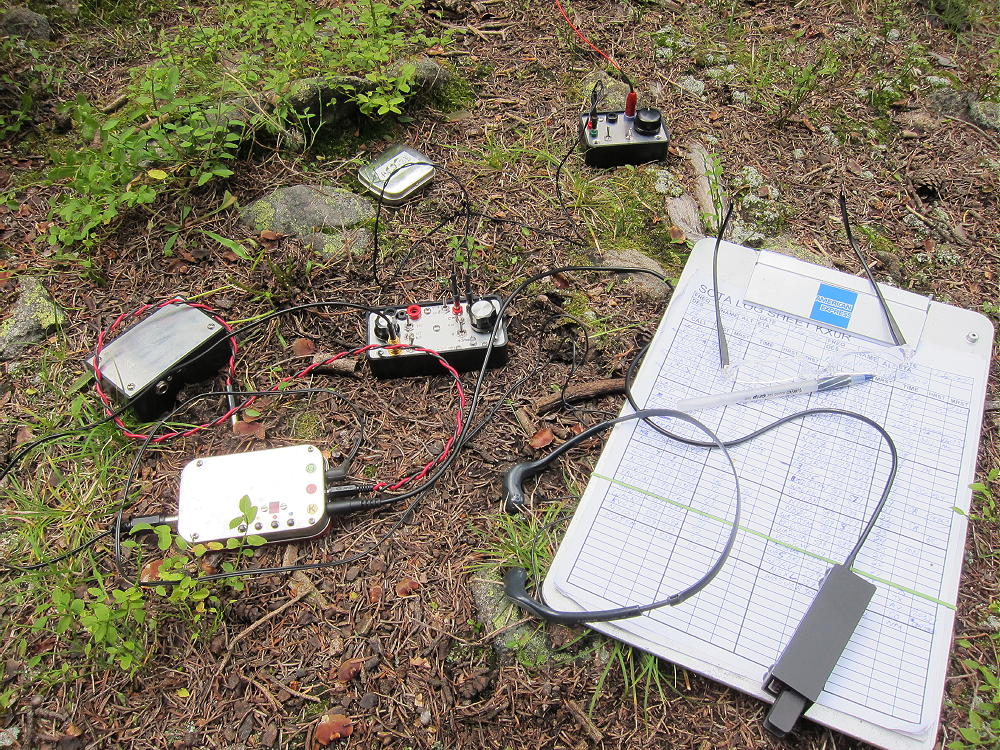
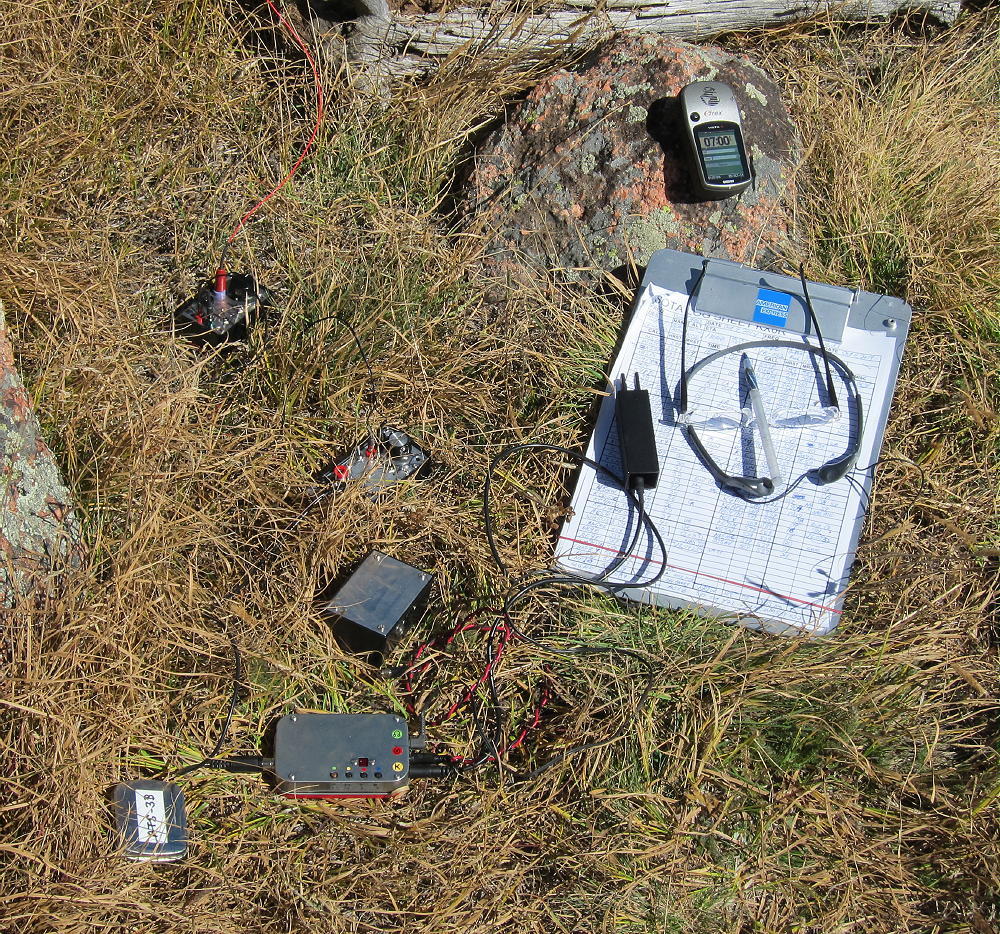
I found a dead tree trunk and used that for the end support. I tightened it up – it held – and then I climbed back across the rocky ridge and adjusted the feed end so I could connect the tuner. I got out my gear, connected up, got slightly comfortable, pulled out the clipboard with the log, put on the phones, plugged in the Palm Paddles, set up the ATS-3B for 15M, plugged in the battery, and immediately head loud CW signals on 21.060. I adjusted the tuner for peak noise, finished the match with the LED bridge, and got on 21.063 with 5W. I called CQ and in about a minute there was a pile! The lash-up antenna worked just fine! QSO #10 was DJ5AV Michael – 579 him, 539 me – just fine. 20M was even better than 15; after that I opened the link in the antenna, tuned up on 17M, and got a few more. At the end DJ5AV got me again on 18.093 – 569, 539. There were 32 contacts.
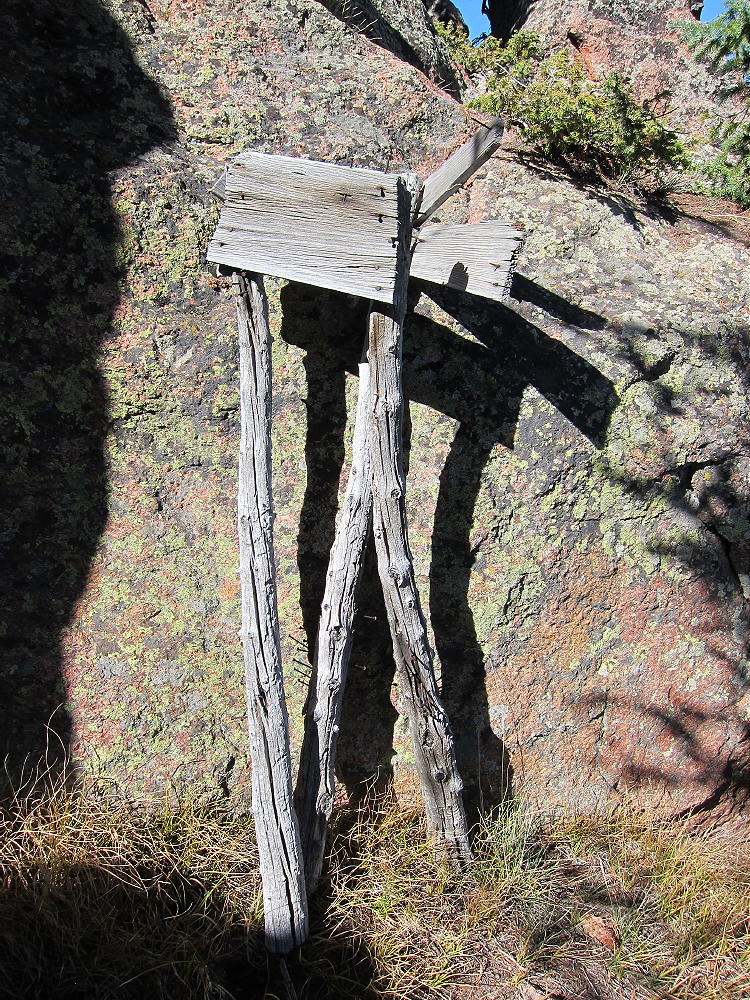
When I climbed down off the rocks, I found the site-built tripod that the USCGS surveyors built for their instruments back in 1953 – it was propped against the rocks, over 60 years later.
USCGS Triangulation Platform from 1953
On the way down the steep ridge, I used my GPS to backtrack, since it’s easy to get off-course going down in the thick forest, where you can’t always tell where you’re going. In a couple of hours I was back at the car; I was home in time for dinner.
Buffalo Peak was another incredible SOTA Classic!
George Carey Fuller
KX0R
KX0R with Improvised HF Antenna on Buffalo
!! WARNING !! There are old mountaineers, and
bold mountaineers… there are no old-bold mountaineers.
Hiking and mountain climbing are potentially hazardous activities particularly in Colorado with its extreme elevations. I am not accepting responsibility for any death or injury resulting from activations based on my trip reports. Proper training, experience, and personal capability assessment is required – enjoy!
W0C/FR-015
Mount Jasper
3931 m / 12923 ft
First Activation Sep 27, 2014
By KX0R
Mount Jasper is a challenging, potentially fun summit in the Indian Peaks Wilderness, high on the Divide, directly west of Boulder, Colorado. This is a wild summit with several ascent routes, and you will earn all of your 8 SOTA points if you manage to activate Jasper! I tried to activate it in 2013, and I made it to the top – but the weather looked tricky, so I descended without activating. This year I waited until a perfect day came along in late September, and I totally enjoyed activating this nice peak for the first time.
Jasper First Activation South Side
There are some resources online with climbers’ trip reports, and Jasper is detailed by Gerry Roach in his book on the Indian Peaks. Study topo maps and climbing info before attempting this peak. There are no marked trails, only paths used by climbers; sharp navigation and good off-trail hiking skills are critical. In particular there are only a few good descent routes leading down to the east. Your ascent may take longer than you expect. I have climbed Jasper several times by different routes over the years, so I knew what to expect. It’s only about 8.5 miles round trip, with about 2800 vertical feet of gain, but much of the route is in the rocks.
Man on Jasper Sub-Peak
The standard access is from the Fourth of July Trailhead, located about 7 miles up rough dirt road 111 west of the town of Eldora (not Lake Eldora) – several miles west of Nederland. On busy weekends the parking spaces fill quickly. Start up the Arapaho Pass Trail, and turn left at the sign for Diamond Lake.
Jasper Route from Arapaho Pass Trail
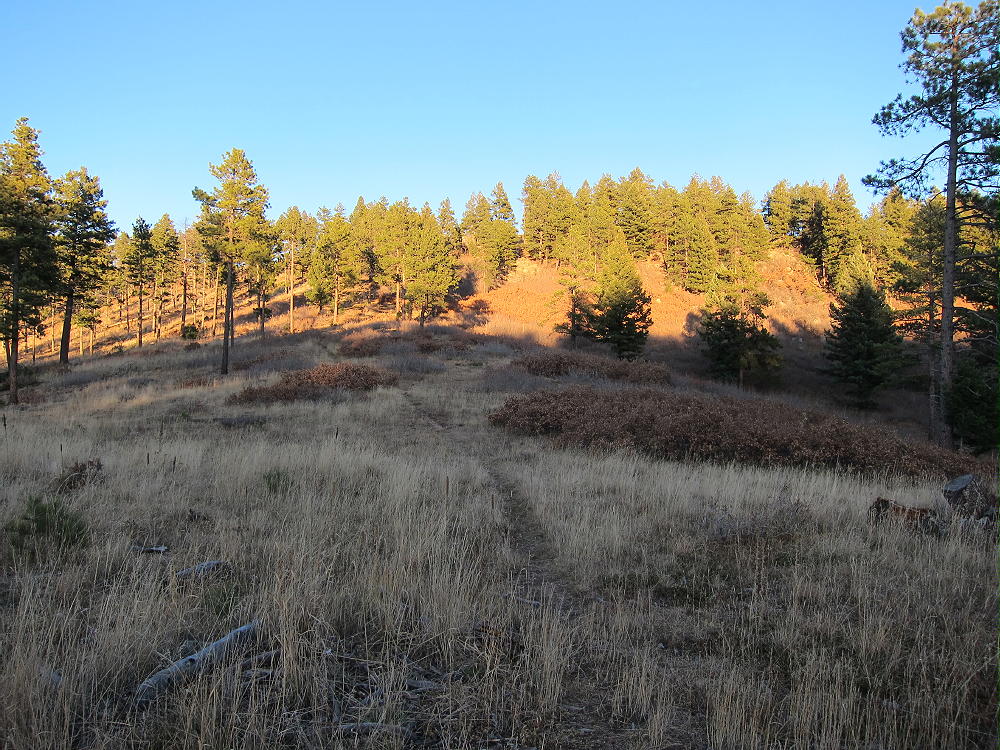
Hike an additional 1-1/2 miles, until the route descends and crosses the main creek down in the valley. Cross the creek on a log bridge near a waterfall, leave the Diamond Lake trail, and head up the south side of the creek on a small path. Walk about 100 yards and then hike southwest on an unmarked, spotty trail up through the woods. Try to find and use game trails that run through the sub-alpine forest wilderness. Travel up the steep slopes to treeline, and then climb up several hundred vertical feet into a large cirque – stay on the south side as you head up toward this cirque.
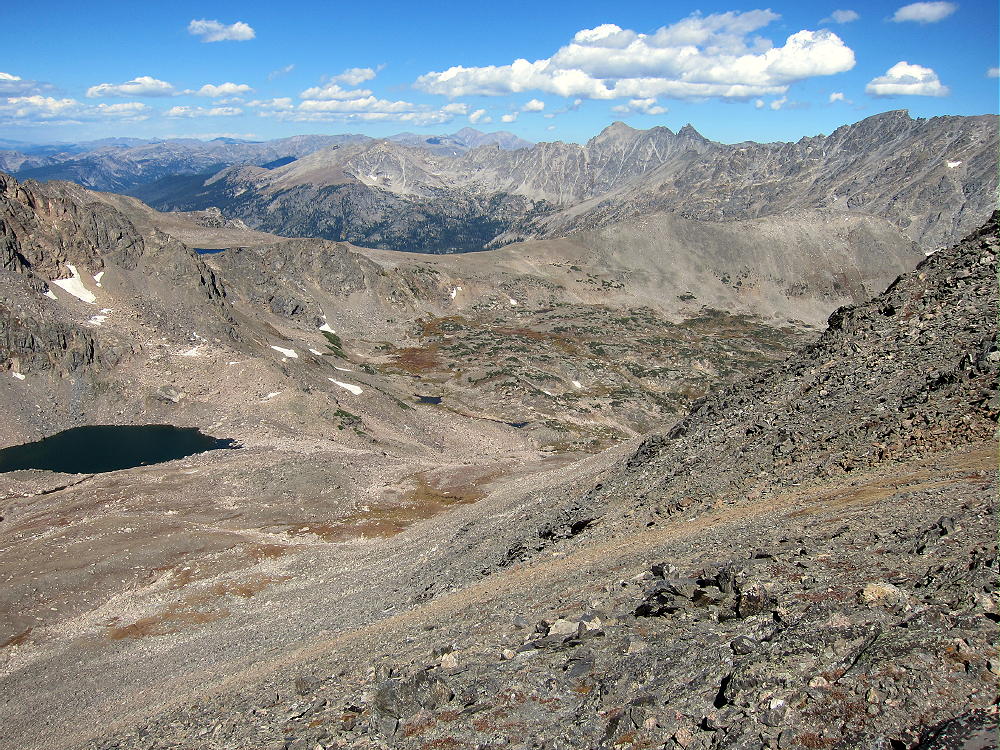
Route to Deep Lake and Jasper
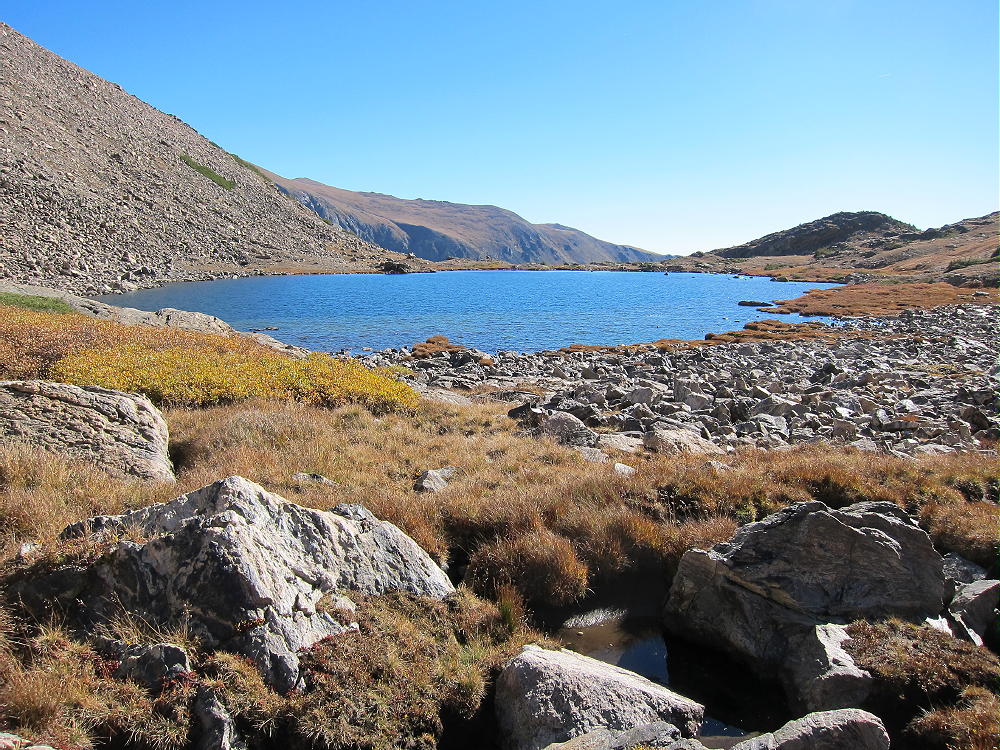
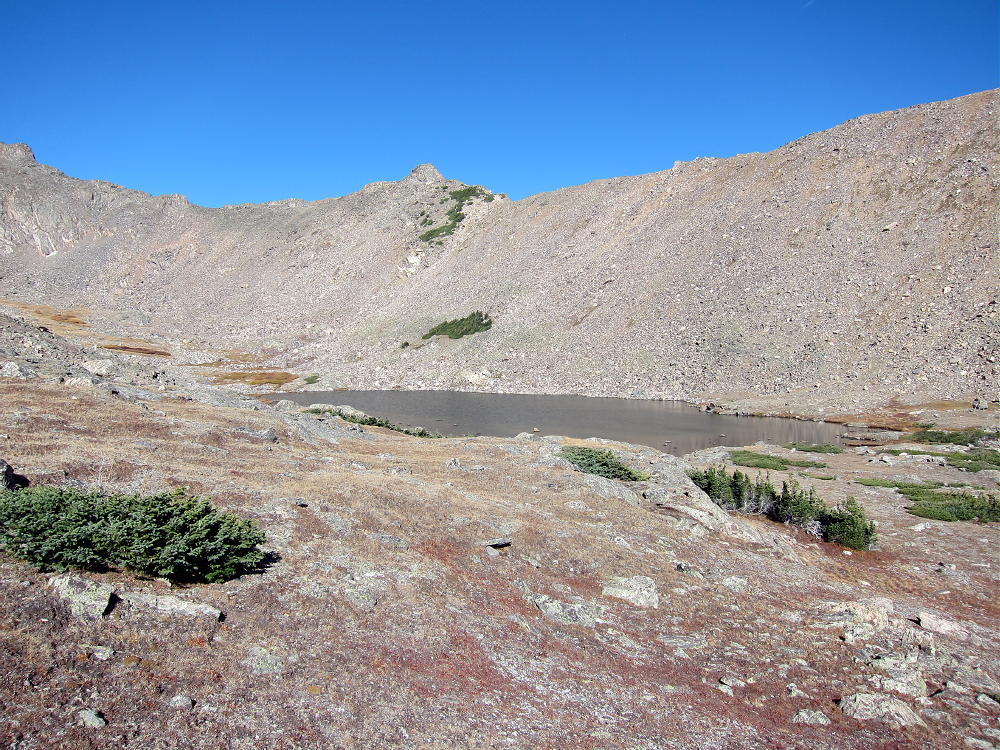
No rock-climbing is required. This route is easiest in late summer – it holds snow very late. At about 11,400 feet, head toward the un-named lake at about 11550 feet. This lake is called Deep Lake by some. This is a very special place.
View East of Deep Lake at 11550 ft
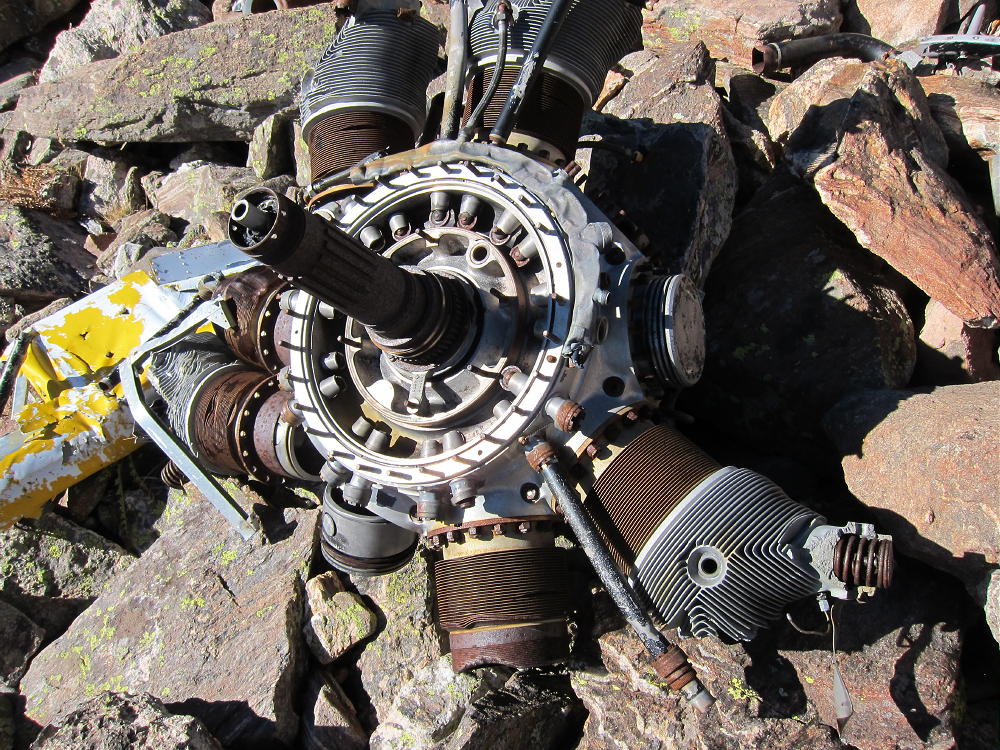
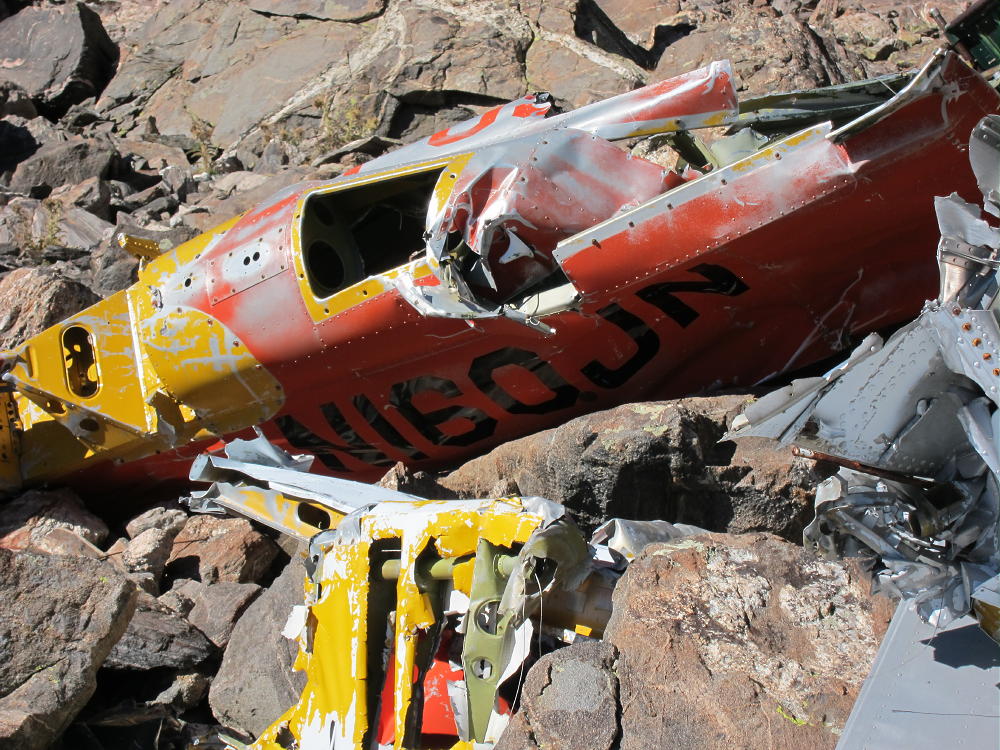
The remains of a crashed single-engine airplane are located about 500 feet west of the lake.
Radial Airplane Engine
Crashed Airplane on Route to Jasper
From the crash site, you can see your future high above – you need to decide whether to proceed. If the weather is good and you’re enjoying the rich off-trail experience of this corner of the Indian Peaks Wilderness, by all means climb on up to the summit! On the other hand, if there is any doubt, try it again another day. From the airplane wreck, you can choose one of two viable late summer or early fall routes:
1) Jasper Northeast Ridge – this is the long rocky ridge north of the Lake. It’s mostly a class 2 walkway up the dramatic ridge-top all the way to the summit. There are only a few spots where it approaches class 3, and there are ways around anything that seems tricky. The hardest part is climbing up to the ridge from the airplane. You will see climbers’ trails heading up through the rocks. If it’s really windy, the ridge might be rough or worse. This is an exciting climb with relatively little real exposure! At the top of the ridge you must go over a false summit to climb Jasper itself.
Deep Lake and Jasper NE Ridge
OR
2) Climb the valley to Jasper’s East Ridge – this pleasant ascent goes up progressively to a saddle at about 12,500 feet on the East Ridge. It’s mostly tundra at first, and it ends up on a pretty solid talus slope below the saddle. If there’s snow it would be more serious. From the saddle, head west up a climbers’ path along the ridge, and just to the right of the ridge, and climb 300 vertical feet up dirt, rocks, and scree to the northeast sub-peak. Head SW over the rocky sub-peak and climb a short slope up Jasper.
Jasper North Slope RouteJasper East Ridge RouteJasper East Ridge Climbers
The south and west slopes of Jasper are large grassy meadows. The West Slope and the Divide spread out for miles and miles, as far as you can see. The rugged east side of the Divide lies far below in sharp contrast to the gentler, less-glaciated western slopes.
Jasper View to Upper Diamond Lake and SE Ridge
On a good day you can activate right near the summit; I set up on the south side, far enough below the summit to keep the area clear for visitors – people do travel up here, and usually you’ll meet some fellow climbers. The people I met were intrigued with the radio set-up. I used my 20-foot pole guyed to two rocks, with a 67-foot wire running down the south slope. It was a fine HF activation, with 45 contacts on 4 bands. If the summit is windy, you may have to set up in the lee of the peak – wherever you can find cover.
Jasper Activation on the Divide looking SouthJasper Activation Rig
Your best bet is to avoid this summit unless everything is just right! Bad weather up here could be deadly! This is a real mountain – don’t be fooled because it’s less than 13,000 feet high!
I suggest descending only by a route that you have previously ascended. Most of the ridges have serious problems and may be too difficult. In particular, avoid going over Mount Neva – the craggy ridge north of Neva is difficult/technical.
Jasper Route Down from Saddle
Jasper Route More Down
Iceberg Lakes and Mount Neva from Jasper
The long Southeast Ridge will work OK, provided you descend the steep north slope just southeast of Upper Diamond Lake – but the hike back to the Fourth-of-July Trailhead is much longer. Going south along the Divide from the Jasper summit is a pleasant route, but you still have to get back to your vehicle somehow. Other descents are possible, but I say again – climb it first and descend what you know! The routes described here via Deep Lake Cirque are the most efficient.
It is possible to climb Jasper via Rollins Pass – Corona Pass. If you can drive to Rollins Pass from Winter Park, on the old railroad grade, park at the pass, hike north along the Divide over several smaller peaks. It’s about 4 miles over varied alpine terrain each way. Don’t try this except early on a good day. This might be the preferred route early in the summer.
Any way you do it, activating Jasper is a SOTA Classic!
73
George Carey Fuller
KX0R
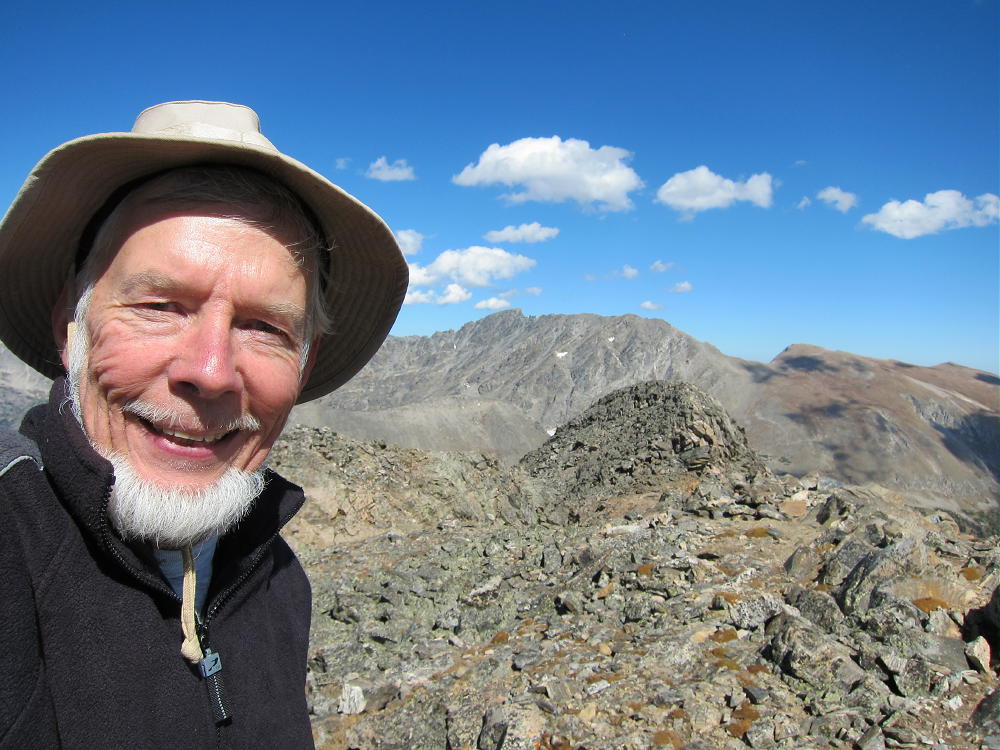
KX0R Selfie on Jasper
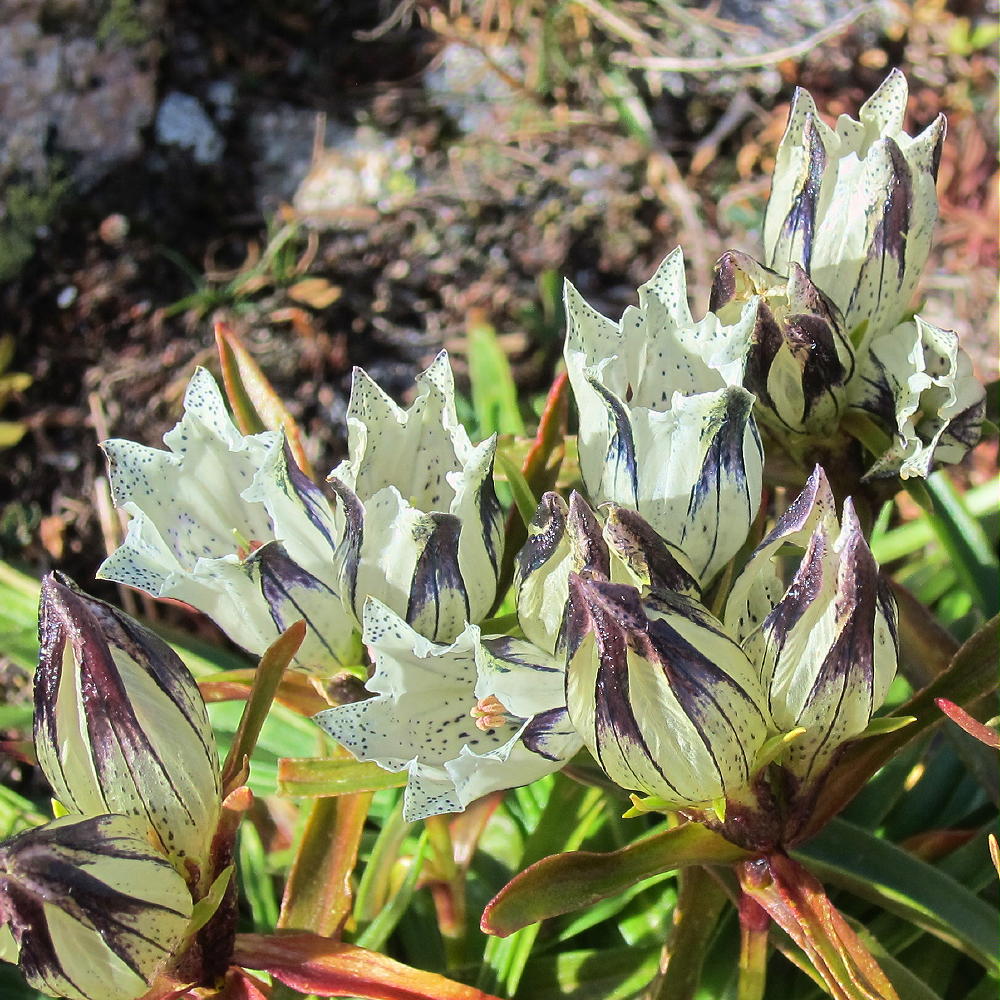
White Gentians on Jasper
Jasper View of Indian Peaks North
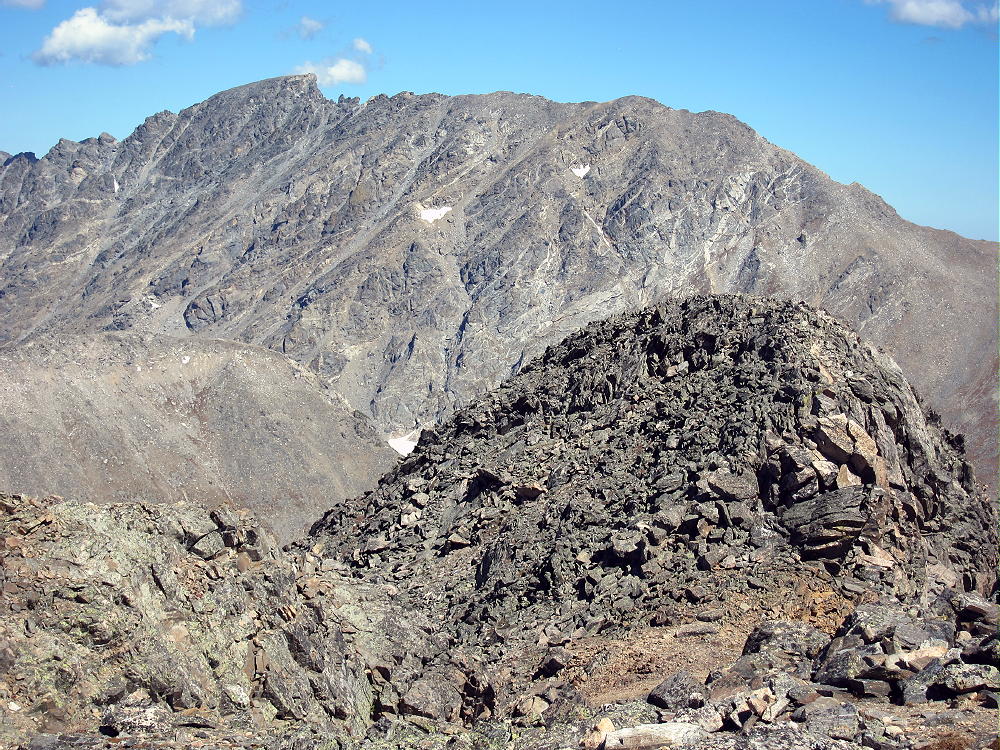
Jasper Sub-Peak and North Arapaho Summit
Jasper NE Sub-Peak on Route
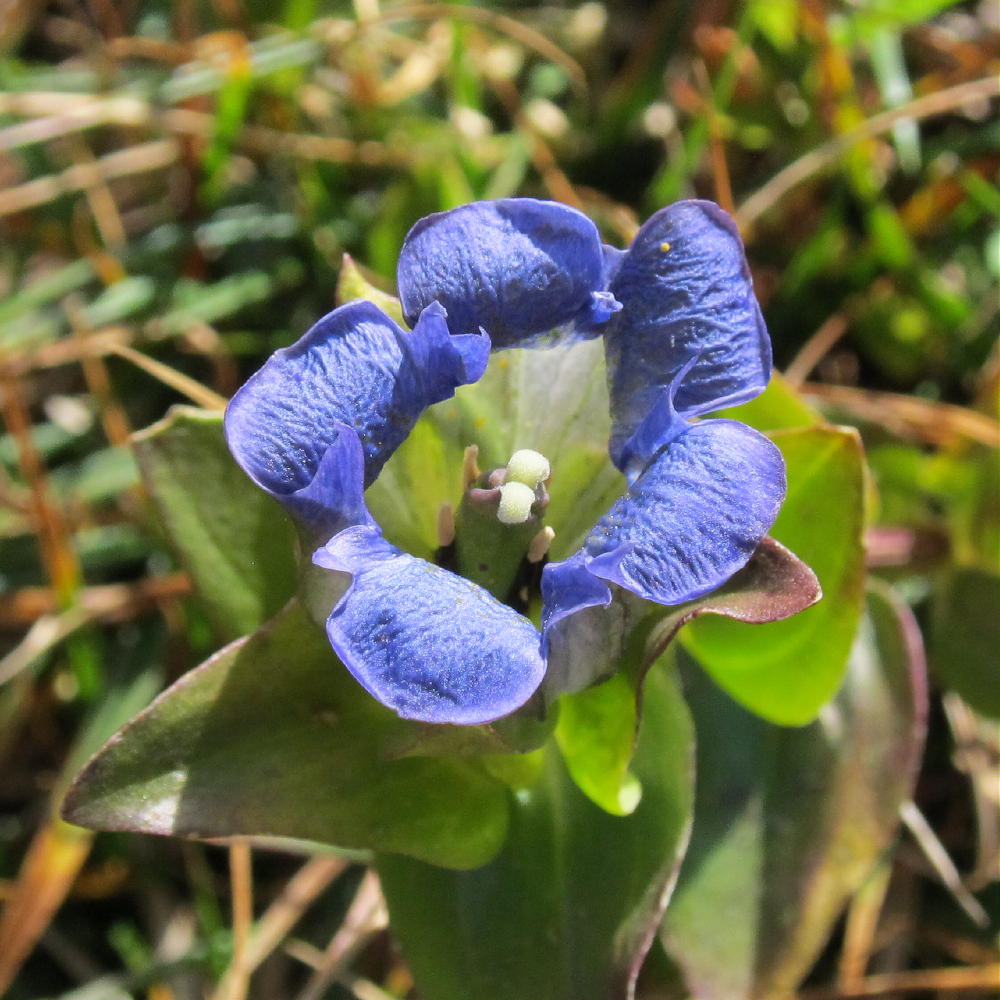
Blue Gentian on Jasper
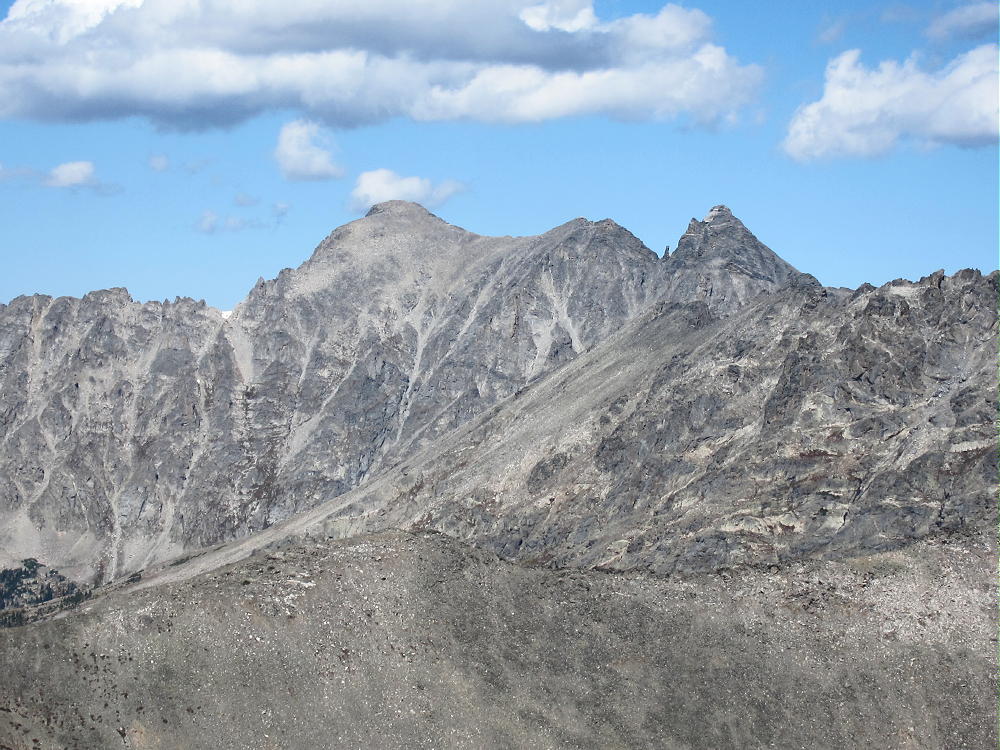
Apache and Navajo Peaks from Jasper
!! WARNING !! There are old mountaineers, and
bold mountaineers… there are no old-bold mountaineers.
Hiking and mountain climbing are potentially hazardous activities particularly in Colorado with its extreme elevations. I am not accepting responsibility for any death or injury resulting from activations based on my trip reports. Proper training, experience, and personal capability assessment is required – enjoy!
W0C/FR-087 (Bennett Mountain)
2447 m / 8045 ft
Activated Nov 8, 2014
By KX0R
Bennett Mountain eluded me the first time I tried to activate it; here’s how to find this easy SOTA peak.
Start with the SOTA web page for Bennett. Study the maps showing where Bennett is. Google maps is pretty good; the DeLorme atlas is also useful; the Garmin GPS maps are good. The online satellite image is your best resource – it clearly shows the forest roads and the final path up the mountain.
Drive southwest from Denver on Santa Fe, Highway 85, to Sedalia, and then head southwest on paved highway 67. Continue up steep Jarre Canyon, pass the marked Rampart Range Road, and drive almost 2 additional miles on winding highway 67 to a hilltop community called Moonridge. Look sharp to the northwest side of the road, find a dirt road with a sign that says “Archery Range”, and turn onto this one-lane road that looks like someone’s private driveway. This road goes up steeply and provides access to the Pike National Forest, but it’s not so marked! After passing several houses, come to a locked gate and a parking area next to the Archery Range. Park here and hike north on the closed forest road, as it climbs along a gentle forested ridge toward Bennett Mountain. Eventually you can spot the modest summit in the distance.
The road climbs up a long ridge southwest of the summit and then descends slightly while heading northeast. Continue toward Bennett – you can see the summit not far away. To climb Bennett you must leave the road where it bends sharply to the left and descends, and then follow an obvious path northeast across a meadow on the saddle, and then climb up to the broad summit ridge.
Bennett Mountain and Path to Top
There are several places to set up in the large Activation Zone. Convenient trees and some shelter from the wind are available.
Bennett Activation RigBennett Activation near Summit
This is a pleasant 2-point summit with an easy 1-1/2 mile hike, with only about 400 vertical feet of gain. Finding the forest road to the Archery Range is the key to the activation. Bennett has nice views of the surrounding terrain, including Devils Head to the south. Beware during hunting season!
George Carey Fuller
KX0R
Devils Head from BennettView West from Bennett Mountain
!! WARNING !! There are old mountaineers, and
bold mountaineers… there are no old-bold mountaineers.
Hiking and mountain climbing are potentially hazardous activities particularly in Colorado with its extreme elevations. I am not accepting responsibility for any death or injury resulting from activations based on my trip reports. Proper training, experience, and personal capability assessment is required – enjoy!
Fairchild Mountain is one of the 4000+M Peaks in the Mummy Range in the northeastern region of Rocky Mountain National Park. It is a relatively easy mountain to climb, with a marked trail most of the way; however, a long, strong hike is required. Fairchild was my first 4000+M activation, but I had climbed the mountain twice previously.
Fairchild and Crystal Lake from Trail
The hike from the Lawn Lake Trailhead to Fairchild is about 9 miles each way – 18 miles round trip. The vertical gain is about 5000 vertical feet. In order to have a good chance of a successful activation, you should:
1) Choose a long summer day with dry weather predicted
2) Start early – perhaps be on the trail before dawn
3) Travel fast and light, but be prepared for alpine conditions
4) Have the required ability and conditioning
5) You’ll need most of your day – maybe more – for this classic SOTA peak
The Lawn Lake Trail is the standard approach to Fairchild. This trail climbs up the Fall River to Lawn Lake. In 1982 the old Lawn Lake Dam failed, and the Fall River flooded. Most of Lawn Lake roared down the steep valley, causing a fatal flood and massive damage for miles downstream. Lawn Lake is smaller than before the flood, but it’s a beautiful place, so it’s a popular hiking and backpacking destination.
The trail starts at 8550 feet, and it’s over 6 miles to Lawn Lake at 11,000 feet. The trail was damaged in the September 2013 floods – it’s rocky in spots – but it’s still a fast route up into the Mummy Range. The trail continues past Lawn Lake on the east side, and then it efficiently ascends north of Crystal Lake to The Saddle at 12,400 feet. From The Saddle the last mile is an alpine hike of about 1100 vertical feet up the broad northeast ridge of Fairchild, across tundra and progressively larger rocks, to the top. Early in the summer there may be snow along the route, especially above timberline; you may see bighorn sheep.
Crystal Lake below Fairchild
The Fairchild summit is almost flat – the Activation Zone is huge. There is a rock shelter at the top, and it’s a good spot to set up a pole and activate, unless there are other visitors. This mountain doesn’t get a lot of traffic, but there are usually a few climbers on summer days.
KX0R First Activation of FairchildKX0R on Fairchild
I started my hike just before 7:00 AM MDT. I was on the summit at 11:10. That was about as fast as I could go. I stayed over an hour, setting up, doing the activation, and dealing with issues. In retrospect I should have started earlier.
Large alpine rodents called marmots live on Fairchild. These aggressive animals can be a problem for a SOTA activator! Not long after I was on the air, a large marmot tried to steal my Dacron antenna line and pulled my Black Widow pole down! My radio gear went flying across the rocks! I was lucky to get back on the air and continue the activation.
Ypsilon Peak and Weather from Fairchild
The weather was nice when I started on the air, but 20 minutes into the run, a large cumulus cloud moved in from the west, and I heard hissing in the headphones. Within a minute I could hear no callers, as the corona discharge increased. There was no lightning nearby, but I had to get off the air and leave. I still managed to work 22 ops on 20M CW.
Fortunately the dark cloud passed quickly, and the long exposed trip down the ridge to the Saddle went OK, with no close lightning and only a little rain. Another storm came through as I hiked out near Lawn Lake, and there was a lot of lightning up high. It rained gently for a long time – not bad weather overall. That was a typical summer day in the Mummy Range.
Hagues Peak from FairchildCrystal Lake below FairchildView NW from Fairchild – Clark Peak in Distance
Fairchild offers a Classic SOTA Summit with a long, spectacular hike, fine views, and a high-altitude wilderness experience – as well as a great activation with special challenges.
George Carey Fuller
KX0R
Alpine Flowers below Fairchild
!! WARNING !! There are old mountaineers, and
bold mountaineers… there are no old-bold mountaineers.
Hiking and mountain climbing are potentially hazardous activities particularly in Colorado with its extreme elevations. I am not accepting responsibility for any death or injury resulting from activations based on my trip reports. Proper training, experience, and personal capability assessment is required – enjoy!
W0C/FR-072 (Mt. Olympus) 2679 M / 8808 ft
May 3rd, 2014
by KØMOS
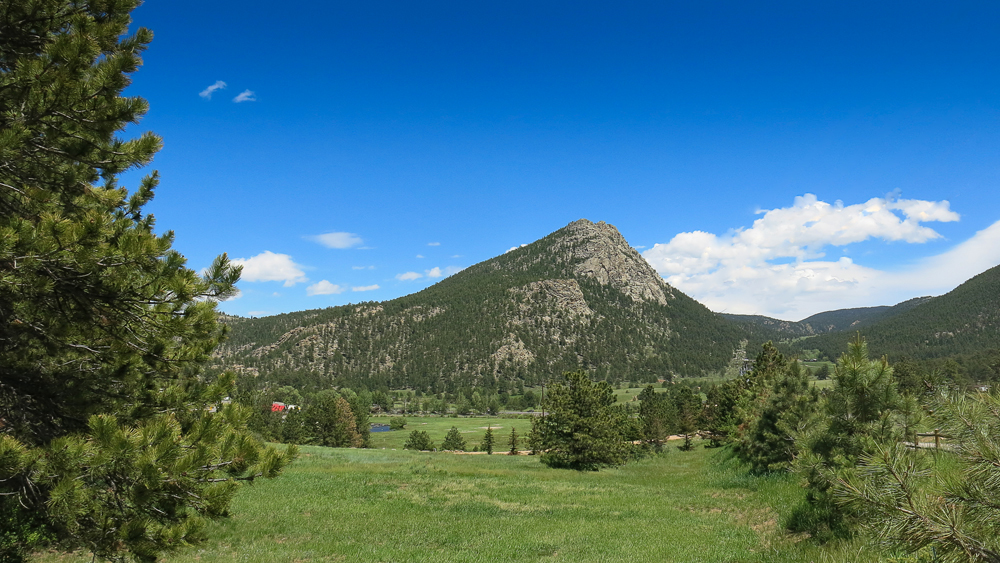
Mount Olympus stands tall right between Big Thompson Canyon (US34) and Little Thompson Canyon (US36) on the east side of Estes Park (CO). It’s a stunning mountain even though it’s elevation is not even 9000 ft (~2800 m) – and therefore only a two pointer in the WØC association.
Mt. Olympus – 2679 m / 8808 ft
I have driven by this mountain numerous times in the past but since it is all bushwhacking to the top and only rewards two SOTA points it had lingered on my ‘to-do’ list… for way too long in turns out. The hike is prettier than expected and the summit provides some unusual views towards the continental divide and Rocky Mountain National Park. Definitely recommended – if you have the necessary route finding skills.
The approach from the south (US36) is difficult since this side belongs to the Crocker Ranch and is therefore private property. So is the actual summit (according to the USGS map) but it is possible to get into the activation zone on NF land from the north. There are no signs, barbed wire fences or any other indication that the summit is on private property. It seems that the owner does not mind hikers reaching the very top.
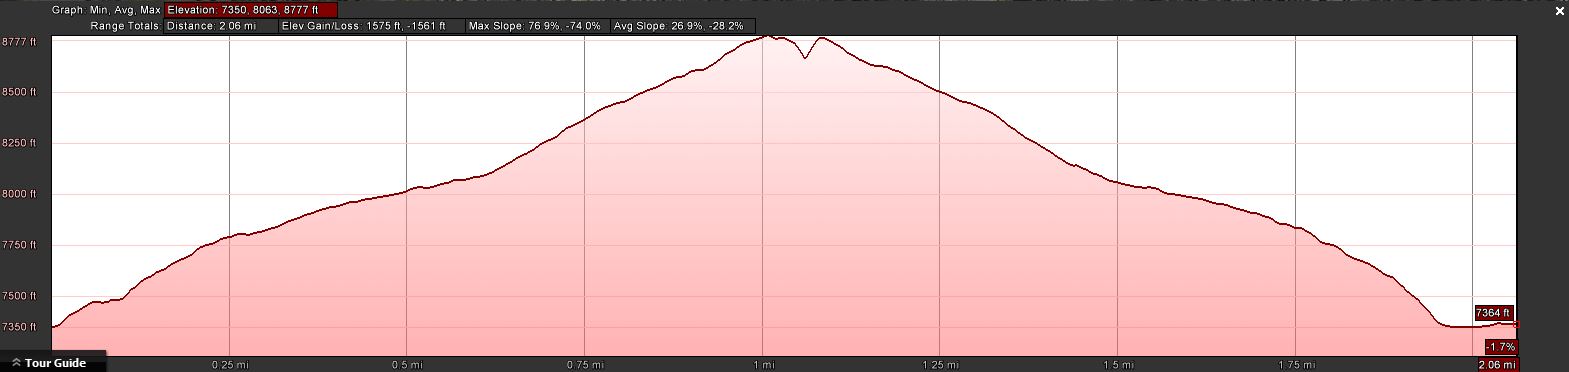
 Trailhead:  7351 ft / 2241 m
 Summit:     8808 ft / 2679 m
 Elev. gain: 1575 ft /  480 m
 Roundtrip:  2.1  mi /  3.4 km
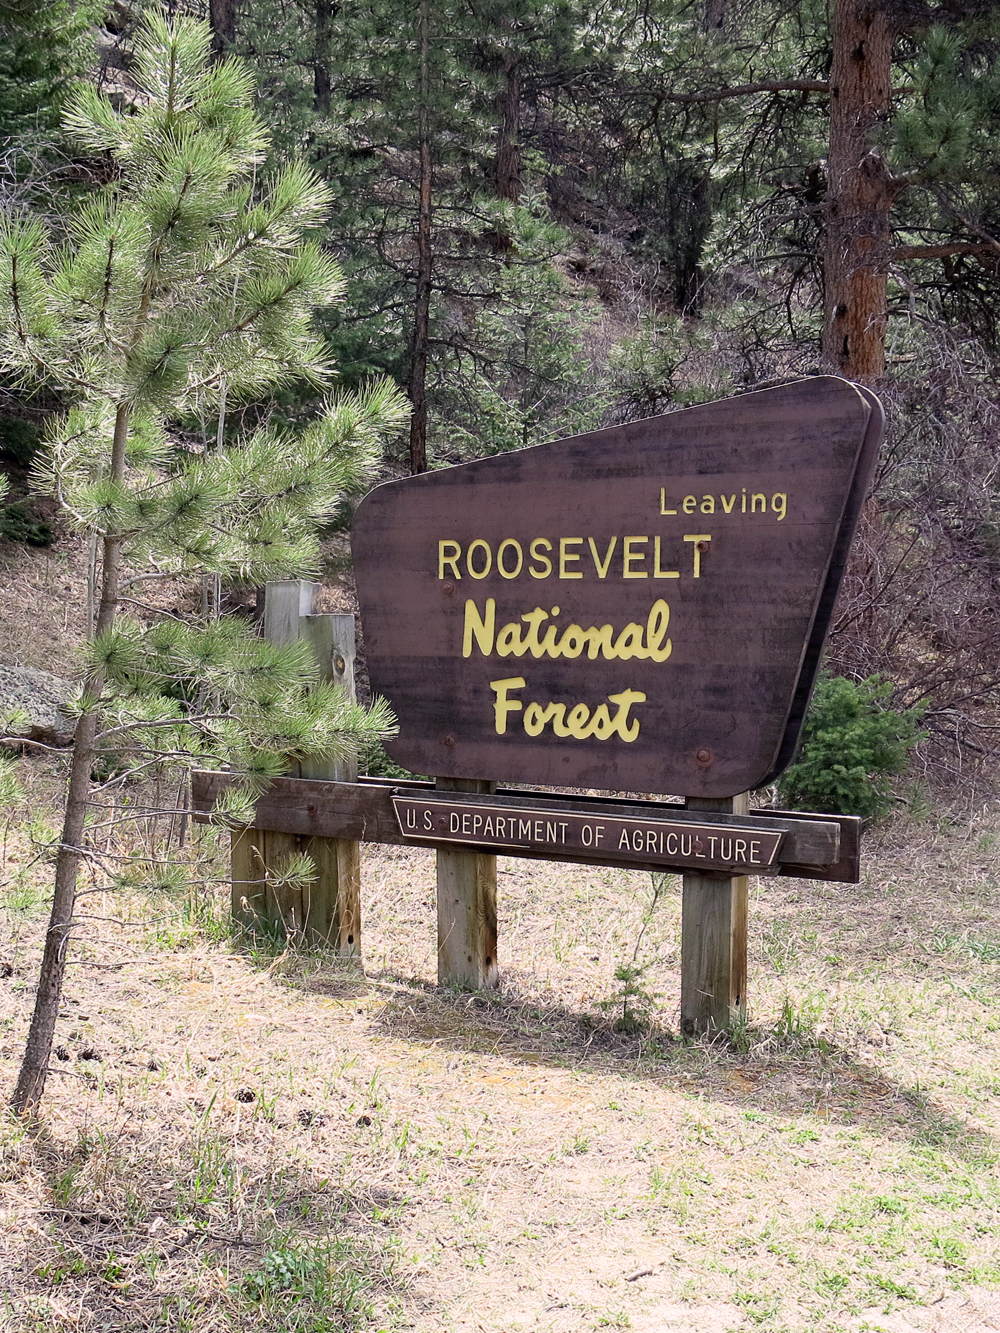
Drive east from Estes Park towards Loveland on US34. After passing Lake Estes, the road goes into the Canyon. There is a little gravel pullout on your right with a NF sign, indicating that you are entering Roosevelt National Forest. That’s your best bet to leave your car.
Parking/Trailhead
Red Tape:
Keep in mind that the summit is on private property, but as mentioned above, there is no indication that the owner has any issue with you climbing to the top.
The Ascent:
The elevation profilePark at the sign
I climbed up the steep slope just behind the sign, keeping my route to the NE (downriver). I traversed numerous rock outcroppings and stayed way left of the steep couloir. Eventually the terrain became less steep and the forest opened up a bit. Plenty of rock outcroppings everywhere, giving you a chance to climb up and take a peek towards the Continental Divide. I ignored the stone cairns here and there since they they did not indicate a clear path and just followed my gut and navigational instincts.
About half way up the terrain flattens out even further, making for a nice hike through the woods. The cairns became more numerous and they seemed to lead into the right direction. I started to follow them, a wise decision since the slope became steeper and the underbrush more dense. Following the cairns led me comfortably through some really thick stuff right to the summit.
The Summit:
The Crocker Ranch below
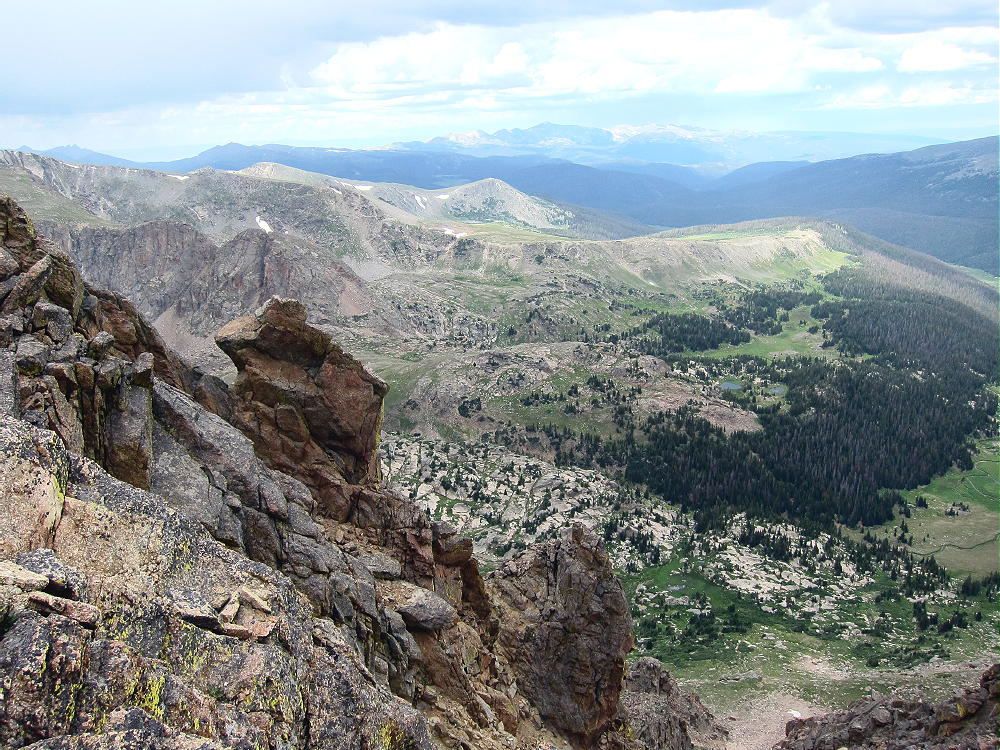
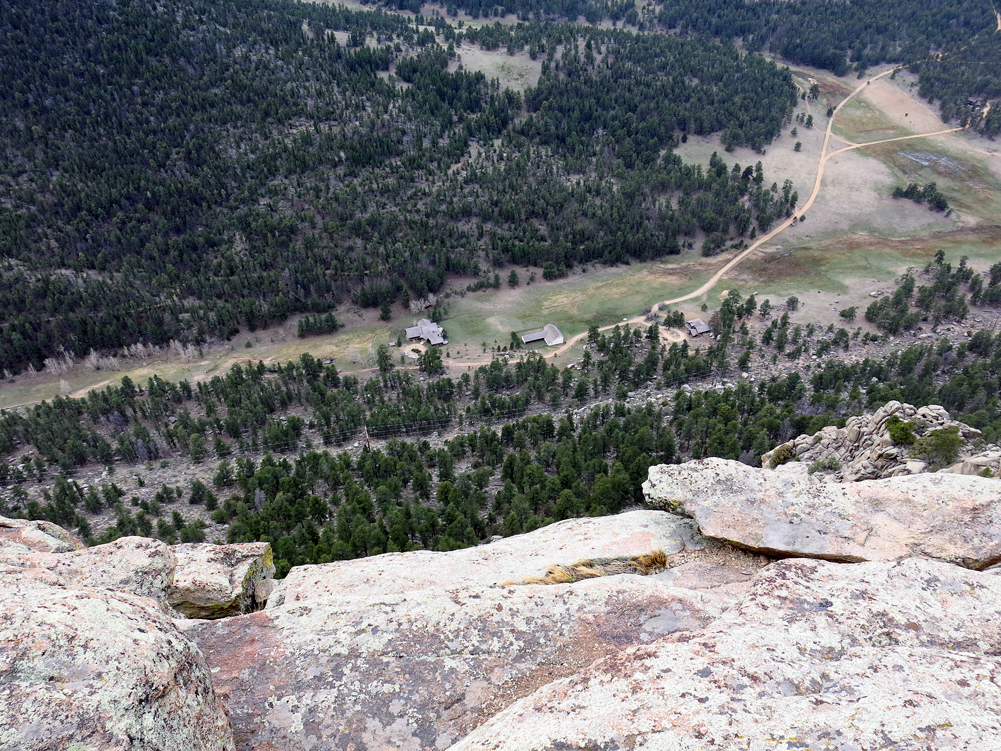
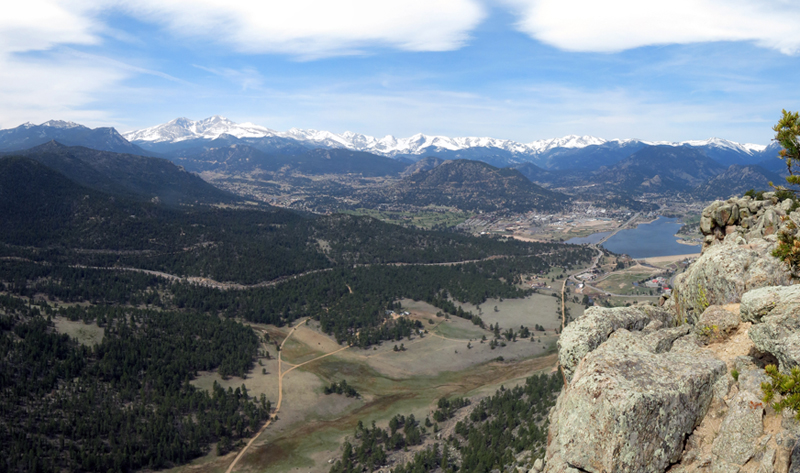
If you look at the profile of the summit it looks as if somebody took a knife and cut off a piece at the highest point. The south face is very steep and more inclined towards rock-climbing. It allows some great views toward Estes Park, Rocky Mountain N.P and the Continental Divide as well as to the Crocker Ranch just below the rocky face.
The summit is rocky, quite small with a few ‘trees’ to tie your mast to, and a steep drop-off to the south. I was carrying a 16ft fishing pole with a linked EFHW which I wedged between the rocks at the highest point – perfect. With hardly any wind and mostly sunny skies the activation was very pleasant. The rocks even provided some nice options to sit on.
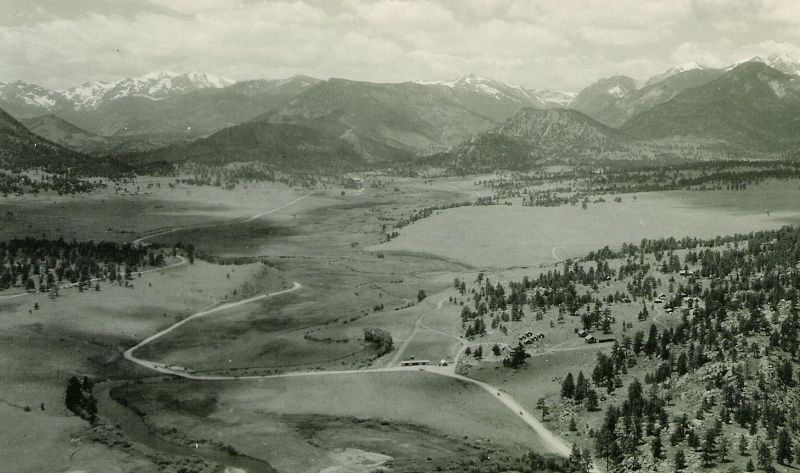
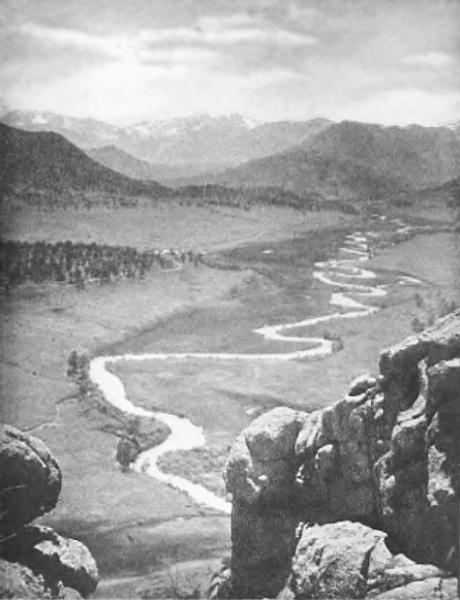
I found two historical photos taken from about the same spot. Take a closer look at the three pictures below… interesting to see the huge changes over time:
Photo taken 2014
Photo taken ~1940 // Courtesy of the OldEstes Collection – Dave and Carol Tanton
Photo taken ~1900 by Enos Mills
The Descent:
I followed the cairns on my way down. At some stage I missed some of them and just followed the general direction to the TH. I missed the car by ~50ft.
If you would like to leave questions or comments, please do so through Youtube.
!! WARNING !! There are old mountaineers, and
bold mountaineers… there are no old-bold mountaineers.
Hiking and mountain climbing are potentially hazardous activities particularly in Colorado with its extreme elevations. I am not accepting responsibility for any death or injury resulting from activations based on my trip reports. Proper training, experience, and personal capability assessment is required – enjoy!
 !! WARNING !! There are old mountaineers, and
bold mountaineers… there are no old-bold mountaineers.
Hiking and mountain climbing are potentially hazardous activities particularly in Colorado with its extreme elevations. I am not accepting responsibility for any death or injury resulting from activations based on my trip reports. Proper training, experience, and personal capability assessment is required – enjoy!
!! WARNING !! There are old mountaineers, and
bold mountaineers… there are no old-bold mountaineers.
Hiking and mountain climbing are potentially hazardous activities particularly in Colorado with its extreme elevations. I am not accepting responsibility for any death or injury resulting from activations based on my trip reports. Proper training, experience, and personal capability assessment is required – enjoy!