SOTA outings by KØMOS and contributors

Tag: First Activation

  • WØC/SR-Ø29 (Parry Peak) – 4074 m / 13391 ft

    W0C/SR-029
    Parry Peak
    4074 m / 13391 ft
    August 24, 2013 First Activation
    August 02, 2014 Second Activation

    By KX0R

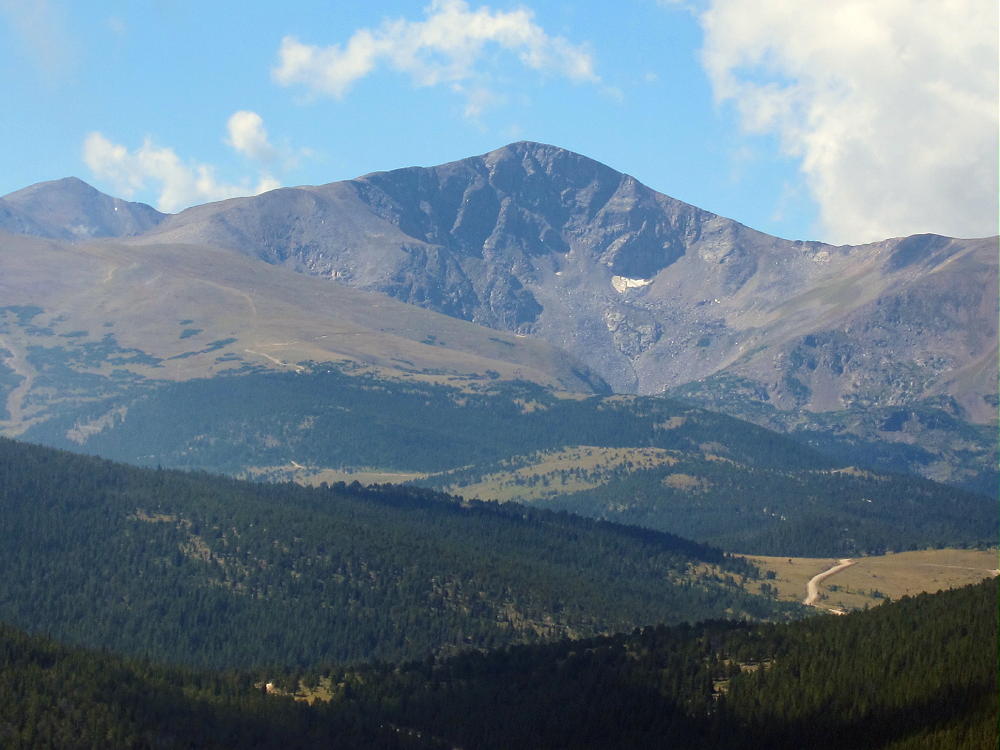
    Parry Peak is a classic alpine SOTA peak on the Continental Divide, west of Boulder and east of Winter Park. Climbing Parry requires a serious commitment and a good day. No regular roads are close to the summit, all the routes are long, and there is significant vertical gain. Since large parts of the route are not on marked trails, a good topo map and off-trail experience are critical.  The thin air at 4000 meters increases the challenge and the risks.
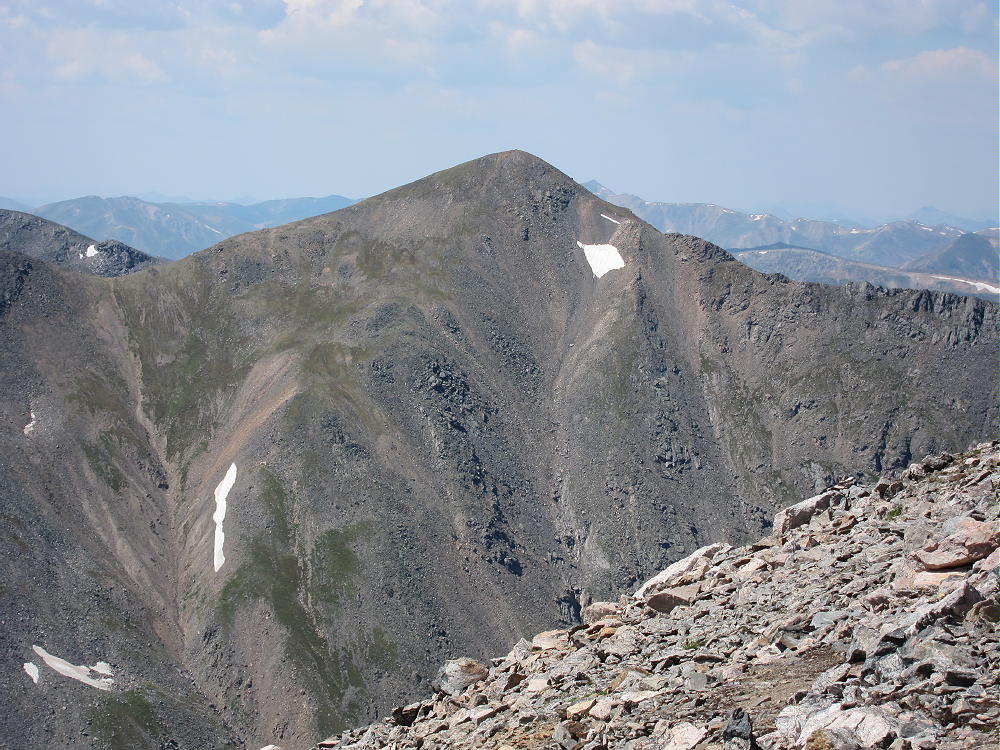
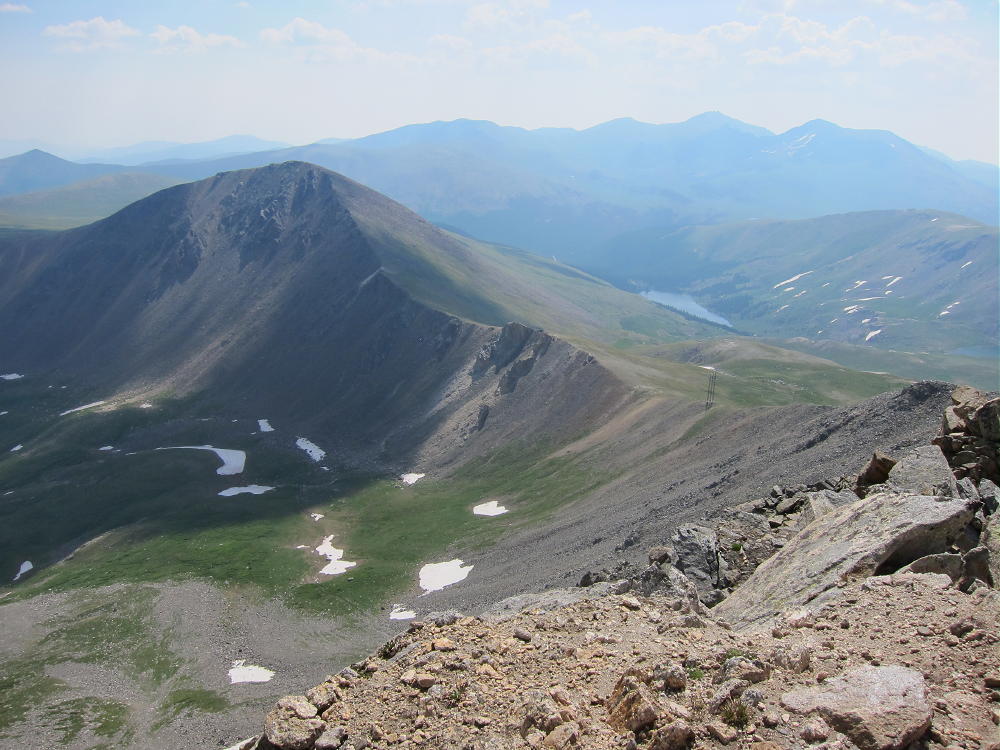
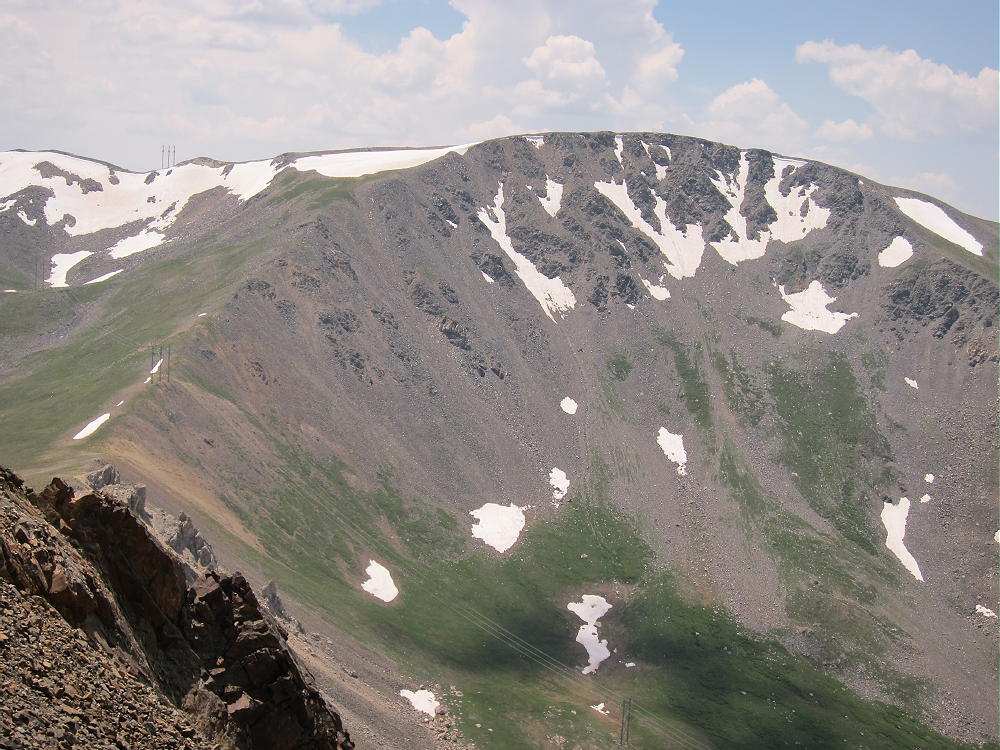
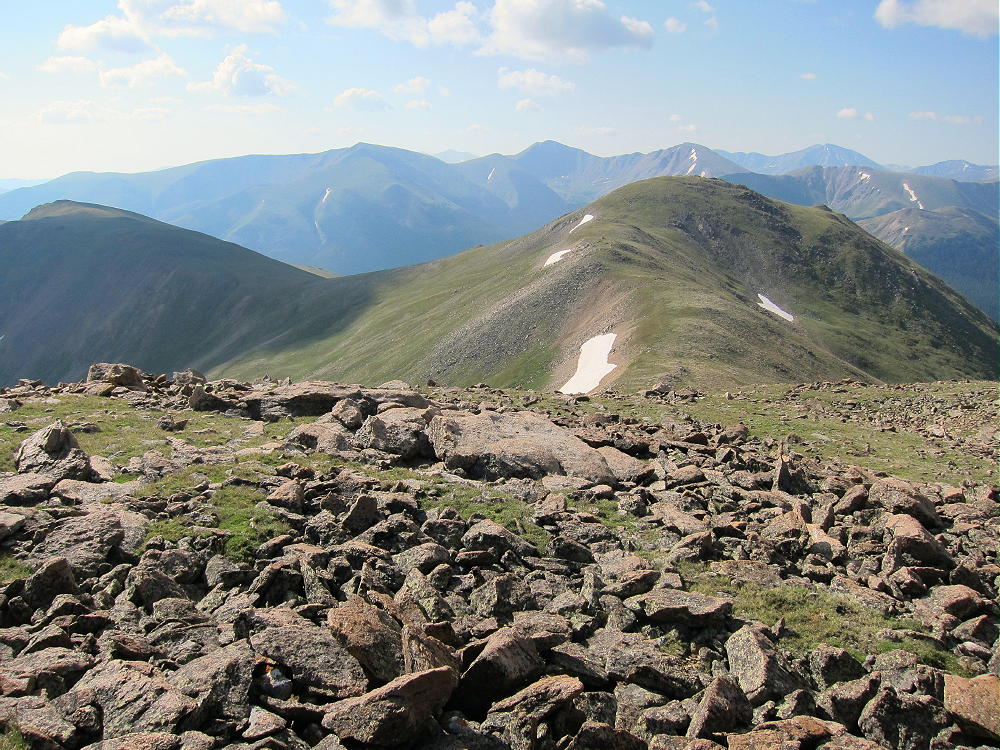
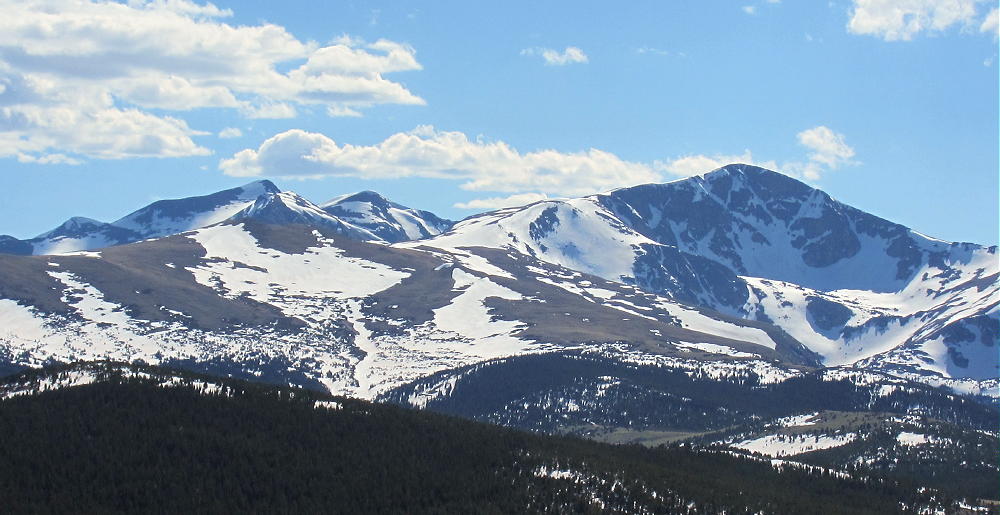
    Parry Peak from James Peak
    Parry Peak from James Peak

    My first ascent of Parry included a hike starting just west of the old mining town of Alice. To get to Alice, drive up the Fall River Road 275 north of I-70. At Alice, turn left on Alice Road and follow it about a mile to Steuart Road – this is the Loch Lomand 4WD Road. Most cars can go about ¼ mile, but the rough road requires a high clearance vehicle after that. Park near Alice at about 10,400 feet if you have a regular car. Follow the road to Loch Lomond, a large reservoir near treeline at 11,200 feet.

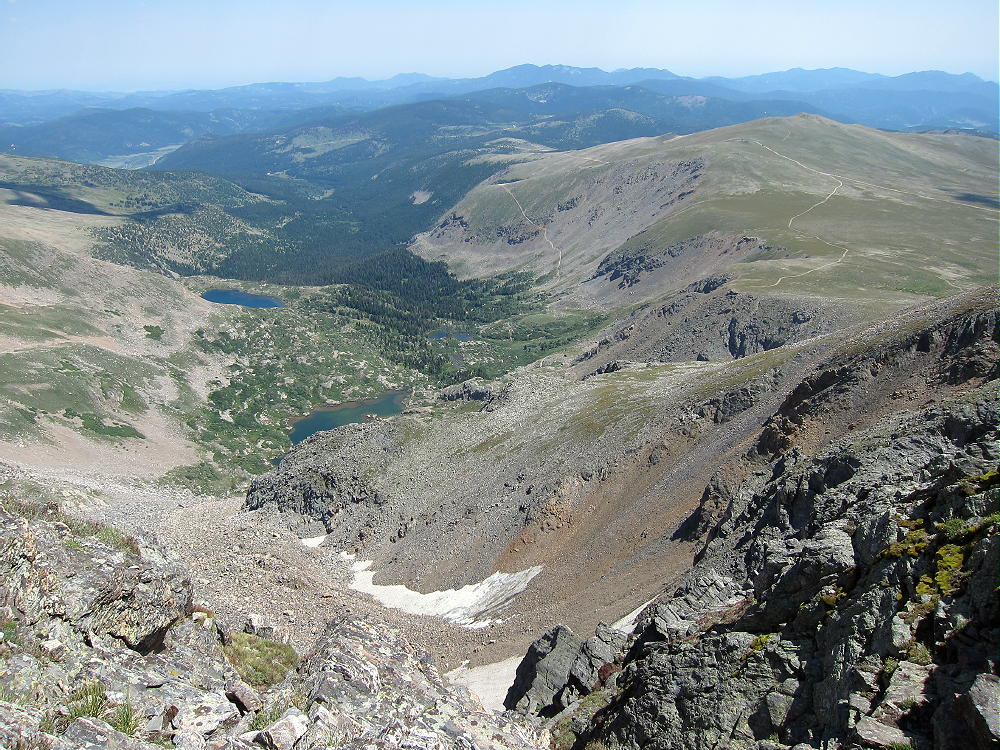
    Find a closed road leading SW from Loch Lomond, and hike up past Lake Caroline to about 12,000 feet.
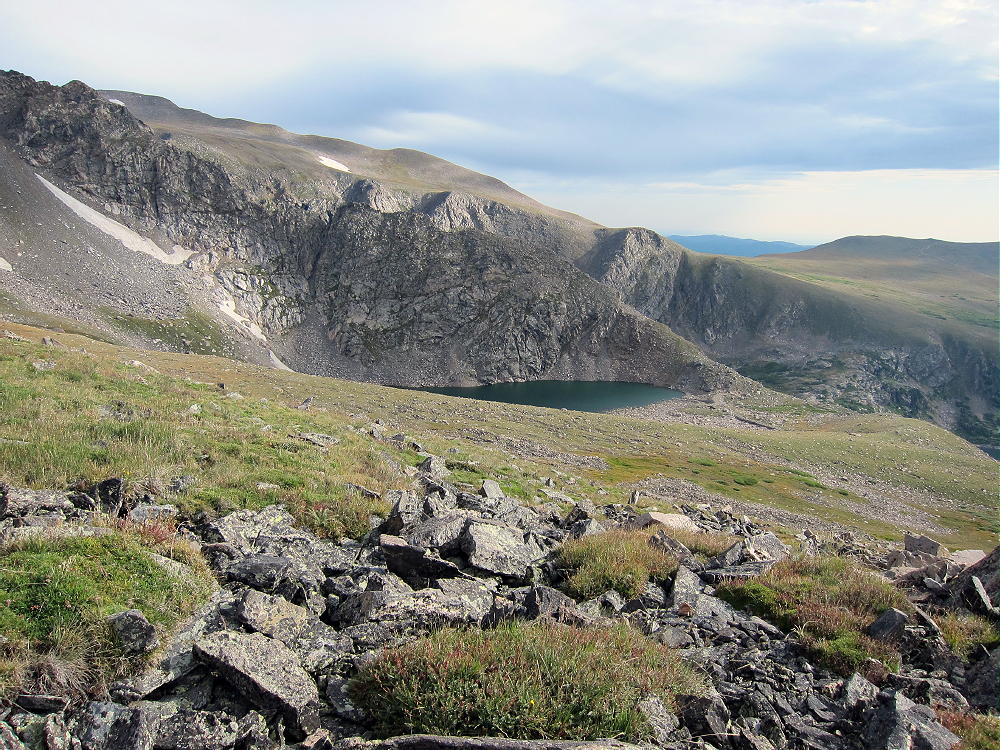
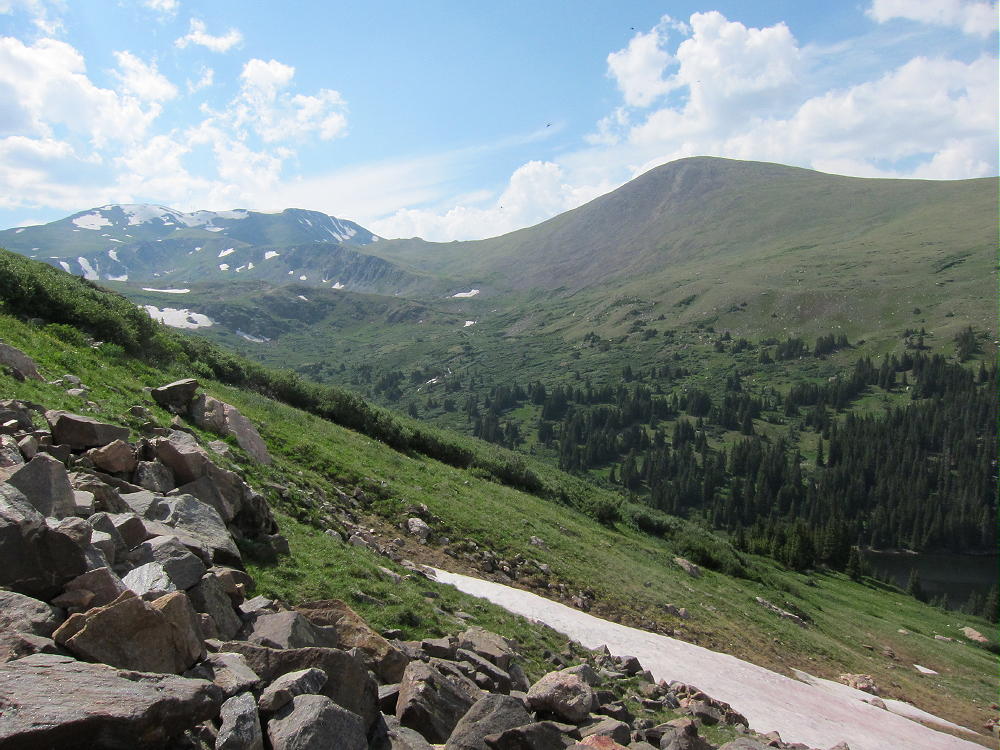
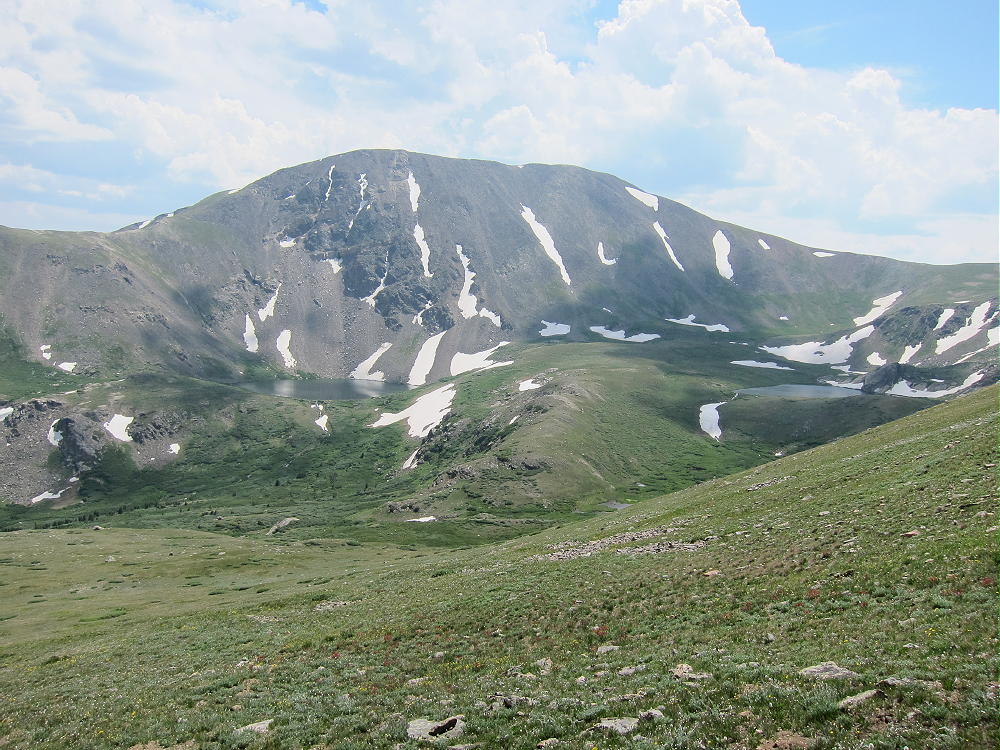
    Lake Caroline from Ascent up Bancroft to Parry
    Lake Caroline from Ascent up Bancroft to Parry

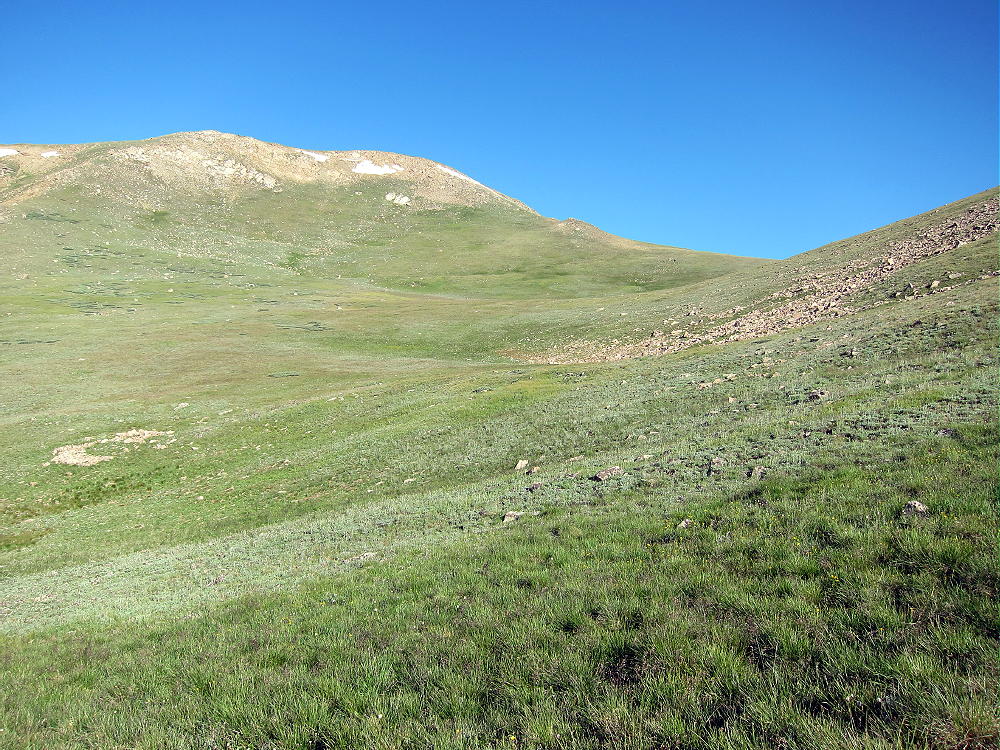
    Climb northwest up a long moderate ridge leading to Mount Bancroft. This ridge is grassy and nice for a while, and then it gets steeper and rockier near the top. Climb Bancroft or contour west to the Bancroft-Parry ridge; it an easy mile along the Divide from the Bancroft summit to Parry Peak.  From near Alice to Parry Peak is about 4.5 miles one way, with about 3000 vertical feet of ascent.
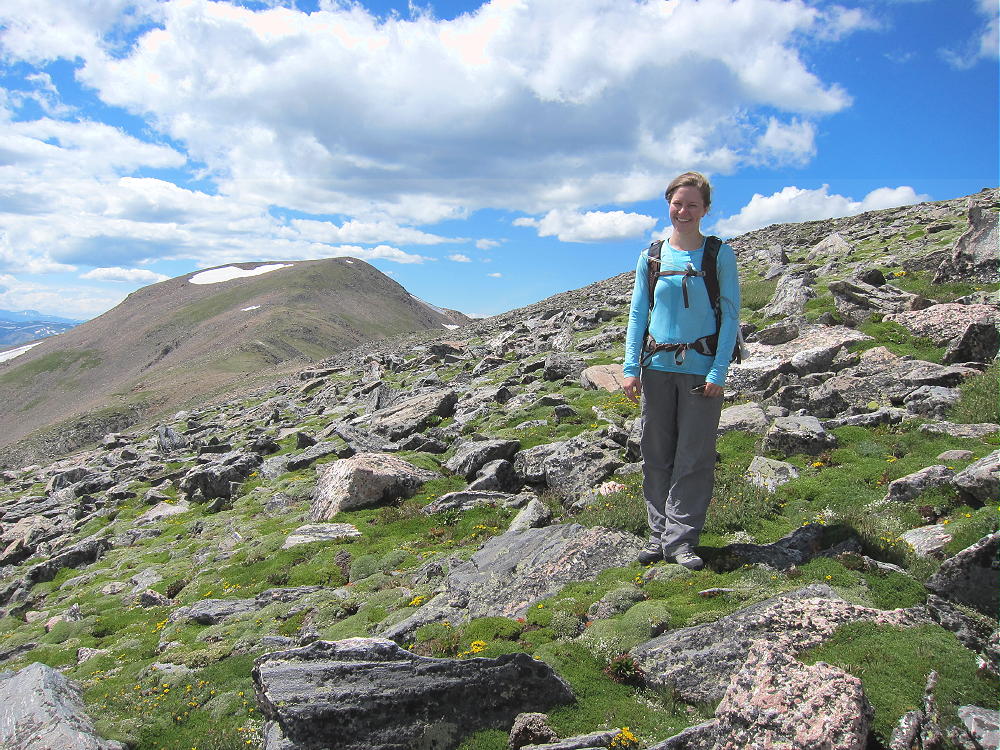
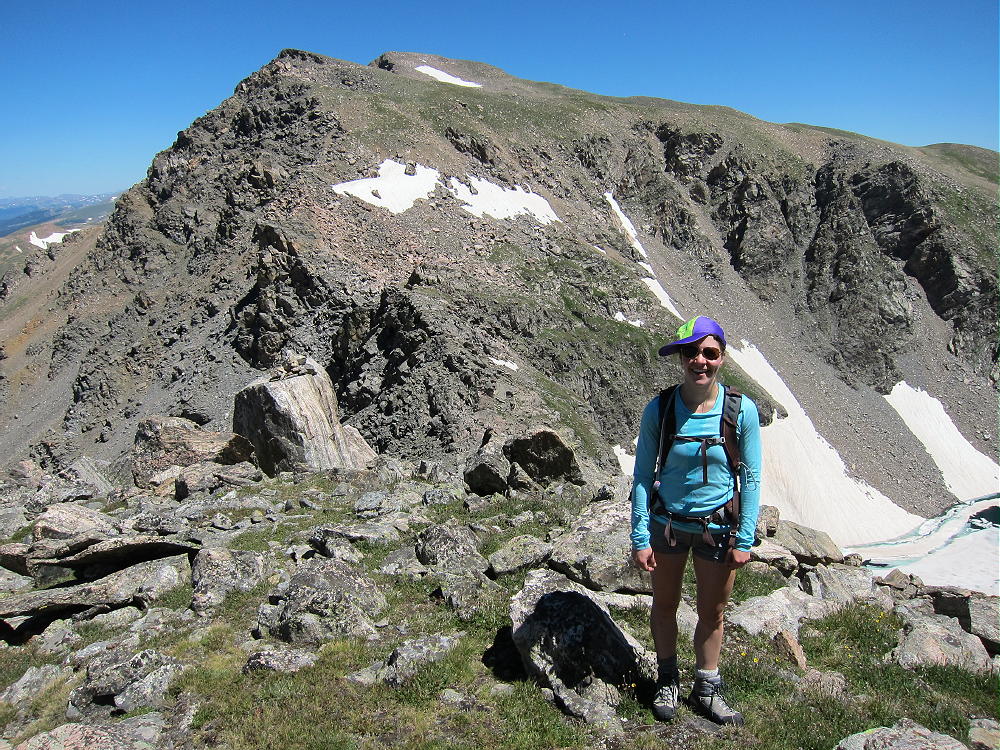
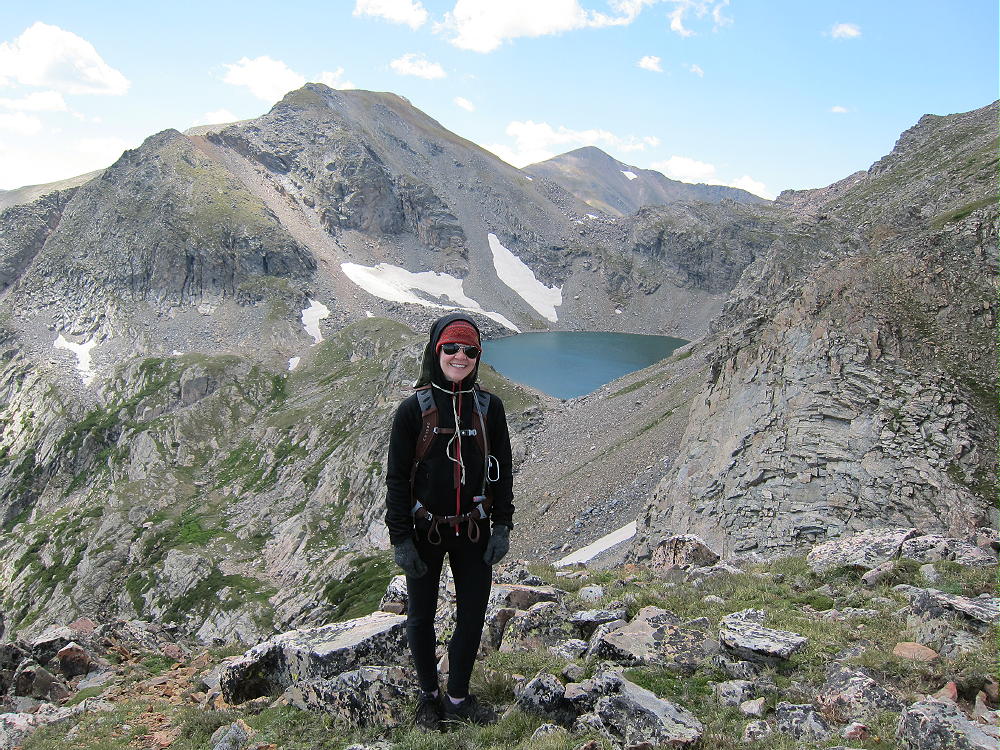
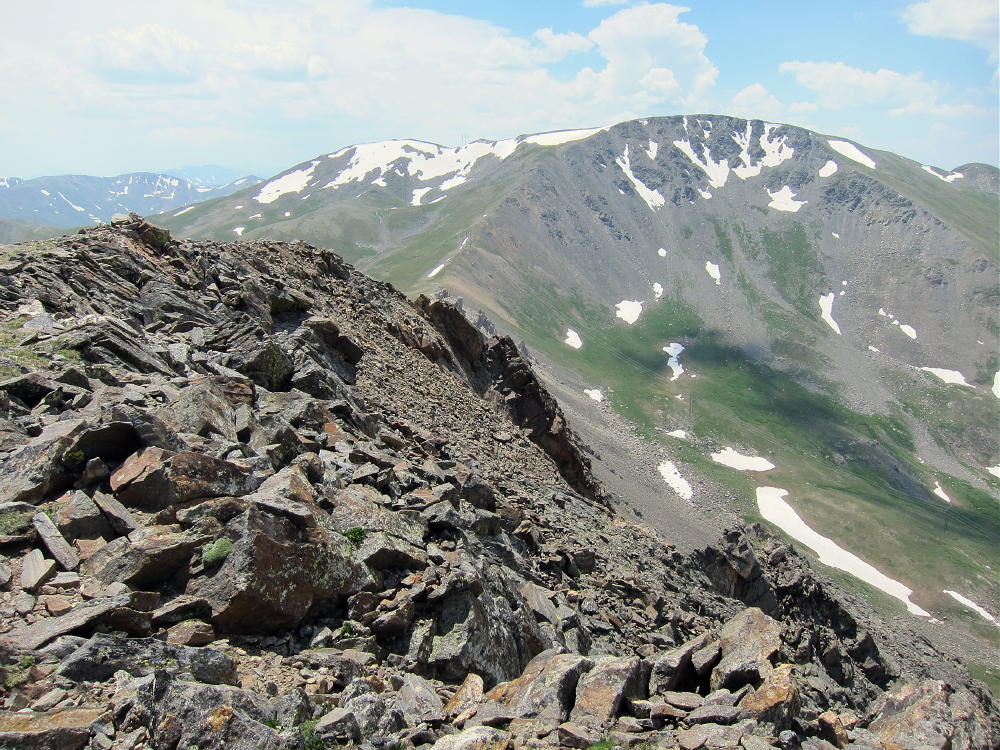
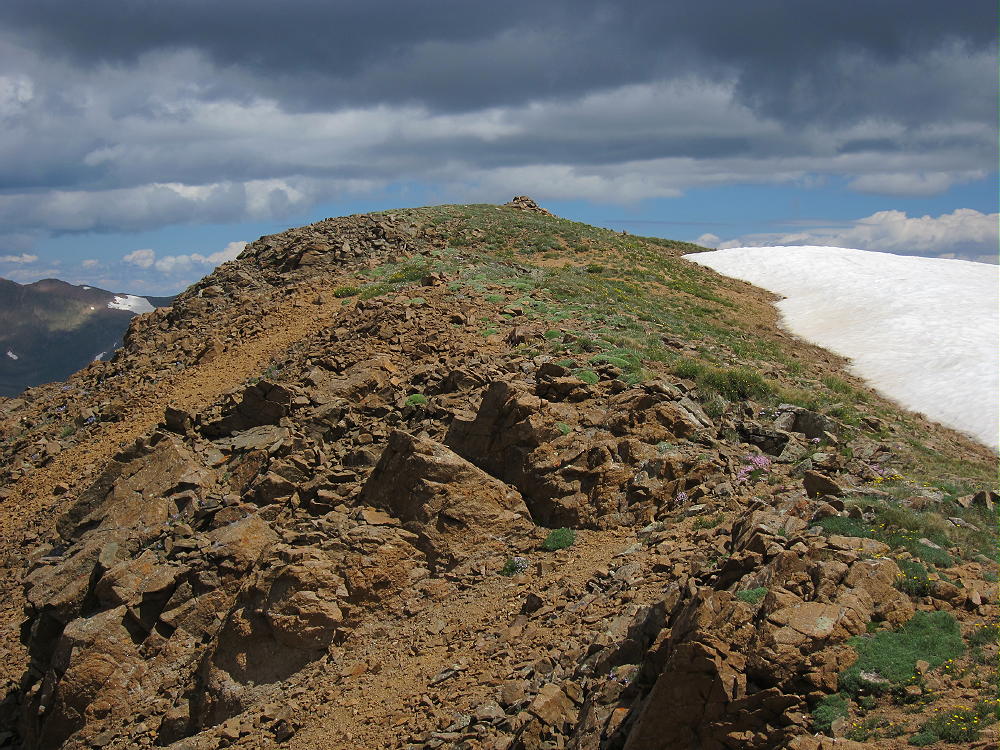
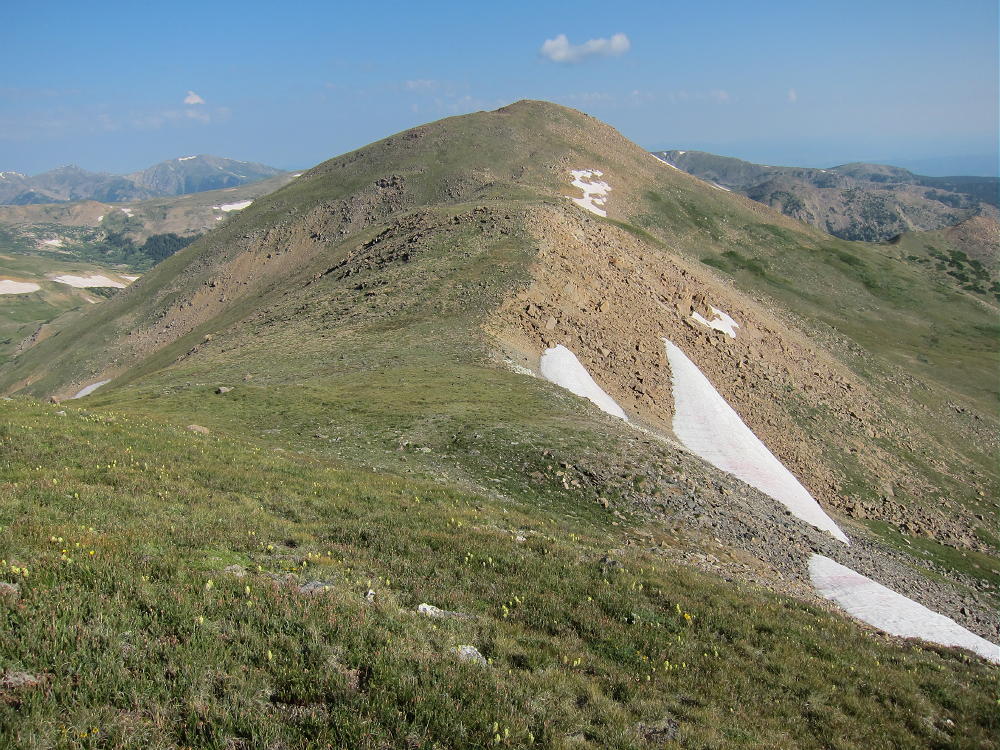
    Rose on Ridge Looking West to Parry
    Rose on Ridge Looking West to Parry

    See the report on James Peak W0C/SR-031 or a description of how to combine an ascent of James with Parry. That route requires climbing James and then descending south along the Divide via the deep saddle between James and Bancroft. The Bancroft – Parry ridge completes the connection along the Divide.
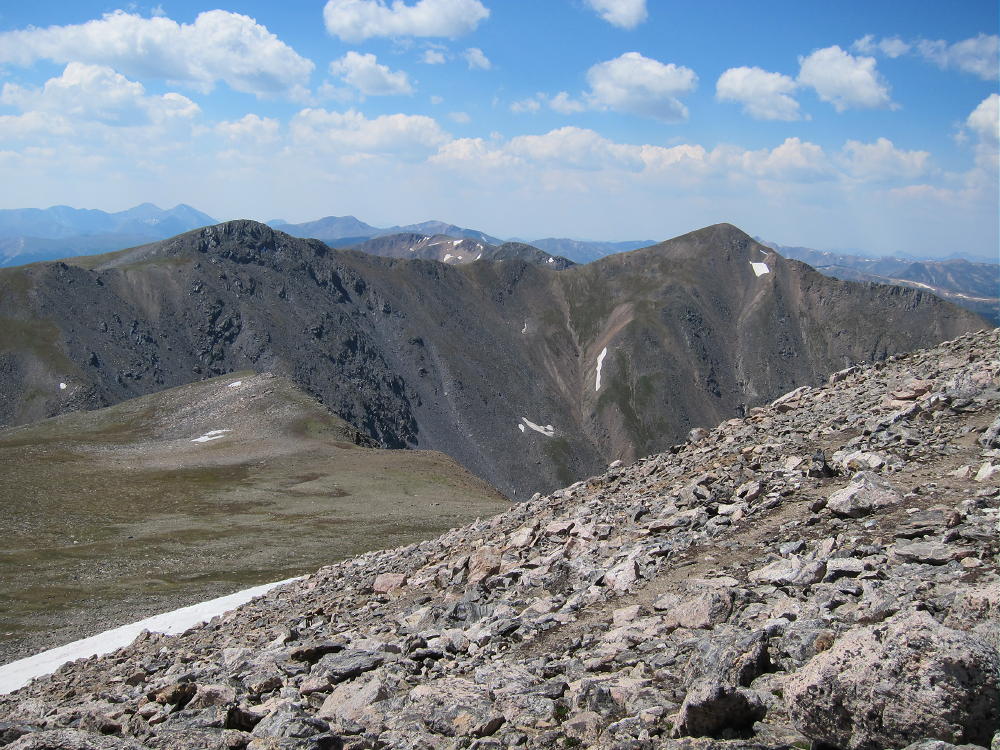
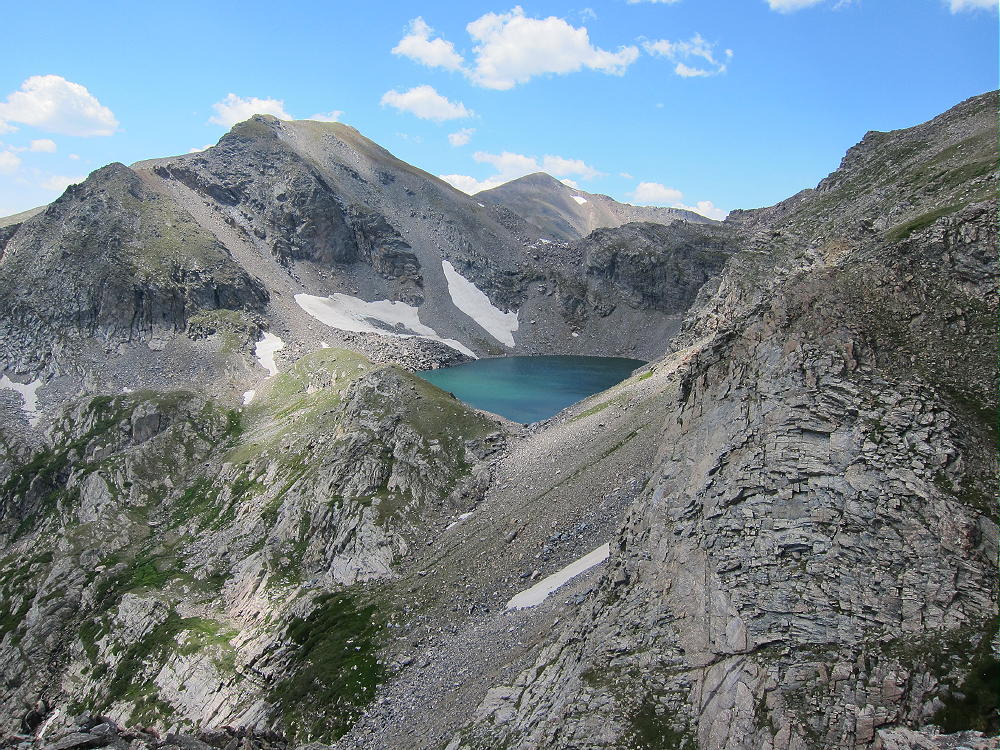
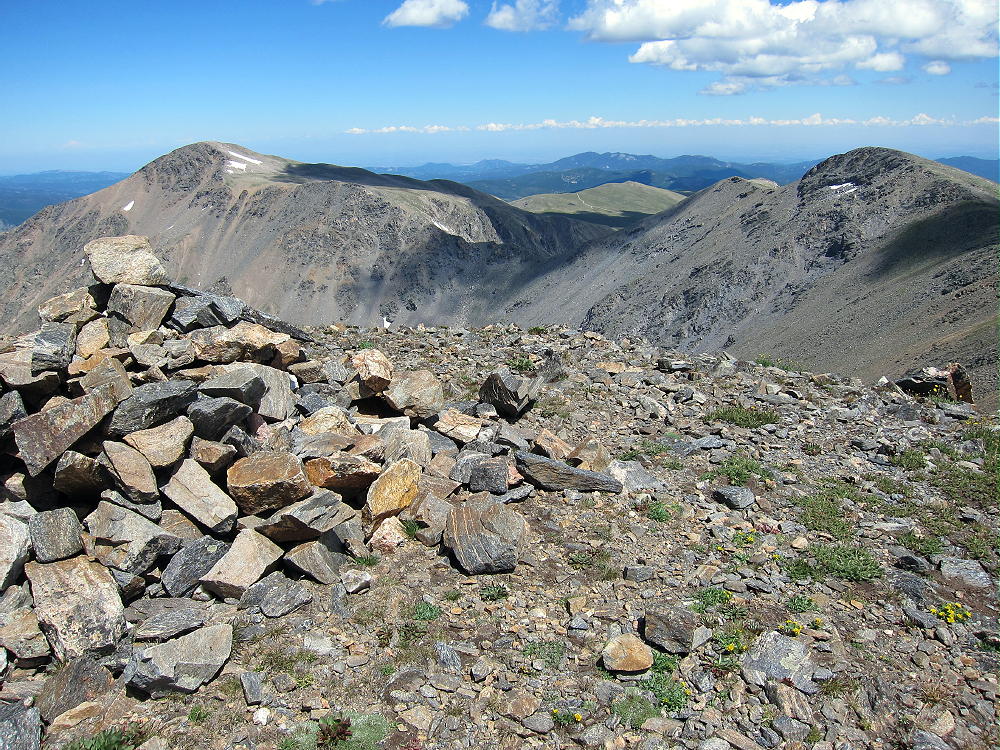
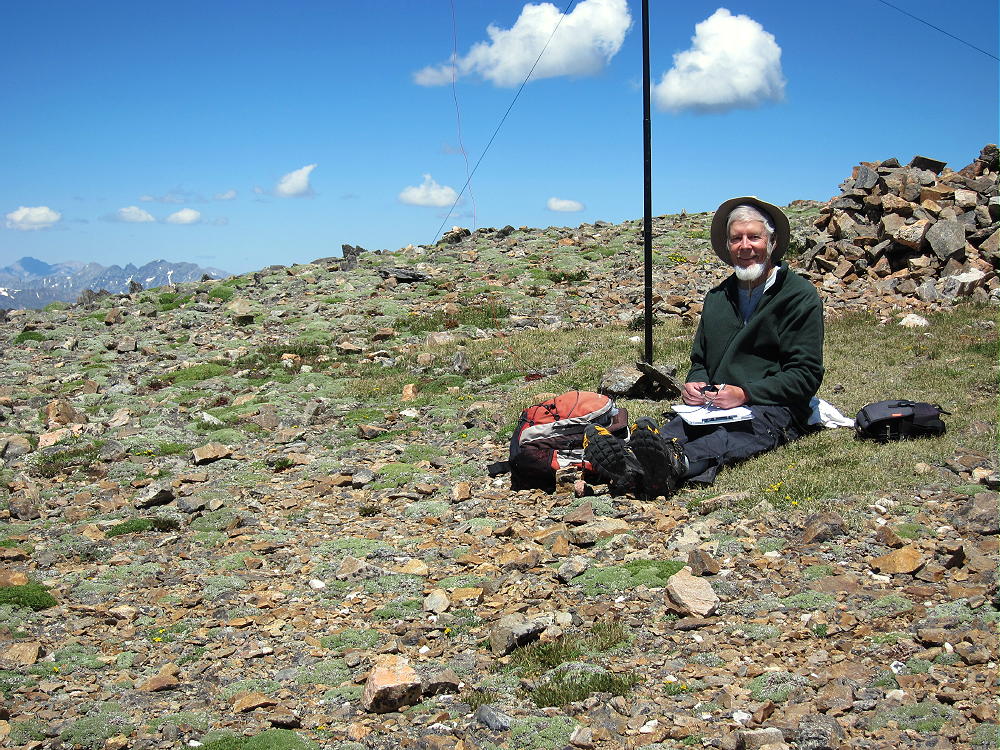
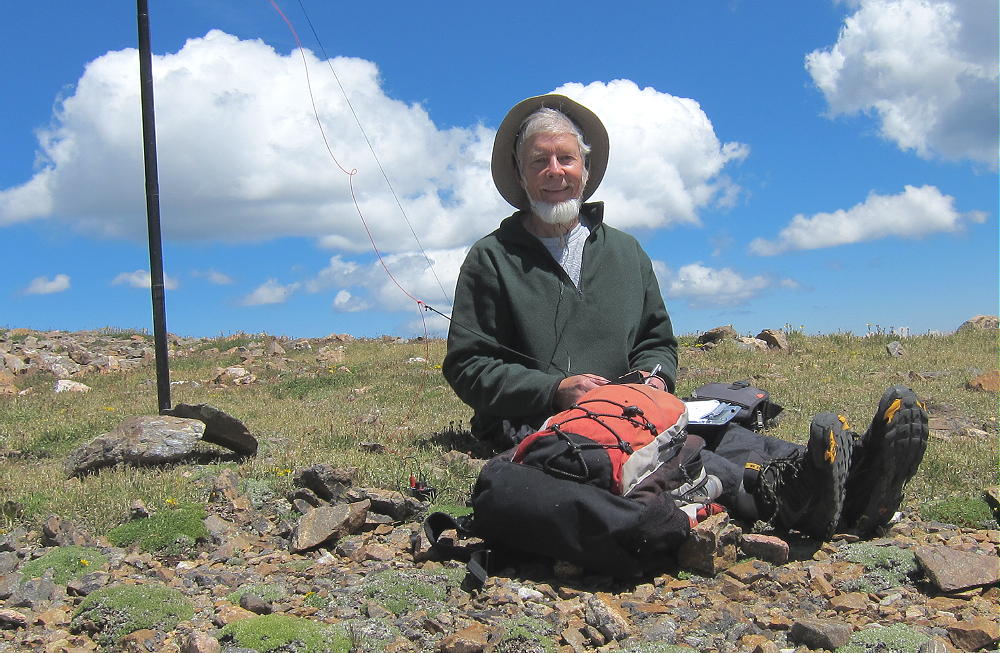
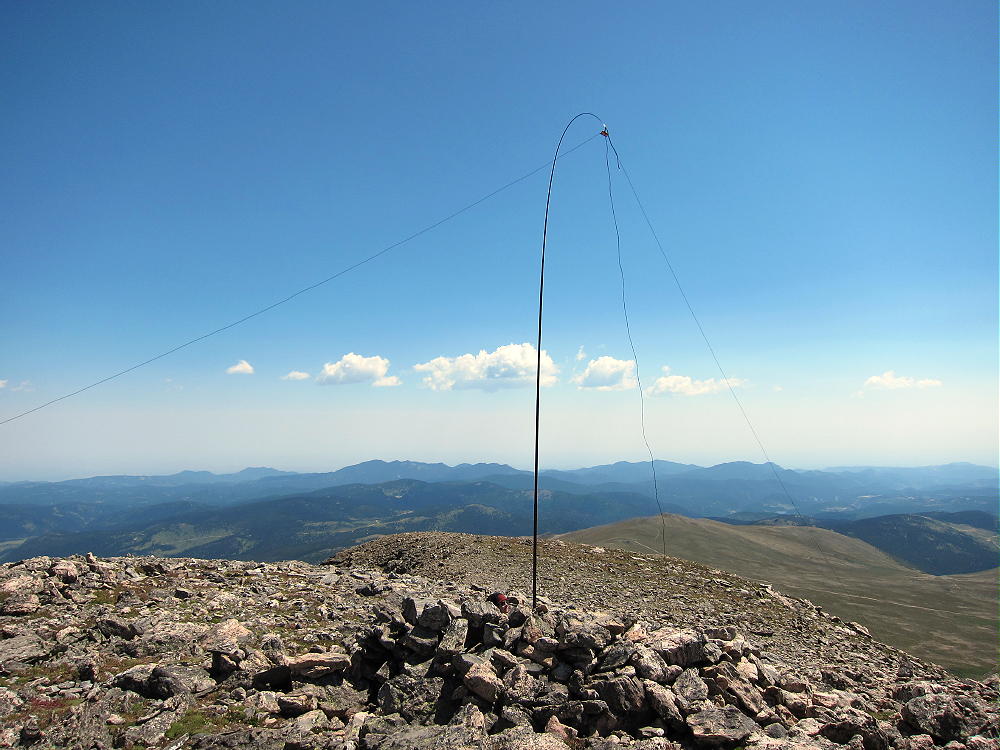
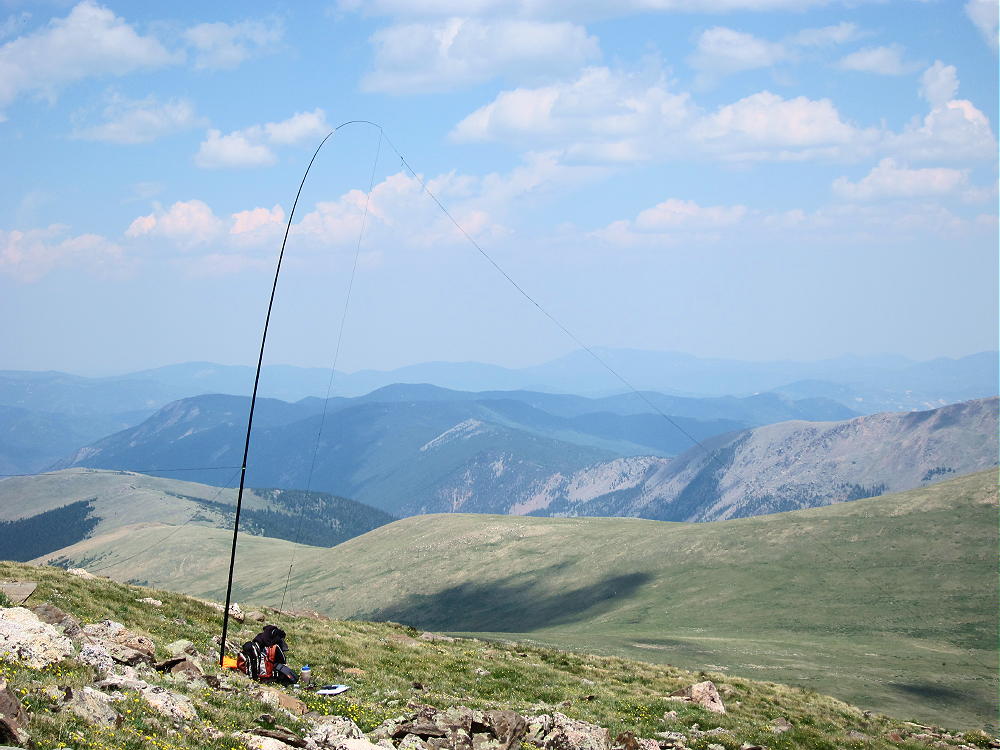
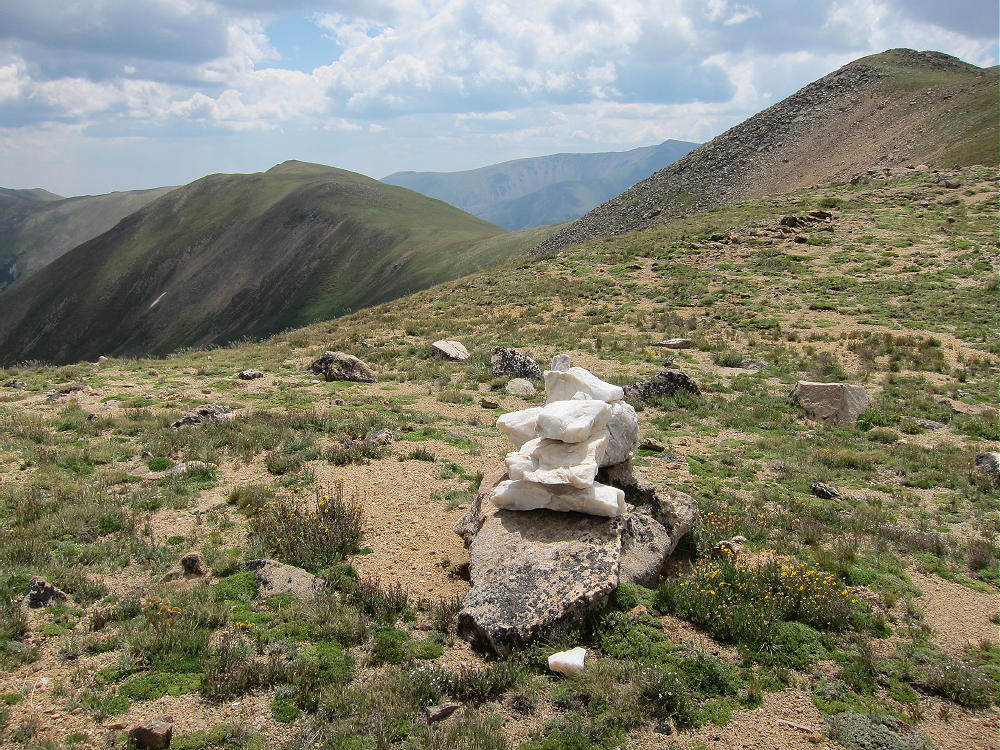
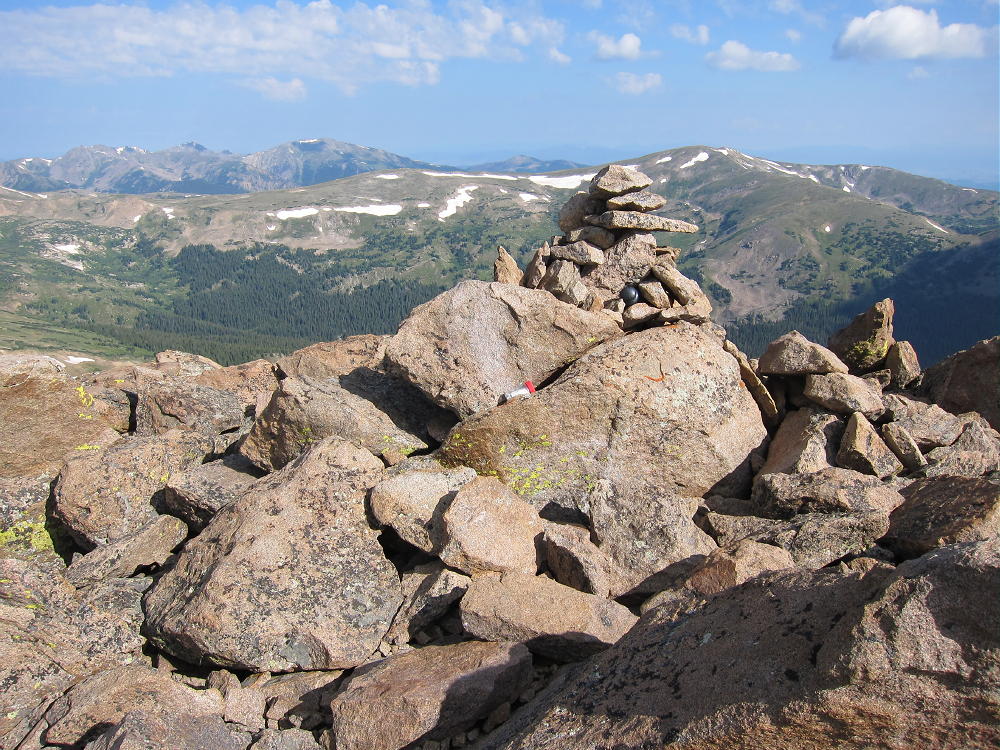
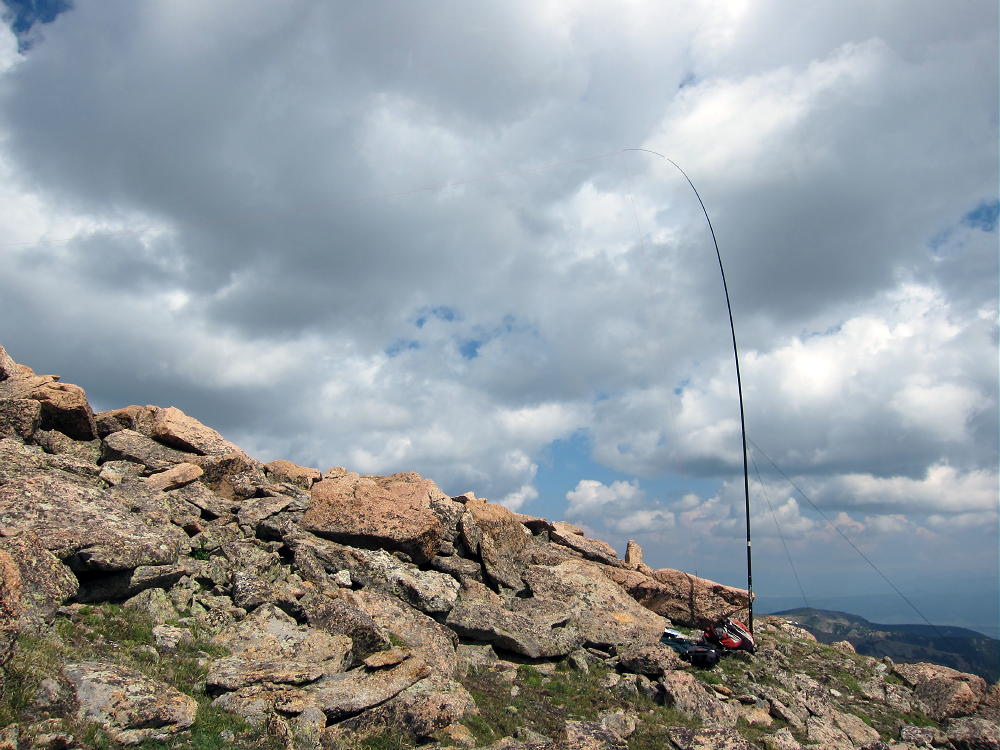
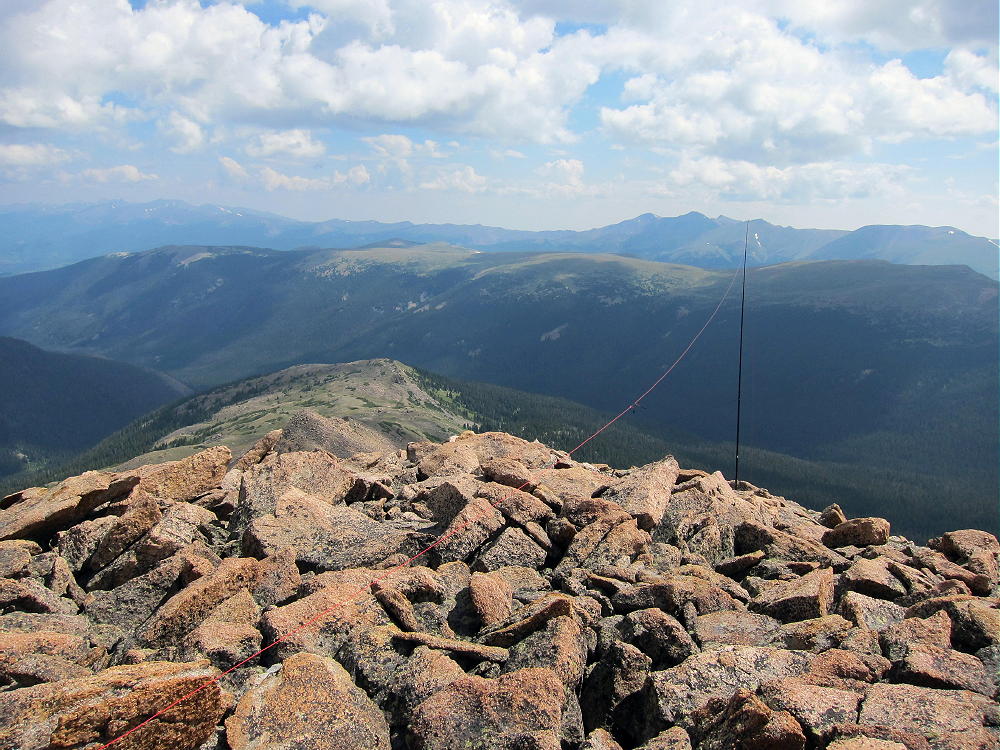
    The broad summit of Parry has a large activation zone, and there is a convenient rock shelter with some protection from wind. Few people visit Parry, and it’s an ideal radio site. A pole is required for an HF activation. There are fine views all around, and it’s a pleasant summit – as long as the weather is nice.
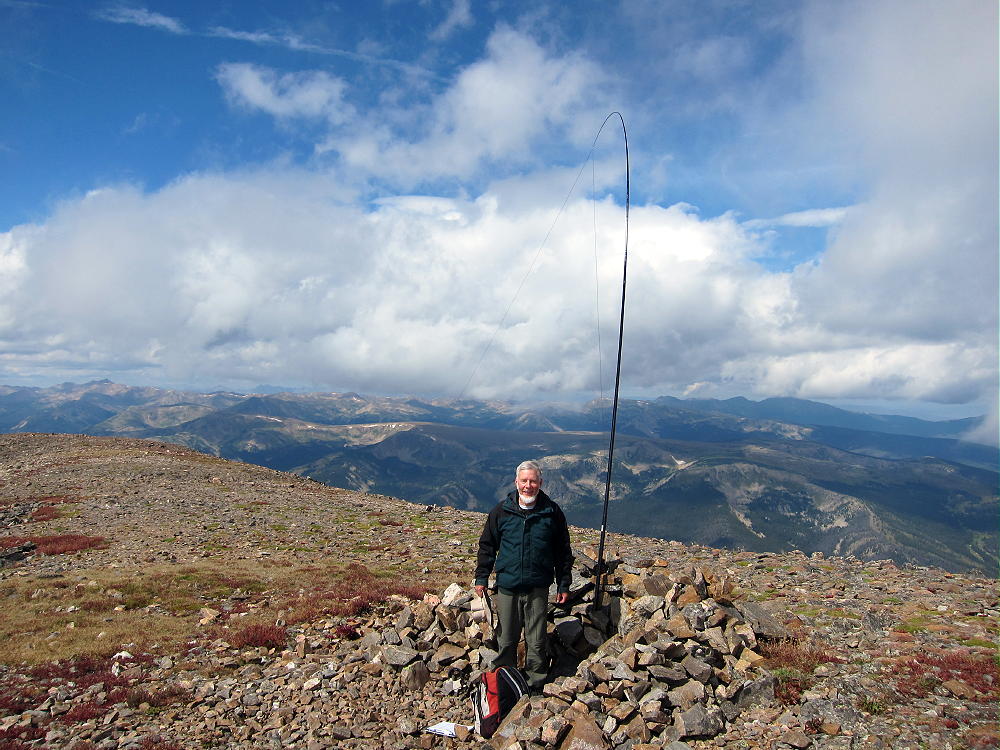
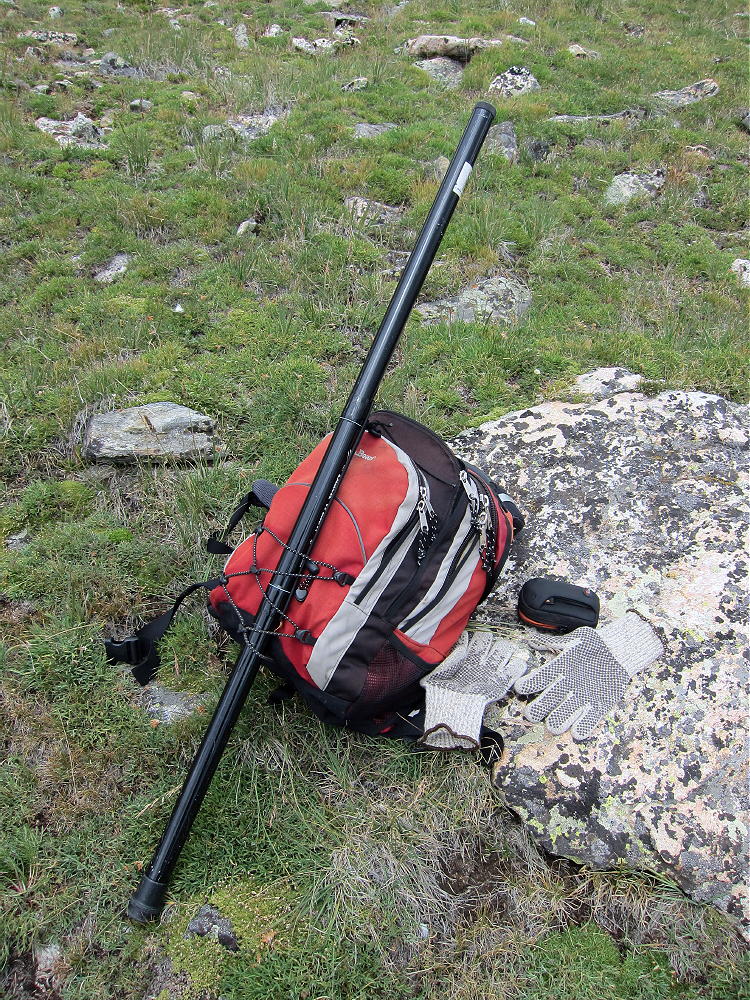
    My second activation of Parry was a dual activation after climbing James. My daughter Rose accompanied me on this long, strong hike. We had good weather and enjoyed Parry. We descended Parry via the Bancroft to Loch Lomond route described above; then we hiked back up across the tundra and over Kingston Peak for almost three miles to our vehicle east of James.  The total distance around the loop that day was 11.1 miles, and the total vertical ascent was about 3600 feet.

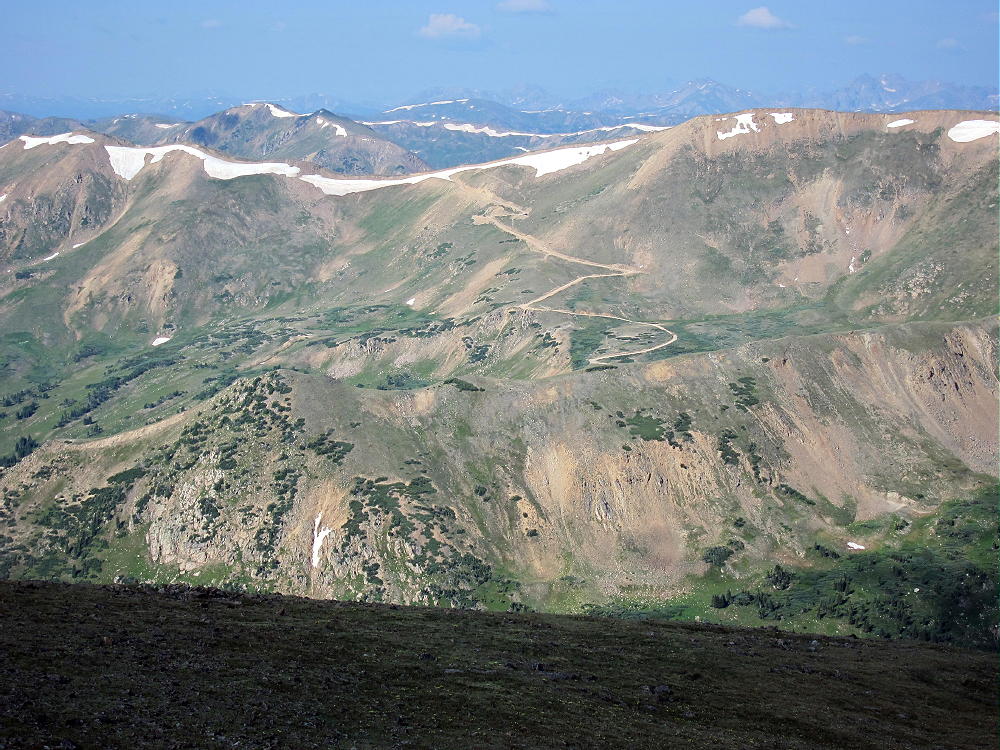
    It’s possible to climb Parry from Berthoud Pass (US 40) via the Continental Divide Trail (CDT). This spectacular 5-mile (one way, approx) route leads over Mount Flora, W0C/SR-035, 3999M, 13146 ft, also on the Continental Divide. On a good, dry day it might be possible to activate both summits. The entire route is high and exposed – there is little shelter. The route starting at Berthoud Pass is less difficult than the routes from the east, but good weather is critical up on the Divide.

    Parry Peak is a SOTA Classic any way you do it!

    George Carey Fuller
    KX0R

    ATTENTION !! WARNING !! There are old mountaineers, and bold mountaineers… there are no old-bold mountaineers. Hiking and mountain climbing are potentially hazardous activities particularly in Colorado with its extreme elevations. I am not accepting responsibility for any death or injury resulting from activations based on my trip reports. Proper training, experience, and personal capability assessment is required – enjoy!
  • WØC/SR-Ø31 (James Peak) – 4044 m / 13294 ft

    W0C/SR-031 (James Peak)
    4044 m / 13294 ft
    First Activation
    August 15, 2013
    Second Activation
    August 02, 2014

    By KX0R

    James Peak is a prominent SOTA peak on the Continental Divide west of Boulder. There are several popular routes up to the summit. No regular roads are close to the summit, and all the trails require significant effort.

    The primary trail up the east side of James starts near Saint Mary’s Glacier above Alice. To get to Alice, take the Fall River Road 275 north of I-70 – this paved road begins about 2 miles west of Idaho Spings, north off I-70, at mile 238.

    Another way to start the hike is via the Rollins Pass road west of Rollinsville. Just west of Tolland, Mammoth Gulch Road 4-N heads steeply up southwest, and one fork eventually climbs the long northeast ridge of James. At the first road divide, take the east fork – don’t go into Mammouth Gulch. In a 4WD vehicle it is possible to drive up this rough road to about 11,400 feet, within about 3 miles of the summit.
    Note that Google Maps does not show this jeep road accurately – use the satellite image. Take a good topo map up this mountain! Hike either on the road or across the vast tundra, and continue up the east ridge of James. Eventually this route meets the trail up from Saint Mary’s Glacier. Continue up the gentle southeast side of James, up a few switchbacks, and climb to the pleasant peak.

    The alpine summit has enough room to activate east of the summit if there are other visitors. The views are fine in all directions, and this is an almost perfect radio site for UHF, VHF, and HF.

    It is possible to combine James with Parry Peak for a rugged dual activation. Hike south from James along the Continental Divide Trail (CDT), descend the deep, rocky saddle to 12,600 feet west of Ice Lake, and climb up the moderately steep north ridge of Mount Bancroft. Hike west along the ridge about a mile and ascend up to Parry Peak. See the report on Parry Peak for the rest of the story.

    There is a long but interesting route up James from the Moffat Tunnel access to the James Peak Wilderness. Hike about 5 miles up to Rogers Pass Lake. Climb up past Heart Lake, and then hike up the switch-backed trail to Rogers Pass. Continue south along the Divide (CDT) about 1-1/2 miles, and up the broad north side of James to the top. This scenic route requires time and effort, but it goes through some of the best scenery in the area, and an ordinary car can drive to the trailhead at the East Portal of the Moffat Tunnel.

    It is also possible to drive over Berthoud Pass to Winter Park, then up a dirt road, FR-128 and FR-149, route 80, up toward the west side of Corona Pass/Rollins Pass, and then climb James via the Rogers Pass jeep road and the CDT along the Divide. A 4WD high-clearance vehicle is required to drive up to Rogers Pass – otherwise hike up the 4WD road from the Corona Pass road.

    James Peak is a classic alpine SOTA peak during the summer and early fall. Get an early start, travel light, and enjoy SOTA at altitude!

    George Carey Fuller
    KX0R


    ATTENTION !! WARNING !! There are old mountaineers, and bold mountaineers… there are no old-bold mountaineers. Hiking and mountain climbing are potentially hazardous activities particularly in Colorado with its extreme elevations. I am not accepting responsibility for any death or injury resulting from activations based on my trip reports. Proper training, experience, and personal capability assessment is required – enjoy!
  • WØC/SR-Ø24 (Wilcox Mount) – 4079 m / 13408 ft

    W0C/SR-024
    Wilcox Mount
    4079 m / 13408 ft
    July 19, 2014
    First Activation

    By KX0R

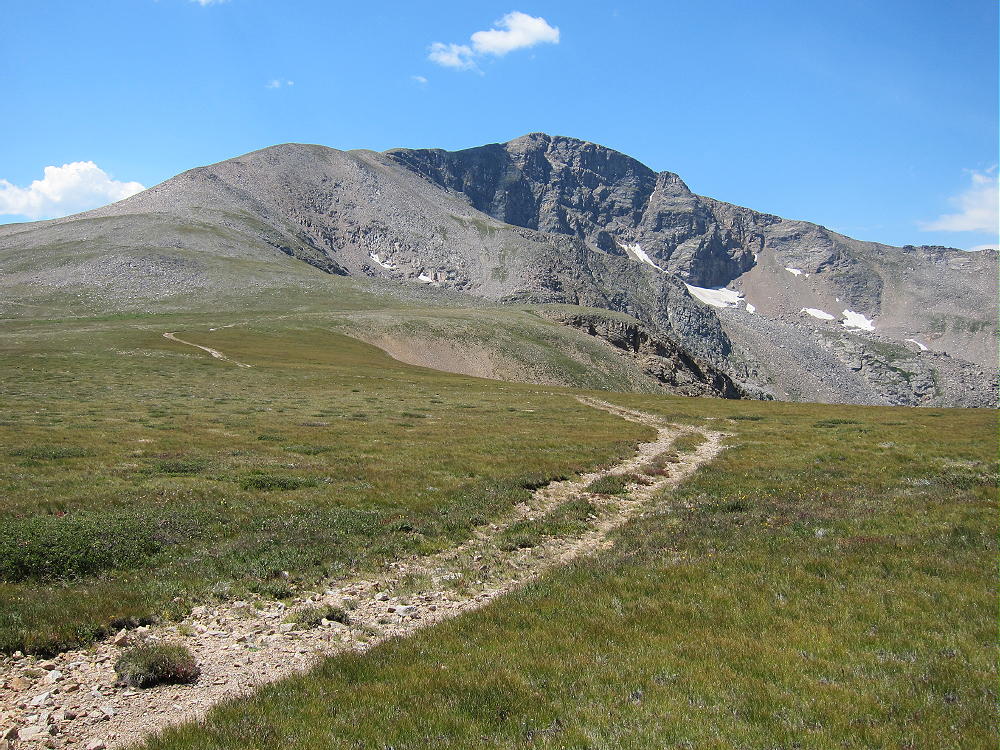
    Wilcox Mount, or Mount Wilcox (click this link!) on our maps, is Argentine Peak’s little sister. Wilcox is a summit about 1.2 miles east of the summit of Argentine, on a beautiful high ridge that extends for miles.

    Both mountains are high alpine SOTA peaks near Guanella Pass Pass. Most SOTA activators will probably climb Argentine Peak first, and then perhaps climb Wilcox for a dual activation, if conditions are favorable.

    Please read the trip report on Argentine Peak for trailhead directions and how to climb Argentine. From Argentine it’s simple to drop down the moderate East Ridge, walk across the easy saddle, and then ascend about 500 vertical feet on the West Ridge to the summit of Wilcox.

    To climb Wilcox by itself, or before climbing Argentine, hike to Murray Reservoir, climb up the tundra slopes to the Argentine-Wilcox saddle, and then climb the West Ridge of Wilcox. After Murray Reservoir, there is no real trail, and you must navigate and choose a good route.

    Wilcox has a broad alpine summit, and in good weather, it’s easy to activate on HF with a pole. At only 100 meters below Argentine, it’s also a high peak. The north, east and south slopes of Wilcox are huge meadows. These meadows extend down over 2000 vertical feet to Naylor Lake.

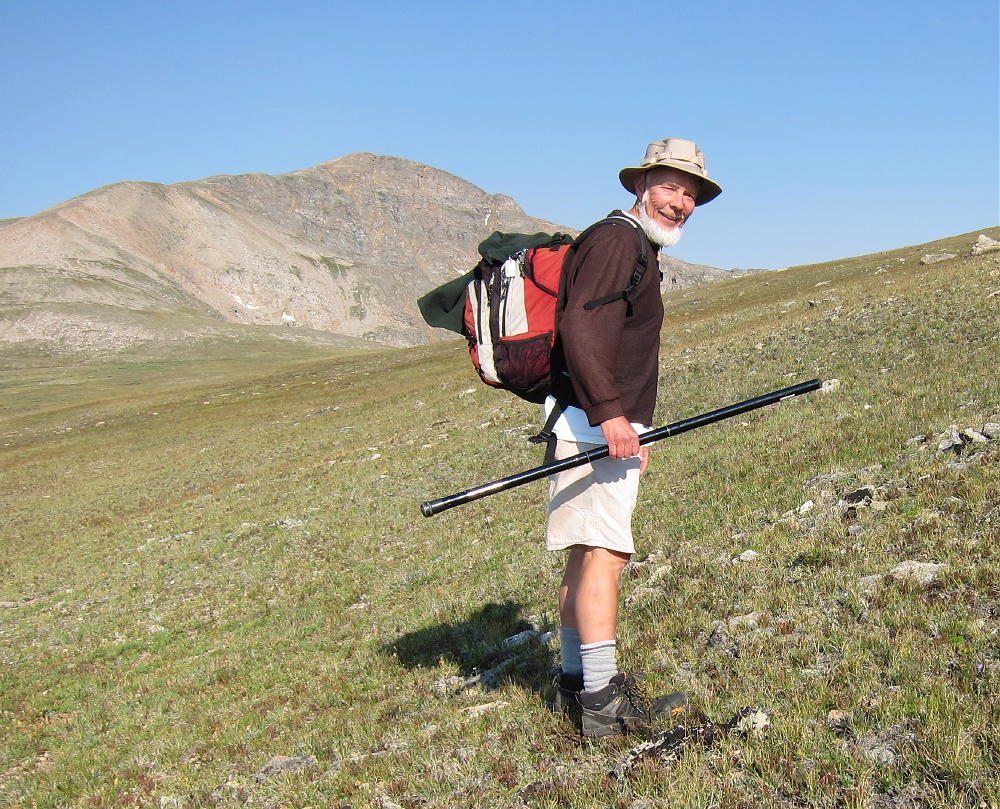
    First Activation of Mount Wilcox
    First Activation of Mount Wilcox

    To descend Wilcox, choose between:

    1) The West Ridge Route, then down the slopes to Murray Reservoir, and then up a short distance to the Silver Dollar Lake Trail

    2) Descend the easy meadows from the summit, first east, and then south, to minimize the grade and to avoid steep slopes directly south of the peak. Do not descend to the private property around Naylor Lake! Between 12,400 and 12,200 feet curve west, and then cross the large creek in the valley, just below 12,000 feet. This was not a problem when I was there in mid-July, but it might be a serious hazard early in the summer! Head to Murray Reservoir or up the easy ridge just east of Murray, and join the Silver Dollar Trail on the ridge-top.

    Stay away from Naylor Lake – it is private and uninvited hikers are not welcome!  (That’s what I read on the Internet…)

    The alpine wilderness basin between Wilcox, Argentine, and Square Top is a beautiful place, with lakes, streams, and flowers. There are far fewer hikers than on Bierstadt and Square Top nearby.  This is a special place to visit.

    73

    George Carey Fuller
    KX0R


    ATTENTION !! WARNING !! There are old mountaineers, and bold mountaineers… there are no old-bold mountaineers. Hiking and mountain climbing are potentially hazardous activities particularly in Colorado with its extreme elevations. I am not accepting responsibility for any death or injury resulting from activations based on my trip reports. Proper training, experience, and personal capability assessment is required – enjoy!
  • WØC/PR-Ø36 (Kelso Mountain) – 4004 m / 13164 ft

    W0C/PR-036
    Kelso Mountain
    4004 m / 13164 ft
    July 13, 2014
    First Activation

    By KX0R

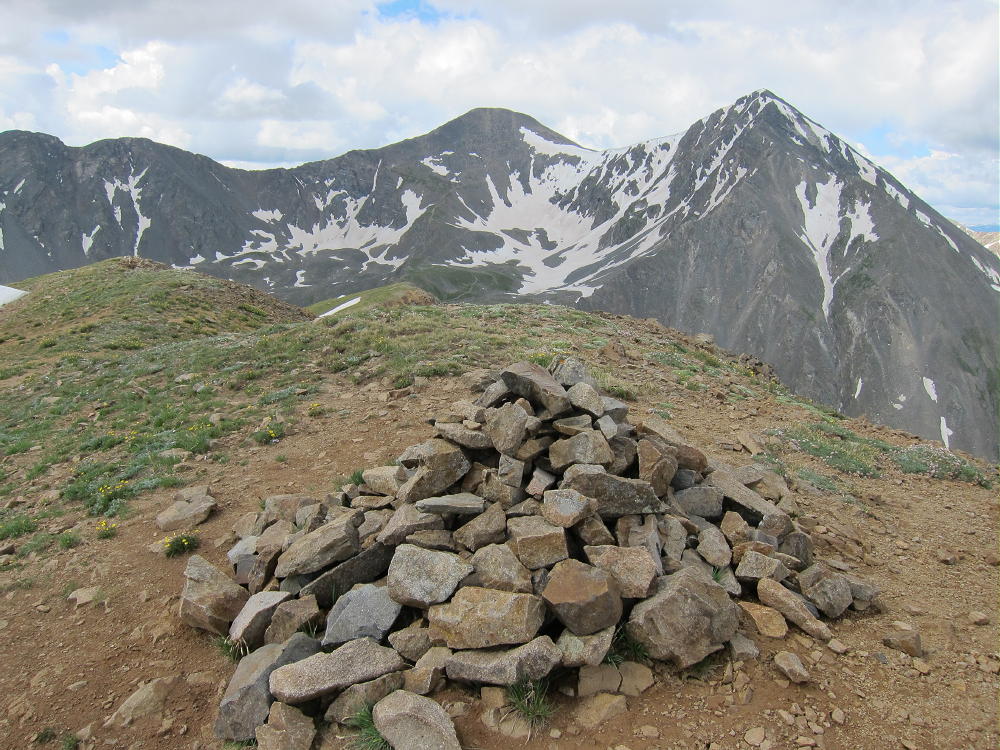
    Kelso Mountain is a minor summit adjacent to the mighty twin 14-ers Grays and Torreys Peaks. I was surprised how much fun it was to activate Kelso!

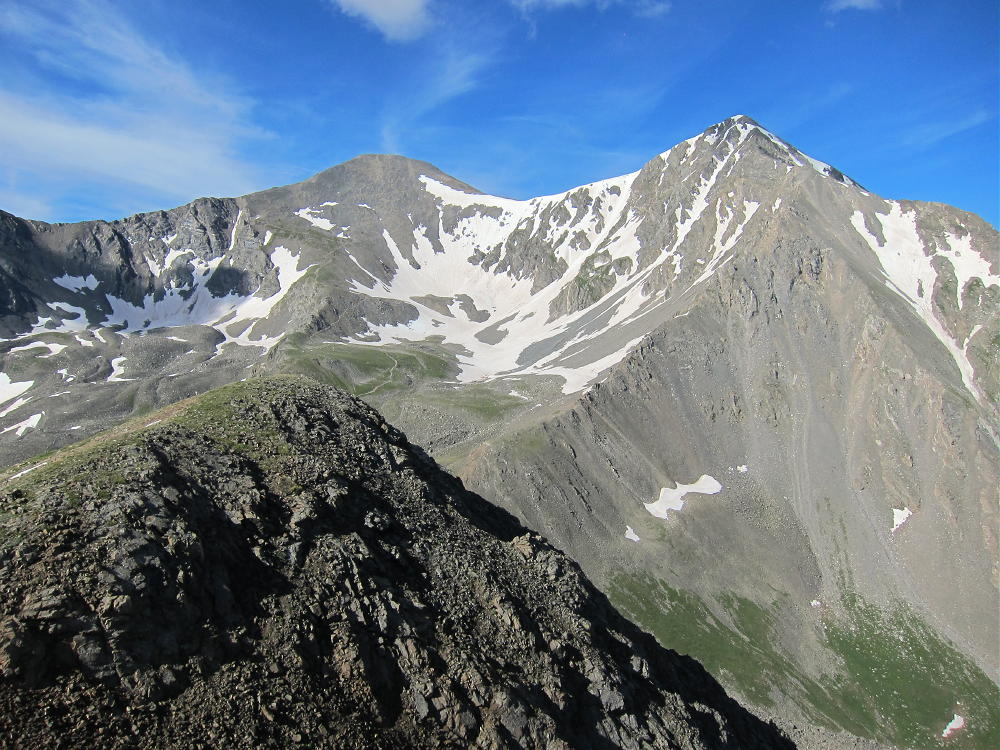
    Grays and Torreys from Kelso
    Grays and Torreys from Kelso

    To reach the trailhead, drive west of Denver on I-70, and exit at mile 221. Drive south and start up the rough Stevens Gulch Road 321. The condition of this road has deteriorated in recent years, and it may not be passable in cars. When I drove my old VW bug up in July 2014, the road was badly in need of repair at about 10,400 feet – I barely made it through a large hole in a steep eroded section. Inquire before going too far. This is a good place to avoid on a busy weekend. If you can get to the trailhead one way or another, a wonderful hike is possible.

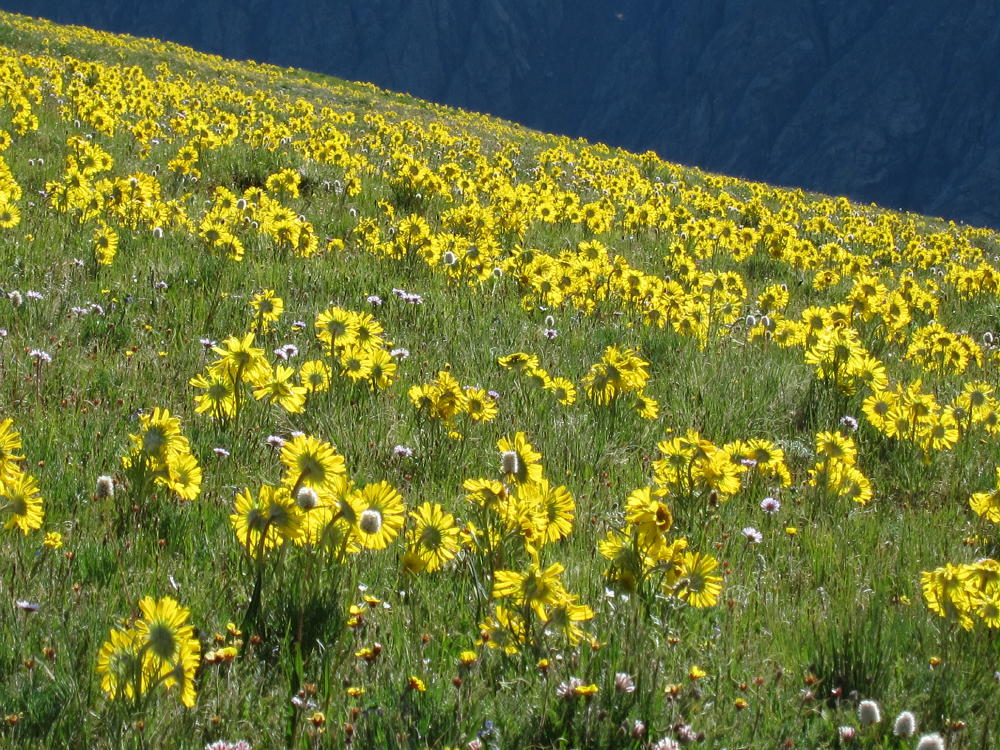
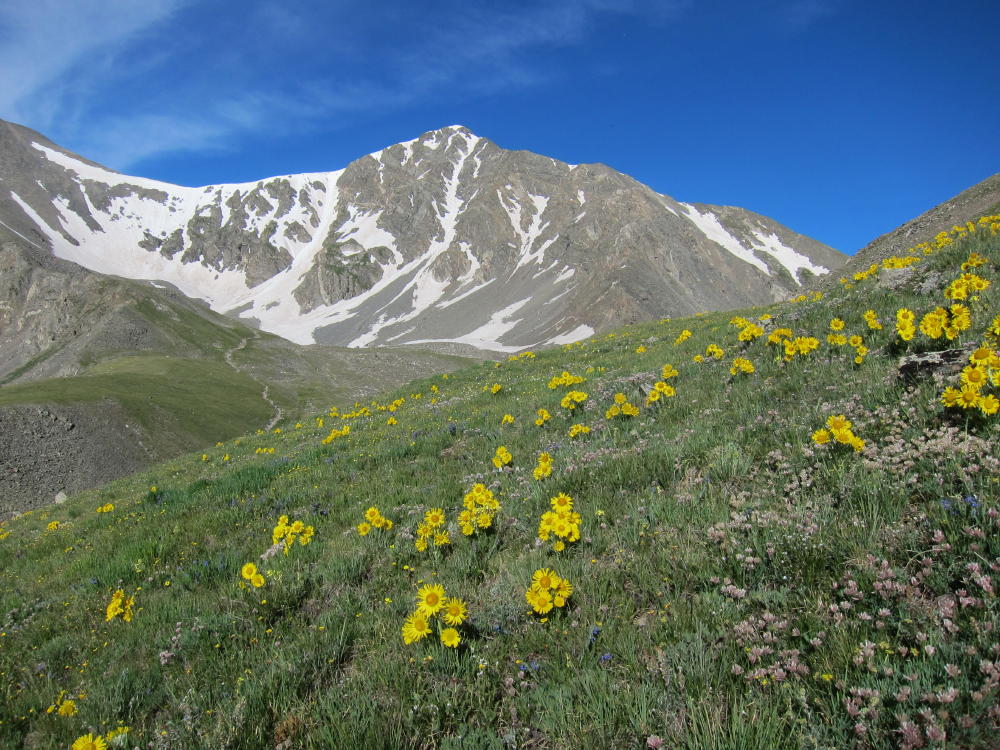
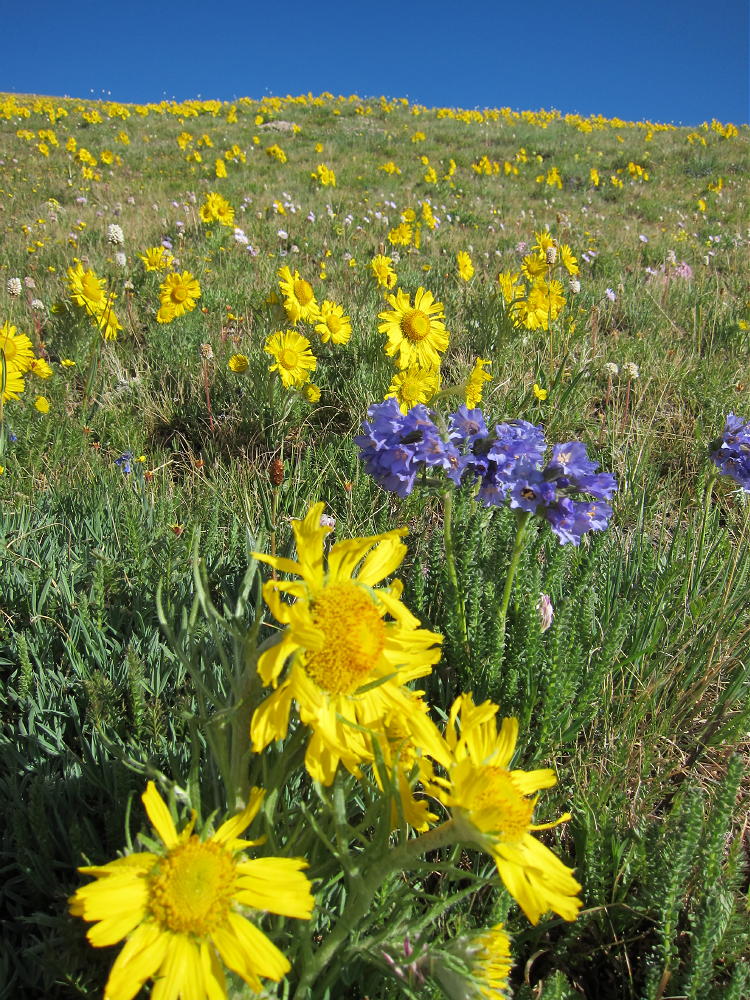
    Leave the Stevens Gulch Trailhead at 11,300 feet, cross the creek on a bridge and head up the trail to the southwest. After less than 2 miles, the trail approaches the saddle between Kelso and Torreys, to the north. About ¼ mile before the saddle, at a creek-crossing at 12,200 feet, leave the trail and hike north up the south ridge of Kelso. This is a beautiful alpine meadow filled with flowers – step carefully.

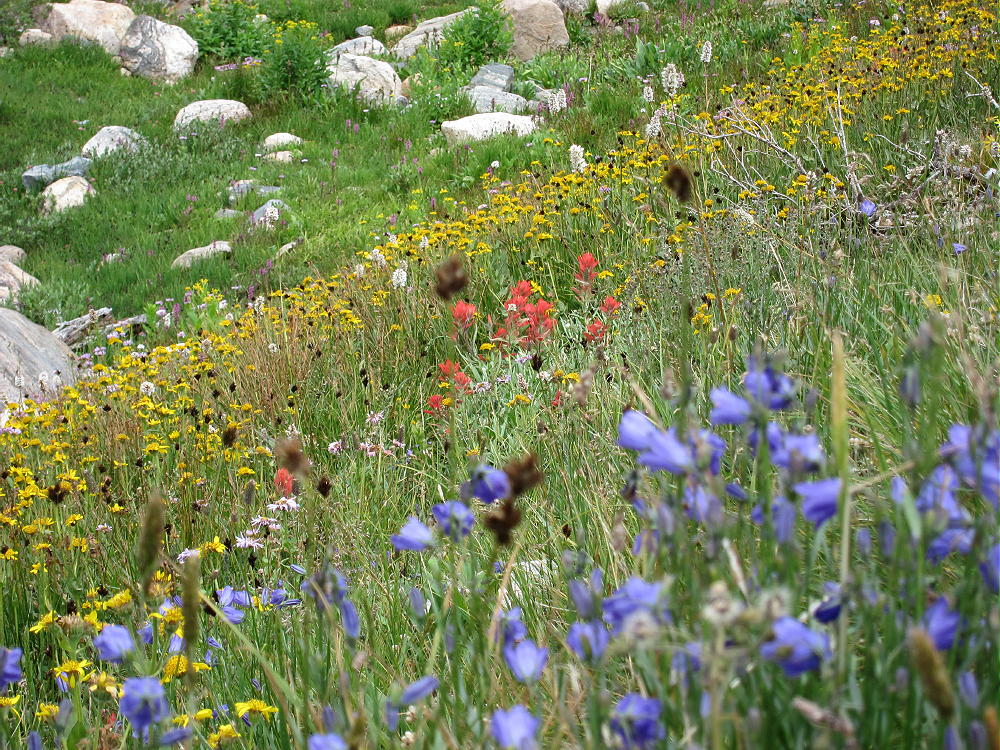
    Alpine Sunflowers on Kelso Mountain
    Alpine Sunflowers on Kelso Mountain

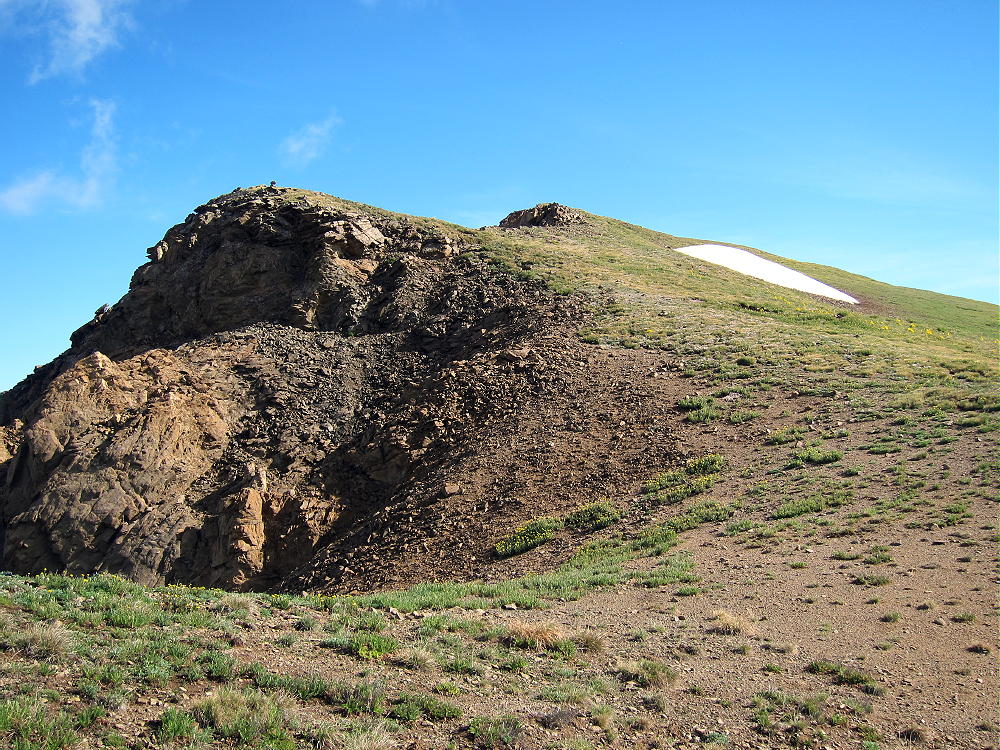
    The remaining hike up to Kelso is about a mile and almost 1000 vertical feet. It starts steep and then gets easy toward the top of the ridge.

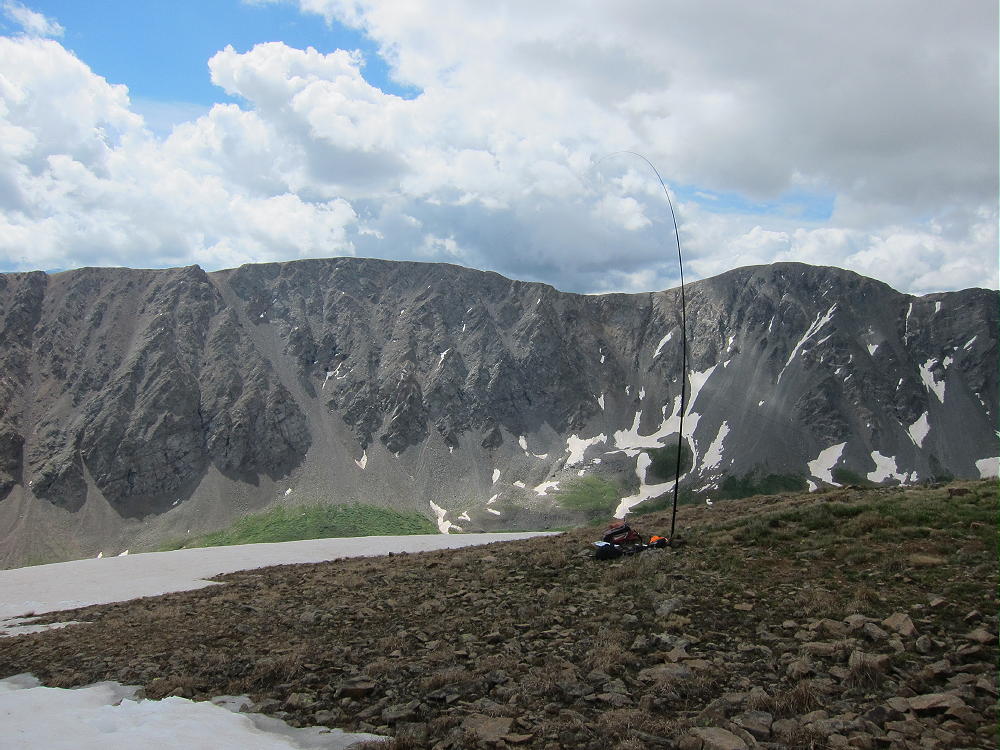
    The summit has a large activation zone with plenty of room to set up and activate. It is ideal for HF, but take a pole.

    This may not be a good VHF/UHF summit – other mountains partially block the path to the east. This area seems to breed storms, so get up there early, and don’t take a chance with dark clouds.

    While it is possible to descend Kelso via a different route than the south ridge used for the ascent, those other routes are really steep.

    With the many flowers and spectacular views of Grays and Torreys Peaks, on a nice summer day, Kelso Mountain is a SOTA Classic!

    George Carey Fuller
    KX0R


    ATTENTION !! WARNING !! There are old mountaineers, and bold mountaineers… there are no old-bold mountaineers. Hiking and mountain climbing are potentially hazardous activities particularly in Colorado with its extreme elevations. I am not accepting responsibility for any death or injury resulting from activations based on my trip reports. Proper training, experience, and personal capability assessment is required – enjoy!
  • WØC/SR-Ø4Ø (Vasquez Peak) – 3938 m / 12947 ft

    W0C/SR-040
    Vasquez Peak
    3938 m / 12947 ft
    First Activation Aug 9, 2014

    By KX0R

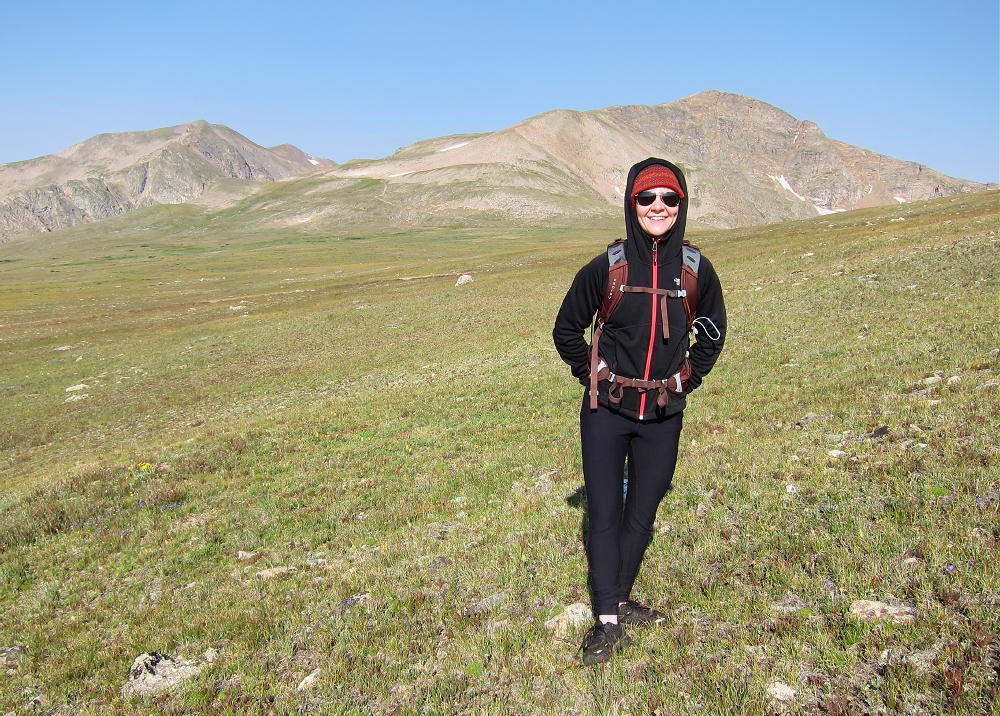
    My first activation of Vasquez Peak was a high country adventure. The surrounding Vasquez Peak Wilderness is named for this high, prominent summit. While there is no marked trail to the mountain, the climb is not difficult.

    Start by driving up I-70 west of Denver. Take the exit toward Berthoud Pass, and follow Route 40 about 6-1/2 miles up past Empire. Right before the big switchback curve below the Pass, there is a sign for the Henderson Mine – turn left on Road 202, which heads up toward Jones Pass. Drive about 1.7 miles west on 202, pass the huge Henderson Mine facility on your left, and take the right fork where the road splits off towards Jones Pass. After about half a mile, look for a trail sign marking the Continental Divide Trail (CDT) access on the right of the dirt road. Park nearby and head up the trail.

    This well-built trail starts at about 10,400 feet elevation and climbs up the forested slope with several switchbacks. At about 11,300 feet the trail comes to a junction with the CDT, near where a creek comes down. Head east (right) on the CDT, cross the creek, and continue east about 500 feet or more. Head north up the obvious ridge that rises northeast of the creek. There are hints of a trail up this ridge. At about 12,000 feet, head off the ridge and traverse northwest up grassy tundra toward the 12,440 foot saddle between points near 12,880 and 12,680 feet.

    This is a beautiful alpine meadow high in the Wilderness. Hike up to the saddle, and you’re on the Continental Divide.

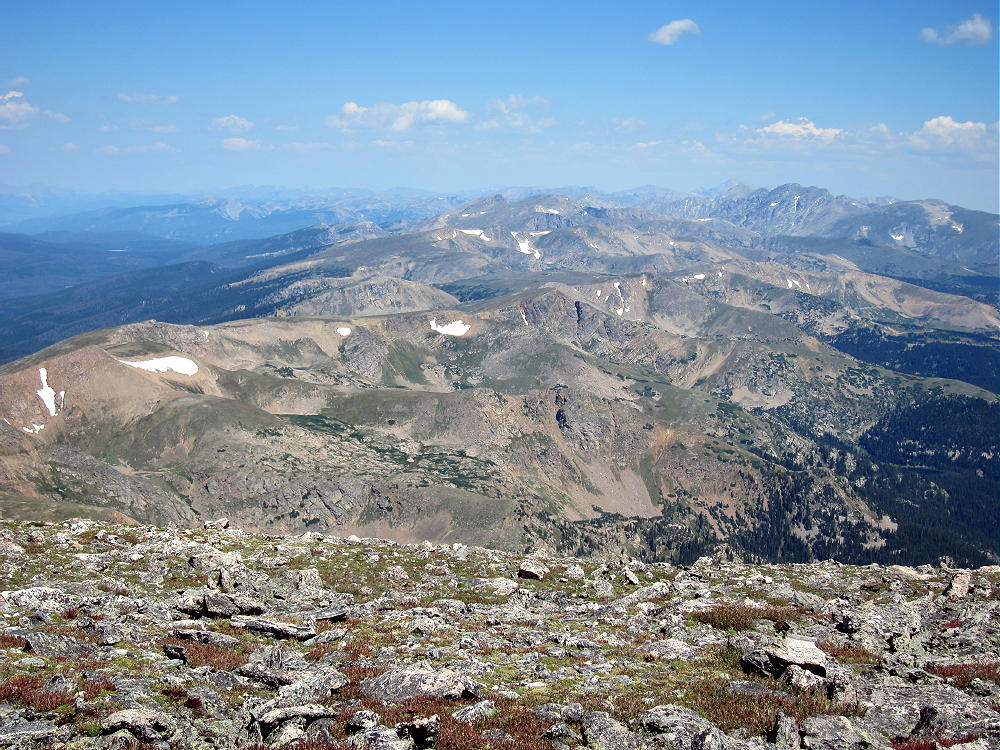
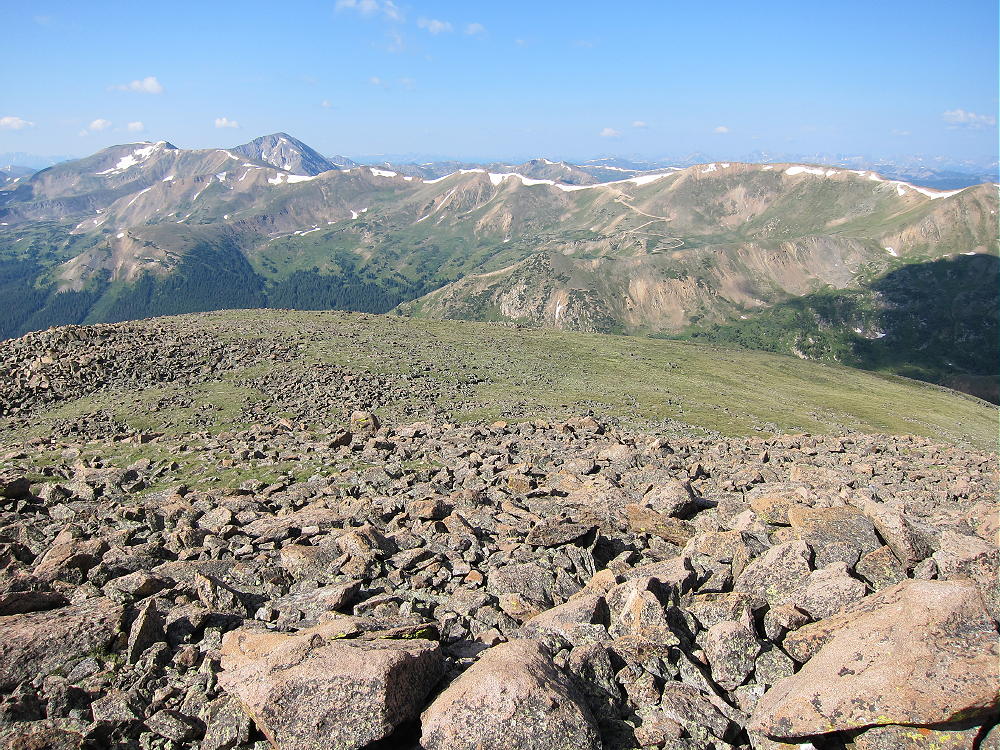
    Climb up the moderate ridge west of the saddle, traverse north around point 12,880, and follow the easy Divide ridge from point 12,880 north about 3000 feet and up to Vasquez Peak. This is a classic alpine hike with stunning views of the Wilderness. This route was easy in August, but earlier in the summer, there might be steep snowfields – point 12,880 might be a problem.

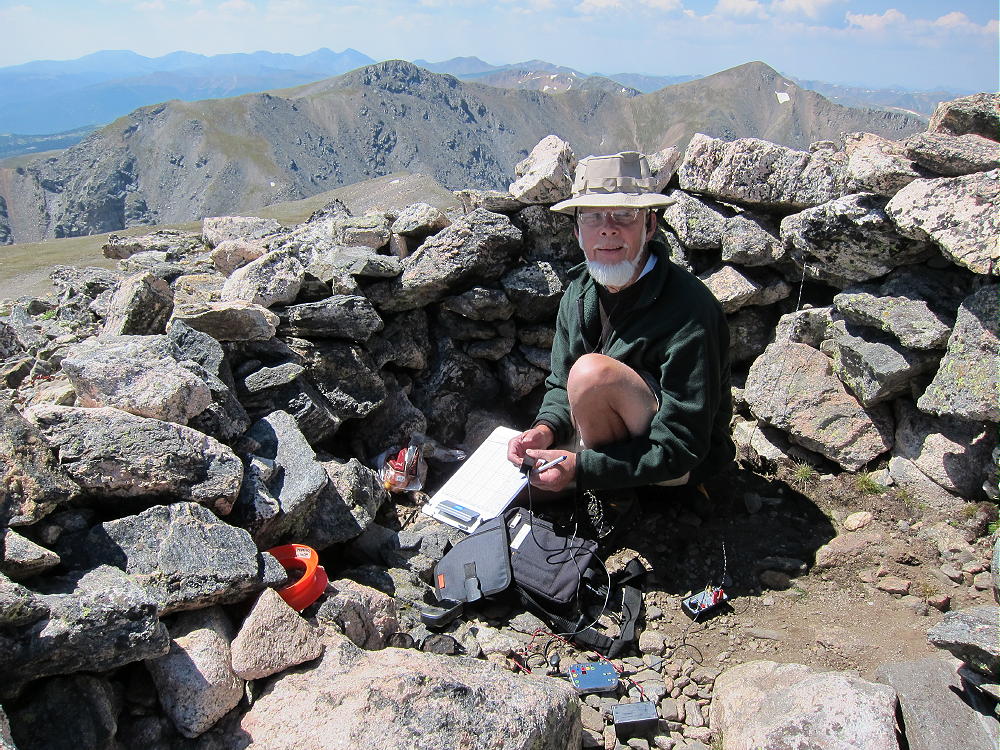
    Vasquez Peak’s summit is rocky, but it’s easy to climb.

    There is limited shelter from wind among the rocks within the activation zone. Be sure to bring a pole in order to erect a wire HF antenna. It’s a perfect HF location, but it has limited VHF/UHF coverage to the east.

    Needless to say, this is a place to avoid in bad weather – it’s the highest summit for miles in every direction! Start early and don’t mess with Vasquez unless the weather forecast is OK.

    The day I went up there, I saw no one else near the summit or on the high ridges. I did meet people on the CDT, and while I was on the air, I saw more than 50 elk in a secluded valley northeast of the summit.

    It looks like Vasquez also can be climbed by following the west fork of the CDT all the way around the west side of 12,880, and then climbing about 800 vertical feet directly up to the ridge between 12,880 and Vasquez. I have not tried this route, but it might be a convenient descent route if weather threatens on the high Divide.

    Vasquez is a SOTA Classic!

    George Carey Fuller
    KX0R


    ATTENTION !! WARNING !! There are old mountaineers, and bold mountaineers… there are no old-bold mountaineers. Hiking and mountain climbing are potentially hazardous activities particularly in Colorado with its extreme elevations. I am not accepting responsibility for any death or injury resulting from activations based on my trip reports. Proper training, experience, and personal capability assessment is required – enjoy!
  • WØC/FR-195 (Raleigh Peak) – 2489 m / 8183 ft

    W0C/FR-195
    Raleigh Peak
    2489 m 8183 ft
    First Activation
    August 23, 2014

    By KX0R

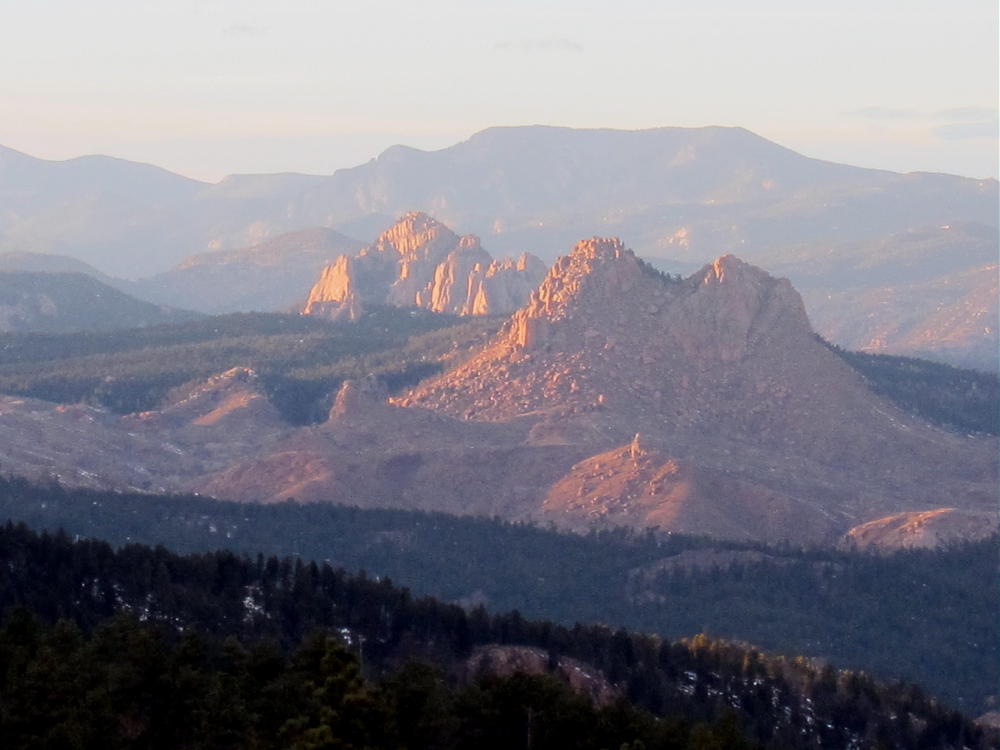
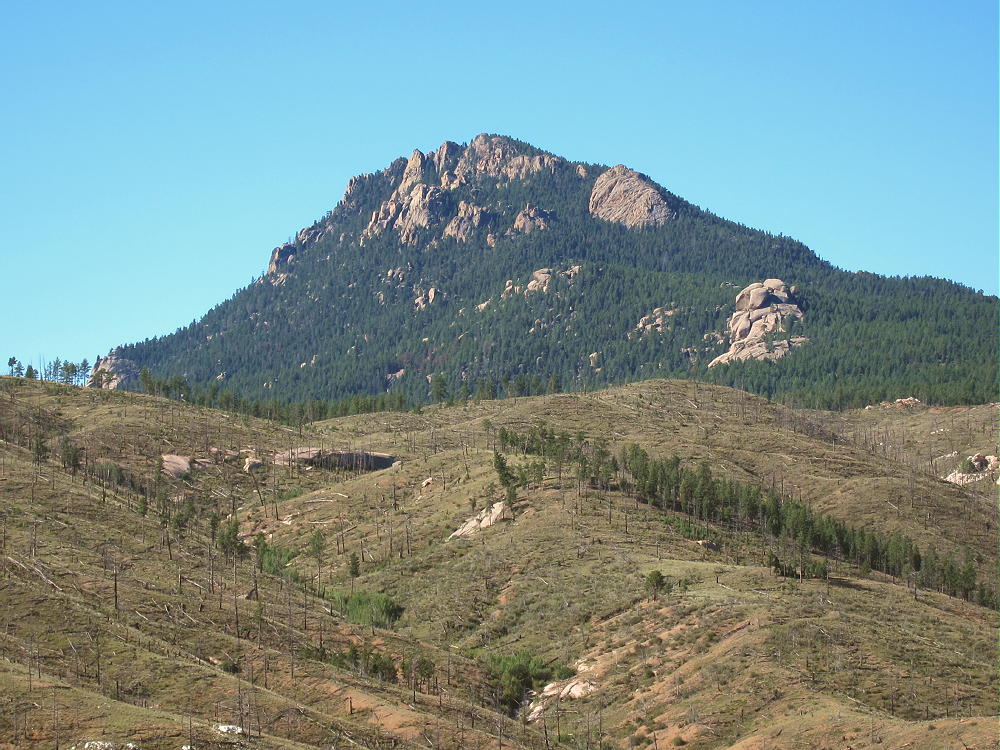
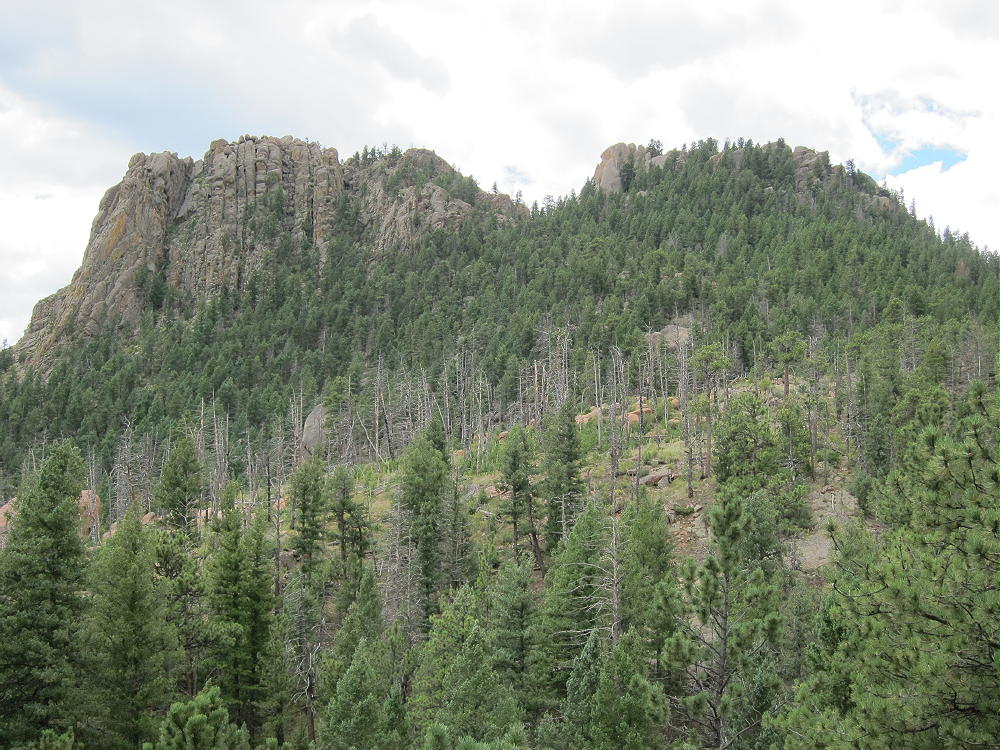
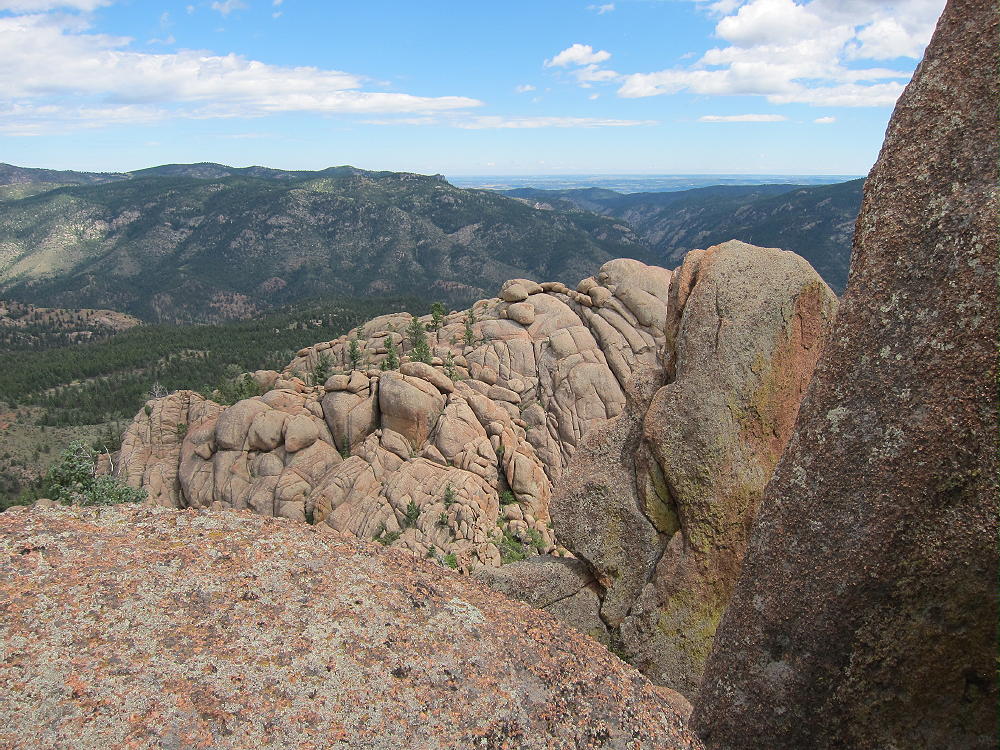
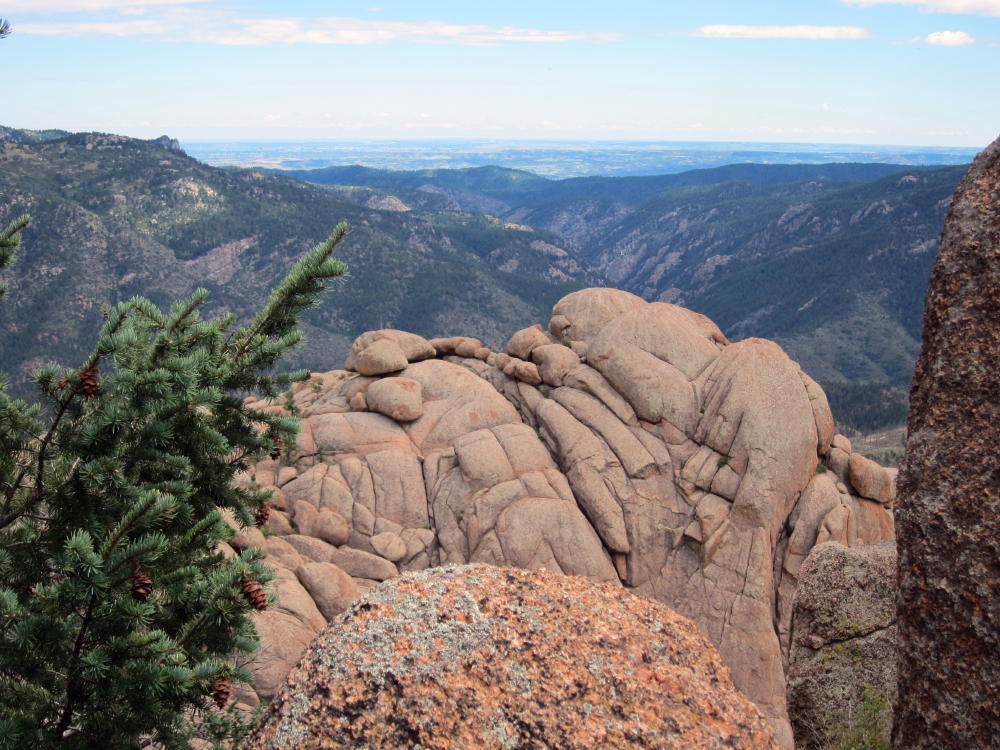
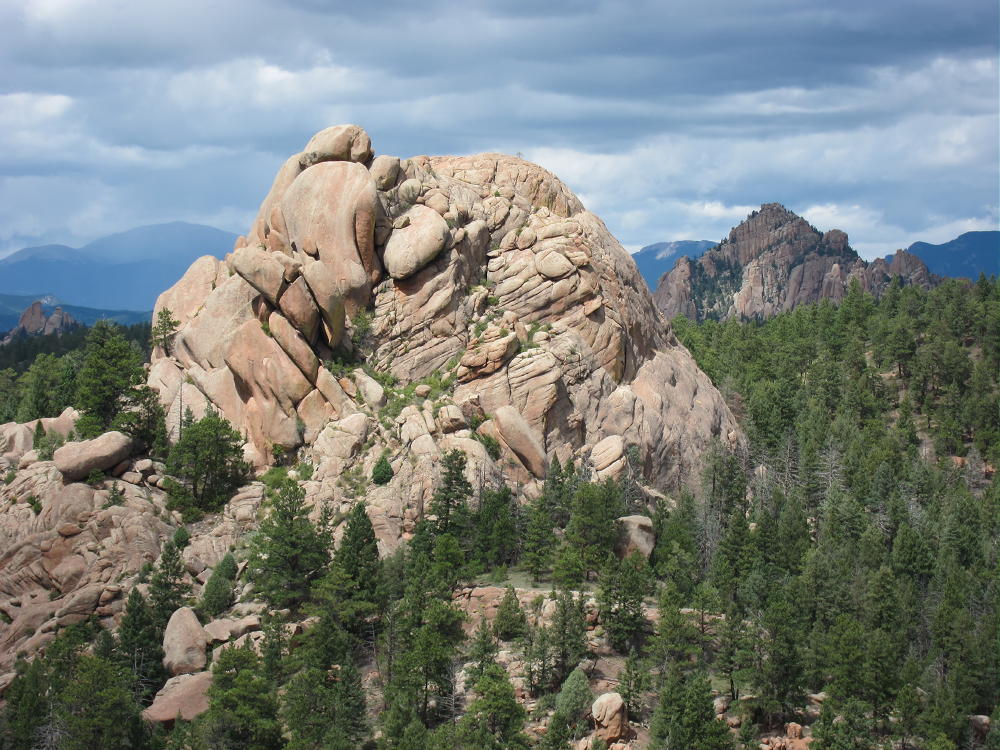
    Raleigh Peak is a distinctive, prominent summit located among many granite formations in the South Platte Canyon area near the town of Buffalo Creek. I first saw Raleigh from Devil’s Head, and it looked mystical and strange, sitting behind Long Scraggy Peak. I had a better look from Little Scraggy Peak – I knew I had to climb it. Activating this craggy outcrop was a challenging mini-adventure. It’s close and convenient to the Denver area!

    Raleigh, Cathedral Spires, and Black Mountain
    Raleigh (Front), Cathedral Spires, and Black Mountain (Rear)

    The Colorado Trail provides access to the north side of the Peak. To reach the trailhead I used, start by driving up Highway 285 west of Denver to Conifer. On the south side of Conifer, look for road 97, South Foxton Road – exit right and go under Highway 285 and then southeast. Drive down 97 perhaps 7 or 8 miles to a junction with road 96 in the Canyon. Follow 96 southeast to the confluence of the North Fork and the main fork of the South Platte River. Follow the road, now 97, for about a half mile south of the bridge at the confluence; look for a large parking lot on the west side of the road. This is where the Colorado Trail descends the mountain to the east, crosses the road and the South Platte on a nice bridge, and ascends back up toward Raleigh Peak to the west. Park at the trailhead, pack plenty of water, cross the bridge over the River, hike a short distance south along the trail by the river, and then begin the steep climb up the switchbacks.

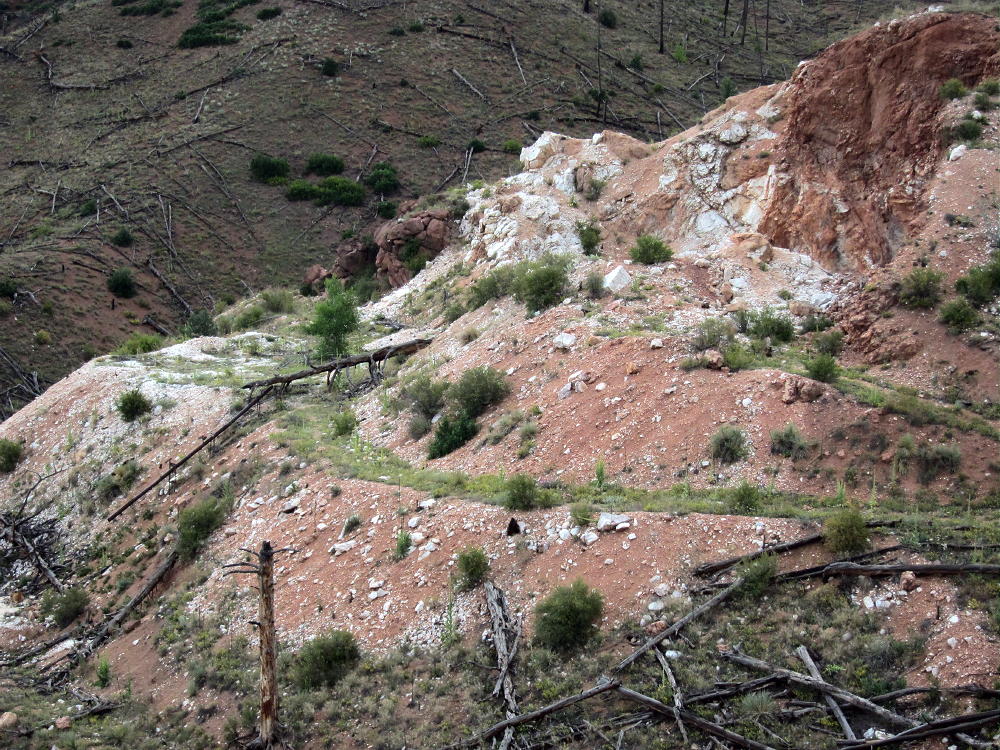
    The trailhead at the River is at about 6100 feet. The climb to the Raleigh summit is over 2000 vertical feet. After the first half-mile, at an old quartz mine near 6700 feet, the trail becomes less steep, and the hike is moderate for a long way after that.

    Quartz Mine along the Colorado Trail
    Quartz Mine along the Colorado Trail

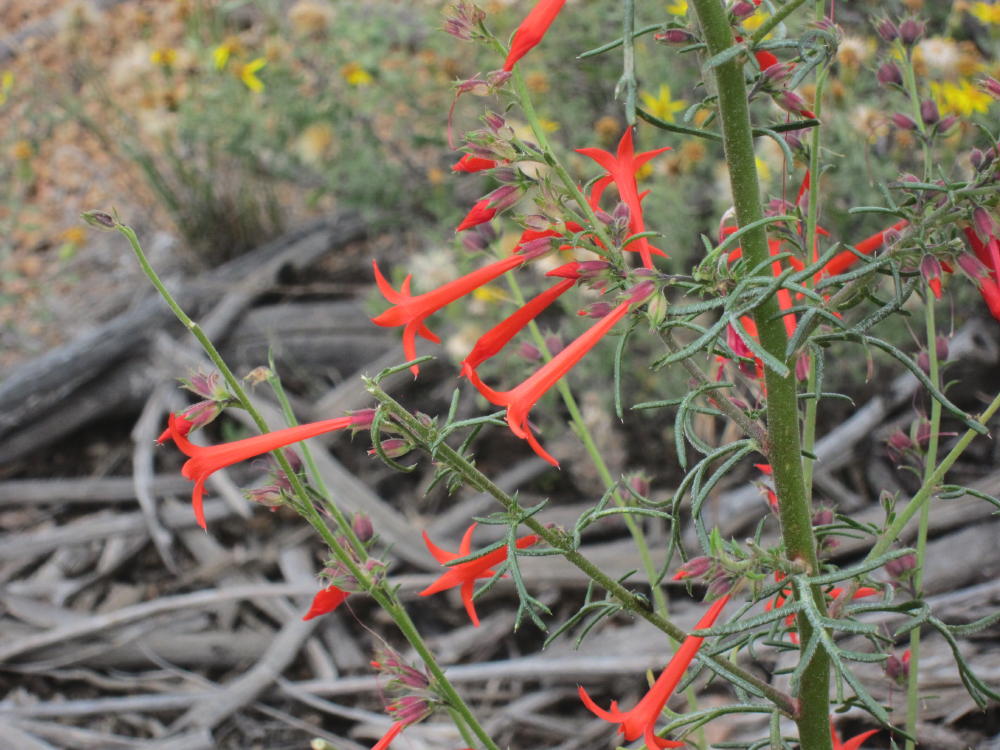
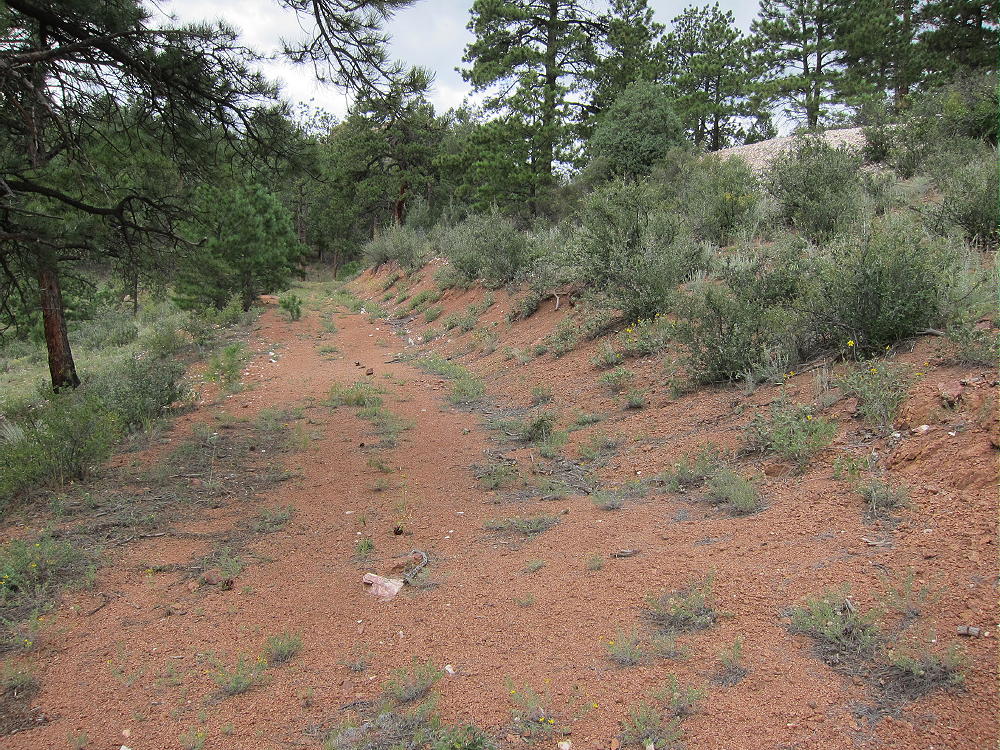
    Much of the region was burned up in the Buffalo Creek Fire. There are few live trees until you get close to the Peak, so there is little shade along the trail. This hike is best done on a cool day; you should probably go somewhere else during mid-summer. The burned landscape offers good visibility, route-finding is easy, and the views are impressive. The land is beginning to recover, and there are wildflowers among the charred logs.

    Follow the Colorado Trail up for about 2 miles along the north side of the ridge to about 7200 feet. There is an abandoned dirt road near the ridge-top that parallels the Colorado Trail, and this road leads to the gentle forested ridge north of Raleigh. At any convenient point, leave the Colorado Trail and follow the road up the ridge past a small quartz mine, and continue up toward the summit. The road fades away as the slope increases, but a path continues on up the north side of the Peak. If you miss this path, just head for the saddle between the Raleigh summit and the smaller peak to the east.

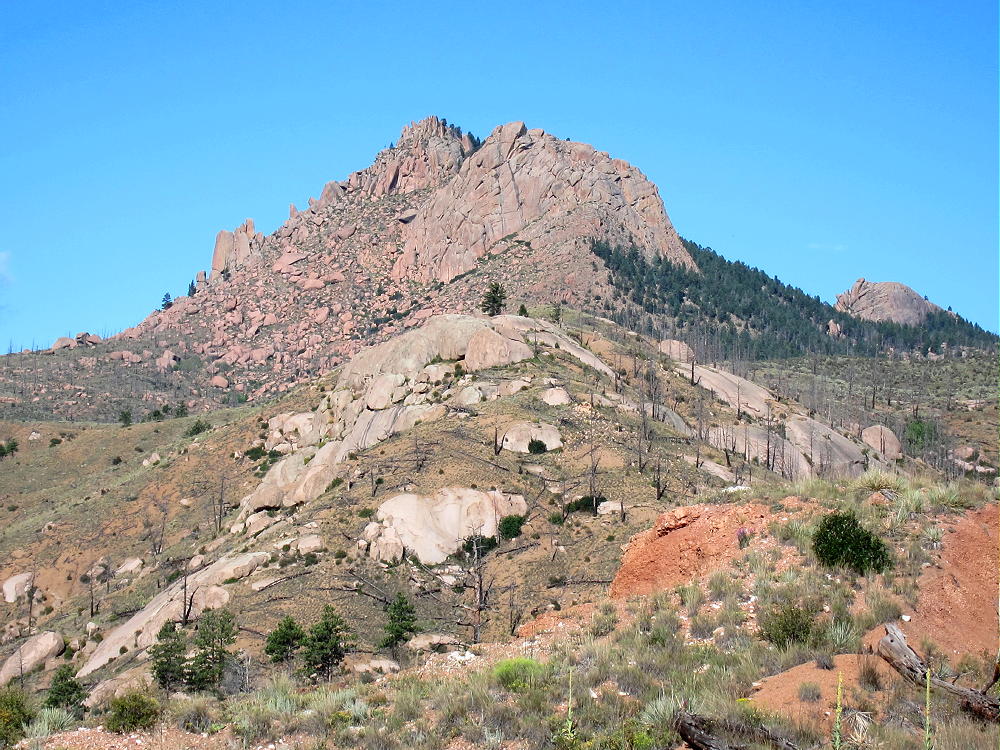
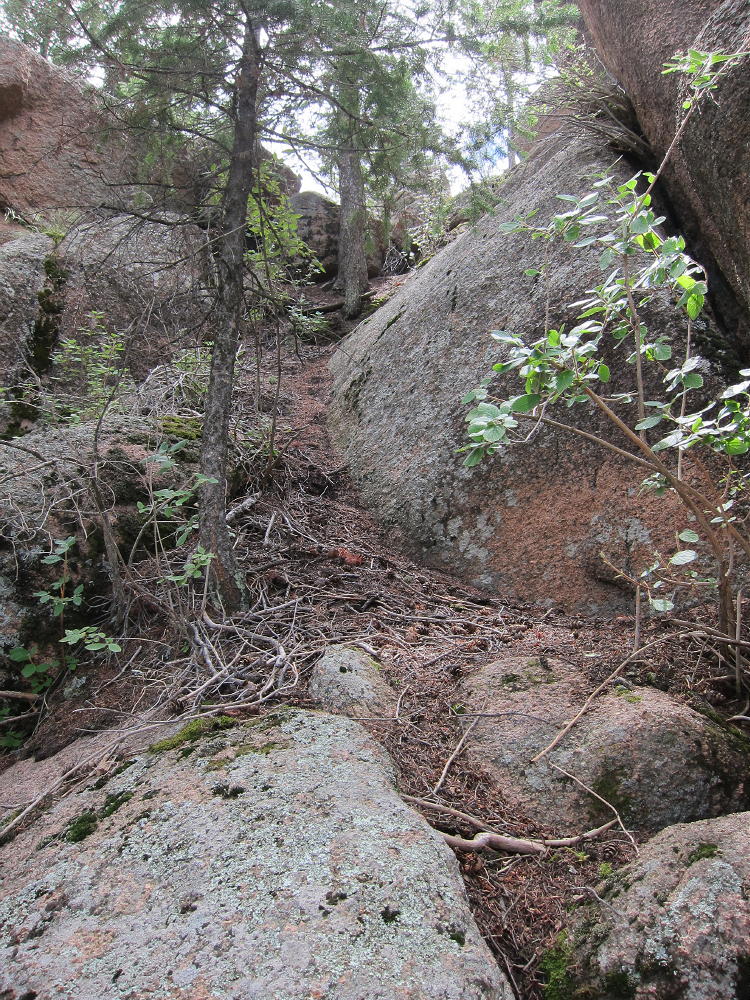
    Raleigh Peak is very steep on the east, south, and west sides. The least steep approach that I found is from a point northwest of the saddle and northeast of the Peak. This approach is a steep climb up a little gully that leads up to some rocks and ledges just below the summit.

    Route to the Summit
    Route to the Summit

    Note that the saddle between Raleigh and its sister is below 8000 feet, and the Peak is at 8183 feet. About 100 feet of the climb is a steep slope, followed by an easier route over some rounded rocks and ledges with little exposure. It is not necessary to do anything worse than class 2 and 3 scrambling to get to the Activation Zone near the peak, and exposure is minimal – unless you try some other route. The actual summit is a large boulder, at least 15 feet high, and I did not attempt to climb it.

    The route that I used for the last part of the climb showed little wear from other climbers. It is possible that there are other ways up there that I did not find. With clouds gathering, I was in some hurry to activate the mountain, so I didn’t explore the top or around the sides for other routes.

    There is plenty of room among the large summit outcrops to set up a comfortable activation. I set up just east of the summit, with my pole tied to a convenient tree, and I just ran my wire to another tree. The peak is so prominent that there is no point in worrying much about where to put the pole or the wire. There are many bushes and other plants, and thousands of harmless little flying insects as well. This is a weird summit for sure! It is much better for HF than for VHF/UHF, as it doesn’t have a clear view of much of the eastern Plains.

    Even though the summit is a relatively low SOTA peak, and the trail would be fun on a good winter day, the shadowy north side of Raleigh is probably snowy and icy in cold weather. I suspect that there are lots of ticks in the bushes in April and May. All things considered, it’s a good summit for a fall activation!

    It looks like there is a western approach to Raleigh via the Colorado Trail from Deckers Road 126. This requires much less vertical ascent than the eastern route up from the River; the horizontal distance is also less. Some online accounts mention that there is private land on the east side, but it should be possible to hike on the Colorado Trail and then climb up from the north side as I did.

    No matter how you do it, Raleigh Peak provides an interesting 2-point activation. It’s a great place to view the South Platte Canyon country with its numerous granite outcrops and other weird rock formations.

    George Carey Fuller
    KX0R


    ATTENTION !! WARNING !! There are old mountaineers, and bold mountaineers… there are no old-bold mountaineers. Hiking and mountain climbing are potentially hazardous activities particularly in Colorado with its extreme elevations. I am not accepting responsibility for any death or injury resulting from activations based on my trip reports. Proper training, experience, and personal capability assessment is required – enjoy!
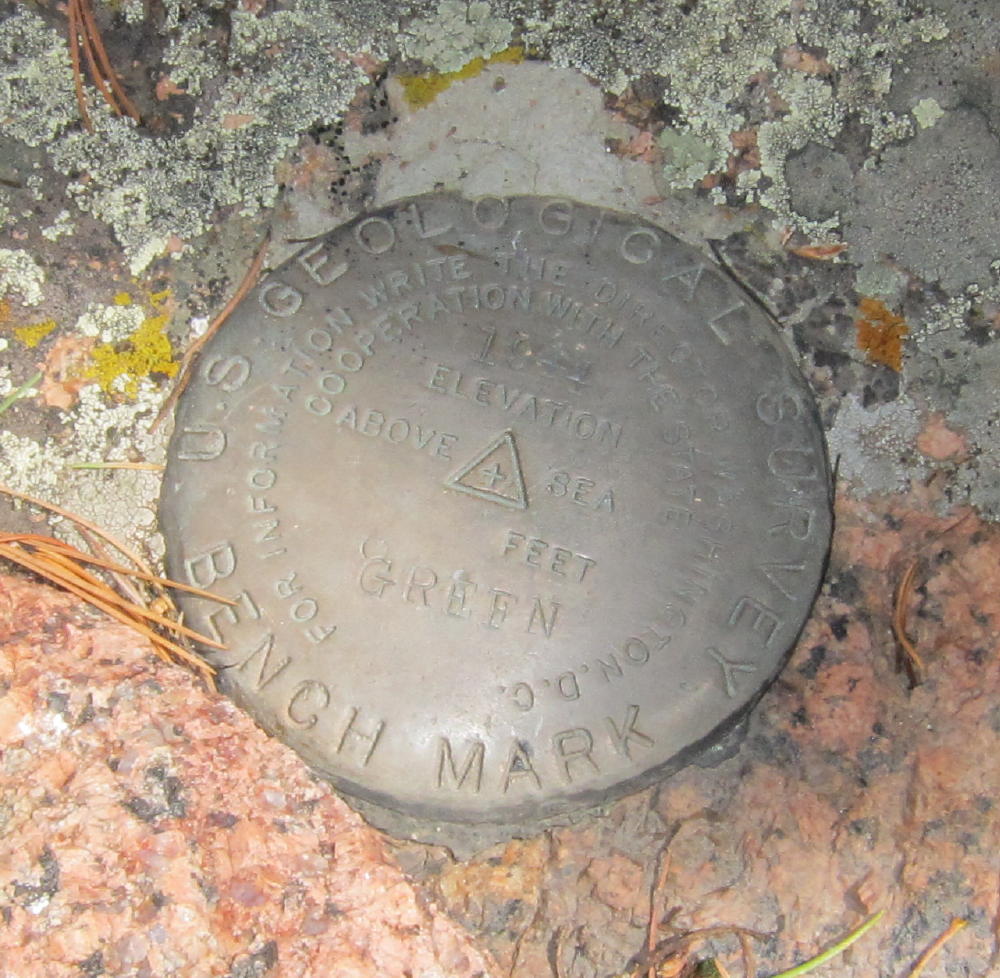
  • WØC/FR-Ø44 (Green Mountain) – 3170 m / 10421 ft

    W0C/FR-044
    Green Mountain 3170 m / 10421 ft
    First Activation
    Sep 20, 2014

    by KX0R

    There are many Green Mountains in Colorado, but W0C/FR-044 is one of the best for SOTA. What it lacks in points, it makes up for in prominence and satisfaction for the successful activator. Best of all, it has reasonable access from the Denver Metro area, and it makes a nice day trip. This is a true SOTA “Classic”!
    Green Mountain West Side
    Green Mountain West Side

    Start by driving up Highway 285 to Bailey, and at the bottom of Crow Hill, turn left where the road curves to the right as it enters the town. Pass the Liquor, Tobacco, and Firearms store and take Road 68 southeast. This road is paved a short distance, but after it enters the Pike National Forest, it becomes dirt. Follow 68 for several miles, up and over some large, steep hills, and through the scenic forest. Follow the signs to Wellington Lake. Road 68 forks into Road 105, which leads through some ranches to the Lake. Wellington Lake is a private resort, but it’s OK to drive past the lake on the bumpy road, in order to reach the Stoney Pass Road at the SE corner of the Lake. If you pay a fee you can camp or fish at the Lake – it is spectacular. Huge rock formations called The Castle tower above the Lake. The Castle is W0C/FR-161, and it has not been activated at this writing.

    Wellington Lake and The Castle
    Wellington Lake and The Castle

    Follow Road 105 along the shore to the T-intersection with Forest Road 543. Go straight on Forest Road 560, and continue to the far SE corner of the Lake. First ford a small creek – this pool is several inches deep, and OK to cross in a car in summer or fall, but it might be more serious during the spring runoff- or after a heavy rain. After the ford, Road 560 passes through posted private land for a short distance, and then it enters the Pike National Forest again. The road climbs steeply up to Stoney Pass, which is not as bad as it sounds. In cold weather, this north-side road may be gated or impassable due to snow and ice. Access might or might not be available from the south side of the Pass. At Stoney Pass there is parking and dispersed camping in the aspen trees. This area was minimally burned in the recent fires, so it is special – the huge burn area begins a couple of miles south of Stoney Pass.

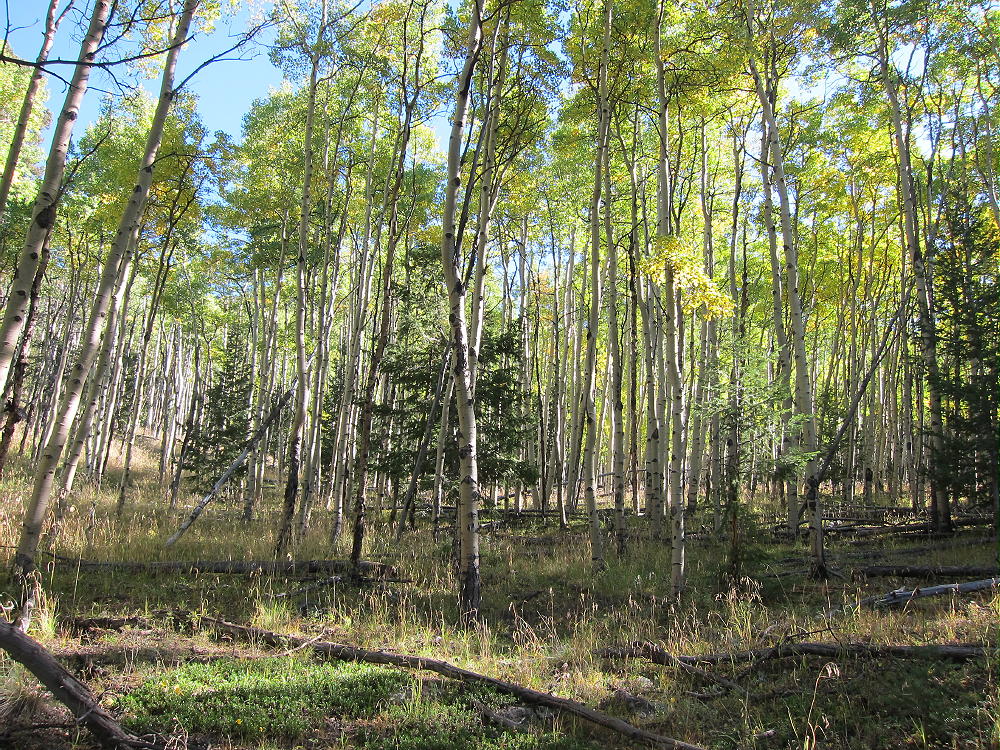
    From the pass, hike along a closed forest road that leads roughly east up to a plateau area with open pine woods. Follow the main fork of the road until it begins to descend SE, down toward a meadow area in a valley. From the apparent high point of the road, head slightly left, and follow an easy game trail east along the obvious gentle ridge, keeping Green Mountain in mind and in view, and gradually climb up a draw northeast, through open aspen forests toward the distinct south ridge of Green Mountain.

    Green Mountain Hike through Aspens
    Green Mountain Hike through Aspens

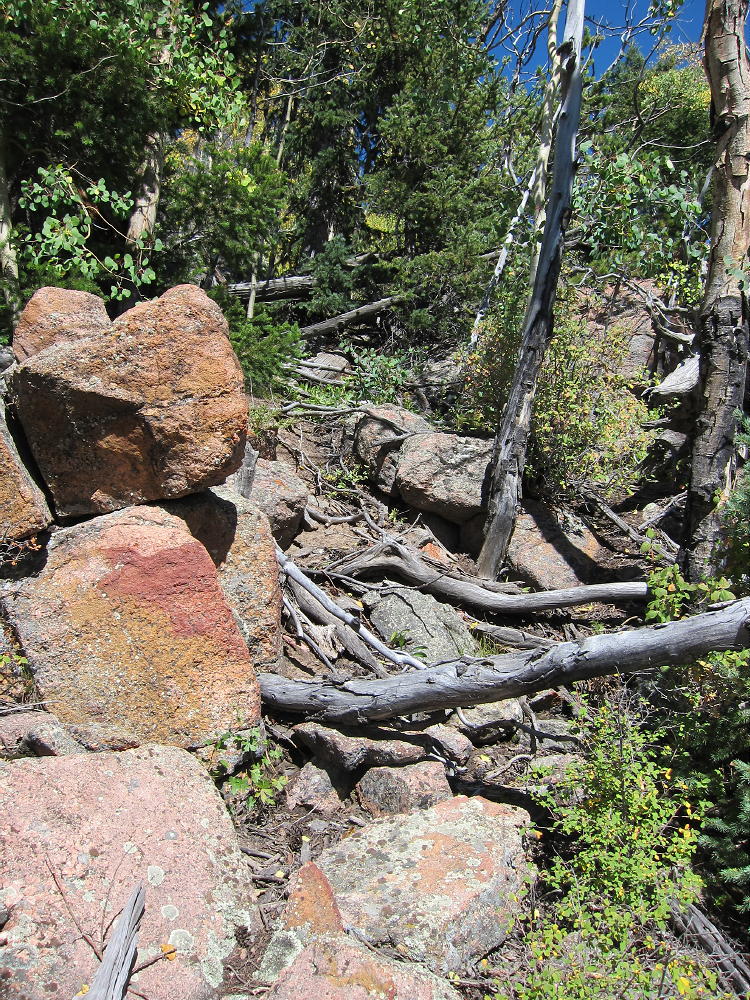
    I headed up the draw southwest of Green Mountain’s South Ridge, and then I went up steep slopes to the craggy ridge. Pick your way up the South Ridge through prickly bushes and over rocks and fallen trees, following game trails, and go either left or right of any problematic cliffs or large blocks – there are several.

    Green Mountain Ridge Route - Typical
    Green Mountain Ridge Route – Typical

    There is no serious climbing required, just use good judgment and look for alternatives; go back down a little, and try another route if you come up against anything worse than a bit of Class 3. The part from 10000 to 10,200 feet is the crux. Much of this route is fun, and it leads very efficiently up to the summit. It all gets better near the top. It’s all south-facing, so it looks like it would be hot in summer – be sure to carry enough water. It’s about 2000 vertical feet and about 3 miles from Stoney Pass to the top of Green Mountain.

    Green Mountain and Buffalo Peak
    Green Mountain and Buffalo Peak

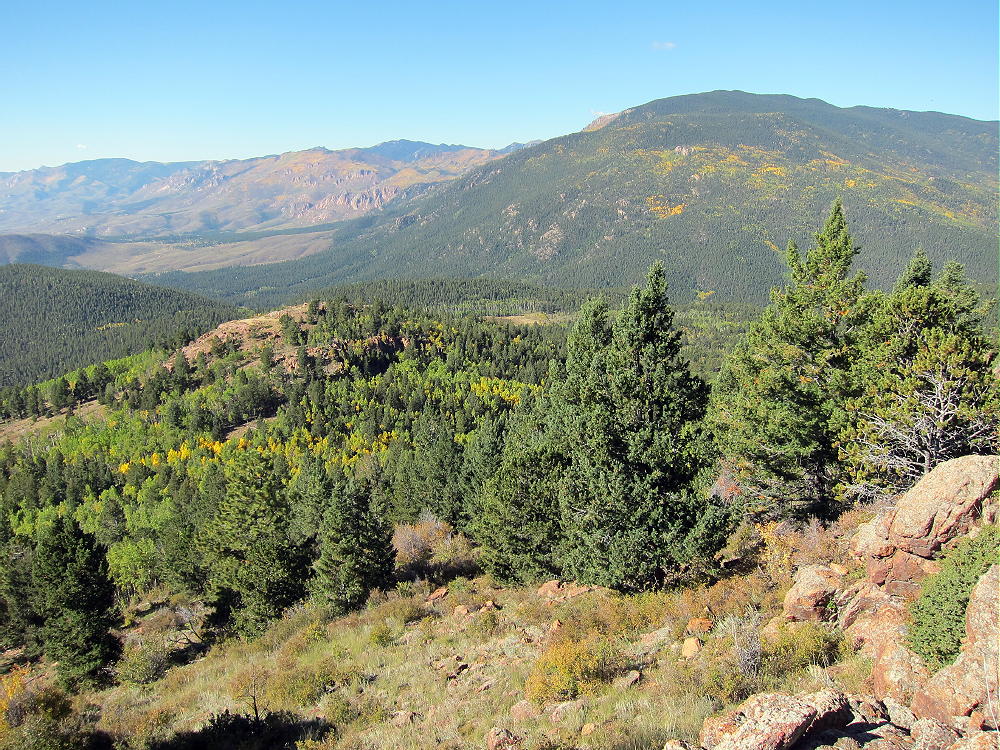
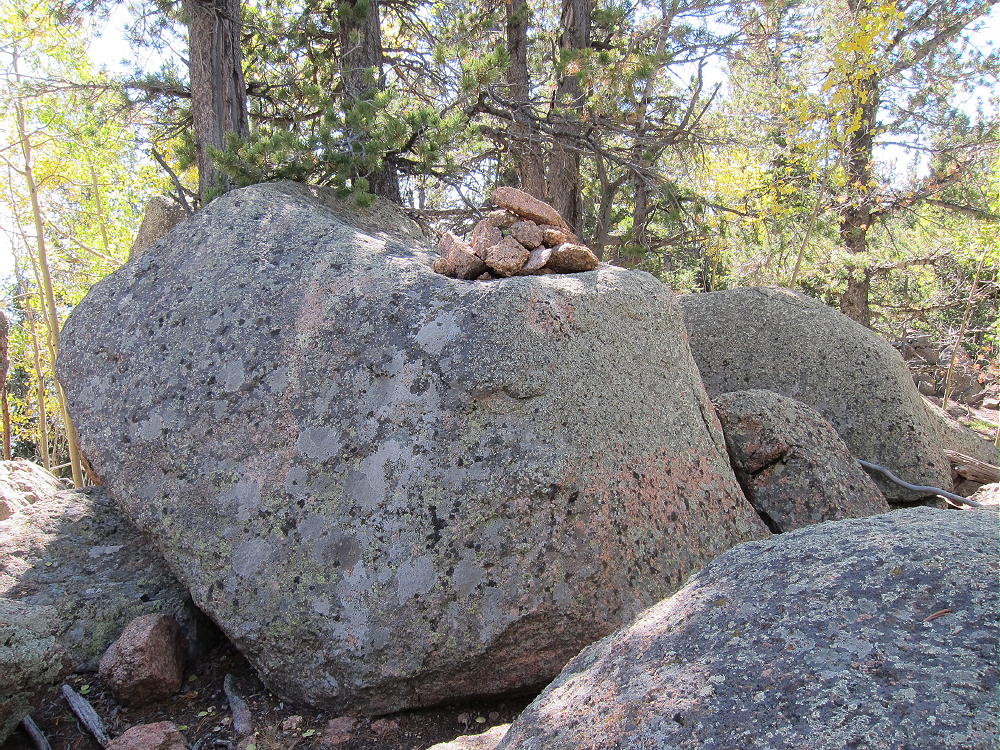
    After a small sub-peak you come to the summit. This area is forested and has limited views – but after the wide-open South Ridge, you may be happy to trade for the security and peace that exists up there. Few people climb this mountain, despite the fact that it dominates the landscape and looks really high from below.

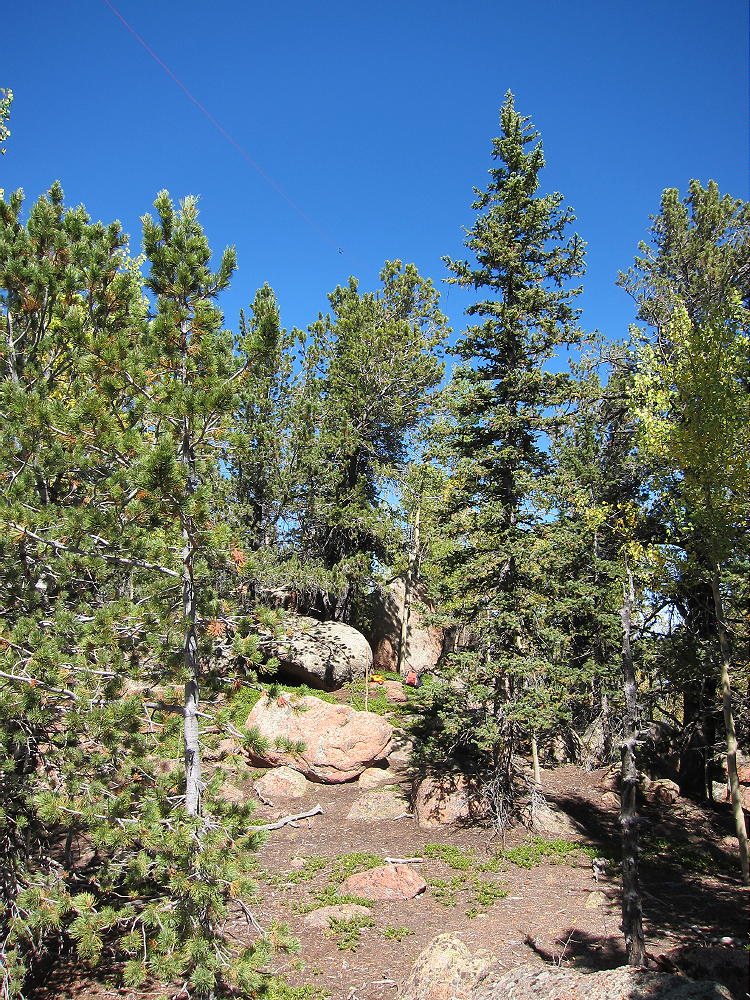
    The activation zone is large and convenient, with plenty of trees and rocks, and some shelter from wind. It looks like this summit would work for UHF/VHF as well as HF skip, since the view includes most of the South Platte Drainage, as well as the eastern Plains and some of the South Denver area. Green Mountain looks dangerous if lightning is a possibility – especially the South Ridge! Plan your trip for a good weather day to make sure that you make the best of this wonderful summit.

    When descending, try not to be too creative – there surely are many other workable routes than the South Ridge, but it would be easy to get off course in bad weather or after sunset. GPS is very useful for accurate backtracking.

    Beware of hunters in the fall – there are deer and elk up here. I met some courteous bow hunters the day I climbed on September 20.

    73

    George Carey Fuller
    KX0R

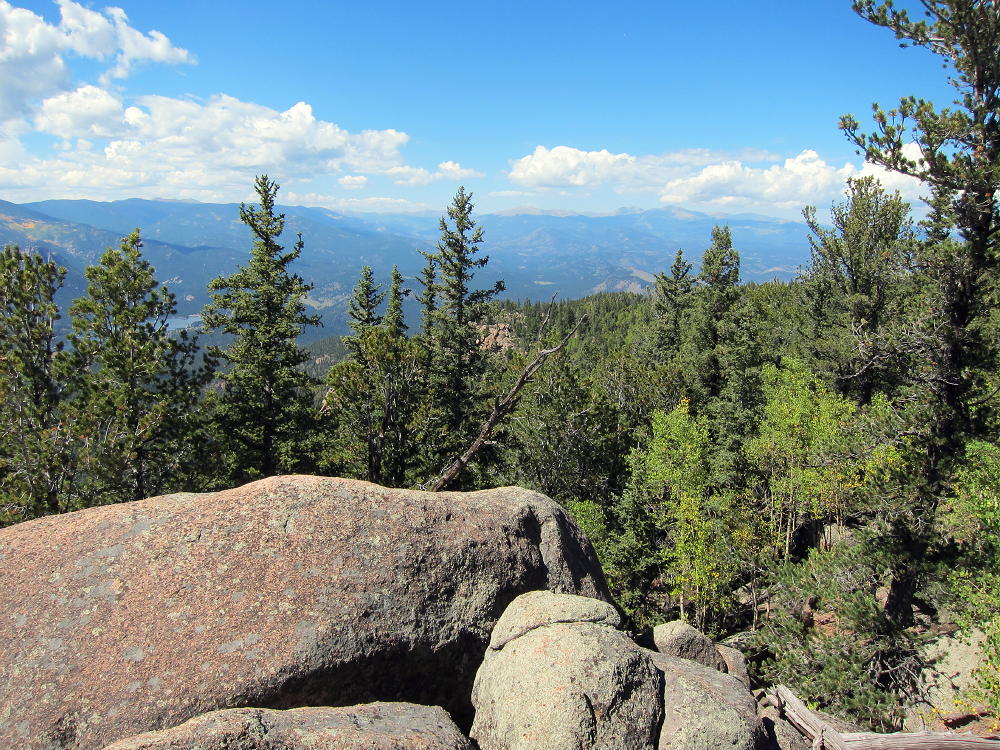
    Green Mountain View Northwest
    Green Mountain View Northwest
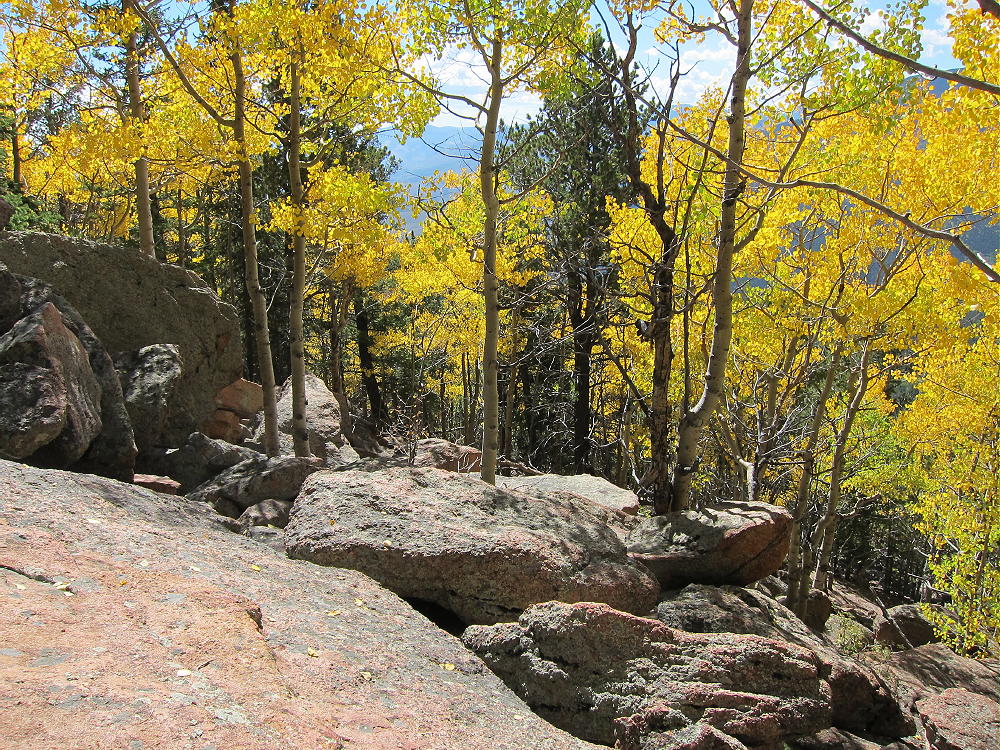
    Green Mountain Aspens
    Green Mountain Aspens

    ATTENTION !! WARNING !! There are old mountaineers, and bold mountaineers… there are no old-bold mountaineers. Hiking and mountain climbing are potentially hazardous activities particularly in Colorado with its extreme elevations. I am not accepting responsibility for any death or injury resulting from activations based on my trip reports. Proper training, experience, and personal capability assessment is required – enjoy!