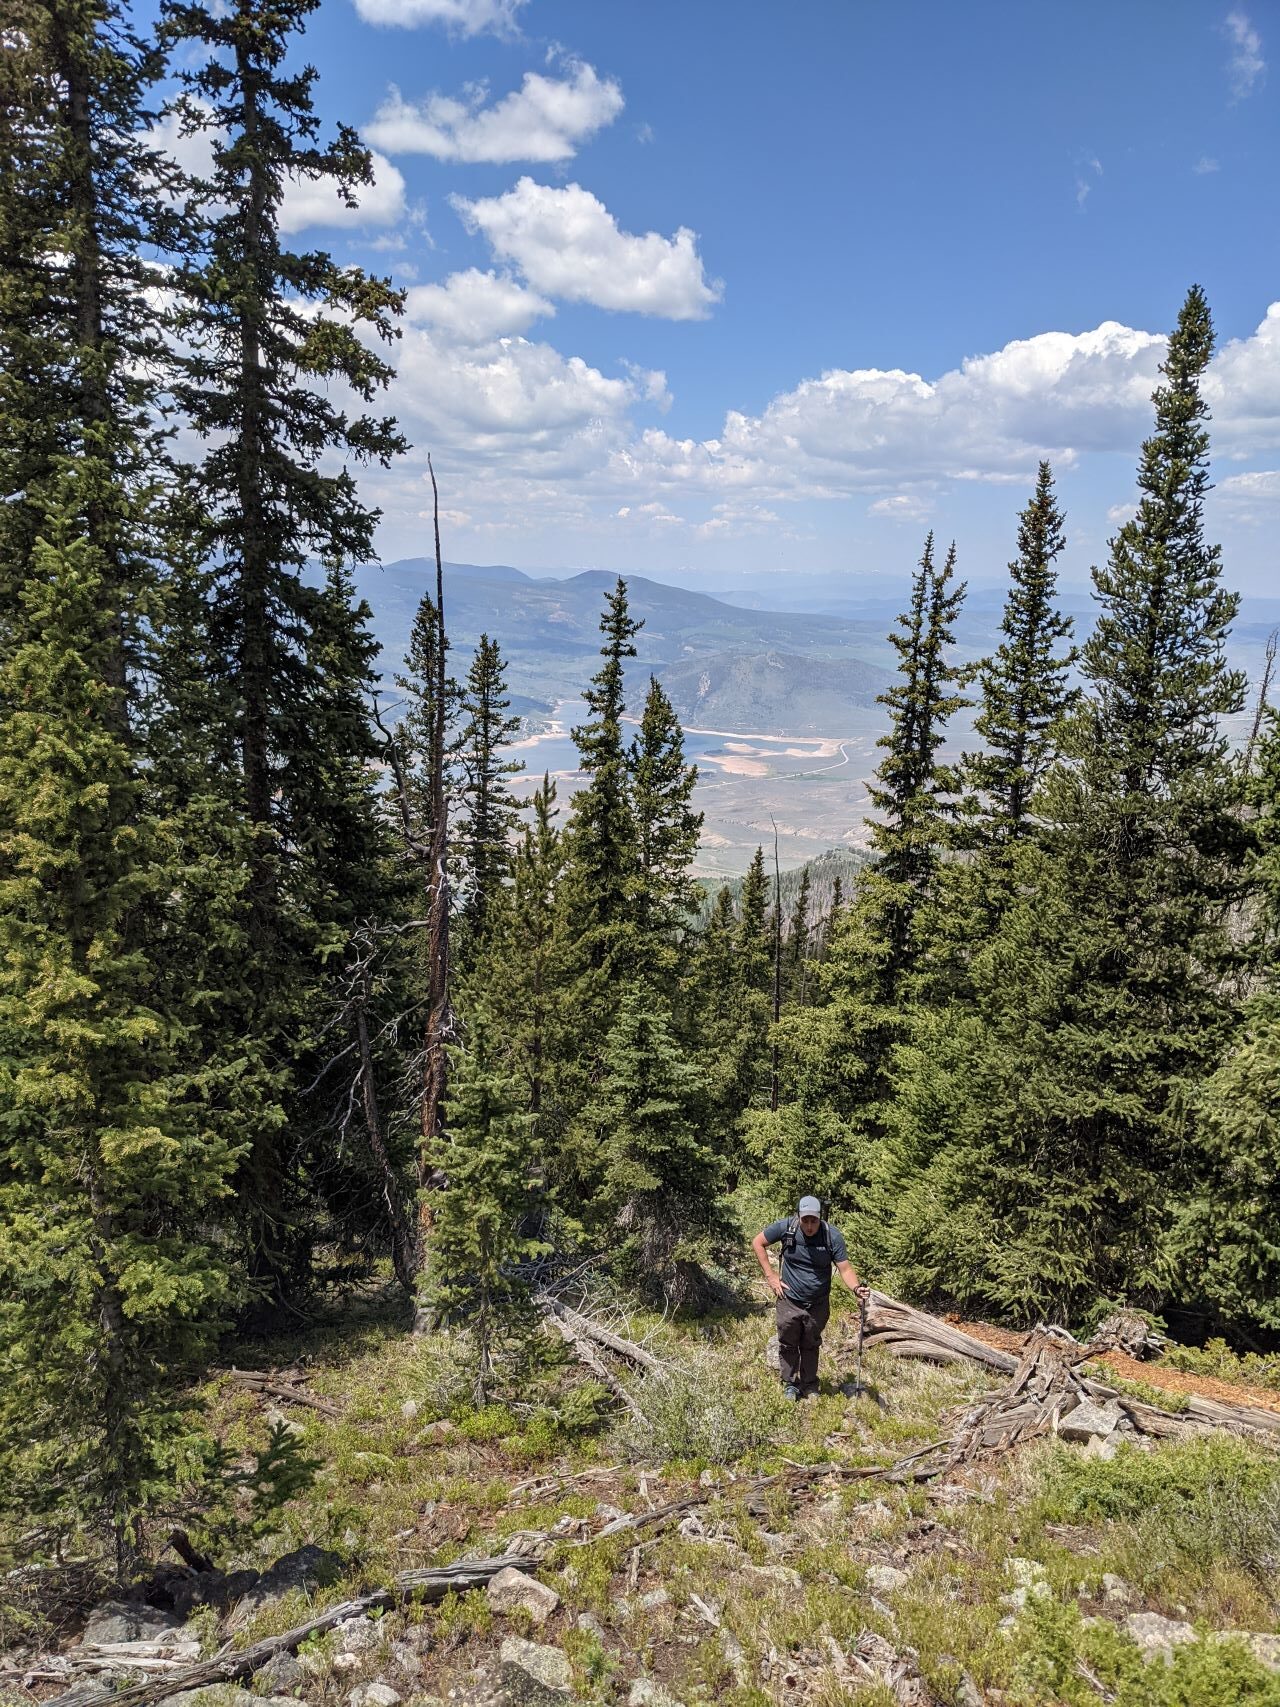
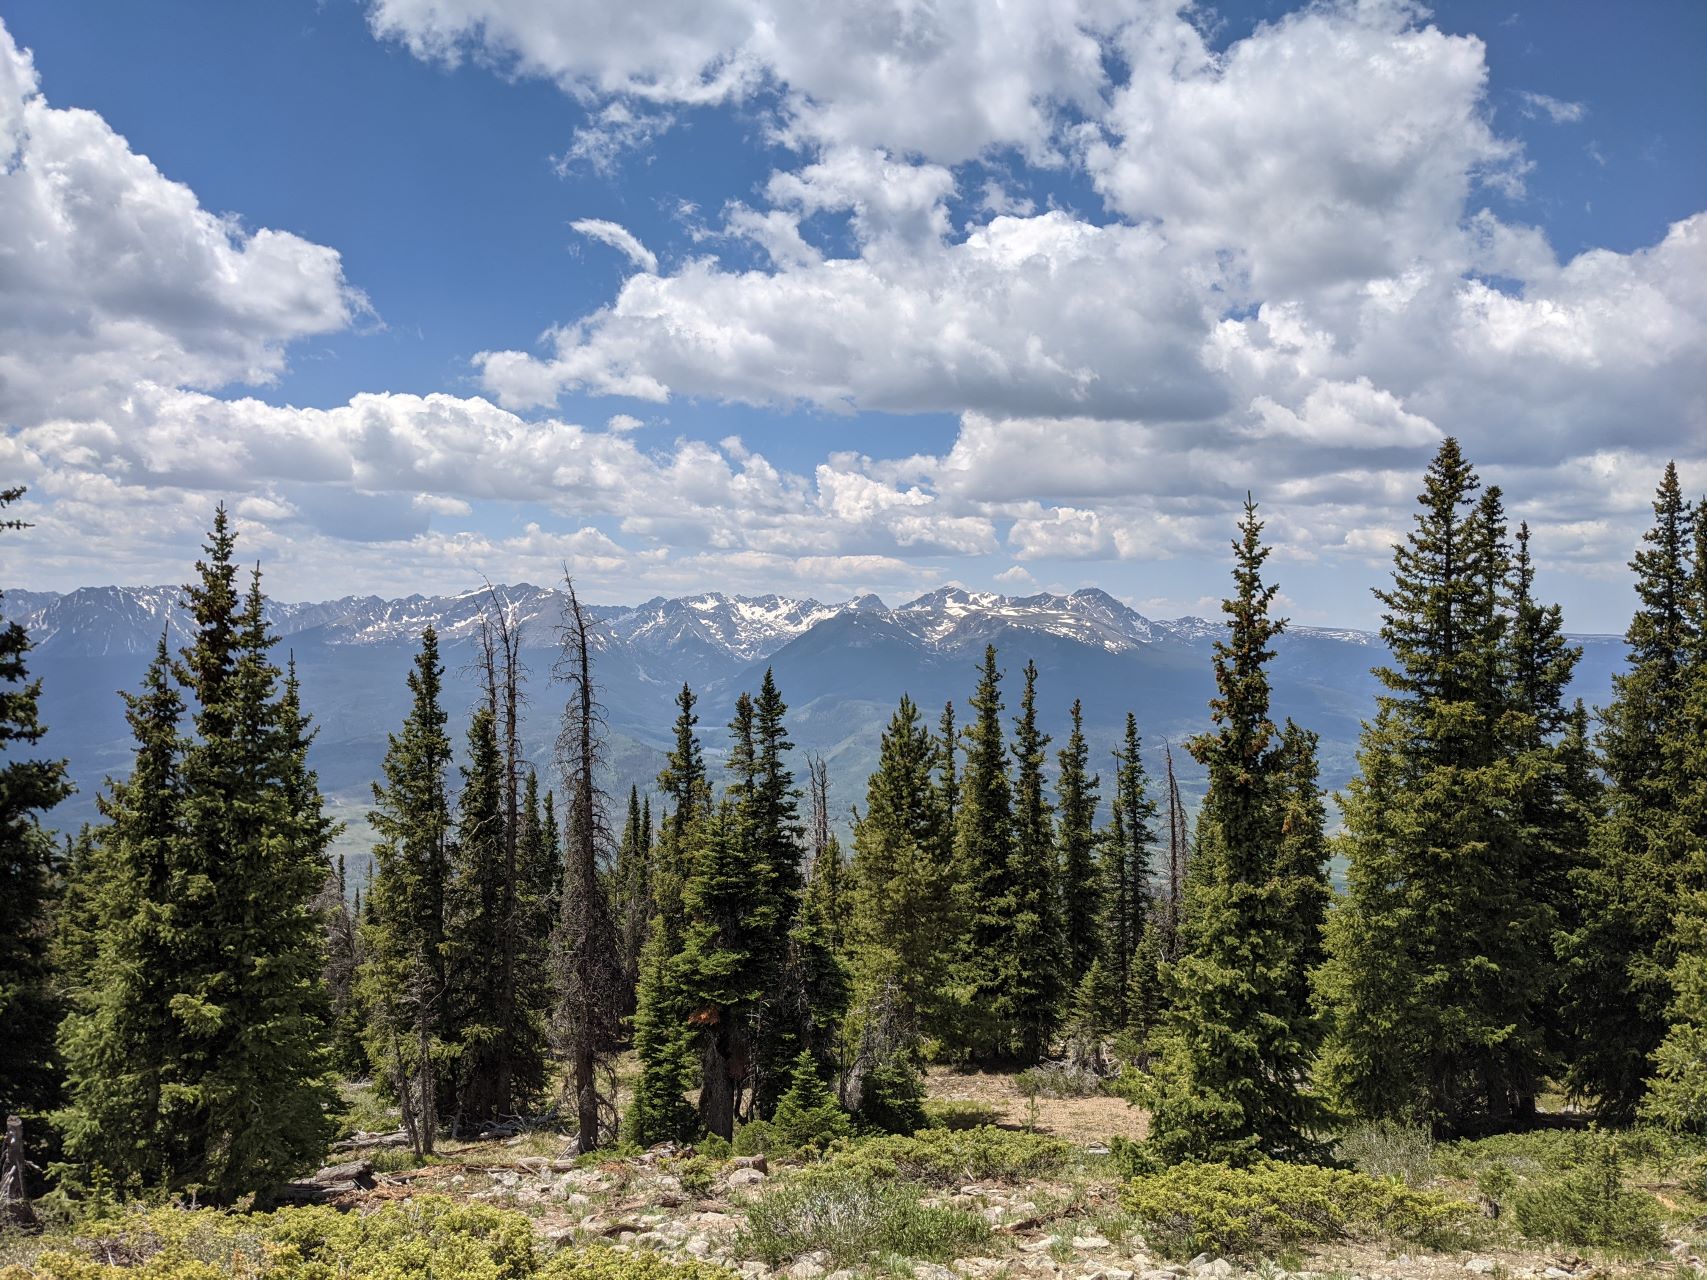
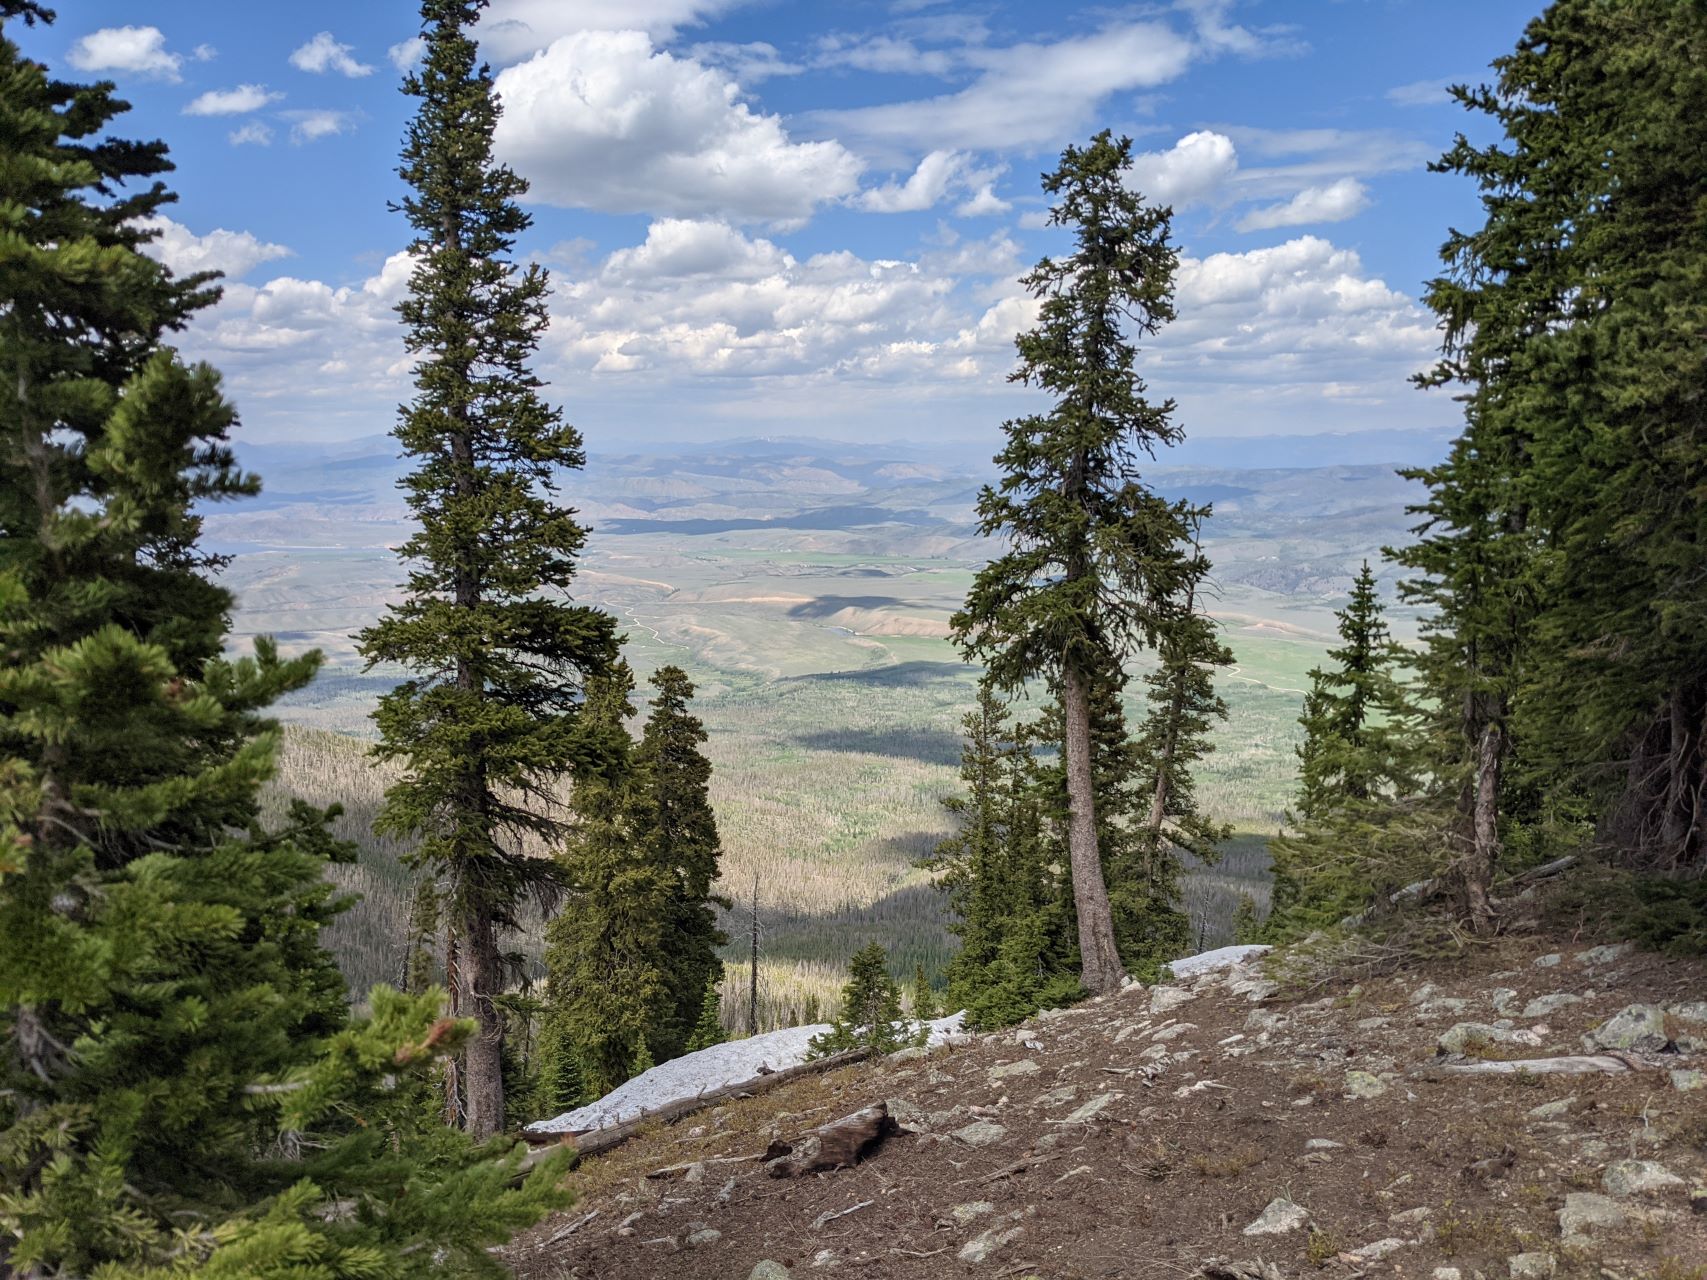
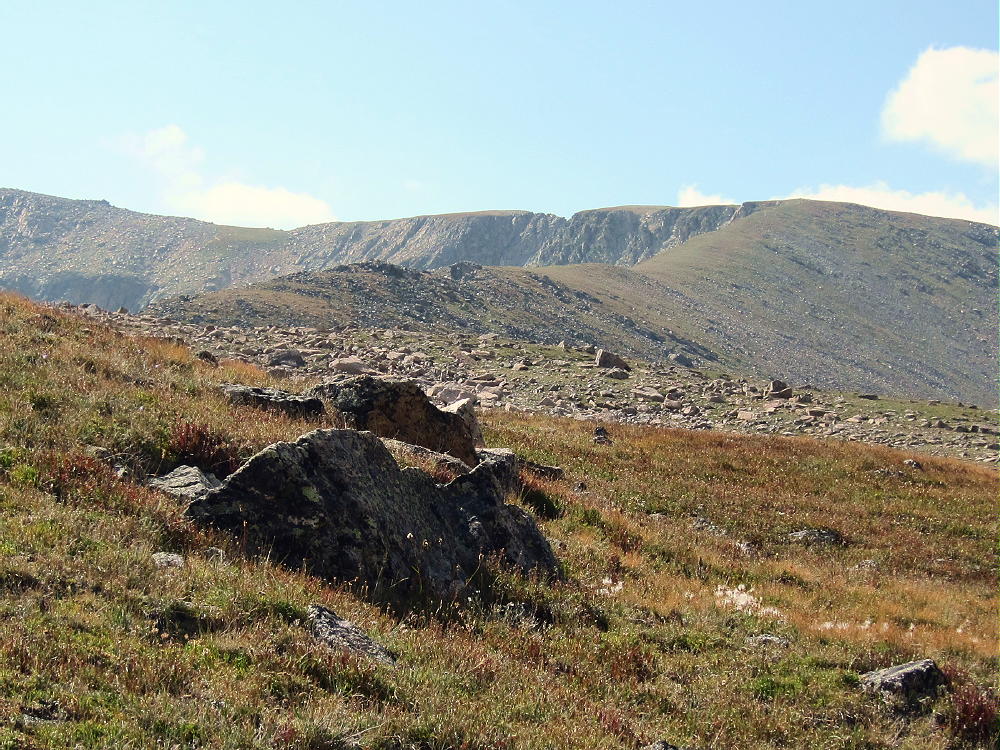
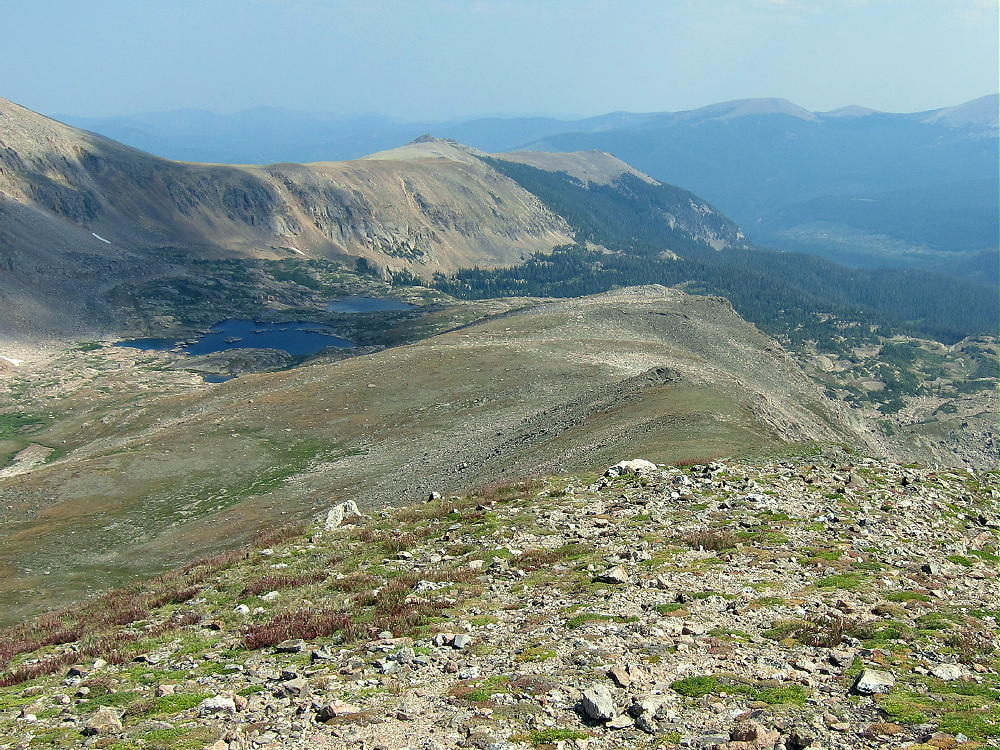
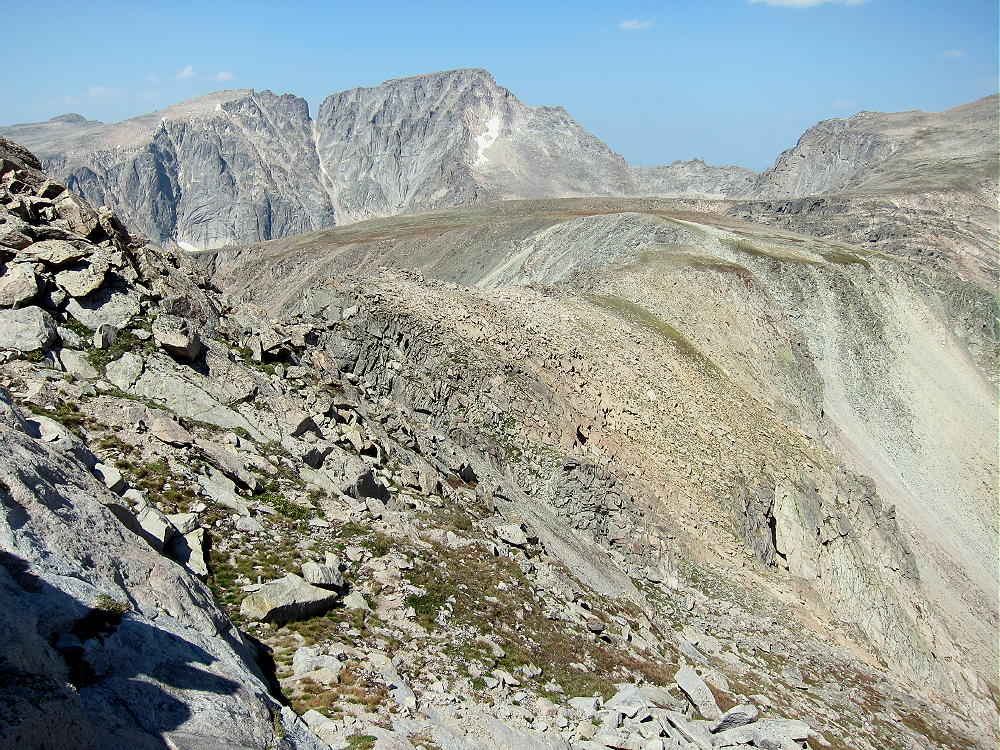
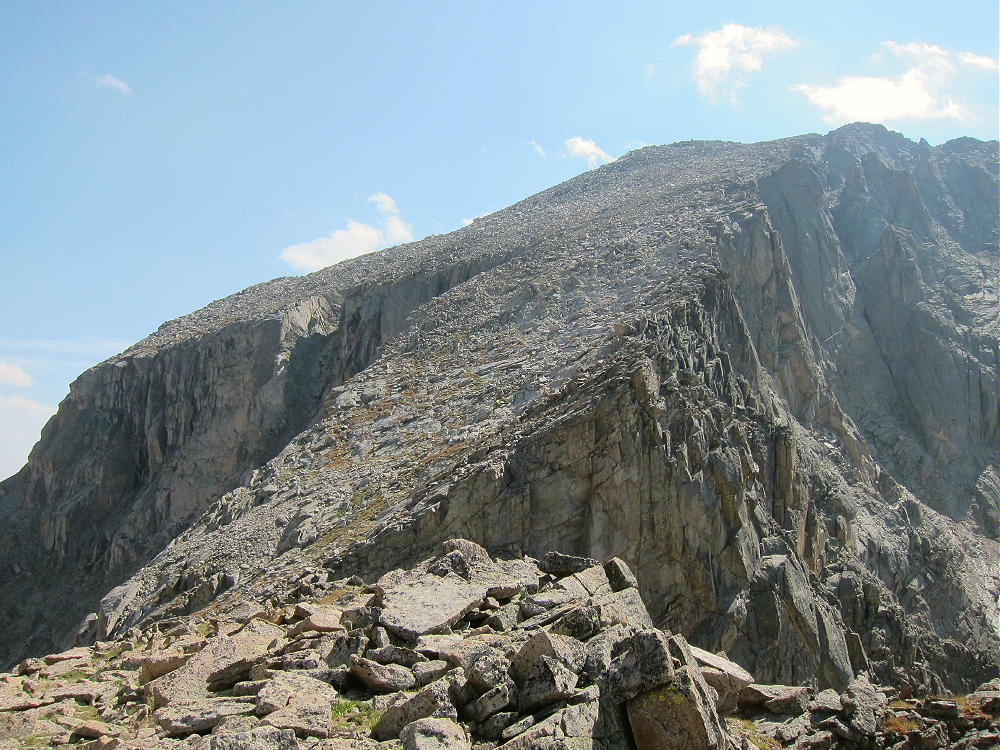
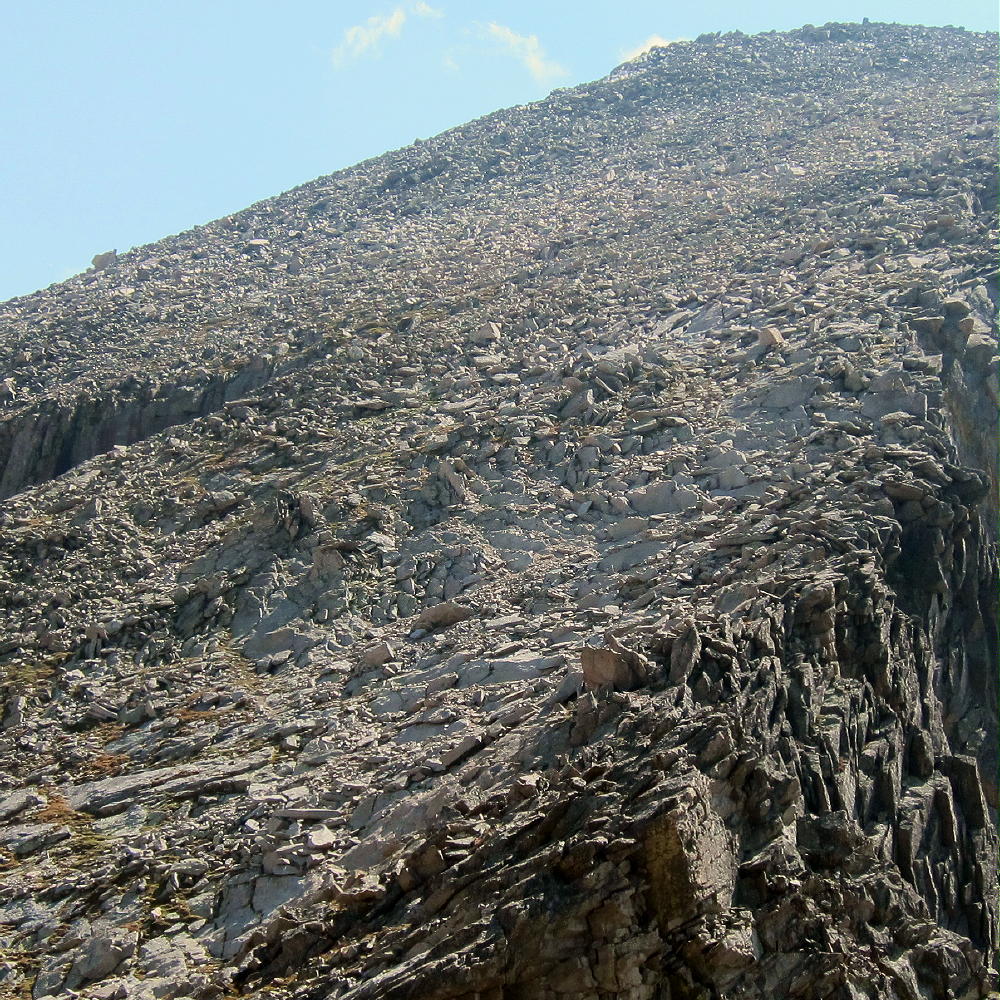
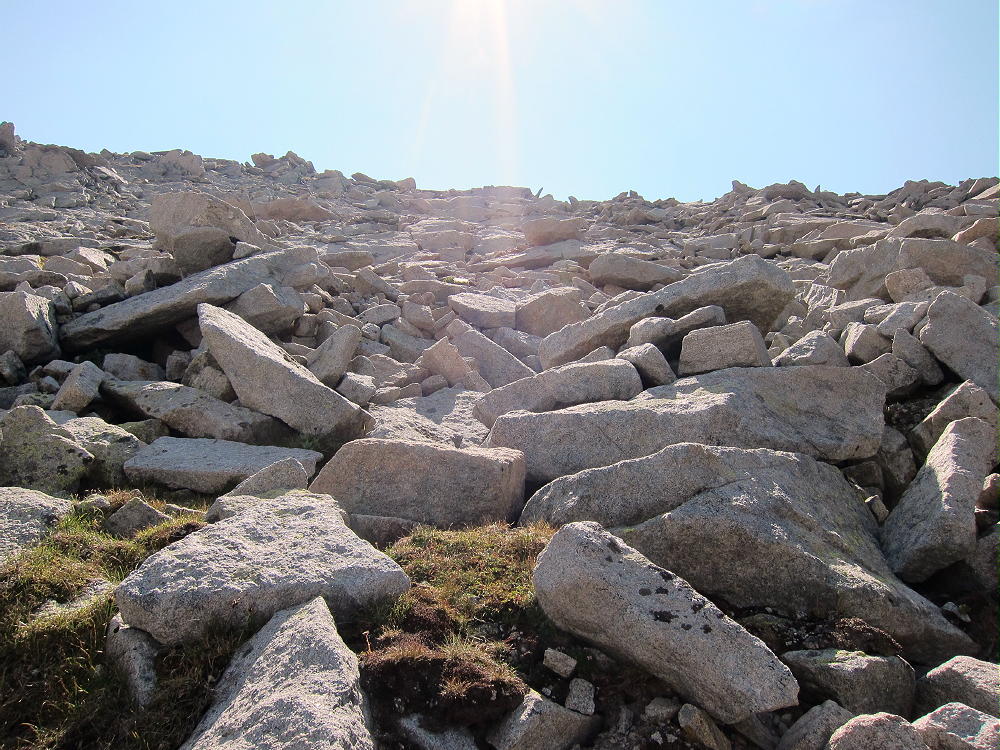
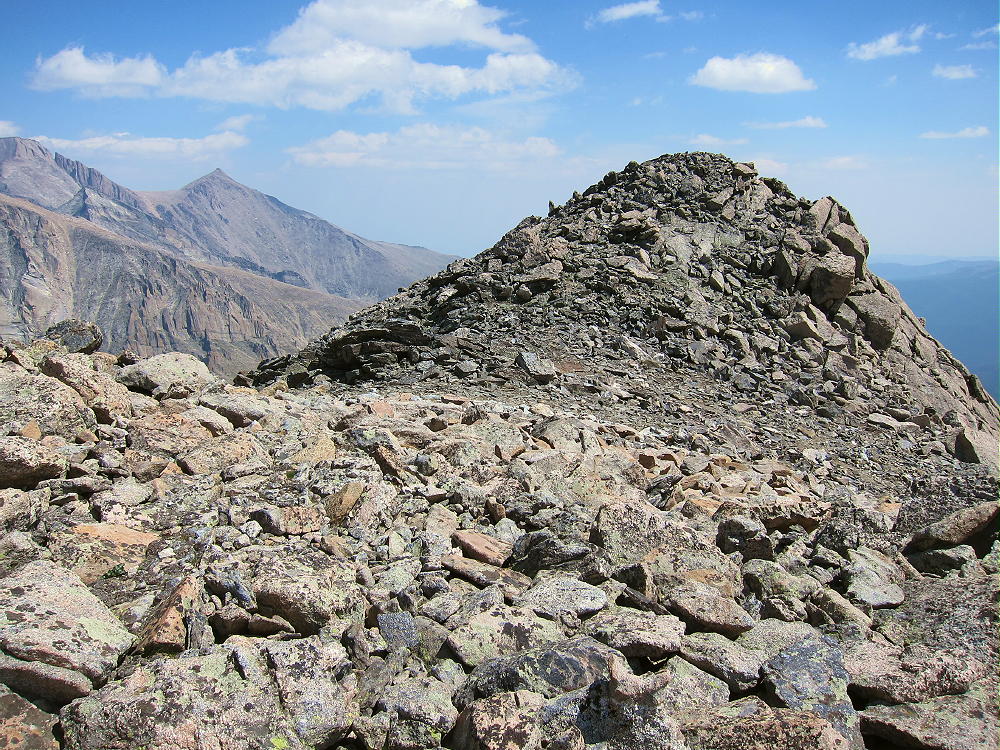
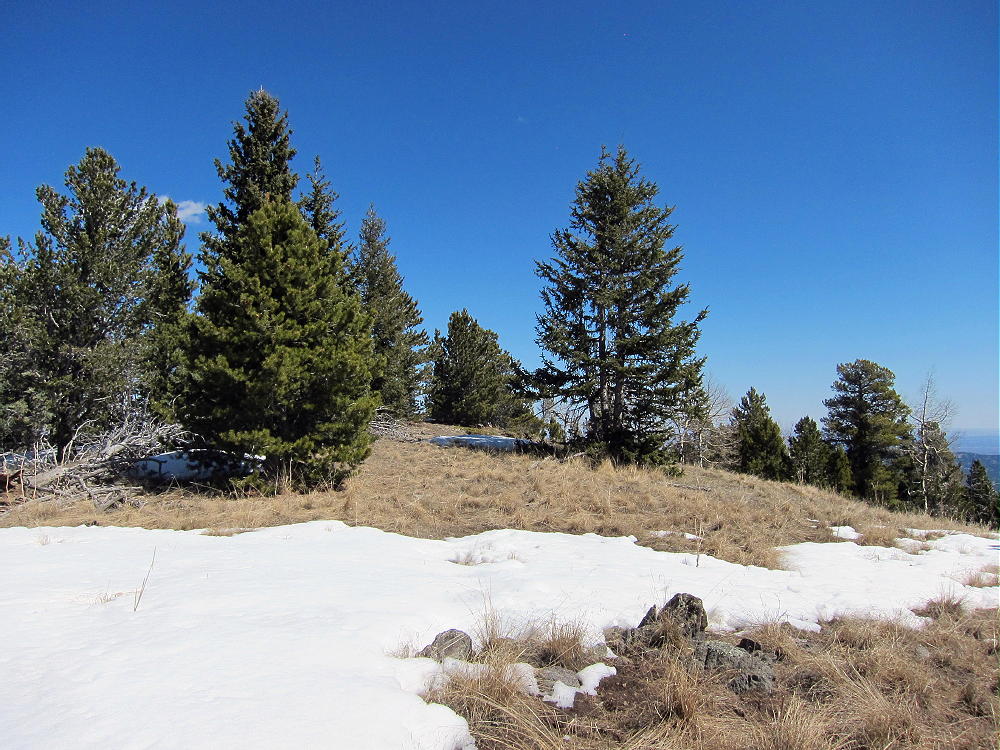
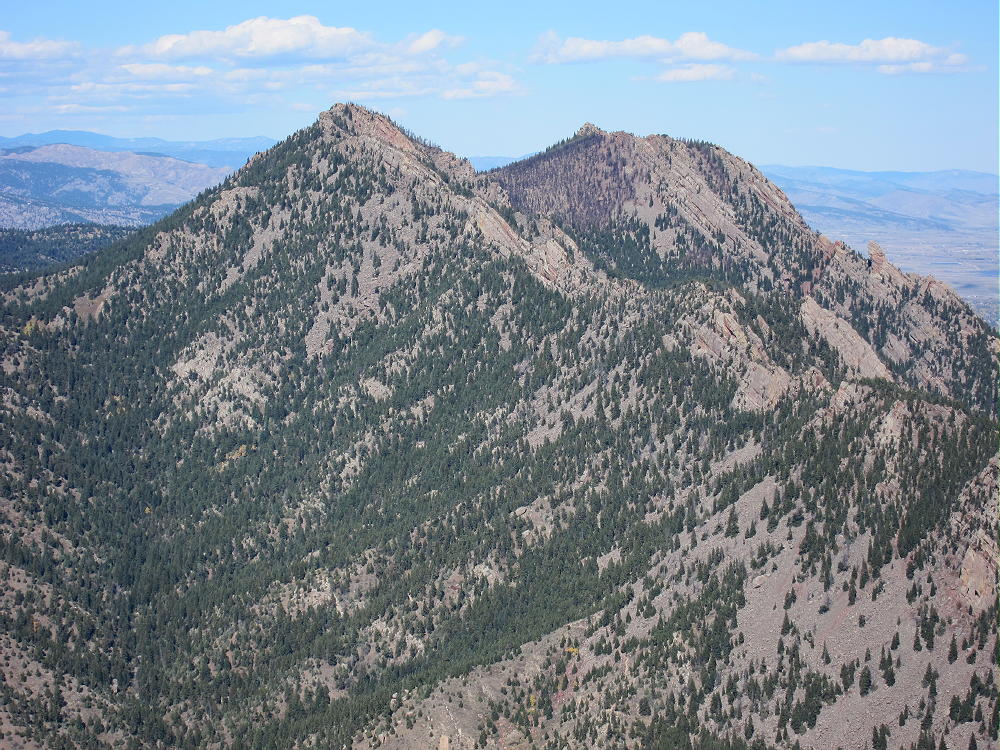
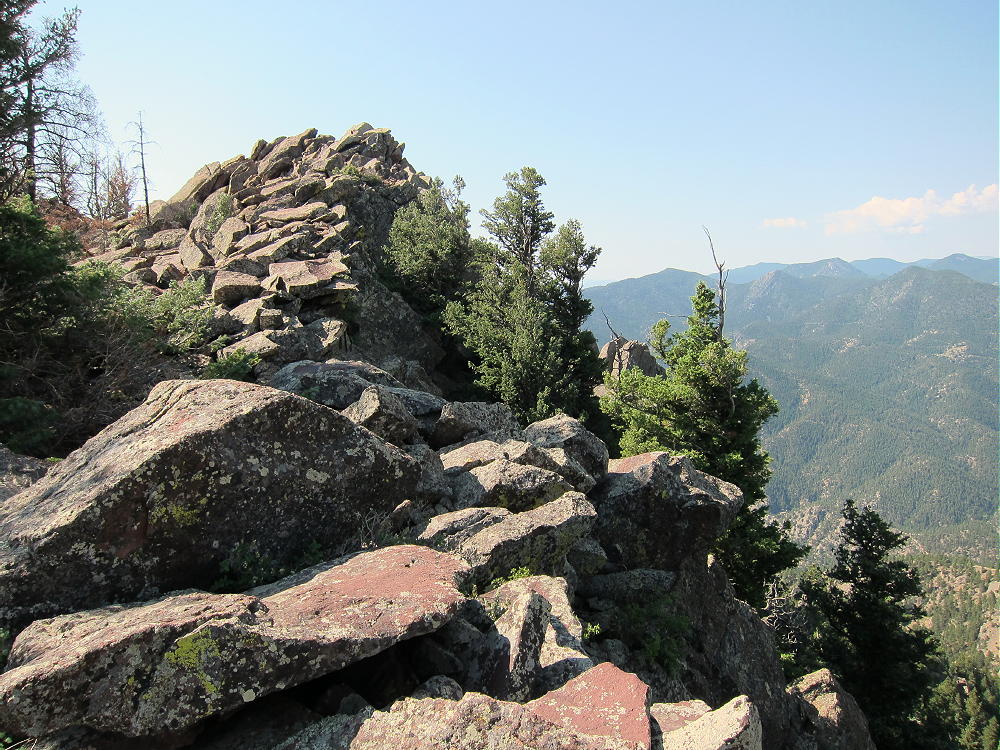
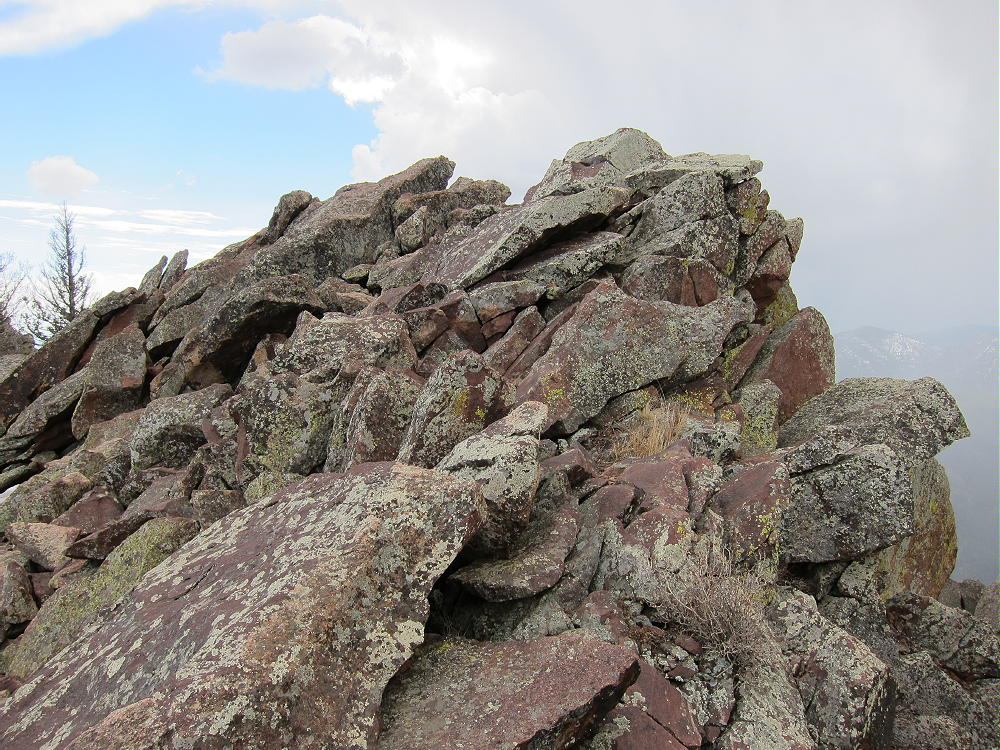
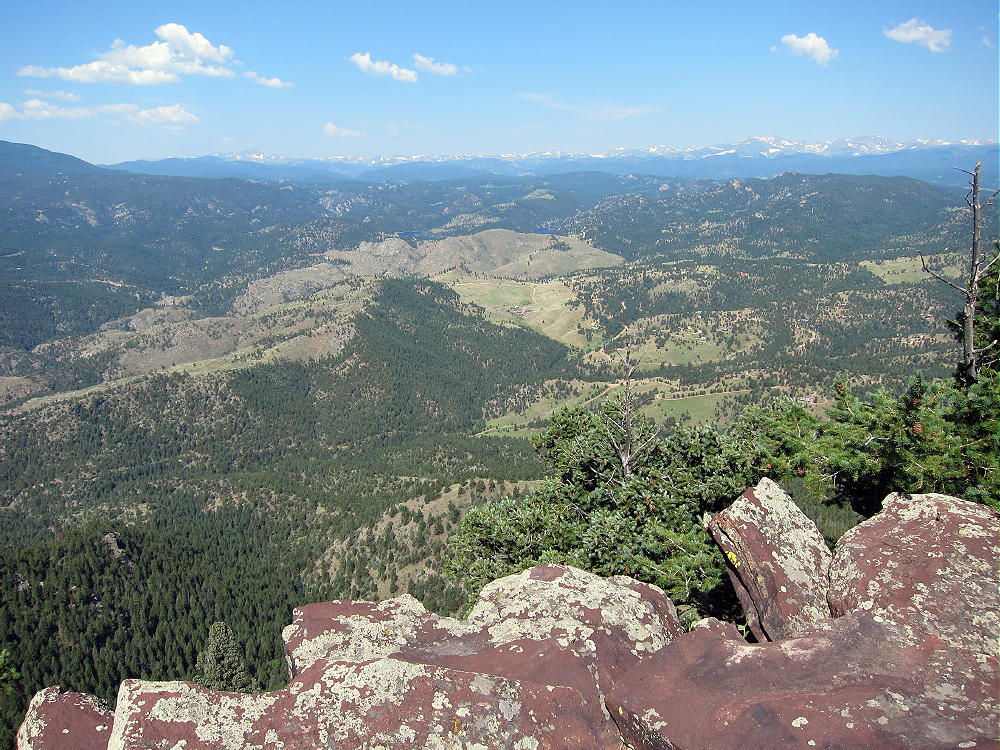
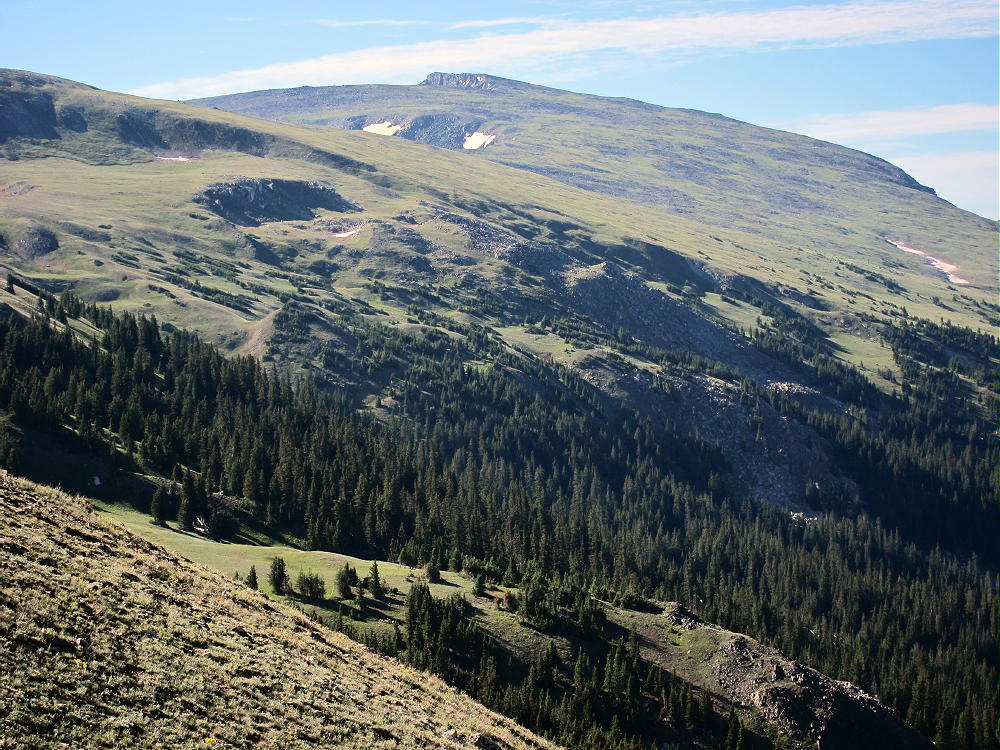
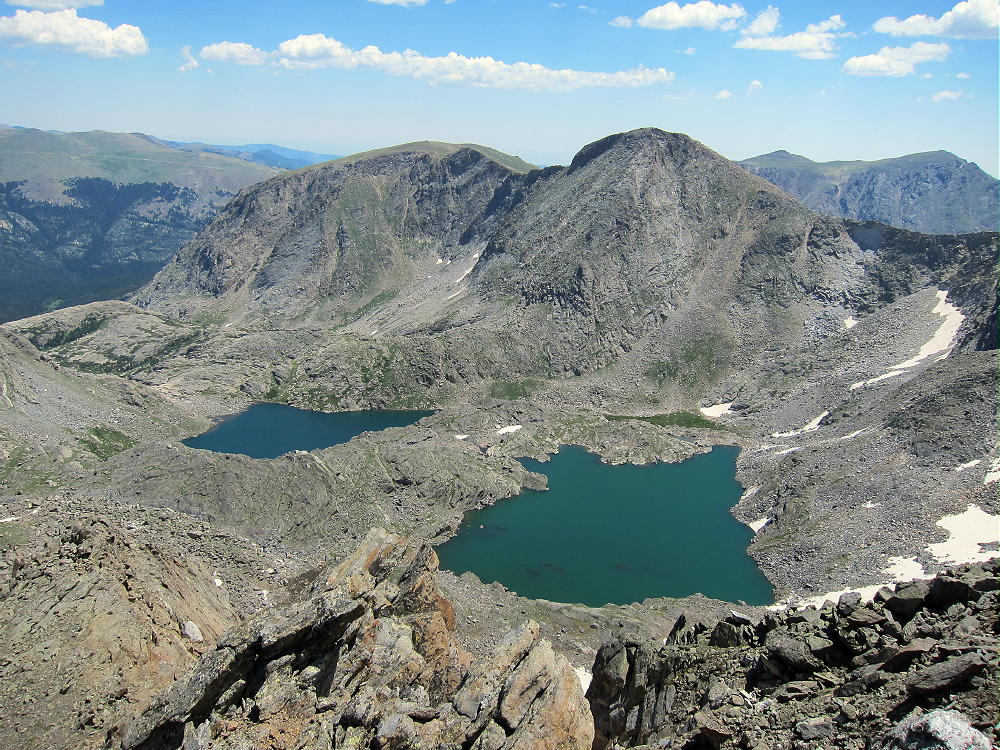
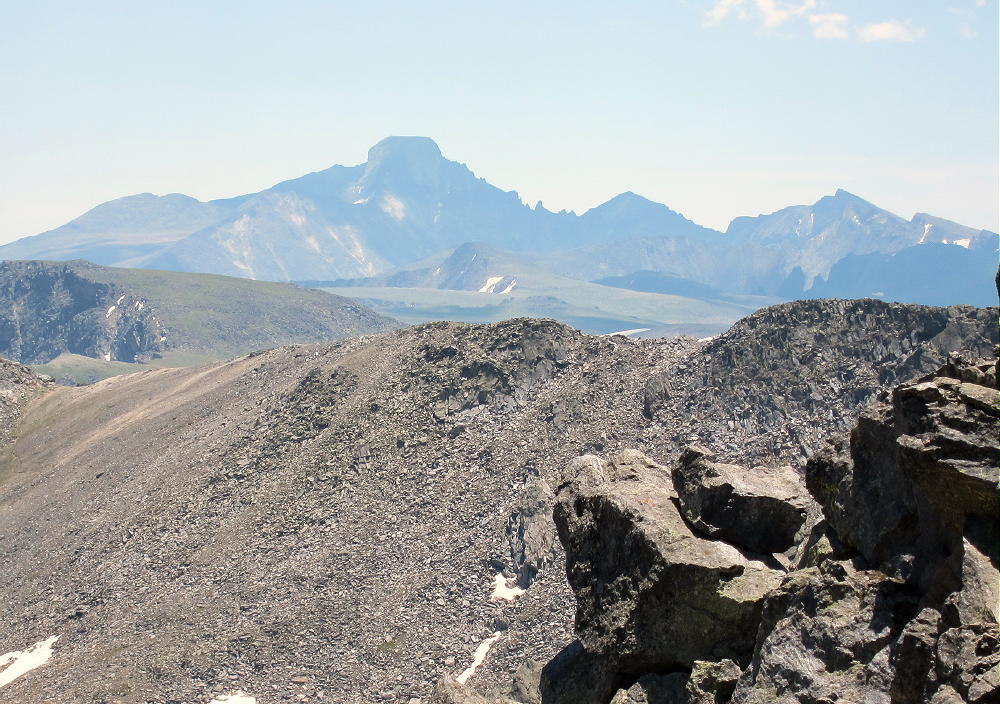
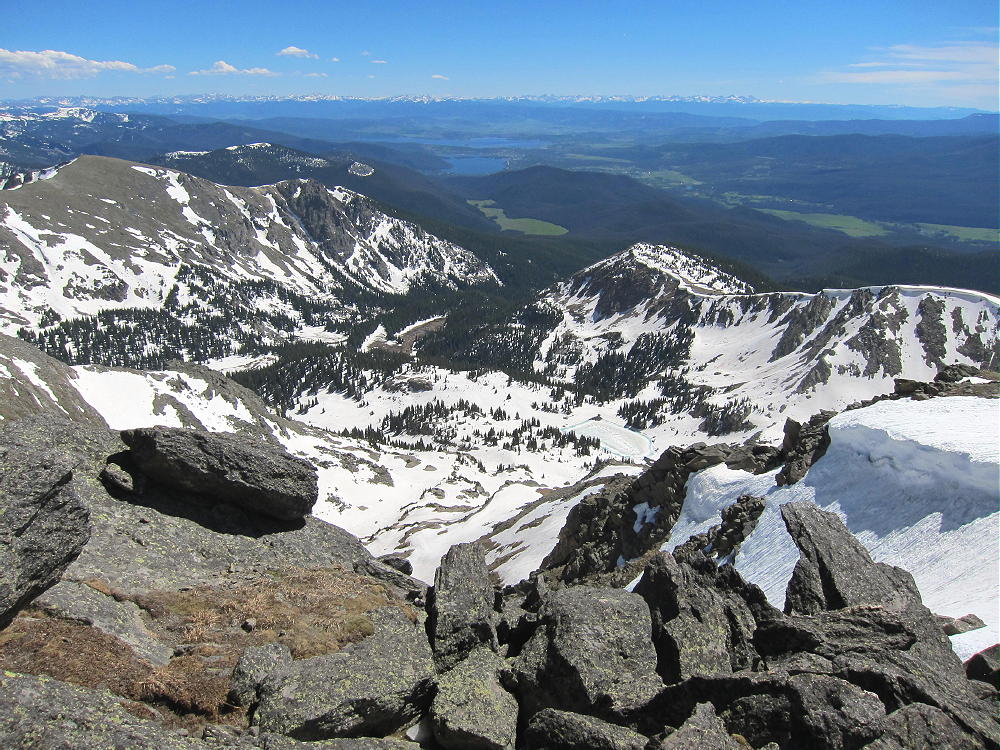
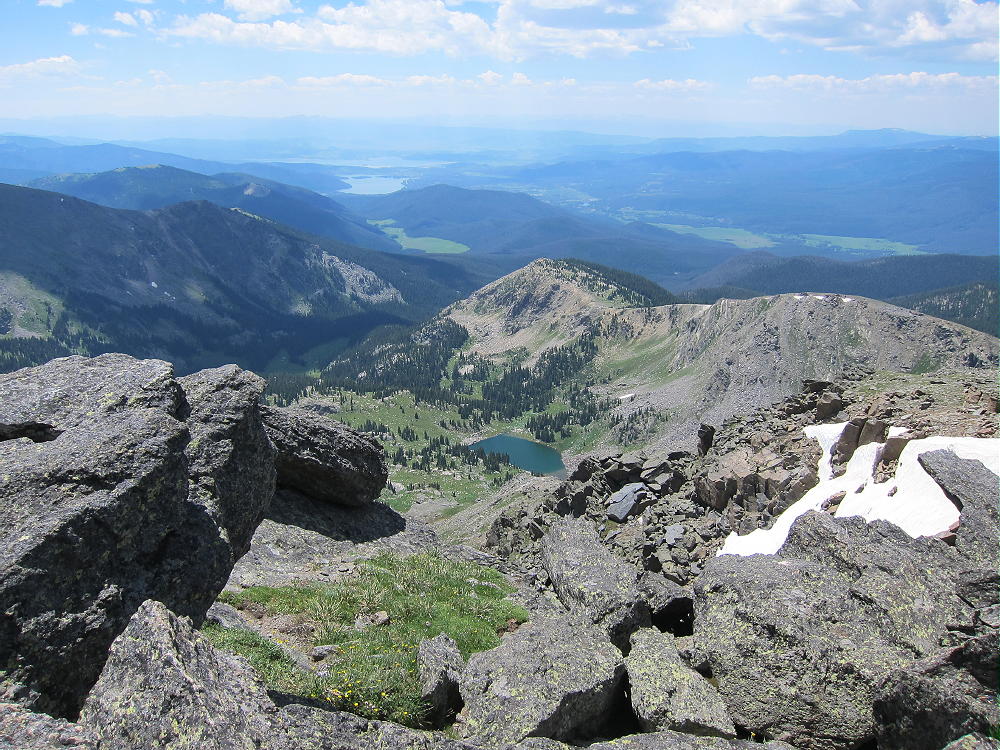
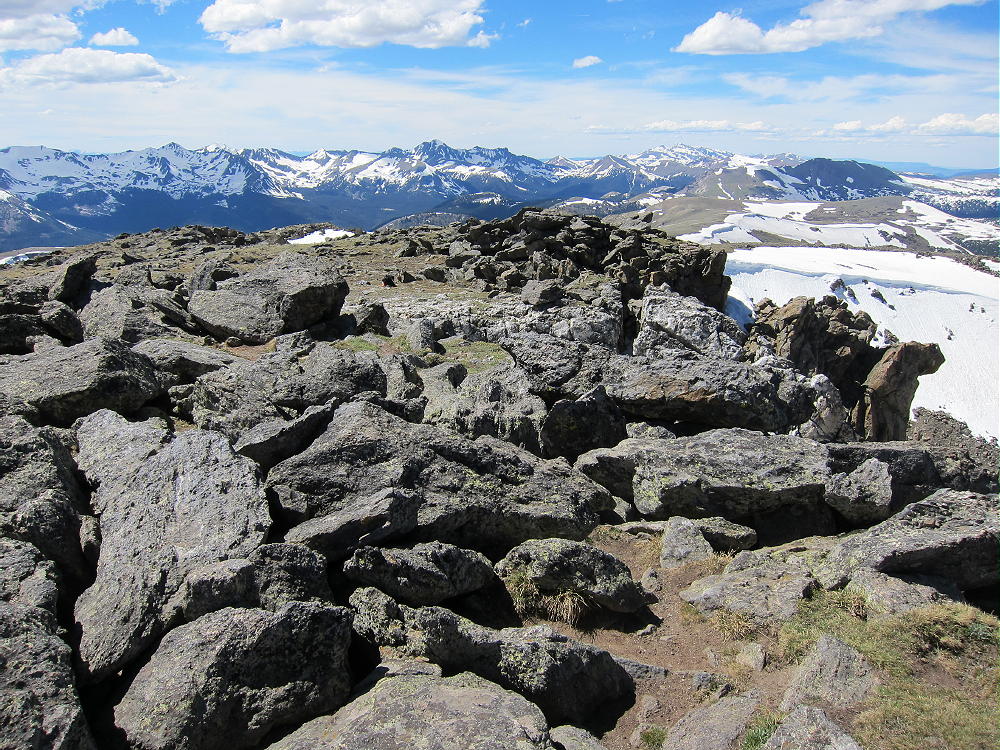
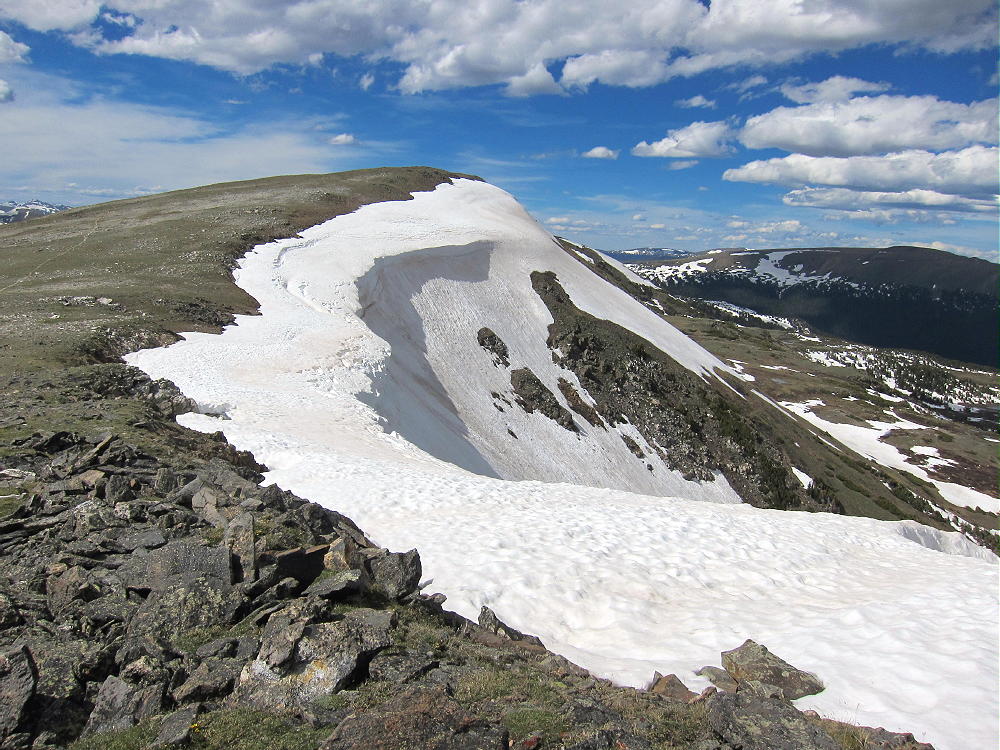
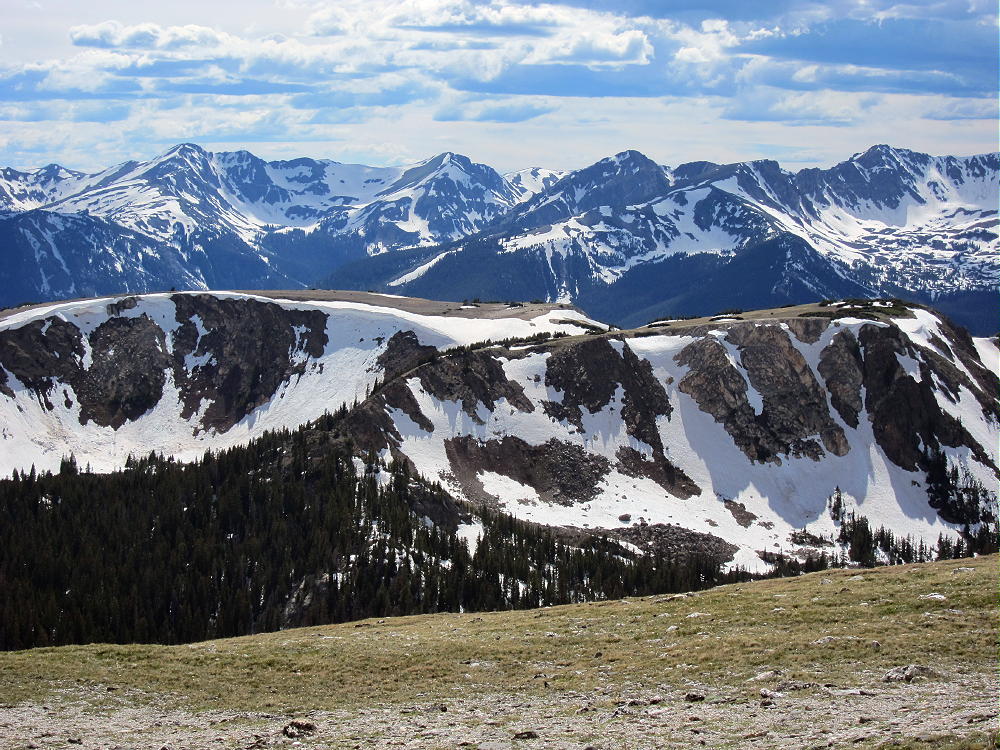
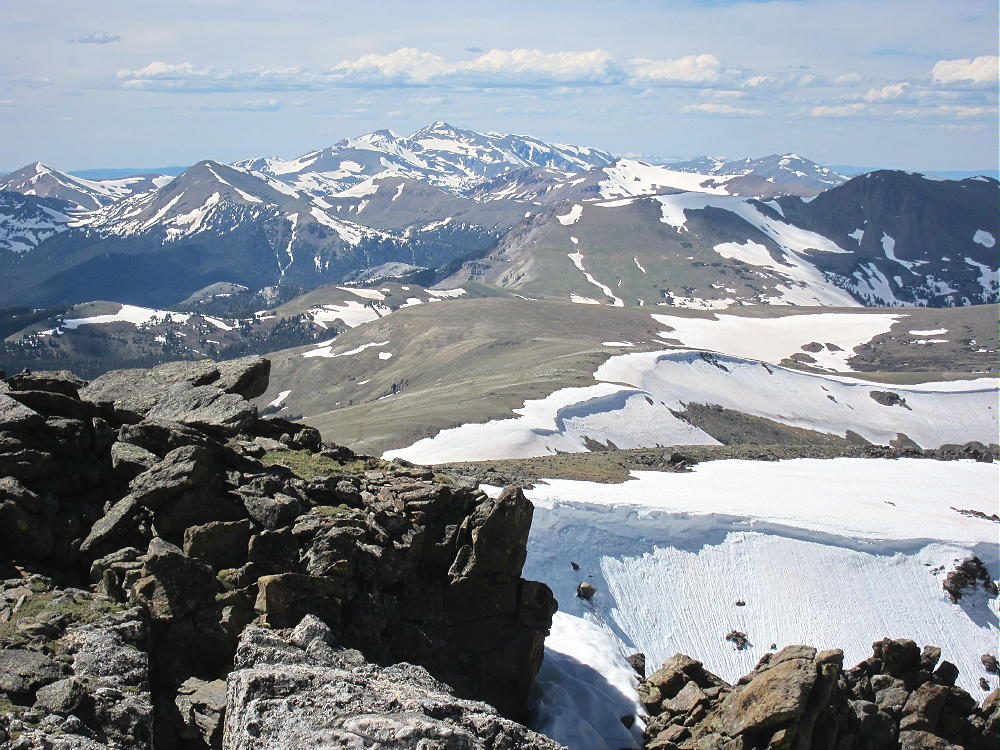
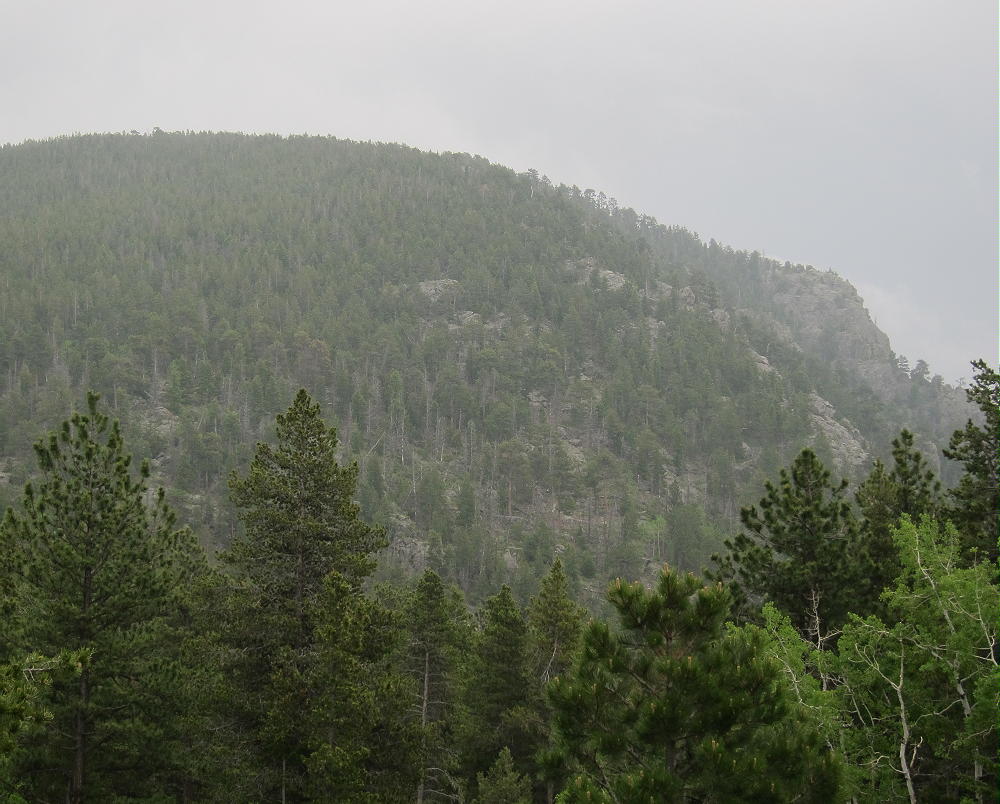
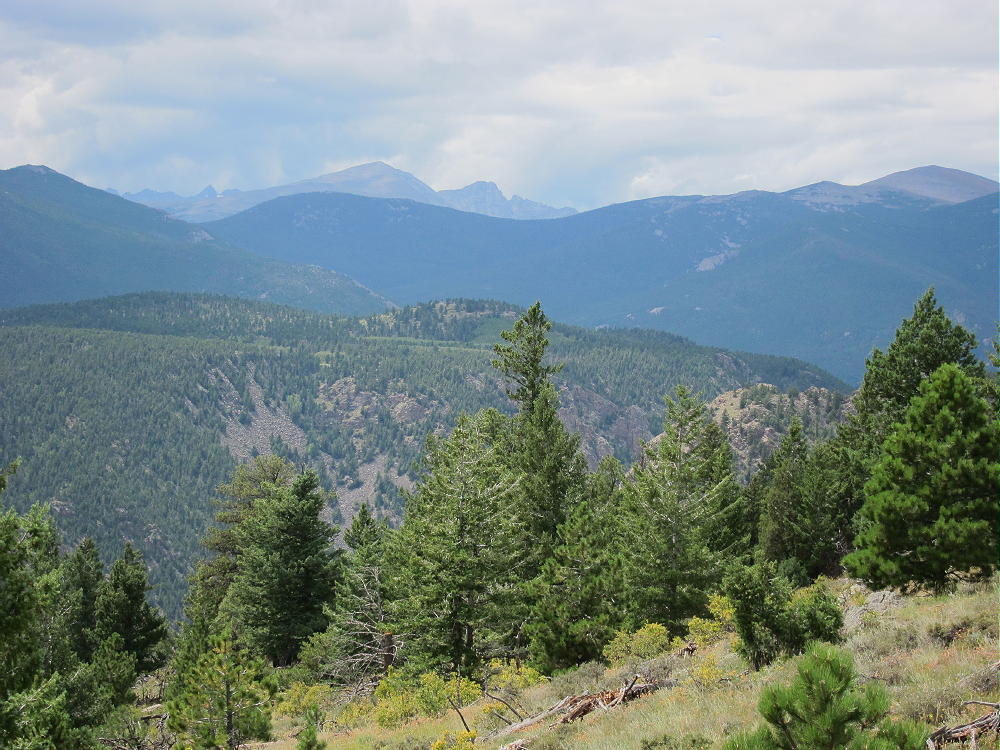
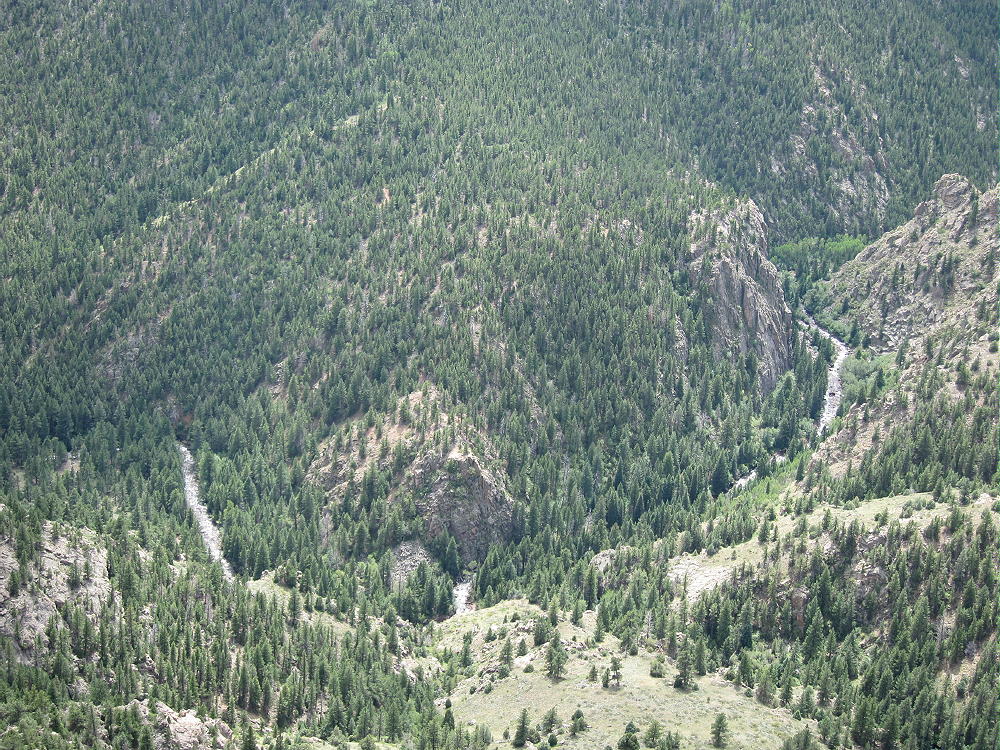
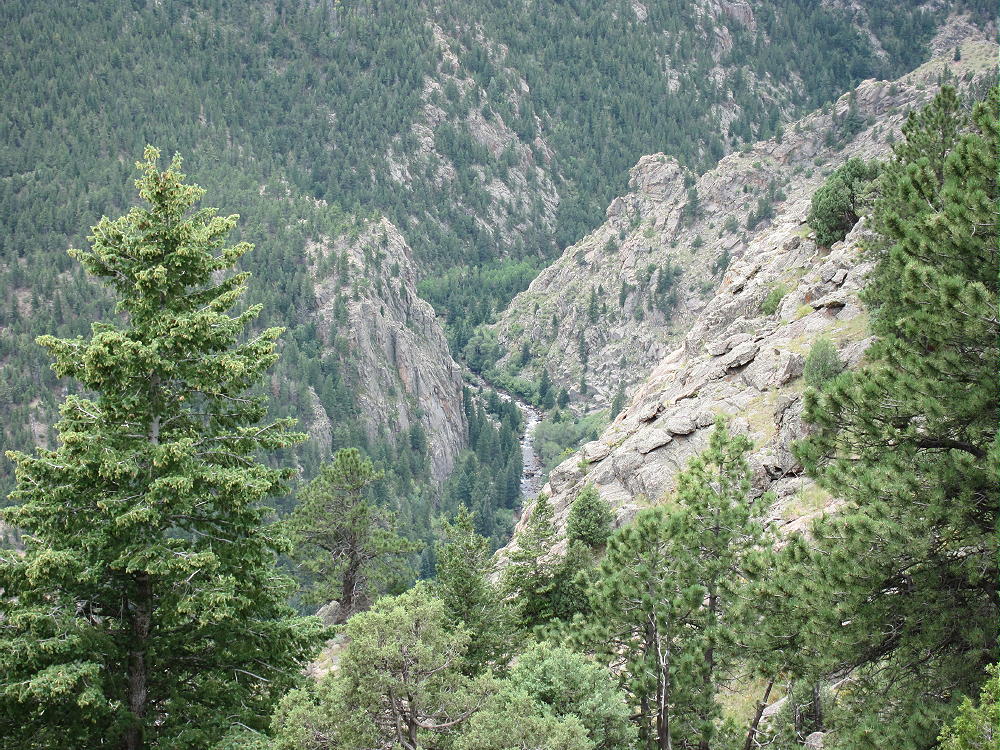
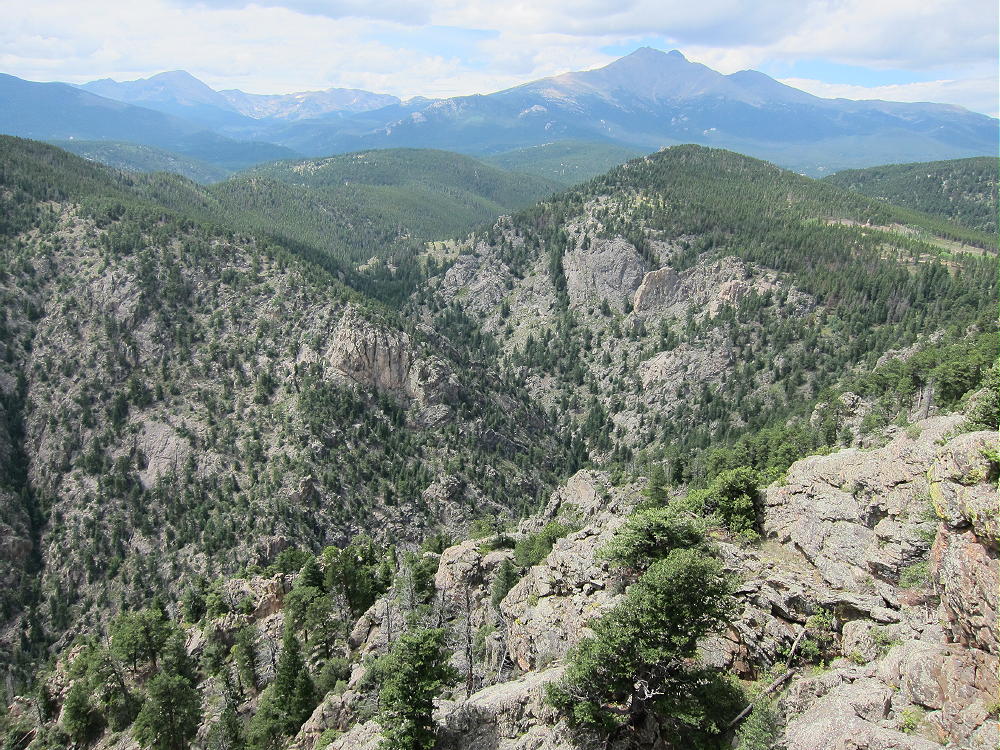
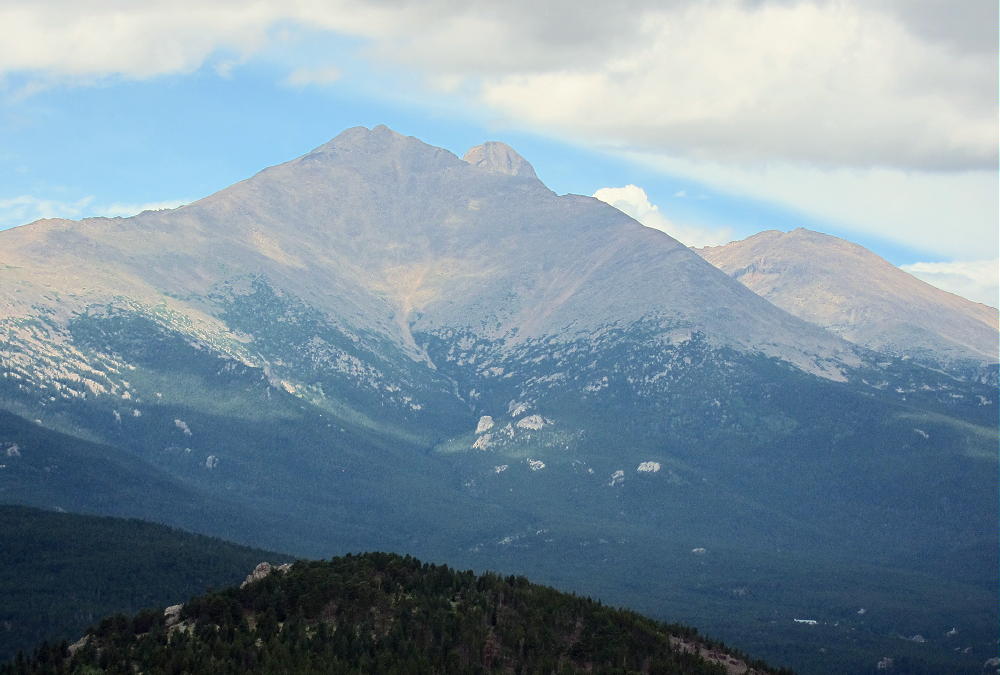
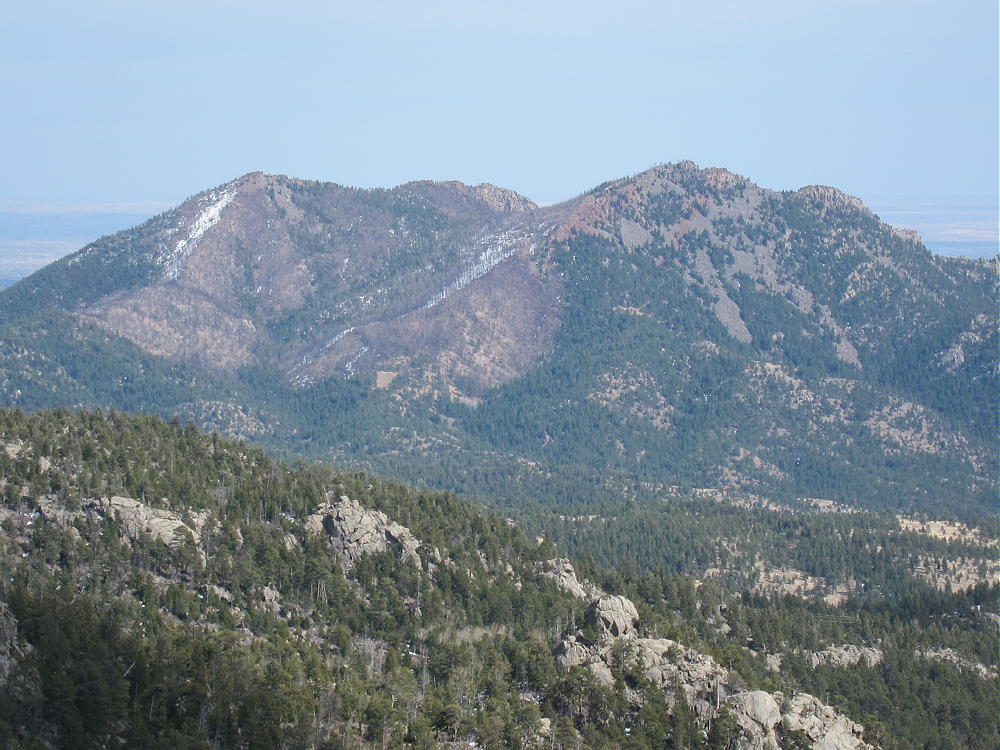
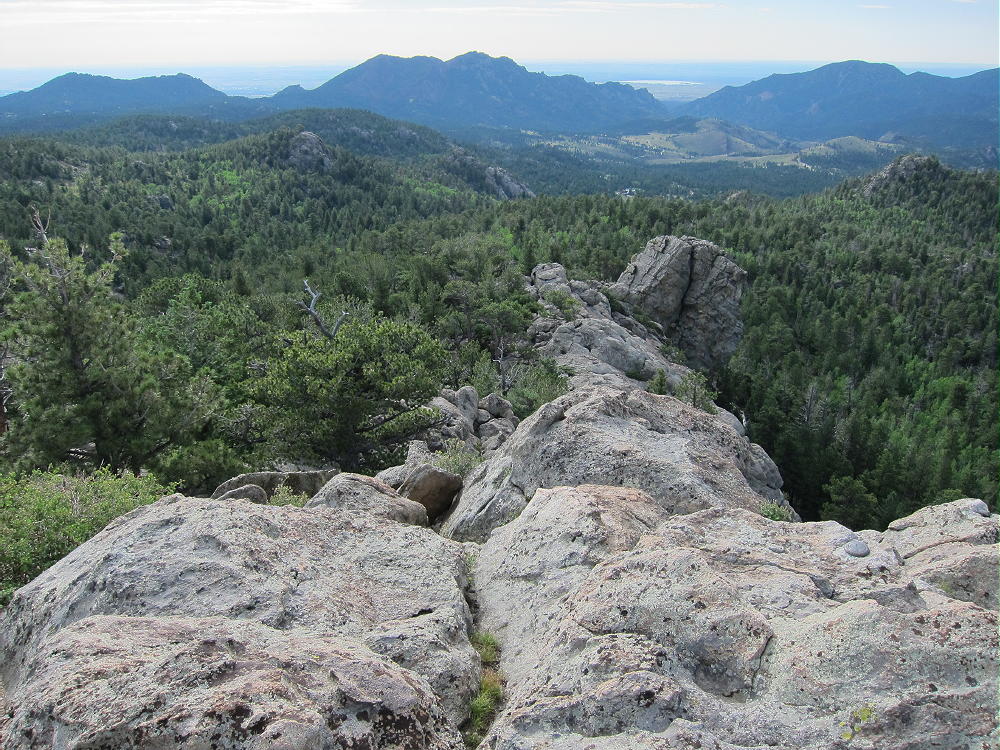
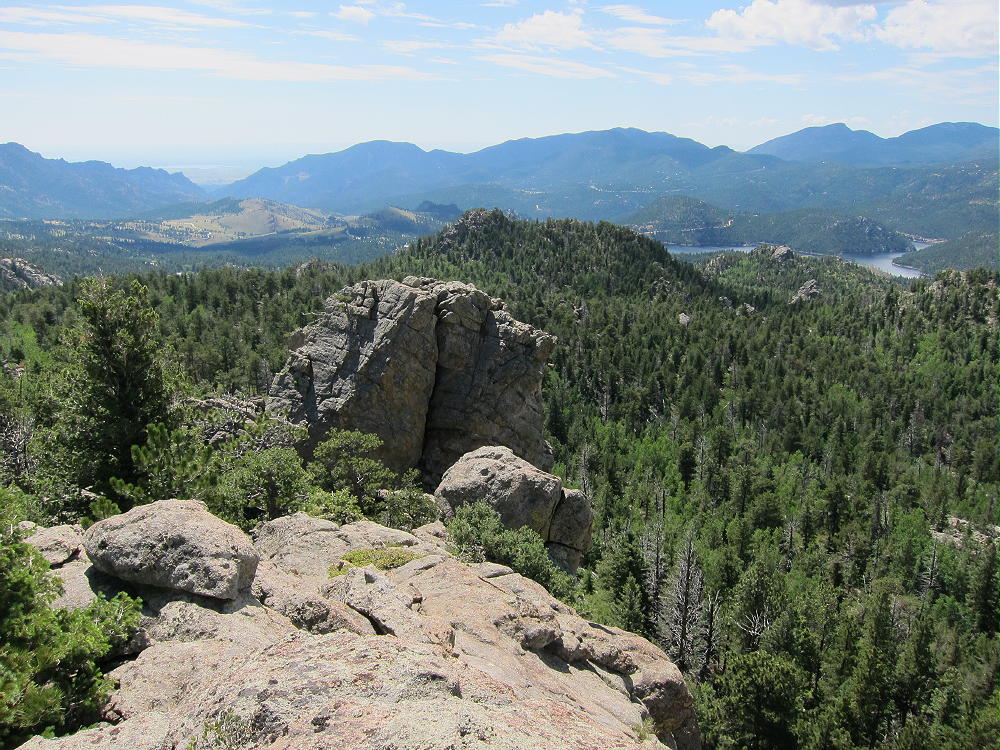
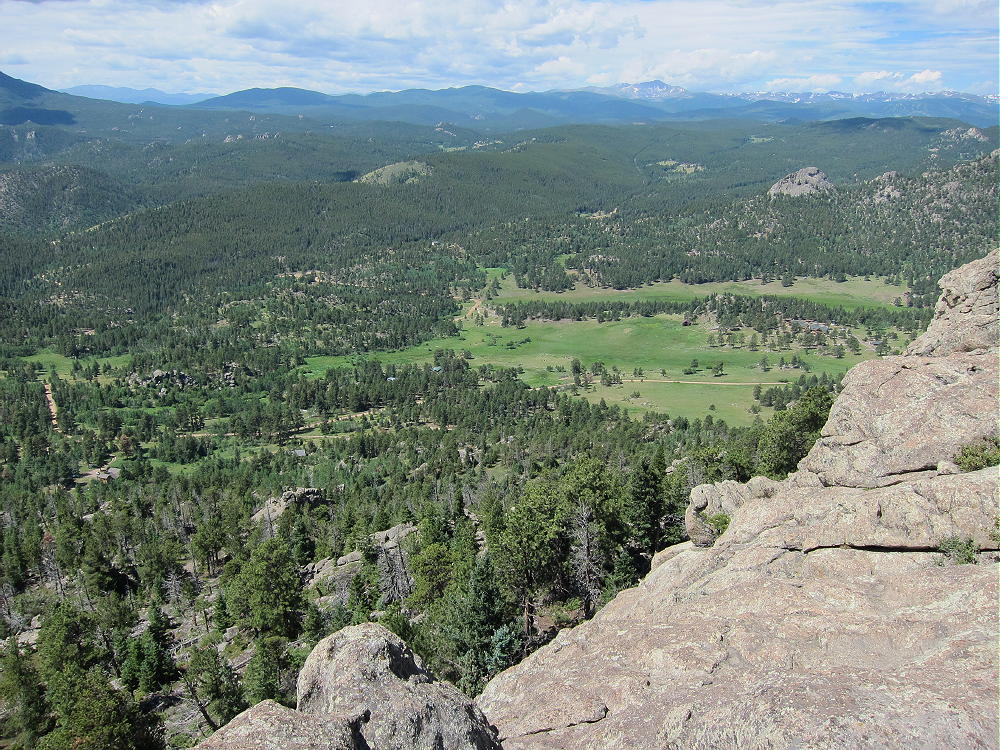
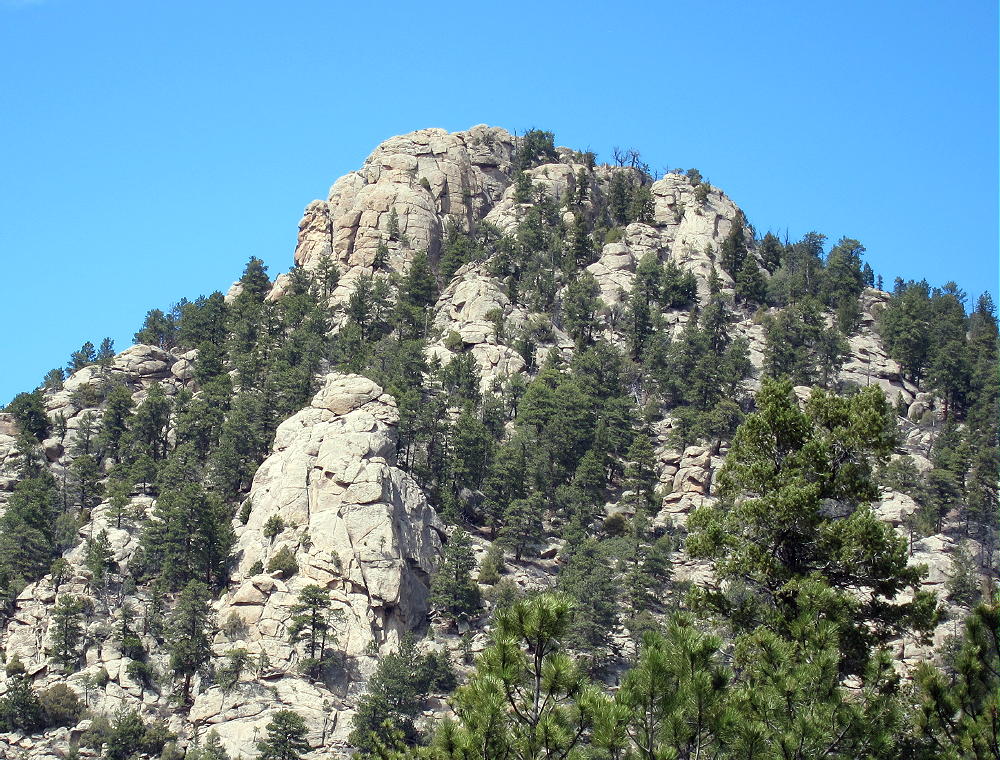
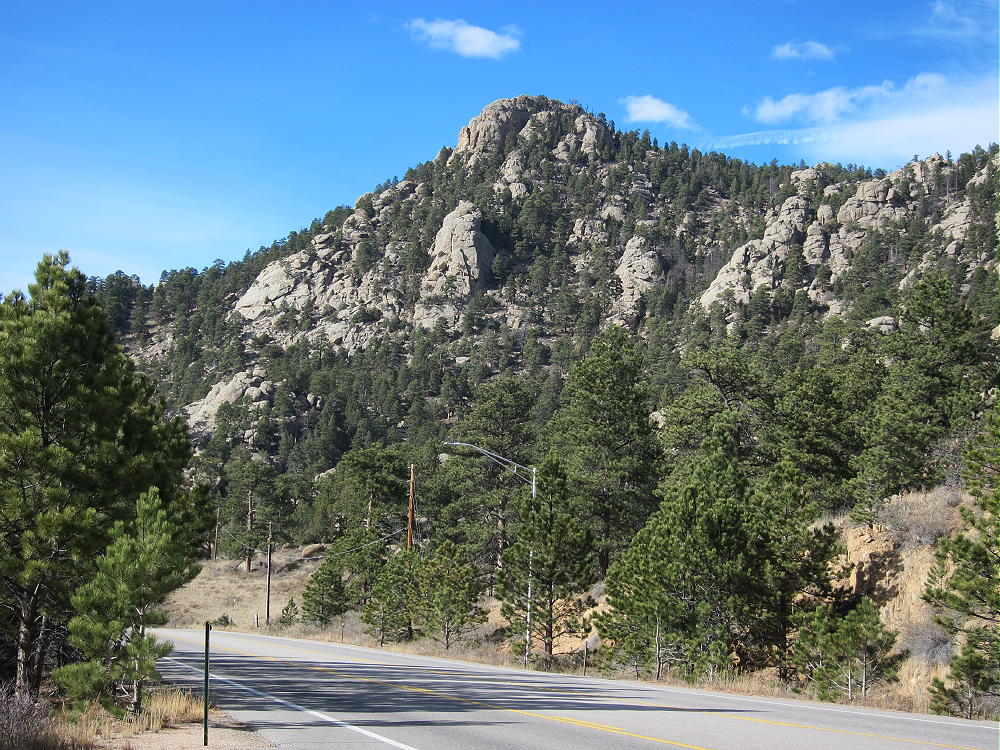
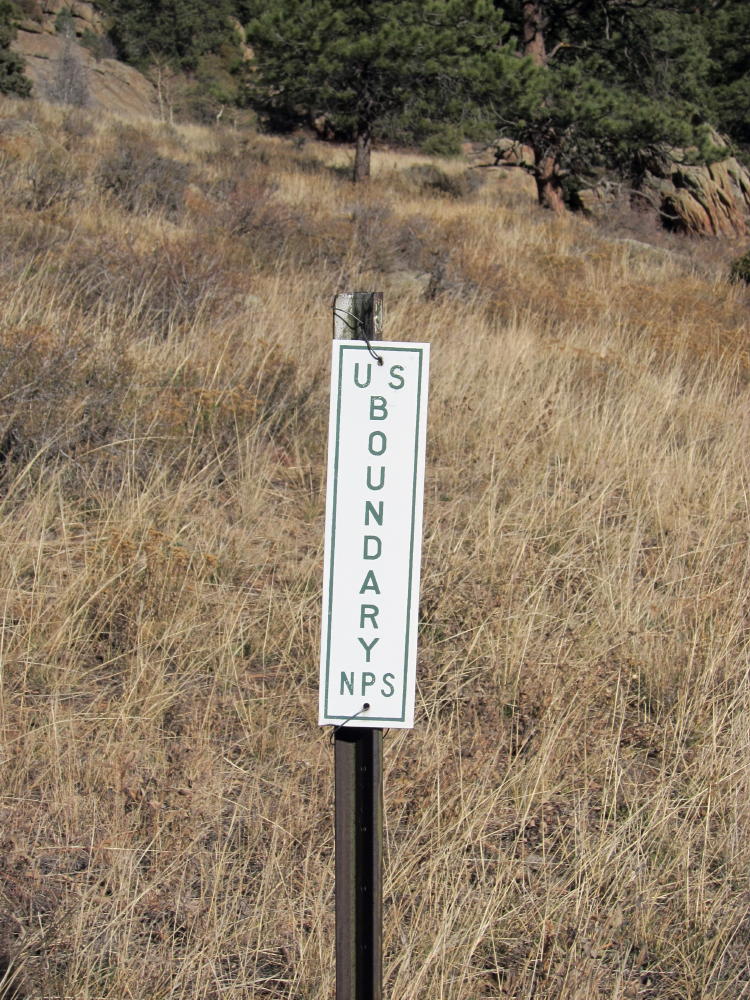
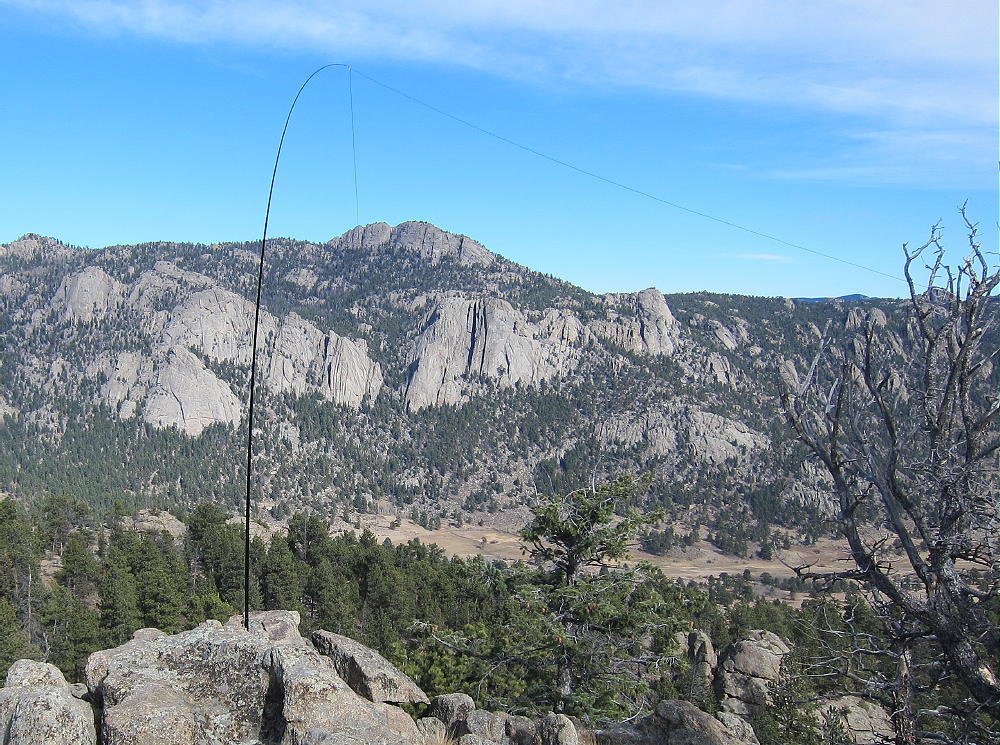
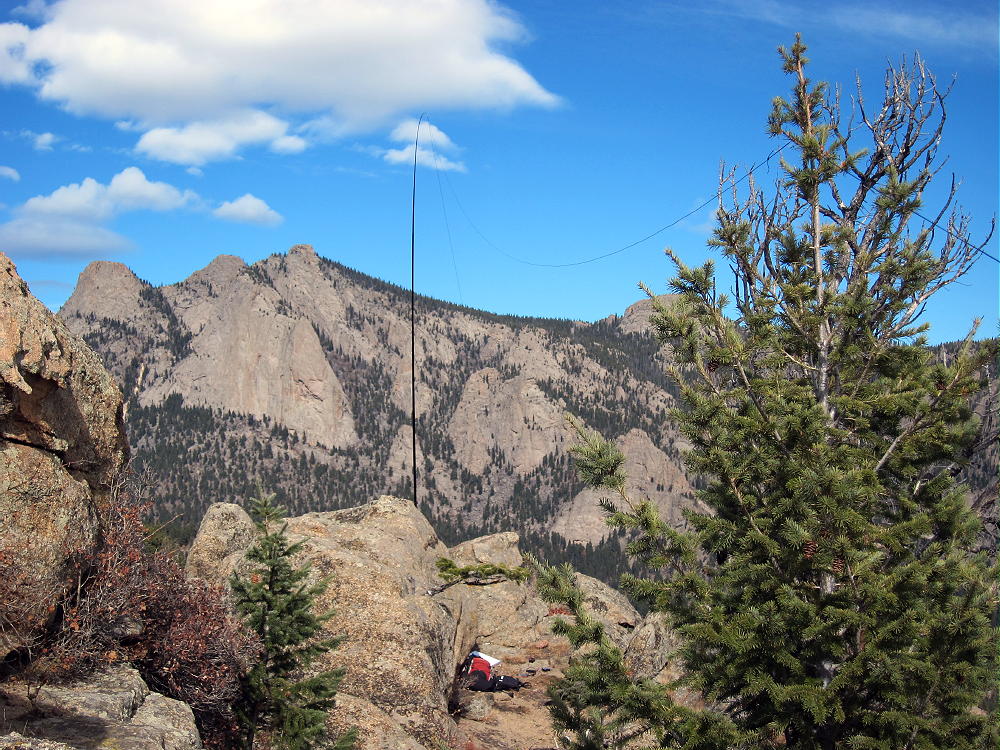
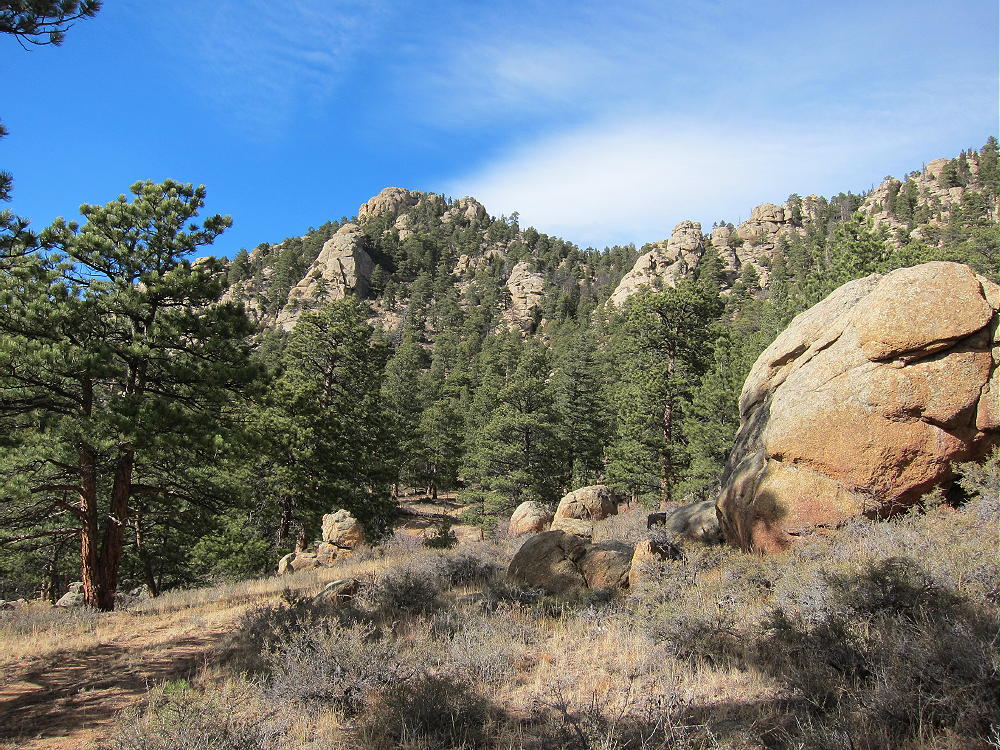
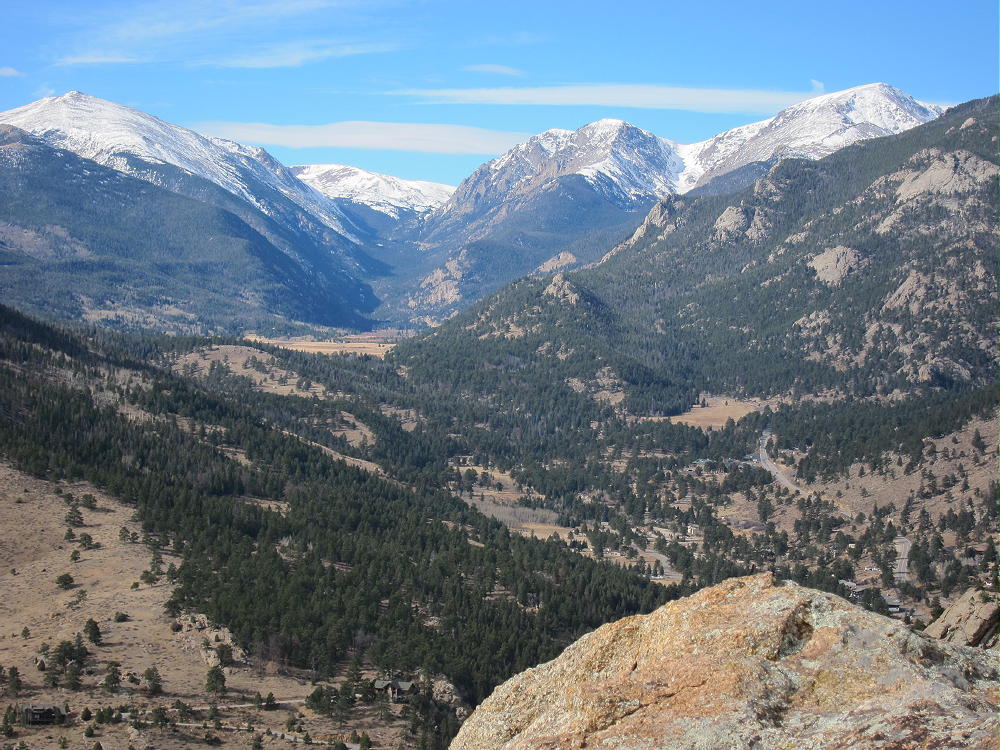
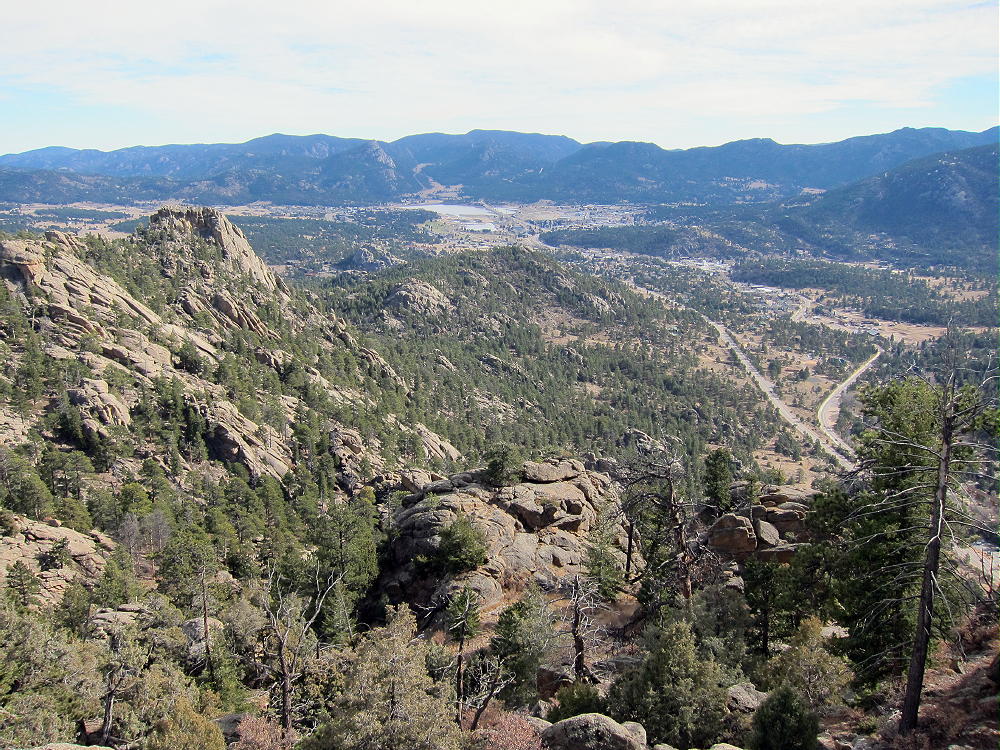
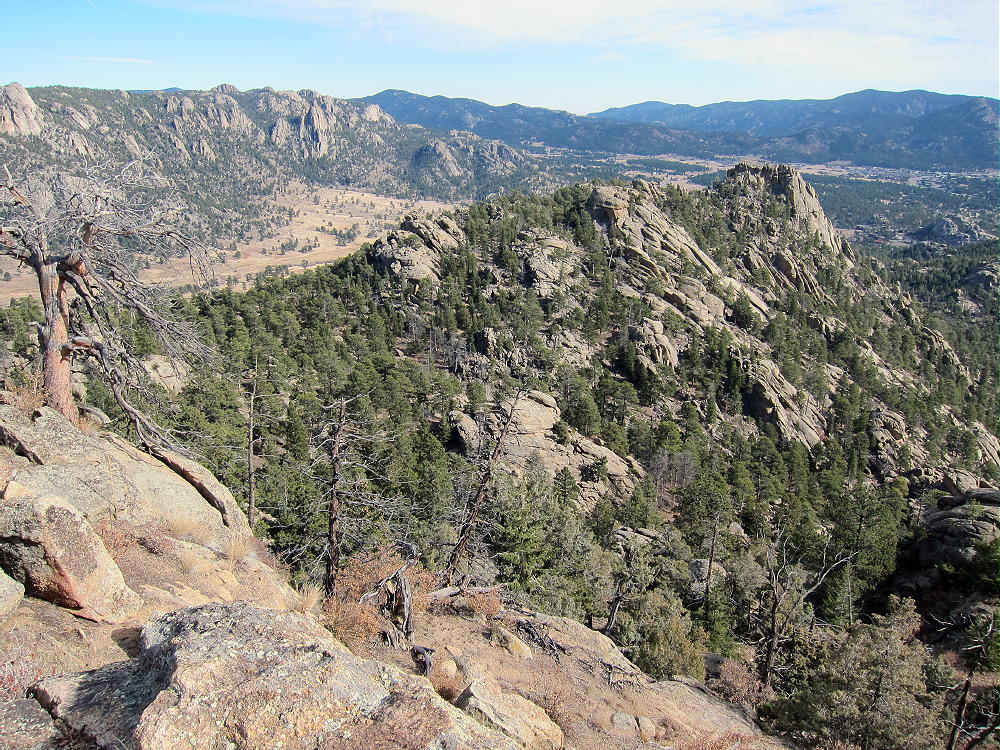
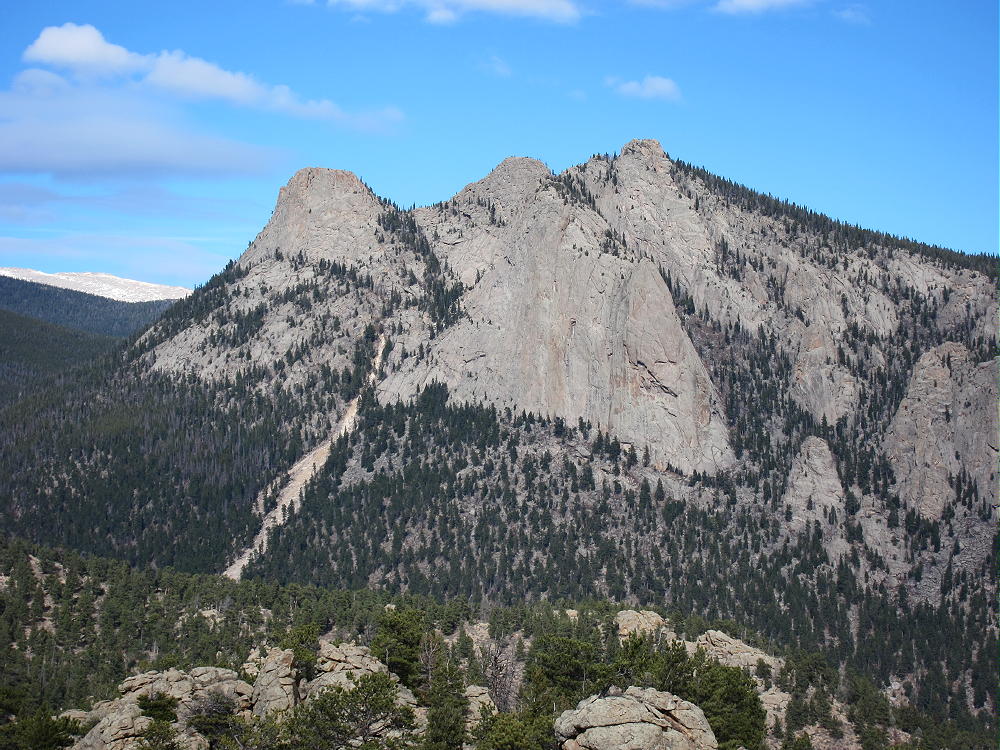
Sheep Mountain is an rarely visited mountain in White River National Forest, approximately a half mile bushwhack from the nearest road.
The first thing worth noting is that both Google Maps and COTREX have the marker for this mountain very much not on top of a mountain. The latitude \ longitude from the SOTA database is the correct one – approximately 1.2 miles South and 1600 feet above the marker.
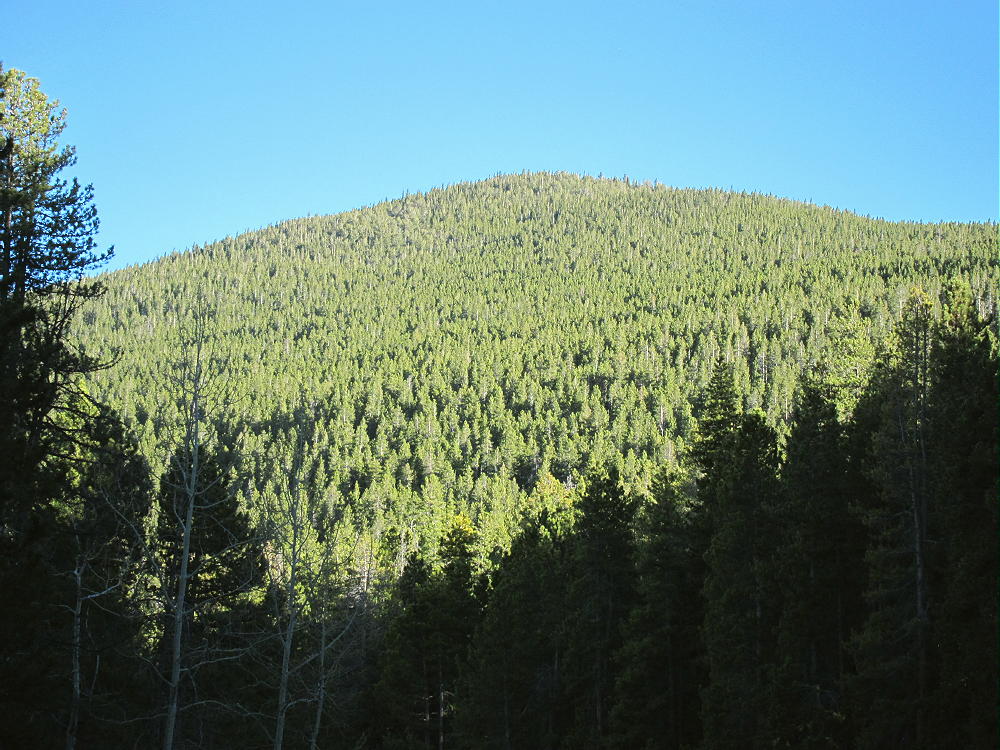
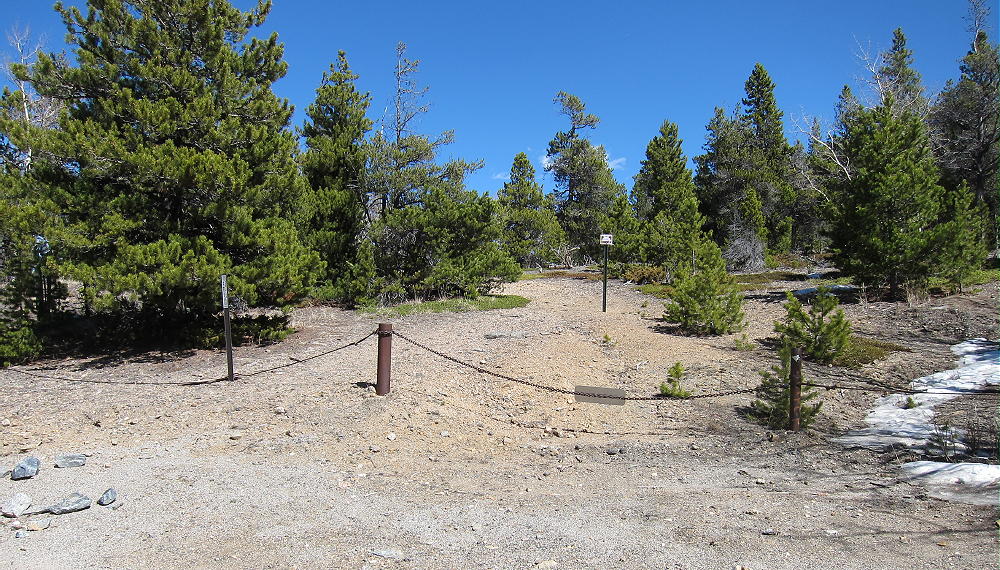
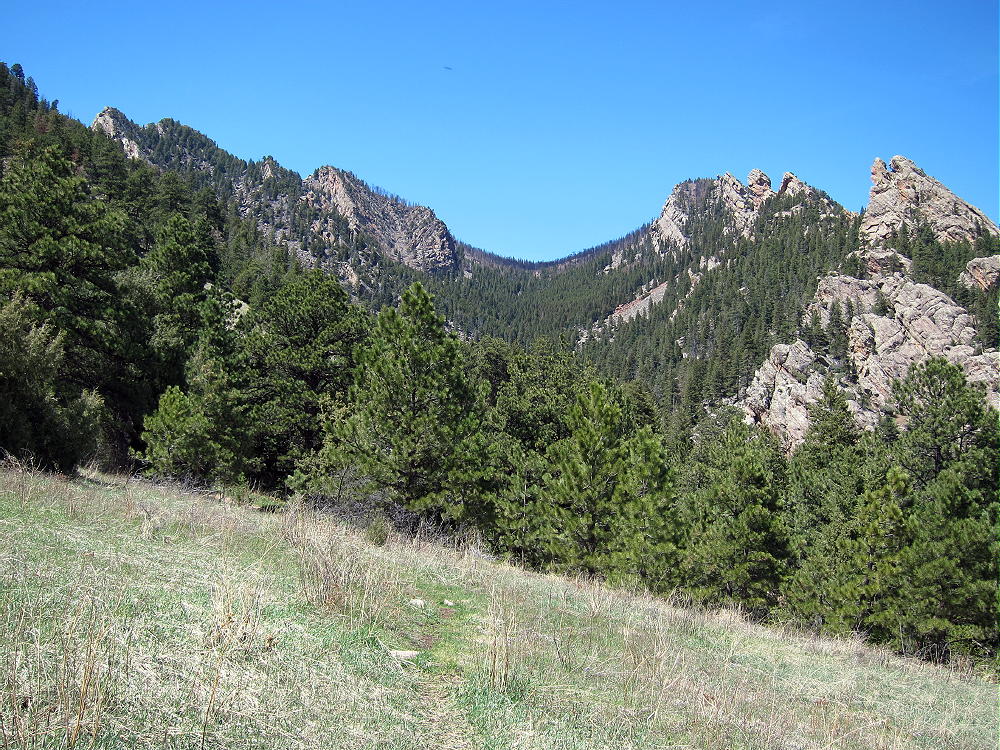
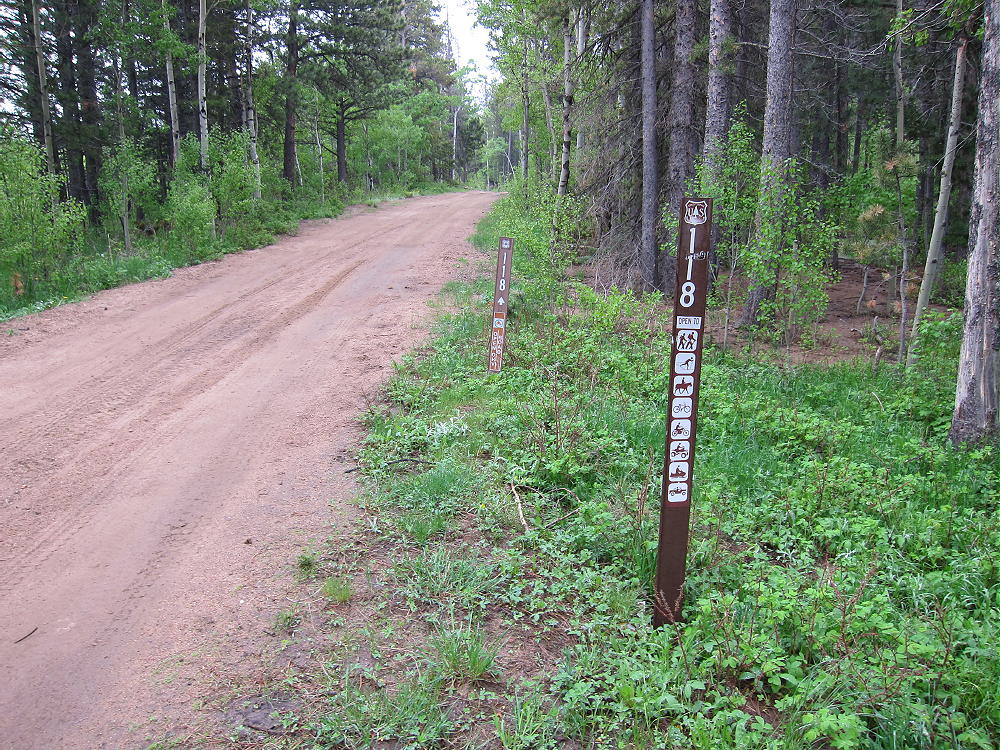
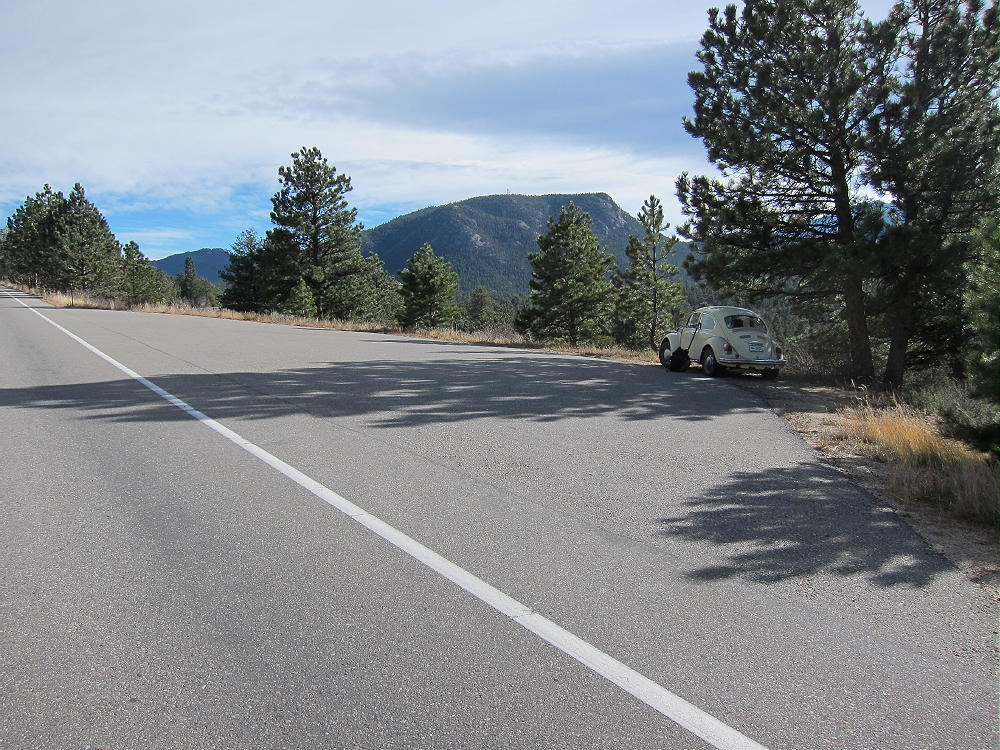
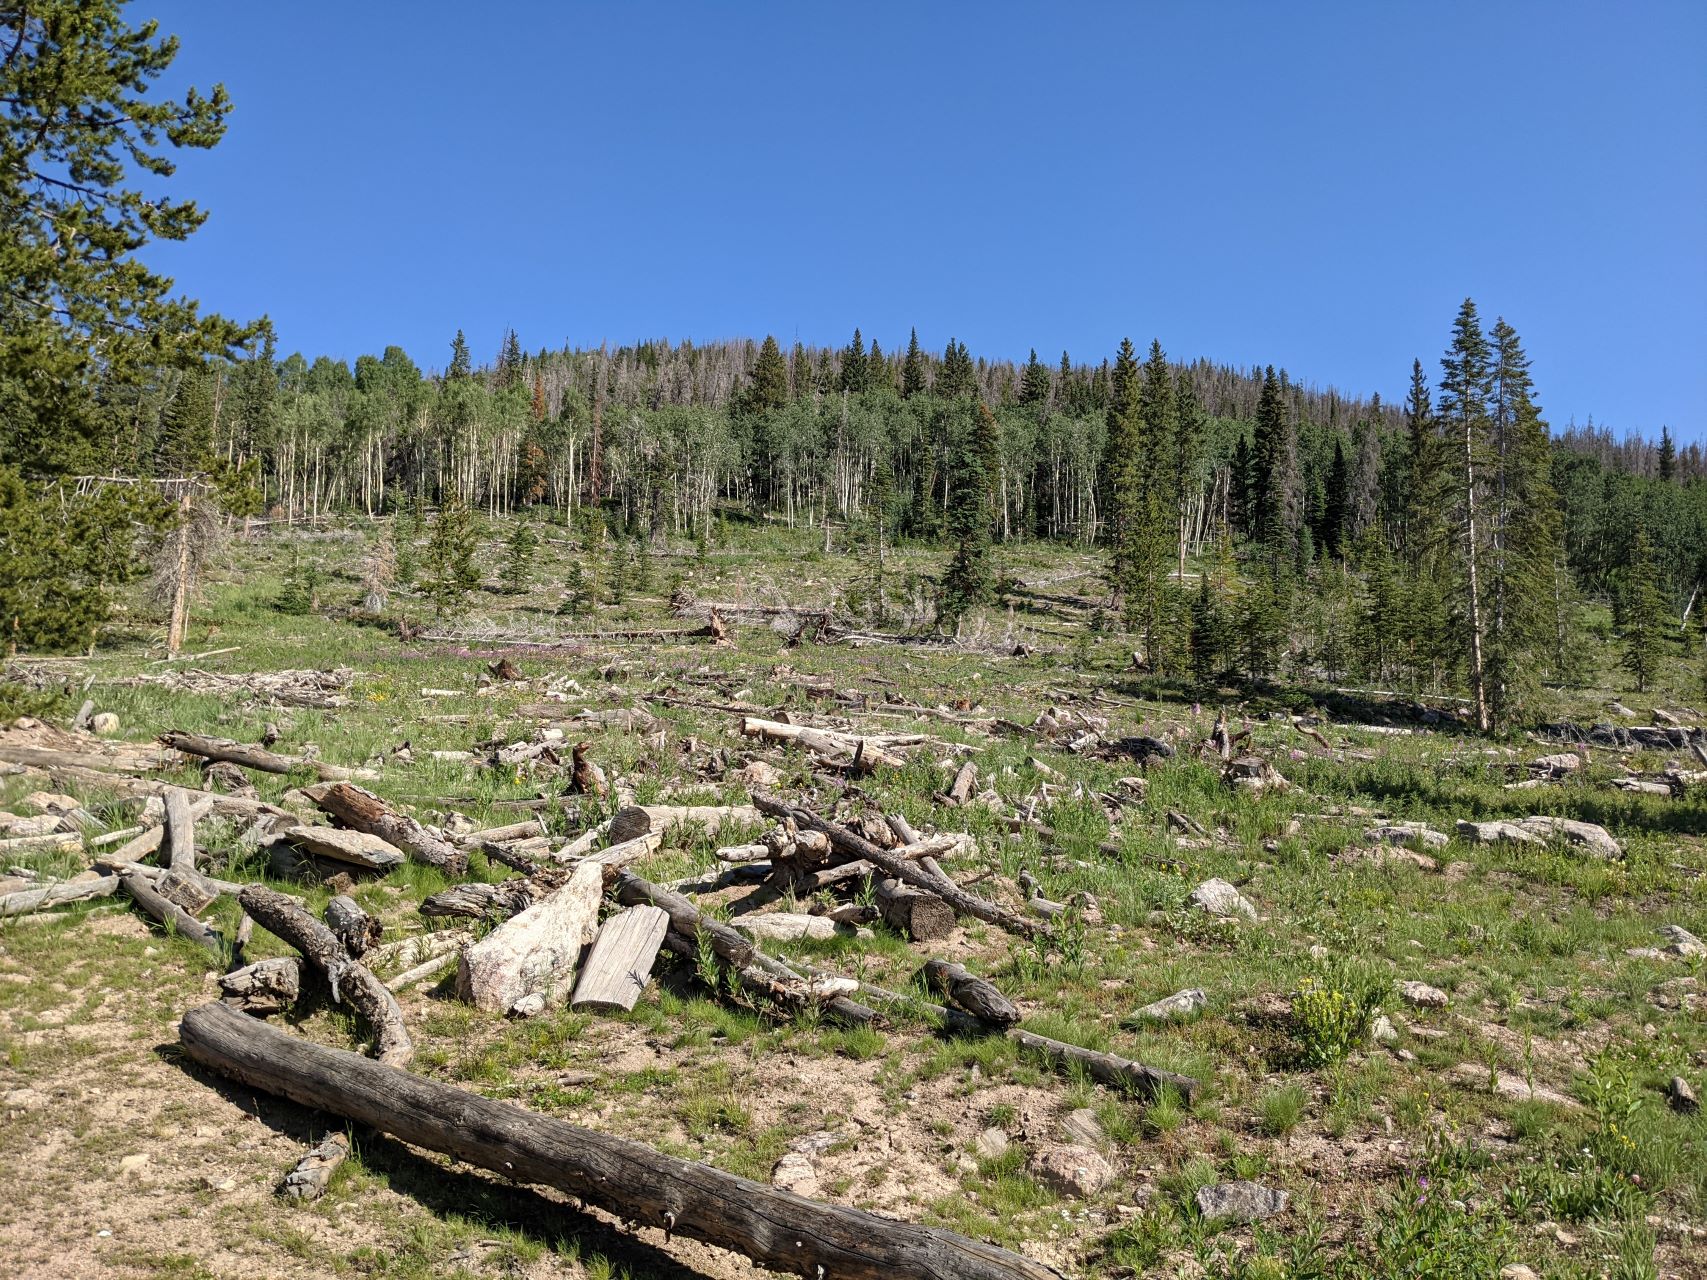
To get to Sheep Mountain, take I-70 to Silverthorne and head North on CO-9. Once you pass the reservoir, you’ll go by the turn off for Williams Peak Road on your right, and hang a left onto County Highway 10. Take this back a while, until you see a sign indicating Dice Hill to your right, and National Forest land straight ahead. Continue straight past this sign, onto BLM2773. At the border of the National Forest, there will be a bunch of information signs and various admonishments. Veer right on FS23.1, which quickly climbs uphill. Take this back almost 3 miles. I parked at 39.87308N 106.43094W – there was a convenient pull-off on the right with an open field that heads up Sheep Mountain:
If you encounter a split in the road with FS1834.1 off to the left and FS202.1 continuing straight, you’ve gone too far.
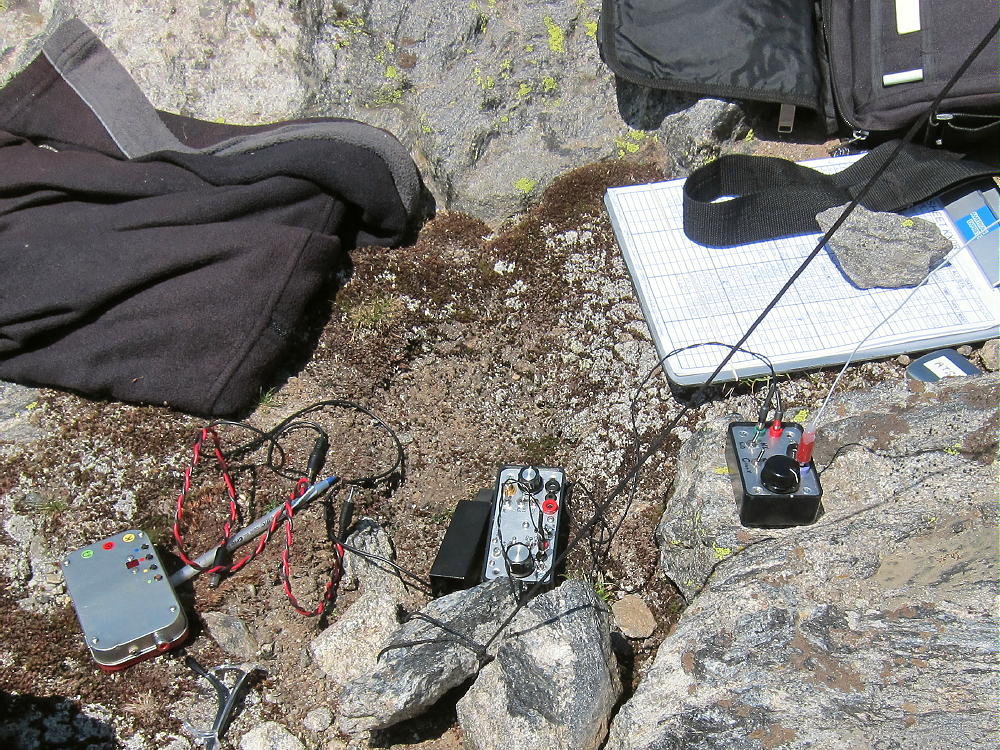
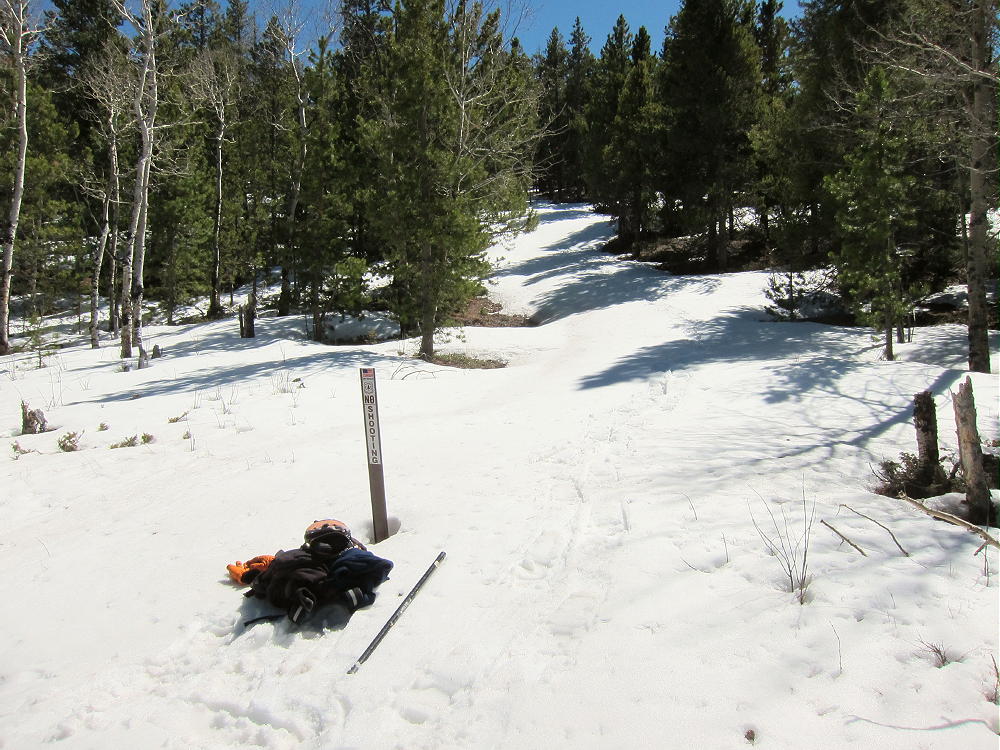
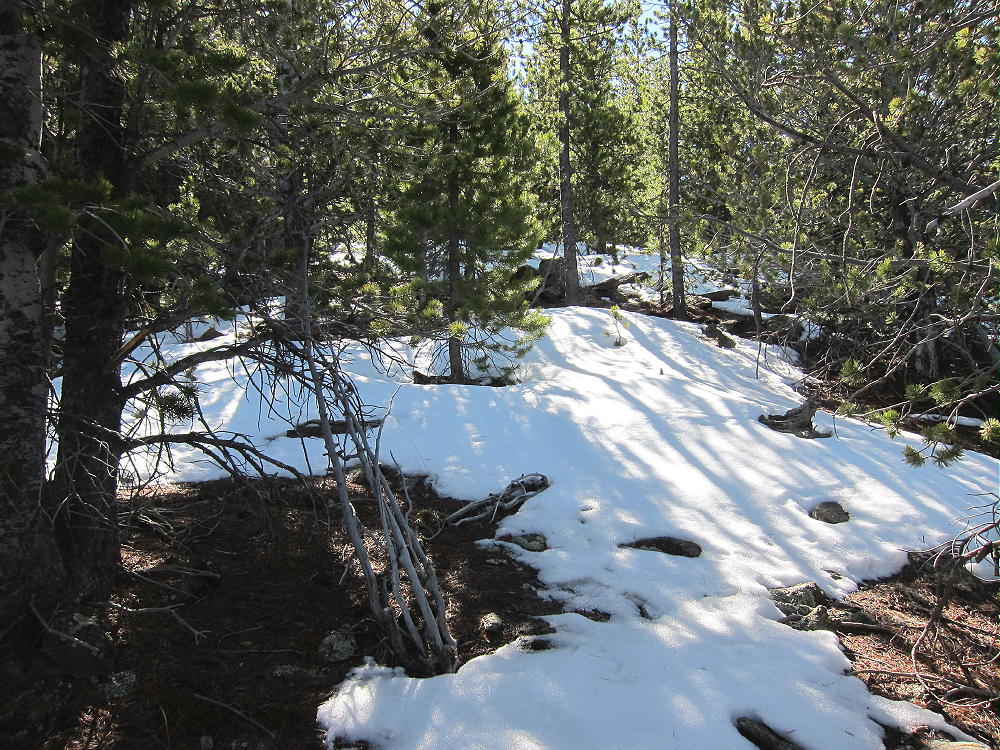
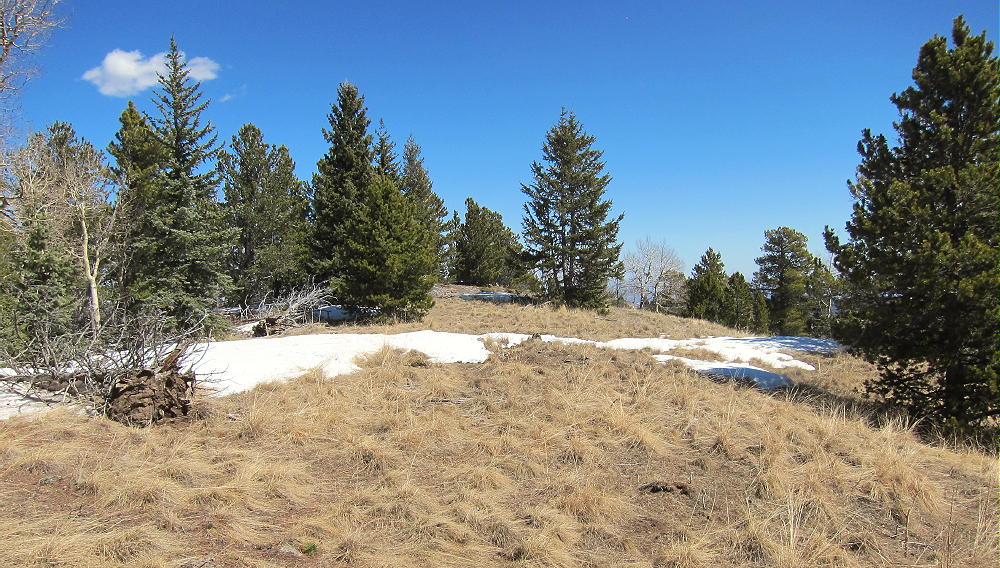
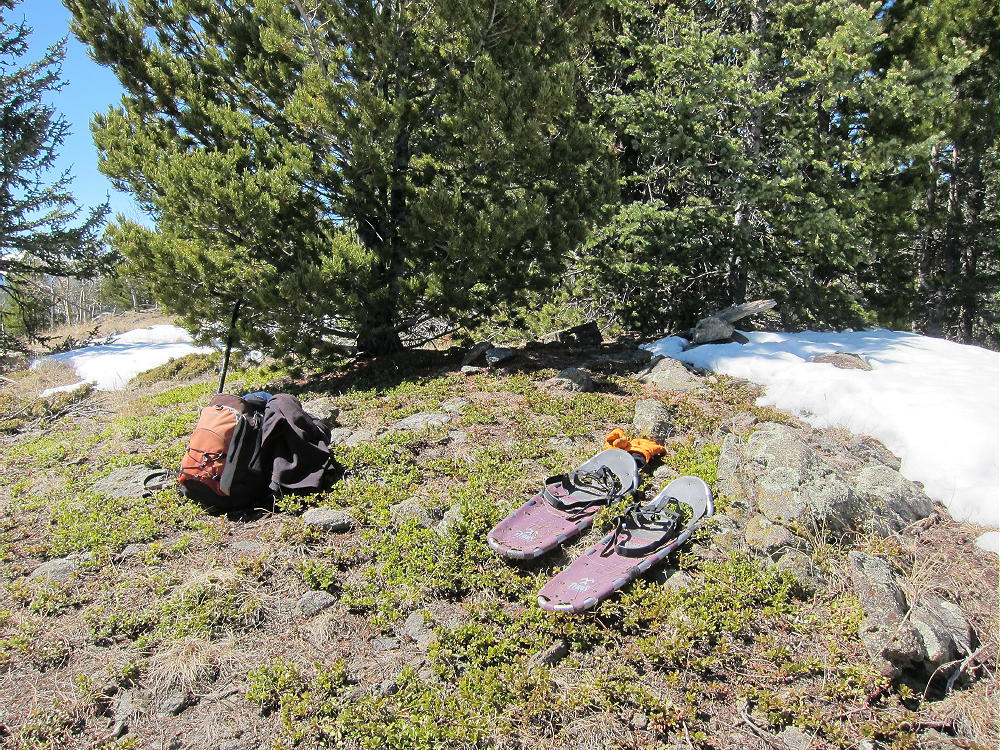
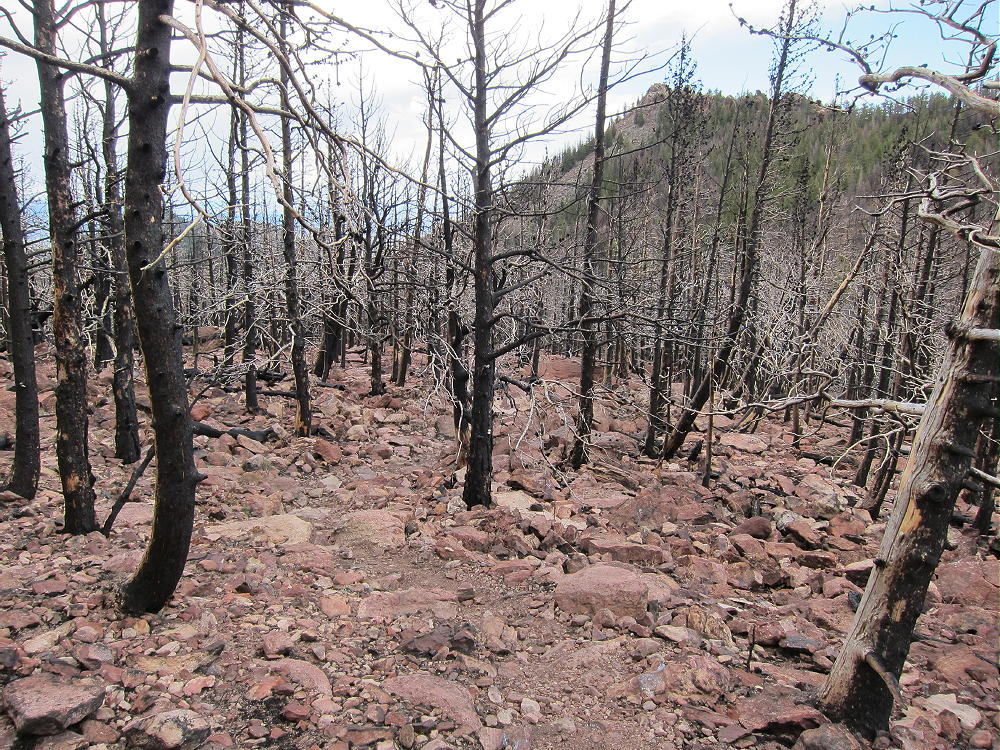
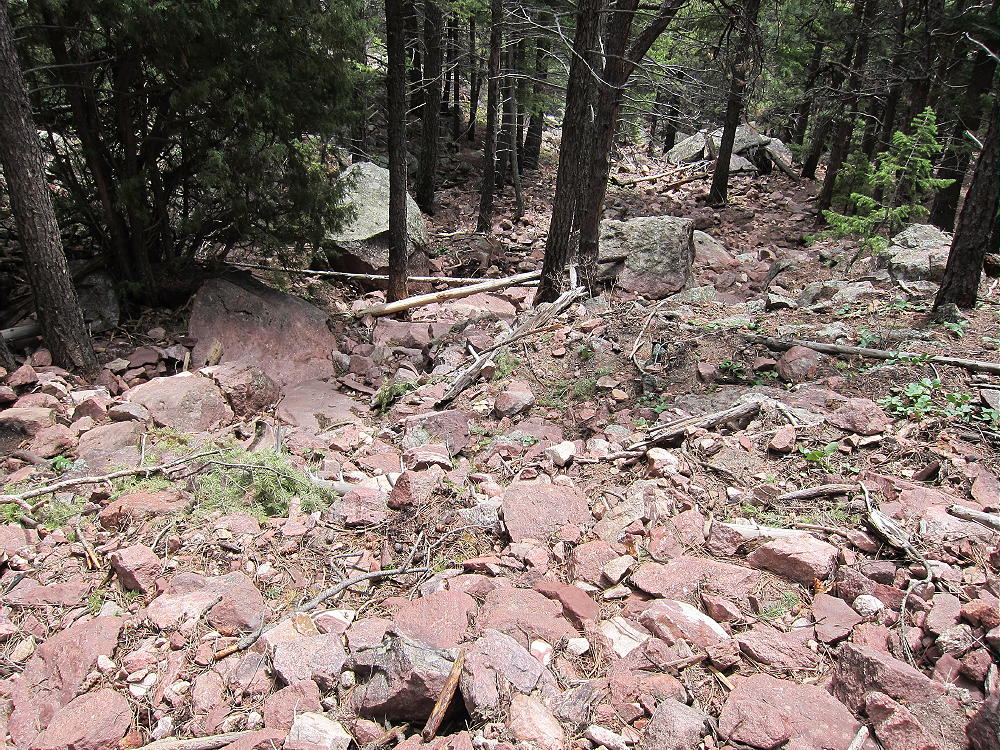
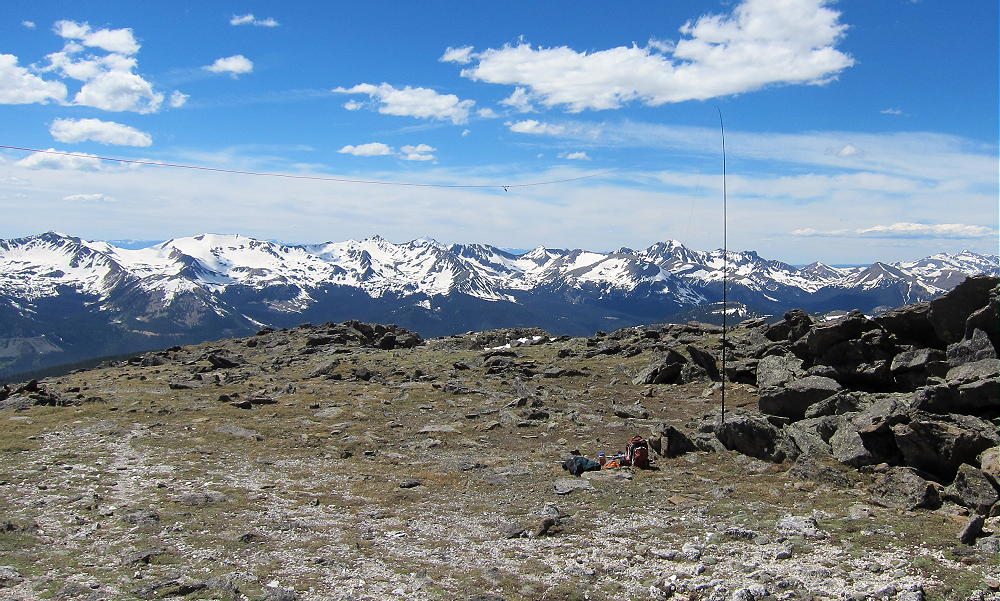
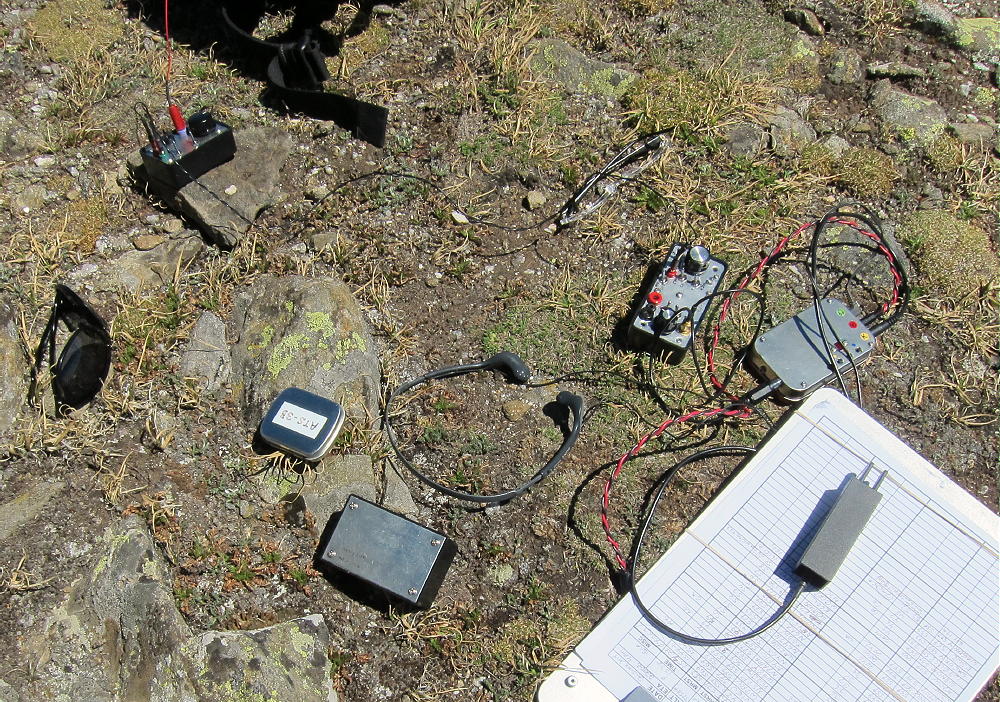
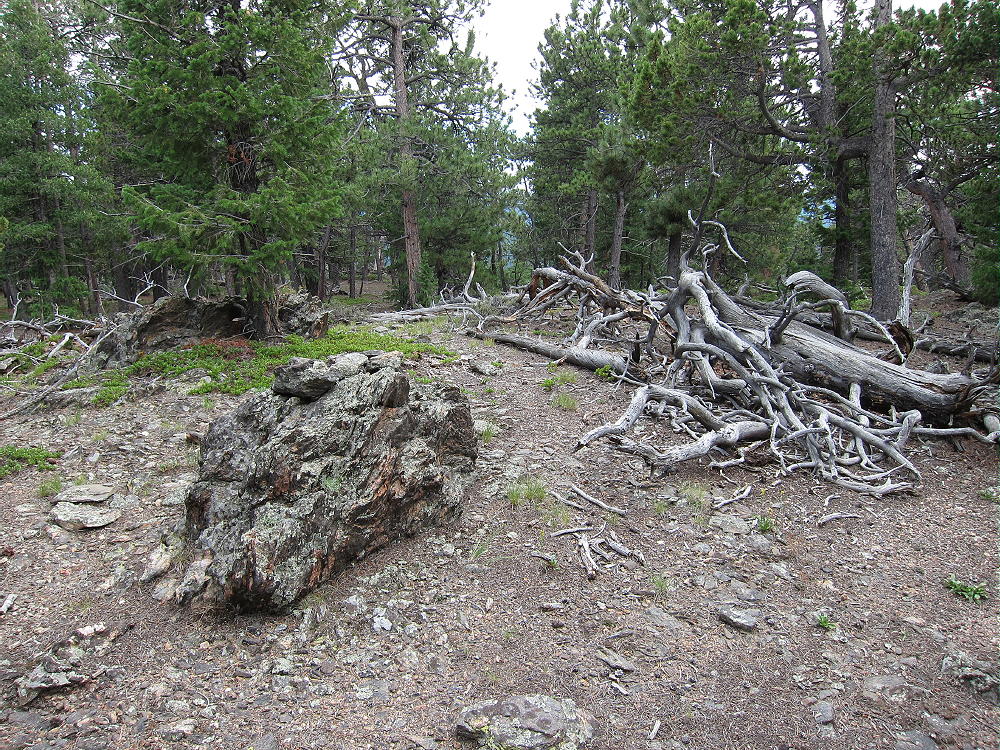
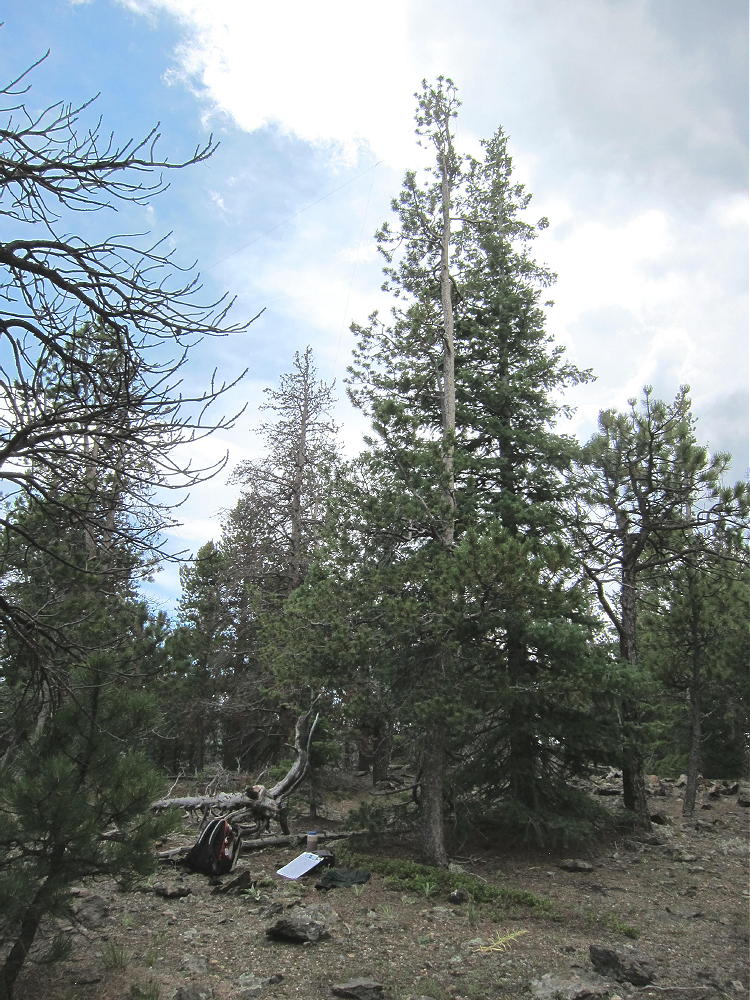
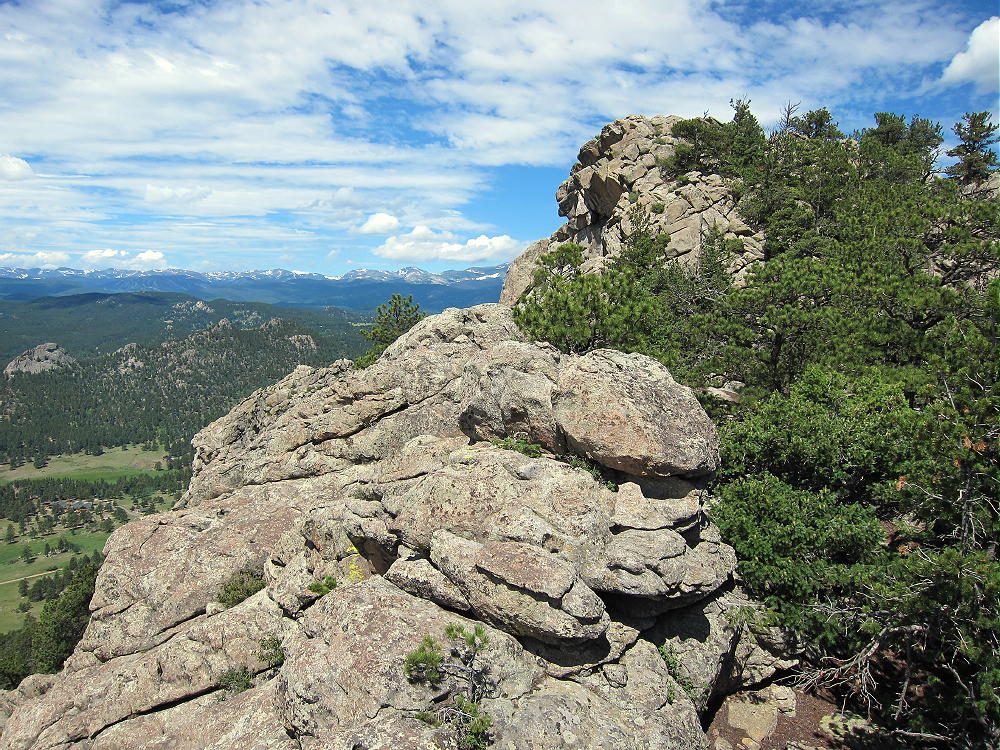
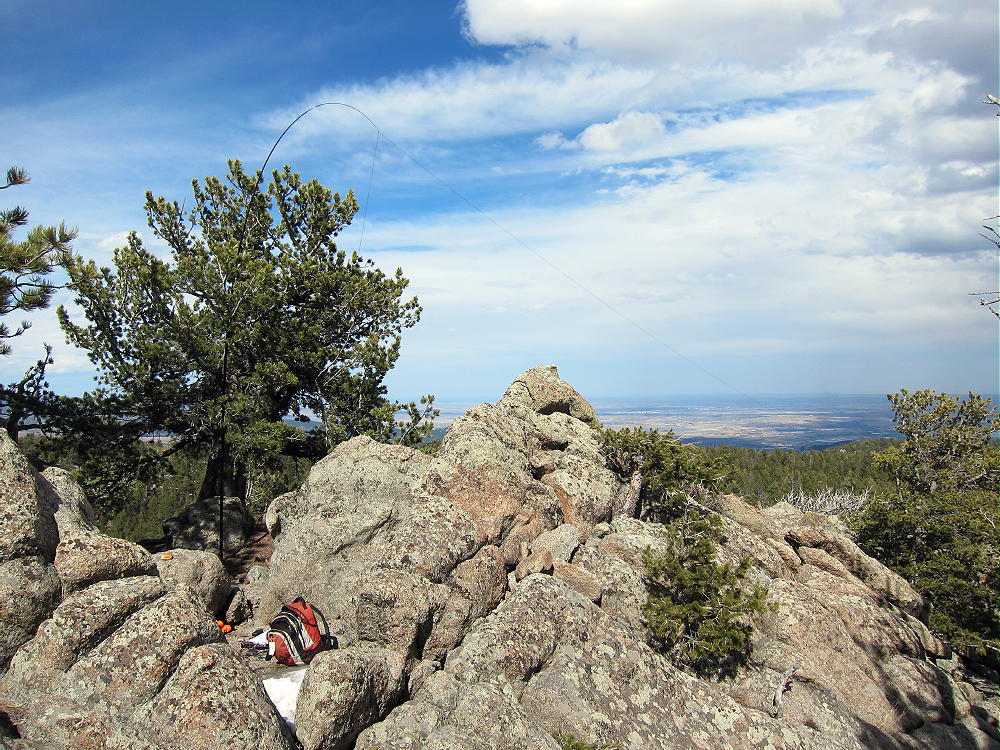
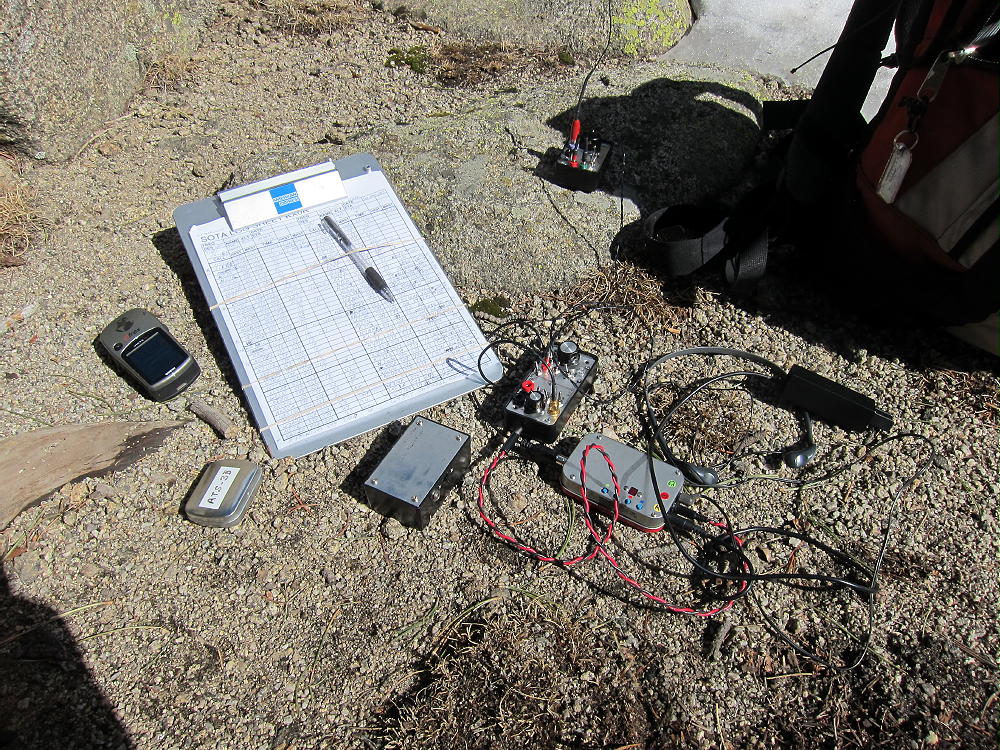
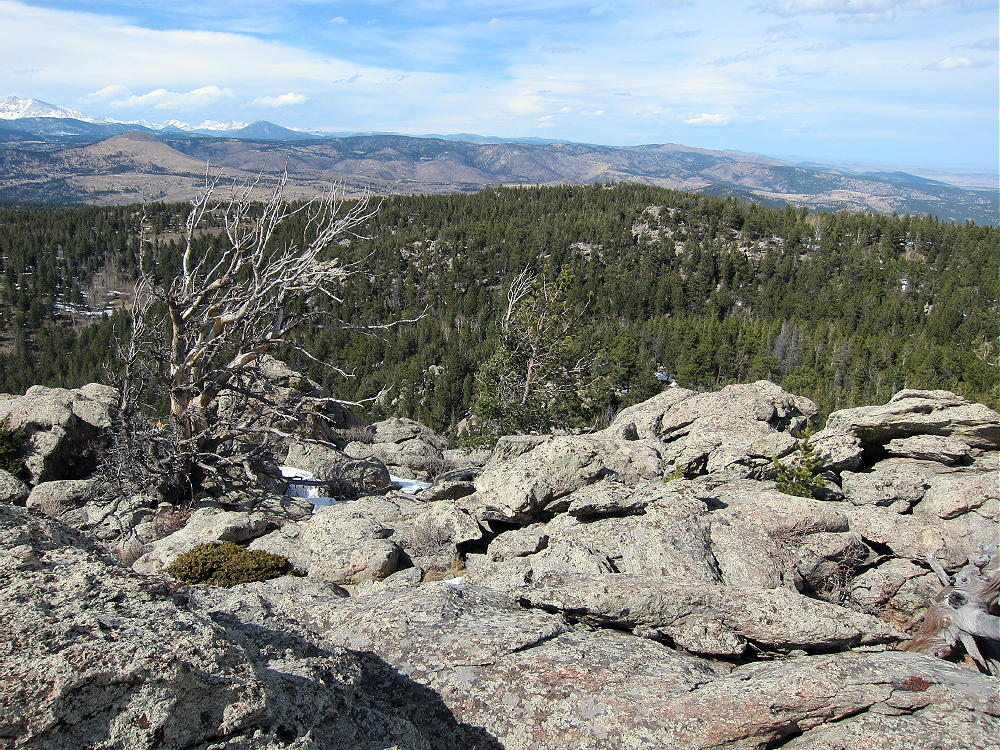
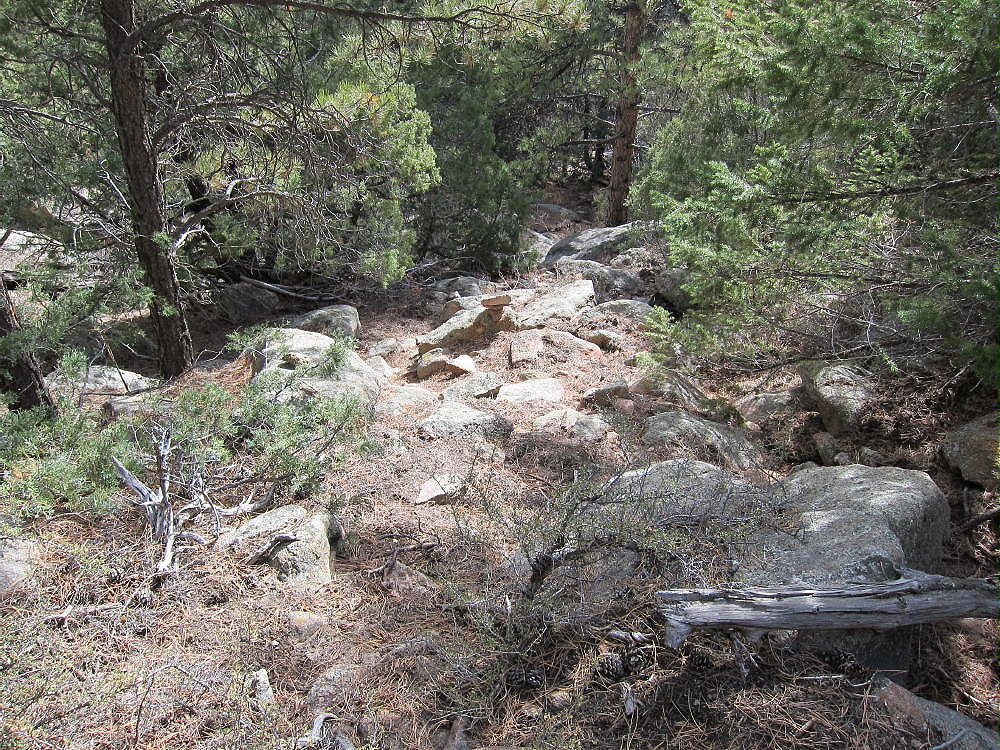
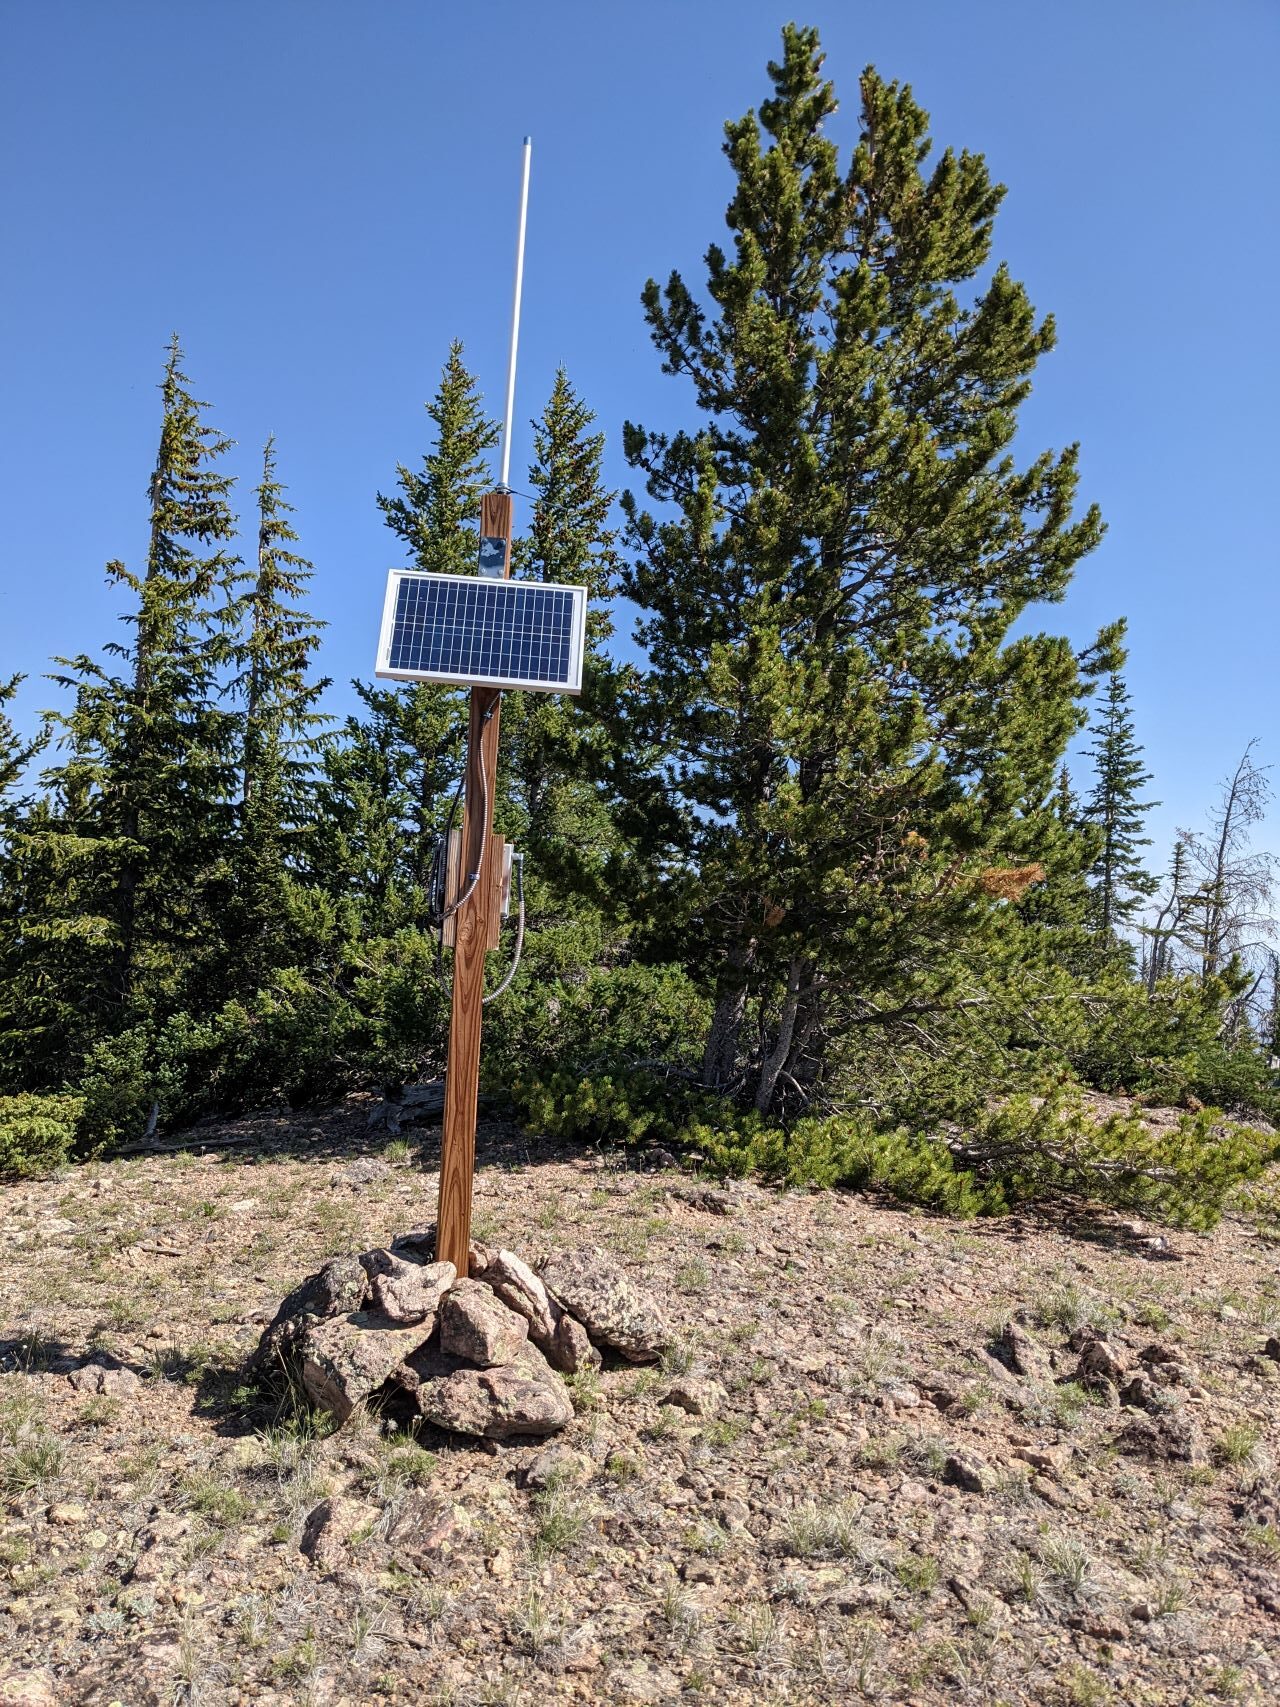
From here, it’s a pick-your-own-adventure bushwhack up to the top. I crossed the field and aimed for the what looked like a ridge on the left (West). This wasn’t a good choice – there were long rocky segments, tons of downed trees, and and waist-high grass hiding ankle deep mud. Regardless, I made it to the top. Having not seen any cars, or signs of people, since the National Forest boundary, I was somewhat surprised to see some gear with a solar panel and antenna on top of the mountain:
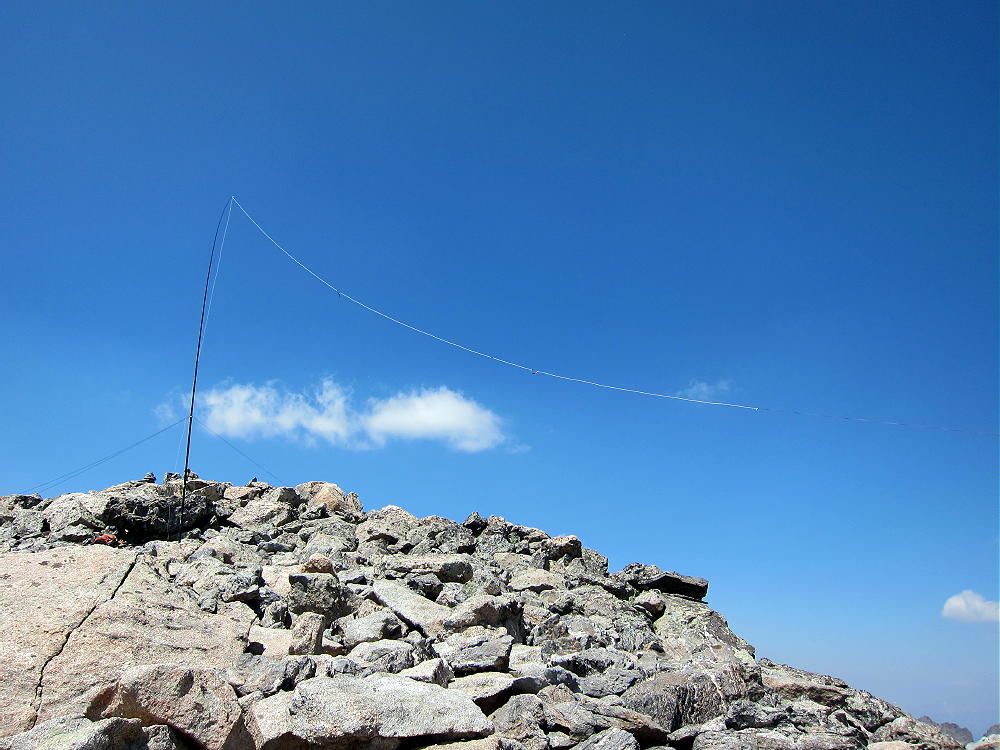
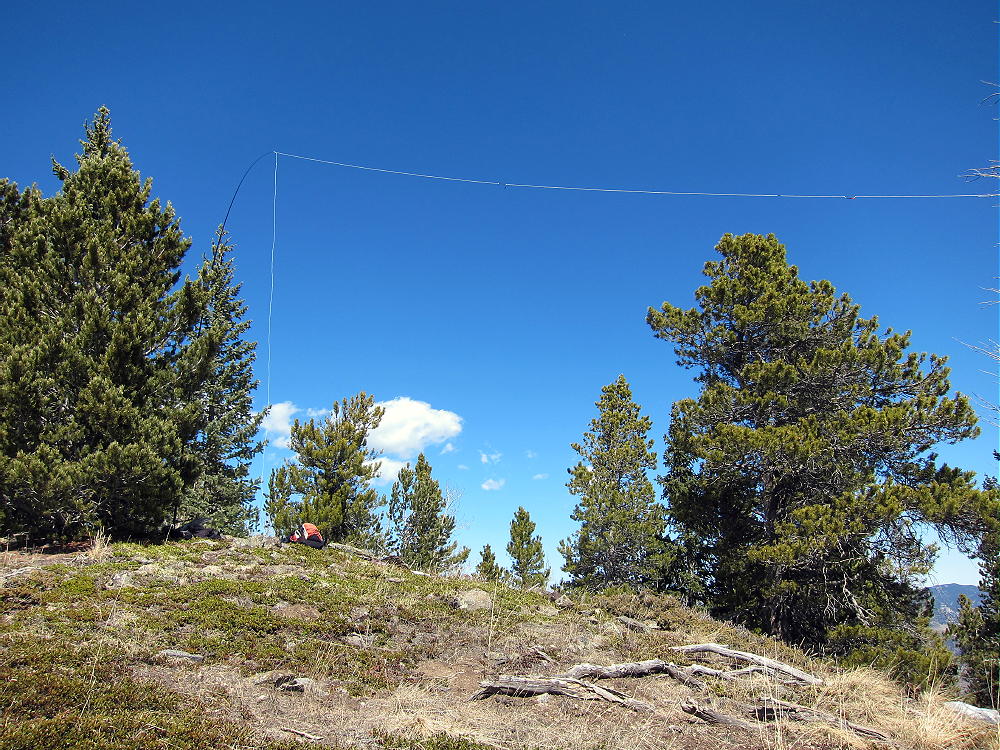
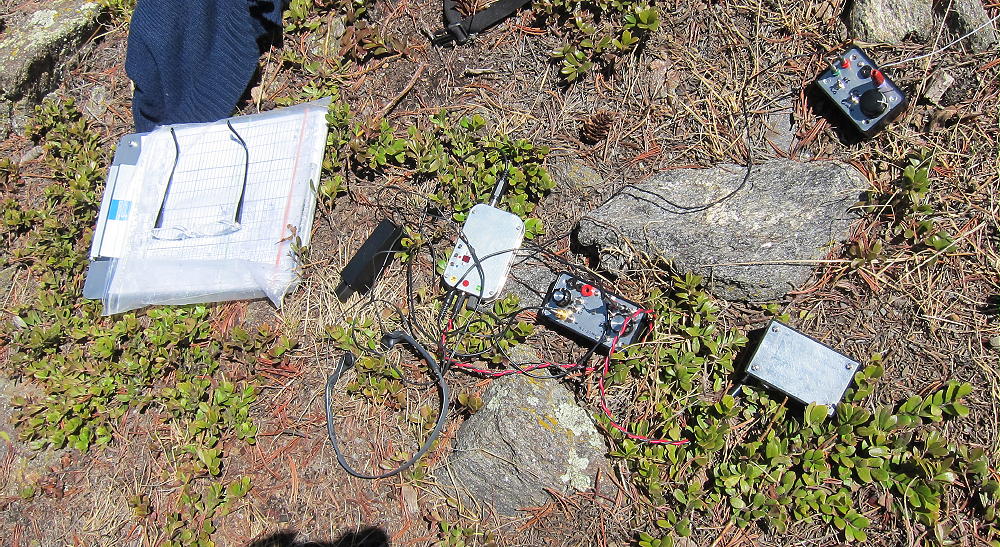
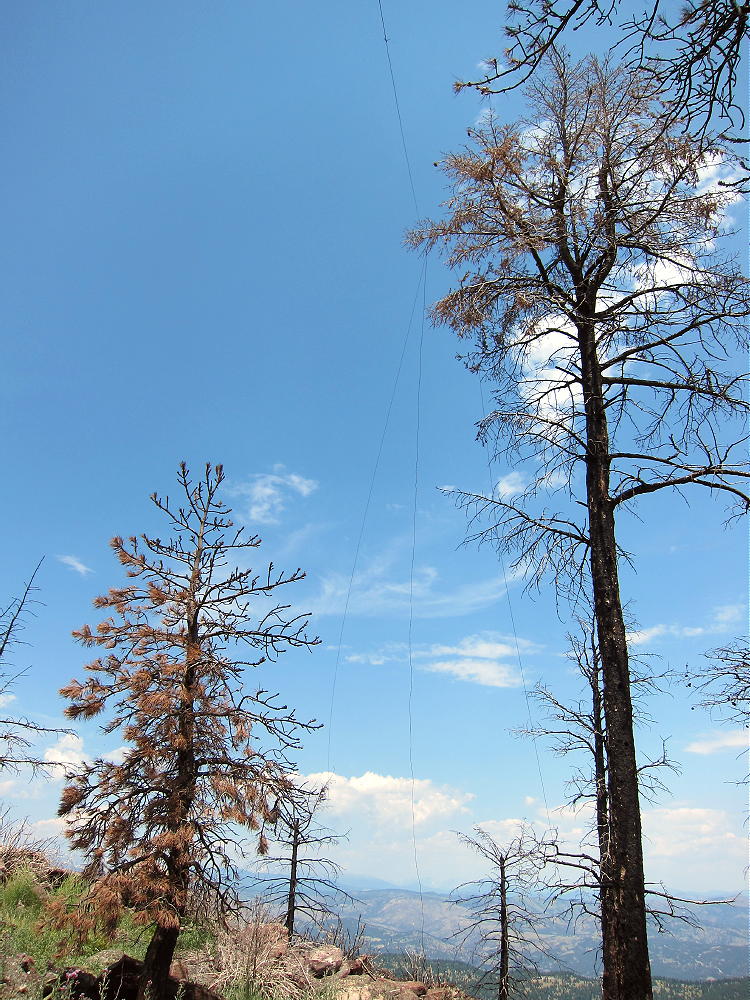
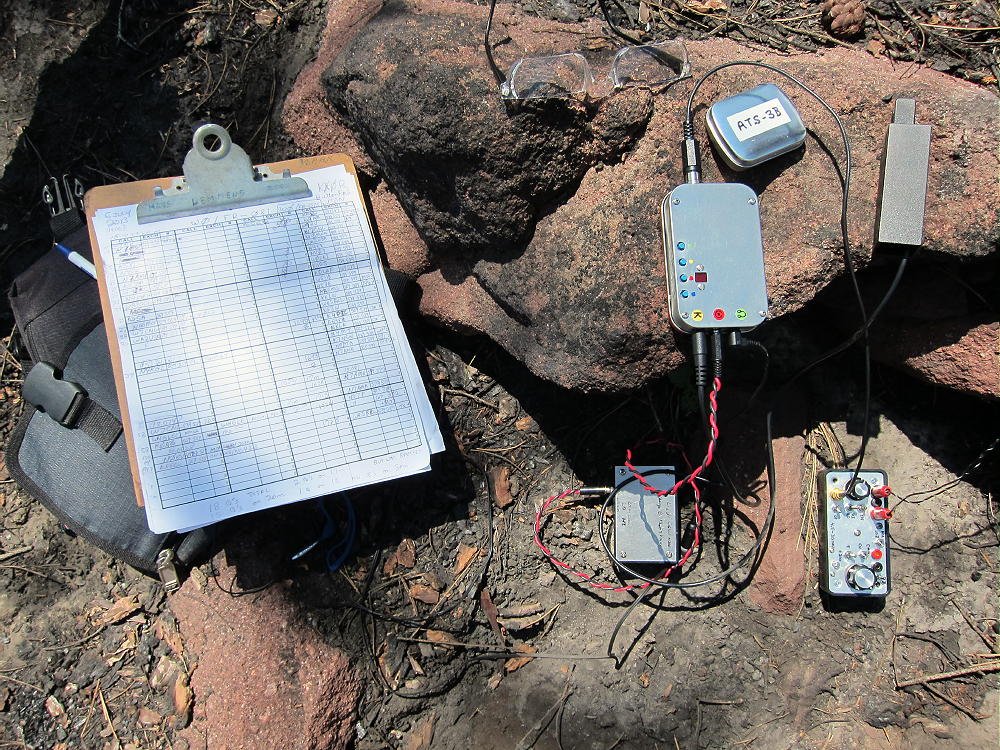
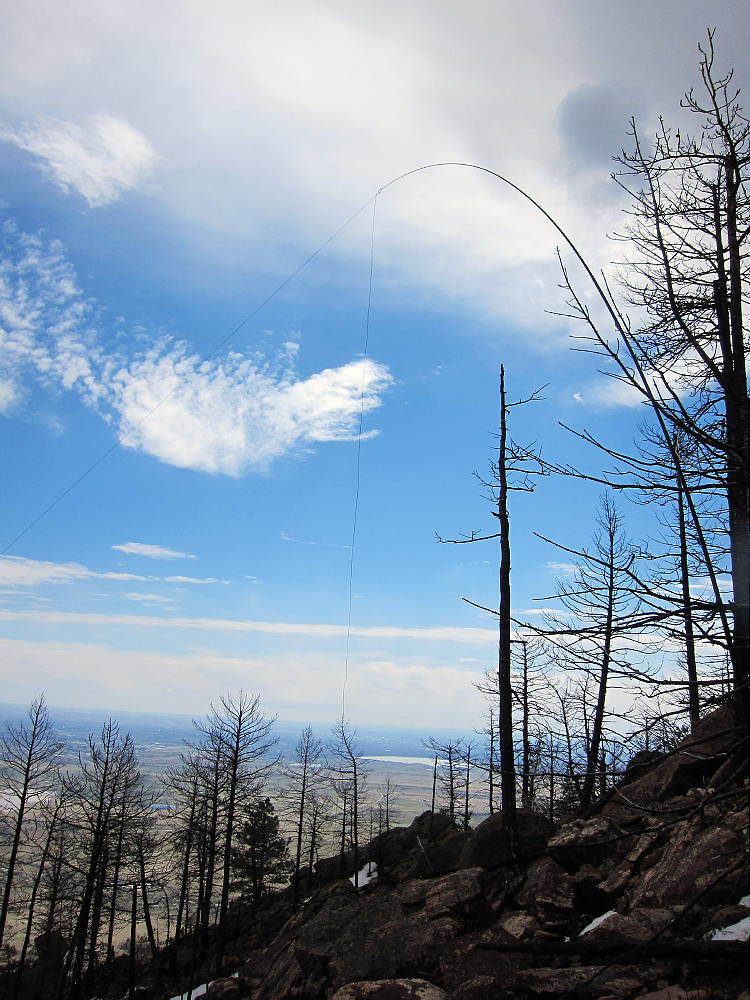
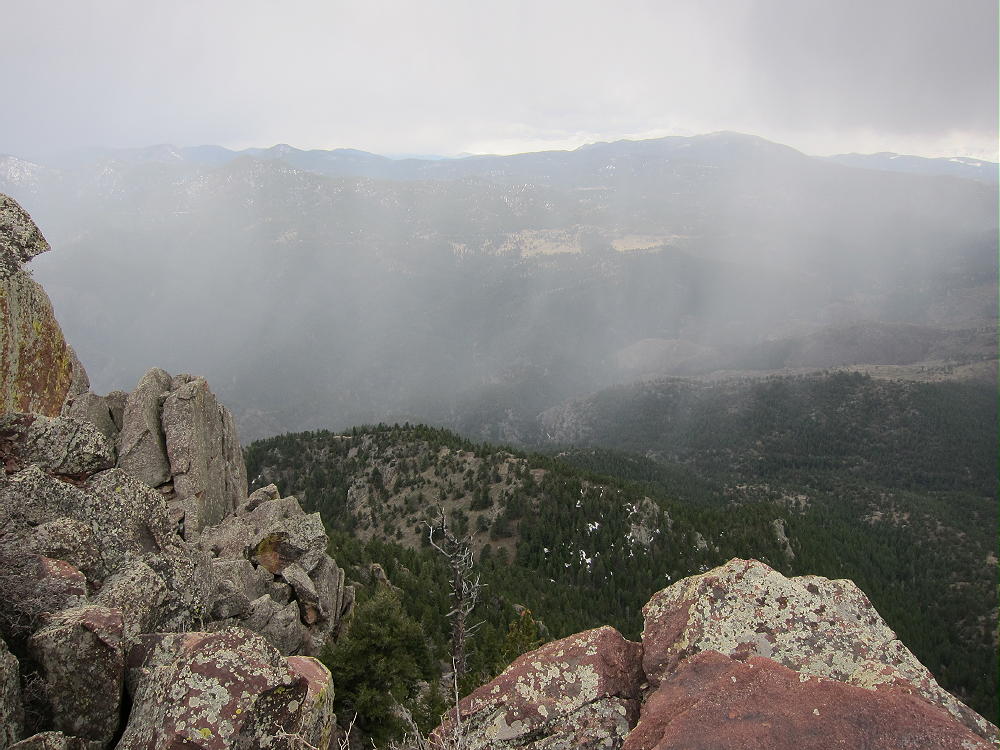
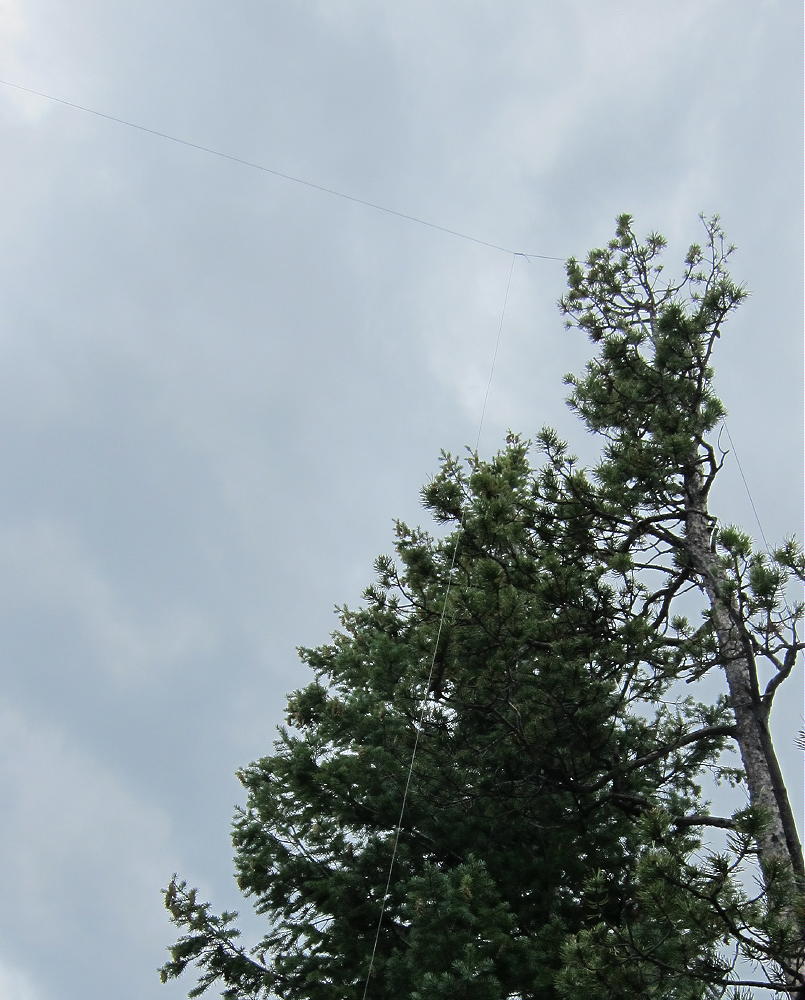
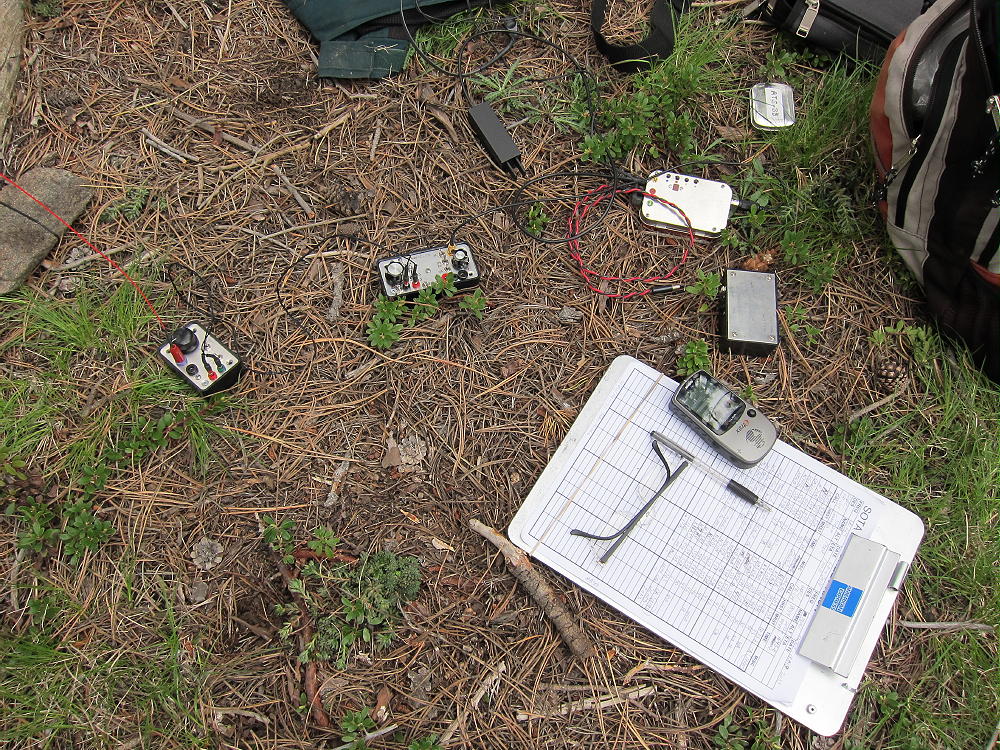
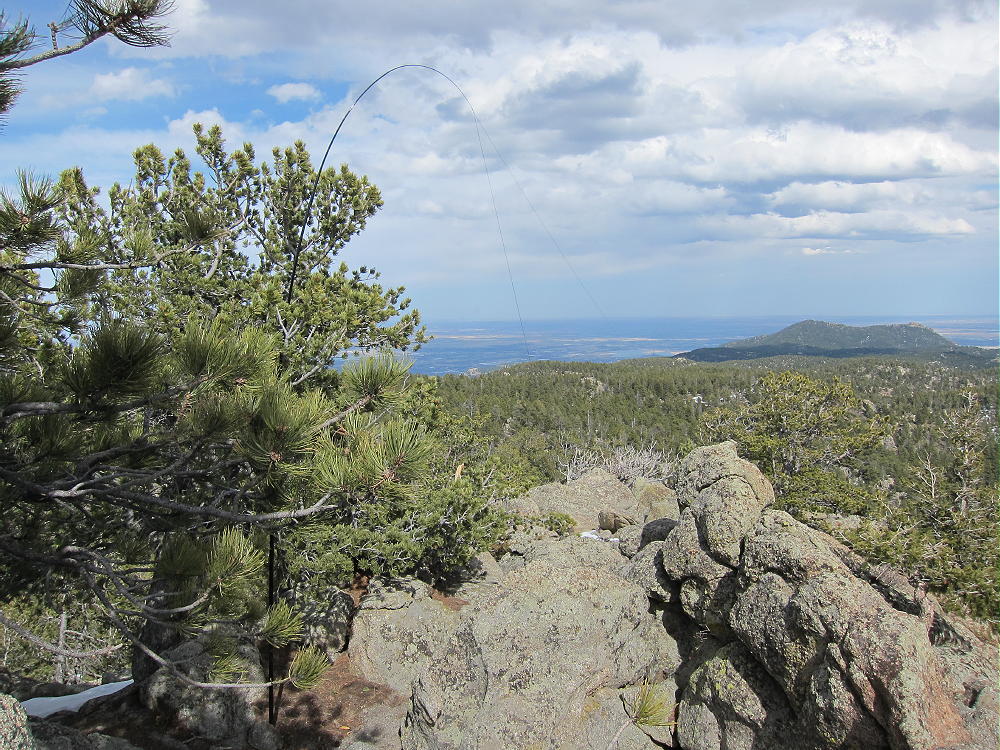
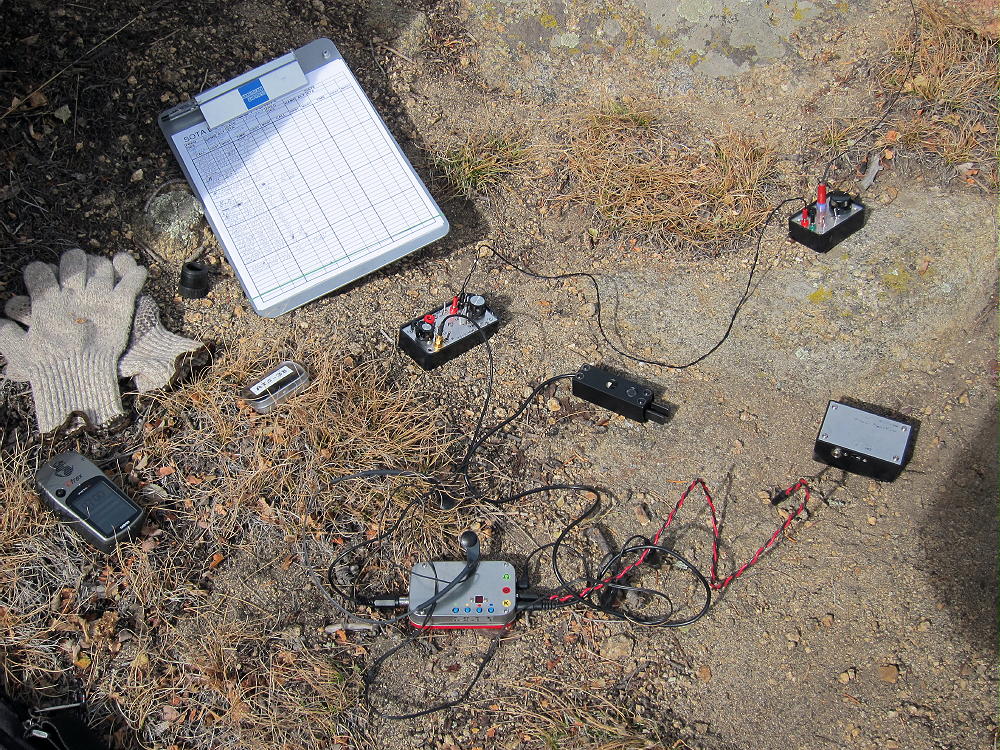
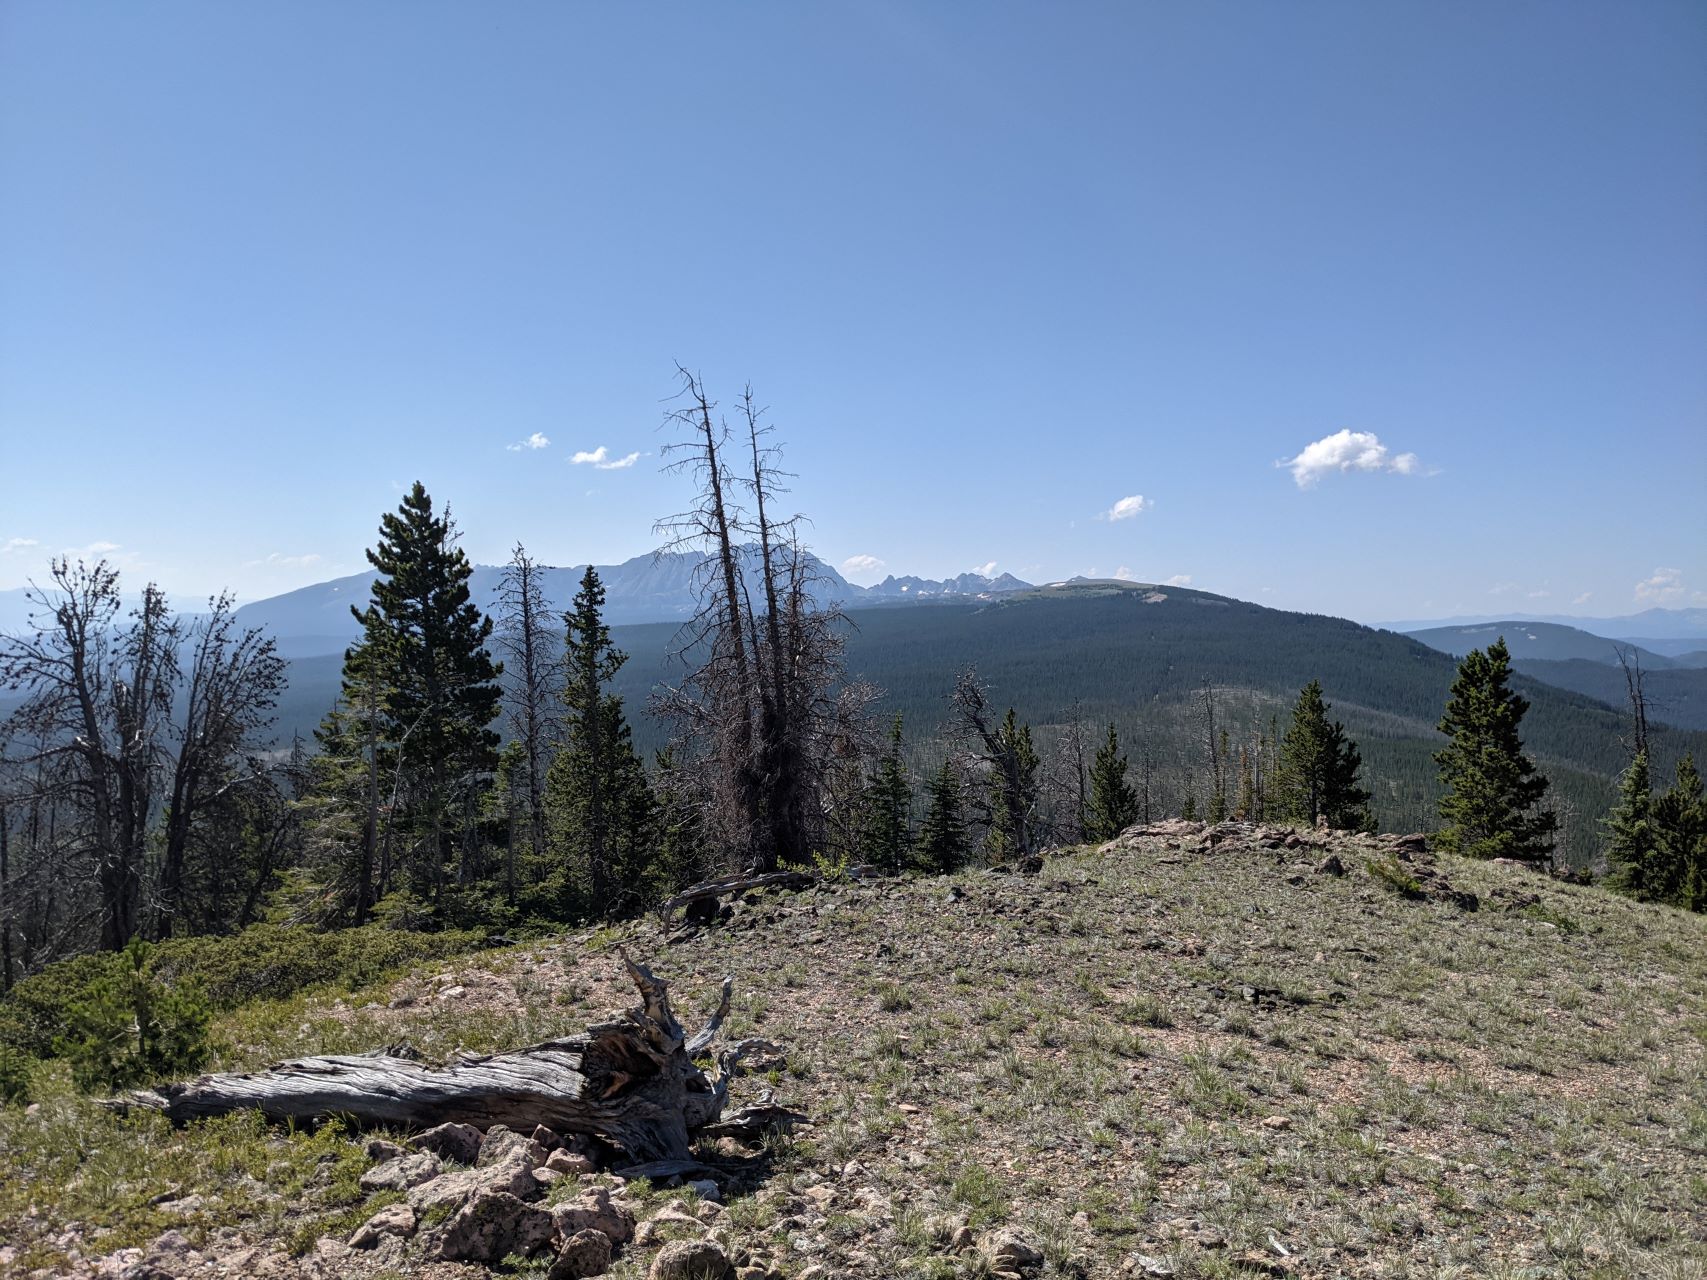
The summit has some low (5′) trees that I threw a random wire over. There were also a couple logs and rocks that a pole could be guyed to. The weather on top was lovely, and I spent an hour or so working the radio. I tested out a newly-added GPS to my portable FT8 setup, got a couple QSOs that way, then hunted for P2P and S2S. My phone showed plenty of bars, but data service was non-existent.
As far as VHF goes, I was able to intermittently hear a couple activators on the other side of continental divide on 2m, but didn’t manage to get through to them.
On the way down, I stayed more to the East, and emerged at the Eastern edge of the clearing that I parked by. This was significantly less rocky and muddy compared to the way up. Back in your car, you can retrace your steps, or continue further along the forest service road towards Cottonwood Peak and Piney Peak. The road quickly gets worse in that direction, and I would strongly recommend only attempting this with a high-clearance 4WD vehicle. I was planning on attempting to activate one of them, but time and weather ended up forcing me to leave them for another day.
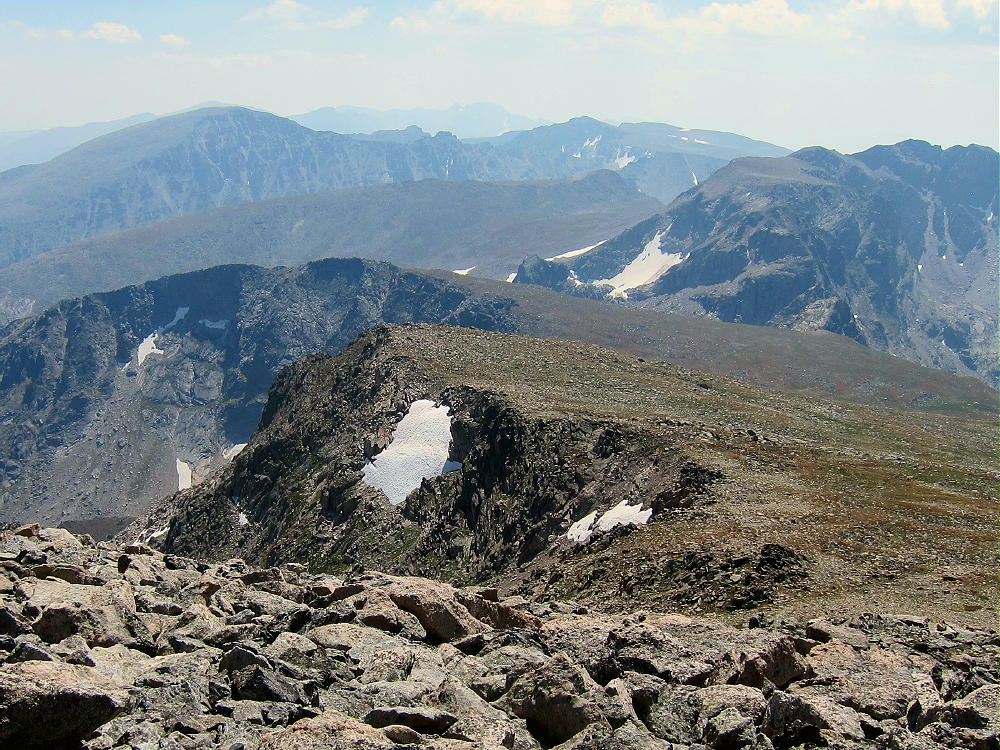
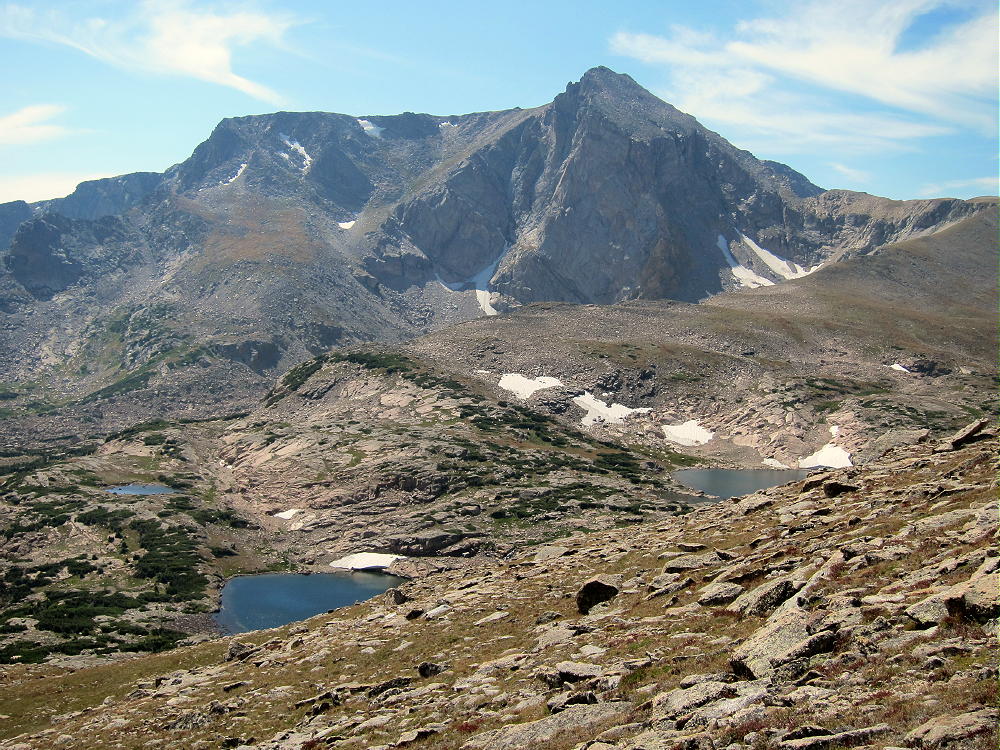
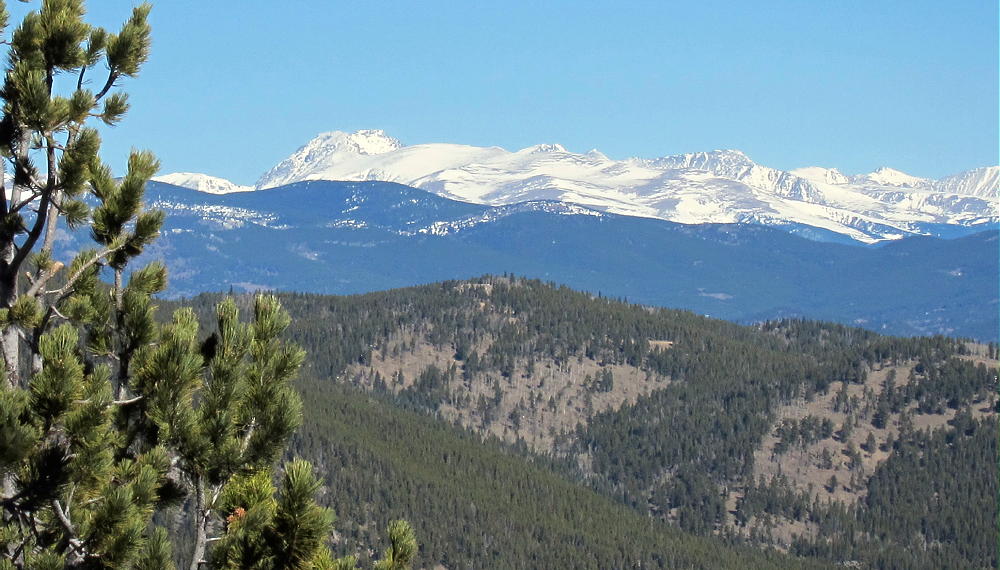
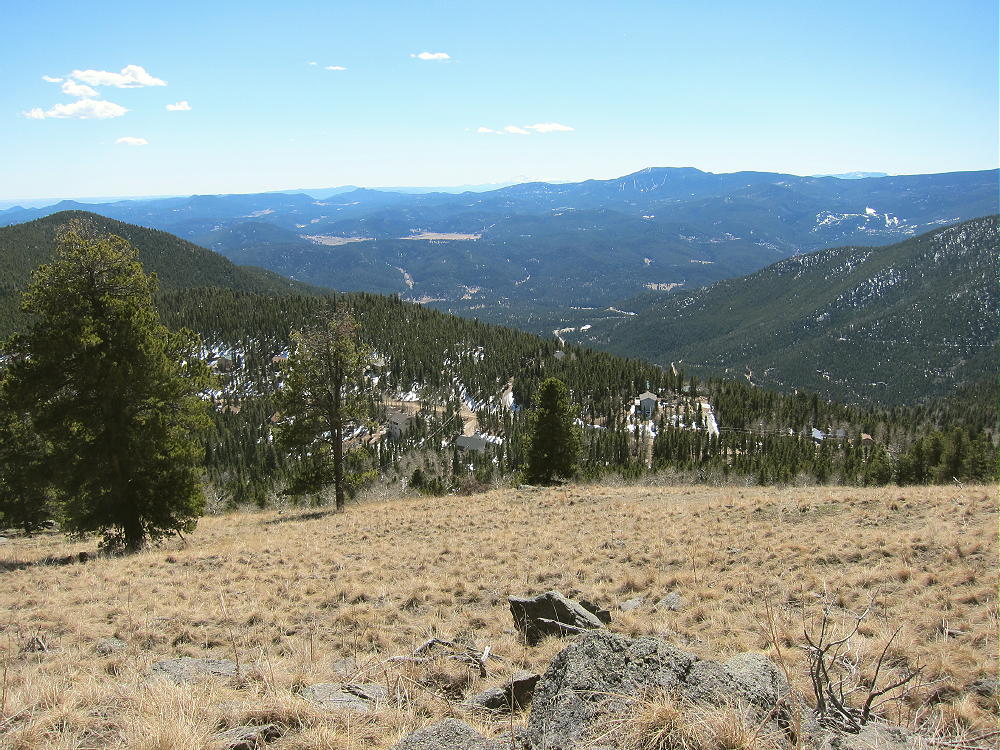
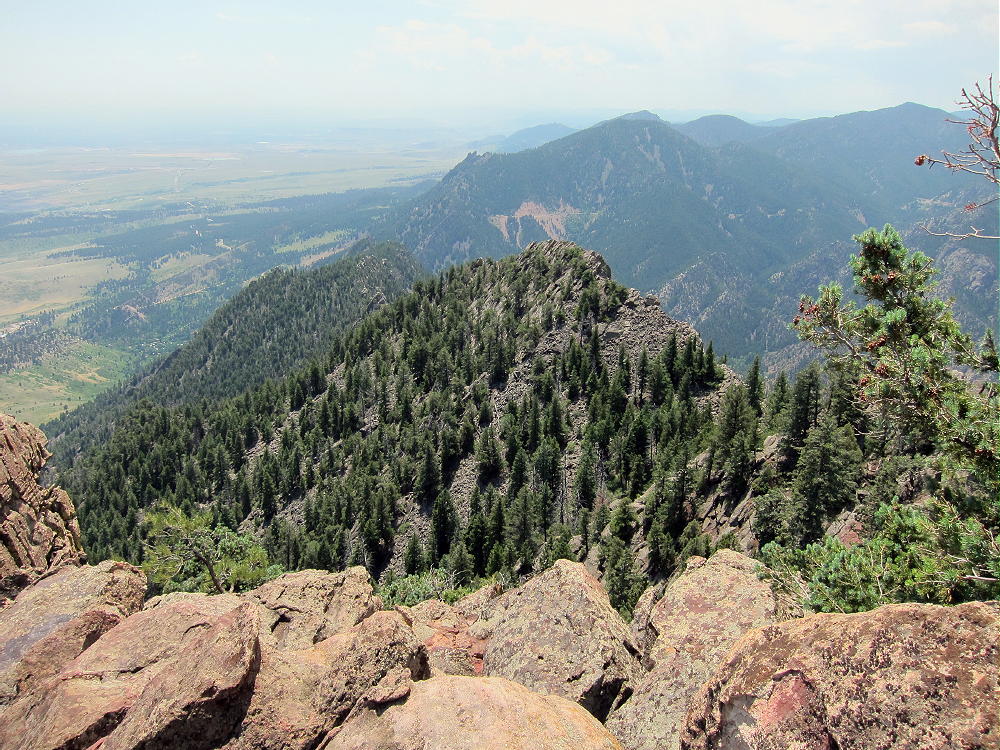
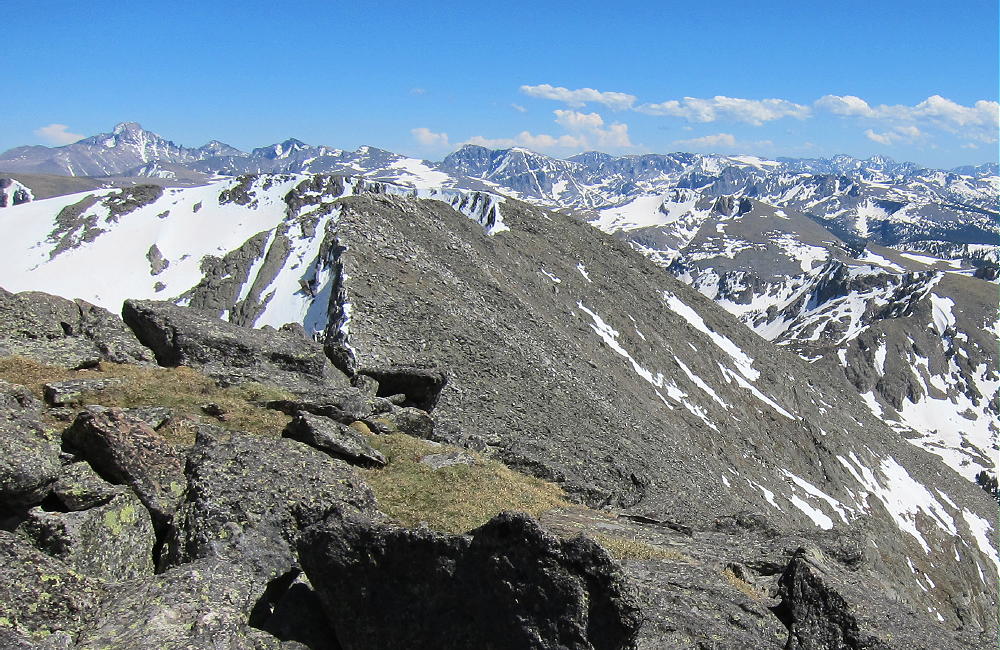
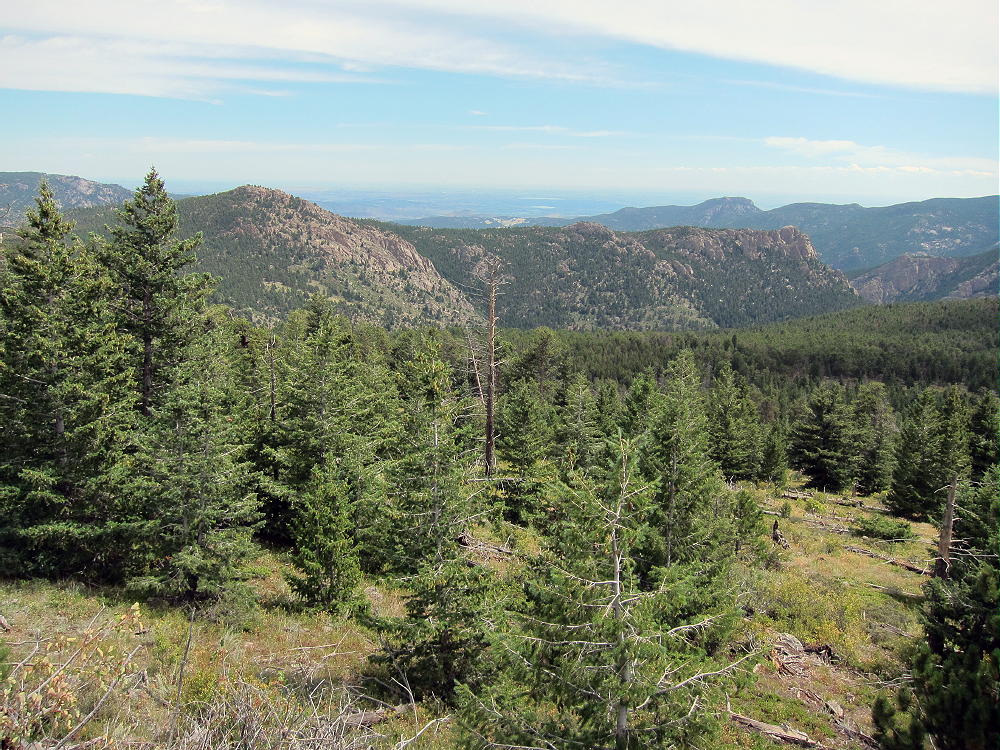
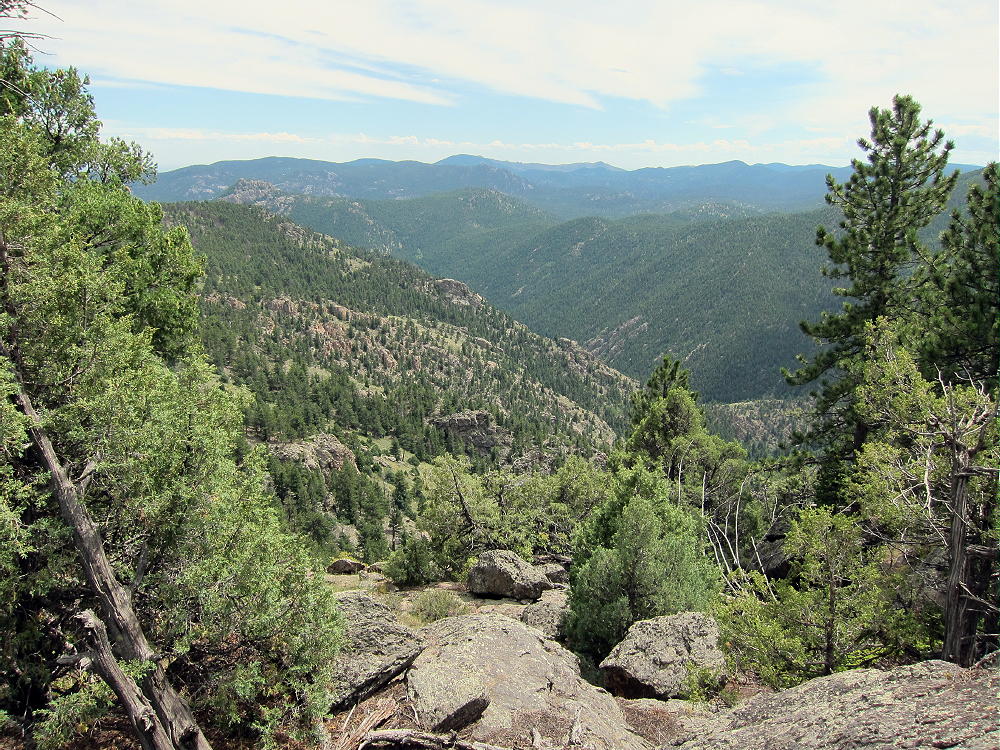
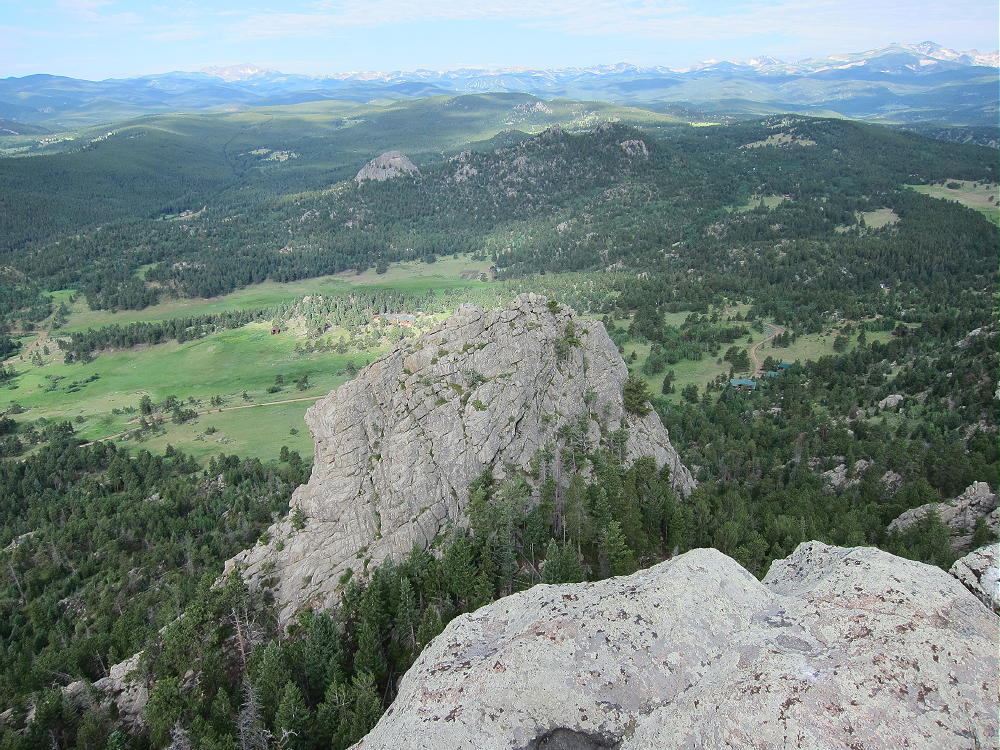
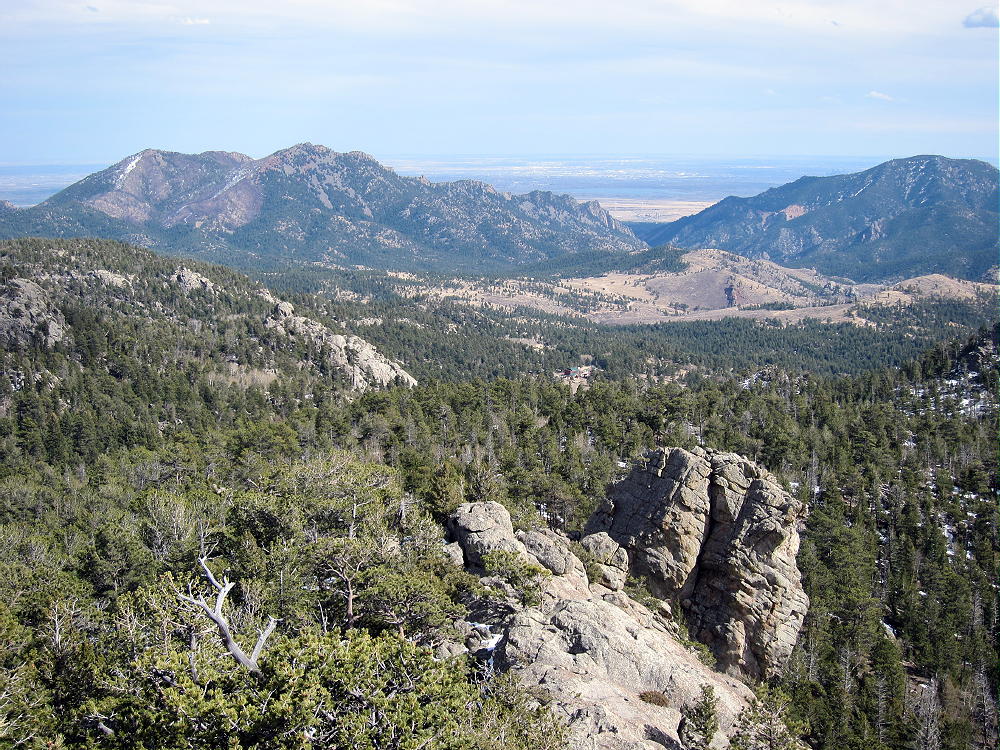
This was slightly harder to get to than Dice Hill, but significantly more scenic, and could be easily combined with any of the other summits in the area.
!! WARNING !! There are old mountaineers, and
bold mountaineers… there are no old-bold mountaineers.
Hiking and mountain climbing are potentially hazardous activities particularly in Colorado with its extreme elevations. I am not accepting responsibility for any death or injury resulting from activations based on my trip reports. Proper training, experience, and personal capability assessment is required – enjoy!
W0C/PR-120 Dice Hill 3003 m / 9853 ft First Activation: June 20, 2021 With N0TZW
By N3ALT
Dice Hill is an easily accessible summit North of Silverthorne, that you can almost drive up.
Following our activation of W0C/PR-077 (Williams Peak), Tim (N0TZW) and I headed over to Dice Hill. Taking CO-9 North from Silverthorne, past the reservoir and the turn off for W0C/PR-077, take a left on County Highway 10. This will turn into County Road 23, and then you will take a left on BLM 2750 \ County Road 1830 heading North. This starts as a paved road and turns into a very well maintained dirt road. This eventually dead-ends into a forest service parking lot, where you’ll take a right onto a narrow two track.
Assuming they’re dry, all of these roads should be doable in most crossovers if you’re careful. The main requirement is your ability \ willingness to back up on a narrow road with leaves touching both your mirrors. A full-size pick-up truck would be less than ideal for this. This became especially important when we reached the end of the road prematurely:
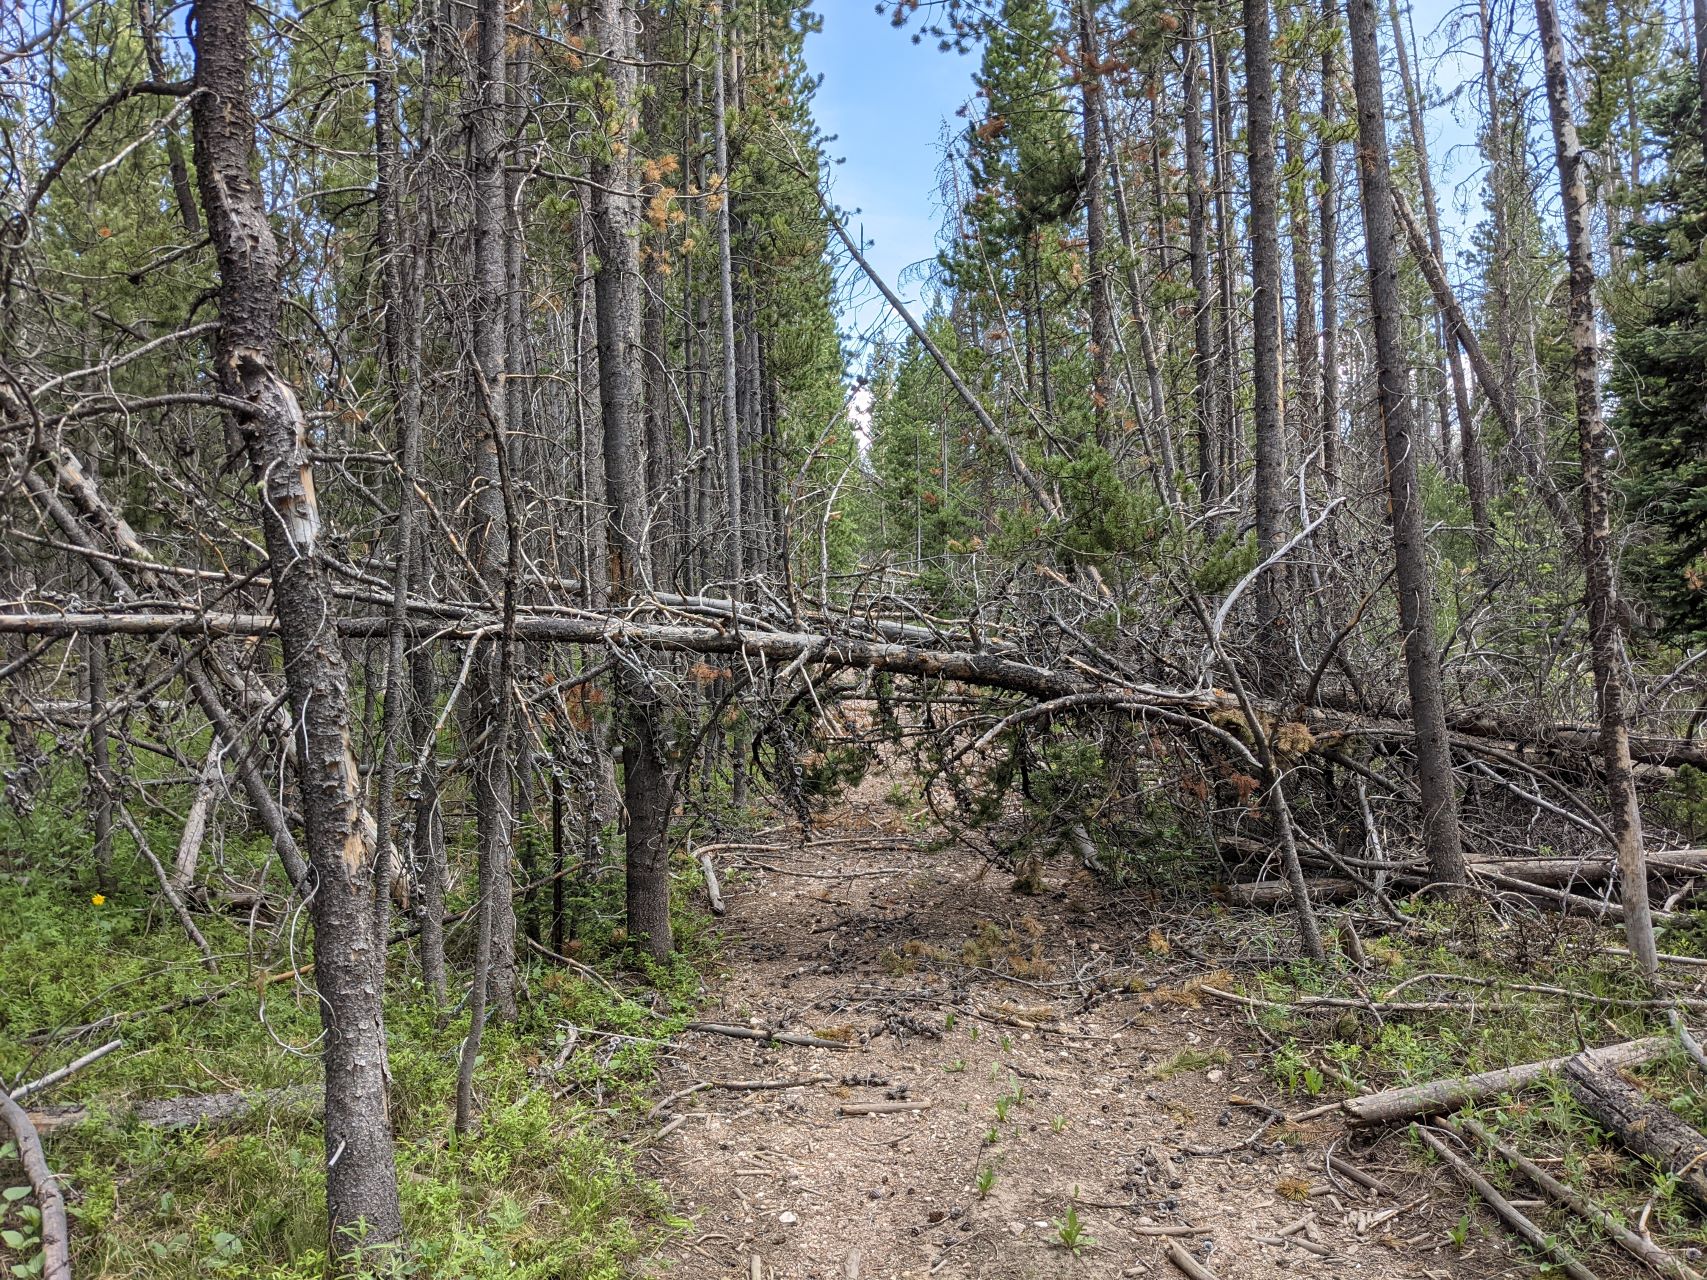
According to the map, you can normally drive almost to the top of the mountain. We were blocked by downed trees, and lacking a chainsaw, ended up backing out a ways until we found a reasonable pull off. Leaving the car there, we followed the two-track up the hill, zigging and zagging to avoid the downed trees.
To the left of the road, there’s a barbed wire fence. Sometimes, the fence is hidden under a pile of fallen logs. If you cross over the fence here without realizing it, you may be further up when you need to cut right and there’s a fence in the way. In general, I would stay to the right (Western) side of the road as you climb up it.
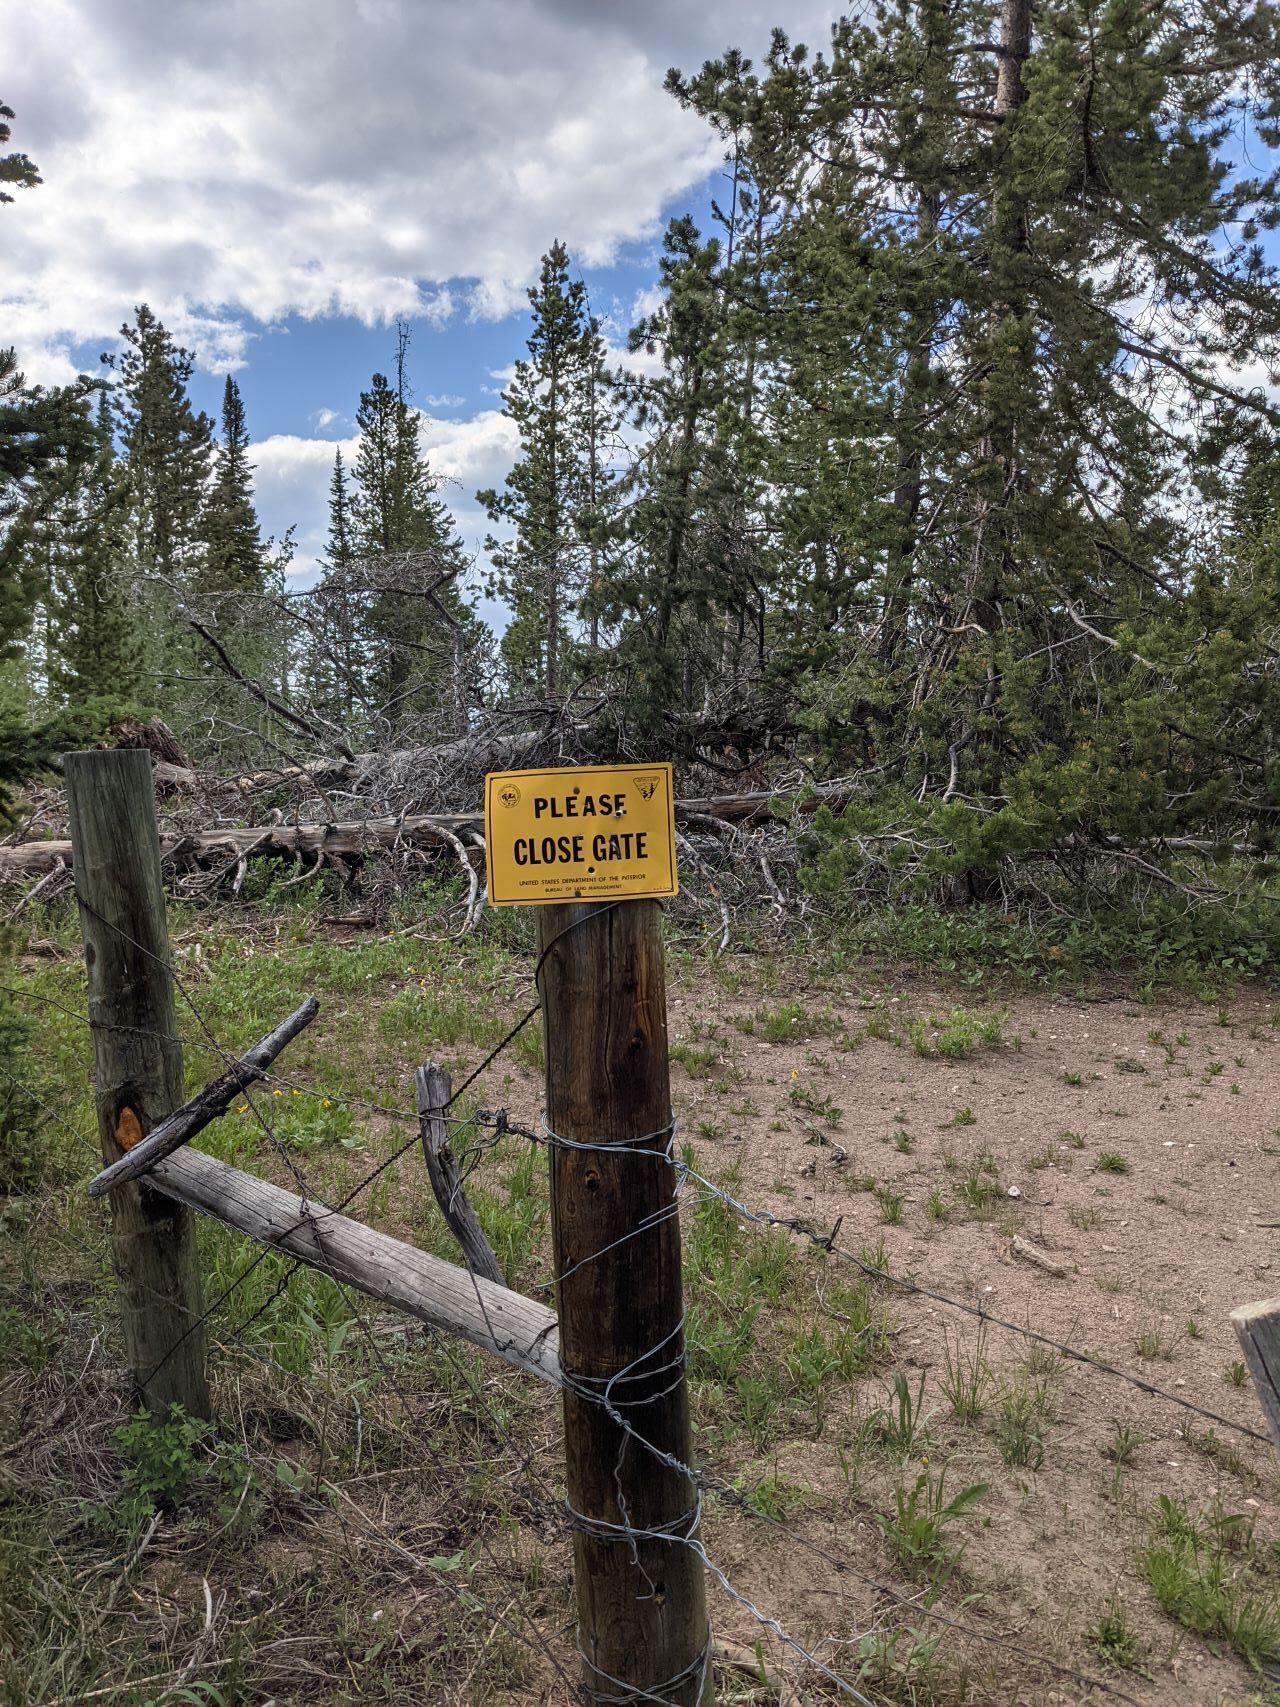
At the top, you’ll dead end into another fence. We were initially disappointed, only to stick our head over the fence to notice a bunch of signs telling us to close the gate – there’s a wire loop right next to a tree that lets you move a chunk of fence. Make sure you close it behind you. The view coming back down the trail, with the actual “gate mechanism” off to the right of the sign:
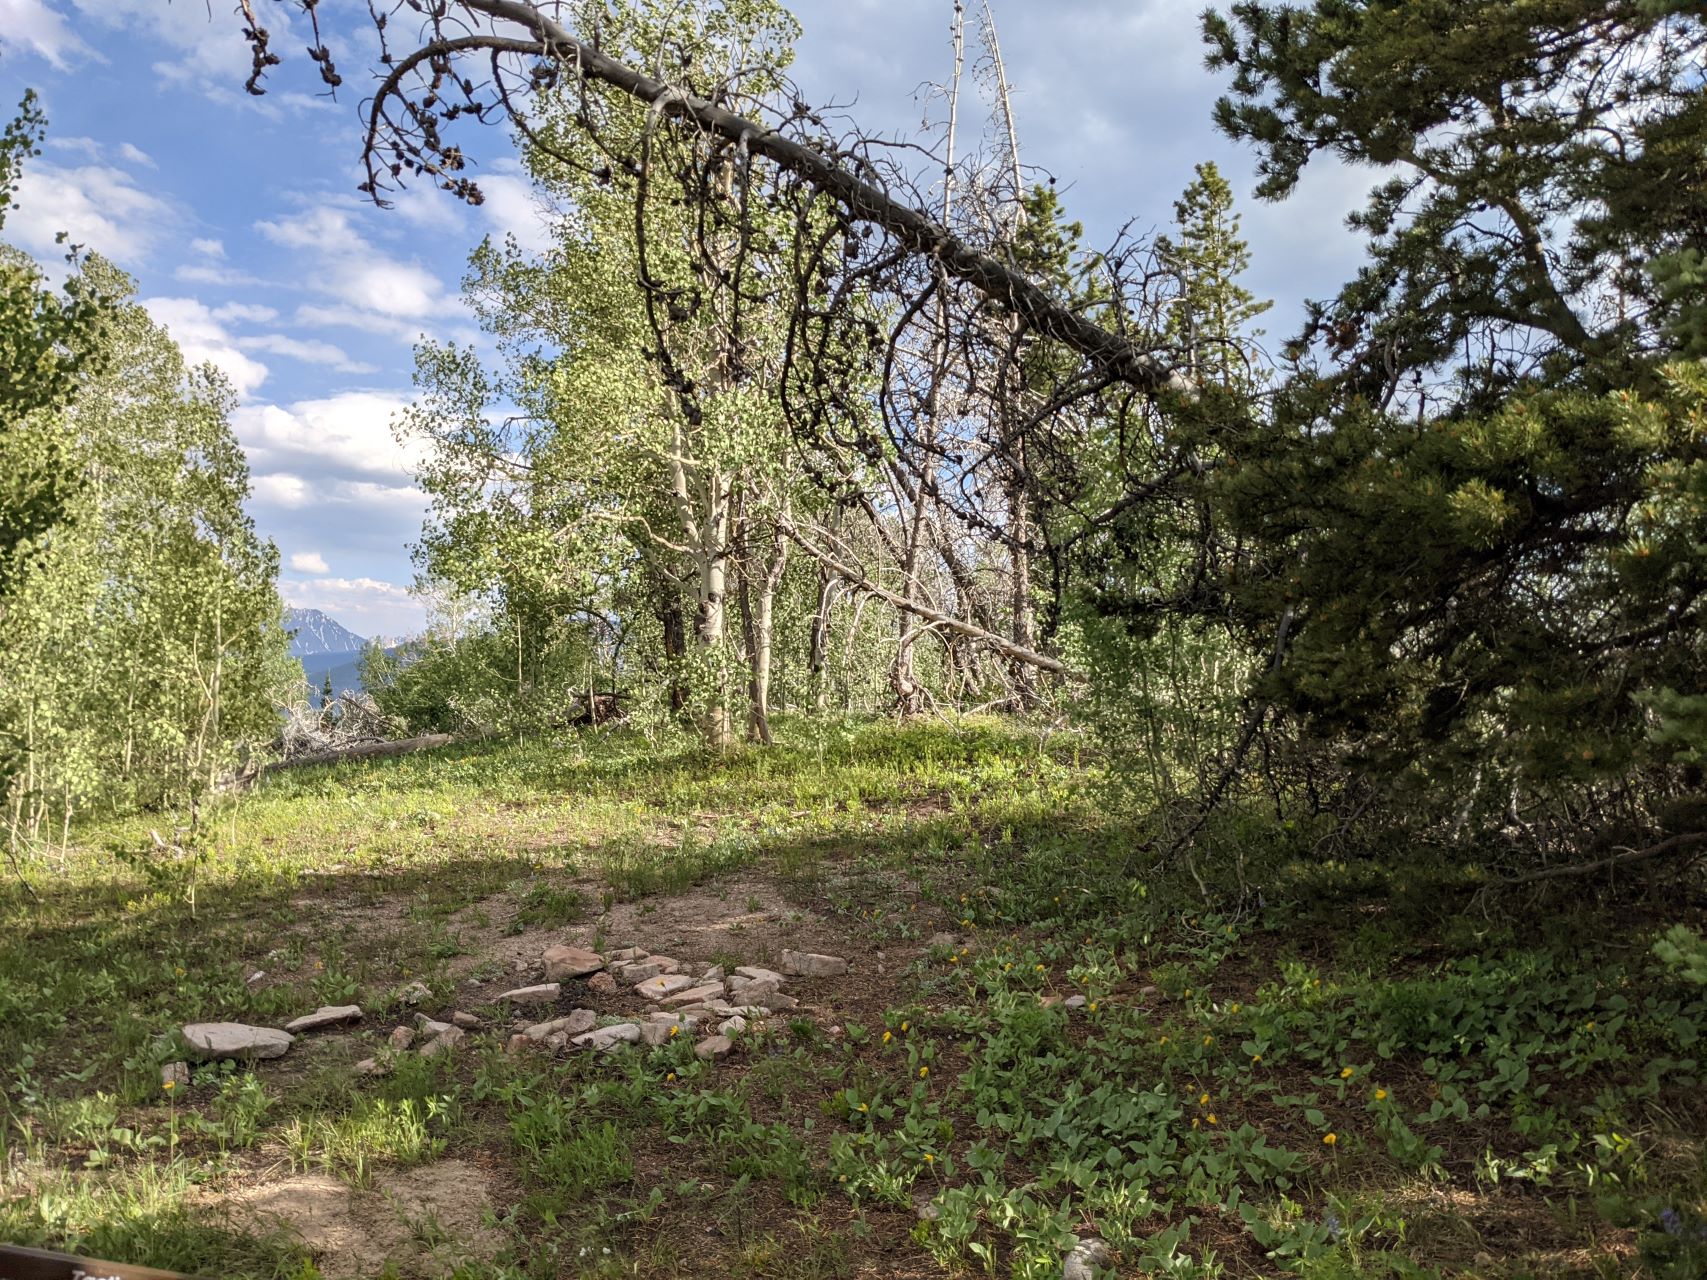
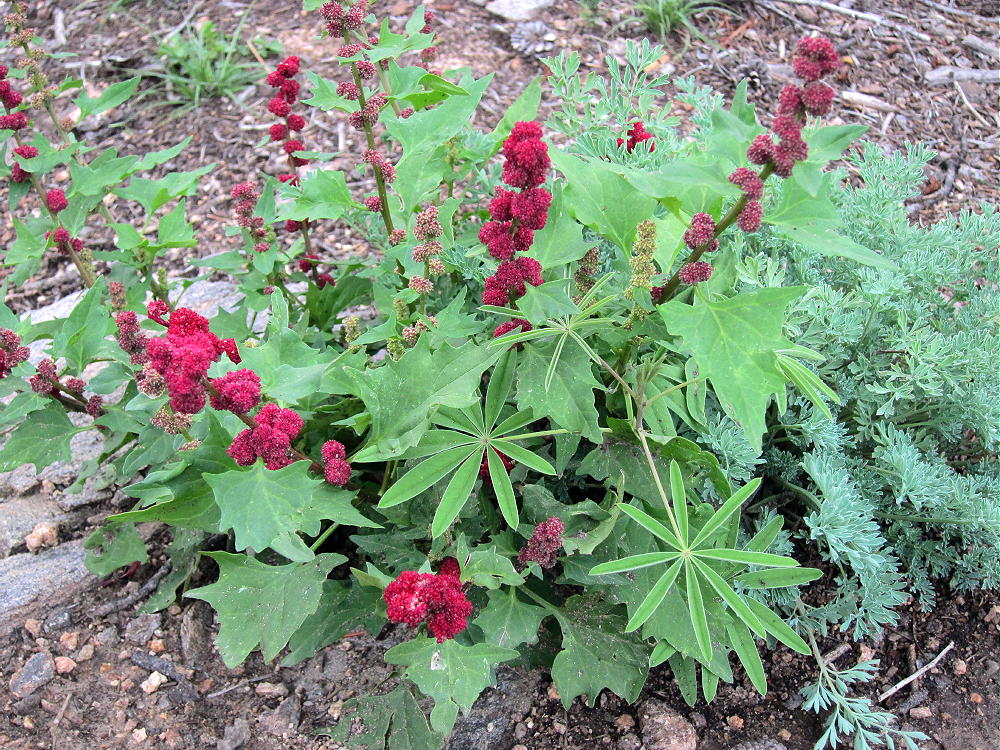
Follow the now overgrown two-track another couple hundred feet to the top. There’s a big flat open spot, with some smallish trees, and tons of wildflowers. The views are mostly obscured by trees, but it’s a fine HF site. Like Williams Peak, I hadn’t heard any traffic on the 2m/70cm simplex calling frequencies all day, and didn’t bother trying – there are significantly taller mountains between you and where most people live.
It was fairly late in the day at this point, so Tim & I quickly got our contacts and headed back down. Along the road, we passed several campsites that could make for some nice laid-back car-camping. Besides a first activation and 4 points, the main attraction to this mountain was that it was easy – the road the entire way up is reasonable, the hike is short and not especially steep (roughly a quarter mile and 150 feet vertical from where we found parking), and it’s a nice HF site. I wouldn’t make a return trip just for Dice Hill, but if I was activating anything else in the area would happily tack it on a nice way to close out my day.
!! WARNING !! There are old mountaineers, and
bold mountaineers… there are no old-bold mountaineers.
Hiking and mountain climbing are potentially hazardous activities particularly in Colorado with its extreme elevations. I am not accepting responsibility for any death or injury resulting from activations based on my trip reports. Proper training, experience, and personal capability assessment is required – enjoy!
W0C/PR-077 Williams Peak 3541 m / 11617 ft First Activation: June 20, 2021 With N0TZW
By N3ALT
Williams Peak was a fun, rarely visited peak accessible by 4×4 trail on the border of Arapahoe and White River National Forests.
Take I-70 to Silverthorne, then head North on CO-9 for roughly a half hour. You’ll pass the Green Mountain Reservoir on your left, then you’ll see FS-200 (technically BLM2780 for the first bit) on your right. There’s a gate you can open to let yourself into the parking area.
From there, FS-200 is an “easy” off-road trail, which you should interpret as “there are no technical obstacles”. The trail is deeply rutted, sometimes steep, and sometimes off-camber. We saw a number of ATVs, SxSs, along with some Jeeps & pick-up trucks along it. The road goes 2.2 miles back to the FS service boundary, then 3.75 miles to the first major intersection, with FS-200.1A. Follow the road to the right of the parking area and continue down FS-200.
At this point, Tim (N0TZW) and I parted ways. He planned to drive up 200.1A to the top of W0C/PR-094, while I continued to the top of Williams Peak, and we would activate both with a summit-to-summit. This didn’t exactly work out, as he got to the top, discovered it was covered by a swarm of black flies, and decided that it wasn’t worth it. Presumably, the swarm isn’t year round, and is probably a side-effect of all the recent snow melt. In any case, W0C/PR-094 is still there for the taking. Tim returned to FS-200, and started following me over to Williams Peak, which we then both activated.
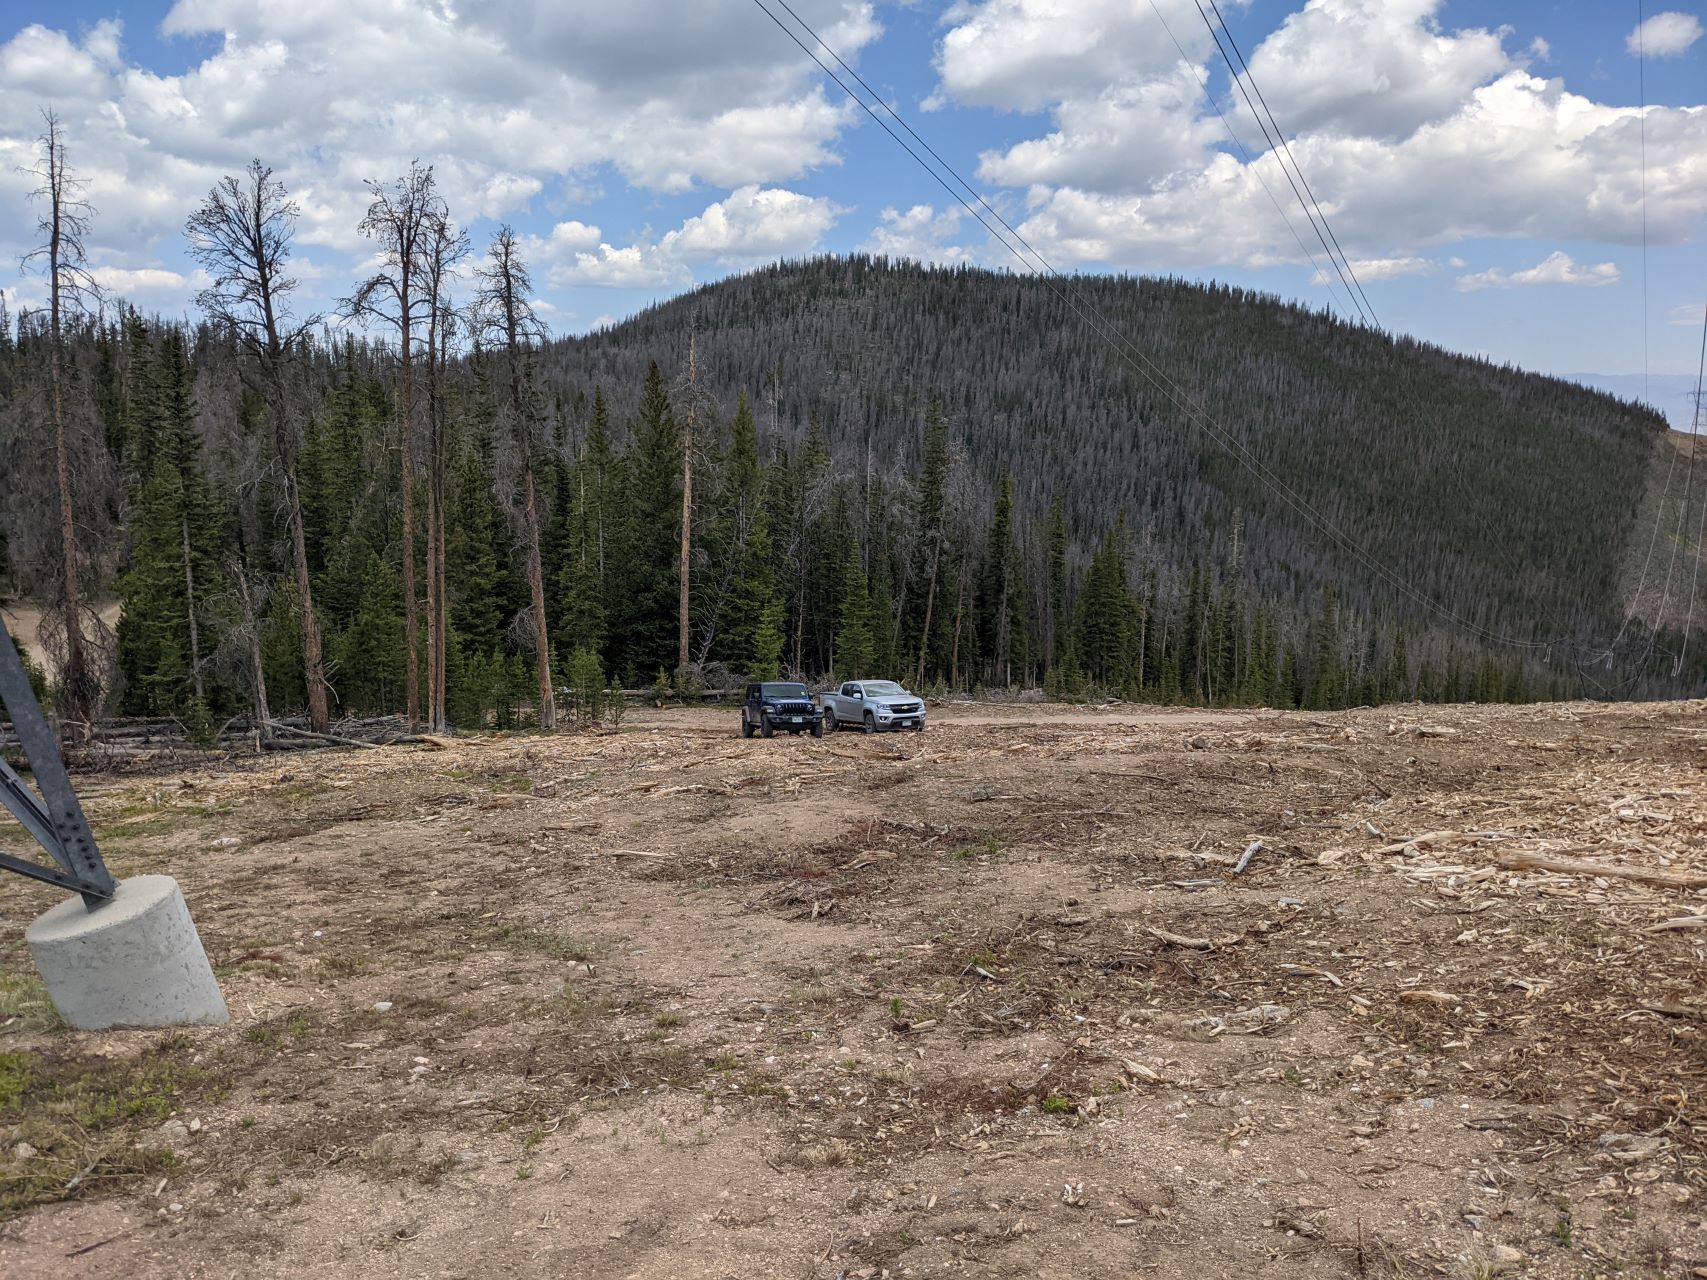
The drive from there to Williams Peak was significantly easier. The road was in better condition, significantly flatter along both axes, and the views over the reservoir were fantastic. You’ll take this around 4.5 miles, at which point you’ll find a large strip cleared of trees underneath some power lines, with Williams Peak dead ahead.
We parked under the power lines, at which point it was a straightforward, steep half-mile bushwhack up the mountain. There’s one clear, true summit, with an old USCGS marker on top. There was little evidence that anyone had been there recently.
On top, there’s a decently sized activation zone, with a number of low-ish trees with plenty of branches for those of us that are not overly concerned with getting our antenna too high off the ground. There are also plenty of loose rocks for bracing a pole.
It was a fantastic HF summit – possibly the lowest noise environment that I’ve seen. It was sufficiently far out that I didn’t even bother trying VHF – I had the HT on 146.52 the whole time without hearing a peep.
On the way up, we swung around to the Southwest a bit. We stayed a bit more North on the way down. It was very similar difficulty-wise. Every so often, we got a glimpse through the trees of the power lines, which made navigation back to the cars easy.
The road continues further, eventually meeting a hiking trail that would also afford access to Williams Peak, at the cost of a 19 mile round-trip hike. We didn’t explore this section, but instead egressed the way we came, and headed onwards to another first activation – Dice Hill (W0C/PR-120).
!! WARNING !! There are old mountaineers, and
bold mountaineers… there are no old-bold mountaineers.
Hiking and mountain climbing are potentially hazardous activities particularly in Colorado with its extreme elevations. I am not accepting responsibility for any death or injury resulting from activations based on my trip reports. Proper training, experience, and personal capability assessment is required – enjoy!
• Rocky Mountain National Park
• Northwest area of Wild Basin
• High, challenging activation
• Spectacular hike
• No trail to the summit
• Navigation and route-finding required
• 17.6 miles round-trip
• 4800 vertical feet
• Fine HF Site
Climbing Alice requires a long, sustained, non-technical hike; only activators with off-trail experience and good fitness should attempt to climb Mount Alice. Much of the route is above tree-line, in thin air; this trip should be reserved for a day with good weather. The mountain is most accessible in summer and fall.
There are two standard hiking routes for climbing Alice from Wild Basin. Both routes start at the Wild Basin Ranger Station and go up toward Thunder Lake. The southern route leads to Thunder Lake; a small trail continues west and climbs to the Divide at Boulder-Grand Pass. The final leg of this route runs north along the Divide about a mile and up to the summit. This route is Grade II, Class 2, about 9 miles each way, and 4800 vertical feet.
The northern route also heads toward Thunder Lake initially, but the Lion Lakes Trail is used to ascend north into the large cirque east of Mount Alice. A long ridge leads up west of Snowbank Lake to the Divide at 12,500 feet. The route continues south along the Divide and leads up the north slope of Alice via the steep Hourglass Ridge. This route is Grade II, Class 2+, about 8.8 miles each way, and 4800 vertical feet.
Mount Alice Hourglass Ridge
I climbed this mountain once prior to 2015 via the Hourglass Ridge, and that time I descended via the southern Boulder-Grand Pass route. I chose the Hourglass Route for my climb in 2015, mostly because it’s such a classic trip.
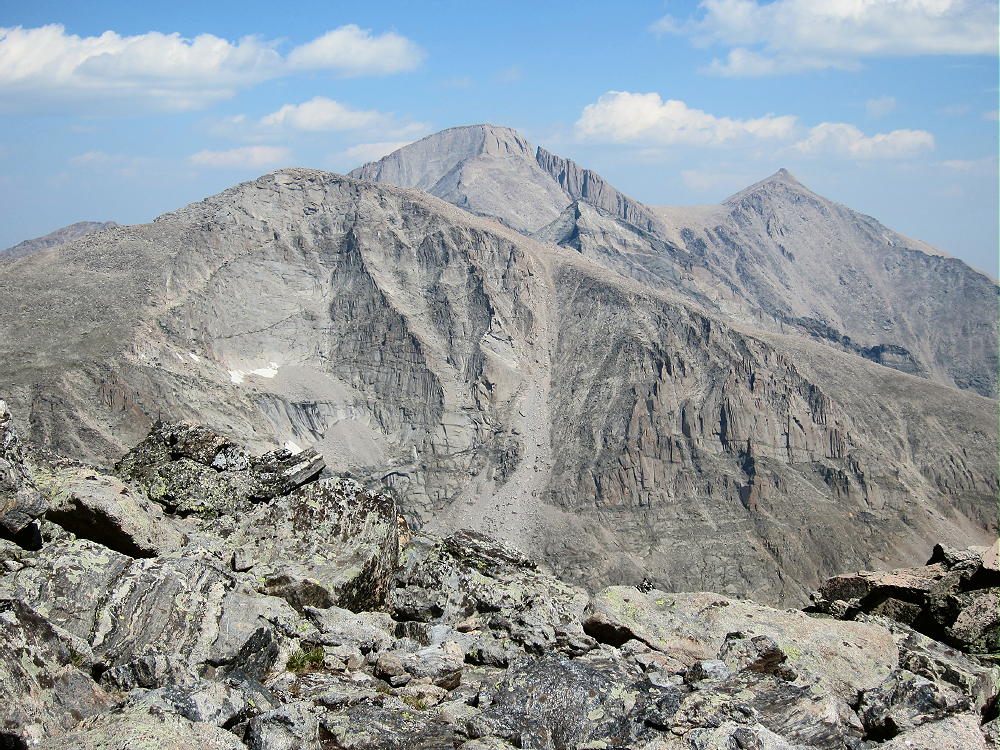
Both routes are spectacular, with interesting close views of Chiefs Head, Pagoda Mountain, Longs Peak, and Mount Meeker. Alice stands on the Continental Divide – it looks down thousands of feet to North Inlet and the west side of the National Park. This is some of the most beautiful glaciated terrain in northern Colorado.
Chiefs Head, Longs, Pagoda, and Meeker from Alice
Here are additional details of the Hourglass Ridge Route I used in 2015:
The trailhead is at the Wild Basin Ranger Station. An easy dirt road leads two miles west from the Peak to Peak Highway, Road 7, to the trailhead. An entry fee or pass is required to enter the National Park. The popular trailhead is not large, and it often fills before 8 AM on summer weekends. With the early start needed for Alice, parking should not be a problem. An early start also may avoid the entrance fee.
The first part of the trail is fast and easy – it follows the roaring North Saint Vrain Creek west up the drainage. Time may be saved by taking the north branch of the trail, which heads off up a hill about 1.2 miles from the trailhead; this short-cut leads to some backcountry campsites on the north side of the Creek. The main branch of the trail crosses a bridge over the Creek, runs along the south side of the Creek, leads by Calypso Cascades, and continues to Ouzel Falls. This route is longer, but it’s more scenic than the north side route; the choice is yours.
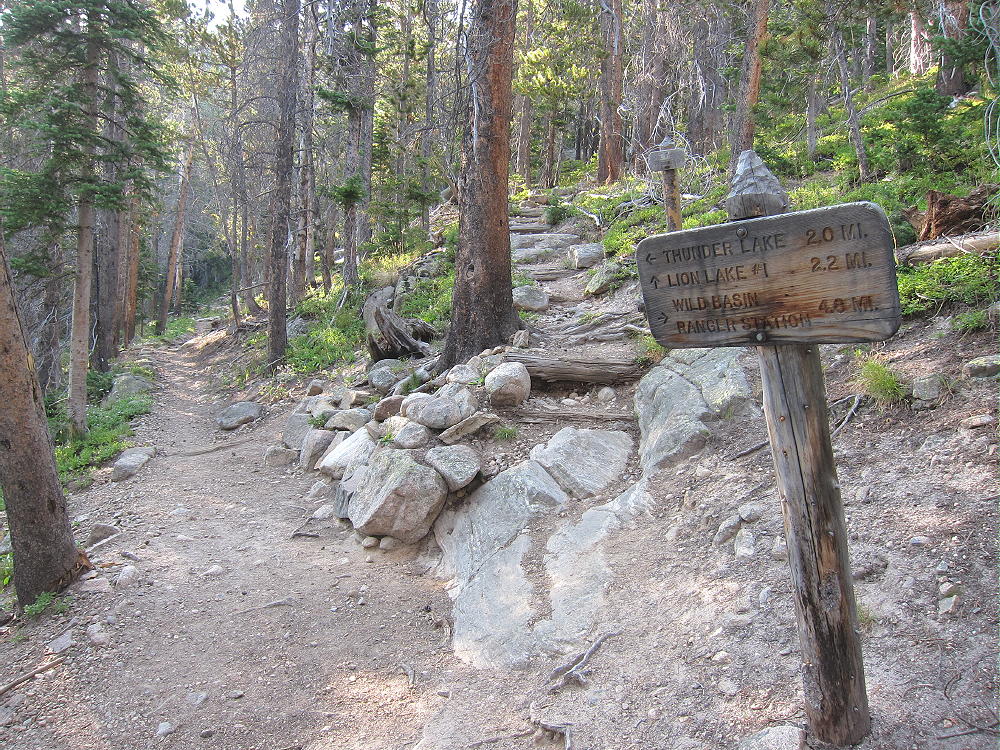
The trail is well marked – follow the signs toward Thunder Lake. The trail splits about 4.5 miles from the trailhead; follow the steep Lion Lakes Trail north uphill for about 2 miles.
Turn-off to Lion Lakes and Mount Alice
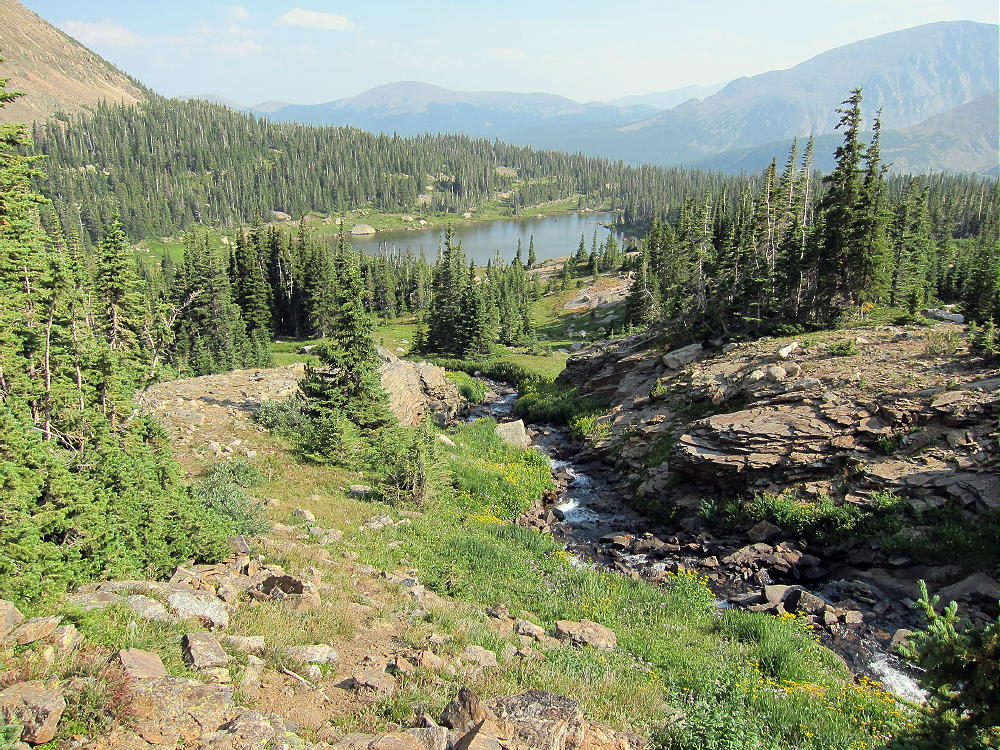
Continue on the trail past the first Lion Lake, and follow the creek up the cirque. The trail is marked by some cairns, and it crosses the creek below Trio Falls. Look sharp for cairns marking where the trail heads up to a rocky gully west of the Falls – this is the easiest way up to the next lake.
View of Lion Lake #1
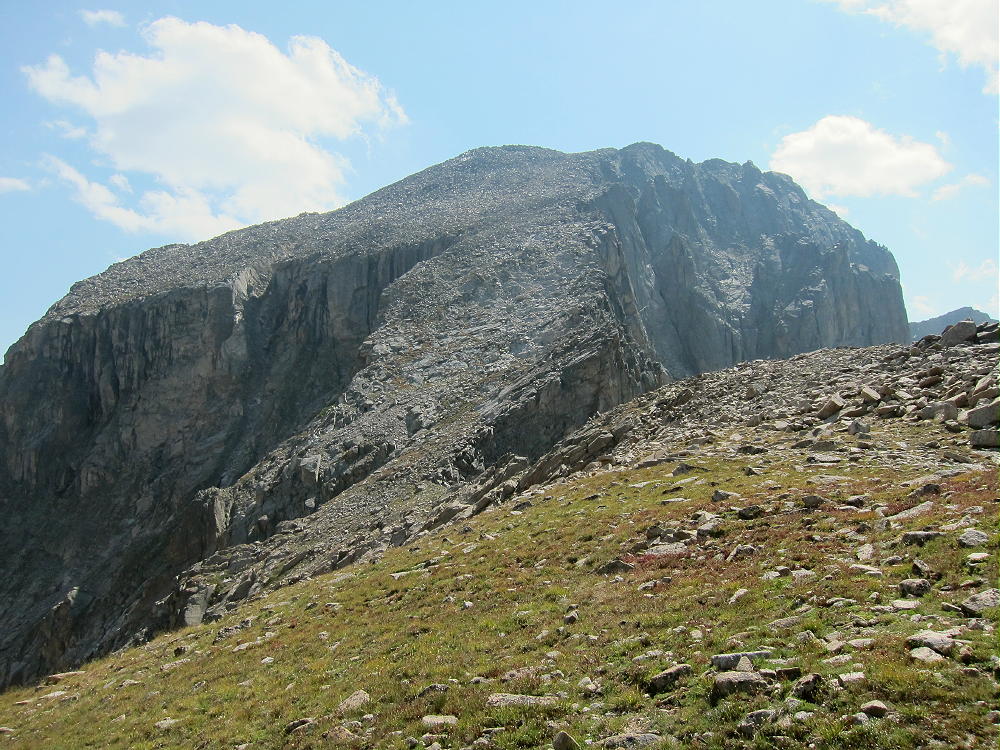
Beyond Lion Lake 2 the route is informal, with few cairns and no real trail. The goal is to ascend the obvious ridge west of Snowbank Lake sooner or later. Either head up toward the ridge from Lion Lake 2, or continue on to Snowbank Lake, and then climb up to the ridge there. Bring plenty of water, or pump water at the lakes. Pick a route that avoids thickets and cliffs. The hike is easier on top of the ridge, where there’s a small trail. Follow the ridge northwest about 1 mile, up about 1000 vertical feet, to the Continental Divide. The view of Alice’s nearly vertical cliffs is impressive!
Ridge Leading up from Snowbank Lake to Continental Divide
View Down the Ridge to the Lion Lakes
On the Divide, hike southwest across the tundra toward Alice. The ridge narrows, and there are a couple of minor obstacles – traverse around any problems on the west side of the Divide. No difficult moves are required, and it’s not necessary to descend very far to bypass the obstructions.
View Back of Divide Route Northeast of Mount Alice
The Hourglass is a huge slope of rocks all the way to the summit of Alice. This slope is 800 vertical feet of class 2+ climbing. There are some paths up through the blocks and talus. Many of the rocks are loose, so good judgment is necessary. The various routes offer options and work OK. Avoid going too far left or right, especially in the first couple of hundred vertical feet. The route gets easier toward the top – the gradient eases, and the blocks are more stable. With snow or ice on the rocks, the difficulty increases; by late summer the Hourglass is usually clear of snow.
Hourglass Ridge Route up Mount Alice
Hourglass Ridge Route Detail
Detail of Upper Hourglass Route near the Summit
Alice has two summits; the small east summit is the actual peak, both on the Google map and the USGS quad. Both summits have almost the same altitude, and the shallow saddle between them is well within the large Activation Zone. I did my activation just east of the west summit, to avoid some wind.
Actual Summit of Mount Alice (East Summit)
KX0R Activation Antenna on West Summit of Mount Alice
There’s little to support an HF antenna on the top of Alice, so bring a pole. Alice is almost ideal for HF – very prominent, with few close obstructing mountains. Longs Peak looks like a wall to the northeast, but this is no problem on HF. Alice has a limited open view to the southeast, but it’s mostly blocked for direct paths to populated areas on VHF and UHF. HF noise is very low, since there’s no development for several miles all around.
I had a nice HF activation, with 35 CW contacts on three bands. I had the whole mountain to myself when I was there.
KX0R Activation Gear on Mount Alice
I descended via the Hourglass route – this was not as bad as it looked.
An alternate descent is available down the easy south ridge of Alice. This route drops 1250 vertical feet down across grassy tundra to Boulder-Grand Pass, about one mile along the Divide.
Divide on South Side of Mount Alice
While this route looks really nice from Alice, the descent down the east side of Boulder-Grand Pass is not visible. This steep route down runs along the edge of a snowfield, and it may be icy, wet, muddy, and loose. Early in the summer it may not be melted out, and descent of the steep snow would be dangerous without proper equipment. Usually it’s OK in August and early September. Check on conditions ahead of time before committing to a descent of the east side of Boulder-Grand Pass! There’s no built trail there, despite the name.
The trail below Boulder-Grand Pass down to Thunder Lake is good and easy to follow. After passing by Lake of Many Winds, the route continues along a rushing creek, through a beautiful sub-alpine forest, to Thunder Lake. The path leads along the north shore of the lake to the outlet end, where it meets the main trail slightly up the hill near some campsites. The trail from Thunder Lake to the trailhead is about 6 or 7 miles, depending on whether the shortcut on the north side of the creek is included.
Mount Alice is a wonderful alpine SOTA peak, and it’s a SOTA Classic! It’s an excellent radio summit with incredible scenery and challenging ascent routes. By any route it’s long and hard. This summit is only for strong climbers with alpine experience and lightweight equipment.
Mount Alice and Lion Lakes from Chiefs Head
Alice’s location high on the Divide makes it particularly prone to dangerous lightning storms, snow at any time of the year, and high winds. It should not be attempted unless the weather forecast is really good. An early start is recommended, both to reduce risks and to allow time to complete the journey during daylight. Despite her nice name, Alice has no mercy!
73
George Carey Fuller
KX0R
!! WARNING !! There are old mountaineers, and bold mountaineers… there are no old-bold mountaineers.
Hiking and mountain climbing are potentially hazardous activities particularly in Colorado with its extreme elevations. I am not accepting responsibility for any death or injury resulting from activations based on my trip reports. Proper training, experience, and personal capability assessment is required – enjoy!
W0C/PR-118
Pence Mount
3018 M / 9903 ft
March 28, 2015
First Activation
Pence Mount, or Mount Pence, is a moderately easy 3000 meter summit about 3-1/2 miles east of Squaw Mountain. This peak is perhaps 2/3 mile from the Squaw Pass Road, with an ascent of about 900 vertical feet.
Mount Pence from Squaw Highway
In many ways Pence is an ideal SOTA peak, but this isn’t apparent at first.
Mount Pence Summit Meadow
Please look at Google maps while reading these directions:
To find the trailhead, drive west from Denver via I-70, and exit onto the Evergreen Parkway, Highway 74. At Bergen Park, turn right and drive west up the Squaw Pass Highway 66 several miles. Continue on 66 for about one mile after the second junction with the marked Old Squaw Pass Road 170. This is a very curvy section of road that winds along the north slopes of Mount Pence. Look for an obvious parking area on the left (southeast) side of the highway, at about 8940 feet elevation. There are two such pull-outs. Choose the second parking spot, just past where the road wraps almost a full circle left around a hill. This spot is ¼ mile north of where the road contours into a valley between Pence and Snyder mountains. If you drive too far, there is a very sharp right hairpin turn where the road goes near the creek – if so, turn around, drive back north ¼ mile, and park at the first large parking spot on your right. There is a jeep road with a steel cable across it, as well as USFS sign posts.
Gated Road to Northwest Ridge of Mount Pence
The start of the jeep road is shown clearly on Google Maps. Please don’t block the road.
There is no sign marking the path up Mount Pence. Hike up the hill about 100 feet, and then follow the road to the right and up the northwest ridge of Mount Pence.
Closed Jeep Road up Mount Pence
The road soon ends, but an informal, un-maintained trail continues up the forested ridge. The day I climbed Pence, the ridge was 90% snow, but bits of the trail were visible between the snow piles. If the ridge is all snow, forget the trail and just stay on the ridge to the top.
Mount Pence Northwest Ridge Route
This is a simple hike, almost a straight line up a ramp! The forest is moderately thick, so the summit isn’t visible until you’re there. There are nice views north as you ascend.
Arapaho Peak from Mount Pence
Satellite images of Pence reveal many houses and roads just south of the summit. Initially I thought Pence might be private land. The houses are part of a mountain subdivision located 200 to 400 vertical feet below the summit, and most of them are not visible from the summit.
Mount Pence View South
The available evidence suggests that the northern part and activation zone of Mount Pence are on USFS land.
Mount Pence USFS Marker near Trailhead
Mount Pence USFS Marker near Trailhead
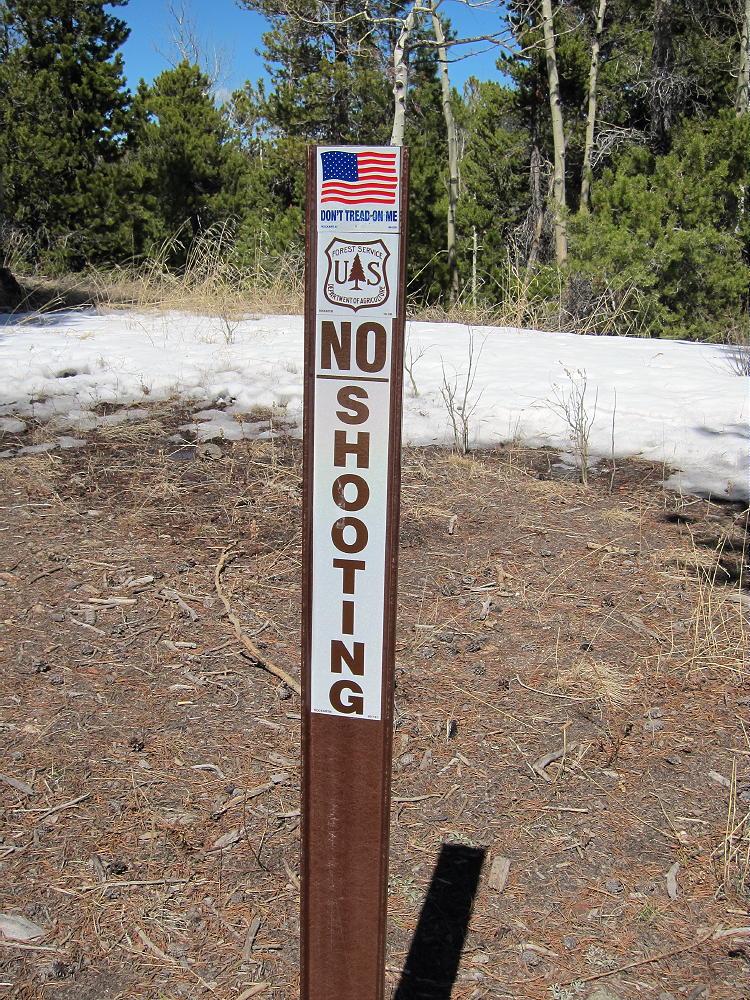
The route up the northwest ridge has no “Posted” signs or fences. The only sign I saw near the summit indicated that shooting is not allowed behind the post – in the direction of the houses.
Despite the satellite image, Pence is a surprisingly private, pleasant peak to activate. There is a large, nearly flat meadow on top, with trees to the north.
Mount Pence Summit Meadow
The summit is a pile of rocks near the east end of the summit ridge. The activation zone is large and convenient, and the view south is spectacular. There is a faint path up the east ridge, but evidence of visitation is minimal.
Mount Pence Actual Summit
Mount Pence HF Activation
Mount Pence is a convenient summit with year-round access via a paved road close to the Denver area. The mountain provides an enjoyable snowshoe climb in winter and early spring. In warmer weather the hike is short and efficient. The summit has excellent VHF/UHF coverage across much of the Metro area, and it’s ideal for HF. The noise level was low when I was there, despite the houses less than 1000 feet away.
Mount Pence Radio Gear
Pence Mount, Mount Judge, Squaw Mountain, and Chief Mountain are all fun SOTA peaks, located a few miles from each other, and accessible via the Squaw Pass Road; they provide opportunities for efficient dual or multiple activations. The day I climbed Pence, I had no problem activating the more challenging Mount Judge on snowshoes, up through the forest on the north side.
73
George Carey Fuller
KX0R
!! WARNING !! There are old mountaineers, and bold mountaineers… there are no old-bold mountaineers.
Hiking and mountain climbing are potentially hazardous activities particularly in Colorado with its extreme elevations. I am not accepting responsibility for any death or injury resulting from activations based on my trip reports. Proper training, experience, and personal capability assessment is required – enjoy!
W0C/FR-075
South Boulder Peak
2606 M / 8549 ft
11 July 2013, First Activation
20 April 2014 Second Activation
My First Activation of South Boulder Peak was my second SOTA activation, mostly because the mountain is only a couple of miles from where I live. This prominent summit is close to the Denver-Boulder Metro Area, but it’s not a popular SOTA peak, and it’s somewhat challenging.
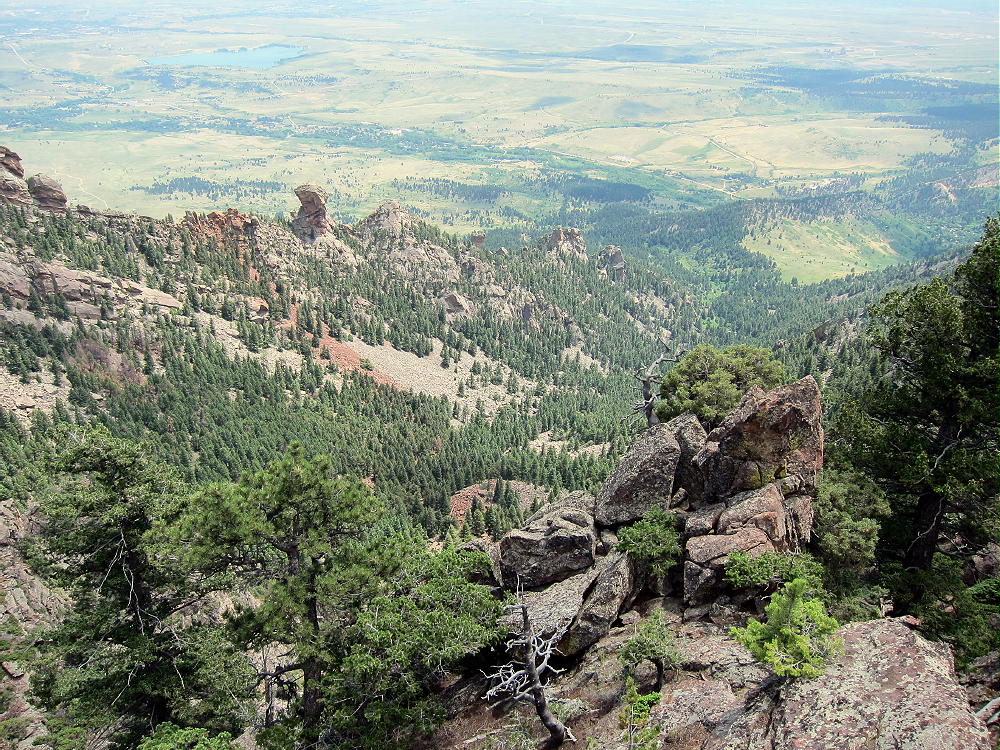
South Boulder and nearby Bear Peak are twins, because the sedimentary rocks within these mountains have the same sequence. This is the result of a fault that runs between them – the fault has shifted the rocks so that the sequence of layers repeats. Both mountains have resistant sedimentary summits, with older igneous rock west of each peak. Unfortunately Bear Peak is not a SOTA peak.
South Boulder and Bear Peaks from Eldorado Mountain
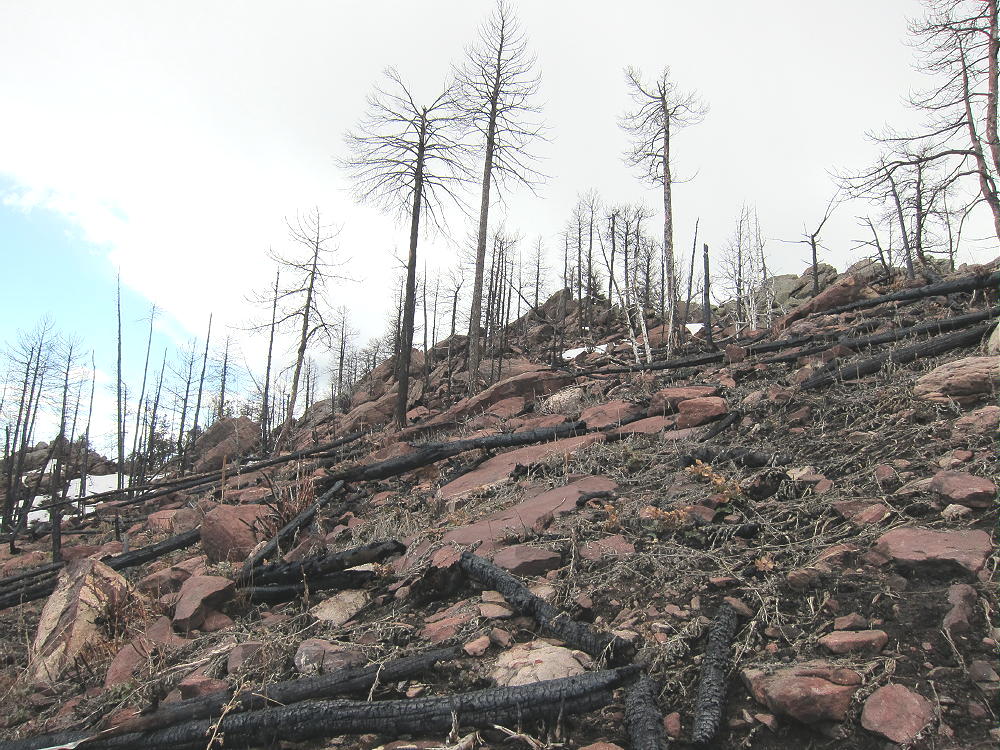
South Boulder and Bear Peaks have been ravaged by two recent natural disasters. In June of 2012 the lightning-caused Flagstaff Fire raced up the west side of the peaks and threatened to come across and ignite the forests of the Boulder Mountain Park. Fire-fighters stopped the fast-moving fire, but most of the trees near the summit of South Boulder Peak were killed in the intense blaze. The dead trees are mostly still standing, and much of the soil was burned as well.
Burned Forest near Bear-South Boulder Saddle
In September of 2013 a period of sustained, heavy rain occurred, and flooding occurred in most of Boulder County. The floods were severe in the mountains and in the nearby canyons. Because of the fire, the slopes of South Boulder Peak were unprotected by vegetation, and the heavy rains caused severe erosion over the entire area. In particular, the trails up Bear and South Boulder Peaks were flooded and badly damaged. These trails have been partly restored.
Flood Damage in Shadow Canyon
There are several routes up South Boulder Peak. My favorite trail starts at the South Mesa Trailhead on Eldorado Springs Drive and runs up Shadow Canyon, between Bear and South Boulder Peak.
Shadow Canyon between South Boulder and Bear Peaks
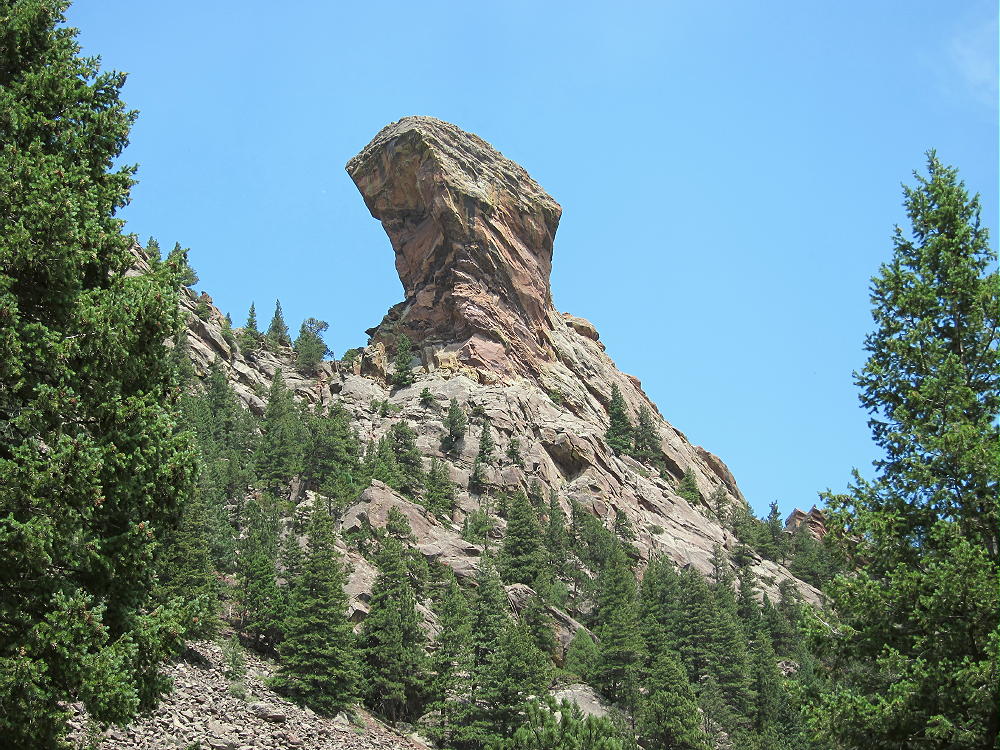
The efficient Shadow Canyon Trail runs behind the huge Devils Thumb formation, and it’s an interesting hike up to the saddle between the twin peaks. The total round-trip distance from the trail-head to the top of South Boulder Peak is about 8 miles , with about 3000 vertical feet of gain.
Shadow Canyon from South Boulder Peak
Drive to Boulder and take Highway 93 south. About 1 mile south of the city limits, turn west on Highway 170, Eldorado Springs Drive. Continue west for about 2 miles to the South Mesa Trailhead on the north side of the road. Park at the trailhead or across the highway; parking is limited, so get there early. A fee is charged for cars not registered in Boulder County.
Hike northeast up the Mesa Trail, a dirt road in this part of the Park, and follow it to the Shadow Canyon Trail, also a dirt road. Stay on the road for about a mile, and just past the second of two old cabins, cross the creek, and enter the narrow part of the Canyon. The trail becomes a path and then gets steeper. Here’s a good map of the trails.
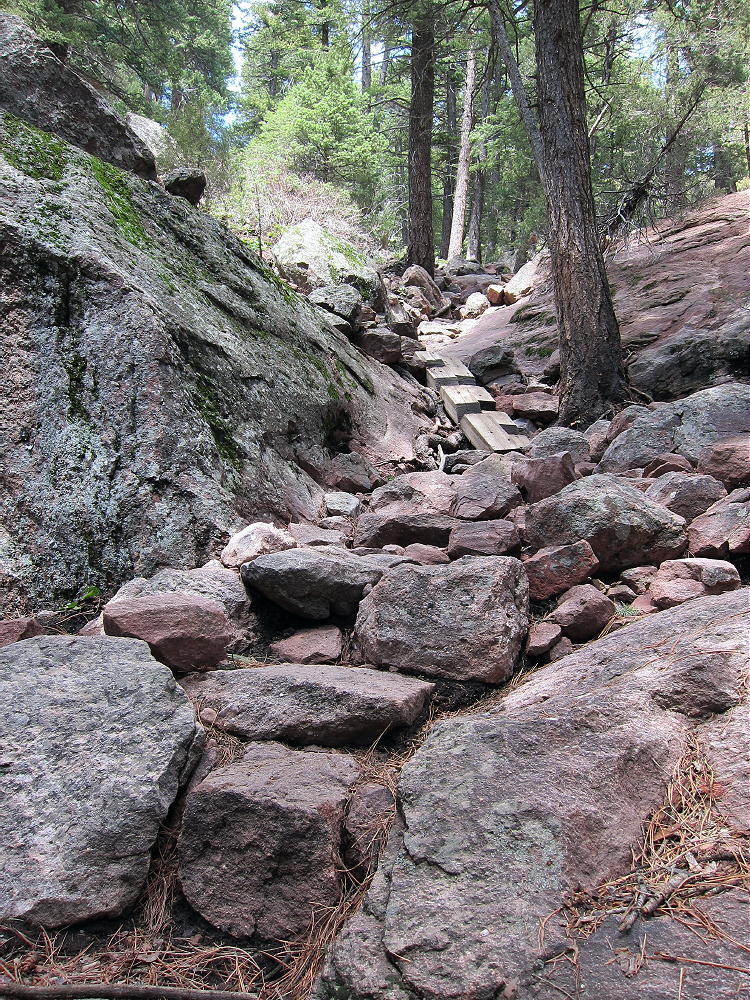
The route up Shadow Canyon is lush and shady at first; in the morning it’s cool and pleasant. The Canyon lives up to its name if you’re there early or late in the day. The trail gains altitude rapidly, and some sections are steep and rocky.
Shadow Canyon Trail with Rock Steps
There is flood damage, but the route is not hard to follow; the path stays near the center of the canyon all the way up. Soon the Devils Thumb looms high above.
Devils Thumb from Shadow Canyon
Gradually the trail ascends above the Thumb, and there are a few short switchbacks to ease the grade. Burned trees and more flood damage appear in the upper part of the Canyon. Eventually the trail comes to a T-intersection at the burned-up saddle between Bear and South Boulder Peaks.
All the trees are dead, and a stark black ghost forest stands on the rocky slopes. Take the marked left fork and head west toward South Boulder Peak. The trail leads up through large rocks, and it’s hard to follow in spots, because much of the soil is gone. The path climbs more steeply and approaches the summit ridge, and the Peak is a short distance south over the rocks.
Burned Area Below South Boulder Peak
This was once a very beautiful spot, and there is a sense of tragedy about the place now. Some new growth has started, and in a few decades perhaps it will be nice again. I still have memories of picking blackberries up here – years ago – with one of my sons.
North Summit Ridge of South Boulder Peak
The activation zone is large, and it’s easy to set up east or north of the summit. Weather is very tricky on Bear and South Boulder Peak – these prominent summits create their own cumulus clouds and generate lightning storms! In April 2014, with clouds building, I set up about 60 feet below the summit, well down the slope, and I still had a fine activation, with just a 20-foot pole and an end-fed 67 foot wire running down the slope to the east! In July 2013 I set up north of the summit, out near the end of the ridge; I hung a 20M dipole from a dead tree and had a great first activation!
South Boulder Peak Summit
South Boulder Peak First Activation
South Boulder Peak First Activation Gear
South Boulder Peak Antenna Below Summit
There are enough visitors on South Boulder that setting up away from the popular summit is a good idea. People and dogs don’t mix well with HF antennas. This peak is so prominent that you’ll have a fun time anywhere in the activation zone. VHF/UHF coverage is impressive as well, although Bear Peak blocks the path northeast.
RED TAPE:
Please be aware that there are special rules that apply in the Boulder Mountain Park. The land west of the Bear Peak – South Boulder Peak ridge-line is part of a Habitat Conservation Area (HCA). These places are “off limits”, unless you get a special permit online. If you plan to hike in the HCA, get a permit. It is not necessary to enter the HCA to activate South Boulder Peak.
In my opinion the HCA rules are excessive and unnecessary. With South Boulder and Bear Peaks so heavily damaged by fire and floods, it’s apparent that the real enemies of the Habitat are Mother Nature Herself, not hikers and other visitors. The severe environmental damage caused by recent natural disasters is millions of times more severe than all the visitor impacts since men began to climb these mountains. I’ve been here long enough to see the whole cycle, and I think it’s incredible that we have these excessive regulations, created by well-meaning people who seek to minimize the relatively minor impact of hikers. The fires and floods have overturned their logic.
There are other interesting trails up South Boulder Peak:
1) The Fern Canyon Trail climbs the east side of Bear Peak – there is a connecting trail from Bear Peak to South Boulder Peak. A trailhead at the top of Lehigh Drive in the Table Mesa neighborhood of Boulder provides access to the Shanahan Ridge Trail, which leads west to Fern Canyon; or start at the NCAR parking area.
2) The Bear Peak West Ridge Trail climbs Bear Peak’s back side. This trail connects to the Bear Canyon Trail. Start at the NCAR parking area, or at the top of Lehigh Drive to access Bear Canyon.
3) A nice loop hike connects the Fern Canyon climb of Bear and South Boulder with the Shadow Canyon Trail. After climbing South Boulder, descend most of Shadow Canyon; at the upper cabin in Shadow Canyon, follow the Shadow Canyon North trail east, across a low ridge. This short-cut connects to the popular Mesa Trail, which leads back toward the Lehigh and NCAR trailheads.
4) It’s possible to do a dual activation of Green Mountain and South Boulder Peak, starting at the Green Mountain – West Ridge Trailhead near the high point of Flagstaff Road. There are good connecting trails all the way. The total distance is around 10-12 miles, and the vertical gain is about 2800 feet. The low point is at 7200 feet in upper Bear Canyon. This would take most of a good day, as well as plenty of water.
However you climb it, South Boulder Peak is an exciting, prominent SOTA peak with good access. It should have a long list of activations!
73
George Carey Fuller
KX0R
Rain Shower West of South Boulder Peak
View South from South Boulder Peak
Devils Thumb from South Boulder Peak
View of Continental Divide West of South Boulder Peak
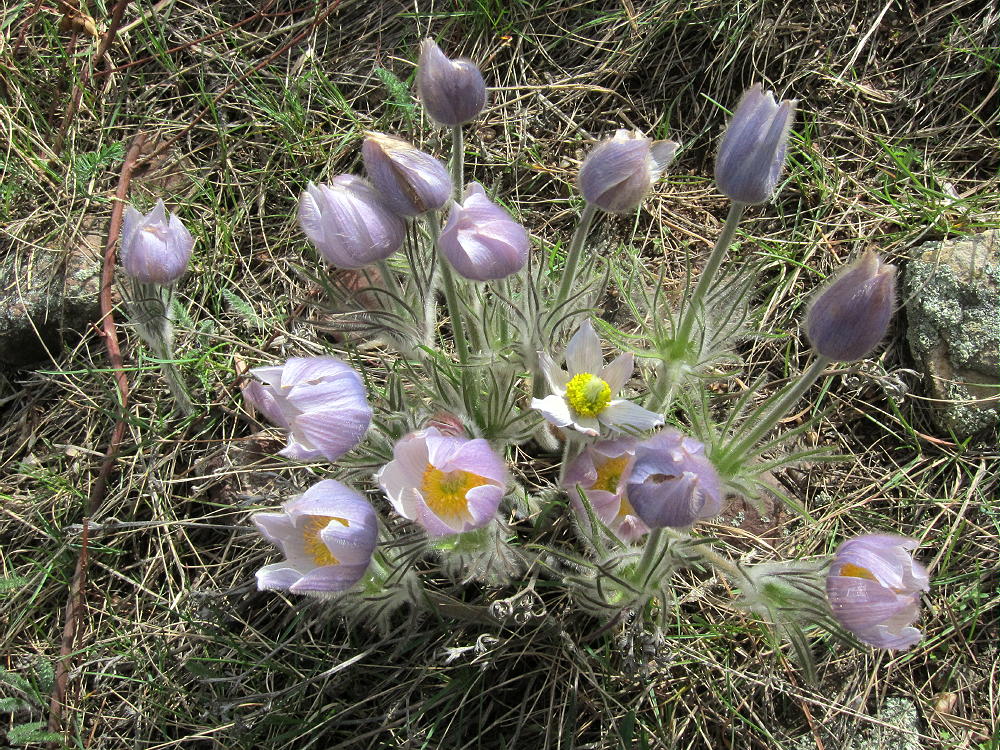
Pasque Flowers near Shadow Canyon Trail in April
!! WARNING !! There are old mountaineers, and bold mountaineers… there are no old-bold mountaineers.
Hiking and mountain climbing are potentially hazardous activities particularly in Colorado with its extreme elevations. I am not accepting responsibility for any death or injury resulting from activations based on my trip reports. Proper training, experience, and personal capability assessment is required – enjoy!
To reach the trailhead, enter Rocky Mountain National Park, drive up Trail Ridge Road, and continue to Milner Pass on the Continental Divide. Milner Pass is at the southwest end of Poudre Lake, at an altitude of 10,759 feet. The road is usually open from late May to about November 1, depending on the snow.
Some navigating is required to hike this trail. Start up the trail next to the southwest shore of the Lake and head toward Mount Ida. The climbs up the Continental Divide ridge south of Milner Pass and gains altitude quickly. Avoid any fork that heads northeast toward Forest Canyon Pass. Soon the trail climbs above tree-line, moderates, and heads southeast toward Mount Ida. The trail stays below and west of the ridge-top for a mile or more; farther south it climbs close to the ridge-top and runs there for about three more miles.
Mount Ida Trail with Ida at Right – July 2013
Mount Ida in the Distance – July 2013
The total round-trip distance from Milner Pass to Mount Ida and back is about 9.5 miles; the total ascent is about 2200 vertical feet.
When I went up there June 20, 2014, I misjudged conditions, because trails on the east side of the Park were mostly open and snow-free. I found the trail at Milner Pass under several feet of snow and essentially impassible without snowshoes. With my snowshoes at home, I drove to a point near the Alpine Visitor Center, hiked the snowy trail southwest to Forest Canyon Pass, and then hiked over the ridge-tops of the Divide to the Mount Ida trail.
Mount Ida Long Hike Route June 2014
There was little snow up high, so this long, strong route worked out OK; I found myself on top of Ida – all alone in the high alpine wilderness! The round trip from near the Alpine Visitors Center was just over 13 miles. If I go up there again in June, I’ll remember my snowshoes!
If the weather is good, Mount Ida provides an exciting SOTA activation. The summit is rocky, and the activation zone is large. Some convenient rock outcrops are available for holding a pole, or for tying the far end of the wire. The flat area northwest of the summit is a good spot to set up.
June 2014 SOTA Activation on Ida
Mount Ida Radio Gear 2014
June 2014 SOTA Activation Antenna to Ida Summit
The only problem – besides wind – is that there are marmots – these large rodents sometimes seek out rope or Dacron antenna lines and sabotage the activation.
Note that in the Summitpost Link on the SOTA page – this is a good article – the writer suggests hiking to Mount Ida from Bear Lake as a possible alternative to starting at Milner Pass. The journey from Bear Lake is an extreme hike, with much of the route exposed to weather for about seven miles each way along the high Divide. Only hikers in top physical condition, with plenty of high-altitude experience, should attempt that route – and then only with adequate gear and preparation for the conditions. The round-trip distance from Bear Lake is well over 20 miles, and much of that is off-trail and above tree-line!
Mount Ida South along Divide
Even on a sunny day, Mount Ida can be very windy – be prepared. The high, spectacular trail along the Divide is wonderful on a nice summer day, but it’s dangerous if storm clouds build up. An early start is a good idea. Avoid this area if thunderstorms are forecast, and be prepared to head down if the weather threatens. There is no good way off the high trail along the Divide, so don’t get caught up there!
73
George Carey Fuller
KX0R
Azure Lake, Inkwell Lake, and Mount Julian from Ida
Longs Peak from Ida
Mount Ida View Southwest to Grand Lake June 2014
Mount Ida Southwest to Grand Lake July 2013
Mount Ida Summit View North
Cornices along the Divide Route
Jackstraw Mountain and Never Summer Mountains from Ida
View North along Divide from Ida
Alpine Flowers on Ida
!! WARNING !! There are old mountaineers, and bold mountaineers… there are no old-bold mountaineers.
Hiking and mountain climbing are potentially hazardous activities particularly in Colorado with its extreme elevations. I am not accepting responsibility for any death or injury resulting from activations based on my trip reports. Proper training, experience, and personal capability assessment is required – enjoy!
W0C/FR-179
8849
2697 M / 8849 ft
Aug 25, 2013 First Activation
June 8, 2014 Second Activation
by KX0R
Initially Summit 8849 looks like an insignificant 2-point SOTA peak, so unimportant that it doesn’t have a regular name. One of the best aspects of the SOTA program is that we visit summits like this, and so discover these special places.
Summit 8849 with Balcony at Right
Getting to 8849 is not hard – drive up the Peak to Peak Highway, Highway 119, north of Allens Park, to Meeker Park, east of huge Mount Meeker. Turn east on Boulder County Road 82, a fair dirt road; follow it about a mile to a fork; and then turn right on Road 82E. Stay on 82E through private property for about 2 more miles; head east down along Cabin Creek, and then follow the winding road up a steep hill to the USFS boundary. The road has been recently repaired, and it’s OK for ordinary cars, as long as it’s dry. At the hilltop, there’s parking and a few informal campsites. Forest Road 118 branches off to the right and leads to 8849, as well as to Johnny Park – several more miles further east. When I was there on June 8, 2014, there were several groups of campers at the hilltop; road 118 was gated, but not closed to hiking.
8849 Road 118
Summit 8849 is 1.6 miles from the hilltop parking spot where Road 118 begins; there is only about 600 vertical feet of gain. If the gate is open on Road 118, it may be possible to drive within 3/4 mile of the summit, with only about 400 vertical feet of gain required.
Road 118 is not shown on Google maps, but it’s clear in the satellite images. It leads to a saddle between an un-named summit and 8849; 8849 is visible from this saddle – the broad forested summit and the distinctive cliff “balcony” on the southwest side can be seen almost a mile away. Just past the saddle, head right off the road, and enter an obvious firebreak that has been cleared through the forest.
8849 Route via Firebreak
Hike up through this firebreak for about half a mile, being careful not to trip over the debris. At this point you may wonder if this hike is worth the hassle – but the ugly firebreak may save this wild forest from total destruction some day. The firebreak route is efficient and direct – but if you don’t like it, head up through the forest south of the cleared area. If you stay with the firebreak, follow it as far up as it goes; then head right, south, at about a 45 degree angle, and follow game trails up a moderate slope through open woods, for about 1/3 mile to the broad summit.
The top of the mountain is forested, and there are plenty of good trees to use for antenna supports. There are several open areas where stringing a wire is easy. This is actually a very friendly summit for radio operating! The Activation Zone is huge. There is a pile of rocks on top, but no register; few people visit this summit.
8849 Summit Rock
8849 First Activation Tree Antenna Setup
8849 First Activation Tree Antenna
8849 Activation Gear 2014
If weather permits, be sure to see the sights of 8849. Head down the meadows of the south side, where there are many dead trees, and see the stunning view of the huge Canyon of the North Saint Vrain. This is one of the wildest regions of Boulder County, and most residents of Boulder have never seen it. This is part of the area that captured immense amounts of torrential rain during the September 2013 floods, creating incredible floods that caused massive destruction in Lyons and Longmont, miles to the east.
8849 View Southeast
8849 View South across Saint Vrain Canyon
8849 View West
The best part of 8849 is almost a secret. On the southwest side of the mountain, perhaps 200 vertical feet down from the summit, is a prominent rock outcrop that forms an exposed buttress – this “balcony” lets you look down over 1000 vertical feet to the confluence of the steep, wild canyons of Cabin Creek and the North Saint Vrain! Until you pick your way down to the balcony, you won’t see the view; but when you stand there, it’s hard to believe you’re on the same 2-point mountain you just climbed via the ugly firebreak. For miles around, nothing but wilderness and airy space going down and further down! Be careful on the balcony – this is not a place to hike with small children – and don’t get too close to the edge. If the balcony was closer to the highway they could put in stairs and guardrails, and then charge admission to see the incredible view!
8849 View into Saint Vrain Canyon 3
8849 View into Saint Vrain Canyon 2
8849 View Into Saint Vrain Canyon 1
8849 View into Cabin Creek Canyon
The first time I went up 8849, I didn’t know about the Balcony, but I saw it from a distance, and I’m sure glad I took the time to see it. The second activation on June 8, 2014, I planned to go see the view again, but right after my activation, a thunderstorm developed close by, and then cold fog came rolling up through the trees. There was no view, and the mountains were filled with clouds and fog – I did well to leave the area before heavy rain fell later that afternoon.
If you activate this summit, I hope you enjoy it as much as I have!
73
George Carey Fuller
KX0R
8849 to Meeker
8849 Firebreak Flowers
!! WARNING !! There are old mountaineers, and bold mountaineers… there are no old-bold mountaineers.
Hiking and mountain climbing are potentially hazardous activities particularly in Colorado with its extreme elevations. I am not accepting responsibility for any death or injury resulting from activations based on my trip reports. Proper training, experience, and personal capability assessment is required – enjoy!
W0C/FR-184
Twin Sisters Peak
2663 m / 8738 ft
July 13, 2013
First Activation
March 30, 2014
Second Activation
Twin Sisters Peak is a classic SOTA peak, with fabulous panoramic views of the Plains, Foothills, and the high peaks of the Front Range.
Twin Sisters Summit
The Peak is in Roosevelt National Forest, but it’s partly surrounded by private land. Access is via lightly-used and barely-maintained trails. A topo map is useful to find the trailheads, because they’re not obviously marked. In fact, the sign for the trailhead on Boulder County 4WD road 68J has been removed, and a sign stating “no motor vehicles” is lying out of sight on the ground.
To climb Twin Sisters Peak, drive up curvy Flagstaff Road from Boulder. Follow Flagstaff all the way to a large parking place on a hill east of Gross Reservoir, and park there. There is no legal parking anywhere else along the route to Twin Sisters. Conflicts between local residents, USFS, Denver Water, and visitors have led to the closing of nice picnic areas and parking along Road 68 (Lakeshore Drive). It is OK to walk from the Gross Reservoir parking place along Lakeshore Drive, and the road itself is not posted. Follow Road 68 west along the ridge to the point where it becomes 4WD Road 68J (for “Jeep”), respect posted private land, and continue up the road up to the saddle at 7950 feet, on the ridge south of Twin Sisters.
If you have a high-clearance 4WD vehicle, it may be possible to drive up road 68J road to the saddle. There is no marked prohibition of parking off the road at that point. Note that Road 68 also may be accessed via Boulder Canyon and Magnolia Road. Road 68 is used by mountain bikers.
Just west of the saddle at 7950 feet, leave the road, and hike north on an unmarked path toward Twin Sisters, just west of the obvious ridge that runs up to the summit. Follow this trail up through open forest – it’s steep in one spot, where it follows old ruts from 4WD vehicles. The trail is easy and pleasant after the steep spot. Near the high point of the ridge, a faint unmarked trail leads west off the main trail toward the summit. This approach to the peak, on its southeast side, requires no rock-climbing. Twin Sisters Peak is a large, elevated granite knob with a breathtaking view for miles in all directions. There are small trees near the top that can be used for HF antenna supports, well within the 75-foot Activation Zone. This site begs to be put on the air. It has pretty good VHF/UHF coverage of the Denver Metro Area, and it’s perfect for HF. It’s a SOTA Classic!
Twin Sisters Peak 2014 Activation
Twin Sisters 2014 Rig
Twin Sisters 2014 Activation Antenna
The hike from the parking lot above Gross Reservoir to the Twin Sisters Peak summit is about 3.3 miles each way, with a vertical gain of 1250 feet.
Twin Sisters is totally exposed to wind, weather, and lightning – don’t think of operating there if dark clouds begin to form.
Twin Sisters View West
Please don’t confuse W0/FR-184 with W0/FR-037, Twin Sisters Peak East, a much higher peak near Estes Park and Longs Peak.
73
George Carey Fuller
KX0R
Twin Sisters Peak View Southeast
South Boulder Peak from Twin Sisters Peak
Twin Sisters View East
Twin Sisters Peak View South
Twin Sisters View Southwest
Twin Sisters Peak North
!! WARNING !! There are old mountaineers, and bold mountaineers… there are no old-bold mountaineers.
Hiking and mountain climbing are potentially hazardous activities particularly in Colorado with its extreme elevations. I am not accepting responsibility for any death or injury resulting from activations based on my trip reports. Proper training, experience, and personal capability assessment is required – enjoy!
Since this trip has no marked route, and the terrain is steep, good navigation is required. Study the route, take a topographic map, and follow the directions here to stay on National Park land. The key to Castle is to know where to start the hike.
Drive to Estes Park, take the Highway 34 Bypass north (W. Wonderview Ave), drive past the Stanley Hotel and west about 1-1/2 miles, almost to the junction where W Elkhorn Avenue (also Route 34) meets the Highway 34 Bypass west of town. A convenient paved parking spot is on the south side of the Route 34 Bypass, just east of the junction.
Castle Mountain Parking on 34 Bypass
Castle from Highway 34 Bypass
Right across the highway you can see the NPS signs on posts. The land from the highway to the top of the Mountain is part of Rocky Mountain National Park (RMNP). No fee or pass is required for this adventure!
Castle Mountain NPS Marker near Highway
Cross the highway and head up a faint path in the gully north of the parking spot. Stay on the west side of the draw to avoid private land just to the east. After about ½ mile, the gully ends at a saddle near 8000 feet. From this saddle, head first northwest, and then west up the steep ridge toward Castle – there is nothing to follow except bits of game trails. No rock climbing is required – just head up the slope to the rocky ridge leading west toward Castle. On the ridge, stay slightly south to keep inside RMNP. Drop down slightly to a saddle east of the Summit, and continue west up to the easy summit ridge. Climb south toward the obvious peak, and then do a few easy class 3 moves to ascend the prominent summit. Right below the top is a good place to set up and operate. The Needles, McGregor Mountain, Deer Mountain, etc., are close to Castle. Estes Park is over a thousand feet right below. This is a super radio site – like being on a tower! I worked 2 G’s and an EA on 15M CW – 30 Q’s in all.
Castle Mountain First Activation
Castle Mountain Rig
Castle Mountain First Activation and The Needles
There is an alternate shorter route up Castle: from the parking spot, cross the highway, and hike a couple hundred yards northwest – avoid private land near the highway. Find an old road leading toward a major gulch southeast of Castle Mountain – follow the road a short distance up.
Castle Mountain and Old Road to Gulch East of Summit
At the end of the road, just head up into the gulch, and climb up a steep, washed-out trail all the way to the saddle east of Castle. It’s steepest midway up.
Castle Mountain Route in Main Gulch
From the saddle, continue west and then south to the summit as described above. Be sure to descend the same way to avoid cliffs and crags.
Castle Mountain can easily be combined with other SOTA peaks near Estes Park for a dual or multiple activation.
73
George Carey Fuller
KXØR
Castle Mountain View West
Estes Park from Castle Mountain
Castle Mountain Ridge East from Summit
The Needles from Castle Mountain
!! WARNING !! There are old mountaineers, and bold mountaineers… there are no old-bold mountaineers.
Hiking and mountain climbing are potentially hazardous activities particularly in Colorado with its extreme elevations. I am not accepting responsibility for any death or injury resulting from activations based on my trip reports. Proper training, experience, and personal capability assessment is required – enjoy!
 !! WARNING !! There are old mountaineers, and
bold mountaineers… there are no old-bold mountaineers.
Hiking and mountain climbing are potentially hazardous activities particularly in Colorado with its extreme elevations. I am not accepting responsibility for any death or injury resulting from activations based on my trip reports. Proper training, experience, and personal capability assessment is required – enjoy!
!! WARNING !! There are old mountaineers, and
bold mountaineers… there are no old-bold mountaineers.
Hiking and mountain climbing are potentially hazardous activities particularly in Colorado with its extreme elevations. I am not accepting responsibility for any death or injury resulting from activations based on my trip reports. Proper training, experience, and personal capability assessment is required – enjoy!