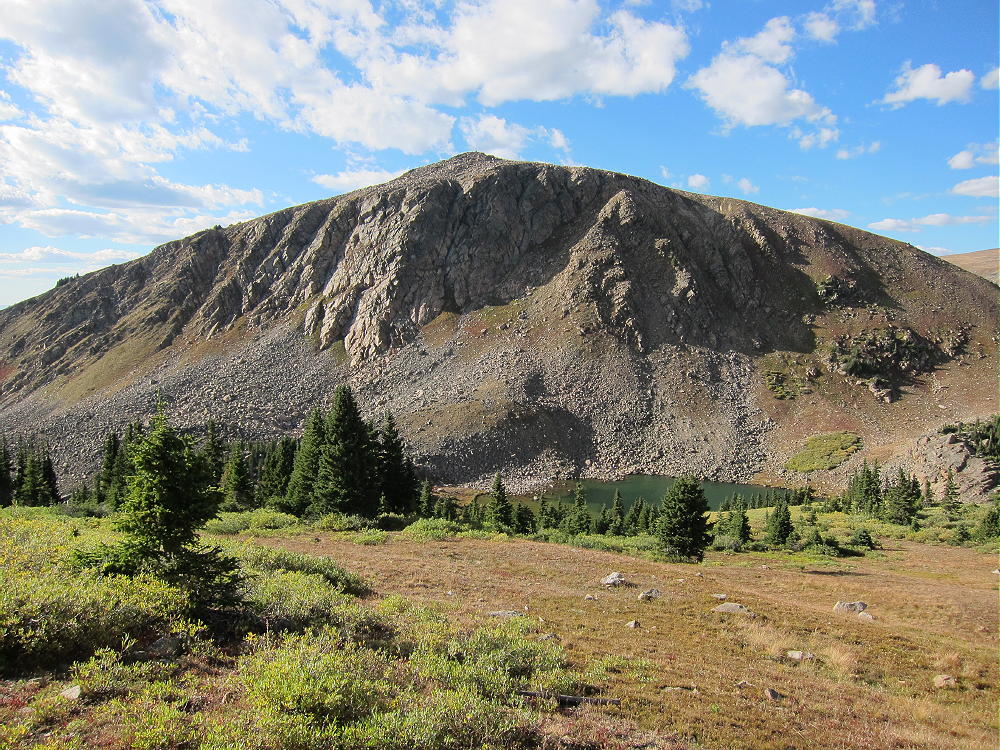
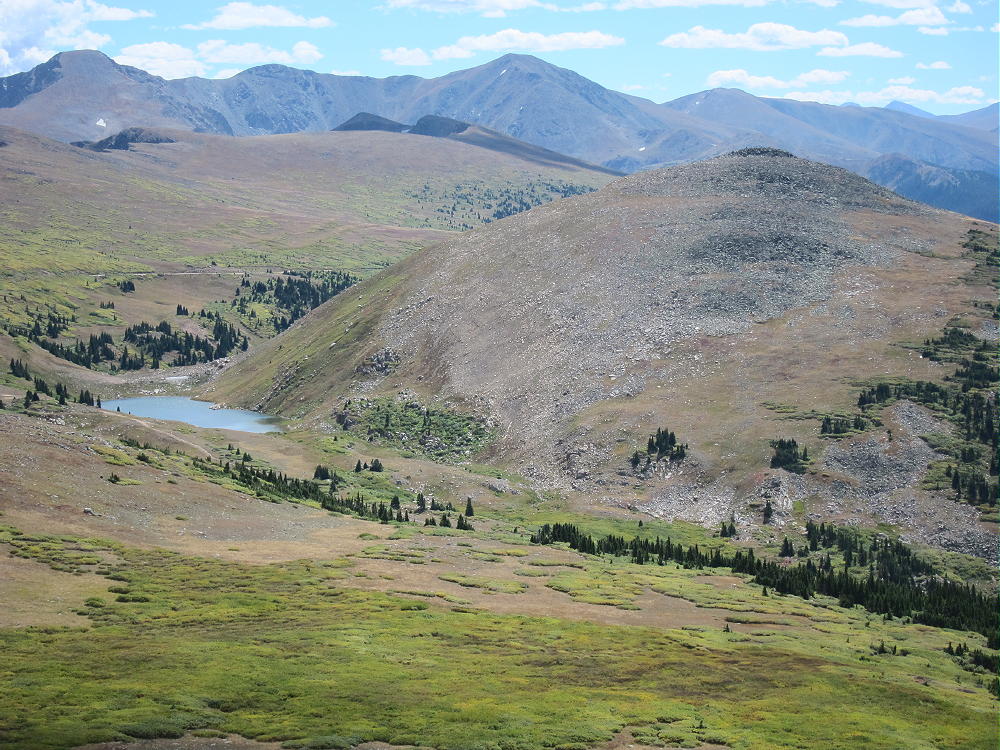
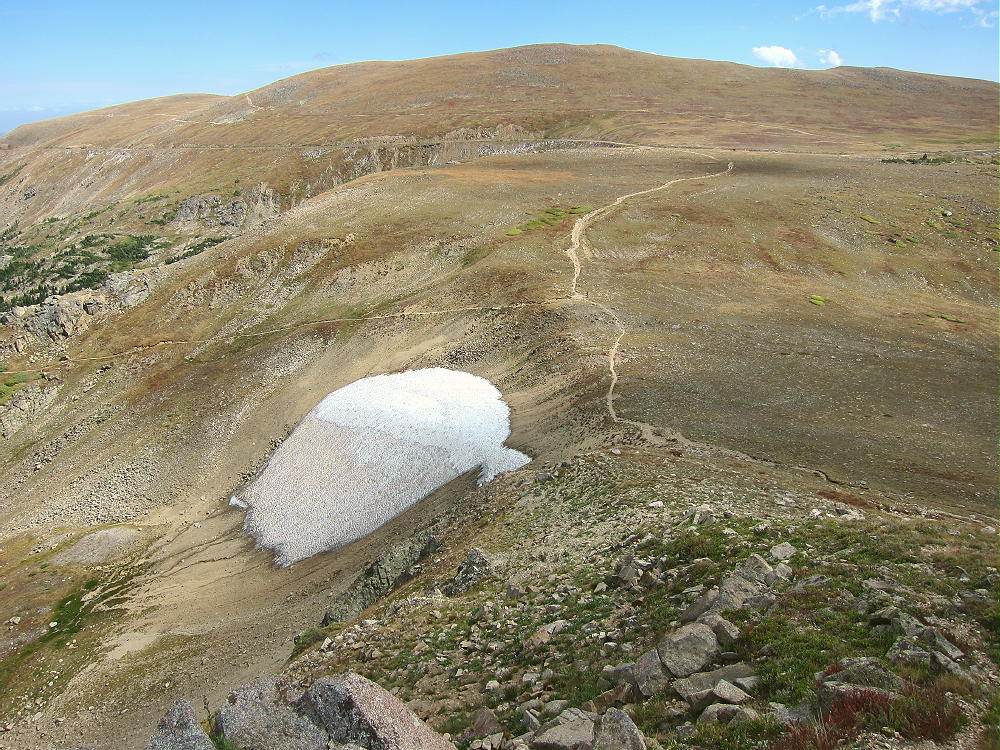
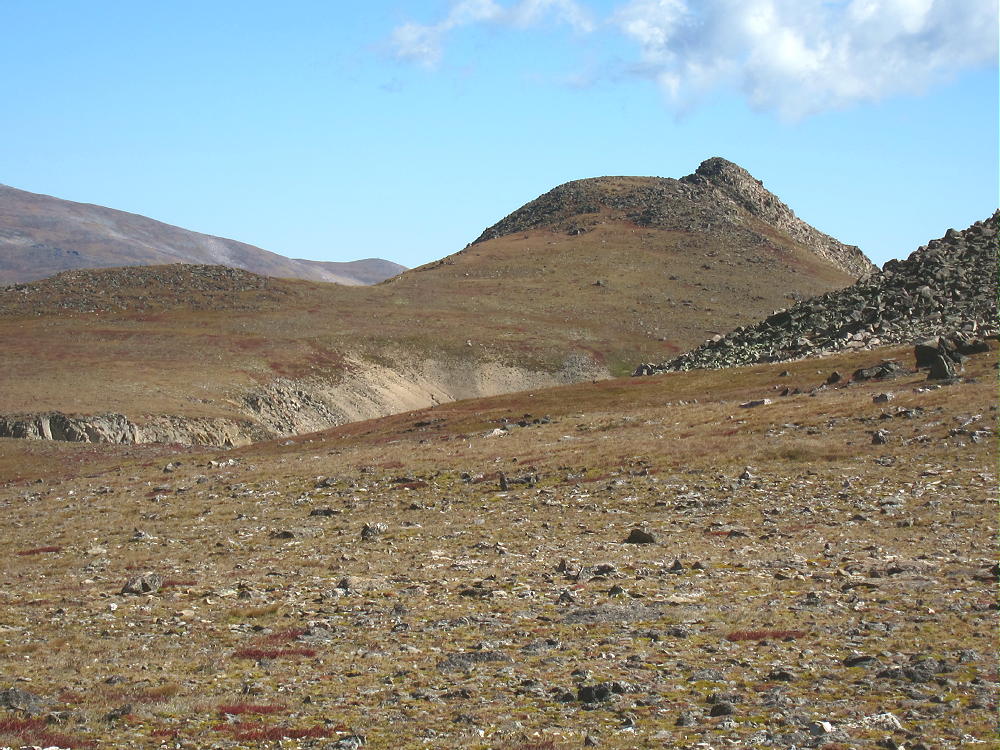
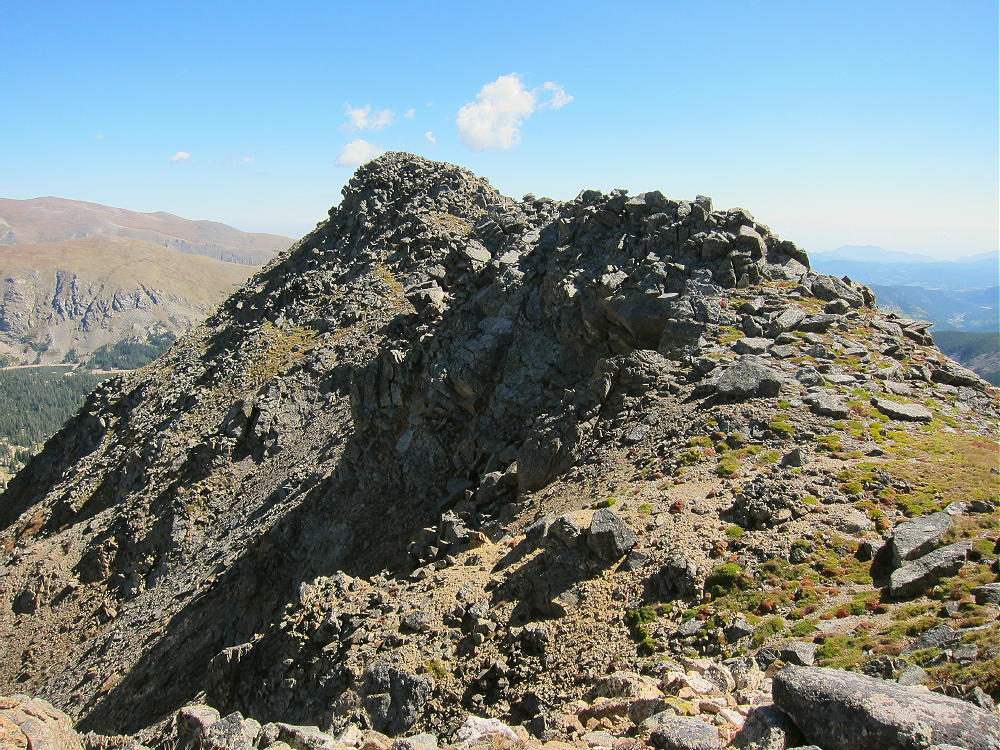
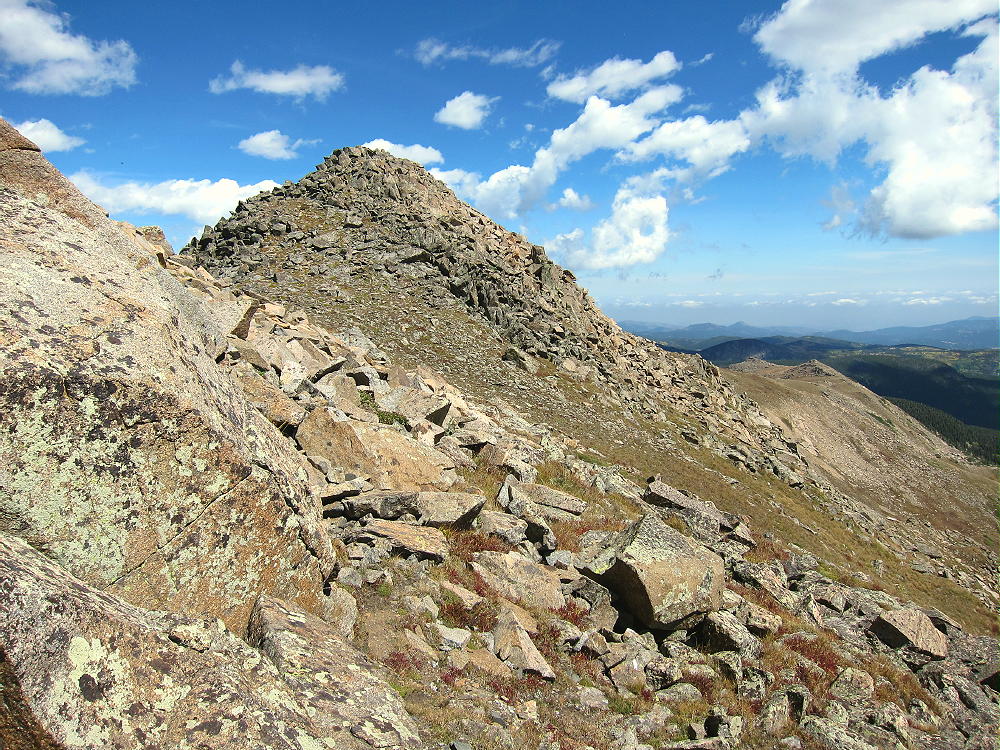
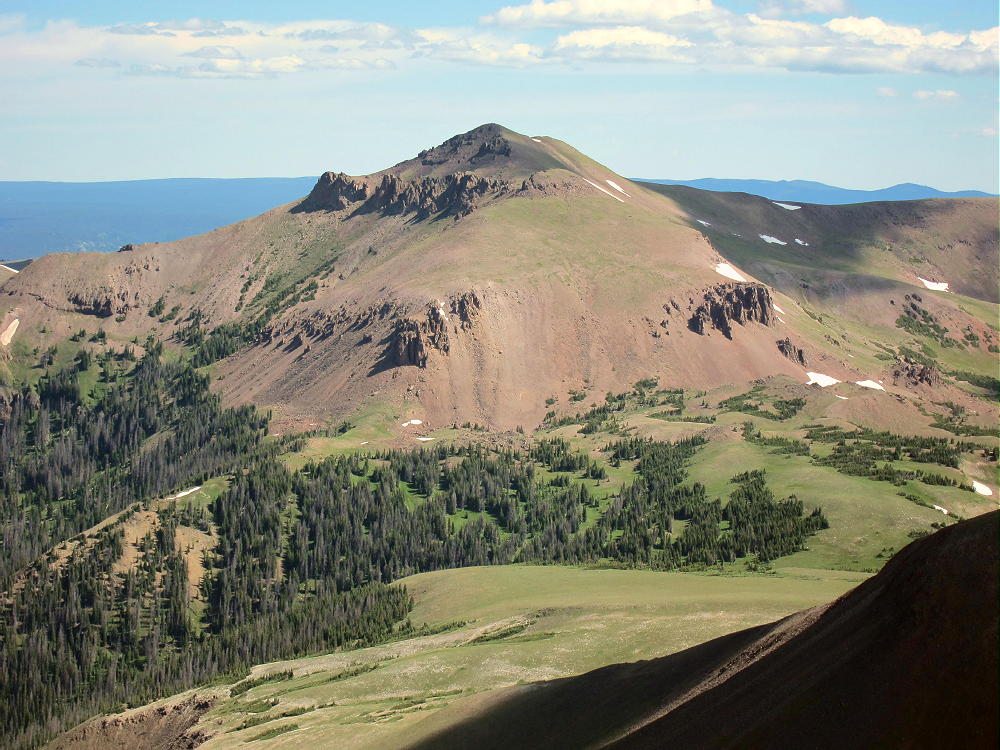
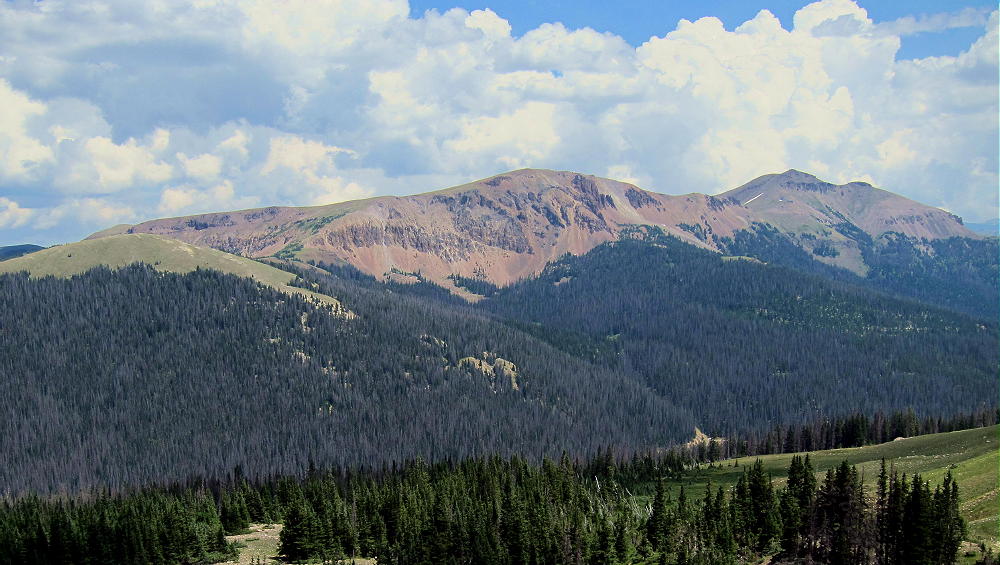
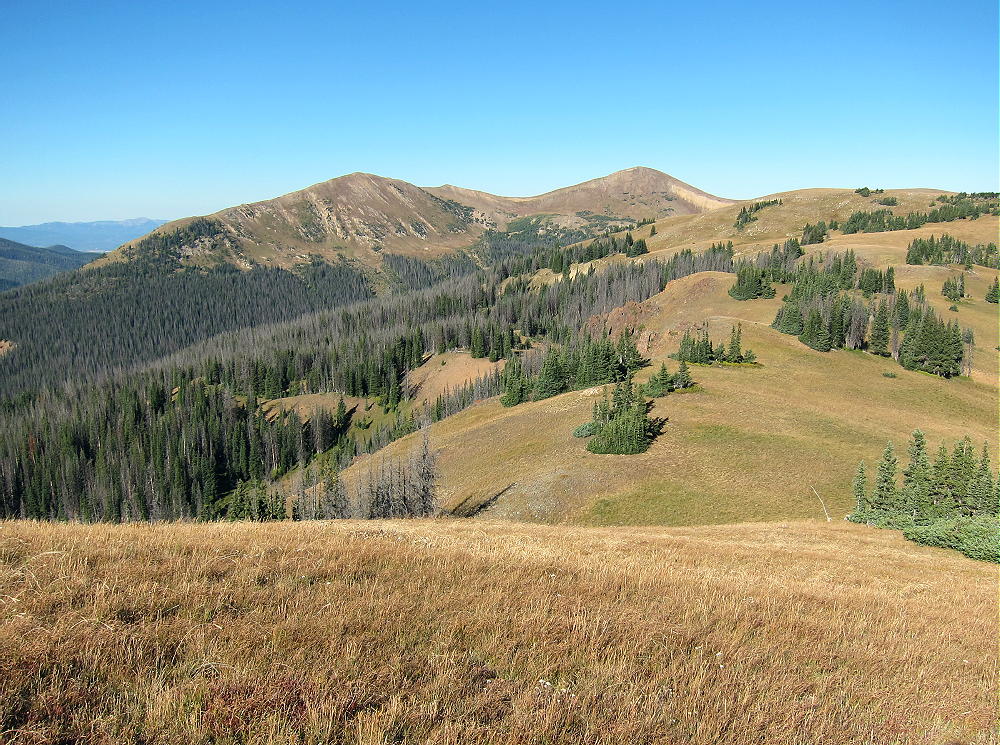
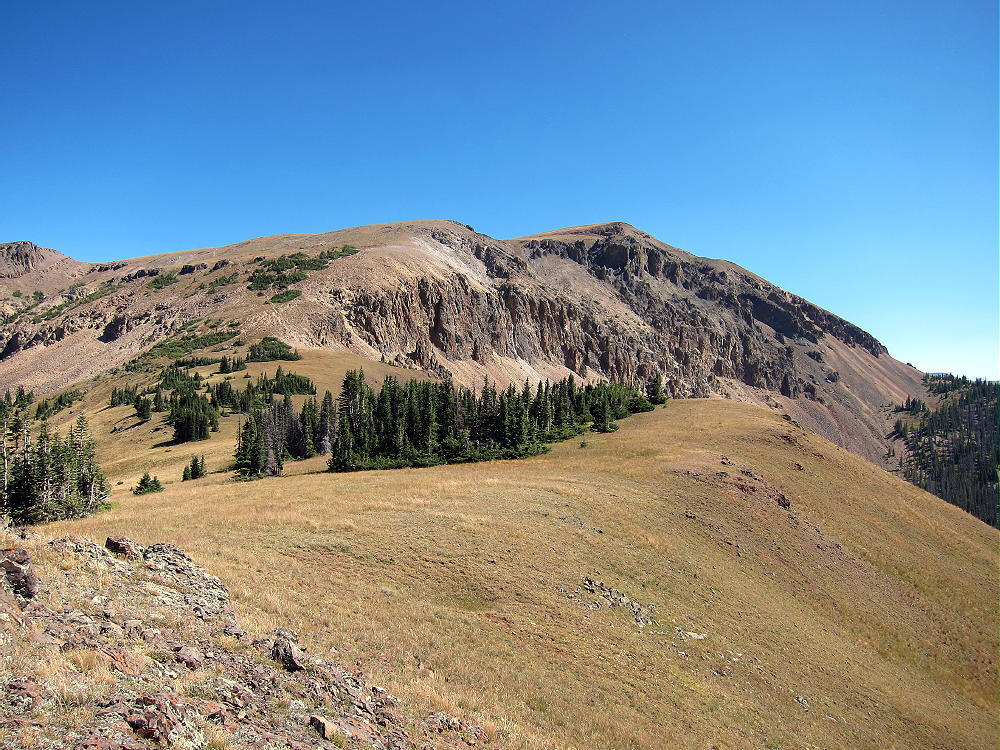
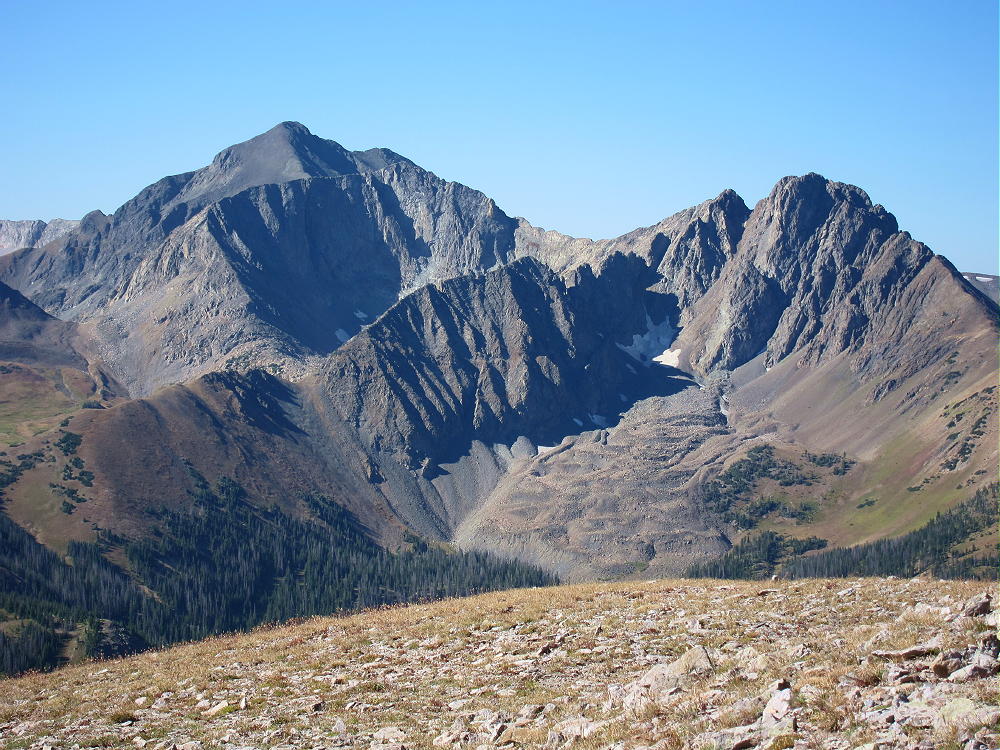
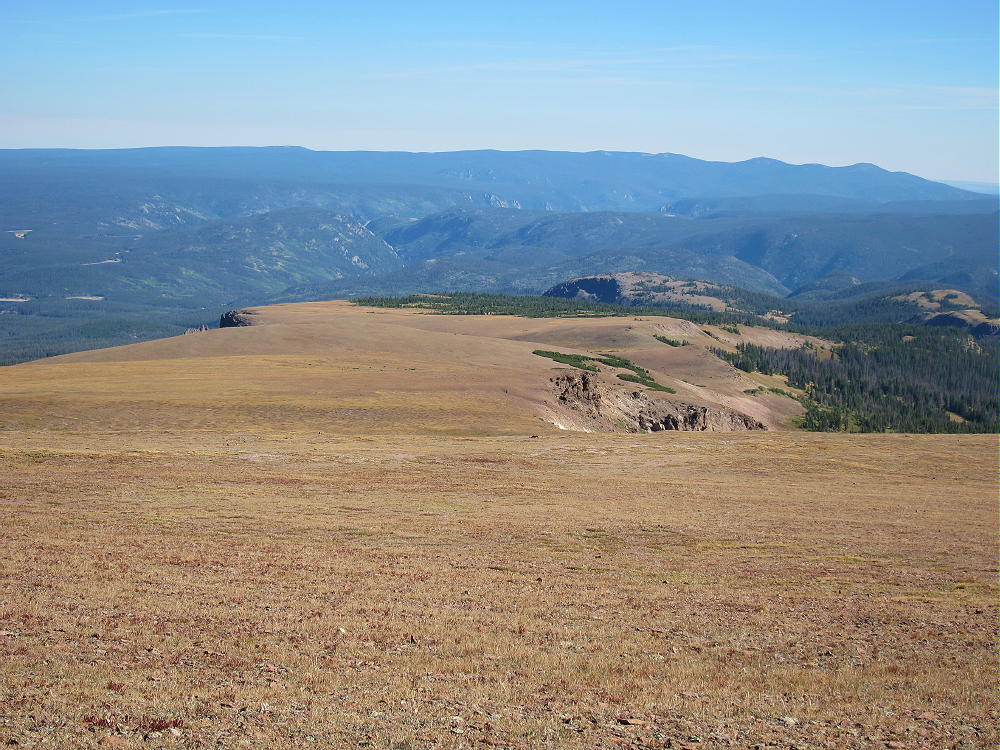
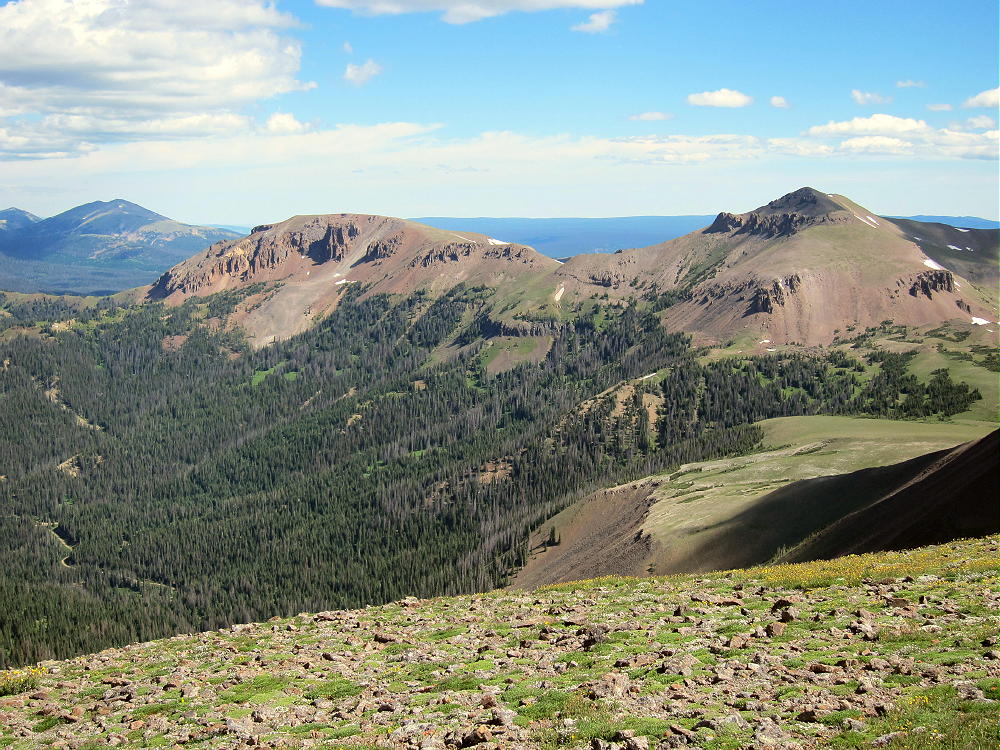
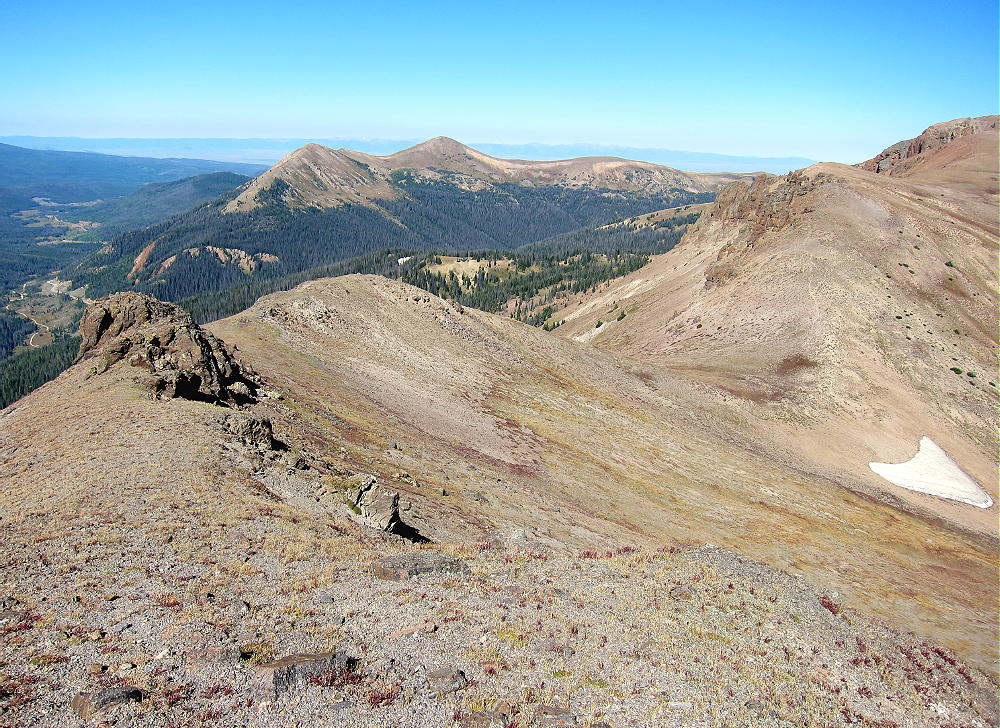
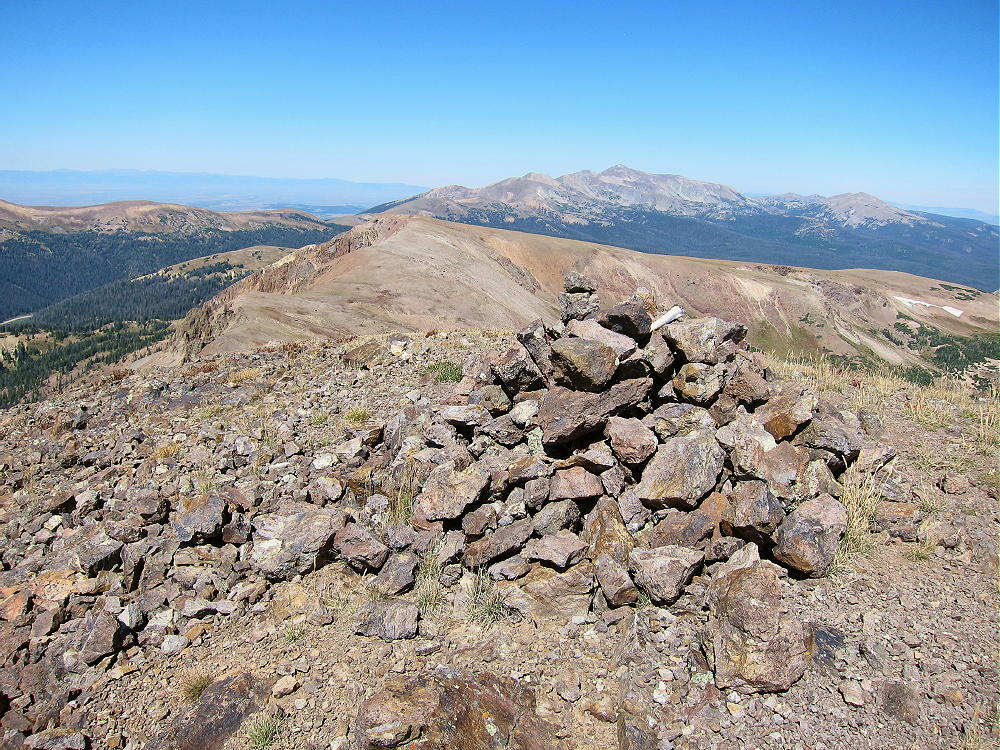
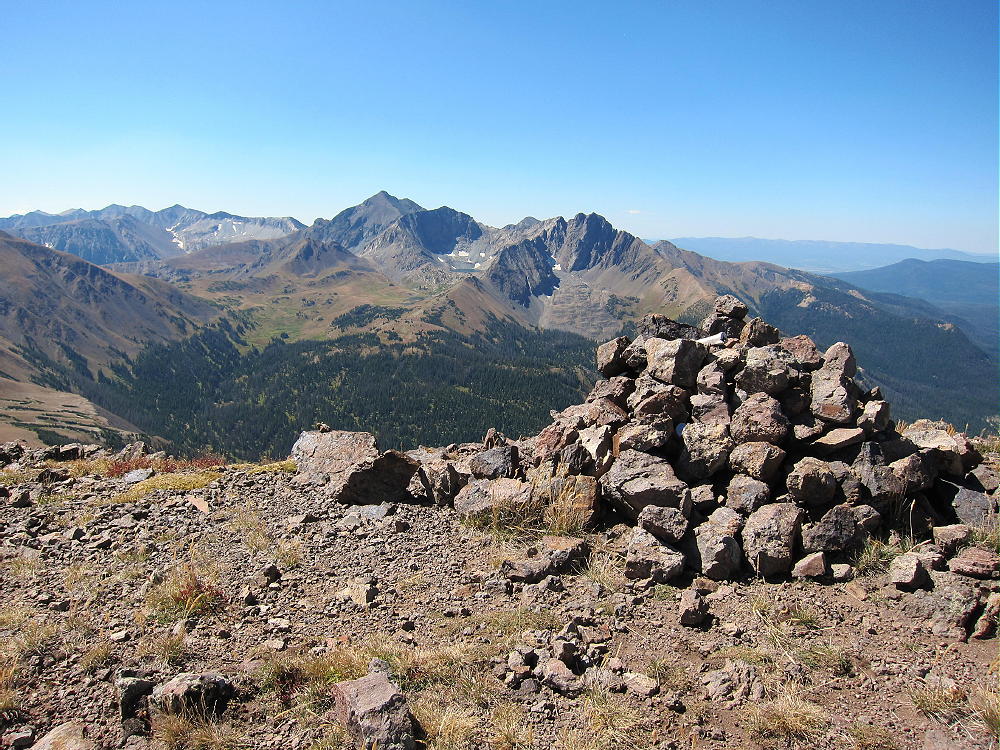
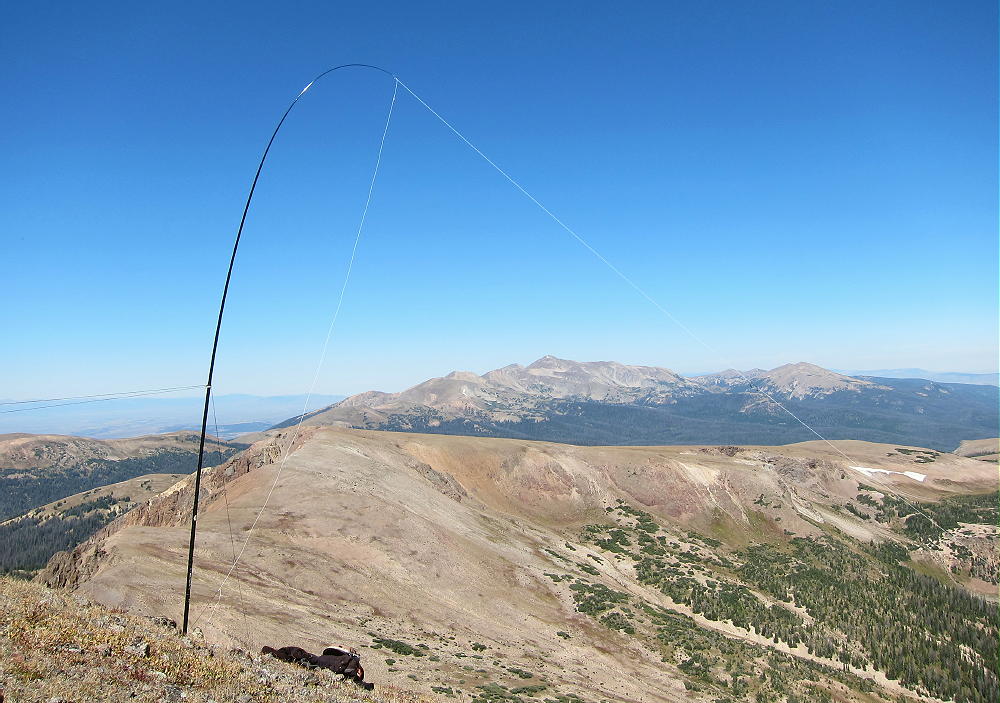
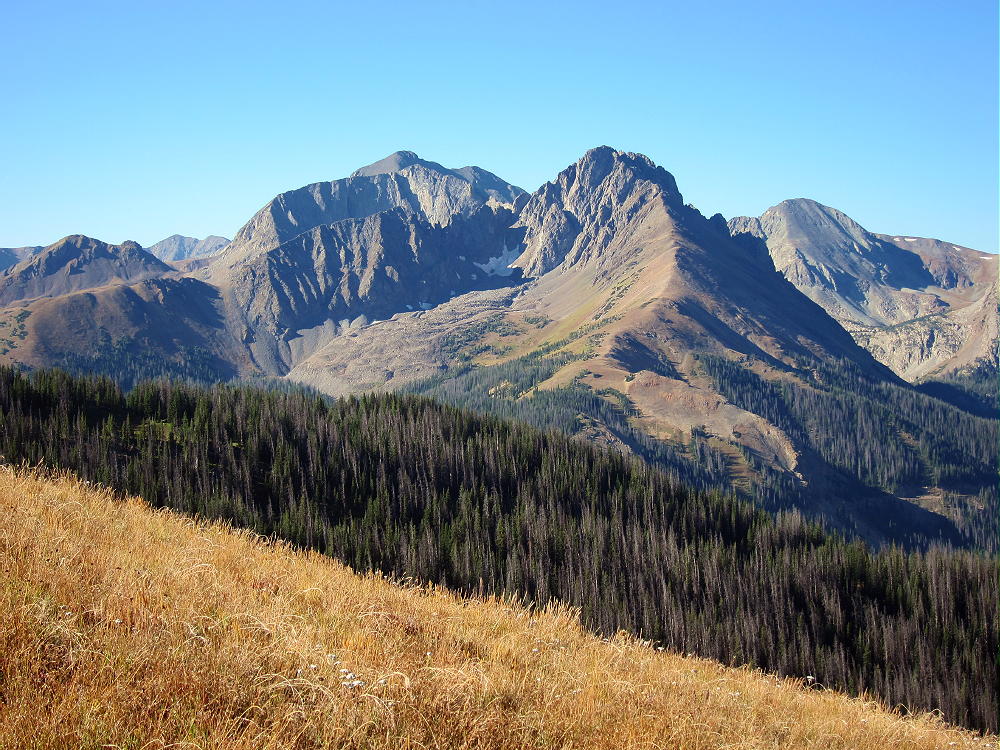
• Pike National Forest
• Access via forest roads
• No marked trail or trailhead
• Secret closed road leads most of the way
• Some off-trail hiking near the top
• Seldom visited
• Fine SOTA peak
• ~ 2.2 miles round trip
• ~ 800 vertical feet
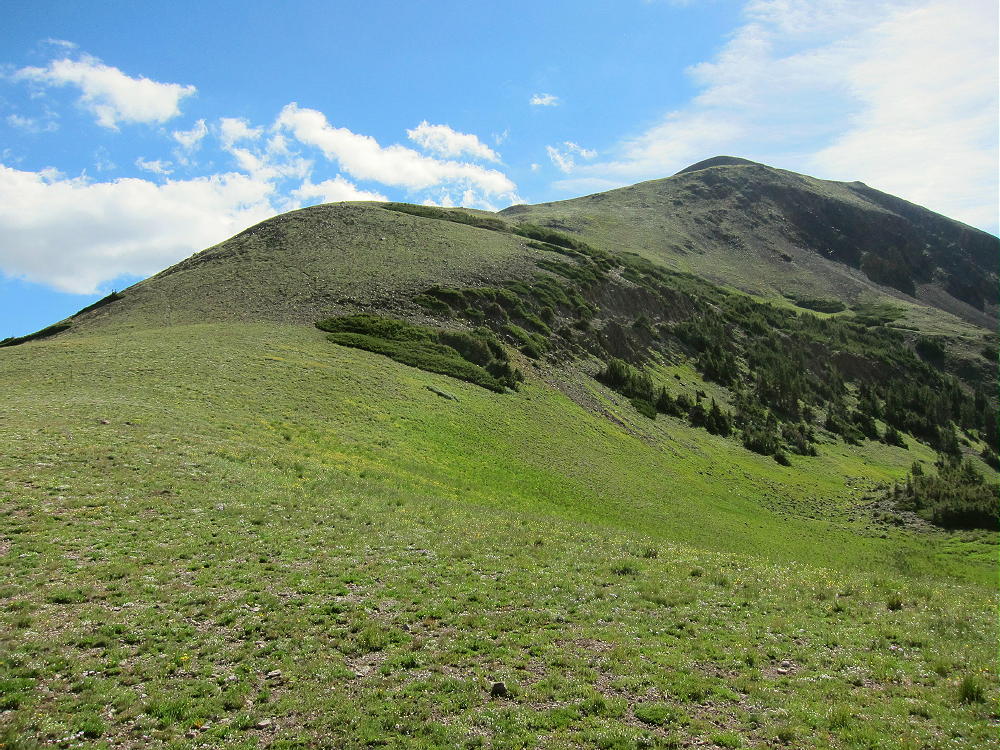
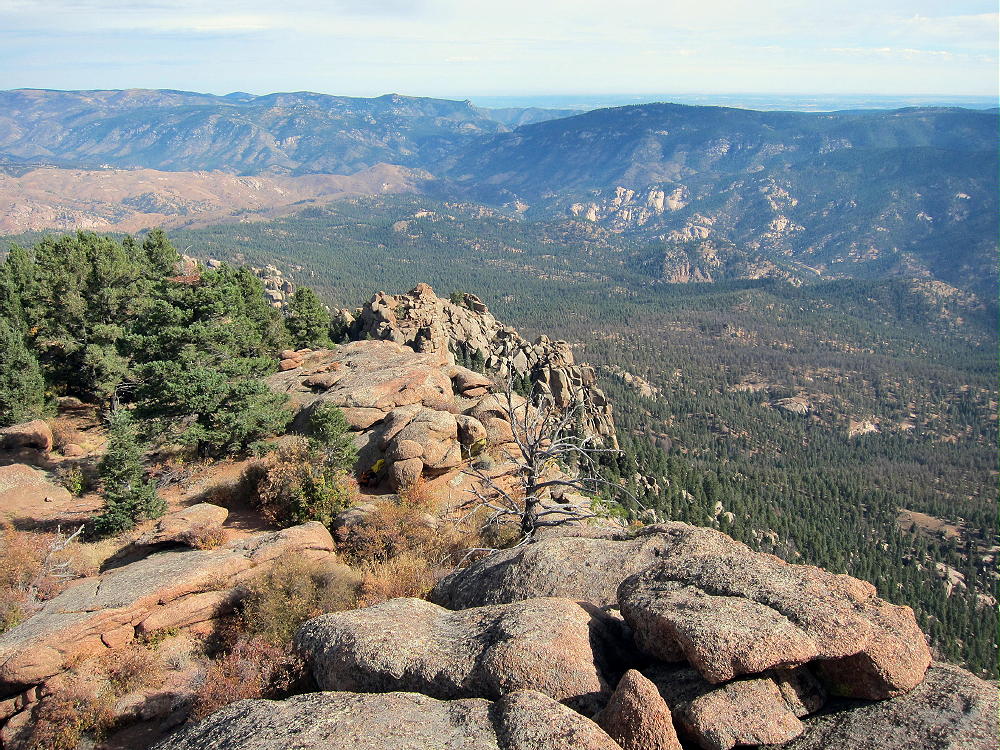
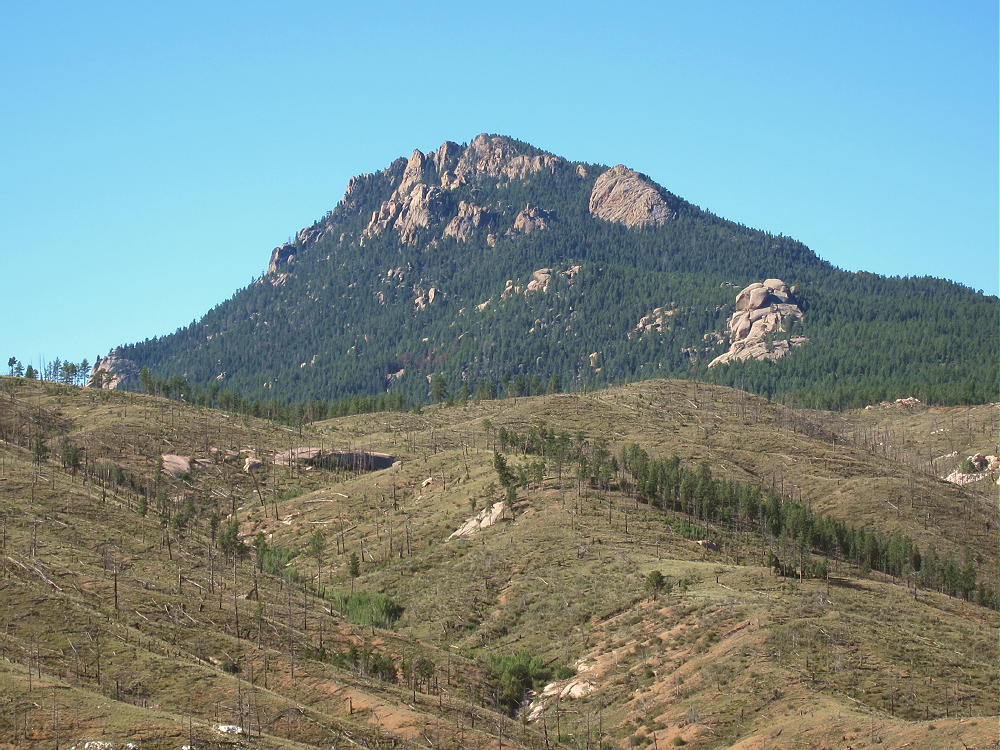
9889 Summit
Driving Directions:
• Drive to Lake George via Highway 24
• Continue north 0.8 mile, and turn left, west on CR 90
• Follow CR90 almost 4 miles, and turn left, southwest, on CR 92
• Climb up CR 92 into the Puma Hills for about 2 miles
• At a pass or saddle at 9040 feet, the second high point on this road, turn left, southeast, onto FR 246
• FR 246 is a good, humpy 2WD road requiring more clearance than some cars allow
• Drive FR 246 southeast for about one mile, past several dispersed campsites, to a large campsite located near a saddle in the road, on the north side of the road, with an obvious conical hill about 200 feet high on the north side. This is the only campsite in the immediate area with a big hill right behind it.
• The Google Map coordinates are 38.945715, -105.459343
• Park at or near this campsite. This is the “trailhead”. I camped there, and it was great!
The Hike:
• From the campsite above, walk west along FR-246 for about 100 feet.
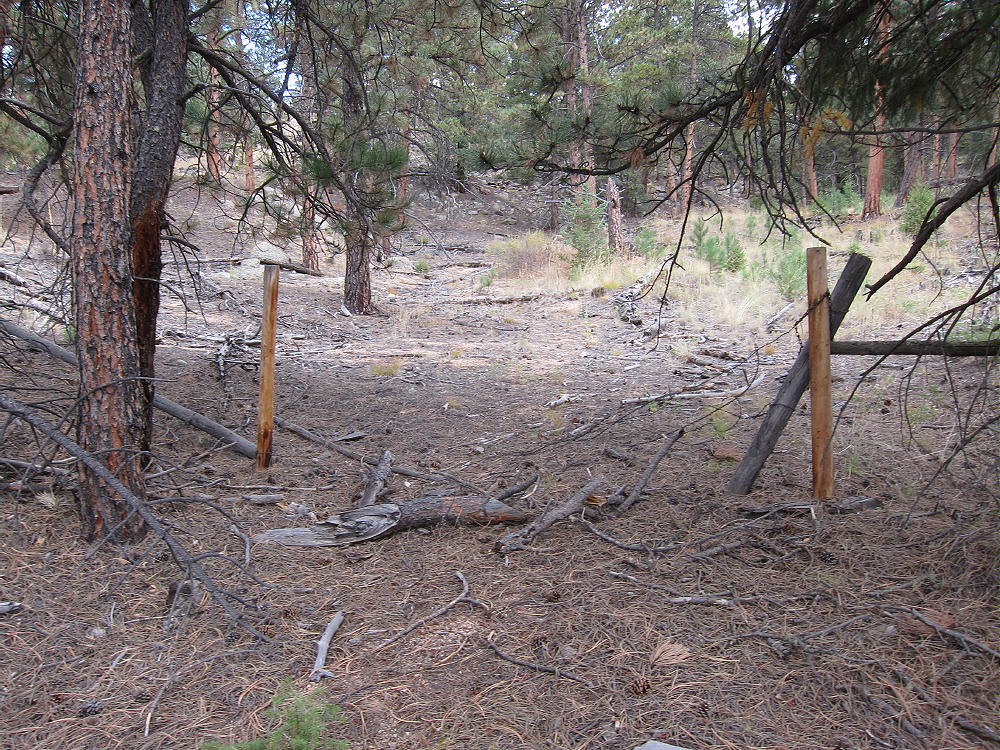
• On the south side of FR-246, find a closed road with a pile of big rocks blocking access. You can see this junction on the Google satellite image.
• The old road is closed to motor vehicles but not to hikers. This route is not shown on most maps, including Pike NF and Google maps.
• This route is shown clearly on the Google satellite image, which is where I found it. At high magnification the entire trail is visible running through the forest.
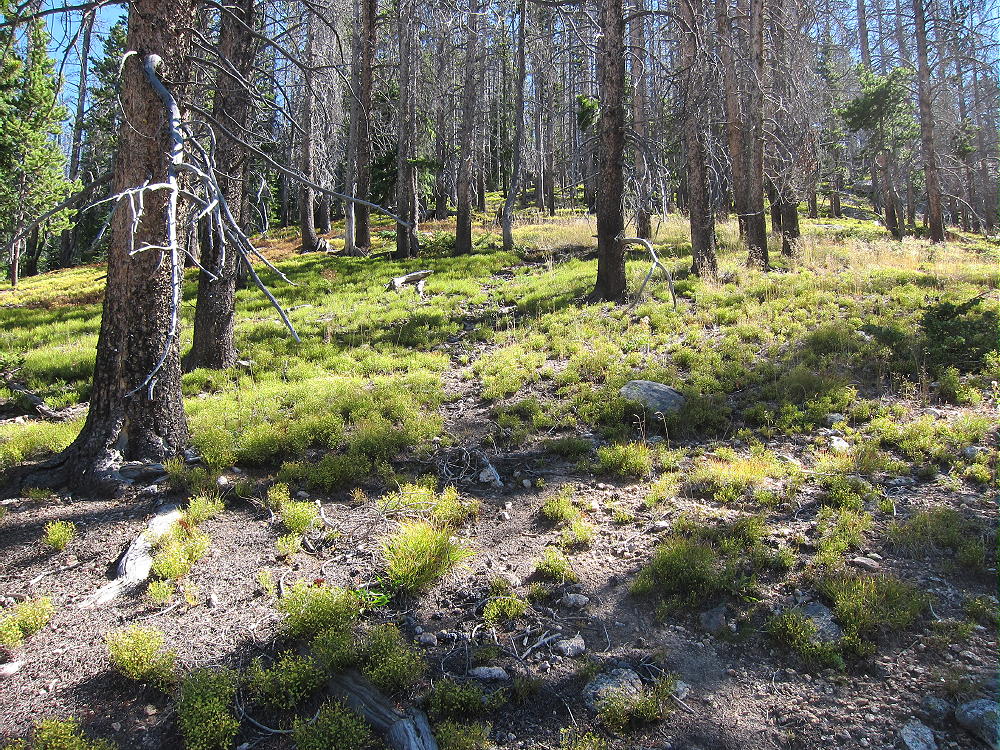
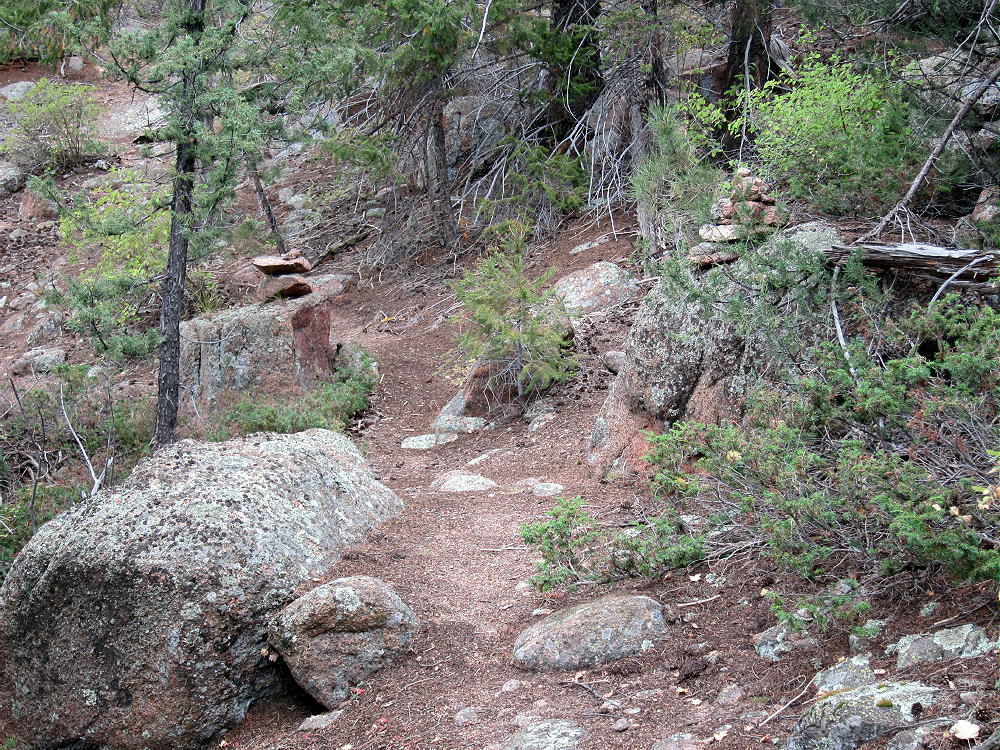
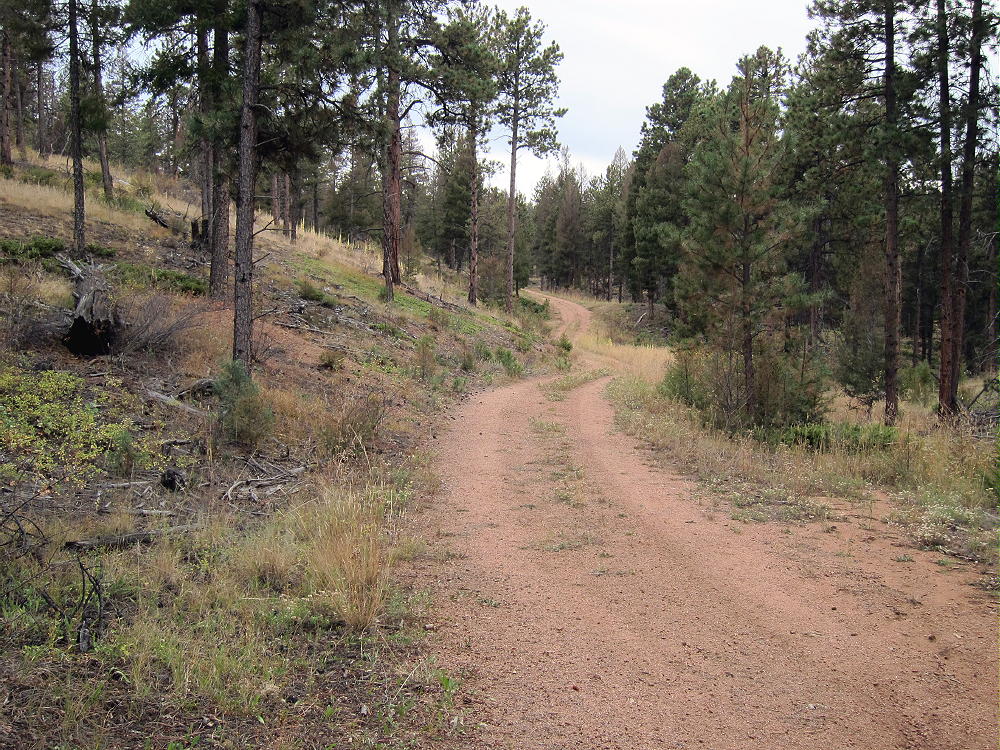
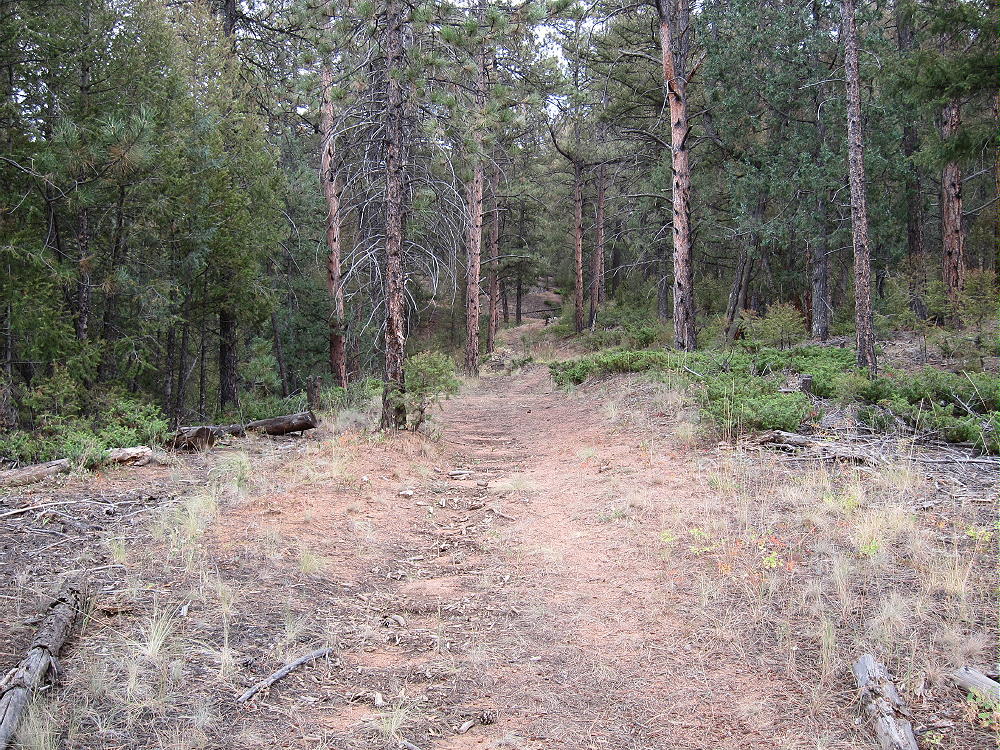
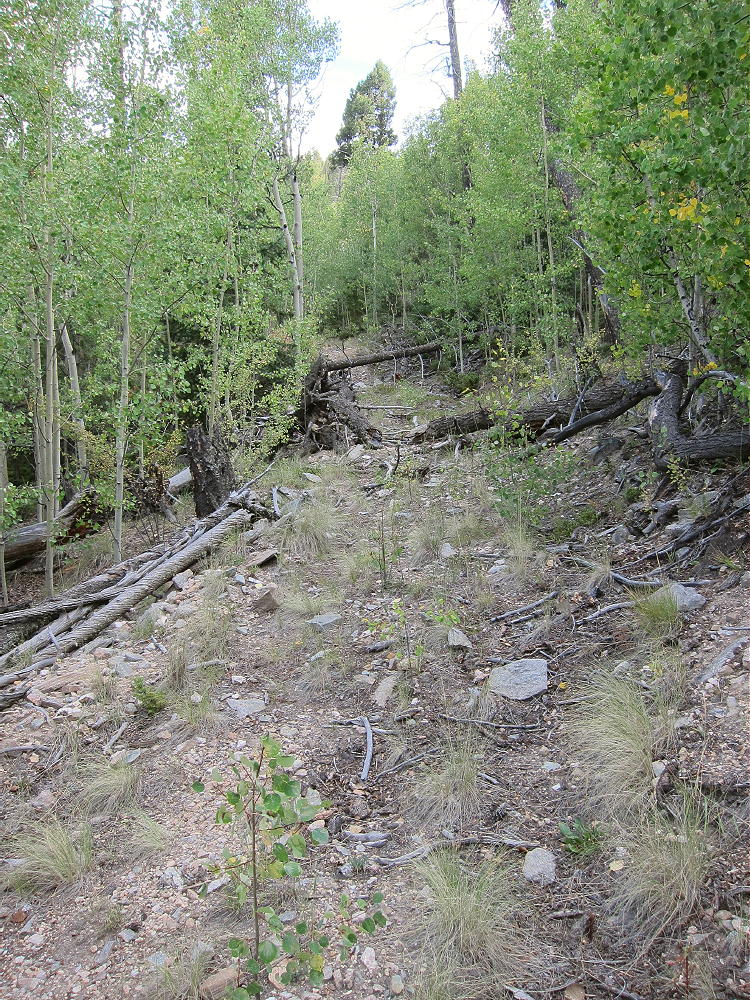
• Hike southeast up the closed road as far as it goes. It’s not maintained, and there’s significant deadfall and erosion.
9889 Closed Forest Road
• This convenient secret trail climbs steeply and efficiently toward Peak 9889. It ends at about 9500 feet, about 1/3 mile from the summit.
• Continue south on a game trail leading up the slope from the end of the road – stay on the north side of the draw.
• After about ¼ mile, come to a saddle at about 9700 feet.
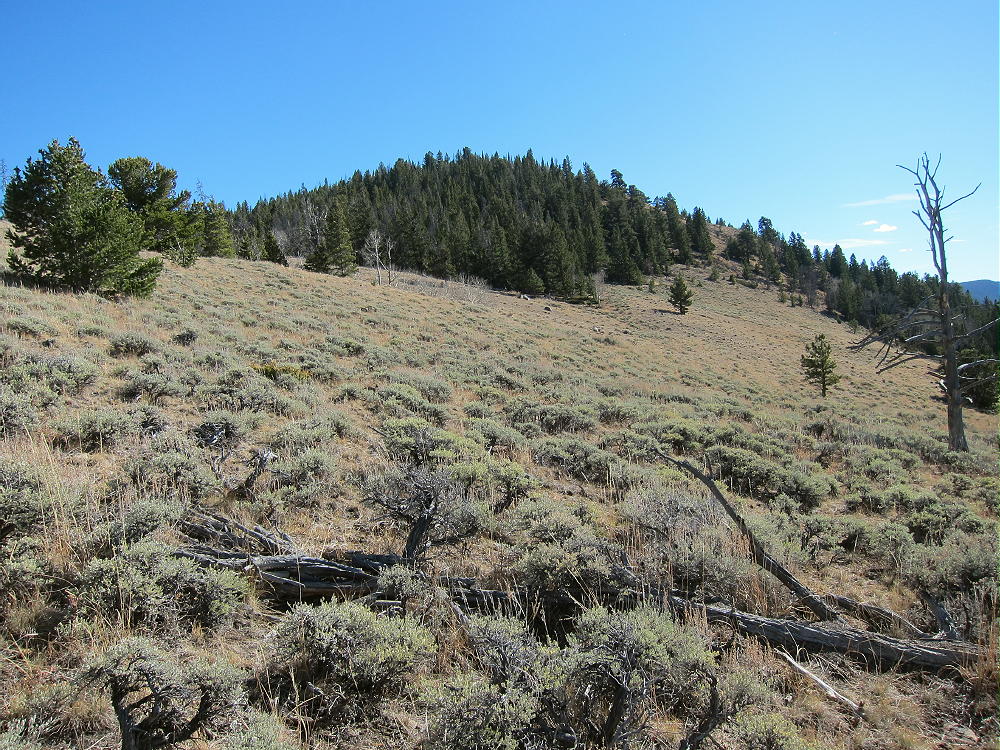
• The saddle is between Peak 9889 to the southeast, and its twin sister to the northwest, at almost the same elevation,.
• Make certain to ascend the peak southeast of the saddle!
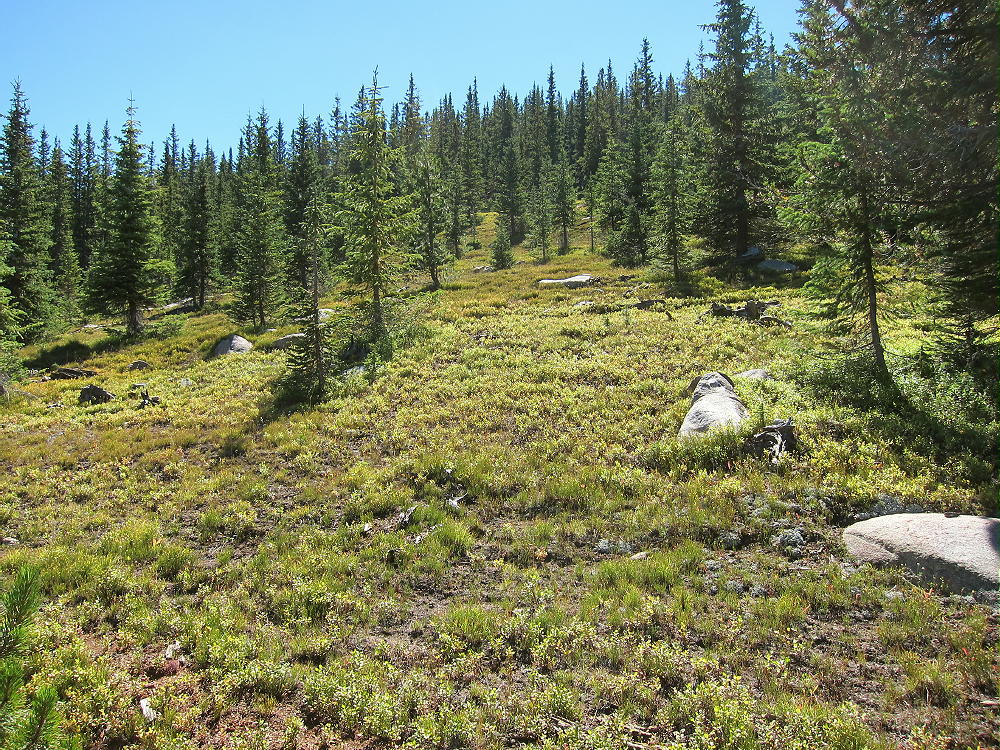
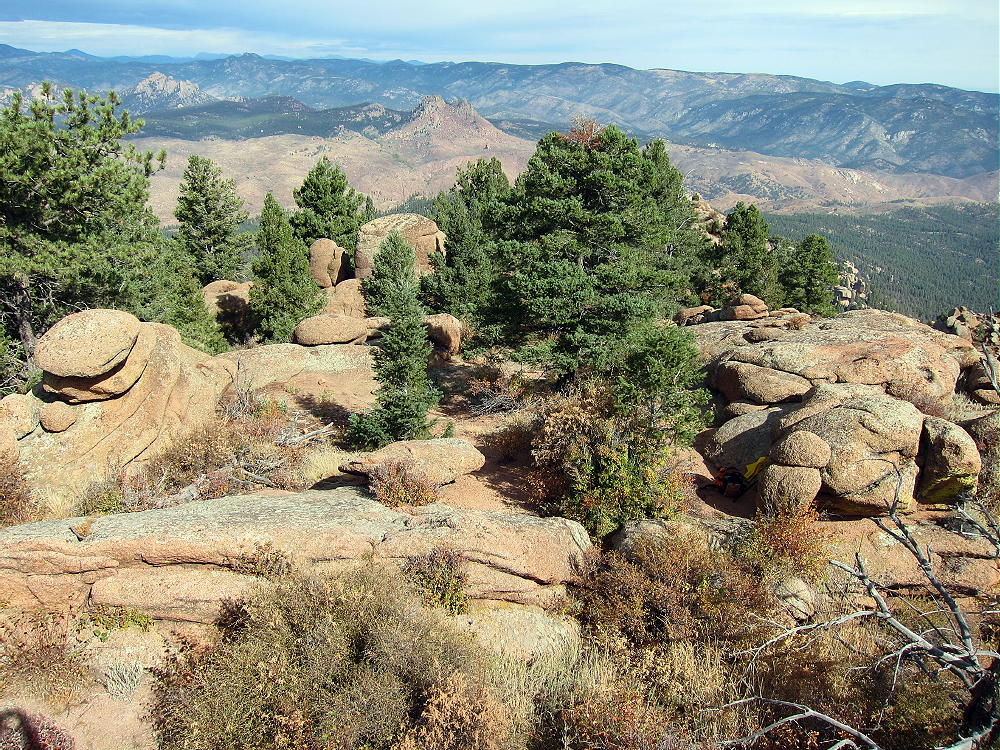
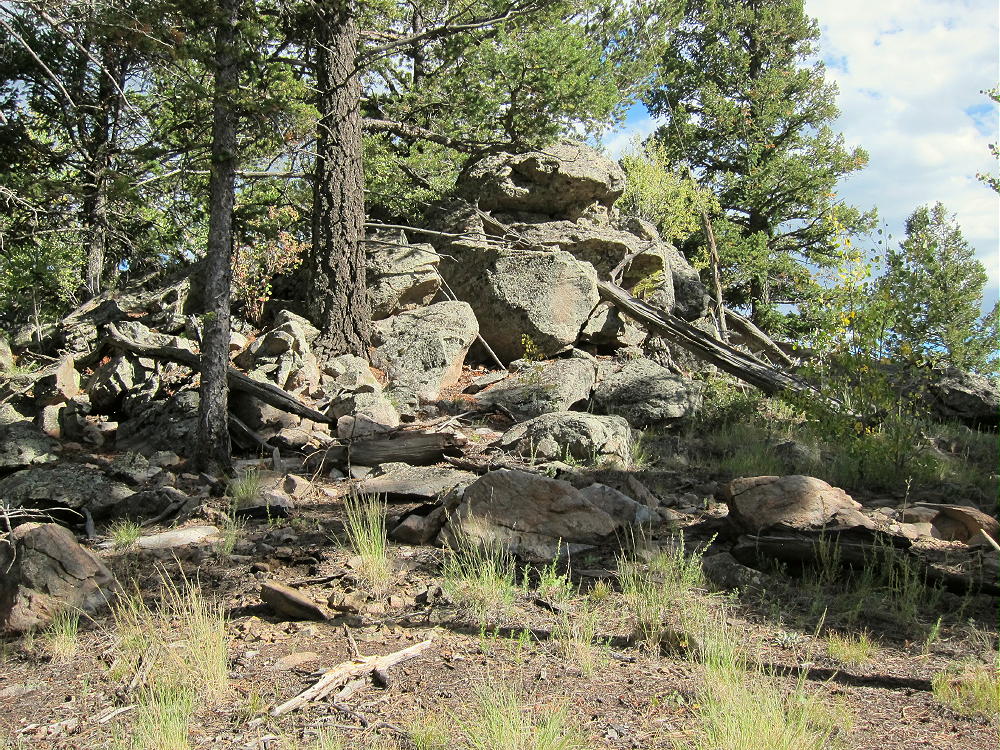
• Hike up less than 0.2 mile, through easy open woods, to the rocky summit.
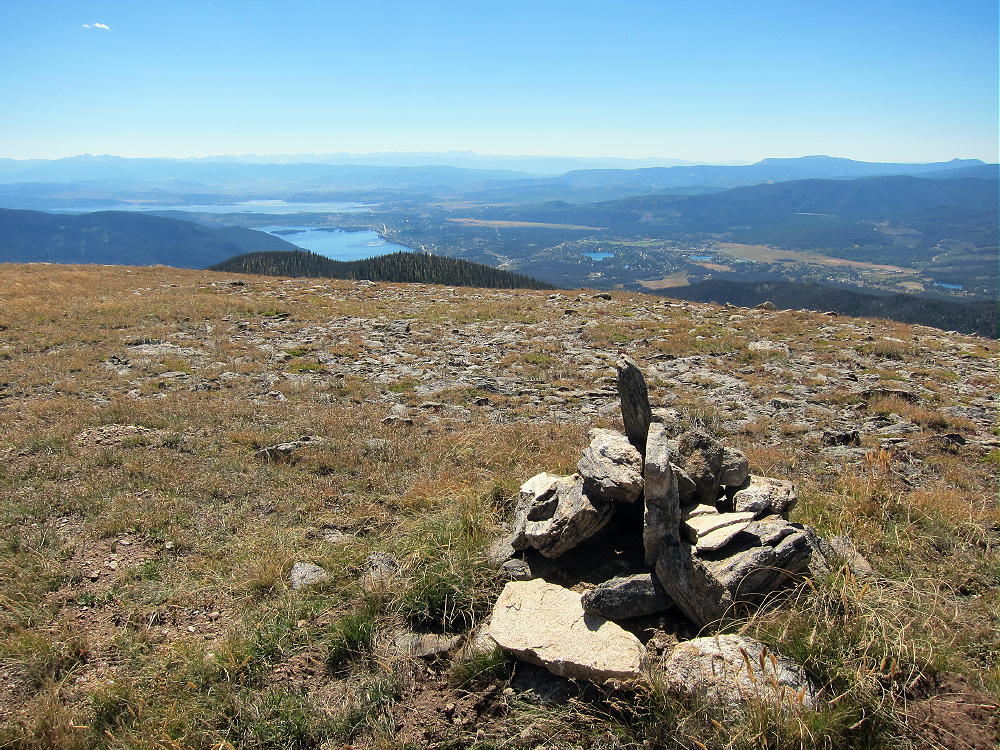
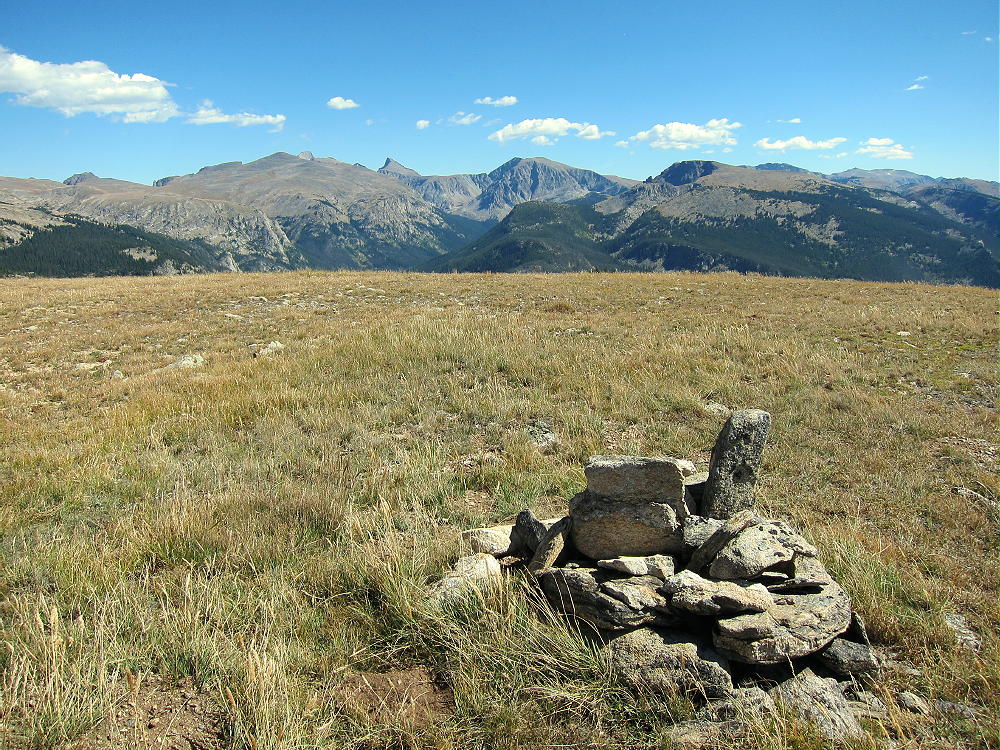
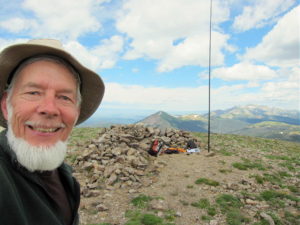
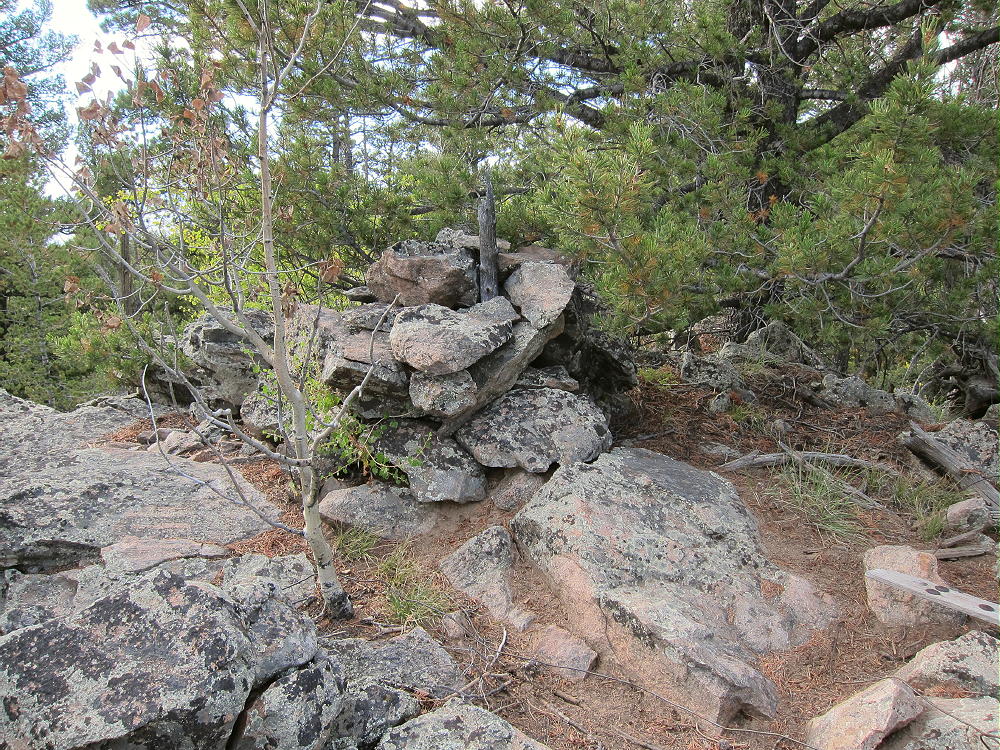
9889 Summit Cairn
Details:
The Pike National Forest Map is useful for planning a hike to 9889; it shows roads CR 90, CR 92, and FR-246.
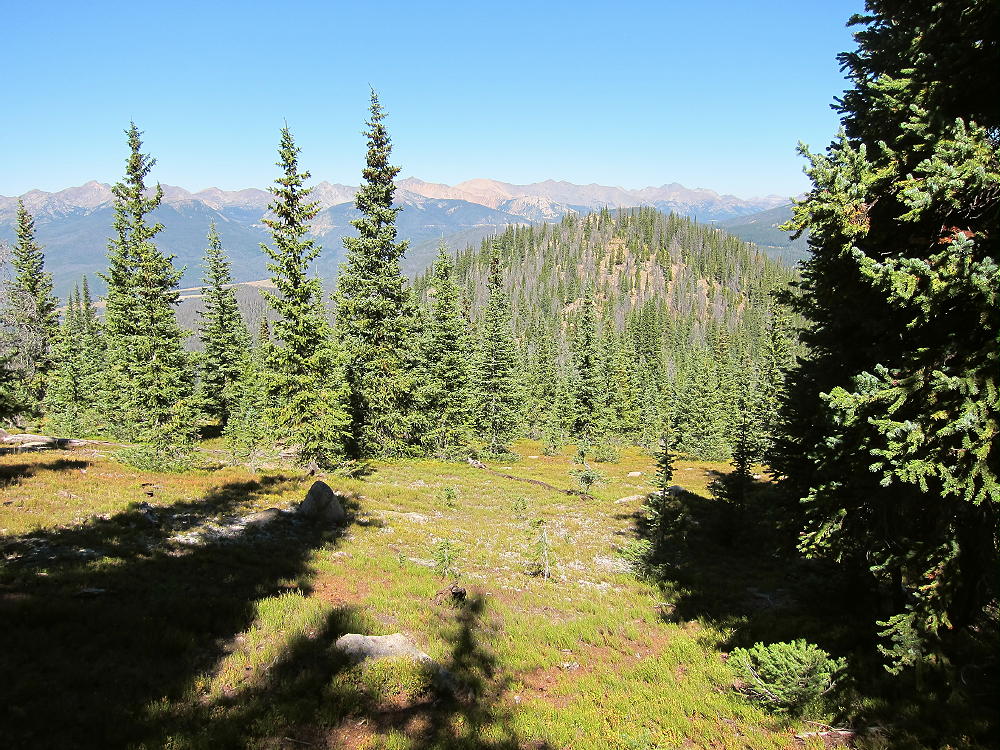
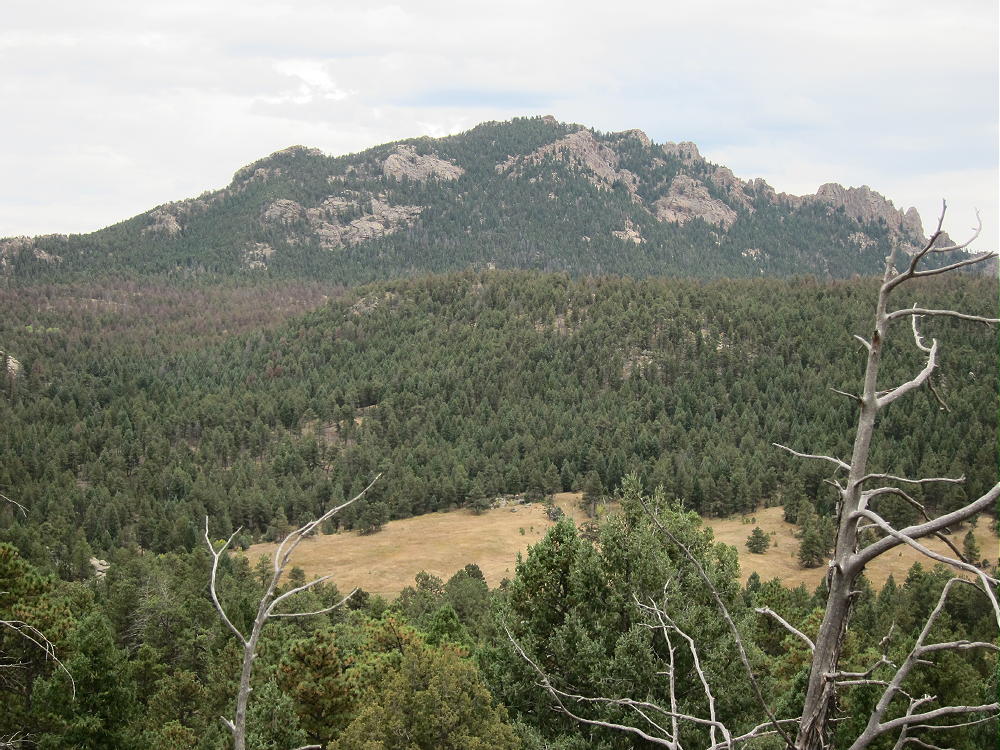
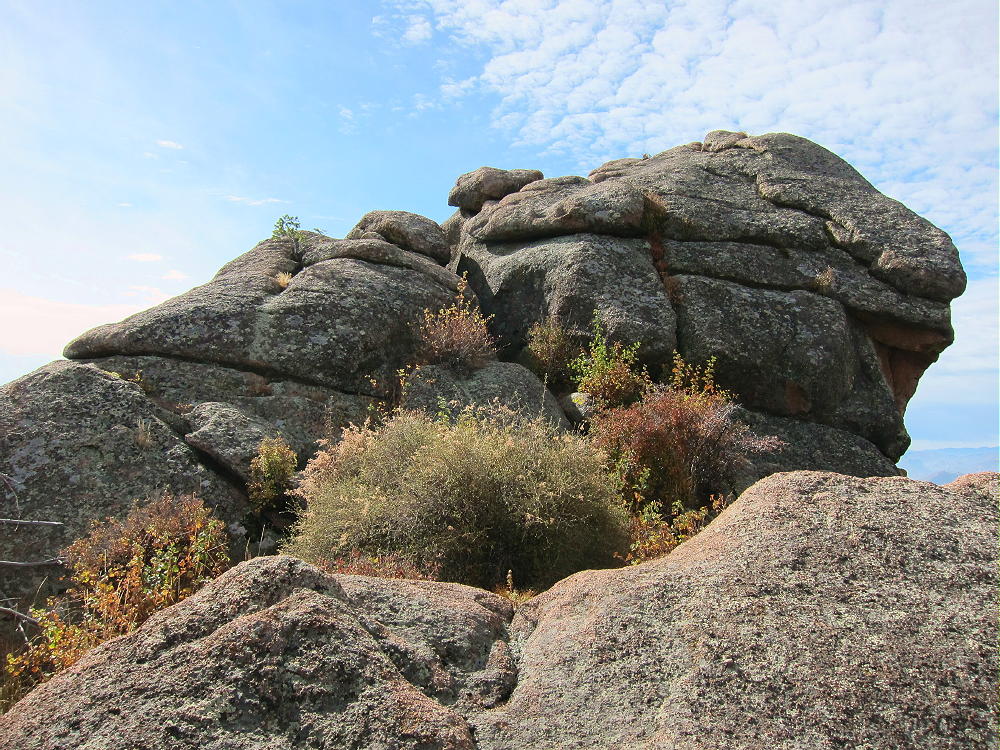
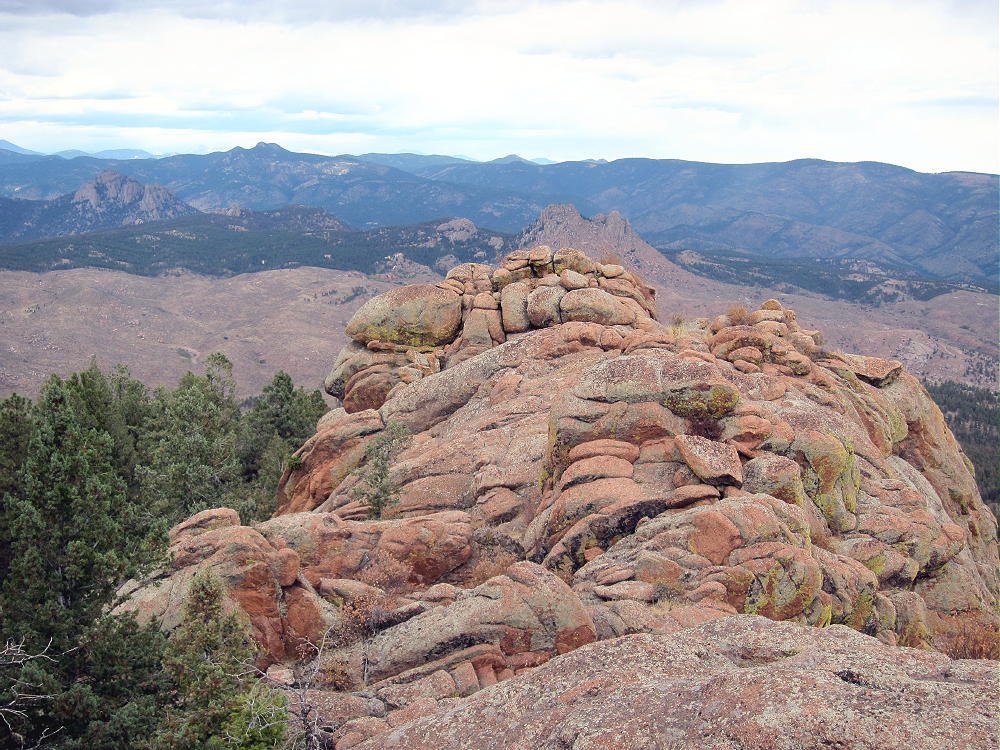
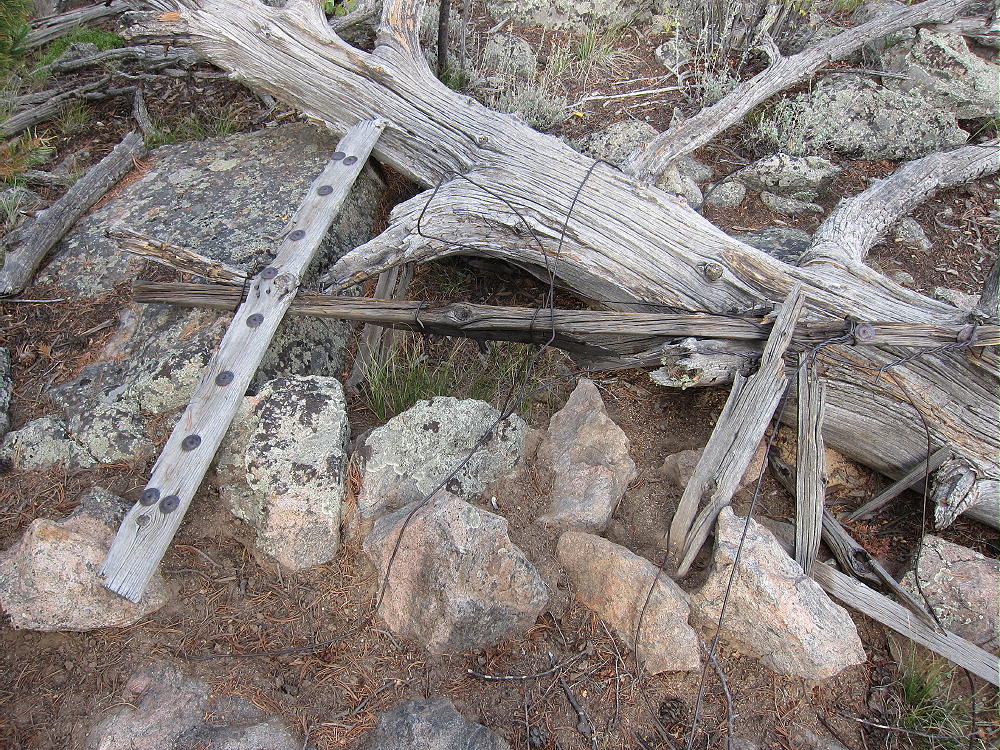
The top of prominent Peak 9889 is a small rock formation with trees on it. The remains of a triangulation station lie near the peak – boards, wires, etc. There’s a cairn, maybe with a register-jar inside it, on the top. There’s little evidence of visitors. Most of the summit is forested, and views are limited.
9889 Survey Station Remains
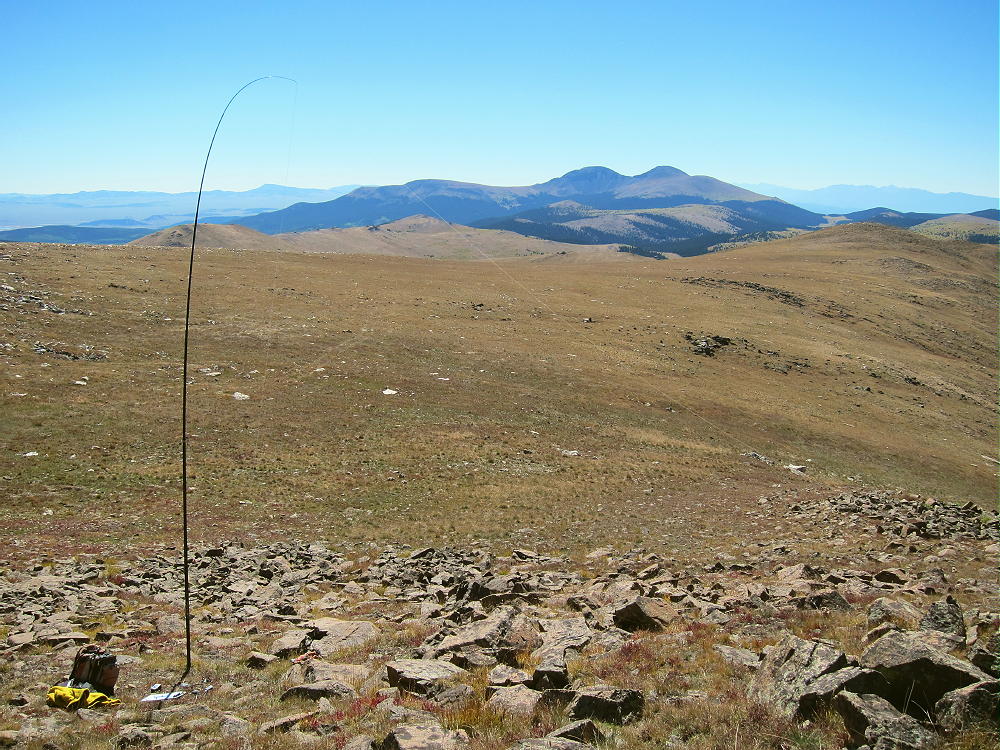
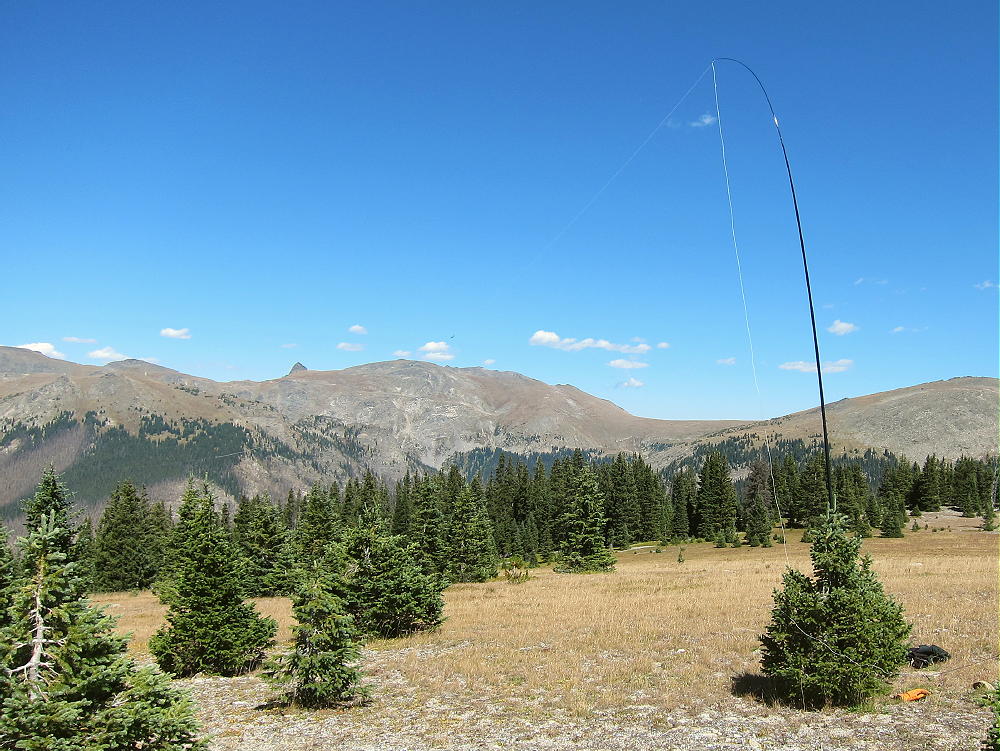
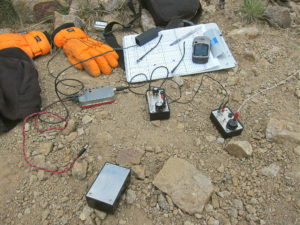
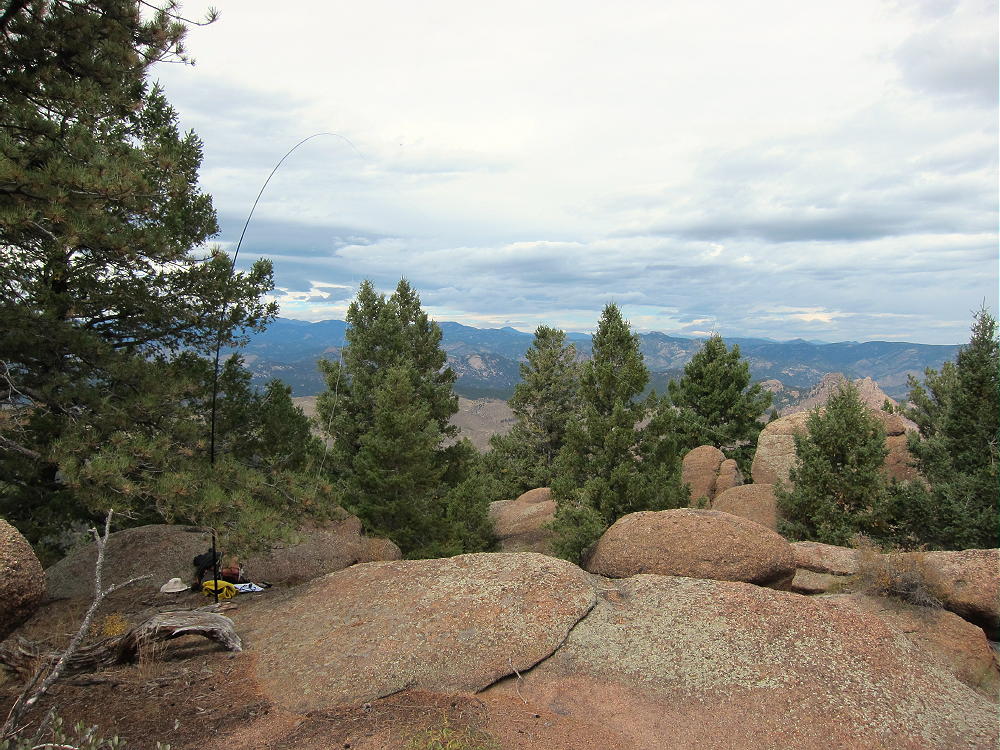
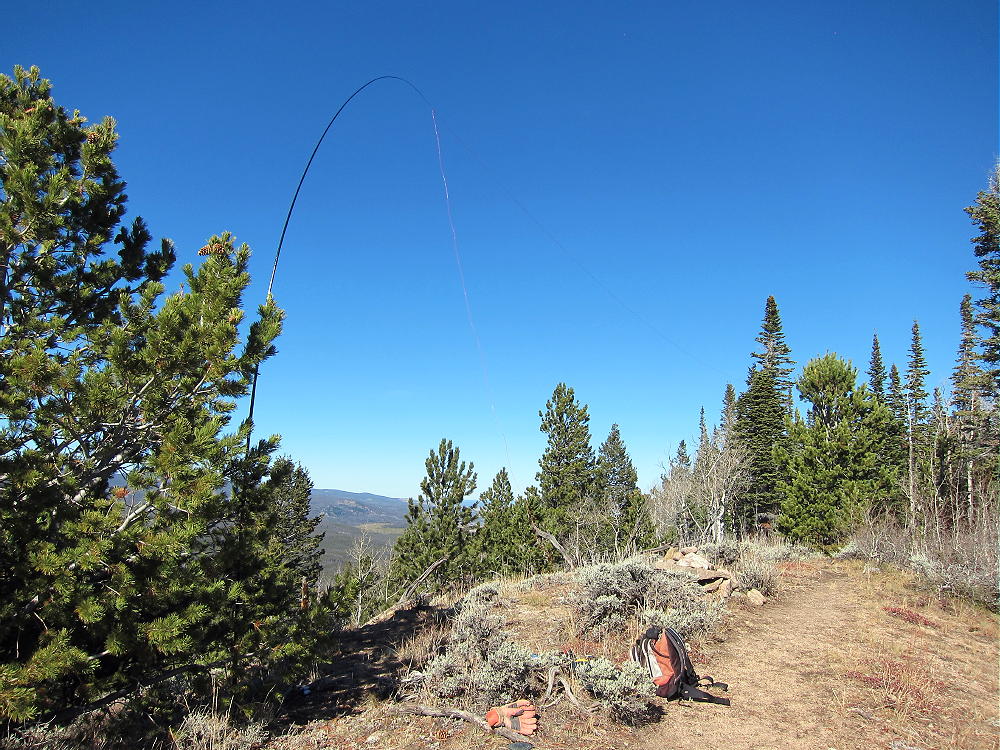
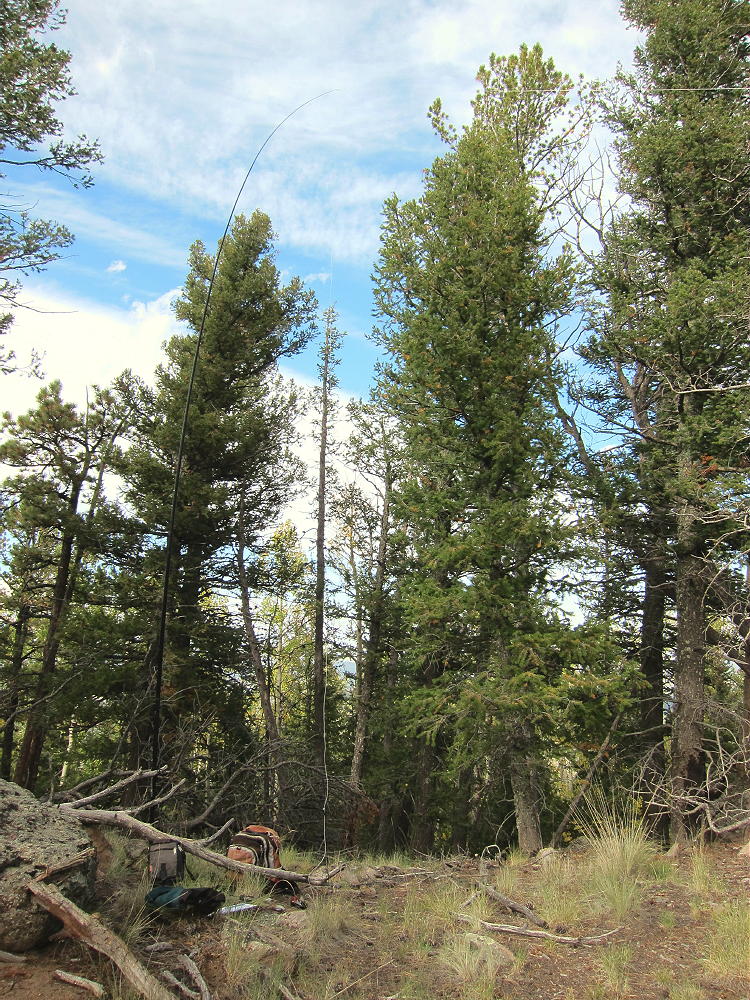
The large activation zone extends along the ridge-top, with sheltered spots, trees for a pole, etc. I set up immediately north of the peak; I ran my wire from a pole up to a tree at the summit rocks.
9889 SOTA Activation
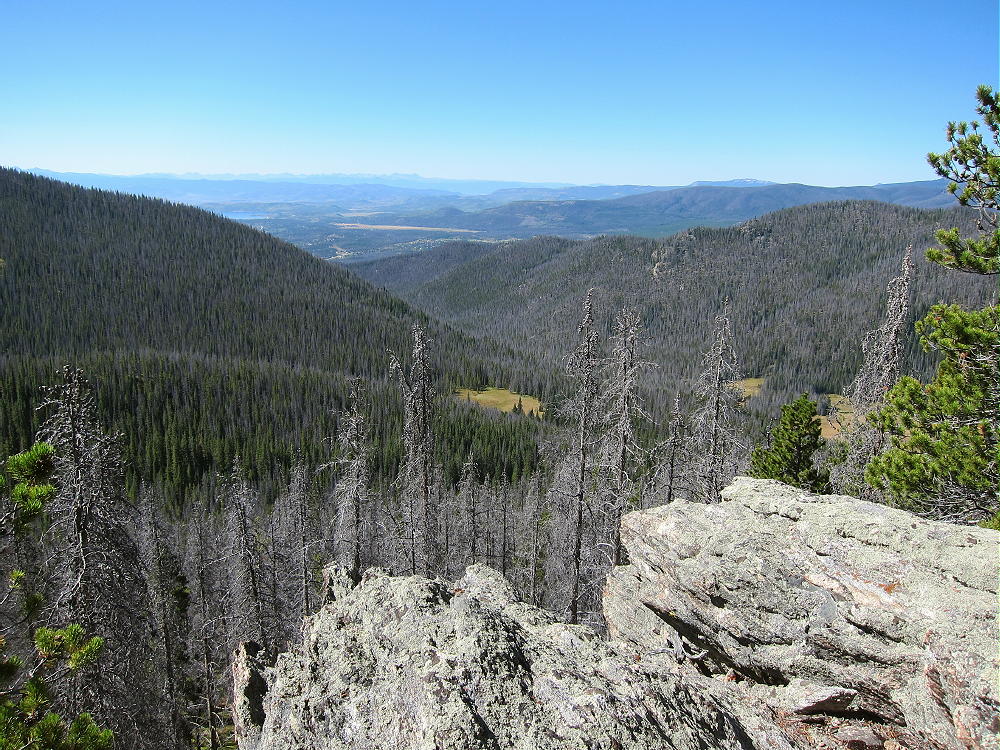
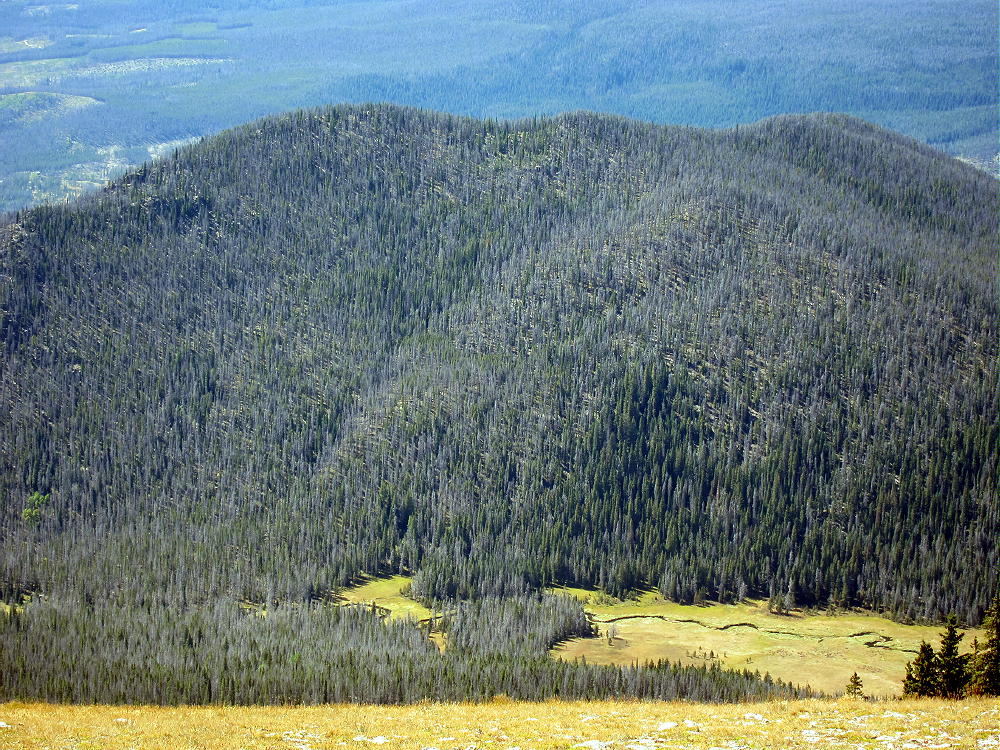
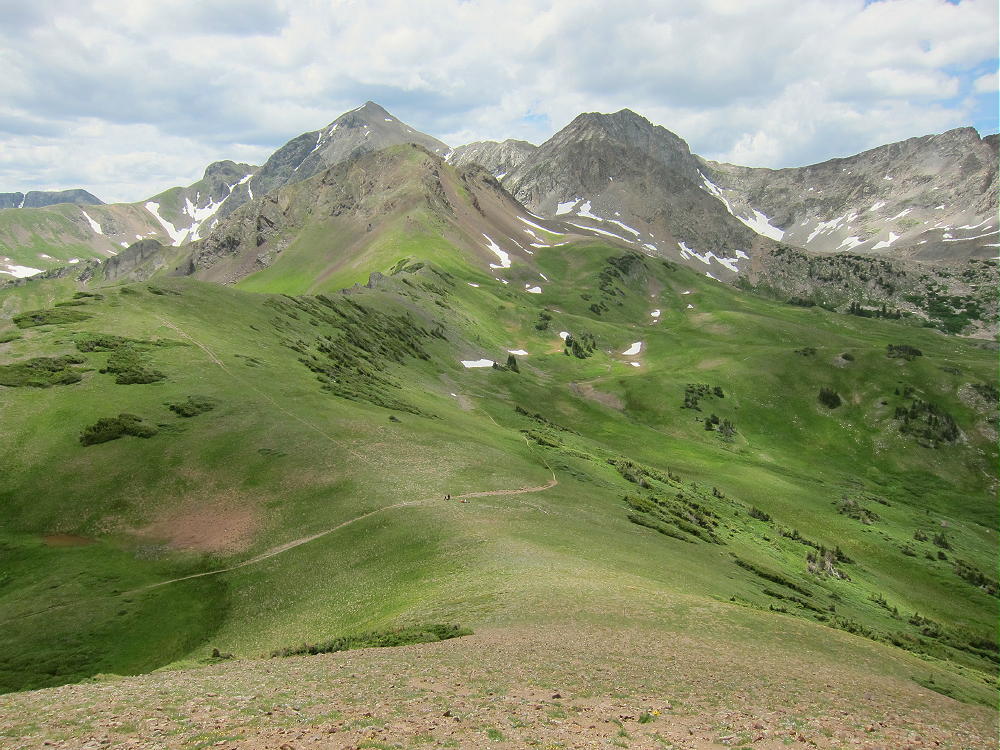
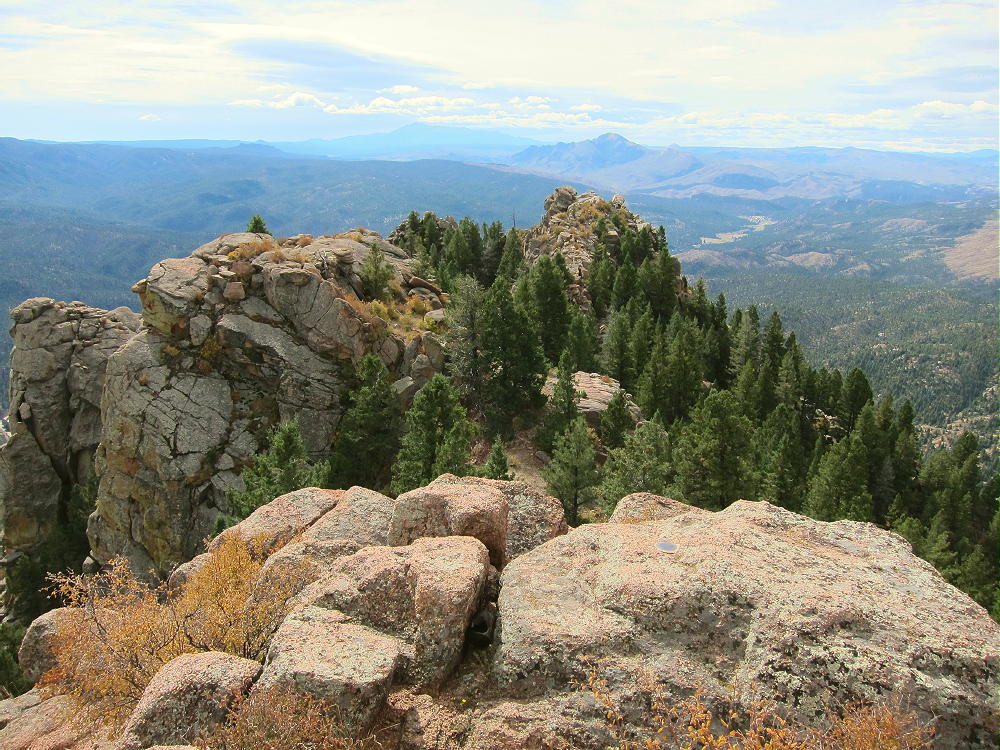
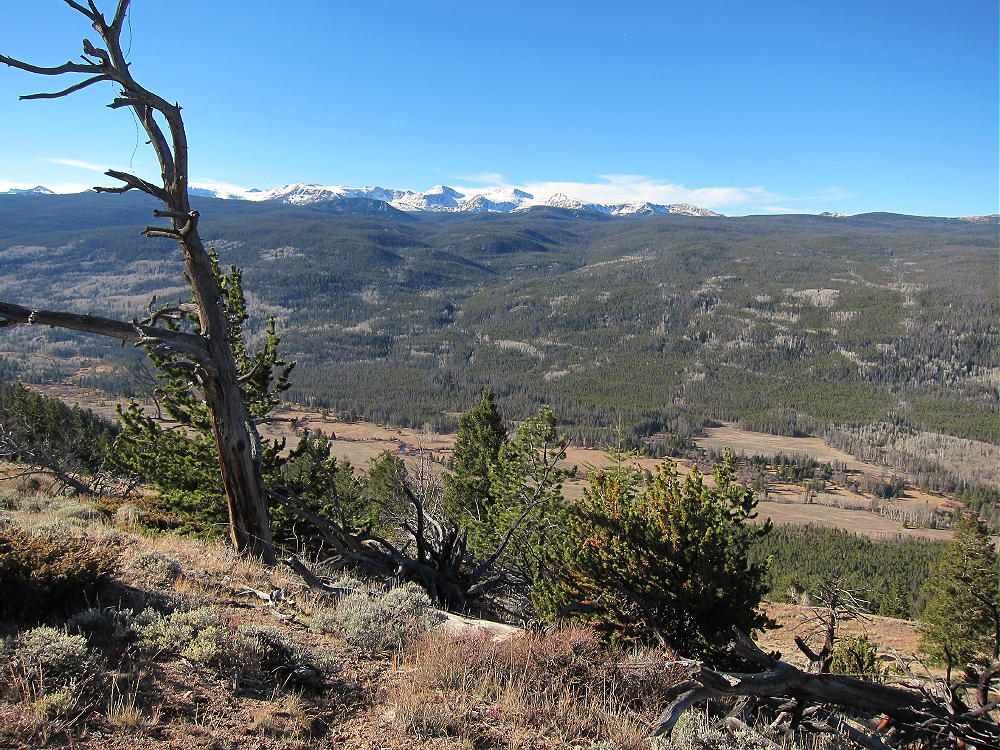
The land falls away on the east side of the summit – it’s possible to see down into Eleven Mile Canyon.
There’s no development on the mountain, and the RF noise level is very low. This is a fine HF site! There are no close summits to block skip signals. This site has some VHF/UHF coverage of South Park, including around Hartsel, near Elevenmile Reservoir, near Lake George, Divide, and the country northwest of Pikes Peak.
It might be possible to activate Peak 9889 in the same day as another local summit. Possibilities include:
This area is popular with hunters – there were bow hunters in the area when I was there. Wear bright color – be cautious.
73
George
KX0R
!! WARNING !! There are old mountaineers, and
bold mountaineers… there are no old-bold mountaineers.
Hiking and mountain climbing are potentially hazardous activities particularly in Colorado with its extreme elevations. I am not accepting responsibility for any death or injury resulting from activations based on my trip reports. Proper training, experience, and personal capability assessment is required – enjoy!
• San Isabel National Forest
• Moderate hike at high altitude
• An old road goes part way
• Off-trail route to the summit
• Superb scenery – nice alpine area
• Excellent HF site
• 4.6 miles round-trip
• ~1000 vertical feet
South Peak, KX0R SOTA Activation, at Summit
Driving access:
• Drive up 285 and cross Kenosha Pass
• Stay on Highway 285 past Fairplay
• Drive south on 285 from Fairplay about 5 miles, and turn west on CR 5
• Follow bumpy dirt 2WD road CR 5 for about 7 miles to CR 22
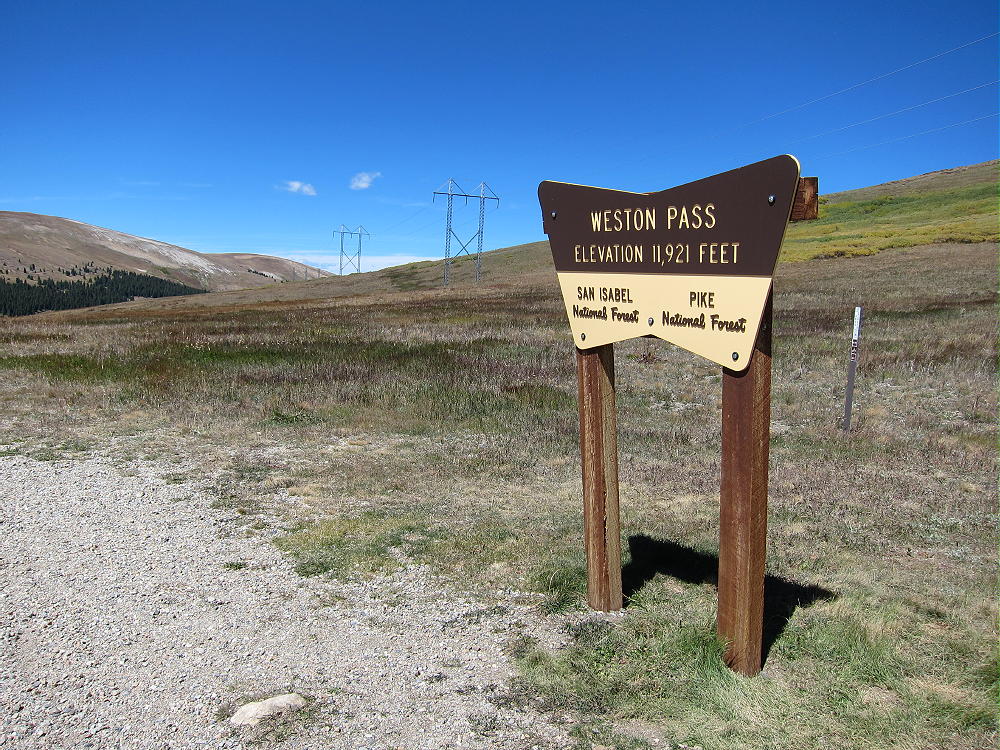
• Drive rough dirt 2WD CR 22 about 9 miles up to Weston Pass at 11921 feet
• The last lumpy mile of this road is too rough for some cars
• Park at the Pass
Weston Pass – East Side
Weston Pass Summit and Trailhead
The Hike:
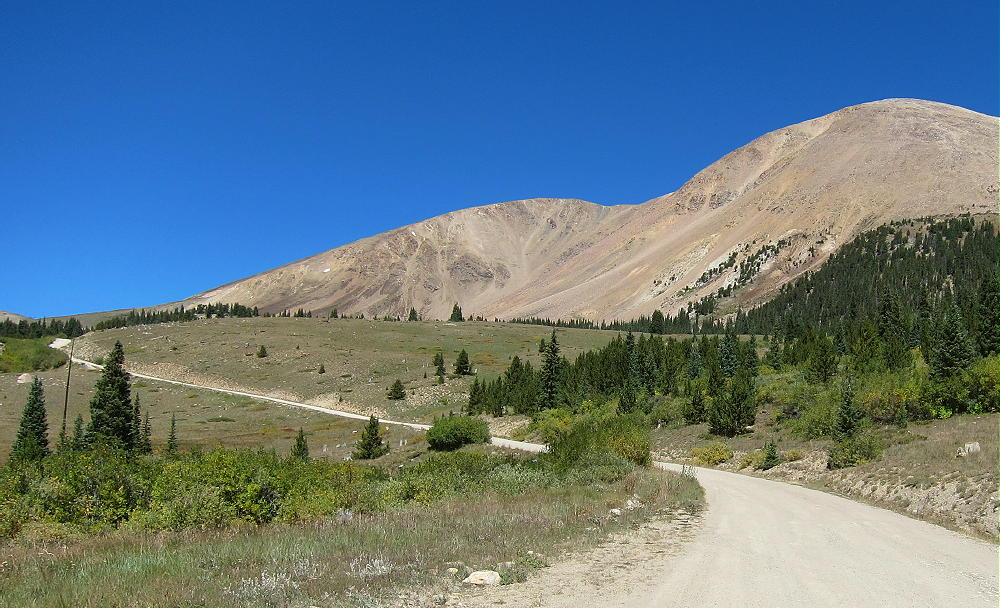
• Hike south from the Pass on an old road
• The road climbs right along the ridge
• Follow the road up and across a broad hill at about 12,480 feet
South Peak Route, View North to Weston Pass
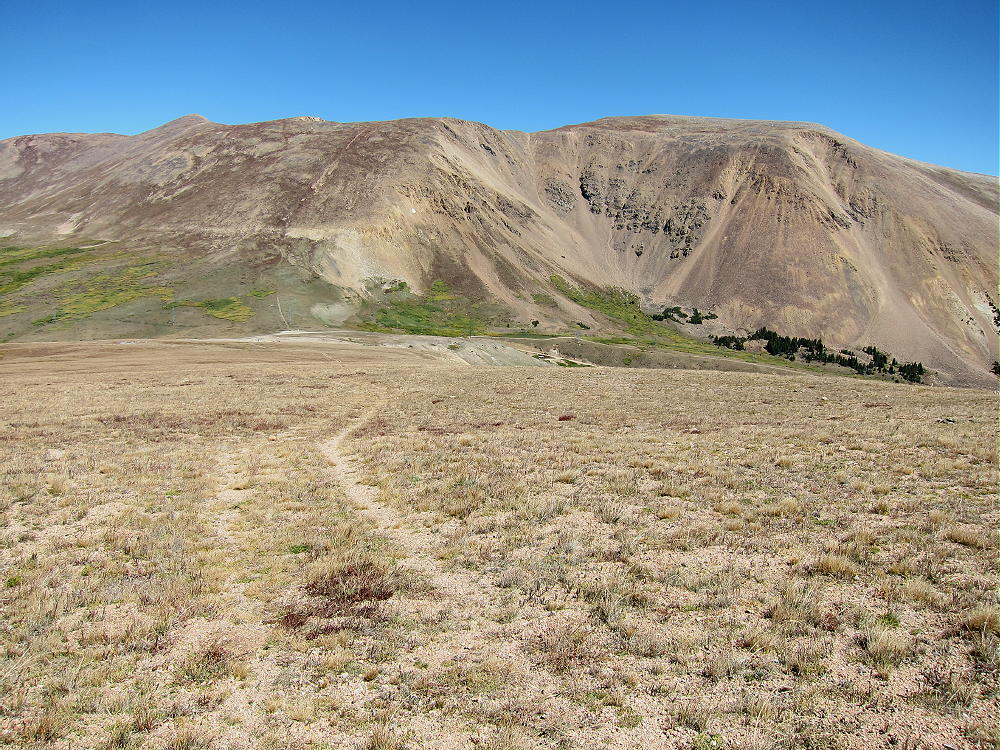
• Stay on the 2-rut track as it descends southwest
• Leave the track south of the willows, and head west toward the south ridge of South Peak
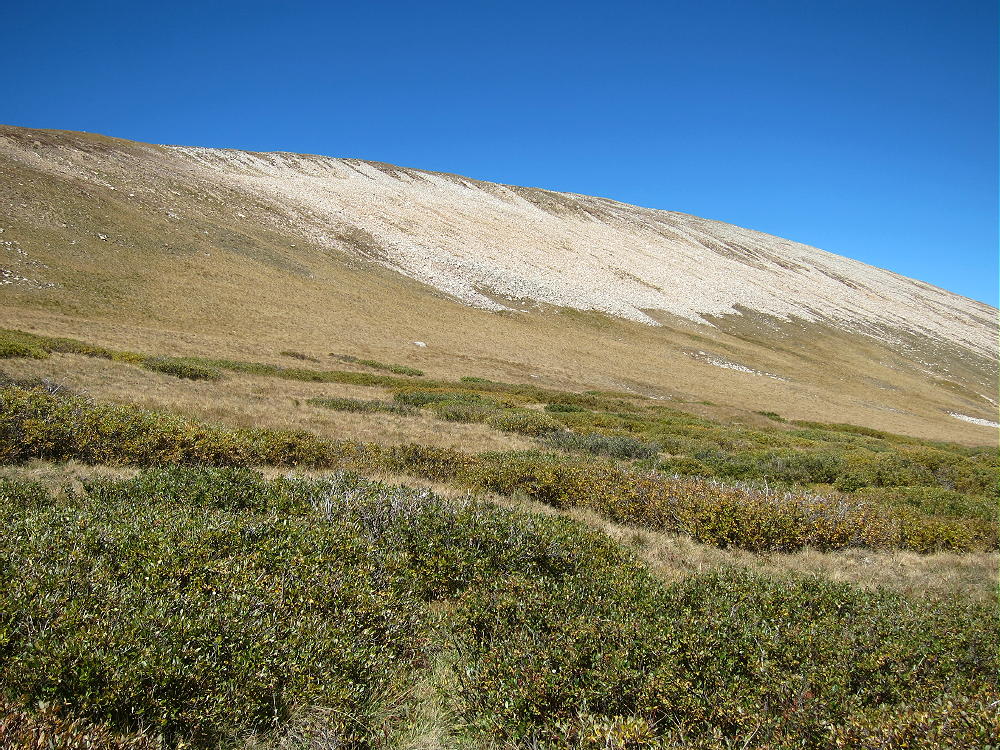
South Peak – South Ridge and Quartzite Talus
• Climb up the gentle ridge, well south of the talus slopes
• Hike north across tundra and rocks about ½ mile to the summit
Additional Details:
The hike to South Peak isn’t very steep or difficult, but it requires some time at high altitude. The entire route is across open tundra, and there’s no shelter available; this ascent is best done on a good dry day.
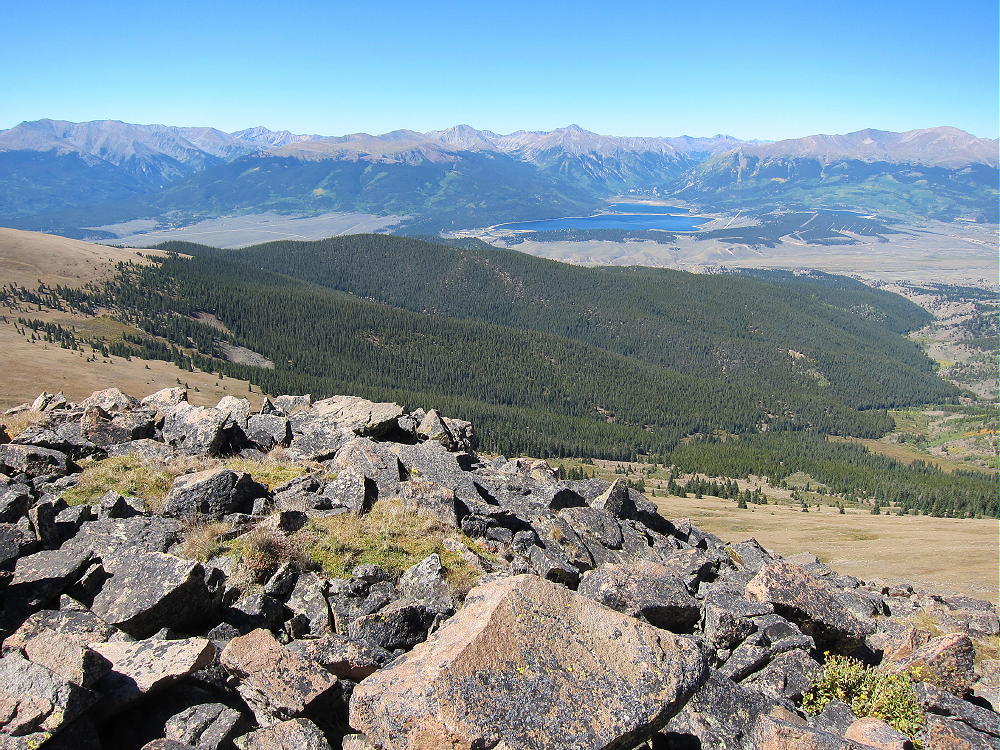
South Peak View West to Twin Lakes and Sawatch Range
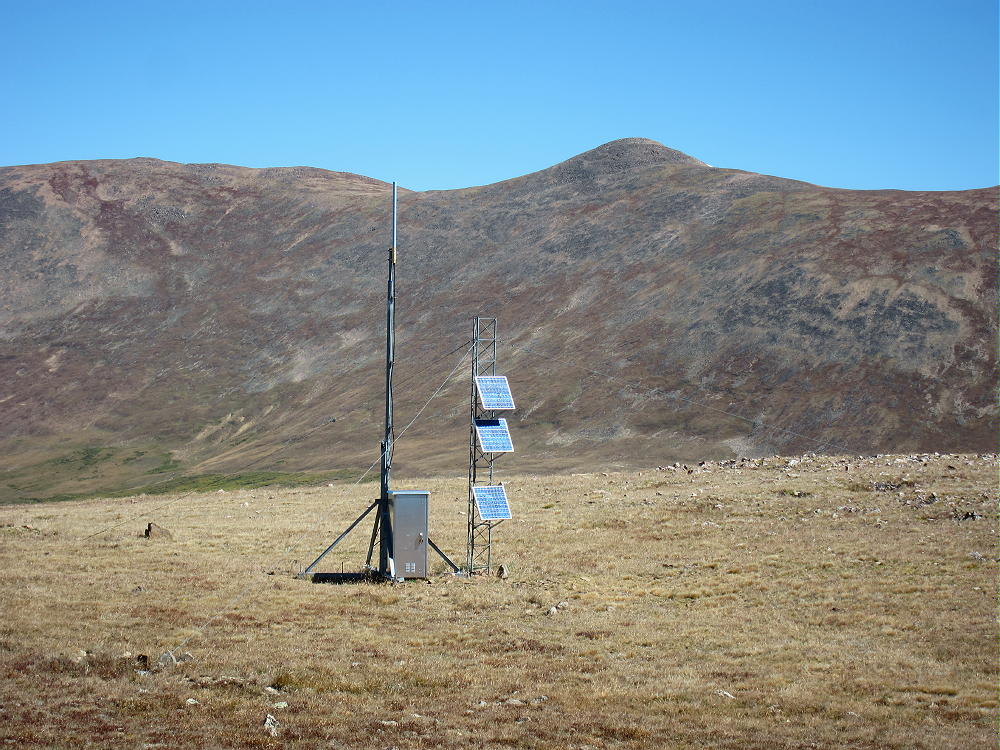
A small solar-powered communications facility stands about 200 feet to the northeast.
South Peak Comm Facility
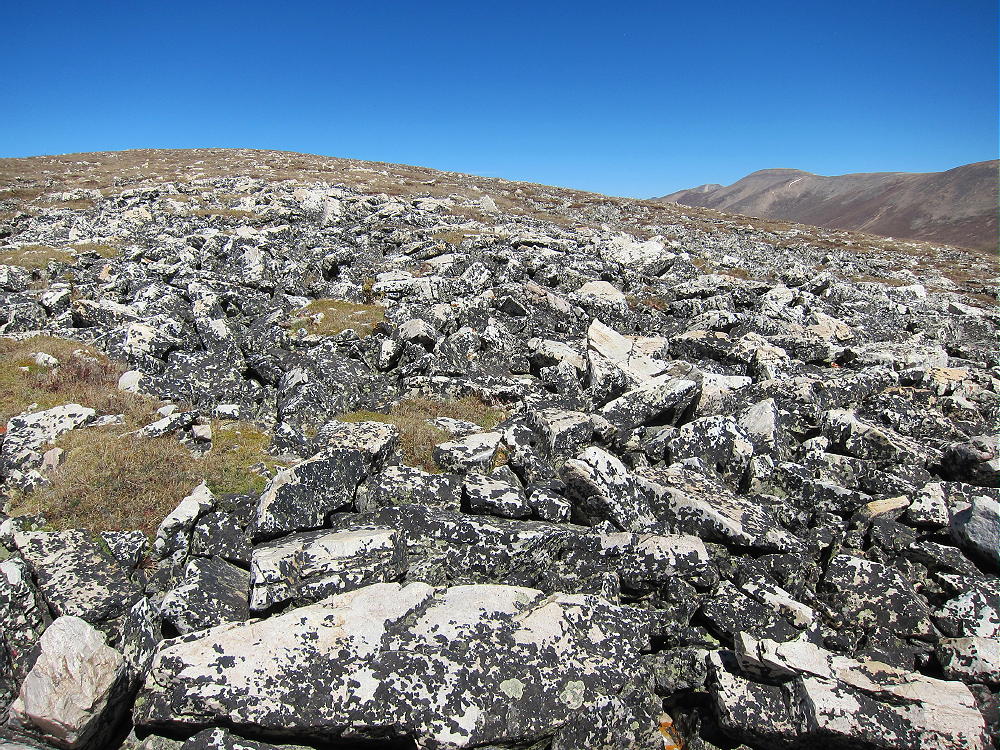
Most of the rocky summit ridge is composed of tilted Sawatch quartzite, metamorphic sedimentary rock deposited about 500 million years ago. Both white blocks and reddish layers are visible along the ridge.
South Peak, White Sawatch Quartzite Southeast of Summit
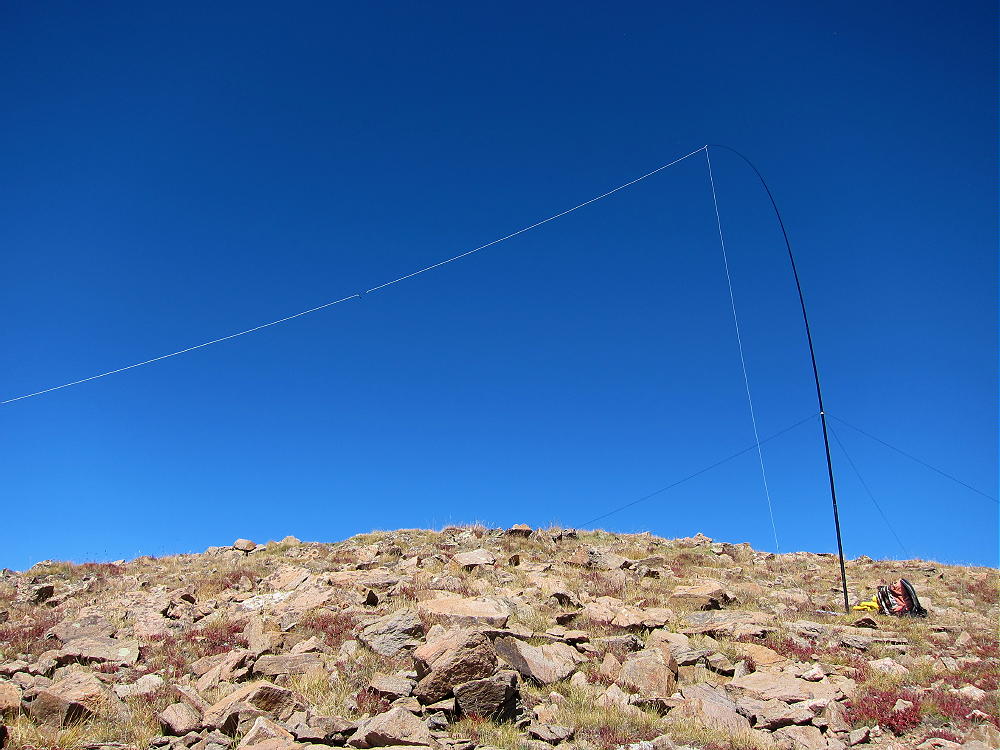
South Peak is an excellent radio site. It’s the highest point in the area, so it’s a fine HF summit. No trees grow so high, so bring a pole and be prepared to guy it. The HF noise level is very low, and there seems to be no interference from the communications facility nearby. VHF/UHF coverage is probably good across South Park and parts of the local Arkansas River Valley.
South Peak SOTA Activation – View South to Buffalo Peaks
73
George
KX0R
!! WARNING !! There are old mountaineers, and
bold mountaineers… there are no old-bold mountaineers.
Hiking and mountain climbing are potentially hazardous activities particularly in Colorado with its extreme elevations. I am not accepting responsibility for any death or injury resulting from activations based on my trip reports. Proper training, experience, and personal capability assessment is required – enjoy!
• Rocky Mountain National Park
• Wilderness Trip
• Seldom climbed
• No marked trail
• Navigation and route-finding required
• Game trails all the way to the top
• ~ 8.5 miles round trip
• ~ 2750 vertical feet
• SOTA Classic !
Mount Patterson from Green Mountain
Figuring out how to climb MountPatterson, navigating up to the summit, and doing the first activation on a fine day in September was a lot of fun!
The ascent required a little more than 2-1/2 hours, and the descent took slightly less time. I was on top almost three wonderful hours! This is not a family hike.
Driving Directions:
• Drive to the west side of Rocky Mountain Park.
• The only road is US 34
• Either motor across Trail Ridge Road, or
• Drive via Grand Lake
• Continue to the Green Mountain Trailhead, about 4 miles north of Grand Lake
• This popular trailhead is on the east side of the highway.
The Hike:
• Follow the easy trail about 1.5 miles to Big Meadows
• The vertical gain in this sections is 600 feet
• Turn right, south, on the Tonahutu Creek Trail
• Continue south about 0.4 mile
• Find a marked path leading east toward the Meadows
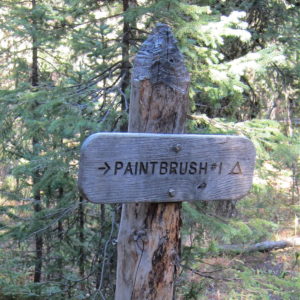
Mount Patterson Route – Trail Sign to Campsite
• This trail leads to a backcountry campsite called Paintbrush #1
• This path includes a very useful bridge across the large creek
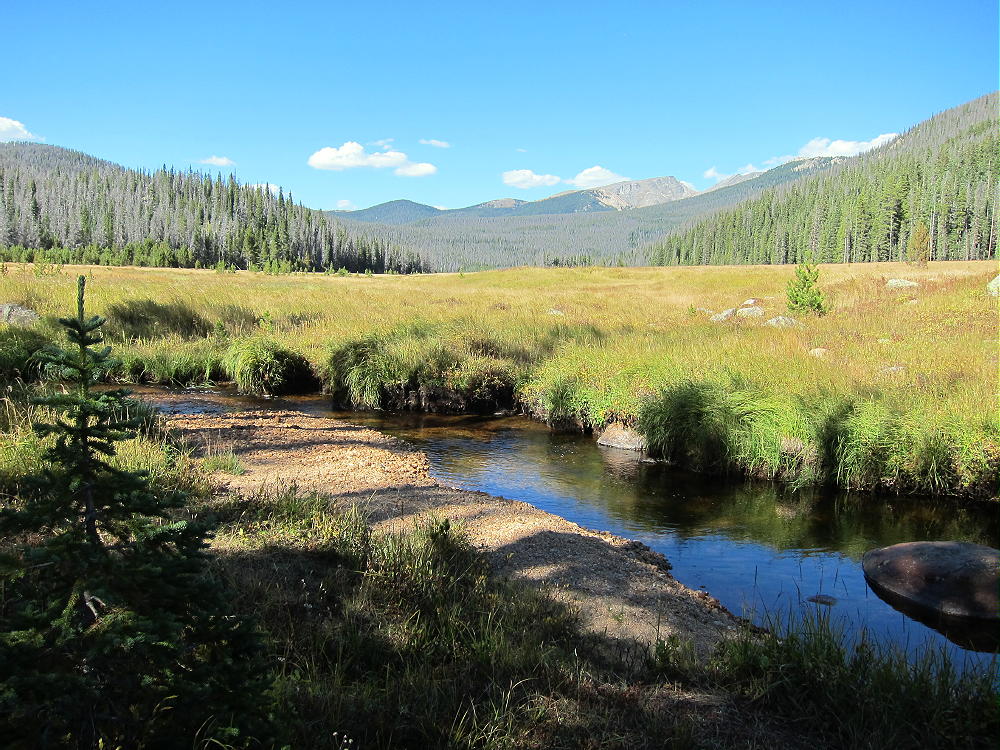
Mount Patterson Trip – Big Meadows
• Follow the path east across the meadow to the forest
• Choose a route up the big mountain
Key Details:
Several game trails lead up the slope, and a few contour through the forest. The easiest way to climb Patterson is to ascend to the broad saddle at 10,880 feet, northwest of the summit. A ridge route leads all the way up, starting southeast of the Paintbrush campsite path. Study a topographic map carefully before going up there – the navigation is really easy with preparation!
The immediate goal is to find a game trail leading southeast to the ridge that climbs towards the saddle northwest of Patterson – many game trails are available on the slope. The ridge is the northern edge of the basin west of Patterson’s summit. This ridge route is the key to the climb.
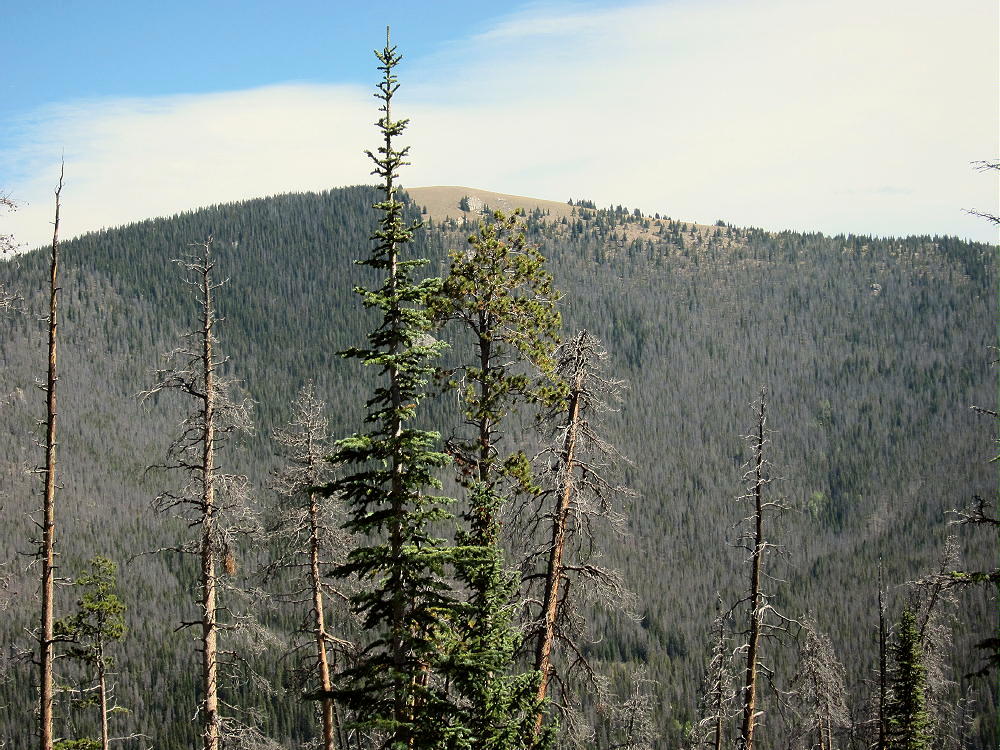
Mount Patterson – West Side Game Trail Route
There’s an established game trail up this ridge, all the way to the high saddle. This major game trail provides an efficient, pleasant ascent through open pine woods. It climbs east, up along the ridge, or slightly north (left) of it, all the way up the slope, for 1500 vertical feet to the saddle! This route even includes a couple of nice overlooks, with views down the Tonahutu Creek valley toward Grand Lake; Green Mountain W0C/PR-110 stands across the valley at 10313 feet. This route is as efficient as many constructed trails!
Mount Patterson – West Side Route Overlook, View Southwest, Green Mountain at Right
In the image above, the ridge leading to Mount Nisa is on the left. This provides another route to the summit of Mount Patterson. Nisa Ridge is south of the ridge route described here.
Plan on spending well over an hour to climb from the valley to the saddle at 10,880 feet – I did it in 1:08 on a good day. From the saddle, hike southeast up through open sub-alpine forest on the gentle northwest ridge of Patterson; it’s about ½ mile and 500 vertical feet from the saddle to the top. There are good game trails there also.
Mount Patterson North Slopes
The mountain top is a huge meadow of many acres – I was stunned when I first saw it! Wide views extend out in all directions. Chiefs Head and Mount Alice stand high behind the Divide to the east; lakes shimmer down below to the south; several high peaks along the Divide are visible to the north. The Never Summer Range extends like a wall across the western horizon.
Mount Patterson – Chiefs Head and Mount Alice
The actual peak is at a cairn on the west side of the meadow.
Mount Patterson Summit Cairn – View South
Mount Patterson Summit Cairn – View East
The vast activation zone offers choices. Large trees north of the summit offer shelter from wind; smaller trees in the meadow are ideal for supporting a pole; the southern part of the meadow is wide open, with fine views and flowers in summer.
Mount Patterson Summit – Radio Activation
Mount Patterson is miles from any development, so the RF noise level is very low. The summit is high, but higher mountains stand a few miles away – HF propagation is still be OK in most directions. The only VHF/UHF coverage is down the valley to the south. I was on the air for over 1-1/2 hours on the 7-10-14-18 MHz bands, CW only. The log has 34 QSO’s, including 6 amazing summit-to-summit (S2S) contacts!
Mount Patterson offers a wilderness experience combined with a scenic SOTA activation. There are many deer, elk, and moose, and other wild animals in that area. There’s no hunting, but camping is allowed at specific backcountry sites, with a formal permit. It’s possible to camp at one of the sites below Mount Patterson, and then hike up the mountain from camp. Information on camping is available online.
If you climb Patterson, start your drive very early; tell someone exactly where you plan to go and when you expect to return. Take the Ten Essentials. GPS is not required for this hike, if you have a detailed topographic map, a compass, and a good sense of direction. However, a GPS unit with internal topo map data is good for resolving questions about the route, keeping a record of the track, and helping to backtrack accurately.
Mount Patterson Northwest Saddle
Mount Patterson could be combined with other SOTA peaks in the area for a dual activation, or for a group of activations while visiting the National Park:
Mount Patterson is a SOTA Classic in every way. It offers a combination of the best characteristics of Colorado SOTA peaks:
• A challenging, fun hike
• Superb high-mountain scenery
• Wilderness experience
• Nearly ideal quiet radio site
• Huge activation zone
• Accessible in summer and fall
• Summit is rarely visited by people
• No access to vehicles
If you go up there, tread lightly on the meadow, and please leave things just as they are…
73
George
KX0R
!! WARNING !! There are old mountaineers, and
bold mountaineers… there are no old-bold mountaineers.
Hiking and mountain climbing are potentially hazardous activities particularly in Colorado with its extreme elevations. I am not accepting responsibility for any death or injury resulting from activations based on my trip reports. Proper training, experience, and personal capability assessment is required – enjoy!
• Arapaho National Forest
• Accessible summer and fall
• Relatively easy alpine activation
• Beautiful scenery
• Few visitors
• Fine HF site
• Rocky off-trail hike up the mountain
• Access via a rough 2WD road
• 1.7 miles round-trip
• 730 vertical feet, including the return trip
Mount Epworth from Rollins Pass Road
Driving Directions:
Drive west from Denver on I-70
Turn northwest on Highway 40
Cross Berthoud Pass
Continue down Highway 40 to Winter Park
About 0.6 mile past Winter Park Resort, turn right, north, on Corona Pass Road 80.
This road also is called the Moffat Road.
Follow this rough, unpaved, 2WD road about 13 miles
The Moffat Road is passable in cars with enough clearance
Park along the road about 1 mile south of Rollins Pass
A small sign “Corona Lake Trail #118” marks the trail west of the road
This is the trailhead.
Mount Epworth – Corona Lake Trail Sign
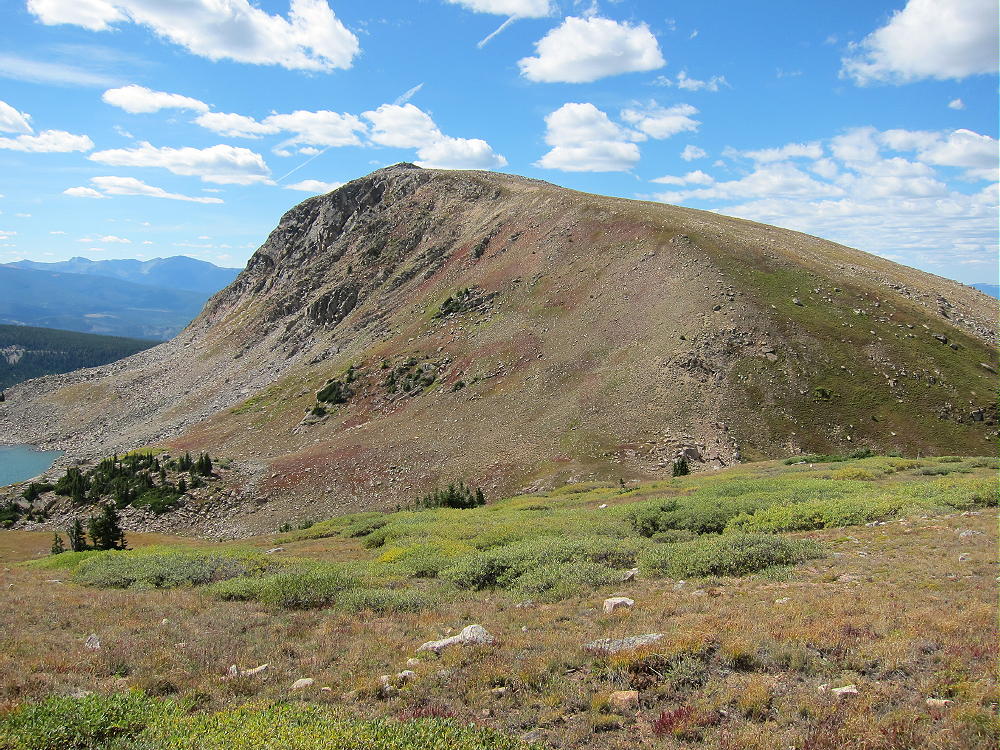
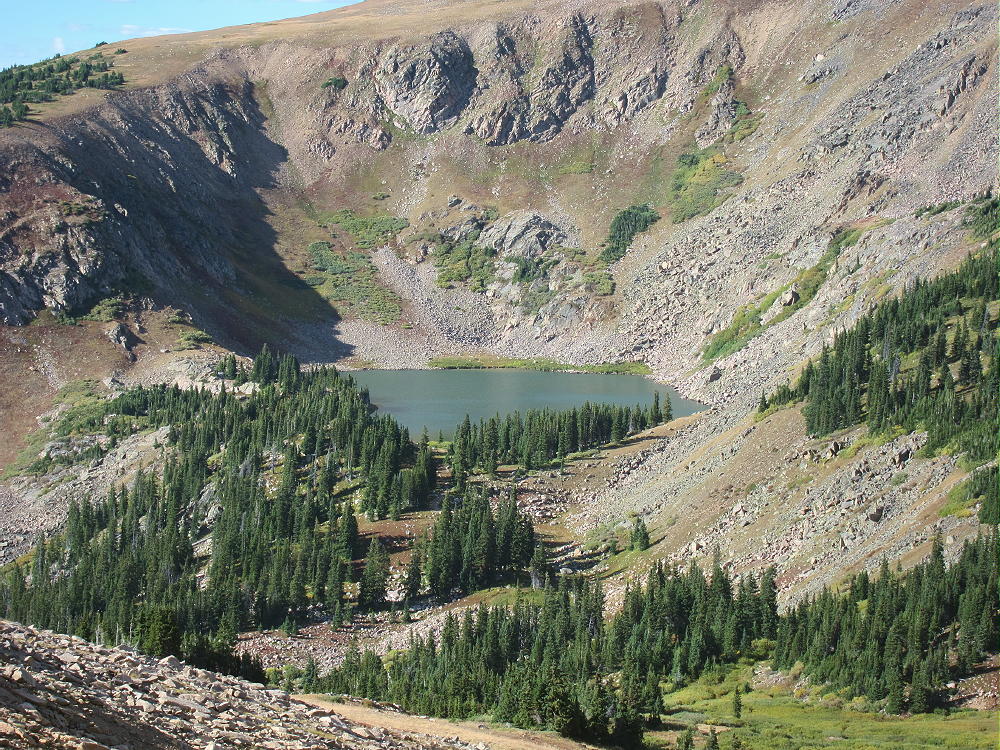
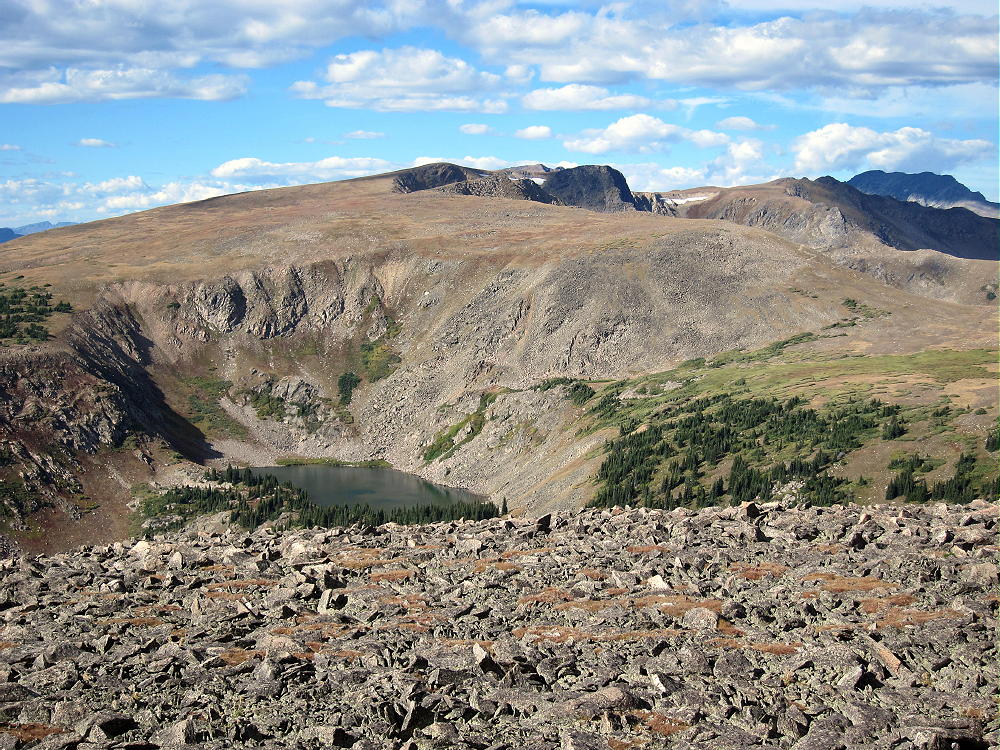
Trail 118 leads to beautiful Corona Lake, about a mile to the north. Mount Epworth stands west across the valley from the trailhead.
Mount Epworth – Corona Lake View
The Hike:
• Walk down the Corona Lake Trail about 1/5 mile.
• Look for an informal path heading down off the main trail, toward Pumphouse Lake below
Mount Epworth and Pumphouse Lake
• Hike down to the north end of Pumphouse Lake
• Cross the small outlet creek
• Continue southwest toward Mount Epworth, and pick a route up the steep, rocky northeast slope.
• There are some paths in the scree, but there’s no real trail up Epworth.
• Further around the mountain to the west, an alternate route is available
• It’s less rocky, but slightly longer.
Mount Epworth – Pumphouse Lake and Northeast Slopes
After about 250 vertical feet of loose rocks above the lake, the route gets much easier. The last part of the climb is over large, stable boulders. The summit is a large mass of rocks, and the pile can be climbed easily on its southeast side. There are numerous large cairns on the summit – the cairn builders certainly had a lot of energy!
Mount Epworth Summit Cairn
Mount Epworth Cairns
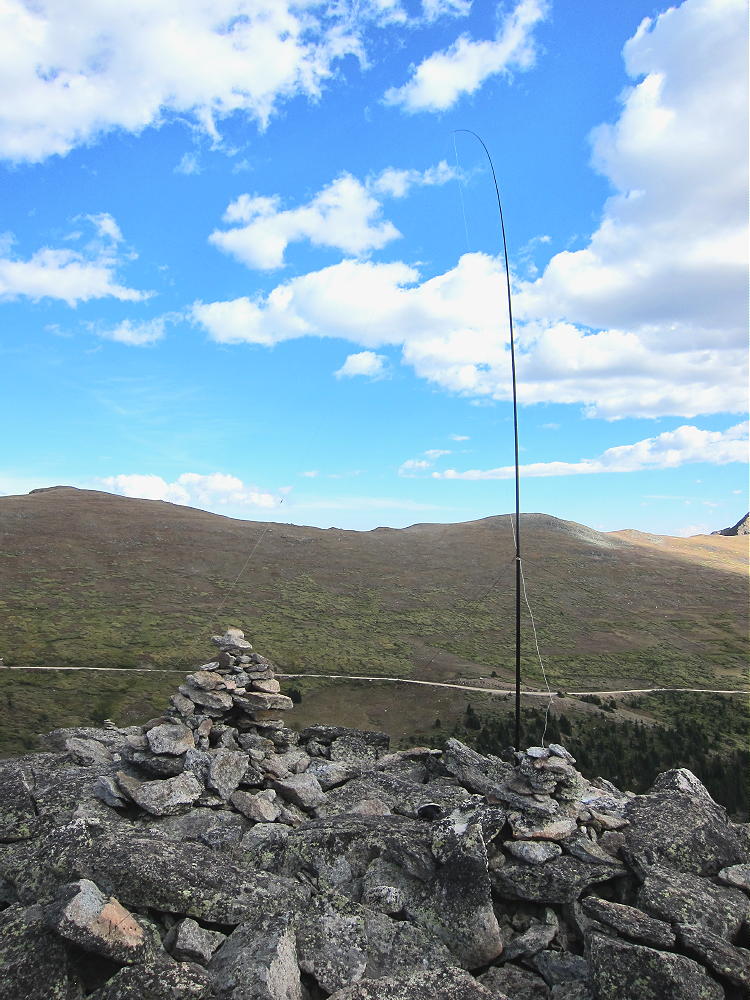
The activation zone is large and rocky. In good weather it’s pleasant, and the summit has nice views. There are no trees; a pole can be guyed or braced with rocks. It’s possible to operate right on the peak as I did; if it’s windy, set up behind rocks for shelter.
Mount Epworth SOTA Activation
No development is near the mountain, and the RF noise level is very low. It’s a good HF site – there are no higher peaks nearby to block the signals. Low-angle radiation is possible in most directions. Epworth is probably a poor VHF/UHF site, because it’s partly blocked to the east by the Continental Divide. There’s some coverage of Winter Park, Fraser, and the area around Granby.
I had an enjoyable late-afternoon activation. My logs shows 19 contacts on 30, 20, and 17M. I was able to work EA2IF, Guru, in Spain, across the Continental Divide and the Atlantic Ocean, with my tiny 5 watt ATS-3B radio.
Mount Epworth can be combined with nearby Skyscraper Peak W0C/FR-122 for a dual activation. Skyscraper takes more time than Epworth, so it’s probably better to activate Skyscraper first. I did this, and it worked well. The mileage total for the dual activation is about 6.9 miles, with a total vertical gain of about 1425 feet. My total time for both trips, including the short drive between the trailheads, was about 7 hours. The drive from Boulder took about 3 hours each way, so it was a 13-hour day in perfect conditions.
Mount Epworth Summit View North
Climbing and activating Mount Epworth should be reserved for a day with stable, dry weather. The Continental Divide often has dangerous lightning storms, high winds, hail, snow any month, fog & clouds, etc.
73
George
KX0R
!! WARNING !! There are old mountaineers, and
bold mountaineers… there are no old-bold mountaineers.
Hiking and mountain climbing are potentially hazardous activities particularly in Colorado with its extreme elevations. I am not accepting responsibility for any death or injury resulting from activations based on my trip reports. Proper training, experience, and personal capability assessment is required – enjoy!
• Indian Peaks Wilderness
• Accessible summer and fall
• Rough 2WD road to trailhead
• High exposed summit
• Relatively easy hike
• All above timberline
• 5.3 miles round-trip
• ~ 700 vertical feet
• SOTA Classic !
Skyscraper Peak from near Rollins Pass
Driving Directions:
• Drive west from Denver on I-70
• Turn northwest on Highway 40
• Cross Berthoud Pass
• Continue north down Highway 40 to Winter Park
• About 0.6 mile past the Winter Park Resort, turn right, north, on Corona Pass Road 80.
• This road also is called the Moffat Road.
• Follow this rough, unpaved, 2WD road about 15 miles to Rollins Pass
• This is the trailhead.
Skyscraper Peak, Rollins Pass Trailhead S
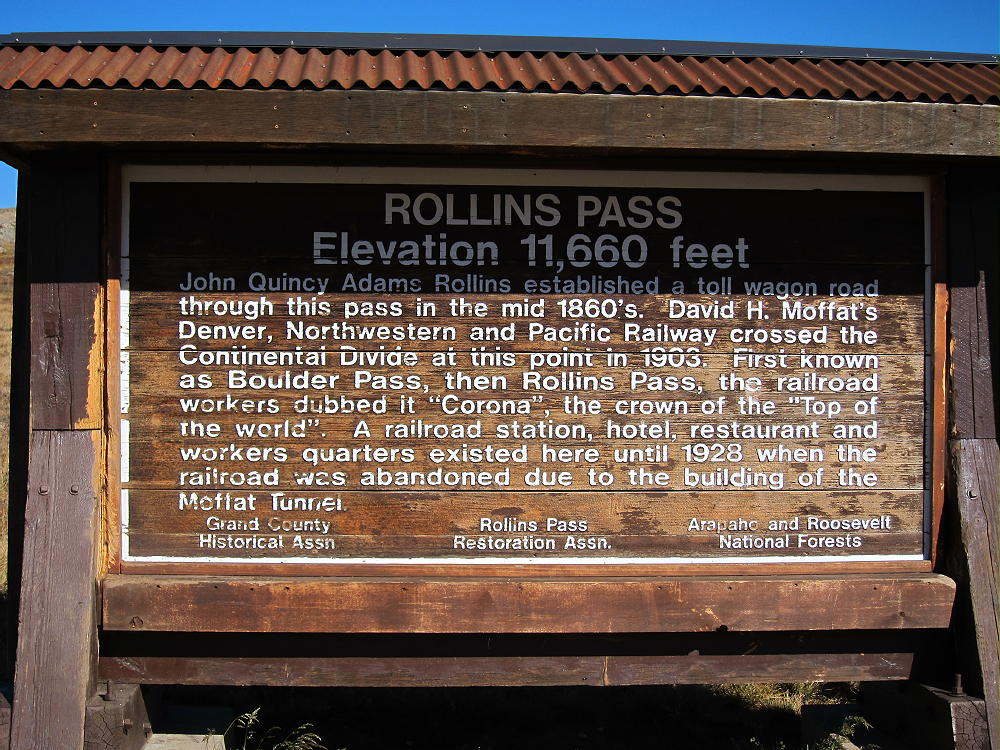
Rollins Pass – also called Corona Pass – is the primary access to Skyscraper Peak. The trailhead’s on the Continental Divide, southwest of the Peak. The Moffat Road requires more clearance than many cars have; this road follows the old Moffat Railroad Grade. Rollins Pass also is accessible by hiking or biking up from the east side. Skyscraper Peak is in the Indian Peaks Wilderness; there’s no access to vehicles north of Rollins Pass.
Skyscraper Peak Route, Continental Divide Trail at Rollins Pass
The Hike:
• Hike north along the Divide via the marked Continental Divide Trail (CDT).
• The CDT climbs gently to about 12,100 feet – then it descends north
• There’s no marked route to Skyscraper Peak
• Use a topo map or GPS to navigate to the summit
• About 1.7 miles north of Rollins Pass, head northeast from the CDT
• A good place to leave the CDT is at 12,100 feet on the CDT
• Contour northeast across the tundra at 12,100 feet for about 2/3 mile
• Hike to the eastern edge of the Divide and enjoy the deep view down to Bob and Betty Lakes
• Skyscraper Peak stands ahead – a bump on a long ridge leading to the northeast
Skyscraper Peak, Route East Across Tundra
• Continue northeast onto the ridge and climb up to the summit
Skyscraper Peak, West Ridge Route
There’s no marked trail from the CDT east to the summit. It took me almost 1-1/2 hours to reach the peak from Rollins Pass. The short final climb to the peak is not difficult. Stay to the south of any obstacles – there are hints of a path here and there. Nevertheless, this route is quite high and airy, and it’s not for the faint of heart!
Skyscraper Peak – Final Route to the Summit
It might be practical to climb the east ridge of Skyscraper from Woodland Lake – or to ascend steeply up to the summit from Skyscraper Reservoir – but I have not tried either route.
Skyscraper Peak East Ridge
Skyscraper Peak is not an ideal SOTA peak for all activators. The air’s thin at 12,000 feet, the Divide’s often windy, and dangerous storms may occur. The summit is a rocky knob on a narrow, somewhat exposed ridge with very steep slopes on both sides – there’s almost no protection from wind and weather. The glacial cirques on both sides of the summit are more than 1100 feet down. Setting up an HF antenna requires good judgment and steady feet – there are a few loose rocks. It’s a bit like standing on a 1000-foot skyscraper, hence the name.
Skyscraper Peak View North to Arapaho Peak
The long, narrow activation zone has enough space to set up gear and an HF antenna; I found a good spot on the southeast side of the summit. I guyed my 20-foot pole to rocks – that was my best option. I ran the 52-foot wire northeast along the ridge – it was a good, secure arrangement for the antenna. There was enough wind that it was worth the trouble to get it right.
Skyscraper Peak Activation, View A
Skyscraper Peak Activation, View B
Skyscraper Peak is a fine HF site. It’s many miles from development, and the RF noise level is very low. With no other peaks nearby, this site offers a low-angle view all around. It’s very much like a rock tower – in fact, because the ground falls away so steeply, it may have poorer ground reflection on HF than many less-prominent sites. It should be a fine VHF/UHF site – it has a partial view of the Denver metro area, as well as other population centers on the eastern plains. There’s some blockage from lower mountains east of the peak. Skyscraper also looks west toward Winter Park, Fraser, Granby, and beyond.
Skyscraper Peak View West
I operated CW on 10, 14, and 18 MHz from Skyscraper. I made 20 contacts – OK, but not great. The was a geomagnetic storm in progress when I was out there, so maybe I did pretty well.
The views are more than awesome; the experience of setting up and activating Skyscraper is intense! It’s worth the hike just to see the many glacial lakes in the area. Activators who are OK with some exposure and thin air will appreciate this exciting, less-traveled, alpine summit.
Skyscraper Peak View South to Rollins Pass
Skyscraper Peak is a SOTA Classic!
• Wilderness summit
• Easy alpine hike along the Continental Divide
• Spectacular views and scenery the entire way
• Fine HF/VHF/UHF radio site
• Few visitors
An activation of Skyscraper Peak can easily be combined with nearby Mount Epworth W0C/PR-007 for a dual activation. Skyscraper takes more time than Epworth, so it’s probably better to activate Skyscraper first. I did this, and it worked well. The mileage total for the dual activation is about 6.9 miles, with a total vertical gain of about 1425 feet. My total time for both trips, including the short drive between the trailheads, was about 7 hours. The drive from Boulder took about 3 hours each way, so it was a 13-hour day in perfect conditions.
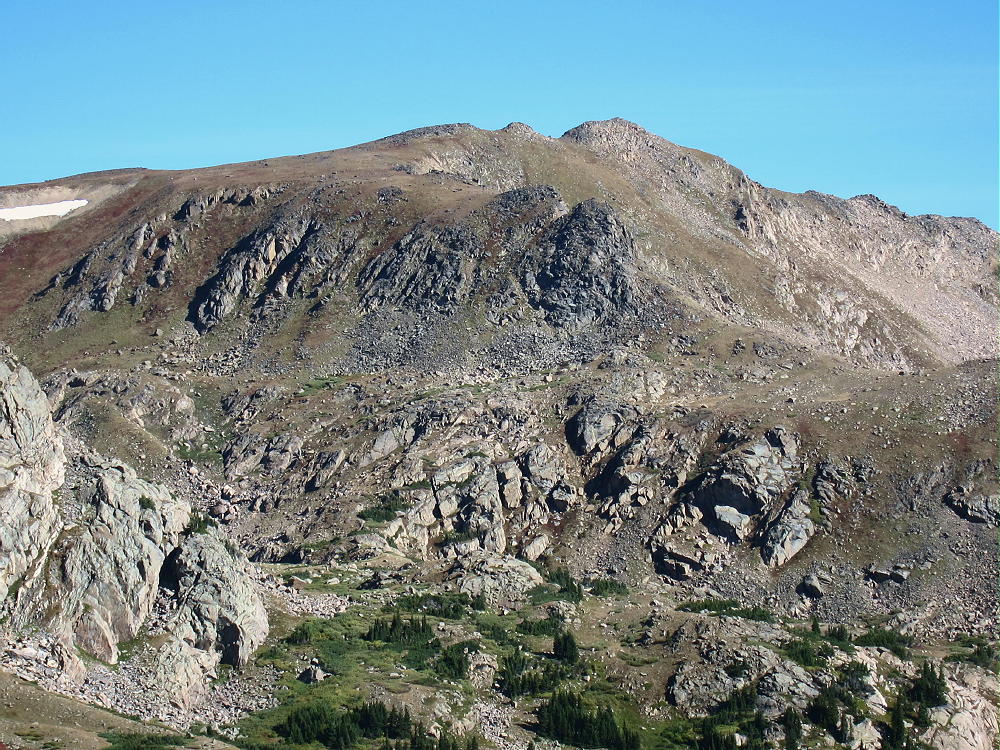
Mount Epworth, North Side
Climbing and activating Skyscraper Peak should not be attempted unless the weather is stable and dry. The Continental Divide often has dangerous lightning storms, high winds, hail, snow any month, fog & clouds, etc.
Save this experience for a perfect day!
73
George
KX0R
Skyscraper Peak Route, King Lake near Rollins Pass
!! WARNING !! There are old mountaineers, and
bold mountaineers… there are no old-bold mountaineers.
Hiking and mountain climbing are potentially hazardous activities particularly in Colorado with its extreme elevations. I am not accepting responsibility for any death or injury resulting from activations based on my trip reports. Proper training, experience, and personal capability assessment is required – enjoy!
• Colorado State Forest
• Access from Cameron Pass
• High, scenic hike
• No marked trail
• Navigation and route-finding required
• Off-trail route, game trails
• ~ 6.6 miles round-trip
• ~ 2600 vertical feet total, round-trip
• SOTA Classic !
Iron Mountain from Lulu Mountain
Iron Mountain pulled at me from the first time I saw it. Years ago I hiked across Thunder Pass on a fishing expedition, and I saw Iron Mountain standing to the northeast. The orange–red color and the layered shape of the mountain look different from most peaks in the Front Range. My activation of Lulu Mountain encouraged me to come back to climb Iron Mountain.
Driving Directions:
• Drive to Fort Collins
• Follow Highway 287 northwest about 10 miles to Highway 14.
• Drive up the Poudre Canyon for about 60 miles to Cameron Pass.
• There’s a large parking area just north of Cameron Pass.
• Parking is free, but it’s a popular spot in summer.
• Get up there early, especially on weekends.
Iron Mountain isn’t hard to climb. Conceptually it’s simple:
• Park near Cameron Pass (10,276 feet)
• Climb part way up the forested 11,359-foot mountain east of the pass
• Ascend to the 11,180 foot saddle east of the 11,359 foot summit
• Hike southeast up the ridge to the peak at 12,040 feet
• Continue southeast along the ridge to Iron Mountain
11359, Table Iron, and Iron Mountain from North Diamond Peak
Detailed Hiking Directions:
From the Cameron Pass rest stop, cross Highway 14 and look for a gated dirt road that parallels a ditch. A fee is requested to walk this road into the State Forest. Follow the ditch road a short distance southeast to a convenient bridge. This is important if water is flowing in the ditch. When I was there in the fall, the ditch was dry. Cross to the east side of the ditch. Many game trails run through the forest, because elk and moose are numerous there. Hike generally northeast on game trails, and climb up toward the south side of the mountain. It’s steep and rough at first, but the route gradually gets easier as it gains altitude.
At about 11,000 feet, look for the saddle east of the summit – it’s not necessary to climb all the way to 11,359 feet. Contour east and head up an open gully to the 11,180 foot saddle. Try to use the efficient game trails available.
Iron Mountain Route – Saddle 11180, View North to Diamond Peaks and 11359
Once on the saddle, the navigation is easy. Head east at first, and then climb southeast up the steep shoulder of the 12,040-foot peak above – this peak is called Table Iron.
Iron Mountain Route – Saddle 11180 to Table Iron North Ridge
The route gets easy toward the top. The scenery improves rapidly, with stunning views of the entire region from the top of Table Iron.
Mount Richthofen and Nokhu Crags
An unusual alpine plain slopes gently for miles to the northeast – it’s probably an ancient lava flow. Table Iron and Iron Mountain, as well as other peaks in the region, are of volcanic origin; hence their red color and layered form.
Iron Mountain – Table Iron East Mesa
From Table Iron, descend southeast along the gentle ridge to the 11,700-foot saddle below Iron Mountain. Continue on up the northwest ridge of Iron Mountain. Go around the rocky outcrops. There’s some talus in spots, especially near the top.
Table Iron and Iron Mountain from Lulu
It’s about 560 vertical feet from the saddle up to the peak. From Table Iron to Iron Mountain is almost a mile. It’s a spacious, scenic, alpine ridge!
Iron Mountain Ridge, View North to Diamond Peaks and Table Iron
The summit of Iron Mountain is small – a large pile of rocks marks the spot.
Iron Mountain Summit, View North
The views are stunning in all directions. Mount Richthofen and the Nokhu Crags loom ominously to the southwest; Thunder Mountain and Lulu Mountain stand to the south; the Diamond Peaks are to the west; and Clark Peak stands high, up north in the Rawah Wilderness. The Poudre Canyon stretches out to the eastern horizon; Mount Ethel and North Park are visible far to the west; the Mummy Peaks stand in Rocky Mountain Park to the southeast. The panorama is so complex and intense that it’s a distraction from radio operating!
Iron Mountain Summit, View West
There’s enough space for an HF activation right on top. It was sunny but windy when I was there, so I set up slightly down the east slope. I guyed my pole to three rocks – this is sometimes the only good choice on alpine summits.
Iron Mountain Activation
Iron Mountain is miles from development, and it’s a very quiet HF site. My activation was somewhat disappointing, despite the incredibly ideal radio site. I made 18 contacts on 20M and 30M CW; but I also called CQ on 40M and 17M with no replies. I was spotted by the RBN only on 30 and 20M. There were no spots on 40M or 17M, despite my long runs of CQ’s. The solar conditions were certainly poor – the 10 cm Flux was only 82, and there was a magnetic storm in progress during my activation. Despite being on one of most spectacular and prominent SOTA peaks around, I had one of my worst activations. There was nothing wrong with my gear, or with locating off the peak and down the slope slightly. Numerous activations at similar sites, as well as many inferior sites, have proved that many times over.
There is nothing magical about a high, prominent, spectacular alpine summit in the wilderness. It can’t change poor conditions on the bands – insufficient ionization in the F layer, increased losses caused by a geomagnetic storm, heavy QRN from lightning storms elsewhere, etc.
The peak has very limited VHF/UHF coverage – mostly far to the east, and out across North Park.
Iron Mountain is a SOTA Classic for several reasons:
• Outstanding Views
• Alpine ridge-top Hike
• Prominent
• Less traveled summit
• Wilderness
• Challenging route
• Miles from development
• Fine HF radio site
This is the highest summit for several miles. The area around Thunder Pass is prone to lightning storms in summer. Avoid this area if storms are likely – the entire ridge route is dangerous in bad weather!
Iron Mountain might be combined with other nearby SOTA peaks for a dual activation. It would be a long day:
There are many opportunities for camping, backpacking, fishing, and other recreation in the nearby National Forests, the Colorado State Forest, and Rocky Mountain National Park.
Iron Mountain Route near 11359 – Nokhu Crags and Mount Richthofen
!! WARNING !! There are old mountaineers, and
bold mountaineers… there are no old-bold mountaineers.
Hiking and mountain climbing are potentially hazardous activities particularly in Colorado with its extreme elevations. I am not accepting responsibility for any death or injury resulting from activations based on my trip reports. Proper training, experience, and personal capability assessment is required – enjoy!
• Wilderness summit
• Trailheads near Cameron Pass
• Access via Thunder Pass, west of Lulu
• Unmarked climbers trail up the northwest ridge
• This trip is Grade I, Class 2, with Class 2 on part of the summit ridge
• Wonderful views
• Fine HF site
• The total one-way distance ~ 4.8 miles
• The total elevation gain ~ 2400 feet
• SOTA Classic !
Lulu Mountain Trail Approach
Driving Directions:
• Drive to Fort Collins
• Follow Highway 287 about 10 miles northwest to Highway 14
• Drive up the entire 60 miles of Poudre Canyon to Cameron Pass
• Continue past Cameron Pass about 2 miles
• Turn left on marked Road 62 into the Colorado State Forest.
• This 2WD road is passable by most cars to the American Lakes Trailhead
• Drive about 1-1/2 miles east from the turnoff at Highway 14
• The American Lakes Trailhead is at about 9800 feet
• There’s room for several vehicles
• A Colorado State Parks Pass is required for parking and entry
• There’s a fee for a day pass.
An alternate place to park and enter this area exists – a large parking area off the main highway is just north of Cameron Pass. This is a popular spot; get there early, especially on weekends. There is no fee to park.
Cross Highway 14 and look for a gated dirt road that parallels a ditch. A fee is requested to walk this road into the State Forest. Follow the almost level road for about two miles southeast along the ditch to where it intersects the American Lakes Trail near 10,400 feet elevation. The route is mostly the same as via the American Lakes Trailhead.
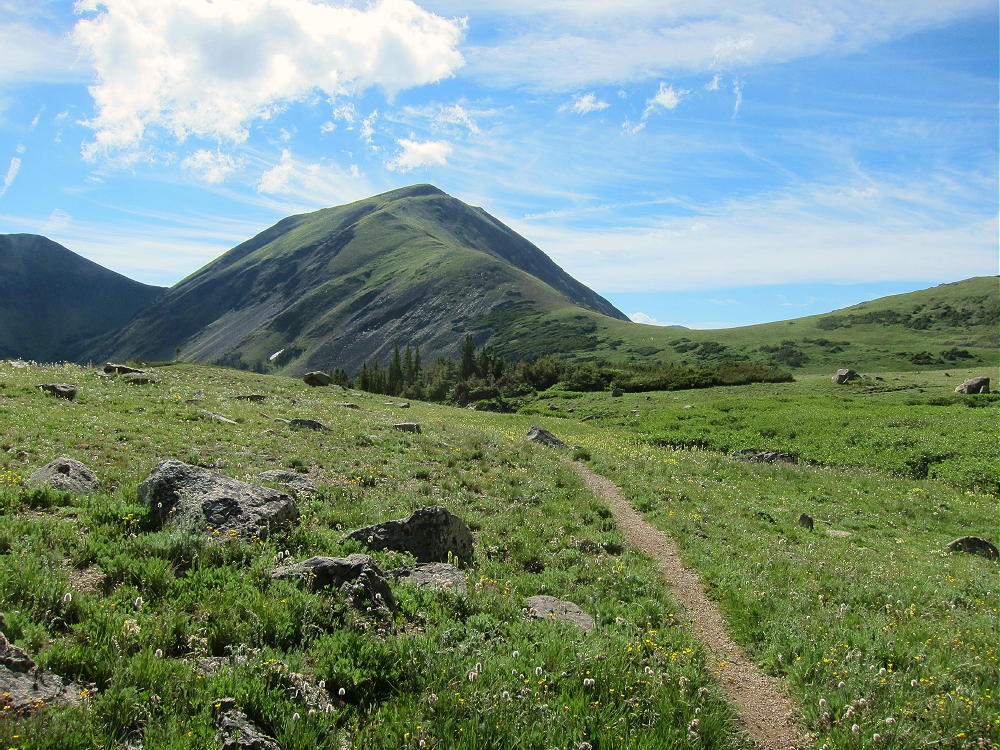
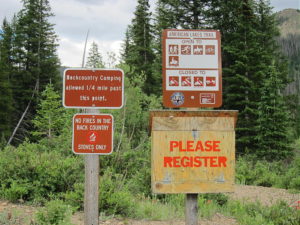
Lulu Mountain – American Lakes Trail Signs
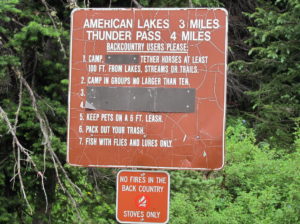
Lulu Mountain – American Lakes Trail Sign
The “ditch route” adds an easy mile each way, but it avoids several miles of driving on the highway and the dirt road. The total time to the summit is about the same with either route.
Note: The “ditch route” was closed for construction during the summer of 2016. Hopefully it will be open in 2017.
The Hike:
• Follow the pleasant American Lakes Trail up the grade to American Lakes at 11,200 feet
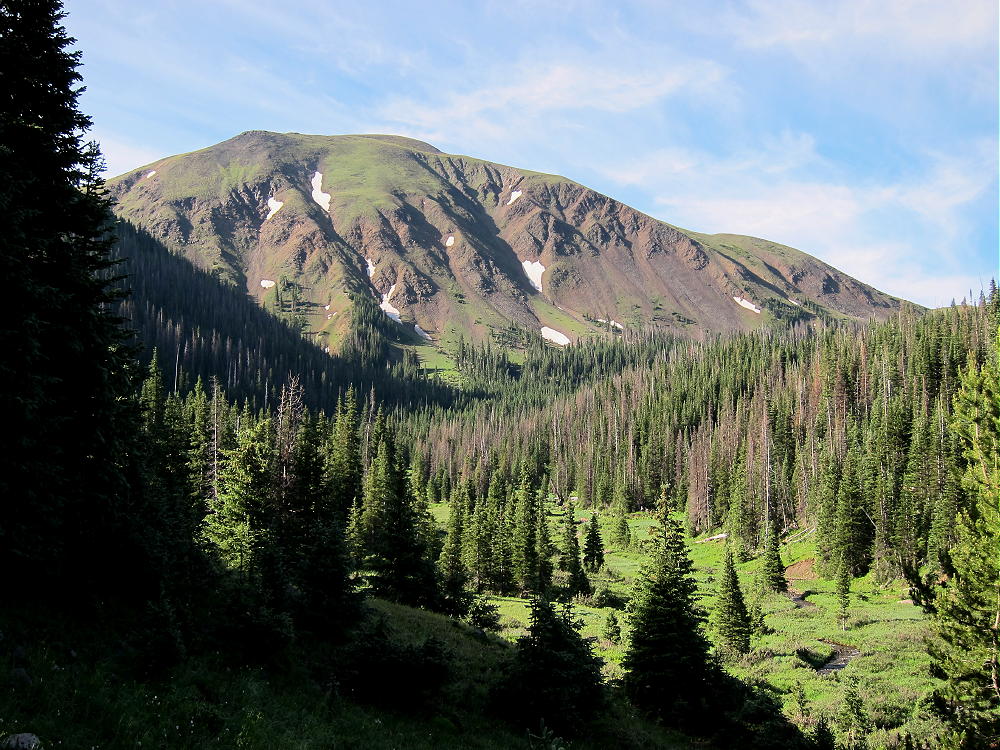
Lulu Mountain Northeast Side
• This is a beautiful area, with moose, deer, elk, trout, lush vegetation, and wildflowers in summer.
• Continue southeast via the trail to Thunder Pass at about 11,340 feet.
Lulu Mountain West Ridge
• Climb up the moderately steep west ridge of Lulu Mountain to the peak.
• It’s almost 900 vertical feet, and less than half a mile, from Thunder Pass
• The route’s somewhat rocky near the top – follow the ridge all the way up
Additional Details:
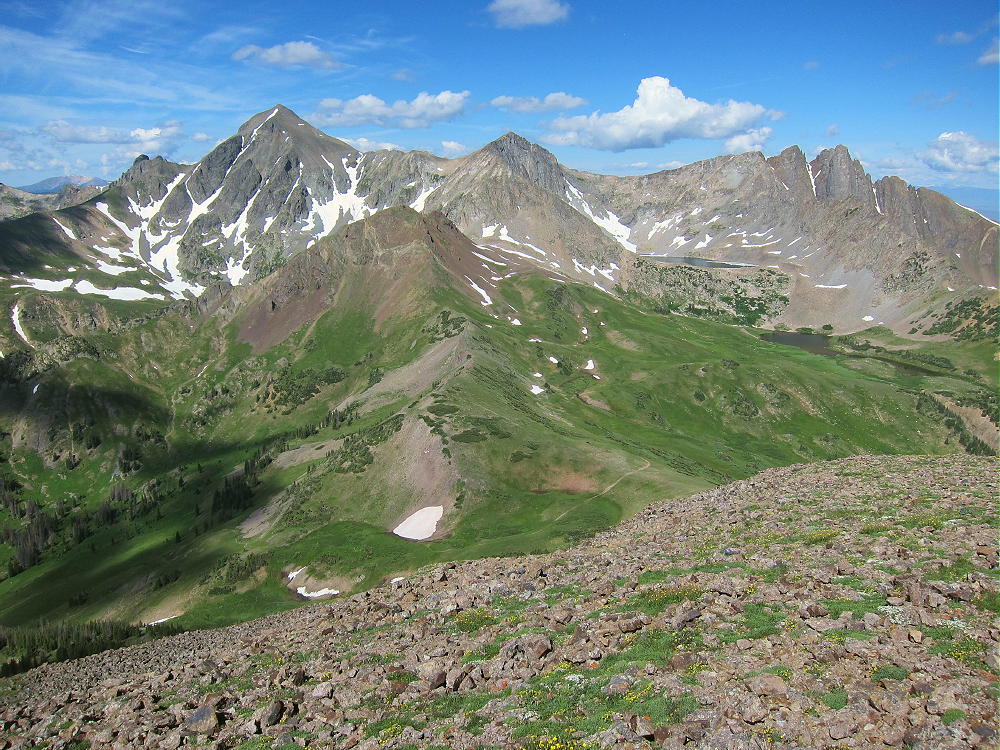
The summit of Lulu Mountain is small, with a large rock shelter on top. Incredible views are all around. Most of Rocky Mountain National Park is to the south; Mount Richthofen and the Nokhu Crags stand to the west; neighboring Thunder Mountain is northeast; Iron Mountain is two miles north; the Diamond Peaks are about four miles northwest; and Clark Peak stands high up north in the Rawah Wilderness. The Park Range reaches up beyond North Park in the west; Longs Peak is visible far to the southeast. The views enhance the radio operating!
There’s plenty of space for an HF activation right on top. It was sunny and just breezy when I was there, so I set up at the rock shelter. I guyed my pole to three rocks – this is sometimes the only good choice on alpine summits. A pole is required for a wire antenna. Lulu Mountain is miles from development – it’s a very quiet site on HF.
Lulu Mountain Activation
Lulu Mountain Radio Gear
Lulu Mountain is a SOTA Classic for several reasons:
• Spectacular views
• Fun sub-alpine and alpine hike
• Prominent summit
• Less traveled
• Wilderness site
• Low RF Noise
Lulu Mountain – Thunder Pass and Mount Richthofen
Lulu Mountain is one of the highest summits for several miles around. The area around Thunder Pass breeds lightning storms in summer. Get an early start, and don’t climb Lulu if storms are likely!
Lulu Mountain – View of Iron Mountain
Lulu Mountain to North Diamond and Clark Peak
Lulu might be combined with other nearby SOTA peaks for a dual activation. It would be a long day:
Iron Mountain W0C/PR-061 2 miles northeast along the ridge
North Diamond Peak W0C/PR-072 4 miles northwest, near Cameron Pass
There are many opportunities for camping, backpacking, fishing, and other recreation in the nearby National Forests, the Colorado State Forest, and Rocky Mountain National Park.
Lulu Mountain also is accessible from the Colorado River Trailhead, in Rocky Mountain National Park, off Highway 34. This long, scenic route is 7.7 miles one-way, with a vertical gain of about 3200 feet; it’s Grade II, Class 2.
73
George
KX0R
Lulu Mountain – Mt Richthofen and Nokhu Crags
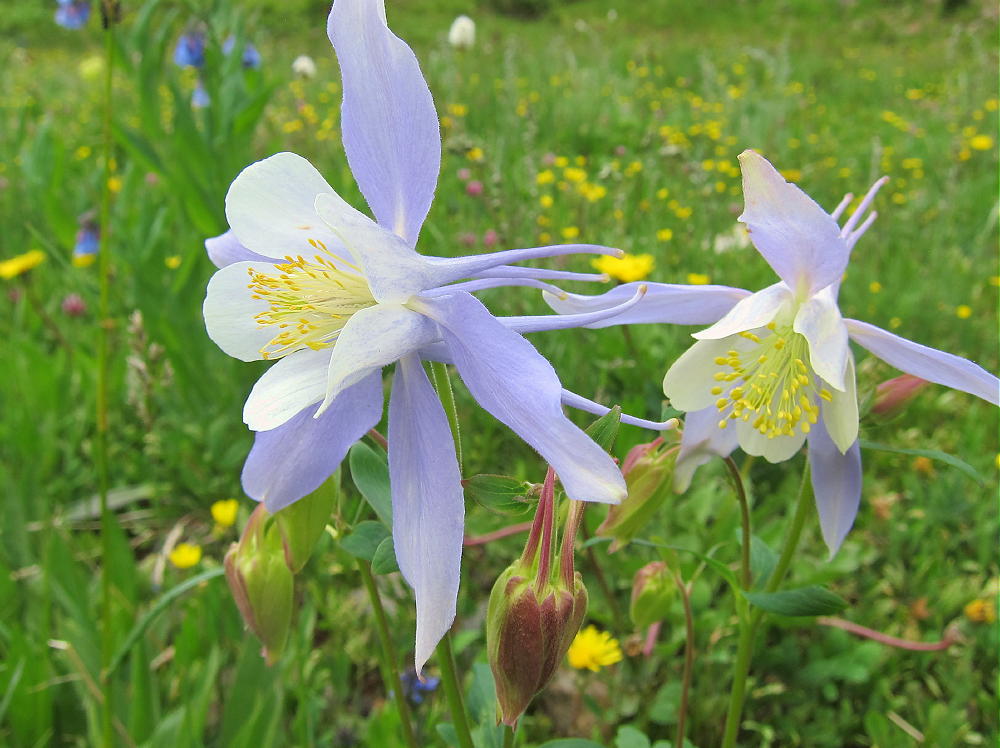
Lulu Mountain Columbines along the Trail
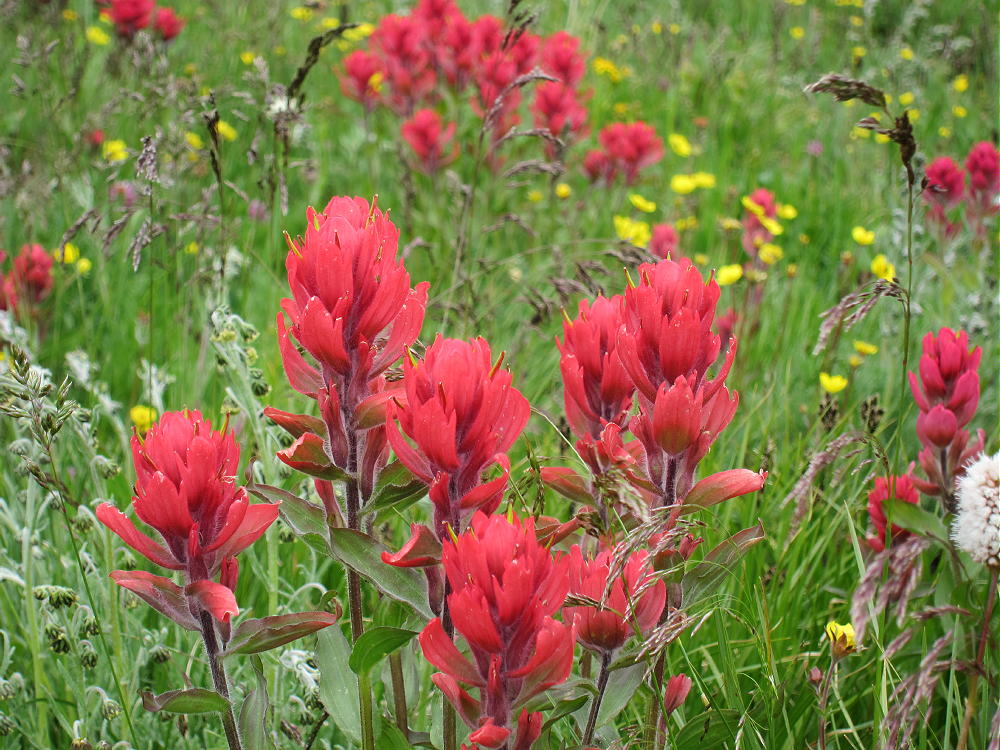
Lulu Mountain Indian Paintbrush along the Trail
!! WARNING !! There are old mountaineers, and
bold mountaineers… there are no old-bold mountaineers.
Hiking and mountain climbing are potentially hazardous activities particularly in Colorado with its extreme elevations. I am not accepting responsibility for any death or injury resulting from activations based on my trip reports. Proper training, experience, and personal capability assessment is required – enjoy!
• Drive west from Boulder via Highway 119 to Nederland.
• Turn north on Highway 72, the Peak-to-Peak Highway.
• Drive to the turn-off to Ward, but don’t turn yet.
• Continue on Highway 72 about 100 yards – turn west on the marked paved road FR-112 to the Indian Peaks Wilderness.
• Continue about 4 miles to the Brainard Lake Recreation Area.
Useful details:
The route to Audubon is in the Indian Peaks Wilderness; this is a protected area with special rules. There’s a charge for entry via the Brainard Lake Road. It’s essential to start early, especially on a summer weekend; the area is very popular, and parking is limited.
Early in the morning it may be possible to drive to the Mitchell Lake Trailhead, and to park there – otherwise, parking may be available near Brainard Lake. Parking at Brainard Lake adds about 3/4 mile to the hike – each direction. At the Mitchell Lake Trailhead, be careful to start out on the Mount Audubon Trail – not the Mitchell Lake Trail.
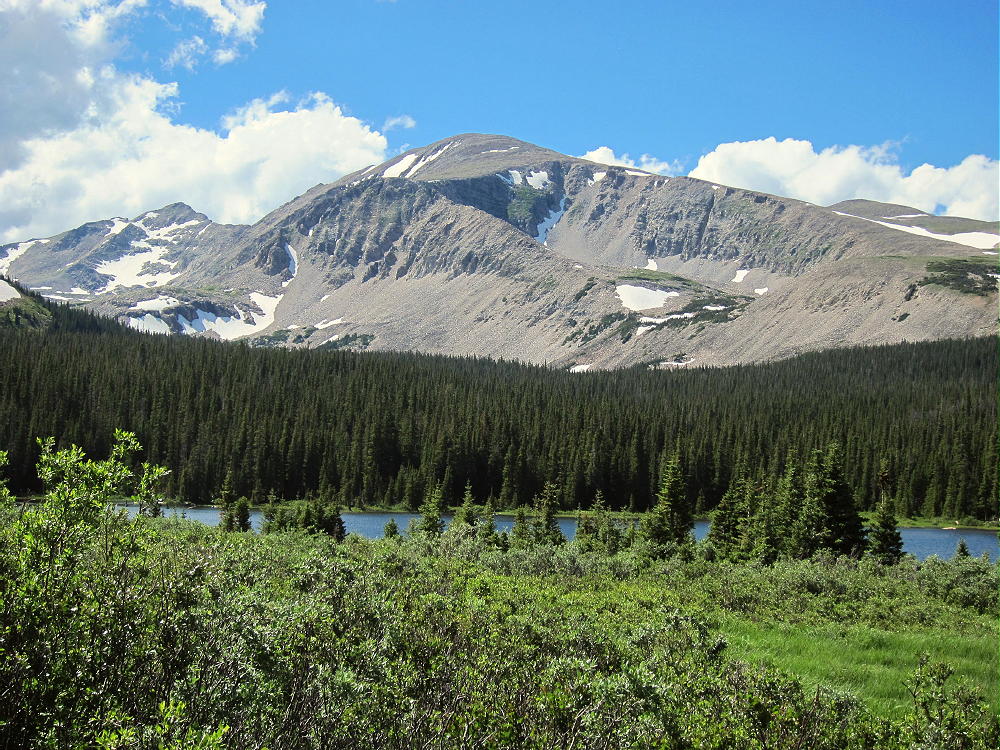
Mount Audubon is visible from Brainard Lake – it’s the huge 13-er to the northwest.
Mount Audubon from Brainard Lake
One of the most accessible high peaks in the northern Front Range, Audubon is climbed often. The trail is worn and rocky from decades of heavy use.
The Hike:
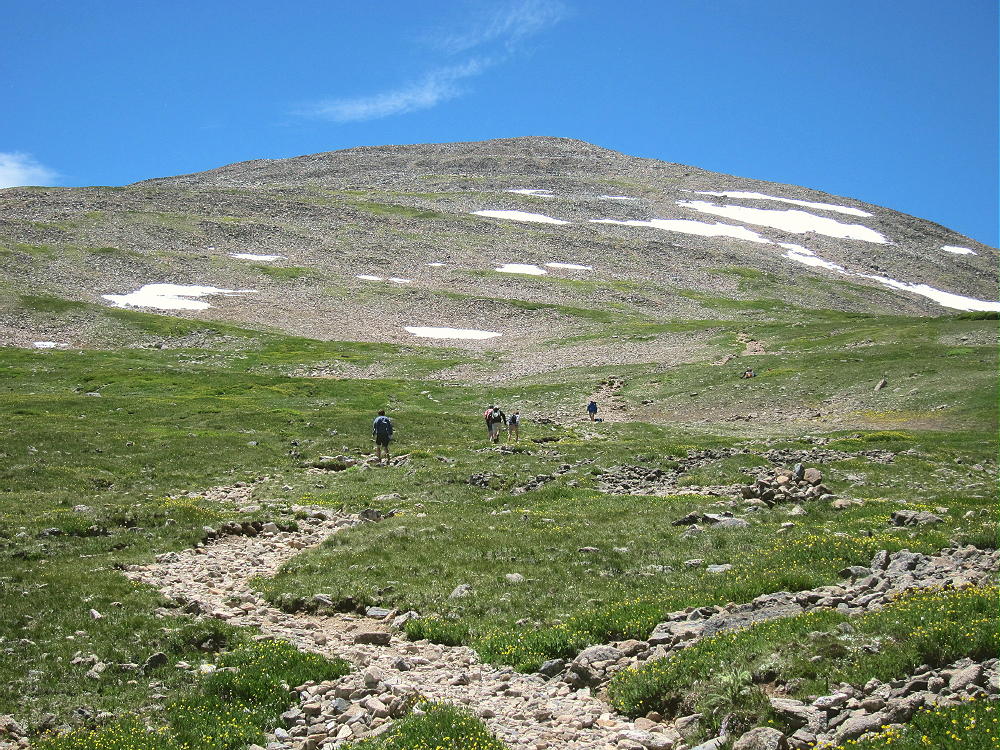
• Start up the Mount Audubon Trail
• The route leads north through the forest and up to timberline southeast of the summit on a good trail
• The trail continues north through an open alpine area to a split – the left (west) fork leads to the peak.
• The route ascends across the open tundra, eventually reaching a broad saddle northeast of the peak.
• The last half-mile is up through large rocks, where multiple paths climb to the large summit.
There are fine views from the trail and the peak, snow lingers into the summer, and alpine wildflowers cover the high slopes – the popularity of this mountain is justified!
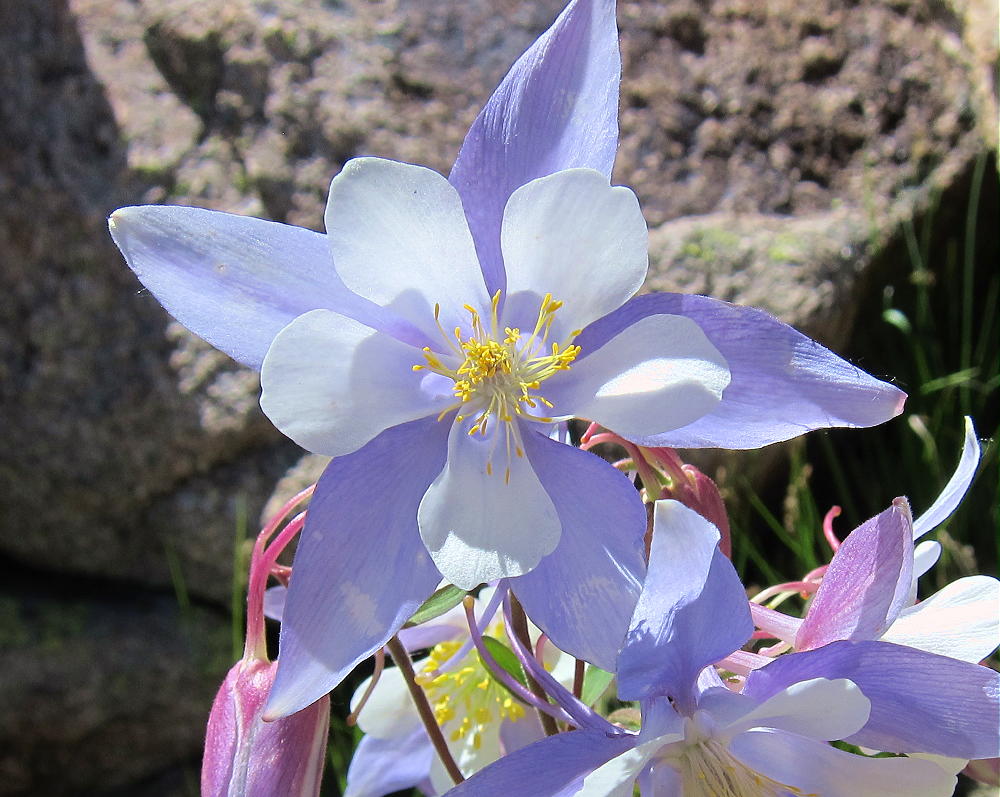
Mount Audubon TrailMount Audubon Columbines
Activation Details:
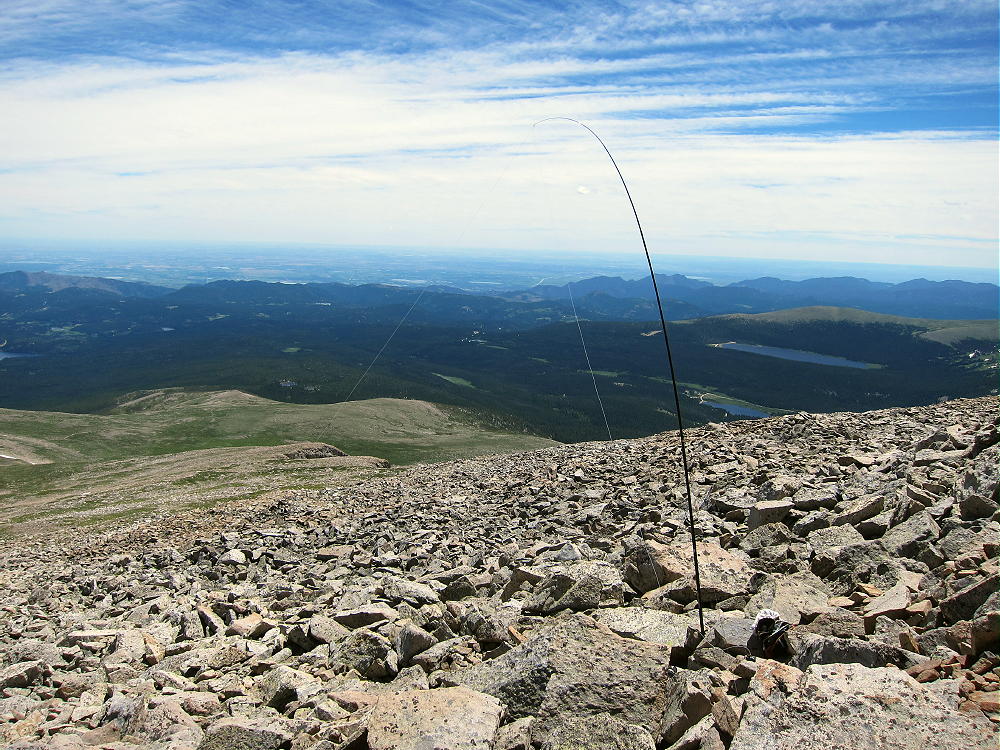
Mount Audubon is a friendly place in good weather. Although it was sunny and dry when I was there, the wind was so roaring so strong that I wasn’t sure if I could do my activation. Although the spacious summit is almost flat, I couldn’t set up on the windy top; I searched for a spot with minimal wind. I found my place on the east side, about 30 feet below the summit, among large boulders. The wind was roaring and hissing across the edge of the peak above, but I was able to set up my pole in the rocks and guy it securely. My spot was well south of the trail, off the routes used by other hikers.
Mount Audubon Activation
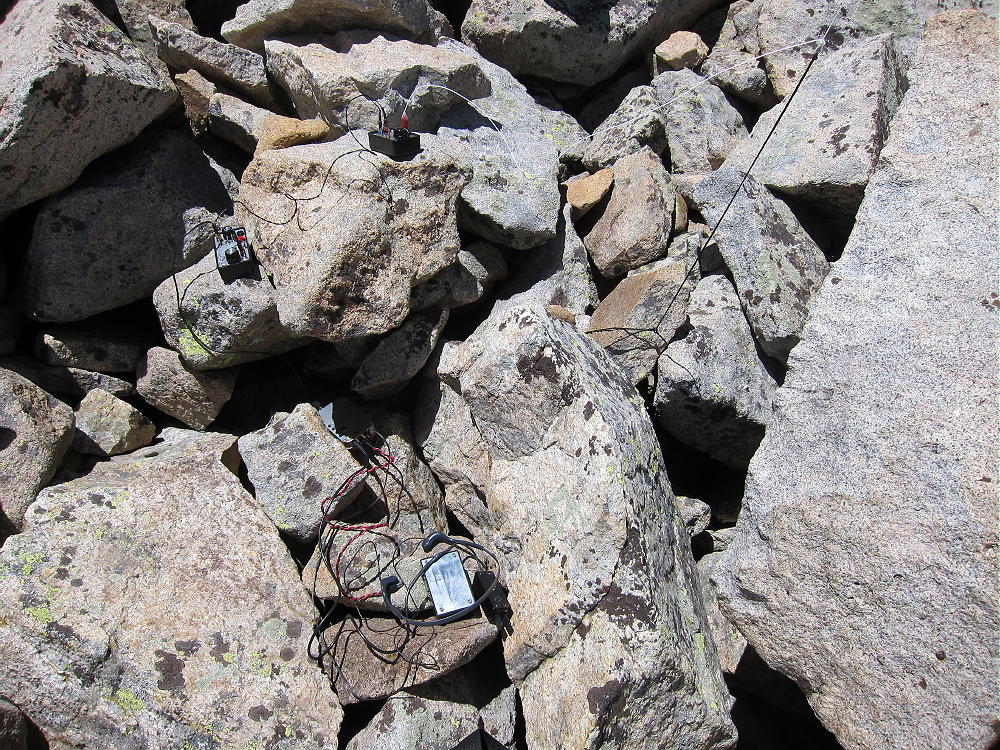
Once the pole and wire were up and dancing, there were no more problems getting on the air and starting the activation. Setting up in a rock-pile is sometimes the only worthwhile option when winds are extreme; considerable care is required to avoid dropping small, critical items down into holes among the large rocks!
Mount Audubon Activation – Radio Gear in the Rocks
Mount Audubon stands prominently east of the Continental Divide; the summit is thousands of feet above the lower mountains and plains below. Audubon has a wide-open view of the populated areas to the east; it’s surely an excellent VHF/UHF site. Other high mountains are north, west, and south of Audubon, but they’re not high enough to adversely affect propagation of HF signals. This is an excellent HF site; the noise level is low, because little development is near the peak. On a day when many people are on the summit, it’s probably a good idea to set up HF gear out of the way, slightly down from the popular top.
Despite the incredible wind, I had a fine SOTA activation on Audubon, with 31 contacts on 10-14-18-21 MHz CW. The session lasted about 70 minutes, and I was delighted at my results!
After I took down the pole and put away my gear, I climbed up on top to take some pictures; it was difficult to stand on the west side of the summit, where the wind was strongest. A few other people came and went, but not many stayed more than a few minutes!
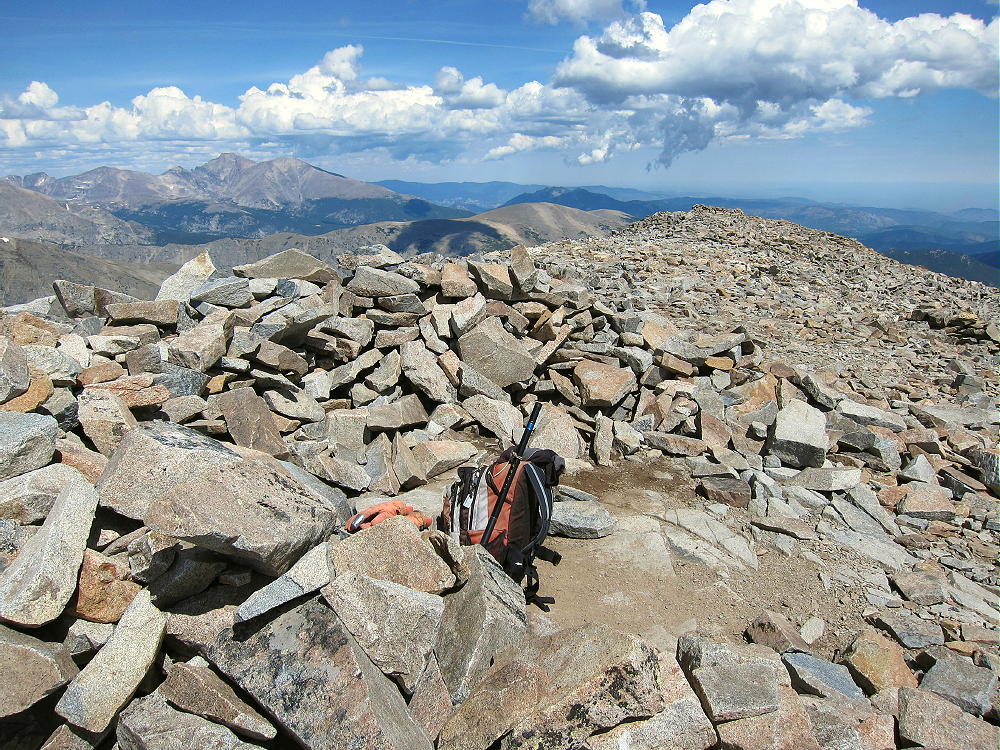
Mount Audubon Summit Wind Shelter
Dry windy weather is generally safer than storms and lightning. Mount Audubon is one of the highest mountains in its area, so it often has cumulus clouds and dangerous lightning. It should be avoided if storms are in the forecast, or if dark-bottomed clouds are forming in the area. An early start is essential to minimize the risk of bad weather in spring and summer.
Mount Audubon is a SOTA Classic:
• Spectacular wilderness location
• Beautiful alpine hike up an accessible trail
• Significant vertical gain
• Wonderful setting with high peaks all around
• Great HF/VHF/UHF radio site
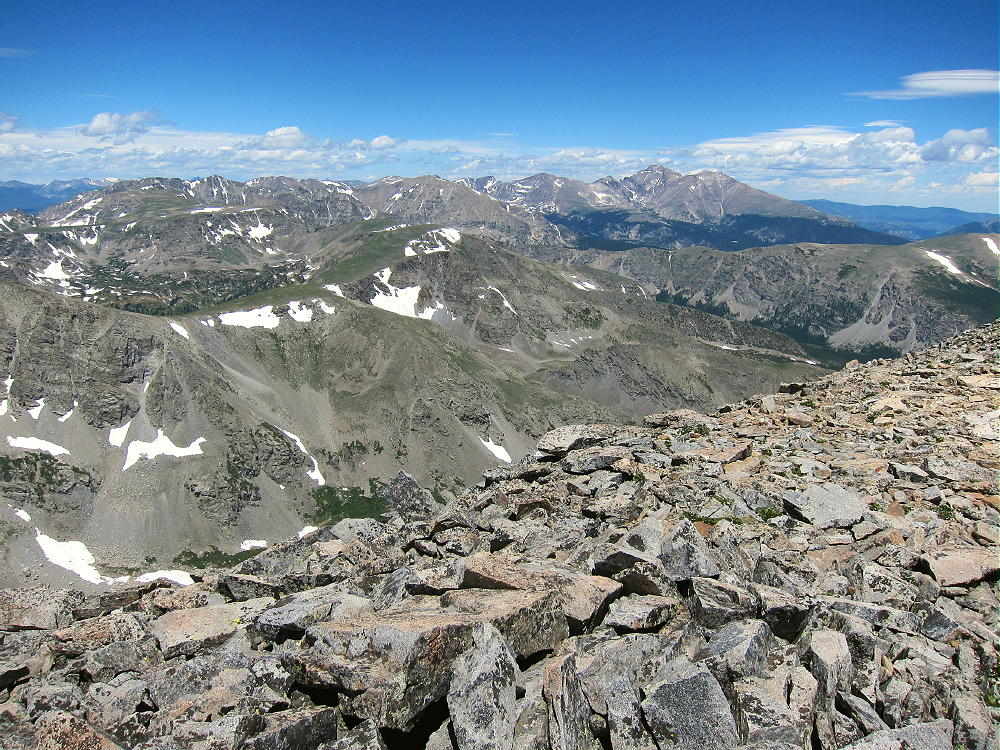
Mount Audubon View North to Longs Peak
There are numerous other high SOTA peaks within sight of Mount Audubon. However, most of these summits require significant hikes, comparable to the trip up Audubon. There are few possibilities for a reasonable dual activation, except for a few lower mountains located near roads lower down. These lower possibilities include:
W0C/FR-061 Taylor Mountain 2779m / 9134ft 4 points
W0C/FR-174 Bald Mountain 2783m / 9147ft 4 points
Camping offers a way to activate multiple high summits in the area. Numerous forest campgrounds and campsites are within a few miles of Mount Audubon; many of these campgrounds are popular, so reservations may be required. Roosevelt National Forest has a few places where dispersed camping is allowed. Backpack camping in the Indian Peaks Wilderness is a possibility, but a permit is required, and special rules apply.
Mount Audubon is a Classic SOTA Peak – a real alpine jewel on the right day!
73
George Carey Fuller
KX0R
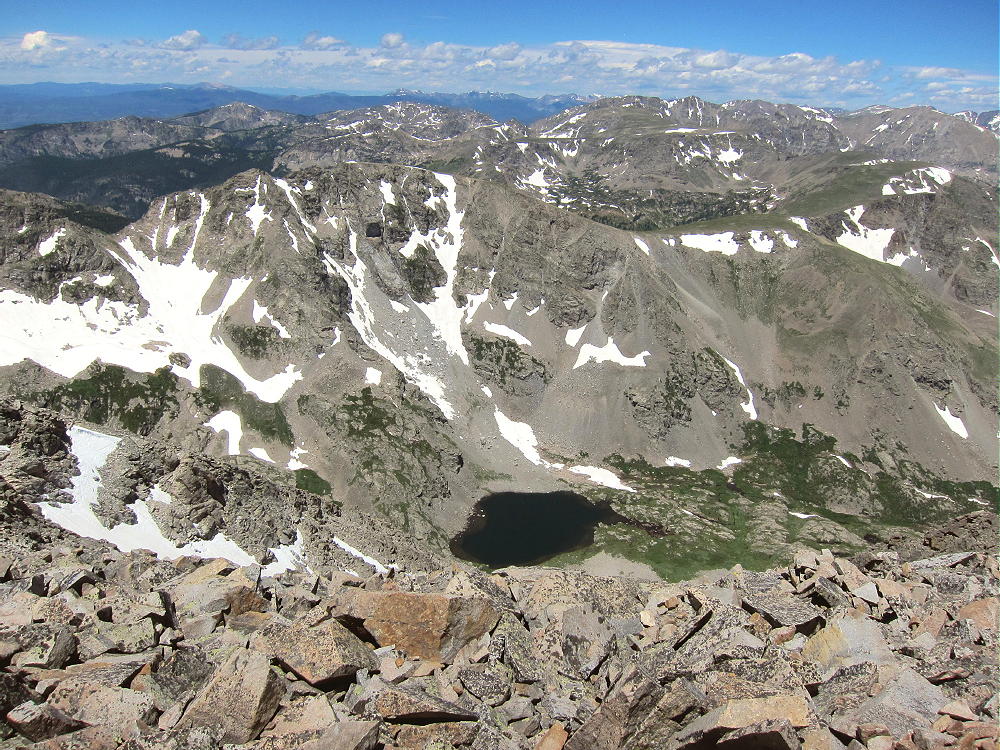
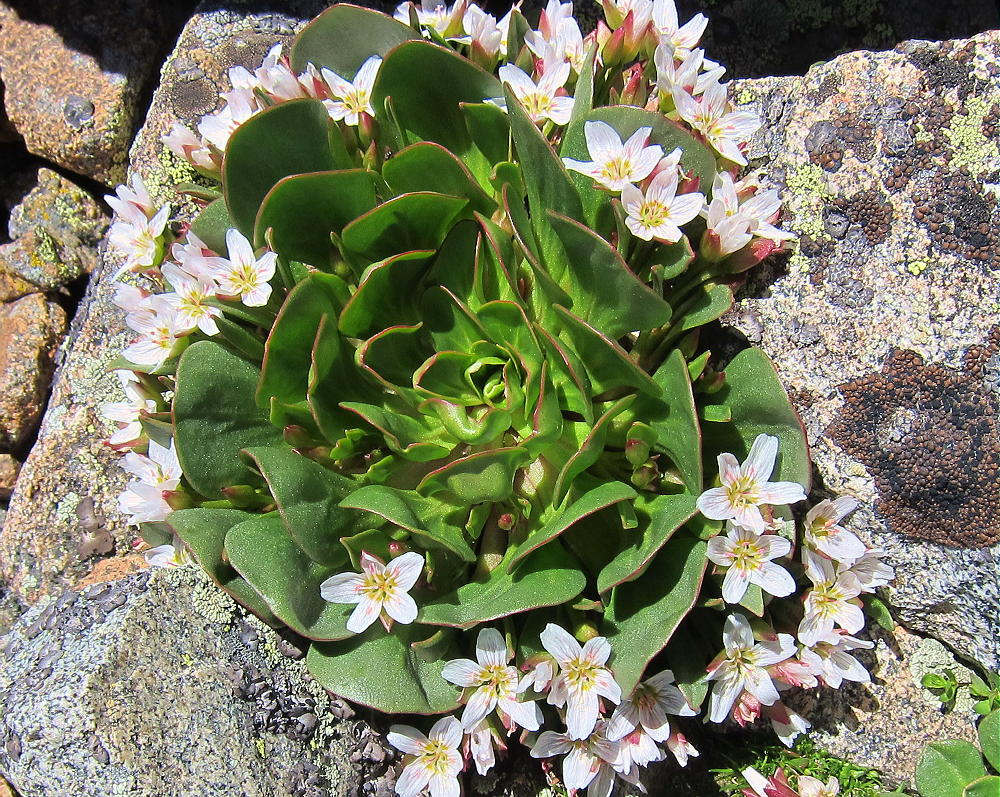
Mount Audubon – Upper Coney LakeMount Audubon – Alpine Spring Beauty
!! WARNING !! There are old mountaineers, and
bold mountaineers… there are no old-bold mountaineers.
Hiking and mountain climbing are potentially hazardous activities particularly in Colorado with its extreme elevations. I am not accepting responsibility for any death or injury resulting from activations based on my trip reports. Proper training, experience, and personal capability assessment is required – enjoy!
• Pike National Forest
• No marked route to the mountain
• Trail leads up the summit
• Navigation and route-finding required
• Private land nearby
• None of the recommended route is posted
• In 2016 signs on trees suggested that a large forestry management project was about to begin
• ~ 8.4 miles round trip
• ~ 2060 vertical feet total, including return trip
Long Scraggy Peak West Side
For a long time I believed that Long Scraggy Peak was essentially off-limits, due to difficult access and private land around the peak. After some research on the internet, I found that climbing Long Scraggy might be practical and legal. There’s no marked trailhead for Long Scraggy, but there’s access via public land all the way to the mountain. A good cairned trail runs right up to the top! However, having a fun day on Long Scraggy requires research and accurate navigation – GPS is very useful, and good map skills are required.
Long Scraggy Summit Trail with Cairns
Private property, including the Long Scraggy Mountain Ranch, lies along the west side of the mountain. This area is accessed from Highway 126 by private Spring Creek Road. The Ranch is a Christian Retreat, and trespassing is forbidden. Because of its location near the mountain, the Ranch effectively has priority use of Long Scraggy. Marked trails lead directly from the property up the mountain, as well as north into the National Forest. The land east of the ranch, including almost all of Long Scraggy Peak, is in Pike National Forest, according to the Forest Visitor Map.
Access to the National Forest is available from paved Highway 126 northwest of Long Scraggy. The trailhead is the gated Raleigh Peak Road, FR-538, which leads southeast and then north for several miles. The Colorado Trail also provides access from both north and south of the private property.
Climbing Long Scraggy legally requires knowing where the public land is, and navigating to avoid the private land east of the Peak. This is not hard, and the route I found requires only moderate bushwhacking.
Driving Directions:
• Start by driving to the town of Buffalo Creek.
• Northern routes are via Highway 285 and Highway 126 from Pine Junction, or via 285 and Foxton Road from Conifer.
• From the south, take Highway 24 west from Colorado Springs to Woodland Park; turn north on Highway 67 and go to Deckers; and continue north on Highway 126 to Buffalo Creek.
• All of these roads are good paved mountain highways.
• From Buffalo Creek, drive almost 2 miles south on 126, most of the way up the big hill, to Raleigh Peak Road, FR-538, on the east side at about 7440 feet
• This is about ½ mile north of a highway maintenance facility near the hilltop
• This road is shown on the Google satellite image
The road is gated, with room for a few cars to park off the highway; the road’s popular with mountain bikers. It’s not posted; hiking and non-motorized access is OK. Park off the highway and away from the gate.
The Hike:
Walk southeast on the dirt road and follow it up the hill as it bends north. Long Scraggy Peak stands beyond private property to the southeast. The Colorado Trail runs parallel to Raleigh Peak Road, 100-200 yards to the east; it roughly follows the 7600 foot contour.
After reaching about 7640 feet, the road runs up over a little rise; a low ridge runs out to the east. Leave the road and head east – there’s a faint trail along the ridge.
Long Scraggy Route East from FR-538
Stay north of any fence you see. This land was burned in the Buffalo Creek fire, and visibility is excellent. To avoid any chance of error, stay on the ridge, or just north of it. The route soon crosses the Colorado Trail. Continuing east, the path eventually becomes a real trail. This east-west route is easily visible on the Google satellite image. Horses, people, and wild animals all share this unmarked trail, which probably predates the fire. Eventually the trail drops steeply east into the valley of Spring Creek.
Before the route reaches the creek, a fence runs near the south side of the trail. Stay north of any fence to avoid private land. The ranch owns land along Spring Creek, northeast and downstream from most of their other property. Near Spring Creek, I saw ranch buildings to the south. I didn’t cross any fence. A “no trespassing” sign on a fallen fence indicated that the land south of the fence line was/is closed to the public. I also found a USFS Cadastral Benchmark, as well as USFS signs, indicating that they have accurately surveyed the public land, and marked it accordingly. Clearly the trail north of the fence is on USFS land, close to the private land.
At a marshy area near the creek, a small boardwalk conveniently leads across the creek. The land east of the creek is in Pike National Forest, according to the Forest Visitor Map. This includes all of Long Scraggy Peak and most of the land for more than a mile all around the summit. Anyone considering climbing Long Scraggy should study the USFS map to see where the green National Forest land is in relation to the white private land. Private land should be respected, and there’s no need to cross posted land to access this mountain.
Just east of Spring Creek, there’s a trail junction. The GPS coordinates of this junction are:
N39 21.856 W105 13.329
This is a useful waypoint to put in your GPS, because it’s key to the route in and out.
A sign points to a trail leading downstream to a waterfall. This trail is likely mostly on USFS land, but the sign and trail condition suggests it’s often used by the ranch guests.
• To avoid ranch land, hike east into the woods from the junction into the forest – this route isn’t posted or marked.
• Follow an old abandoned road/track east up a ridge.
Long Scraggy Old Road
• Using any convenient route, hike uphill southeast for about 0.6 mile, in the direction of the summit
• An OK route leads up along a wide draw
• Intersect a modern forest road shown on the Google satellite image
• This road provides access to the east slopes of Long Scraggy.
Long Scraggy Forest Road Leading South
• Various signs along the road indicate it’s National Forest land
• Using GPS, hike south on the road to a trail junction at this point:
N39 21.646 W105 12.628
• Follow the obvious trail east into the forest
Long Scraggy Secret Summit Trail
This trail is mostly used by folks from the ranch – they have direct access. However, their trailhead isn’t open to the public. Long Scraggy Peak is on National Forest land adjacent to their property, and it’s no surprise that they have a trail up there. This trail isn’t posted or signed on the mountain, and there’s nothing to suggest that it’s private. I saw no signs at all. It has been maintained for a long time, possibly for decades. Large trees lying near the trail were sawed long ago.
• The Long Scraggy Trail leads up the mountain – there are cairns.
• The trail isn’t shown on maps that I have seen, and most of it’s hidden on the Goggle satellite image.
• The route climbs up through various rocky outcrops.
• The path ascends about 1200 vertical feet from the forest road.
• The summit forest wasn’t burned by the Buffalo Creek Fire, so the trail is very pleasant trail to climb
• The steep trail leads efficiently up to the summit area
Long Scraggy Peak Summit Area
Additional Details:
The huge top of Long Scraggy Peak consists of massive granite outcrops of orange Pikes Peak granite. The actual summit is just south of the end of the trail – one large step is required, but the granite has excellent friction, and there’s little exposure.
Long Scraggy Peak Summit
The prominent mountain falls away about half a vertical mile to the south and east – it feels very high – and the views of the South Platte Canyon region are spectacular.
Long Scraggy Peak Summit, South View
The activation zone is large, and it’s practical to erect a pole right on the granite, as I did. The peak is an ideal HF site, much like a very high tower. No nearby peaks are high enough to block HF signals. There’s almost no man-made RF noise – the closest development is far down at the ranch.
Long Scraggy Peak Activation Sep 21, 2016
There’s some limited VHF/UHF coverage east of Long Scraggy – the eastern Plains are visible in a few directions. Long Scraggy looks across part of the Rampart Range to the northeast. Nevertheless, most populated areas to the east are not visible.
• Return via the same route – be sure to stay north and east of the ranch land near Spring Creek.
The total round-trip length of the Long Scraggy hike, starting at the Raleigh Peak Road gate, is about 8.4 miles. It requires about 2-1/2 to 3 hours each way, assuming some route-finding and breaks. The total vertical ascent is about 1700 feet from trailhead to summit. There’s an additional 360 feet of gain on the way out, from Spring Creek up to the ridge-top east of Raleigh Peak Road; the total vertical gain for the trip is 2060 feet.
Long Scraggy Sub-peak on North Ridge
Even though the hike is a lot of work for a 2-point summit, Long Scraggy Peak is a SOTA Classic!
• Requires good navigation and route-finding
• Some traveling off-trail
• Fun hike up the mountain on a trail marked with cairns
• Huge, prominent, exciting summit
• Large activation zone
• Massive orange granite outcrops
• High cliffs
• Amazing views of the South Platte Canyon region
• Almost perfect HF peak
“Take nothing but pictures and leave nothing but footprints” is especially good advice for this amazing summit. People from the Ranch may visit the summit or use the trails – please respect their interests. Their Christian retreat is just as important as our SOTA activations.
Long Scraggy Peak stands close to nearby SOTA peaks and might be combined for a dual activation:
• Raleigh Peak W0C/FR-195 – only about 3 miles north, same trailhead
• Little Scraggy Peak W0C/FR-059 – about 4 miles to the southwest
The National Forest around Long Scraggy Peak looks like good hunting territory – many deer live there – wear hunter orange clothing in the fall, and be aware of hunters.
It would be difficult to climb Long Scraggy from the South Platte Canyon on the east side. That side of the mountain is very steep and rocky, with many cliffs, and the net vertical gain from the River, at about 6200 feet, is 2600 feet. Even more critical is that the road in the canyon is on the wrong side of the river the entire way. There’s a public foot bridge across the river where the Colorado Trail crosses several miles northeast of the mountain, but it’s a long off-trail hike through burned-up land just to the base of Long Scraggy.
Both the long north and south ridges of the mountain are craggy and challenging to ascend.
In September of 2016, signs on trees indicated that a large forest management project had started. Please be aware that parts of route described here may be affected – contact Pike National Forest, South Platte Ranger District, at 303-275-5610, for more information.
!! WARNING !! There are old mountaineers, and
bold mountaineers… there are no old-bold mountaineers.
Hiking and mountain climbing are potentially hazardous activities particularly in Colorado with its extreme elevations. I am not accepting responsibility for any death or injury resulting from activations based on my trip reports. Proper training, experience, and personal capability assessment is required – enjoy!
• Roosevelt National Forest
• No marked trail, but many game trails
• Somewhat steep climb to a pleasant, prominent summit
• Nice scenery – fine views of Rawah Peaks and the Laramie River Valley
• Fine HF site
• Not visited frequently
• Limited points of access
• ~ 4.0 miles round trip via southern route
• ~ 2.3 miles round trip via steeper northern route
• ~ 900 vertical feet via southern route
• ~ 1000 vertical feet via steeper northern route
• SOTA Classic!
Middle Mountain Summit from Northwest
Driving access:
• First drive to Fort Collins, Colorado
• Take Highway 287 northwest to Ted’s Place
• This is about 10 miles from downtown
• At Ted’s Place, turn west on Highway 14 – large Shell gas station there
• Drive up the Poudre Canyon via Highway 14 for about 51 miles
• Turn north on the Laramie River Road, CR 103, near Chambers Lake – this is a good dirt road, but it’s likely closed late fall to mid-spring
• Continue north for about 11 miles to Middle Mountain
• The well-named mountain stands in the center of the wide valley
• Either park at the Rawah Trailhead on the right, across the road from the large Rawah Guest Ranch – see below
• Otherwise, park along the east side of the road about 1-1/2 miles further north, beyond the “posted” signs on the east side of the road – see below
• Do not park on the west side of the road!
The climb:
• There are two general routes to the summit of Middle Mountain
Southern Route:
• This is probably the best route. It starts at the Rawah Trailhead – however, I have not climbed this way – I climbed via the northern route (see below)
• This route is probably not visible, nor is it marked or signed at the trailhead
• From the Rawah Trailhead, climb up the steep embankment east of the parking lot.
• Follow game trails, or just hike, about ¼ mile northeast, up almost 500 vertical feet, to a secret/game trail that runs north along the south ridge of Middle Mountain
• This trail is easily visible on the Google satellite image at moderately high magnification. Once you see it on the image, you’ll have no problem finding it on the mountain.
• The south end of this trail runs down to private land further south, and is probably not accessible to the public.
• Once on the trail, continue north up the prominent south ridge of Middle Mountain, all the way to the summit.
Northern Route:
• This is the route I used – it worked OK, but later I saw the southern route on the satellite image. The southern route is mostly better, despite the steep beginning.
• However, if you park north of the posted signs along the east side of Road 103, you can just hike into the National Forest and head up the northwest side of Middle Mountain toward the summit.
• There are so many game trails that you can pretty much just follow whatever you find that heads SSE and up the steep slopes.
• The animals know where to go, and as long as you think about getting up to the ridge north of the summit, you’ll find trails to take you there!
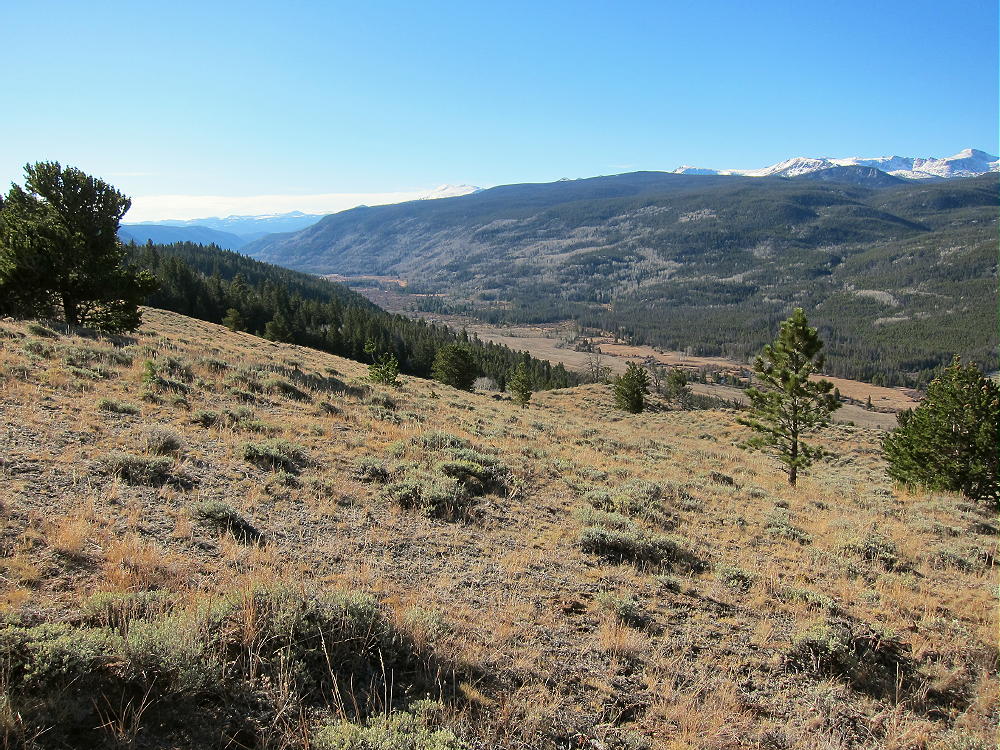
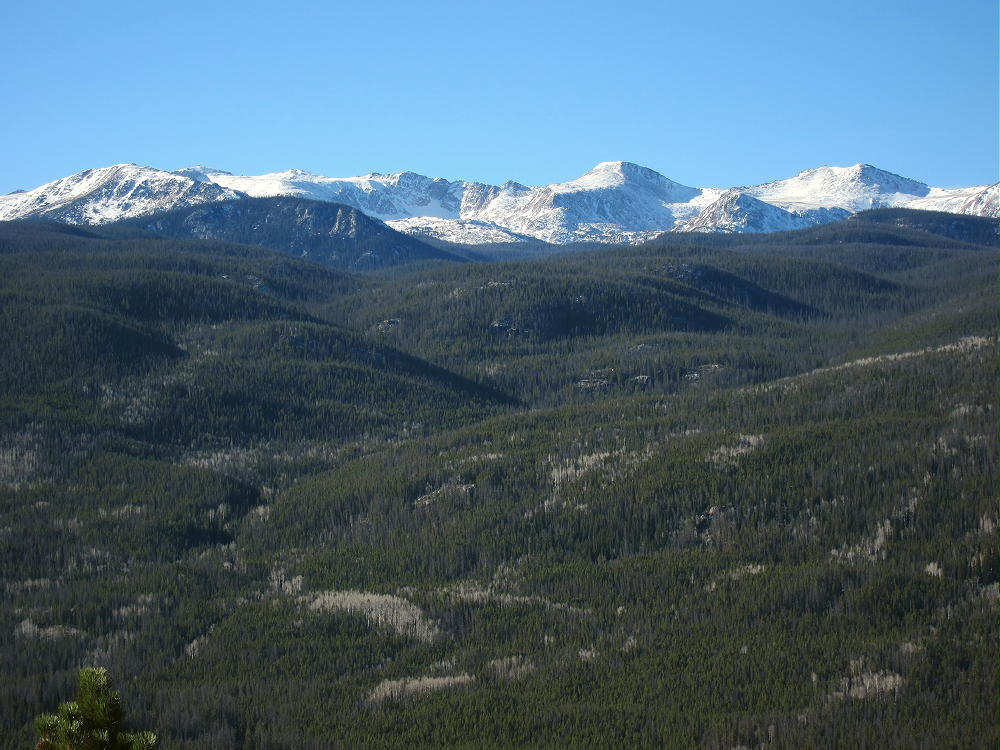
• This steep route is spectacular, up through steep meadows and bits of forest, with amazing views of the Laramie River Valley below, and the high Rawah Peaks directly to the west.
Middle Mountain Northwest SlopesMiddle Mountain, Rawah Peaks
• There were elk tracks everywhere up there!
• Stay just west of the summit ridge to avoid dense woods near the top.
Details:
Middle Mountain is a SOTA Classic! Everything about this summit provides an exciting, interesting climb and activation. It’s not long or excessively arduous, and the summit seems special.
Middle Mountain Summit, View South
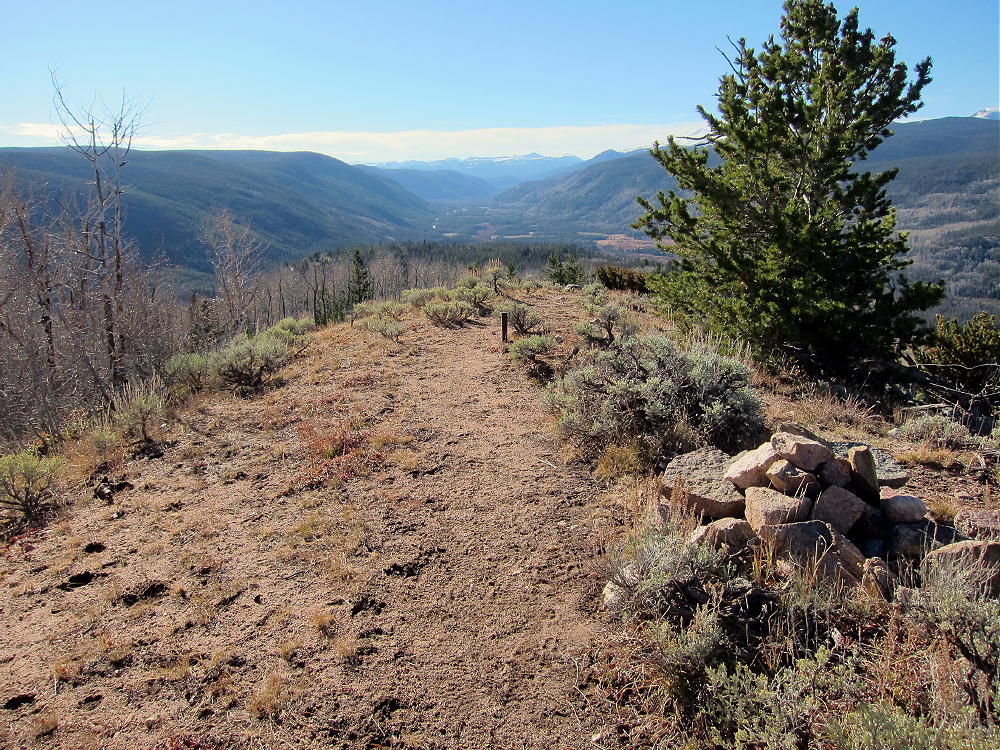
The activation zone on the summit ridge is long and narrow. Shelter from wind is available from trees and the summit ridge. There are nice sunny spots with good trees for a pole. I ran my wire straight north-south along the summit, and I had a fine activation! This peak works about like a 1000 foot tower! The ground drops steeply on the east and west, and no high peaks significantly block HF signals from any direction.
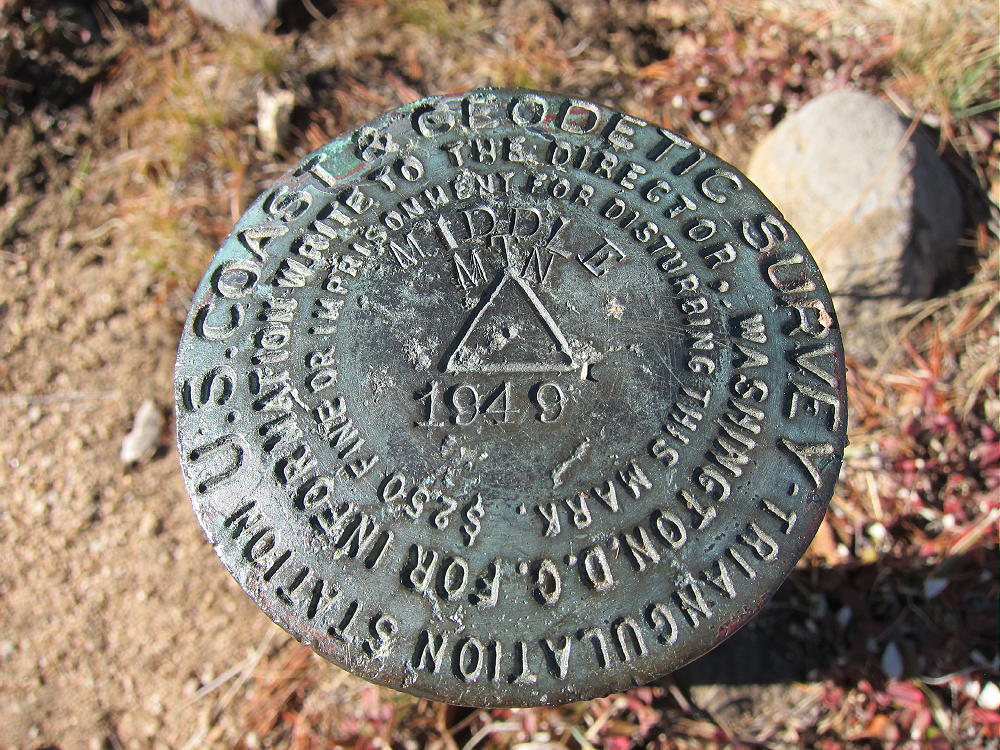
A USCGS benchmark from 1949 stands on a pipe on top.
Middle Mountain Benchmark
There’s a summit cairn, but no jar. It’s a perfect summit to activate, with several useful trees. I supported my 66-foot wire between a pole at the summit and a tree to the north. I made 50 CW contacts on 4 bands with my 5-watt ATS-3B. The wire was north-south along the ridge-top. The weather was just perfect.
Middle Mountain – Summit Activation
There’s some development down below at local ranches, but no man-made RF noise is audible up on the peak. No significant communities exist for many miles. This is an almost perfect HF site. However, VHF and UHF contacts appear very unlikely, as higher mountains block coverage in every direction.
After I climbed Middle Mountain, I realized that at some time in the past, the entire Laramie River Valley was filled with a large, deep glacier flowing north for many miles. This is a classic wide glacial valley – it’s obvious even from the road.
From the summit, and on the topo map, it appears that at Middle Mountain, the glacier split into two rivers of ice, leaving Middle Mountain as an island standing in the middle. The ice eroded both sides of the mountain, leaving steep slopes, but the glaciation ended before the mountain was completely removed by the ice. Both valleys on each side of the mountain are wide and glaciated.
Imagine what it must have looked like, with the ice on both sides, perhaps as deep as where the summit is today! The high, steep contours on the east side of the drainage bear this idea out.
There is another possible glacial remnant in the Valley further north – North Middle Mountain. The topo map suggests that glaciation of the Laramie River Valley was quite extensive for miles north of Middle Mountain.
The climb up Middle Mountain is definitely worth the long drive up Poudre Canyon. This is a Classic SOTA peak!
73
George
KX0R
Middle Mountain View West
!! WARNING !! There are old mountaineers, and
bold mountaineers… there are no old-bold mountaineers.
Hiking and mountain climbing are potentially hazardous activities particularly in Colorado with its extreme elevations. I am not accepting responsibility for any death or injury resulting from activations based on my trip reports. Proper training, experience, and personal capability assessment is required – enjoy!
 !! WARNING !! There are old mountaineers, and
bold mountaineers… there are no old-bold mountaineers.
Hiking and mountain climbing are potentially hazardous activities particularly in Colorado with its extreme elevations. I am not accepting responsibility for any death or injury resulting from activations based on my trip reports. Proper training, experience, and personal capability assessment is required – enjoy!
!! WARNING !! There are old mountaineers, and
bold mountaineers… there are no old-bold mountaineers.
Hiking and mountain climbing are potentially hazardous activities particularly in Colorado with its extreme elevations. I am not accepting responsibility for any death or injury resulting from activations based on my trip reports. Proper training, experience, and personal capability assessment is required – enjoy!