SOTA outings by KØMOS and contributors

Tag: sota

  • WØC/FR-Ø44 (Green Mountain) – 3170 m / 10421 ft

    W0C/FR-044
    Green Mountain 3170 m / 10421 ft
    First Activation
    Sep 20, 2014

    by KX0R

    There are many Green Mountains in Colorado, but W0C/FR-044 is one of the best for SOTA. What it lacks in points, it makes up for in prominence and satisfaction for the successful activator. Best of all, it has reasonable access from the Denver Metro area, and it makes a nice day trip. This is a true SOTA “Classic”!
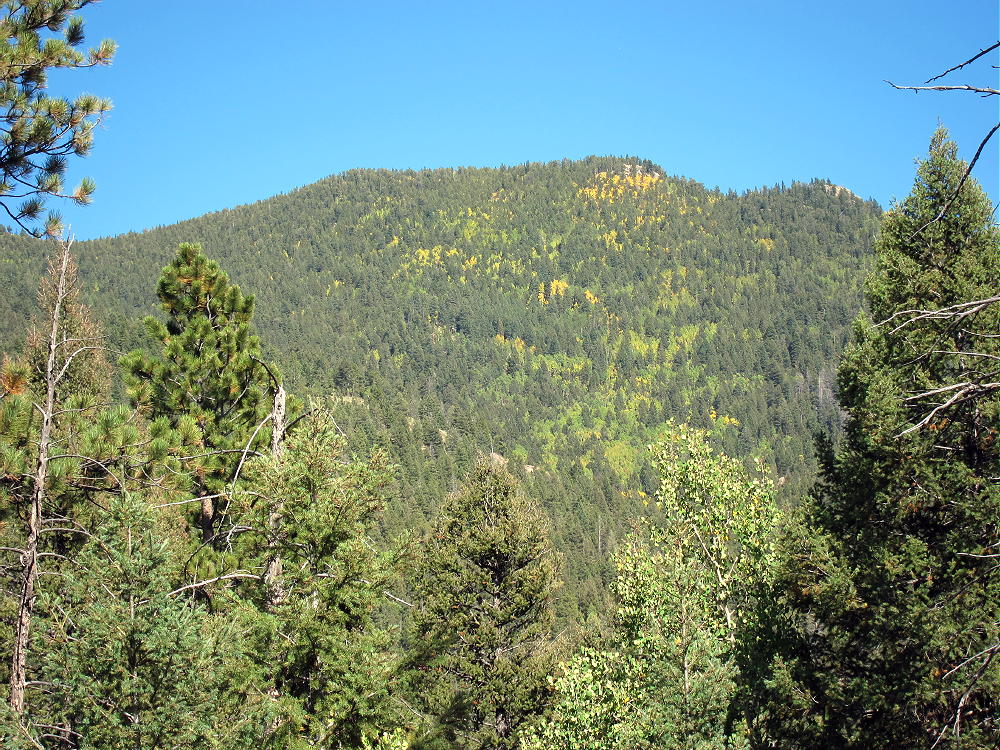
    Green Mountain West Side
    Green Mountain West Side

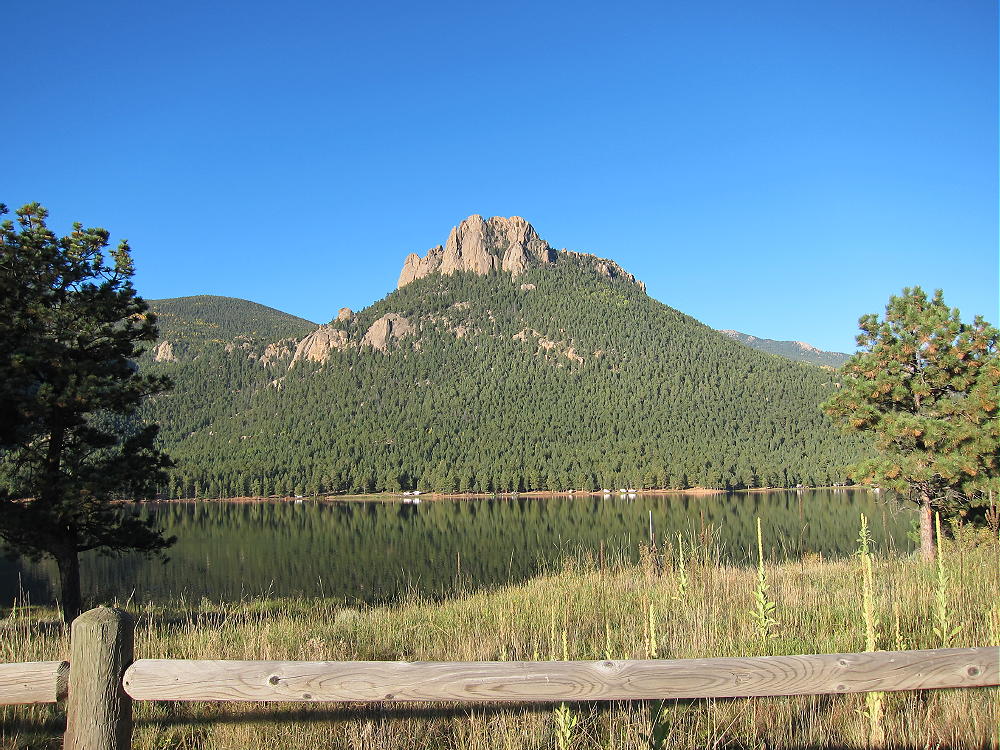
    Start by driving up Highway 285 to Bailey, and at the bottom of Crow Hill, turn left where the road curves to the right as it enters the town. Pass the Liquor, Tobacco, and Firearms store and take Road 68 southeast. This road is paved a short distance, but after it enters the Pike National Forest, it becomes dirt. Follow 68 for several miles, up and over some large, steep hills, and through the scenic forest. Follow the signs to Wellington Lake. Road 68 forks into Road 105, which leads through some ranches to the Lake. Wellington Lake is a private resort, but it’s OK to drive past the lake on the bumpy road, in order to reach the Stoney Pass Road at the SE corner of the Lake. If you pay a fee you can camp or fish at the Lake – it is spectacular. Huge rock formations called The Castle tower above the Lake. The Castle is W0C/FR-161, and it has not been activated at this writing.
    Wellington Lake and The Castle
    Wellington Lake and The Castle

    Follow Road 105 along the shore to the T-intersection with Forest Road 543. Go straight on Forest Road 560, and continue to the far SE corner of the Lake. First ford a small creek – this pool is several inches deep, and OK to cross in a car in summer or fall, but it might be more serious during the spring runoff- or after a heavy rain. After the ford, Road 560 passes through posted private land for a short distance, and then it enters the Pike National Forest again. The road climbs steeply up to Stoney Pass, which is not as bad as it sounds. In cold weather, this north-side road may be gated or impassable due to snow and ice. Access might or might not be available from the south side of the Pass. At Stoney Pass there is parking and dispersed camping in the aspen trees. This area was minimally burned in the recent fires, so it is special – the huge burn area begins a couple of miles south of Stoney Pass.

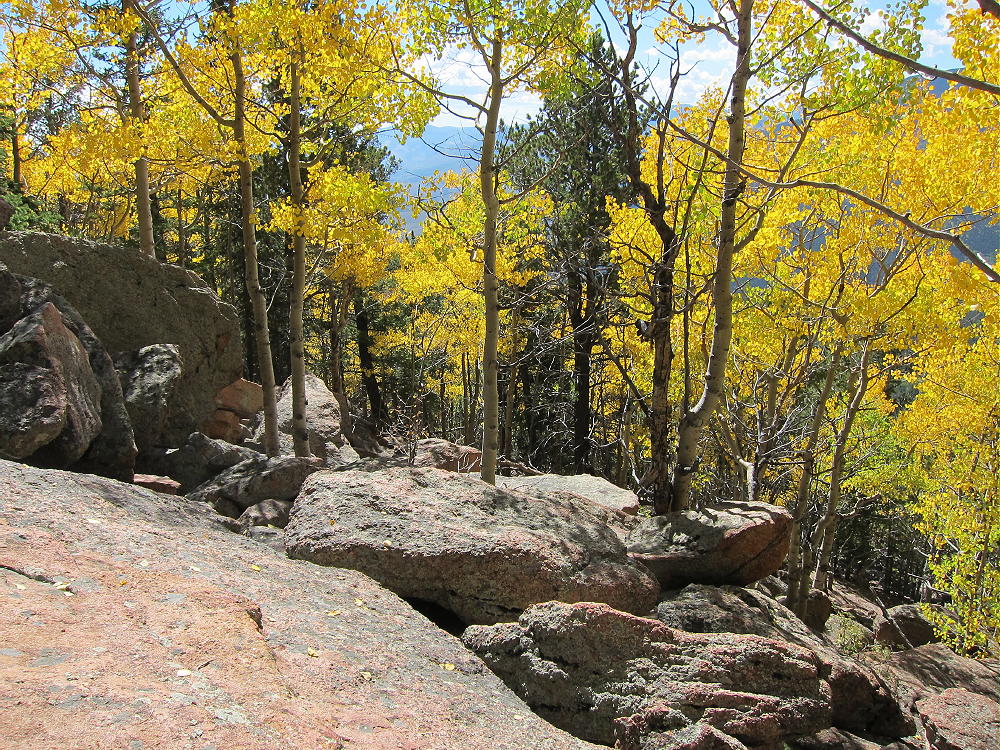
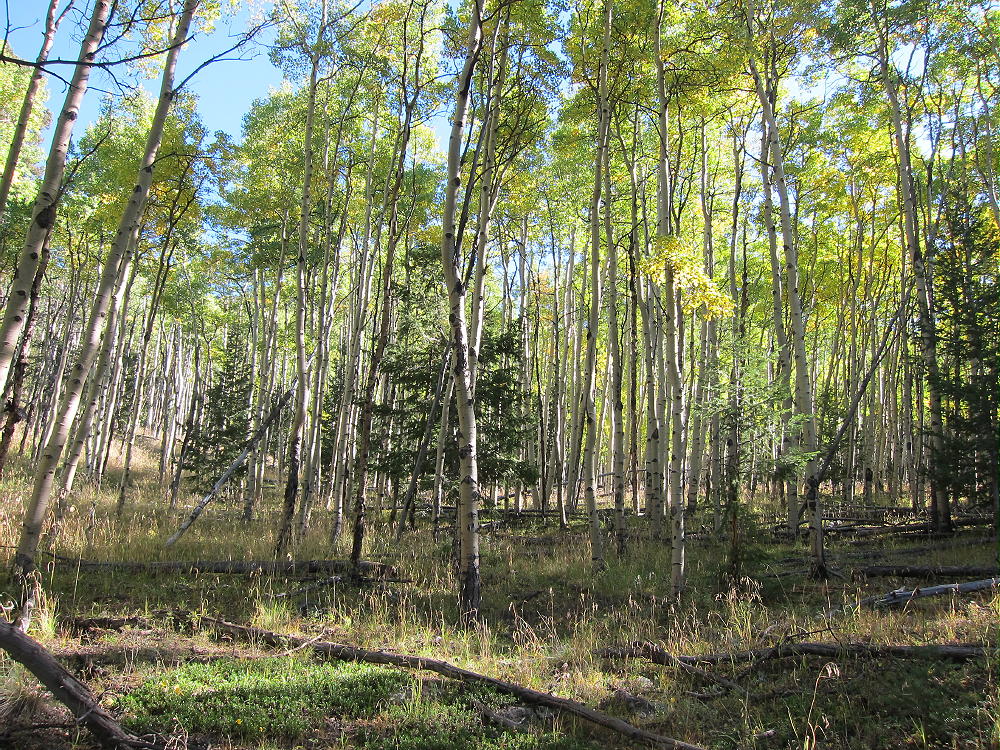
    From the pass, hike along a closed forest road that leads roughly east up to a plateau area with open pine woods. Follow the main fork of the road until it begins to descend SE, down toward a meadow area in a valley. From the apparent high point of the road, head slightly left, and follow an easy game trail east along the obvious gentle ridge, keeping Green Mountain in mind and in view, and gradually climb up a draw northeast, through open aspen forests toward the distinct south ridge of Green Mountain.
    Green Mountain Hike through Aspens
    Green Mountain Hike through Aspens

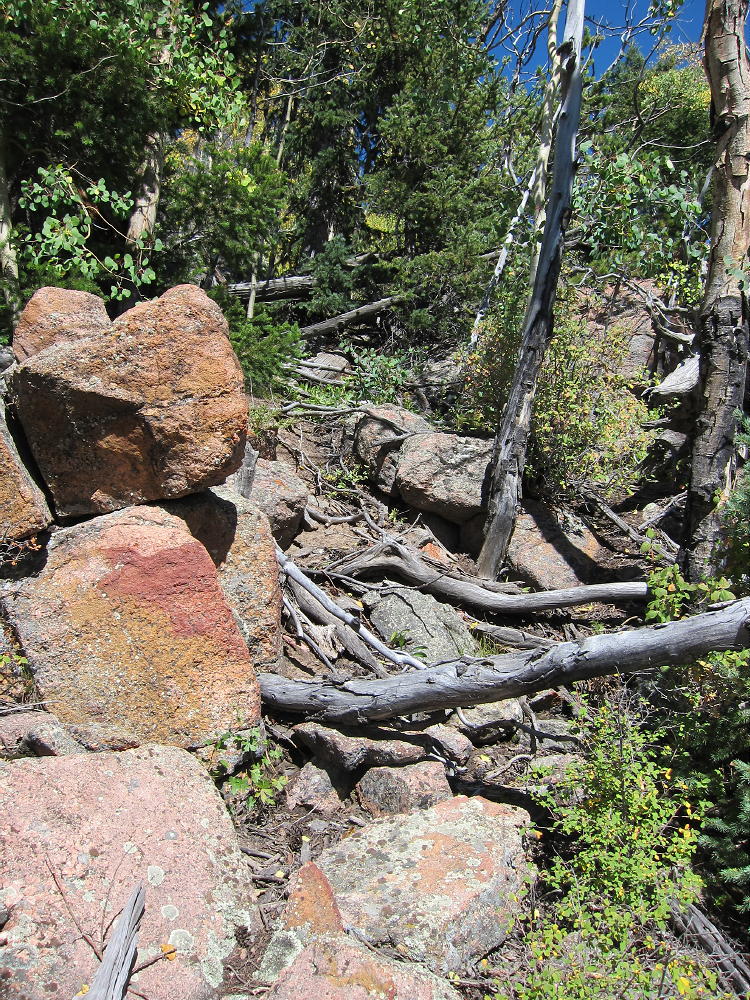
    I headed up the draw southwest of Green Mountain’s South Ridge, and then I went up steep slopes to the craggy ridge. Pick your way up the South Ridge through prickly bushes and over rocks and fallen trees, following game trails, and go either left or right of any problematic cliffs or large blocks – there are several.
    Green Mountain Ridge Route - Typical
    Green Mountain Ridge Route – Typical

    There is no serious climbing required, just use good judgment and look for alternatives; go back down a little, and try another route if you come up against anything worse than a bit of Class 3. The part from 10000 to 10,200 feet is the crux. Much of this route is fun, and it leads very efficiently up to the summit. It all gets better near the top. It’s all south-facing, so it looks like it would be hot in summer – be sure to carry enough water. It’s about 2000 vertical feet and about 3 miles from Stoney Pass to the top of Green Mountain.
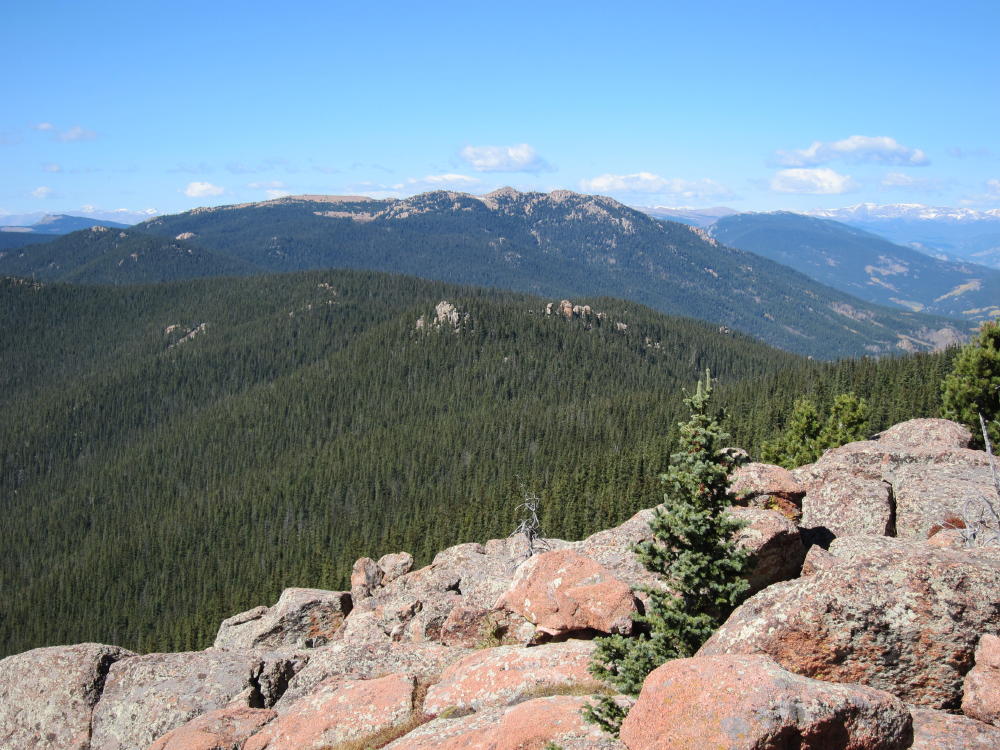
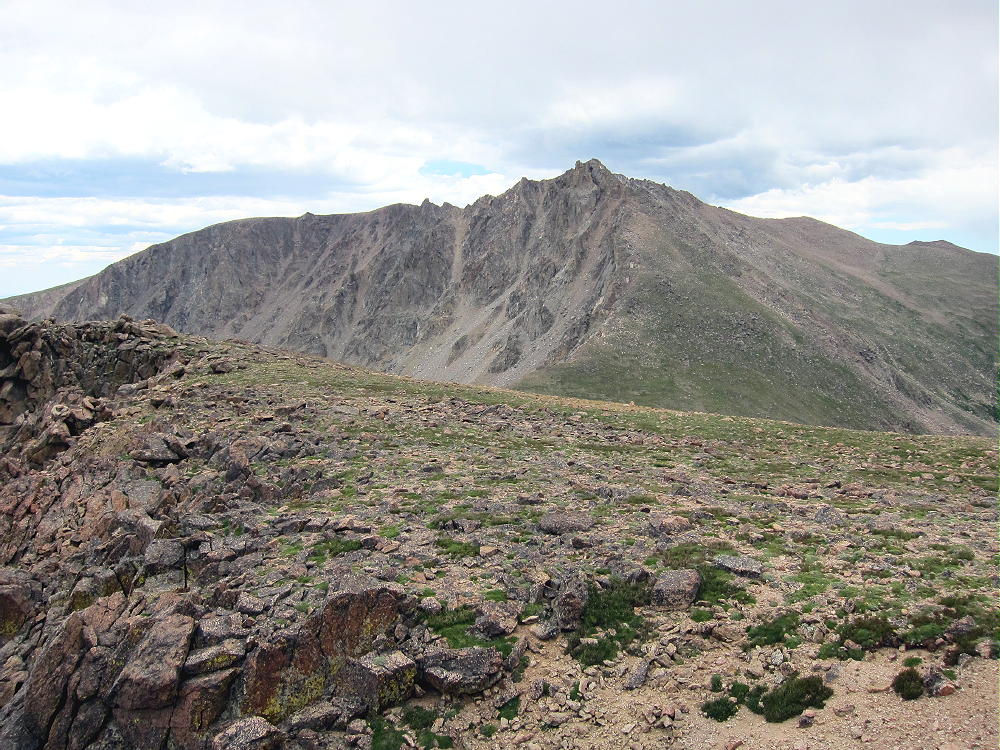
    Green Mountain and Buffalo Peak
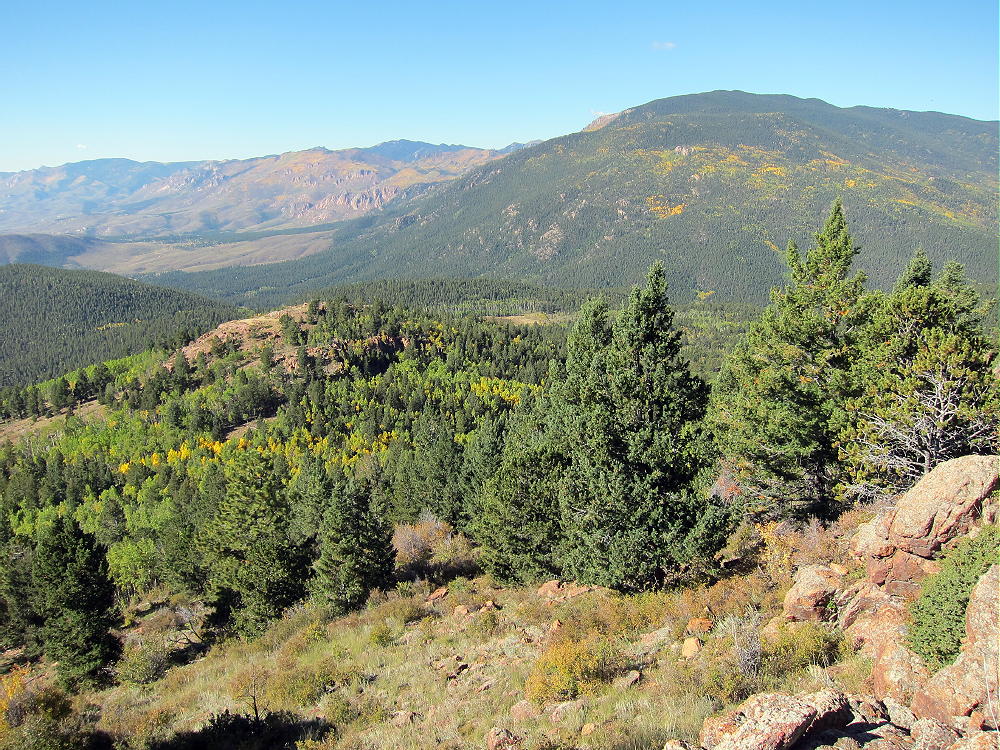
    Green Mountain and Buffalo Peak

    After a small sub-peak you come to the summit. This area is forested and has limited views – but after the wide-open South Ridge, you may be happy to trade for the security and peace that exists up there. Few people climb this mountain, despite the fact that it dominates the landscape and looks really high from below.
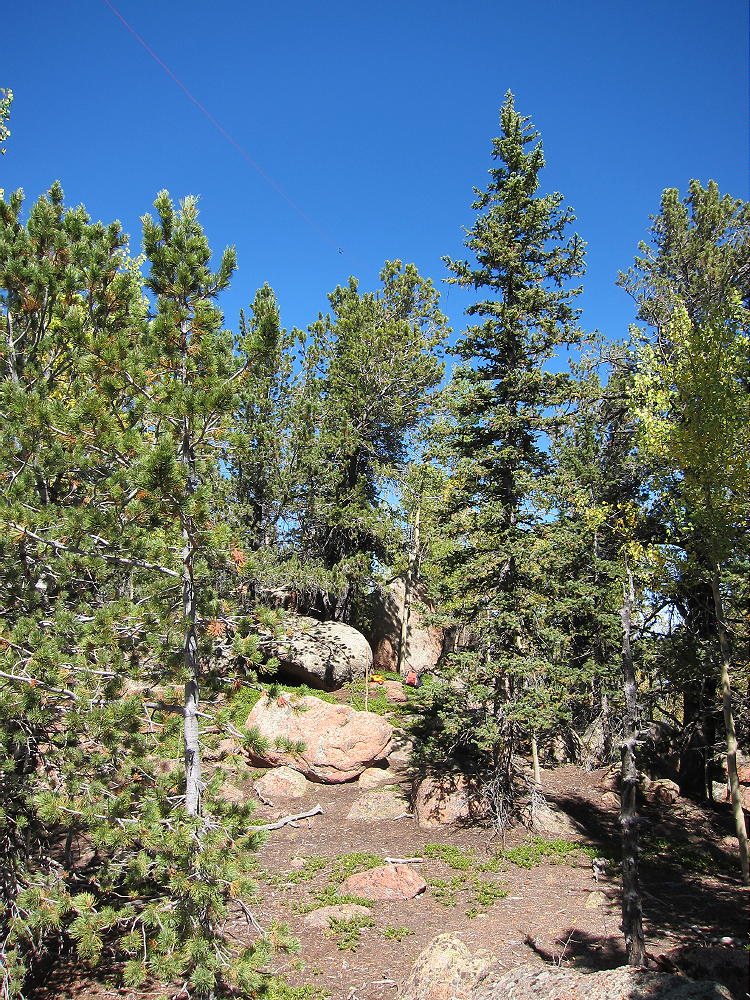
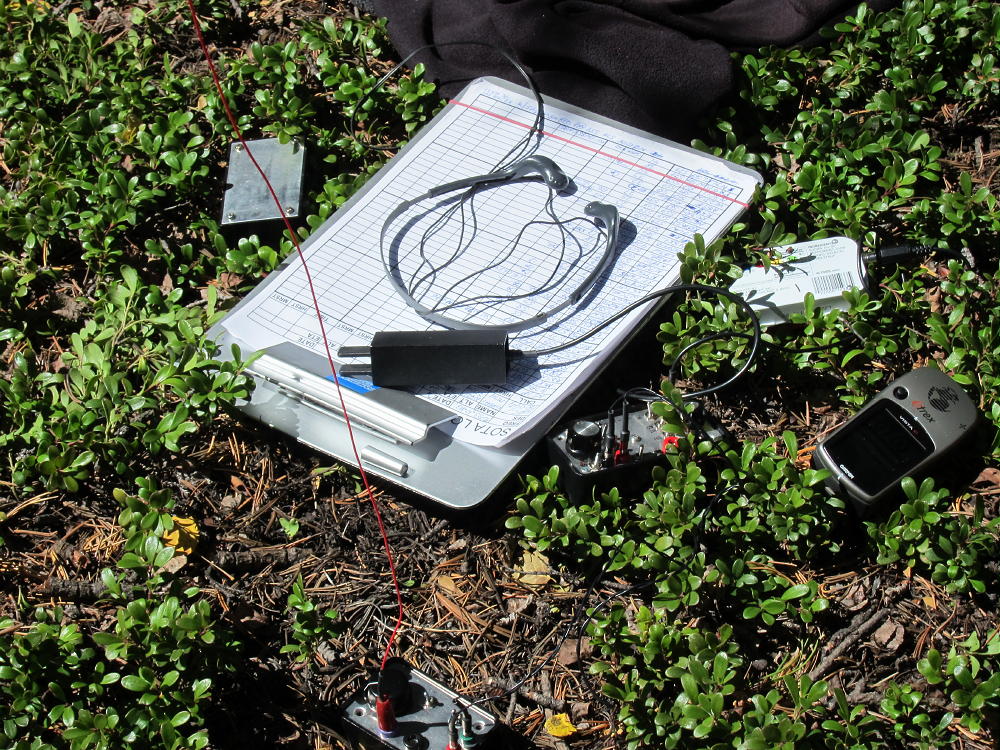
    The activation zone is large and convenient, with plenty of trees and rocks, and some shelter from wind. It looks like this summit would work for UHF/VHF as well as HF skip, since the view includes most of the South Platte Drainage, as well as the eastern Plains and some of the South Denver area. Green Mountain looks dangerous if lightning is a possibility – especially the South Ridge! Plan your trip for a good weather day to make sure that you make the best of this wonderful summit.
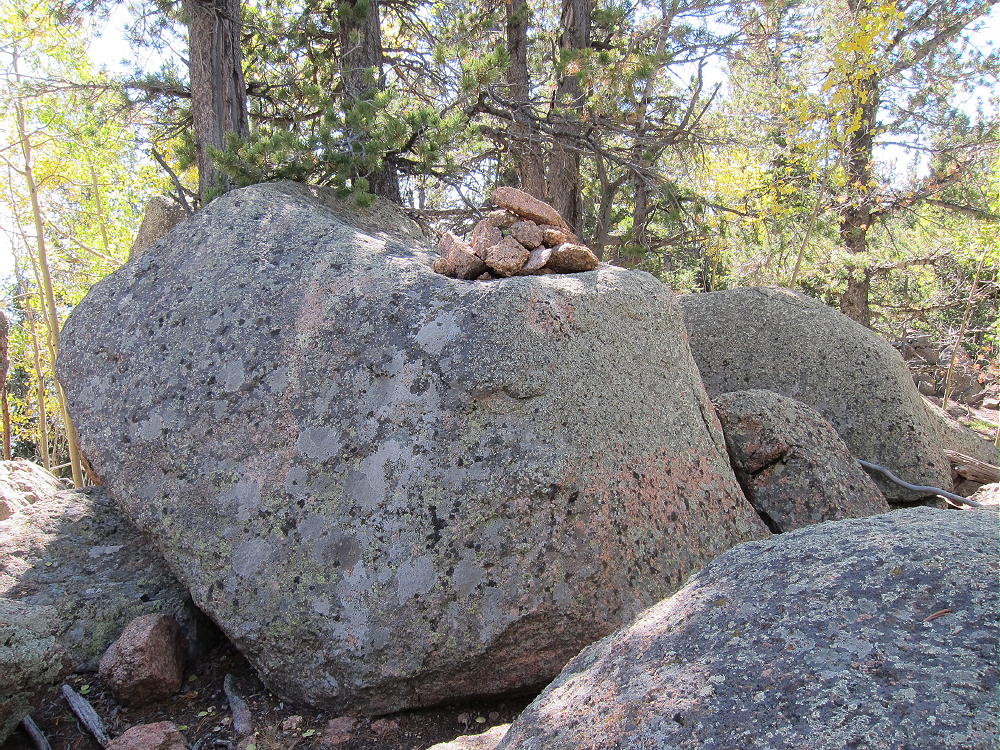
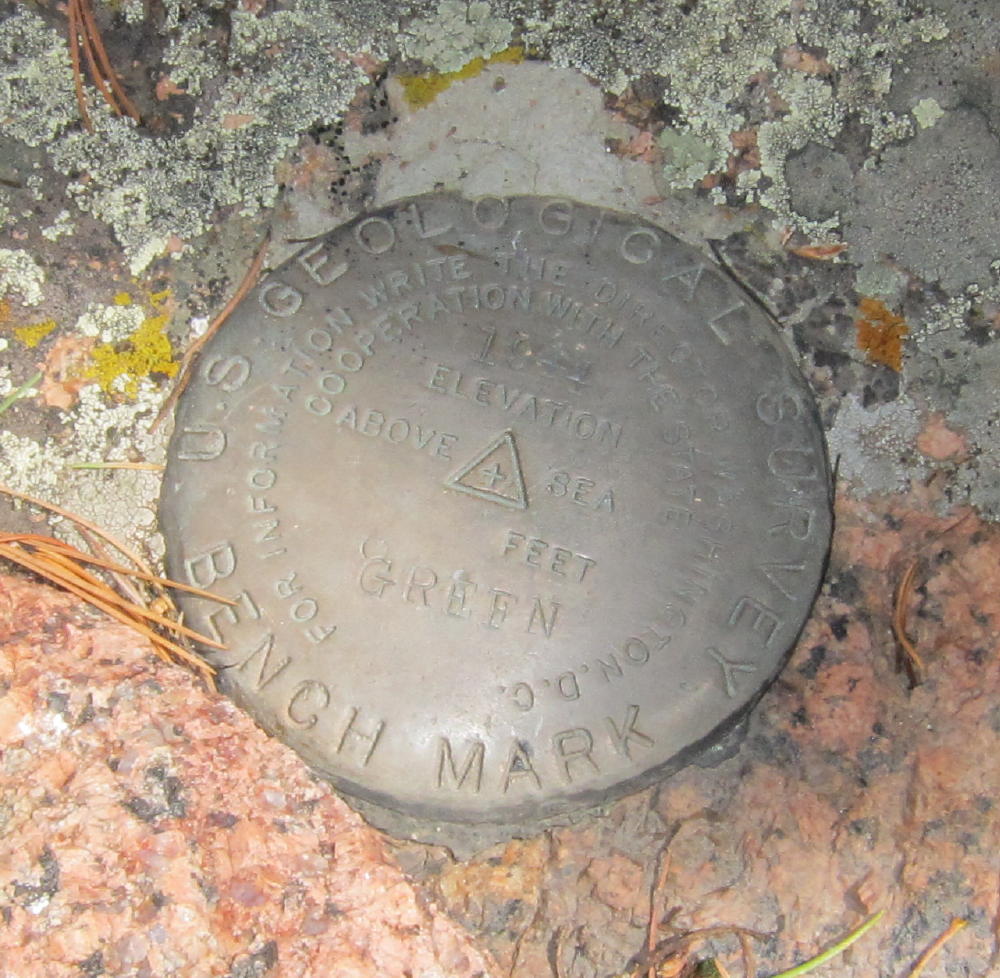
    When descending, try not to be too creative – there surely are many other workable routes than the South Ridge, but it would be easy to get off course in bad weather or after sunset. GPS is very useful for accurate backtracking.

    Beware of hunters in the fall – there are deer and elk up here. I met some courteous bow hunters the day I climbed on September 20.

    73

    George Carey Fuller
    KX0R
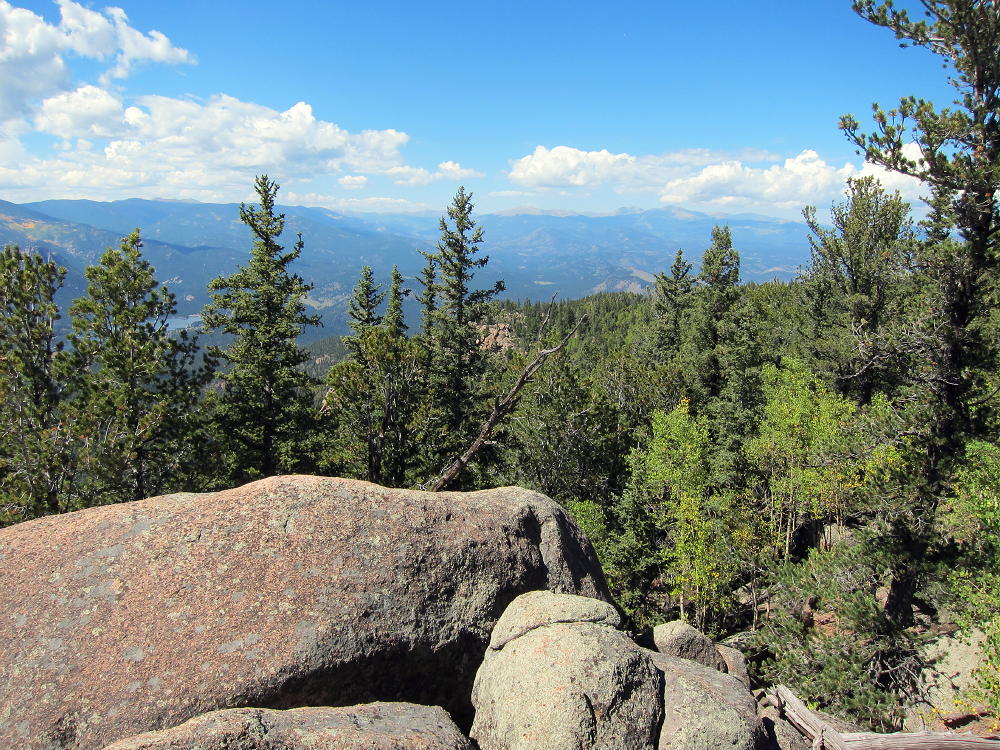
    Green Mountain View Northwest
    Green Mountain View Northwest
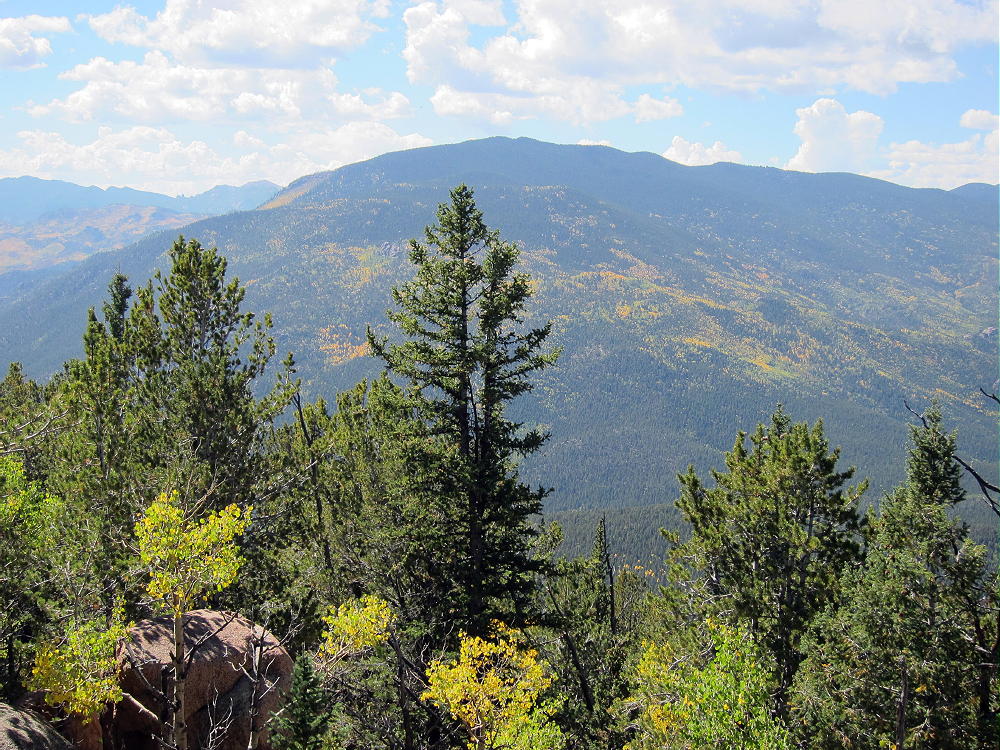
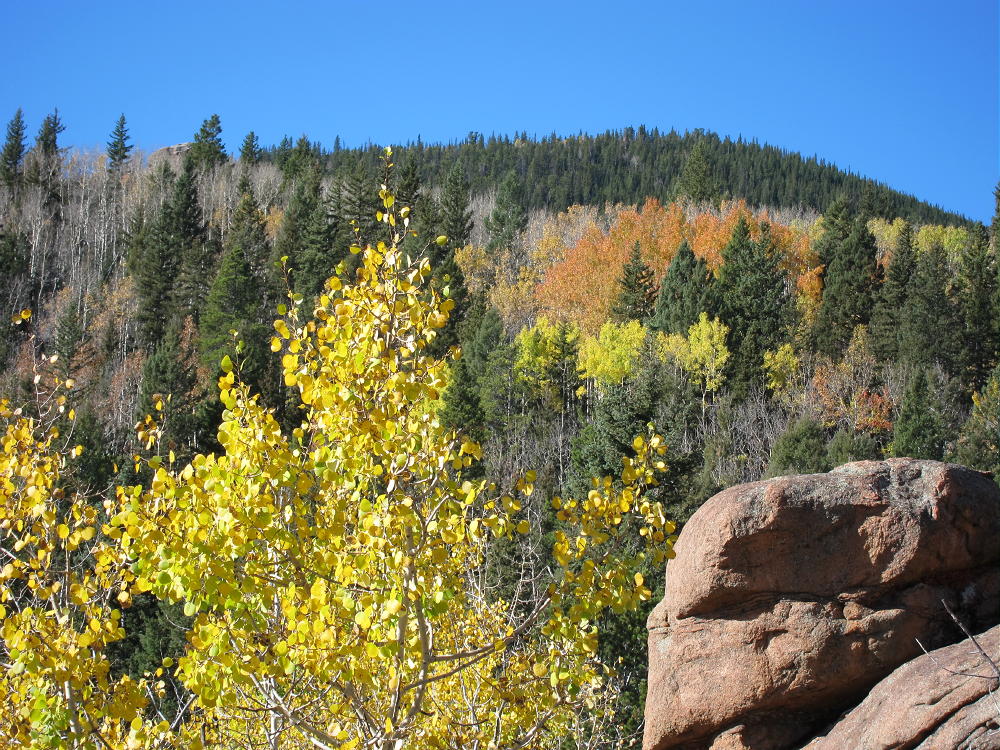
    Green Mountain Aspens
    Green Mountain Aspens

    ATTENTION !! WARNING !! There are old mountaineers, and bold mountaineers… there are no old-bold mountaineers. Hiking and mountain climbing are potentially hazardous activities particularly in Colorado with its extreme elevations. I am not accepting responsibility for any death or injury resulting from activations based on my trip reports. Proper training, experience, and personal capability assessment is required – enjoy!
  • WØC/FR-Ø32 (Buffalo Peak / Freeman Peak) – 3525 m / 11589 ft

    Buffalo Peak (Freeman Peak)
    W0C/FR-032
    3525 m / 11589 ft
    First Activation
    Oct 5, 2014

    by KX0R

    Buffalo Peak, also called Freeman Peak, is a broad, prominent summit in the Pike National Forest, a couple of miles south of Wellington Lake. It’s about three miles inside the Lost Peak Wilderness, and at 11,589 feet, it’s the highest point in Jefferson County. Some time ago I found that it had not yet been “activated” in the SOTA (Summits on the Air) program. Since I started climbing and activating SOTA peaks in 2013, I’ve particularly enjoyed doing “first activations” of local summits. Since the SOTA program has been going for several years, most of the easy, accessible summits have been activated many times, but there are still many peaks in our state that have never been put on the air within the SOTA program.

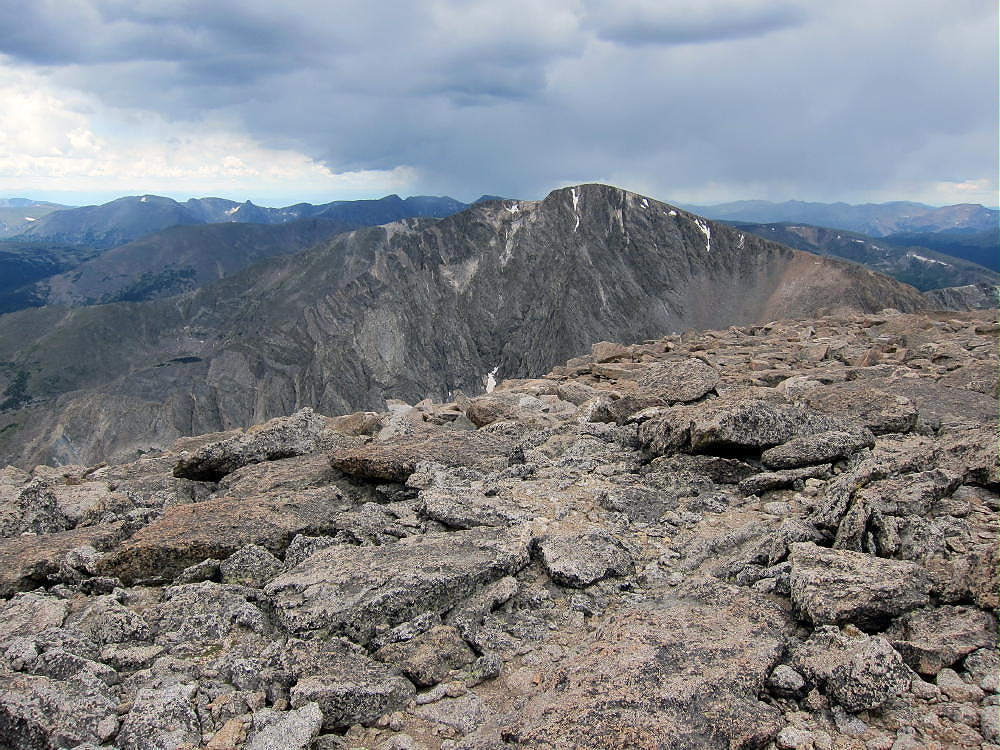
    Buffalo Peak from Green Mountain
    Buffalo Peak from Green Mountain

    I decided it was time to get up there before the route was buried under snow for the winter. I had seen Buffalo first-hand when I first-activated nearby 10,421’ Green Mountain W0C/FR-044. I studied the topo map, which shows no trail up Buffalo; but a reasonable-looking ridge runs 3000 vertical feet in 3 miles up to the summit from Stoney Pass at about 8,500 feet. I knew my VW bug could do the road, although it is a “first gear grade” part of the way. Sometimes climbing a high forested ridge is not too bad – there are game trails, and the slopes are reasonable to climb in good weather. Right before I went down there, I read an online trip report by two tough young ladies who climbed Buffalo in the snow in late October 2013. They pulled it off with no map or GPS – why? – but they posted wonderful photos and clearly “aced it” – I decided to do it. The ladies warned that it was a steep “bushwhack” route most of the way. I posted my “Alert” on the SOTA page, set the alarm for early, got my stuff ready, slept, and drove to Stoney Pass.

    Even though it was a perfect Indian Summer day, there was no one at the pass. I locked my GPS on, headed west, up through the easy woods, and glanced at my map as I started up the huge, steep ridge. Gradually the grade increased, and I tried to stay on the faint game trails, dodging numerous downed trees. In less than an hour my GPS said I’d gained 1000 feet.

    Buffalo Peak East Slopes Route
    Buffalo Peak East Slopes Route

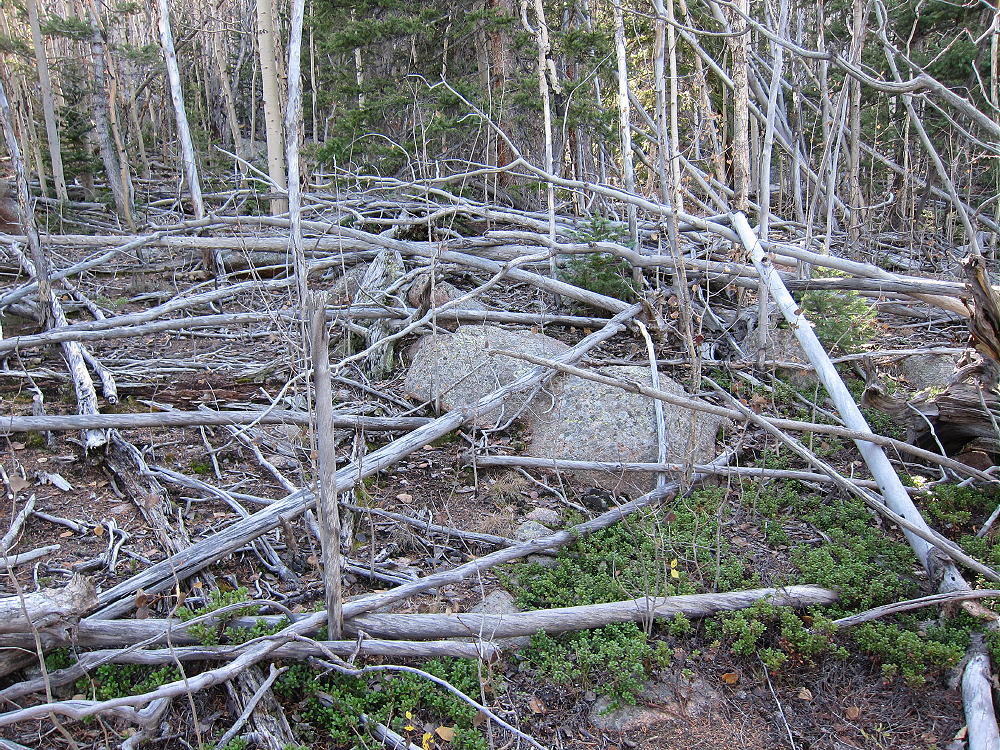
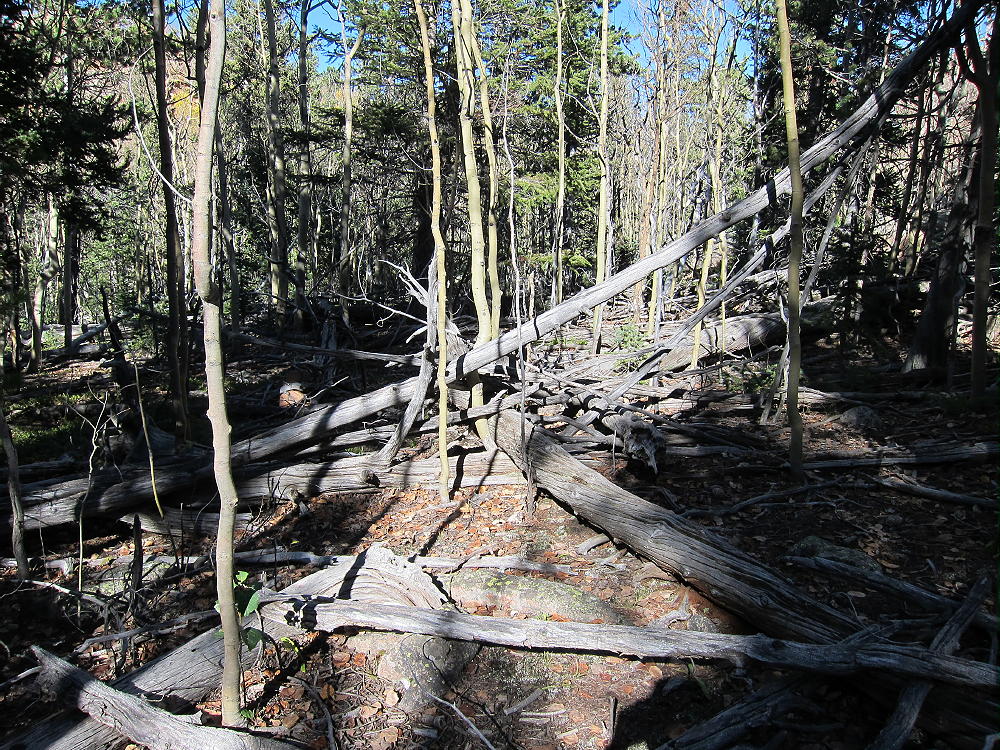
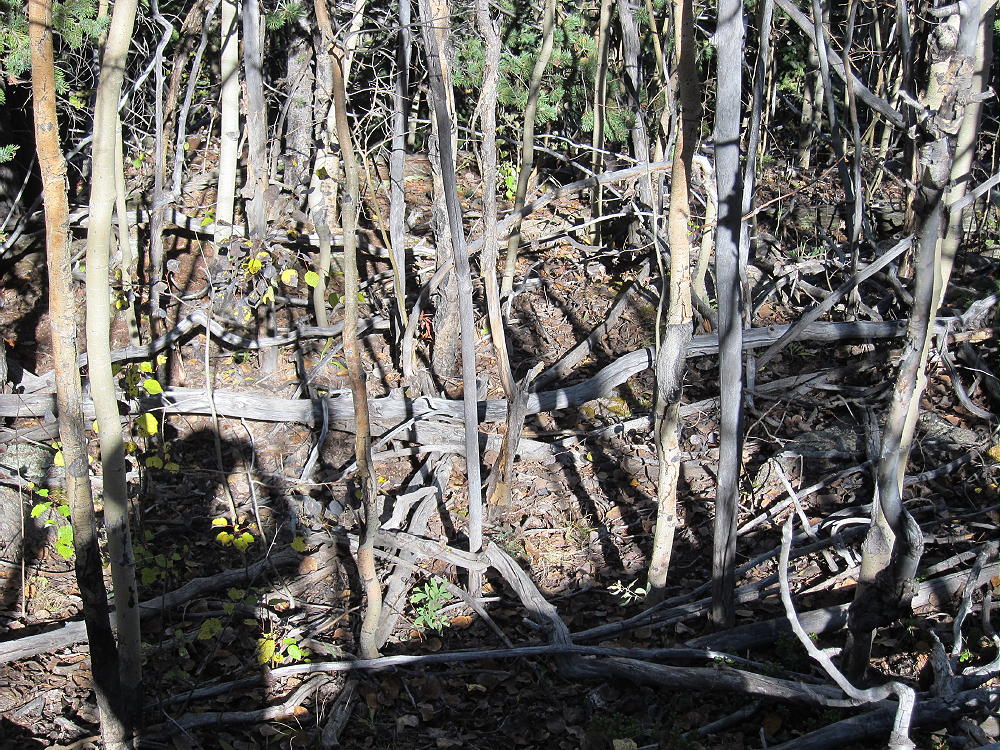
    I noticed than there were more and more aspen trees, and fewer lodgepole pines…for the next mile I climbed through endless thickets of dead and live aspens, often with so many fallen trees and dead standing trees that passage was possible only in zig-zag fashion.

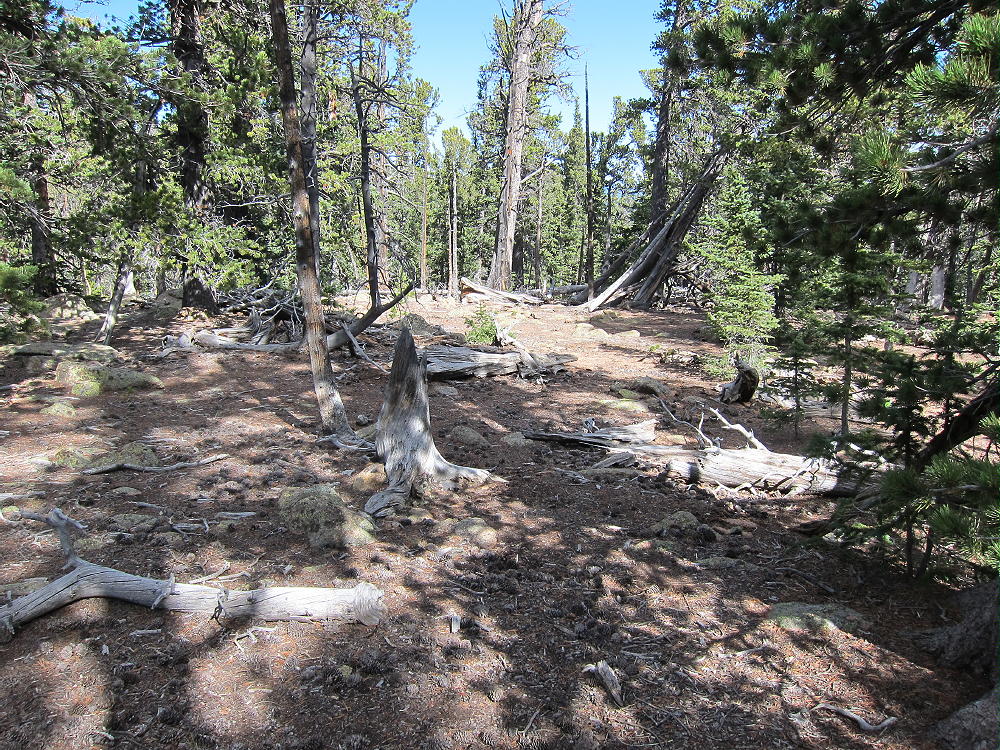
    I was glad that I’d left my 4-foot Black Widow fishing pole at home – I needed both hands to deal with the rocky 3-dimensional thickets I had to traverse. At about 10,200 feet the aspens were no longer a problem, and the deep forest became more open and easier to climb through; but the grade was unrelenting.

    Buffalo Easy Sub-Alpine Route
    Buffalo Easy Sub-Alpine Route

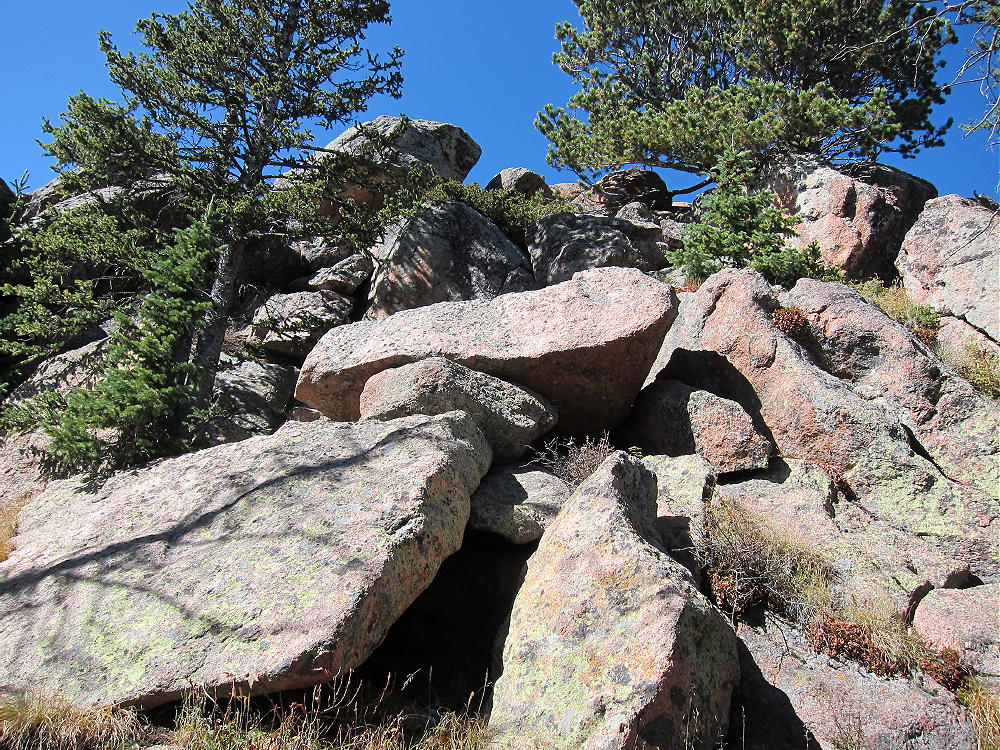
    At 11,000 feet everything opened up, the grade decreased, and I was cruising toward the summit. I had to bypass the south summit and then find and climb the north summit; that turned out to be easy class 3 – the route requires a scramble up about 30 feet.

    Buffalo Easy Fun Summit Pitch
    Buffalo Easy Fun Summit Pitch

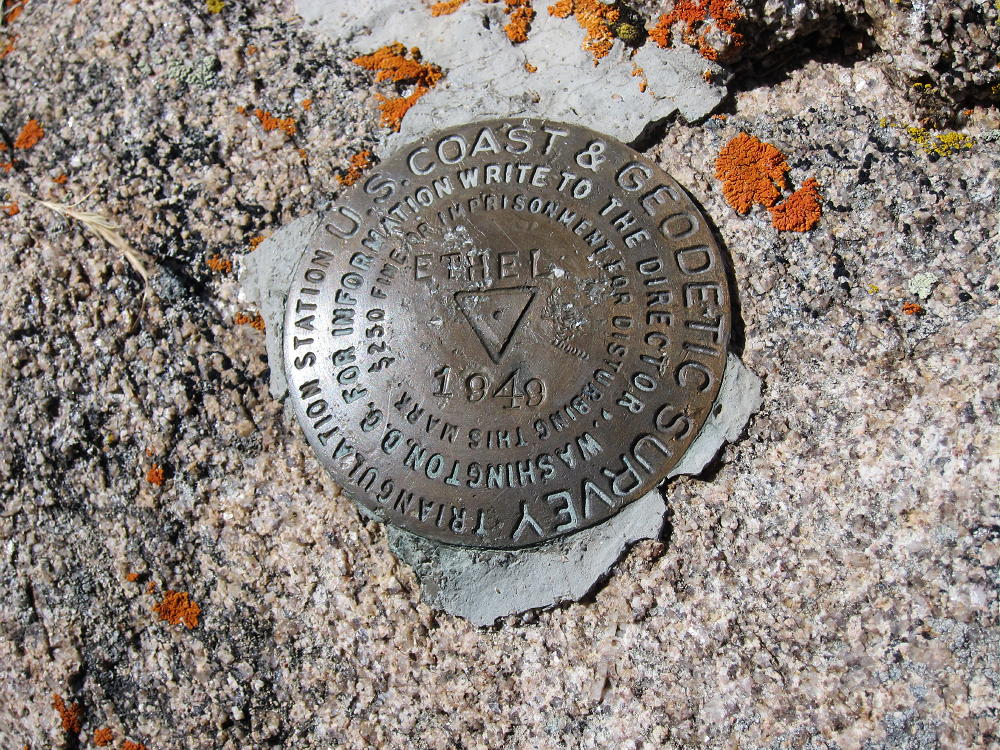
    Then I was on top of a huge elongated orange granite ridge, and the summit rock was right there! The 360-degree view was so incredible I didn’t want to look at first! There was a notebook in a water bottle under some rocks – I opened it – the first signature was Jennifer Roach, guidebook author and wife of climber-author Gerry Roach. Only a few people had signed in 2014 – and 2013, etc. The brass USCGS primary triangulation station bench marker said “FREEMAN”, 1953. This was it! I started getting ready to “activate” SOTA W0C/FR-032.

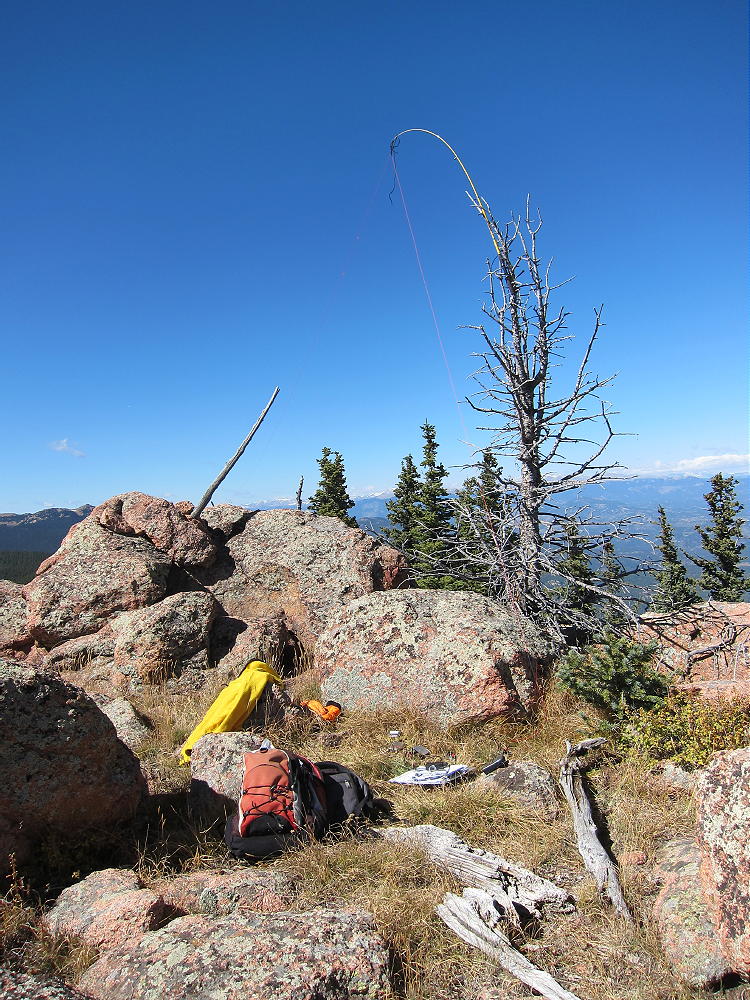
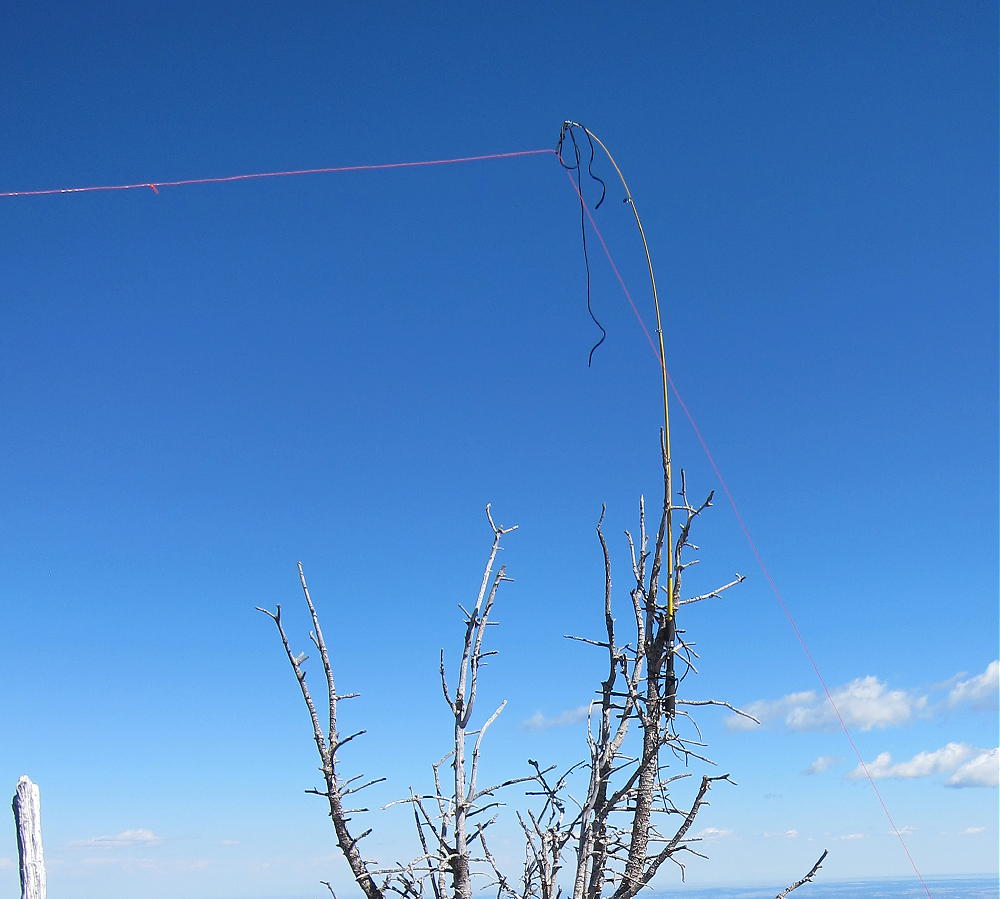
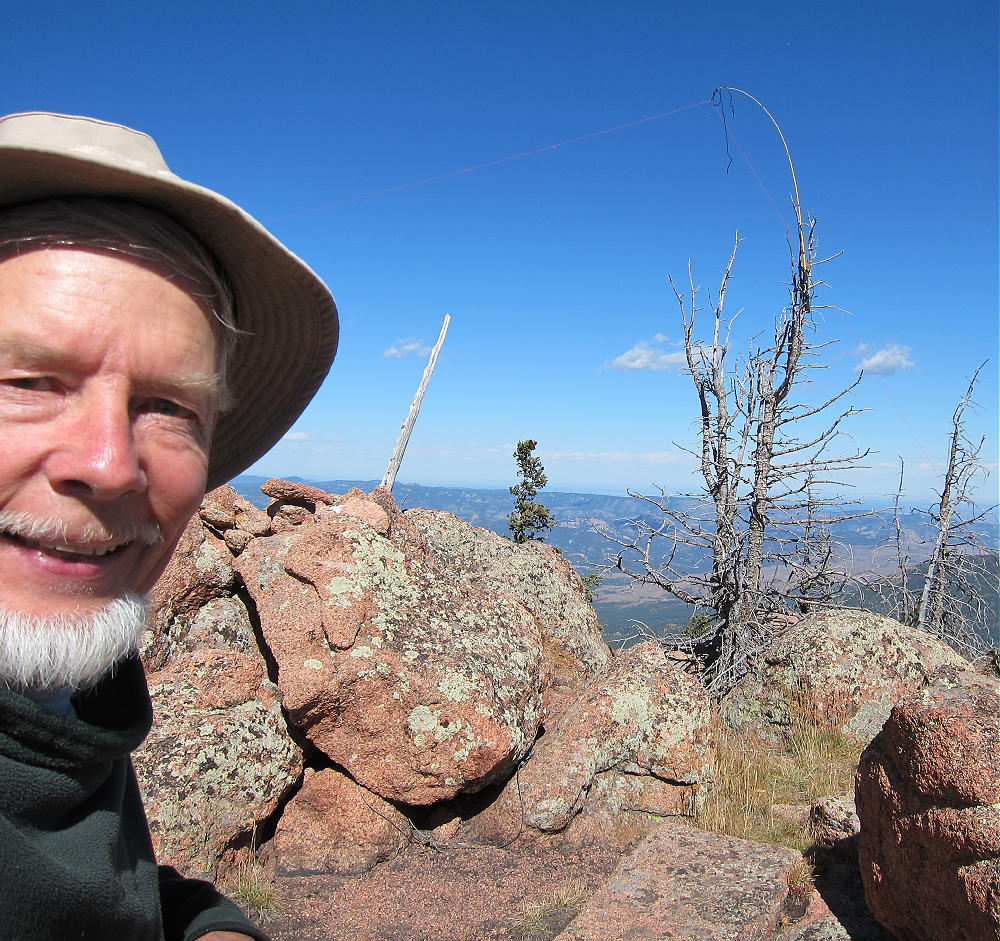
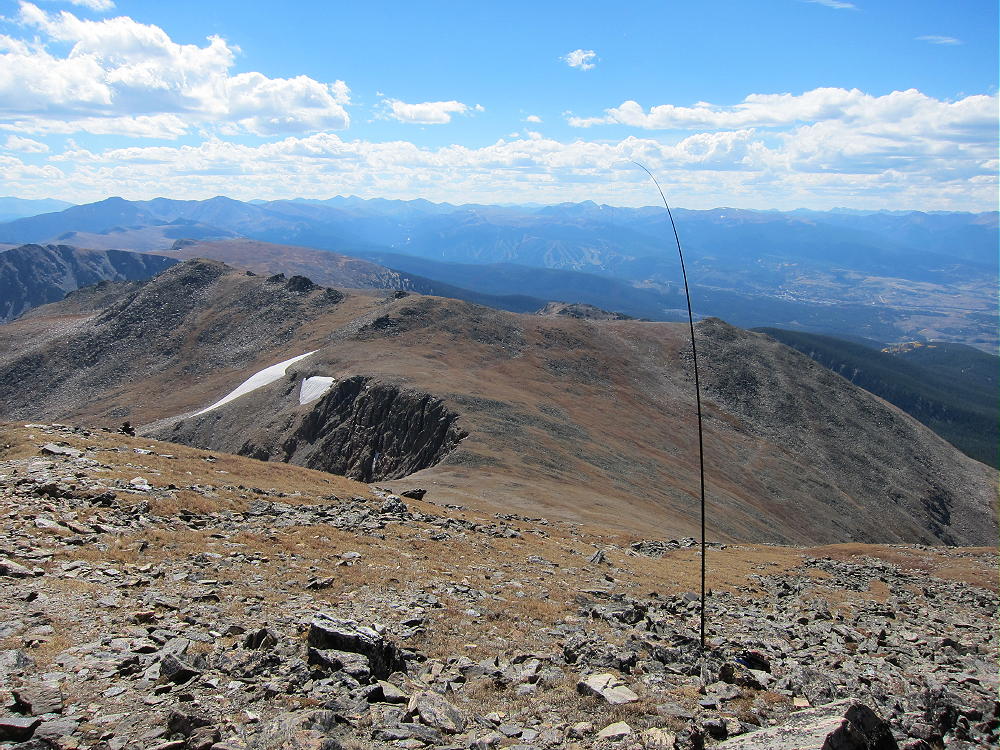
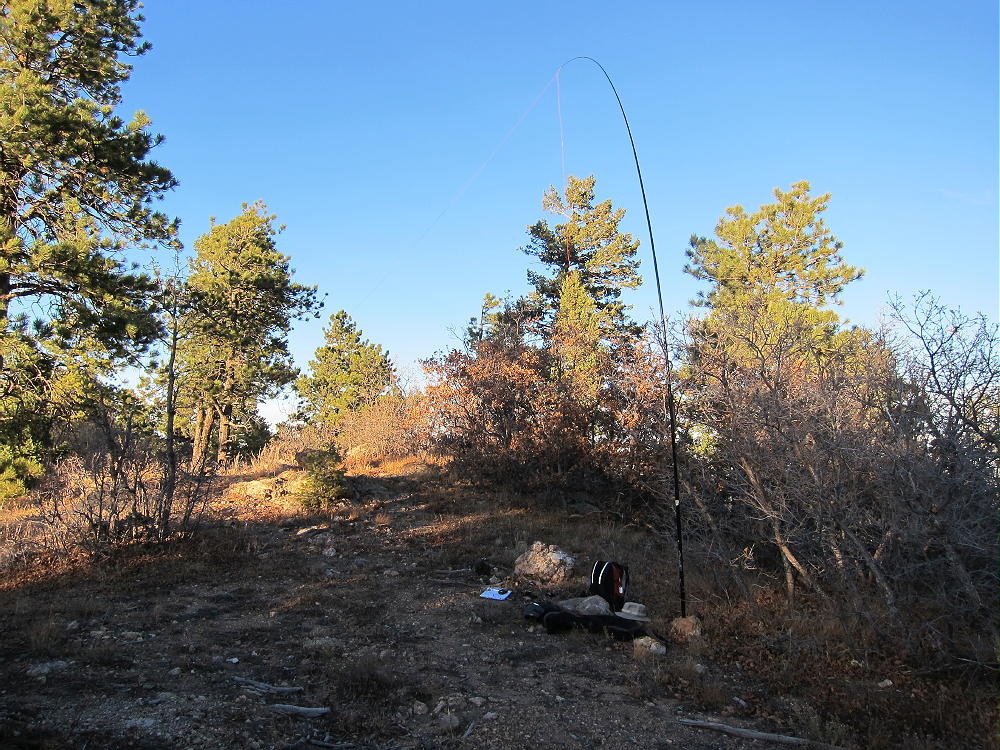
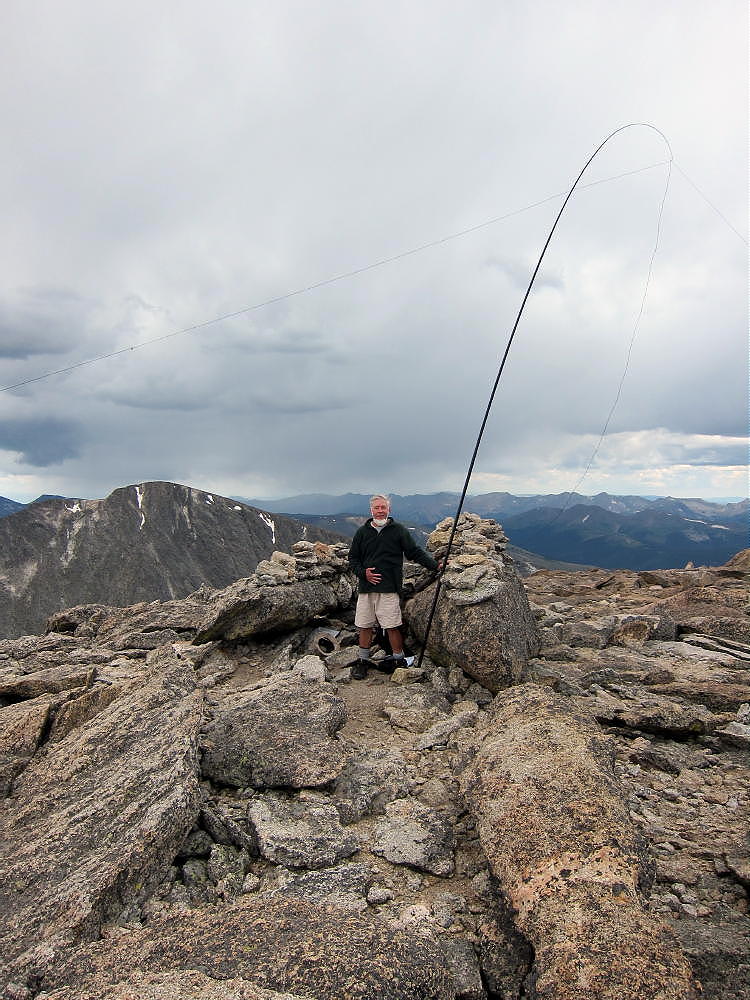
    I figured I wouldn’t need a tall pole for my antenna, because the summit is forested…but the trees on top of the exposed granite ridge-top are all small, and the good trees are over 30 feet down below. I wanted to operate from the top, because the weather was perfect. Then the answer gradually came to me in the thin air. I took my 6-foot telescoping fishing pole out of the pack – I usually bring it to throw a weight over a tree to pull up the wire – but this time I tied my antenna wire to the top of the little pole. Then I stood on a big rock, reached up as far as I could, and tied the pole into the top of the only significant dead tree near the top. I took the wire spool and moved carefully down the spectacular exposed ridge stringing out 67 feet of #24 teflon and another 20 feet of Dacron.

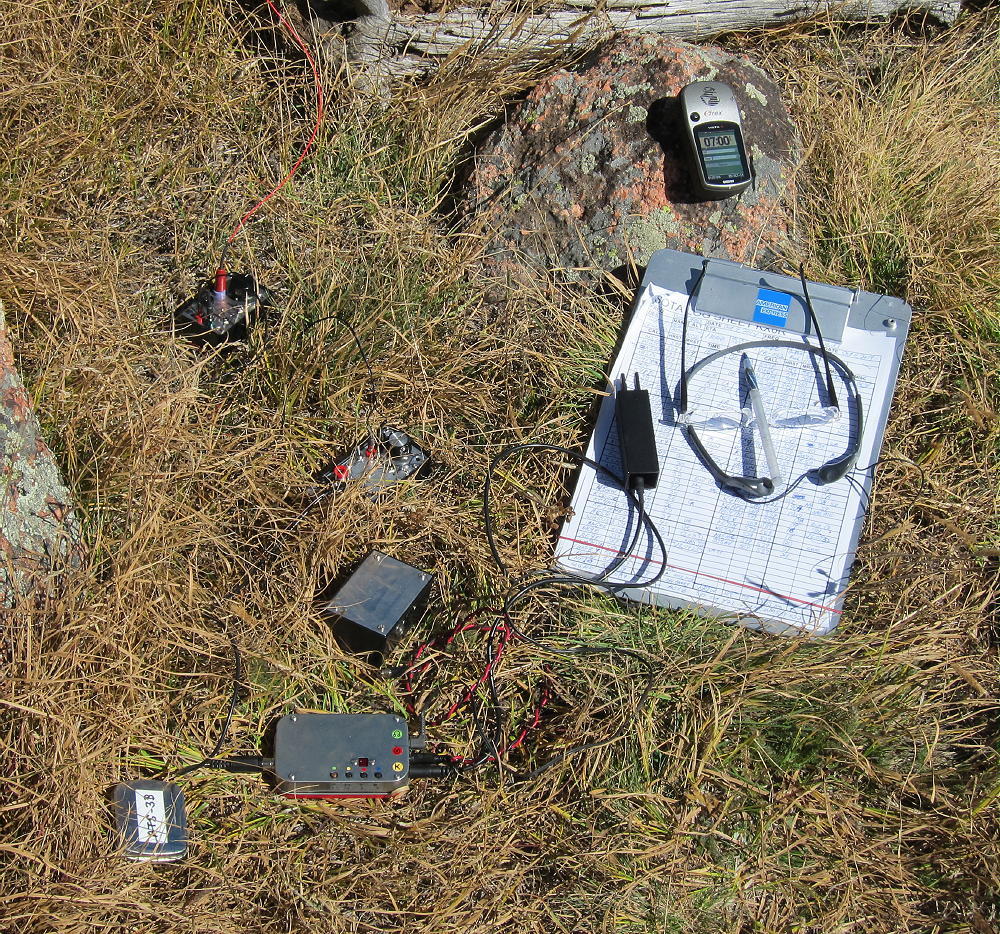
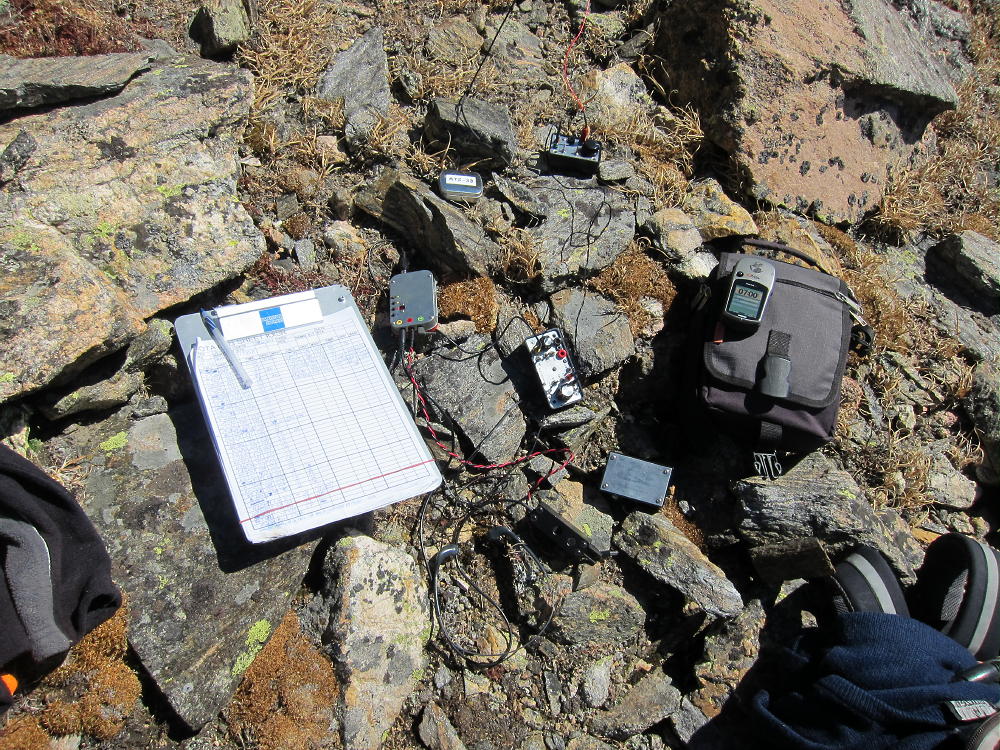
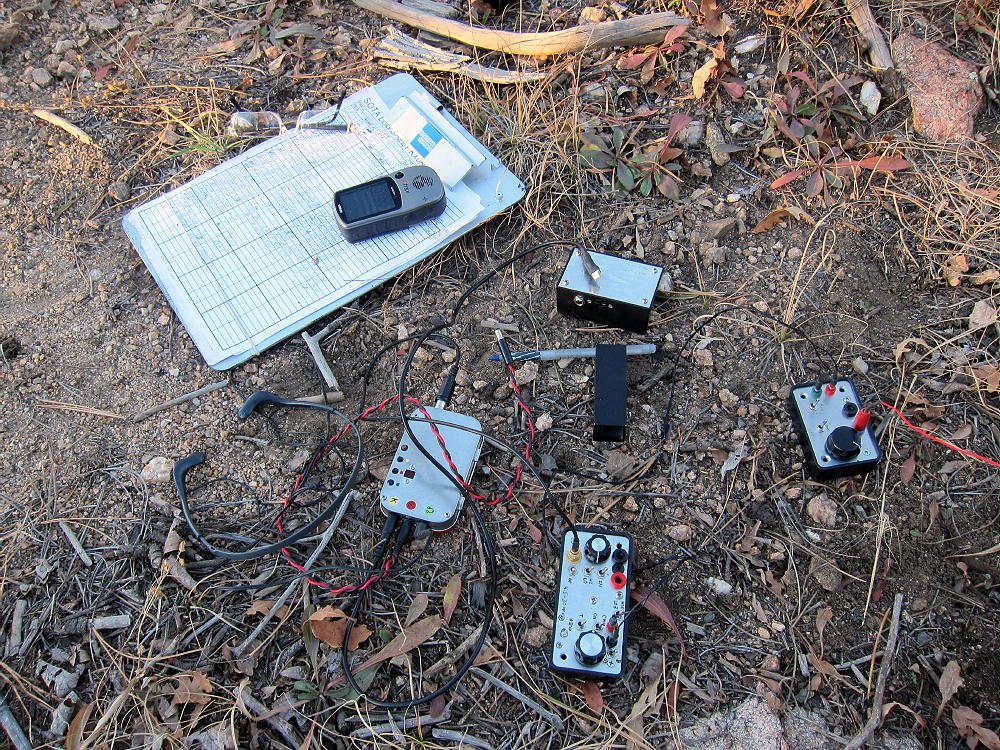
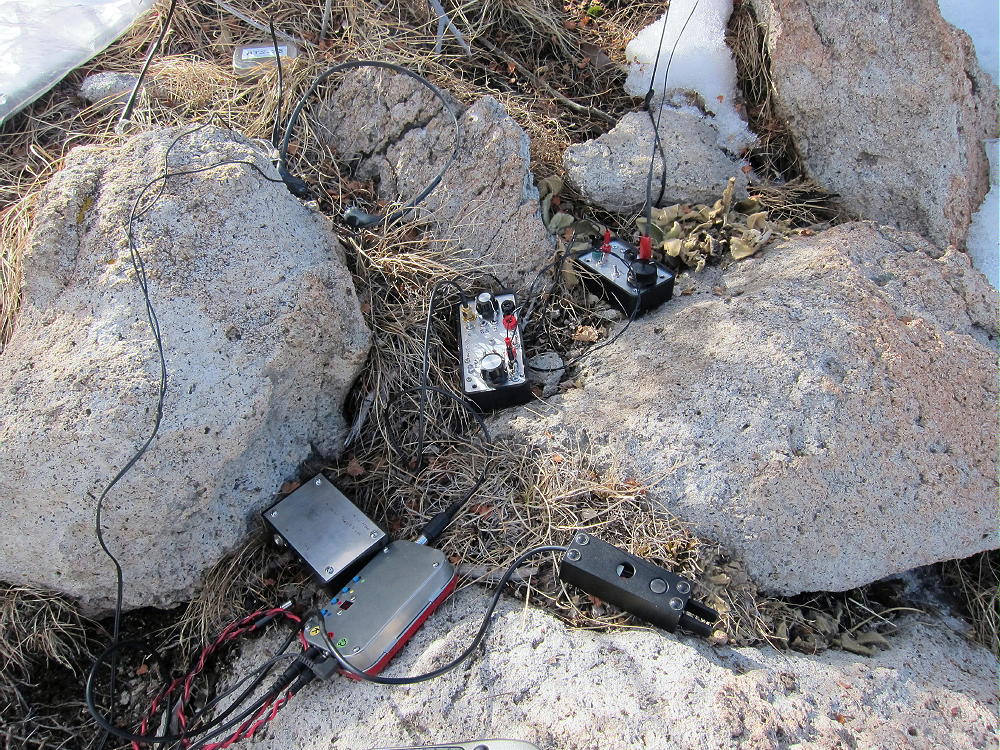
    I found a dead tree trunk and used that for the end support. I tightened it up – it held – and then I climbed back across the rocky ridge and adjusted the feed end so I could connect the tuner. I got out my gear, connected up, got slightly comfortable, pulled out the clipboard with the log, put on the phones, plugged in the Palm Paddles, set up the ATS-3B for 15M, plugged in the battery, and immediately head loud CW signals on 21.060. I adjusted the tuner for peak noise, finished the match with the LED bridge, and got on 21.063 with 5W. I called CQ and in about a minute there was a pile! The lash-up antenna worked just fine! QSO #10 was DJ5AV Michael – 579 him, 539 me – just fine. 20M was even better than 15; after that I opened the link in the antenna, tuned up on 17M, and got a few more. At the end DJ5AV got me again on 18.093 – 569, 539. There were 32 contacts.

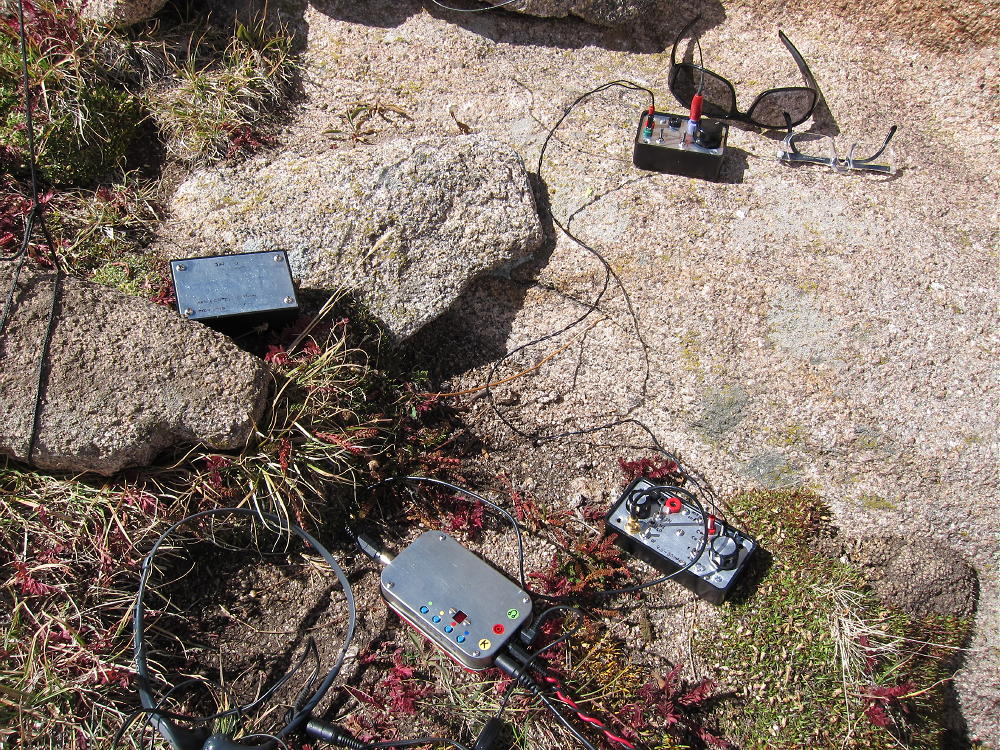
    Buffalo SOTA Activation Gear
    Buffalo SOTA Activation Gear

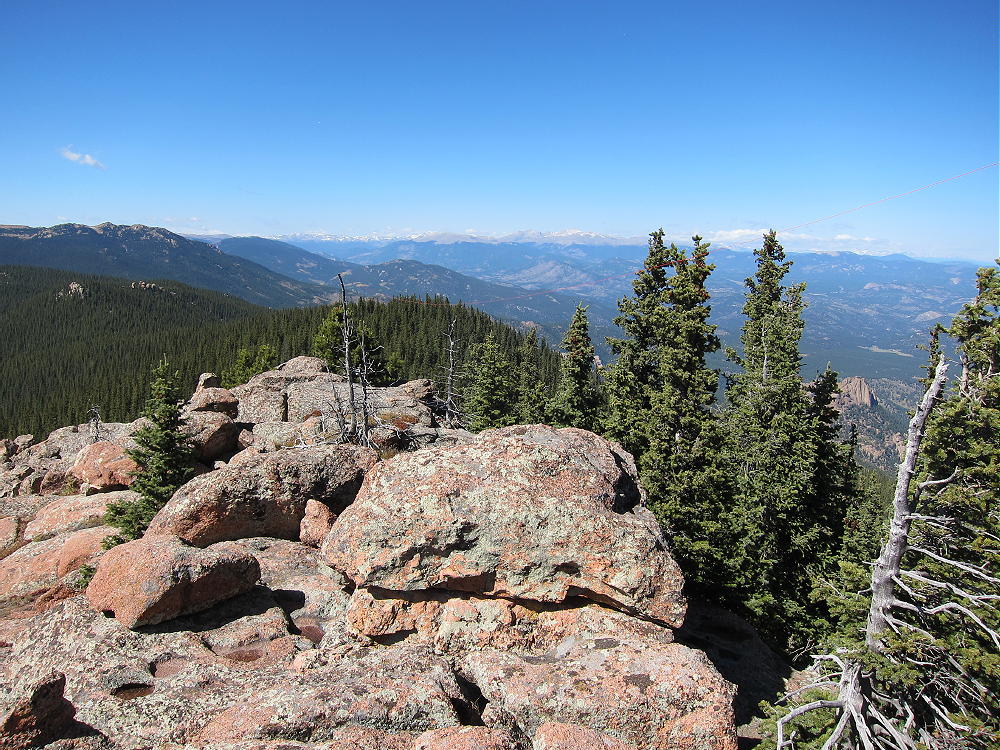
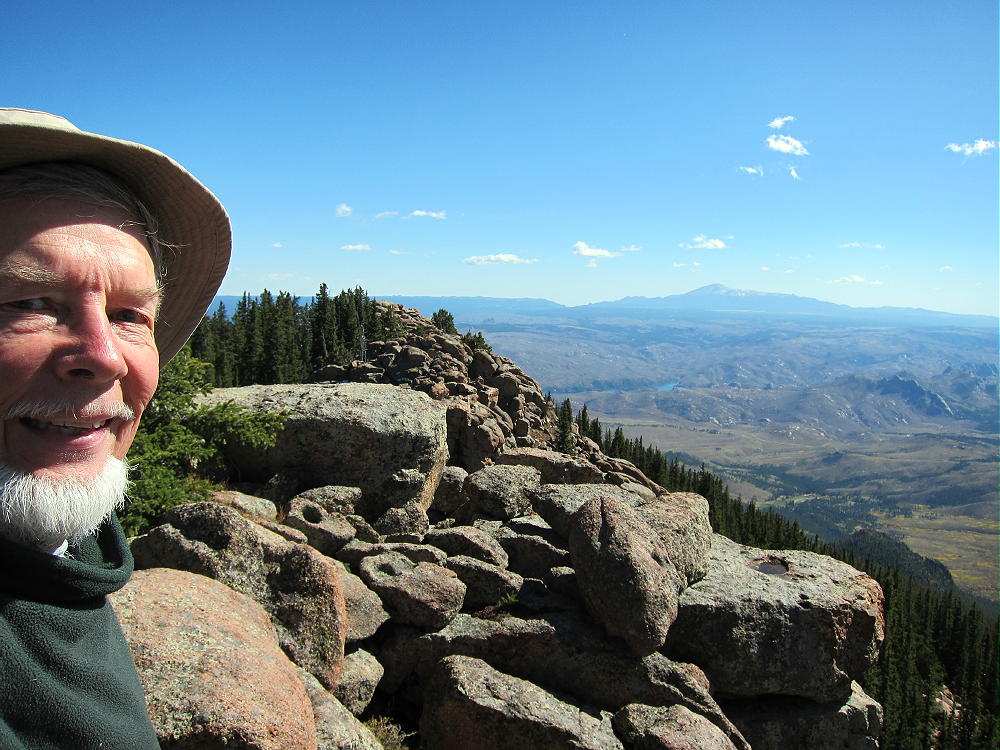
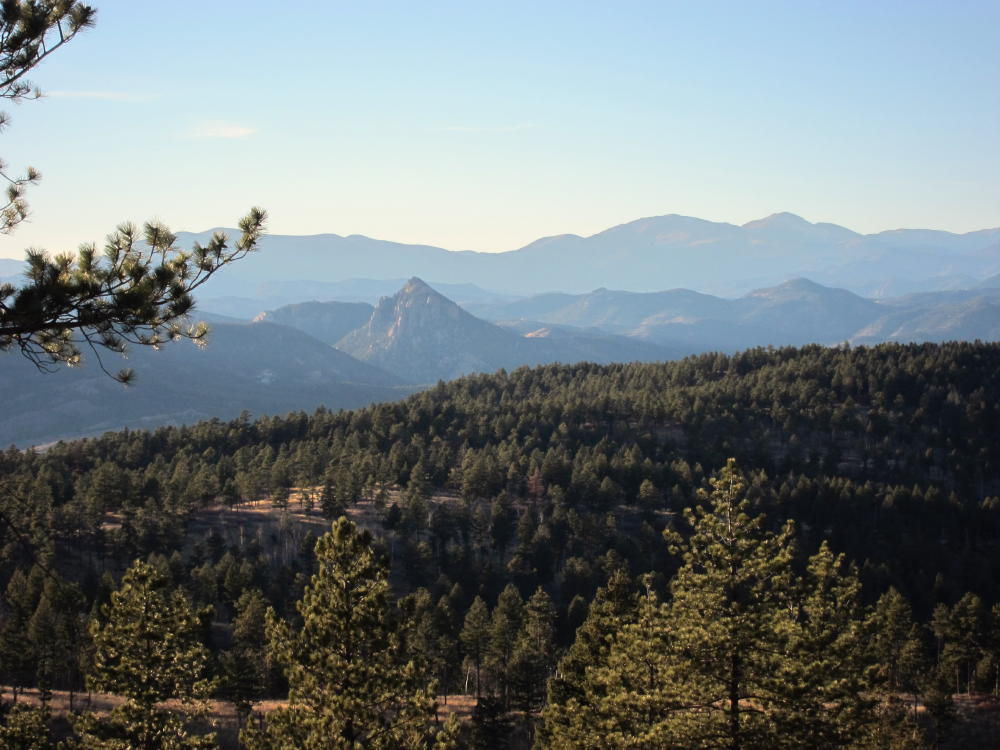
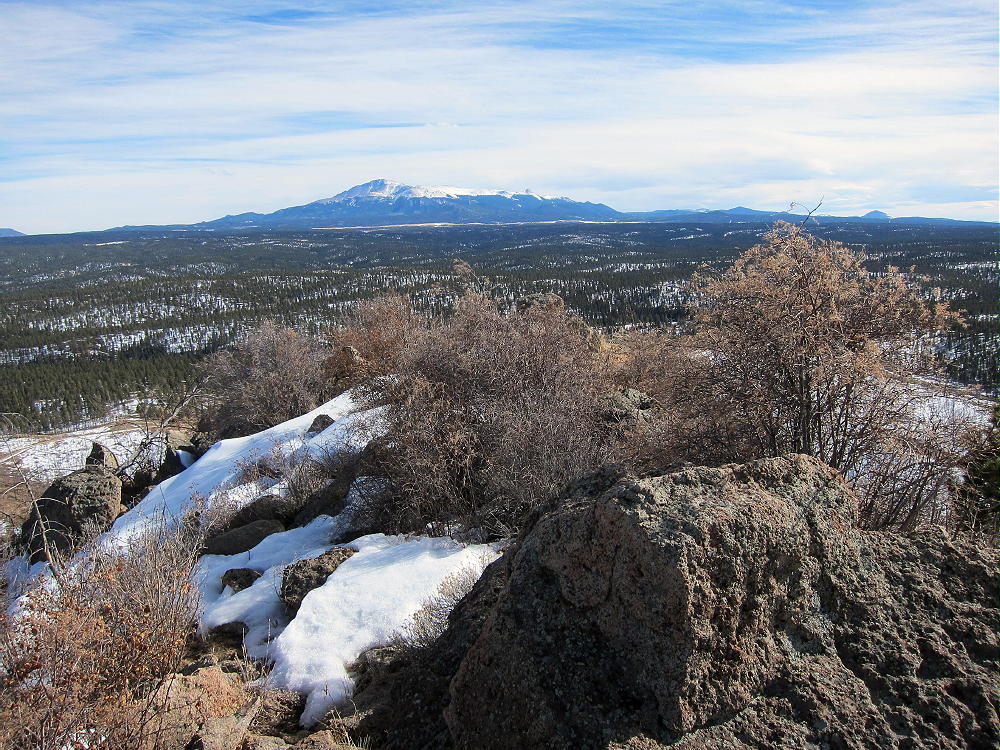
    I spent a while taking pictures, packing up, eating, and enjoying the stunning views: Pikes Peak, the Hayman Burn, Windy Peak, the Divide, Mount Evans area, the Front Range way up north, the Plains and South Denver, and the Platte River Canyon panorama.

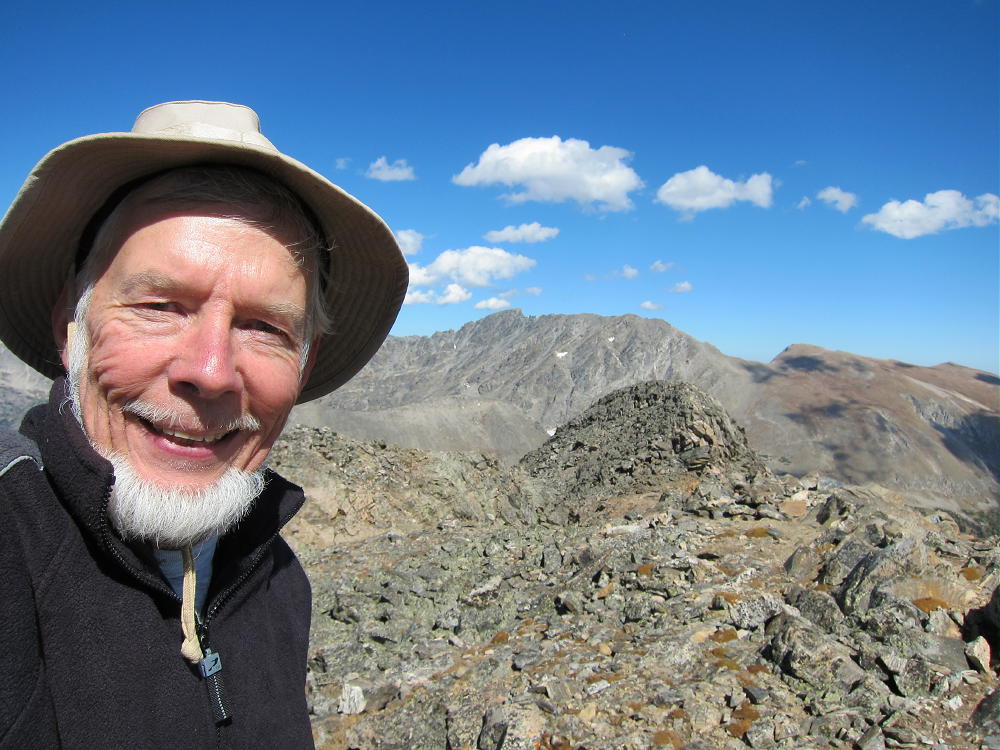
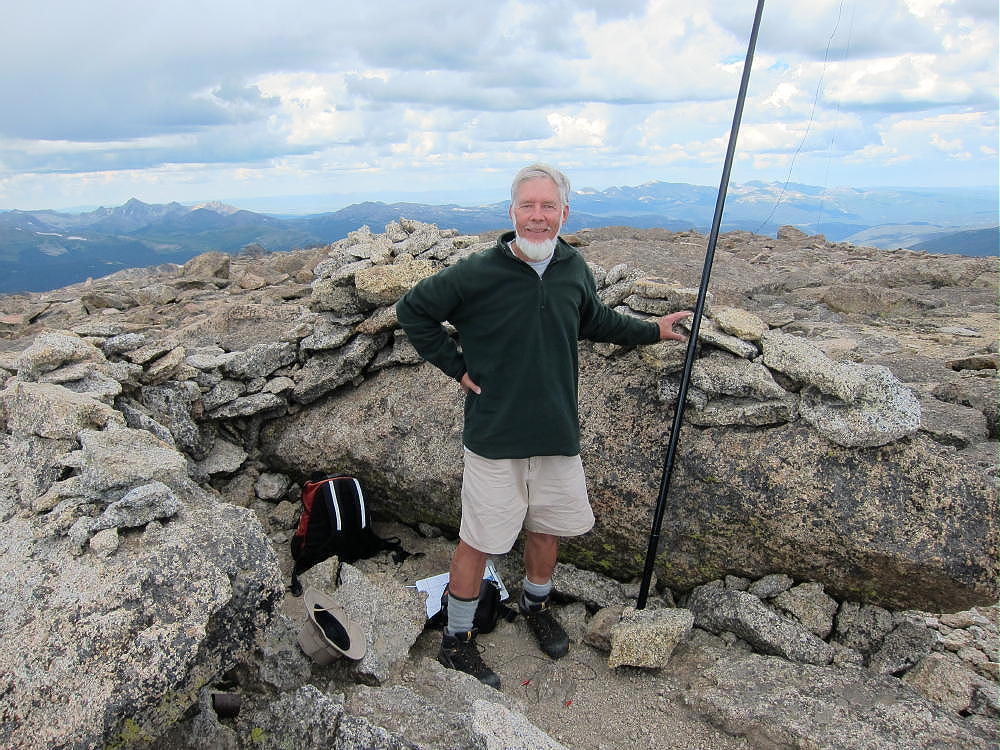
    KX0R Selfie on Buffalo - Pikes Peak
    KX0R Selfie on Buffalo – Pikes Peak

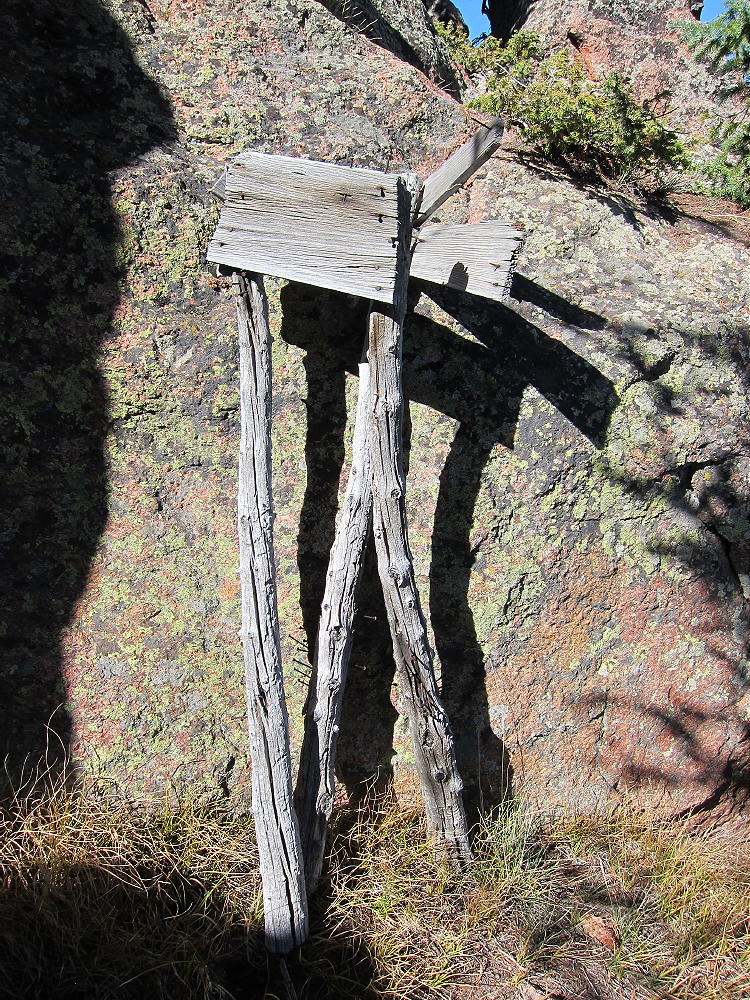
    When I climbed down off the rocks, I found the site-built tripod that the USCGS surveyors built for their instruments back in 1953 – it was propped against the rocks, over 60 years later.

    USCGS Triangulation Platform from 1953
    USCGS Triangulation Platform from 1953

    On the way down the steep ridge, I used my GPS to backtrack, since it’s easy to get off-course going down in the thick forest, where you can’t always tell where you’re going. In a couple of hours I was back at the car; I was home in time for dinner.

    Buffalo Peak was another incredible SOTA Classic!

    George Carey Fuller
    KX0R

    KX0R with Improvised HF Antenna on Buffalo
    KX0R with Improvised HF Antenna on Buffalo

    ATTENTION !! WARNING !! There are old mountaineers, and bold mountaineers… there are no old-bold mountaineers. Hiking and mountain climbing are potentially hazardous activities particularly in Colorado with its extreme elevations. I am not accepting responsibility for any death or injury resulting from activations based on my trip reports. Proper training, experience, and personal capability assessment is required – enjoy!
  • WØC/FR-Ø15 (Jasper Peak) – 3931 m / 12923 ft

    W0C/FR-015
    Mount Jasper
    3931 m / 12923 ft
    First Activation Sep 27, 2014

    By KX0R

    Mount Jasper is a challenging, potentially fun summit in the Indian Peaks Wilderness, high on the Divide, directly west of Boulder, Colorado. This is a wild summit with several ascent routes, and you will earn all of your 8 SOTA points if you manage to activate Jasper! I tried to activate it in 2013, and I made it to the top – but the weather looked tricky, so I descended without activating. This year I waited until a perfect day came along in late September, and I totally enjoyed activating this nice peak for the first time.

    Jasper First Activation South Side
    Jasper First Activation South Side

    There are some resources online with climbers’ trip reports, and Jasper is detailed by Gerry Roach in his book on the Indian Peaks. Study topo maps and climbing info before attempting this peak. There are no marked trails, only paths used by climbers; sharp navigation and good off-trail hiking skills are critical. In particular there are only a few good descent routes leading down to the east. Your ascent may take longer than you expect. I have climbed Jasper several times by different routes over the years, so I knew what to expect. It’s only about 8.5 miles round trip, with about 2800 vertical feet of gain, but much of the route is in the rocks.

    Man on Jasper Sub-Peak
    Man on Jasper Sub-Peak

    The standard access is from the Fourth of July Trailhead, located about 7 miles up rough dirt road 111 west of the town of Eldora (not Lake Eldora) – several miles west of Nederland. On busy weekends the parking spaces fill quickly. Start up the Arapaho Pass Trail, and turn left at the sign for Diamond Lake.

    Jasper Route from Arapaho Pass Trail
    Jasper Route from Arapaho Pass Trail

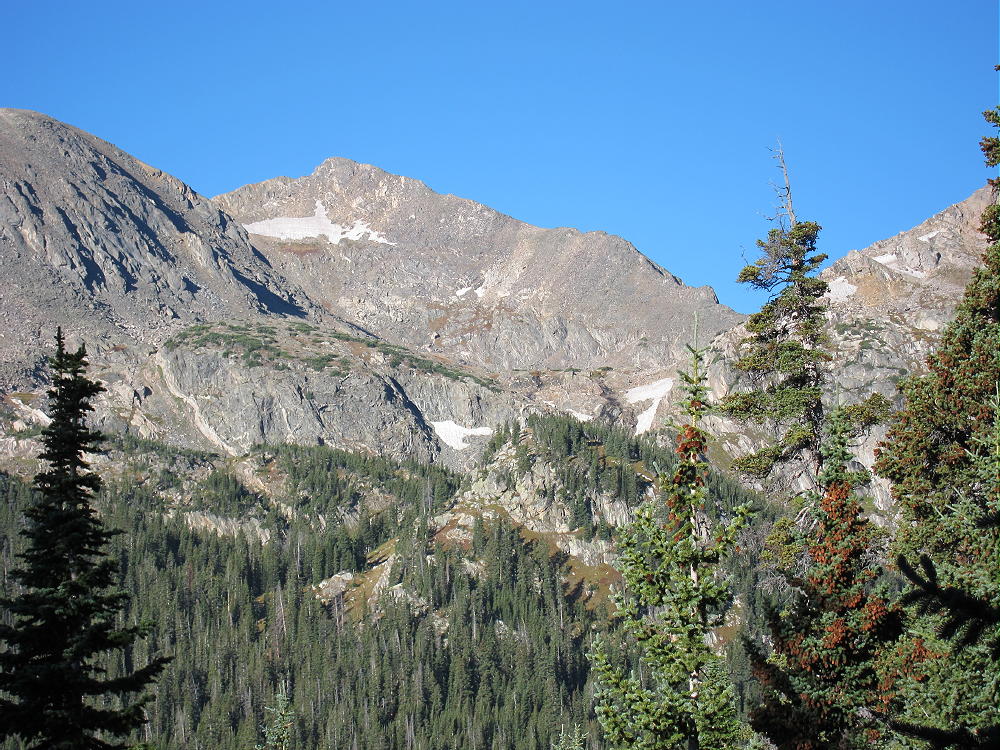
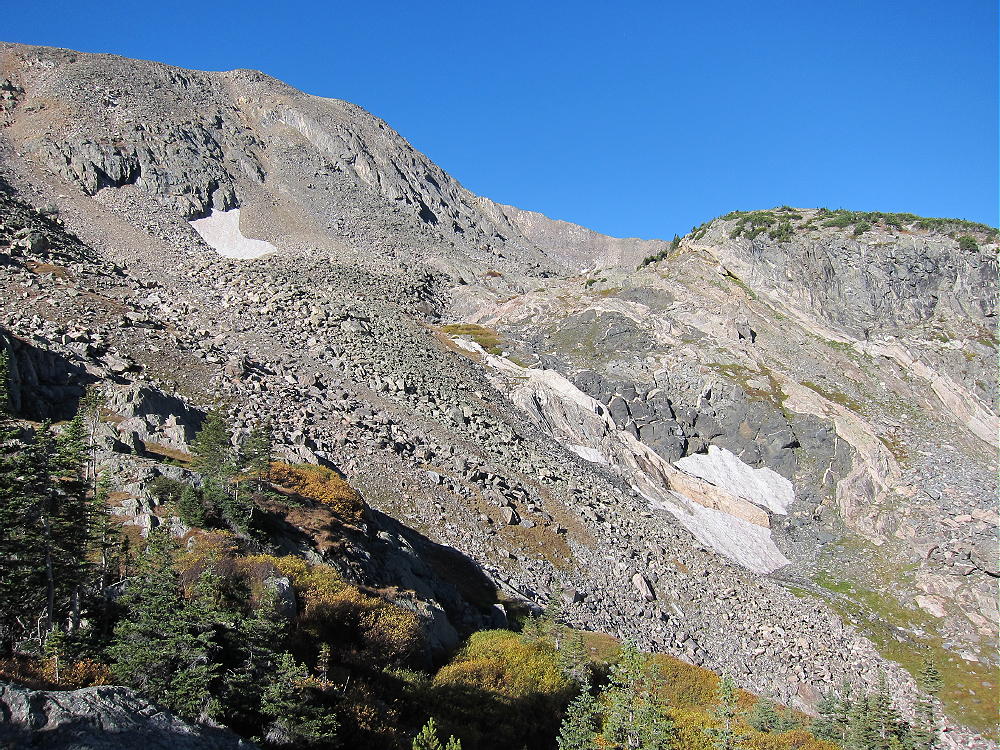
    Hike an additional 1-1/2 miles, until the route descends and crosses the main creek down in the valley. Cross the creek on a log bridge near a waterfall, leave the Diamond Lake trail, and head up the south side of the creek on a small path. Walk about 100 yards and then hike southwest on an unmarked, spotty trail up through the woods. Try to find and use game trails that run through the sub-alpine forest wilderness. Travel up the steep slopes to treeline, and then climb up several hundred vertical feet into a large cirque – stay on the south side as you head up toward this cirque.

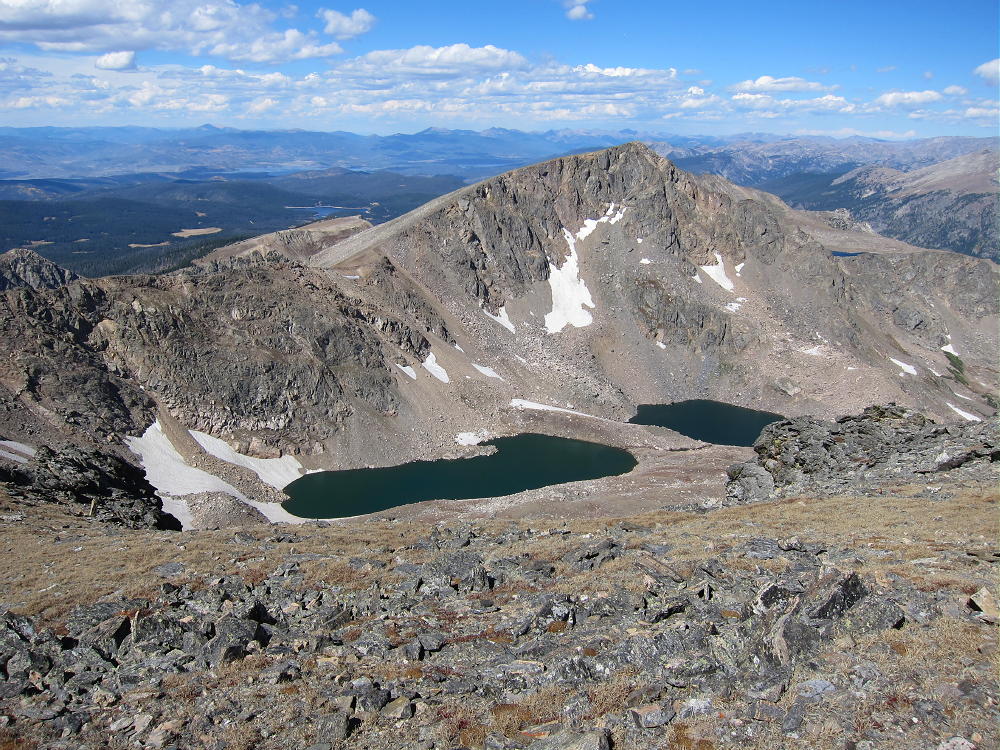
    Route to Deep Lake and Jasper
    Route to Deep Lake and Jasper

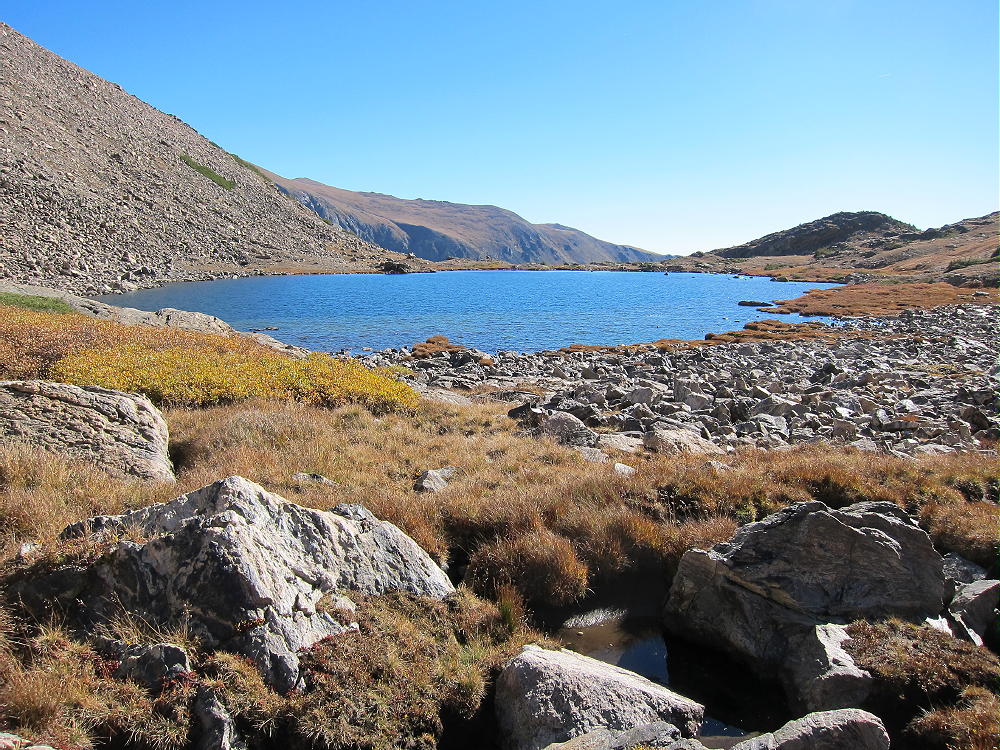
    No rock-climbing is required. This route is easiest in late summer – it holds snow very late. At about 11,400 feet, head toward the un-named lake at about 11550 feet. This lake is called Deep Lake by some. This is a very special place.

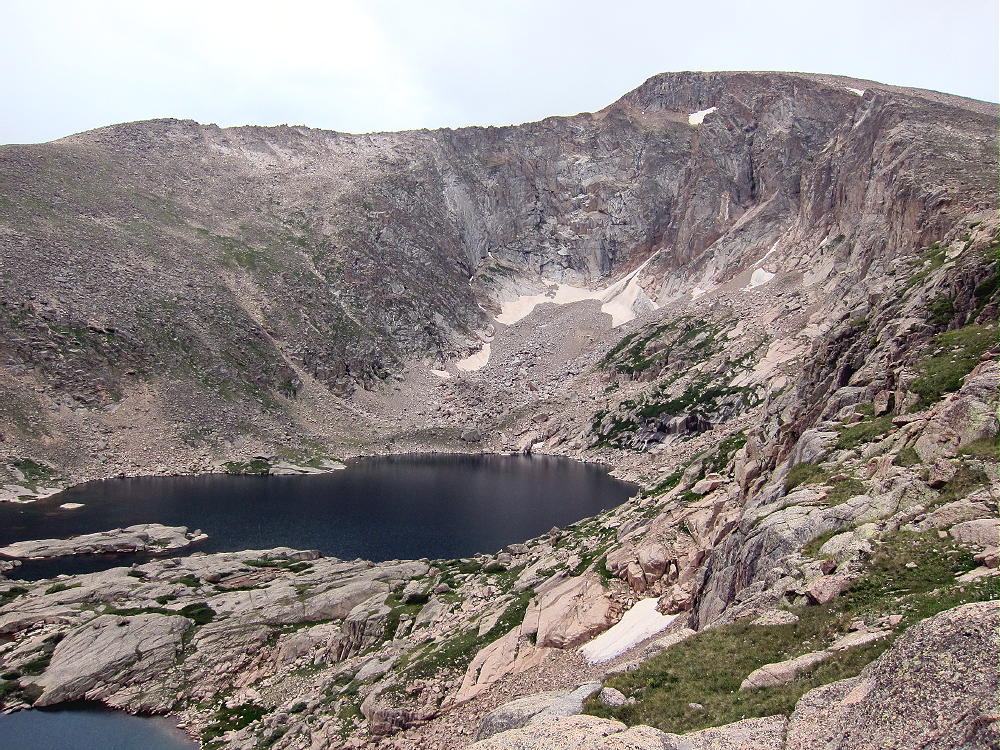
    View East of Deep Lake at 11550 ft
    View East of Deep Lake at 11550 ft

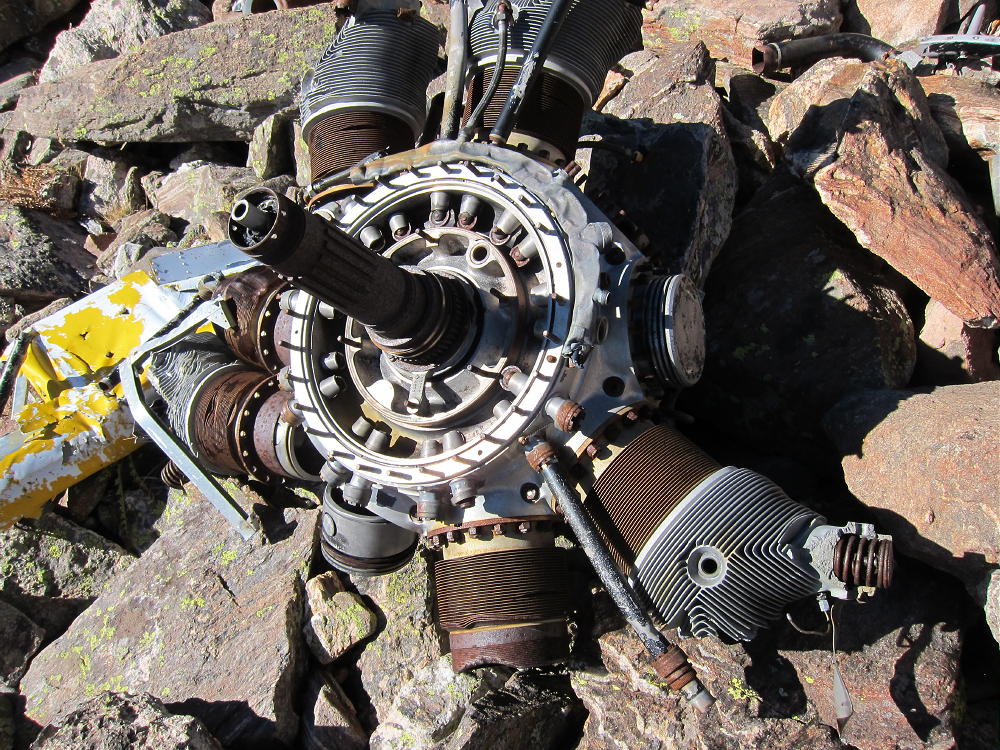
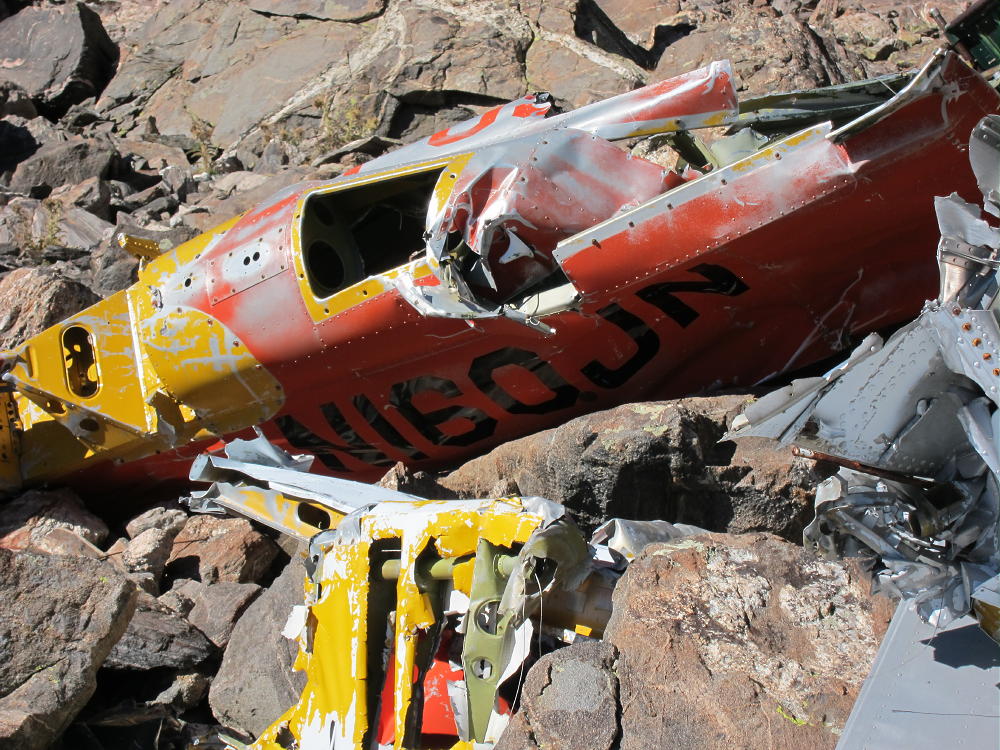
    The remains of a crashed single-engine airplane are located about 500 feet west of the lake.

    From the crash site, you can see your future high above – you need to decide whether to proceed. If the weather is good and you’re enjoying the rich off-trail experience of this corner of the Indian Peaks Wilderness, by all means climb on up to the summit! On the other hand, if there is any doubt, try it again another day. From the airplane wreck, you can choose one of two viable late summer or early fall routes:

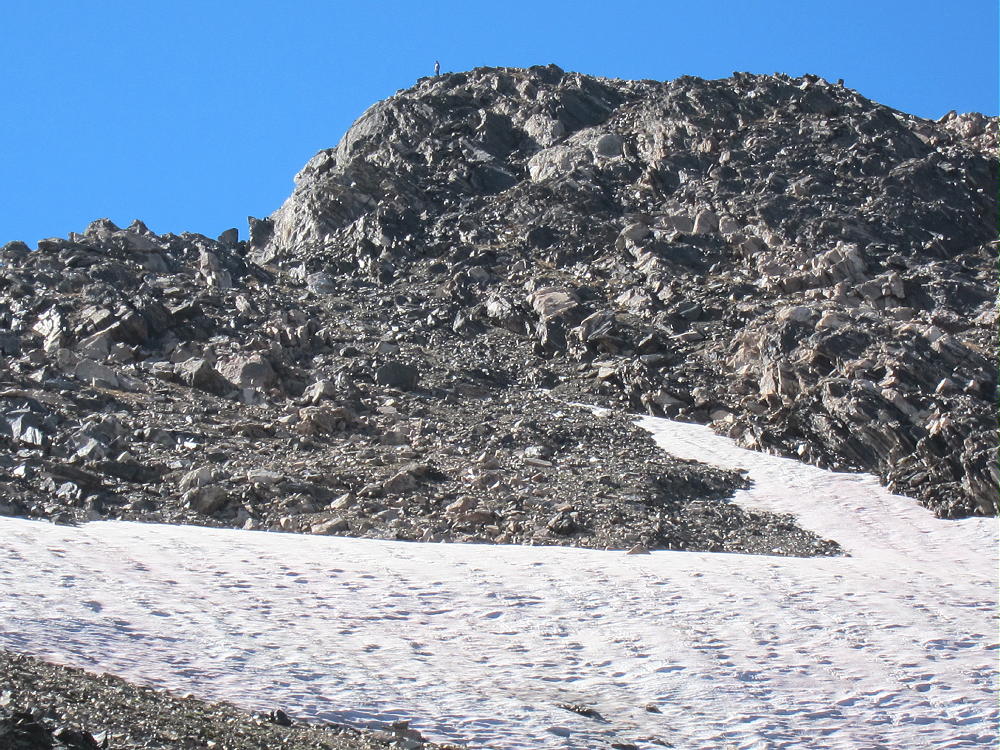
    1) Jasper Northeast Ridge – this is the long rocky ridge north of the Lake. It’s mostly a class 2 walkway up the dramatic ridge-top all the way to the summit. There are only a few spots where it approaches class 3, and there are ways around anything that seems tricky. The hardest part is climbing up to the ridge from the airplane. You will see climbers’ trails heading up through the rocks. If it’s really windy, the ridge might be rough or worse. This is an exciting climb with relatively little real exposure! At the top of the ridge you must go over a false summit to climb Jasper itself.

    Deep Lake and Jasper NE Ridge
    Deep Lake and Jasper NE Ridge

    OR

    2) Climb the valley to Jasper’s East Ridge – this pleasant ascent goes up progressively to a saddle at about 12,500 feet on the East Ridge. It’s mostly tundra at first, and it ends up on a pretty solid talus slope below the saddle. If there’s snow it would be more serious. From the saddle, head west up a climbers’ path along the ridge, and just to the right of the ridge, and climb 300 vertical feet up dirt, rocks, and scree to the northeast sub-peak. Head SW over the rocky sub-peak and climb a short slope up Jasper.

    Jasper North Slope Route
    Jasper North Slope Route
    Jasper East Ridge Route
    Jasper East Ridge Route
    Jasper East Ridge Climbers
    Jasper East Ridge Climbers

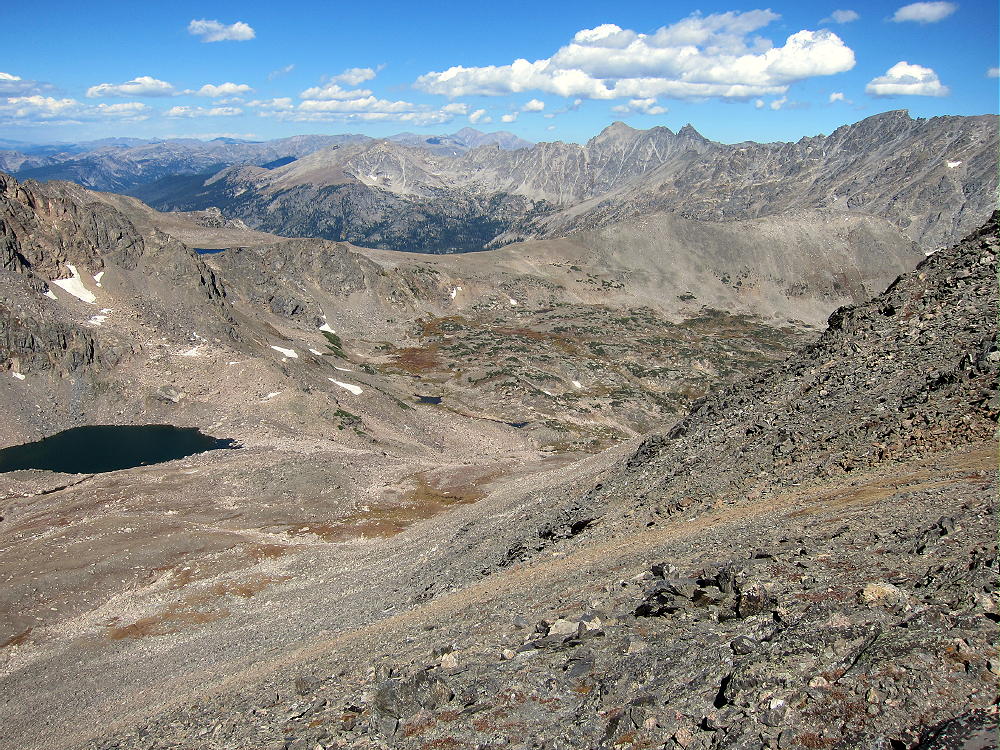
    The south and west slopes of Jasper are large grassy meadows. The West Slope and the Divide spread out for miles and miles, as far as you can see. The rugged east side of the Divide lies far below in sharp contrast to the gentler, less-glaciated western slopes.

    Jasper View to Upper Diamond Lake and SE Ridge
    Jasper View to Upper Diamond Lake and SE Ridge

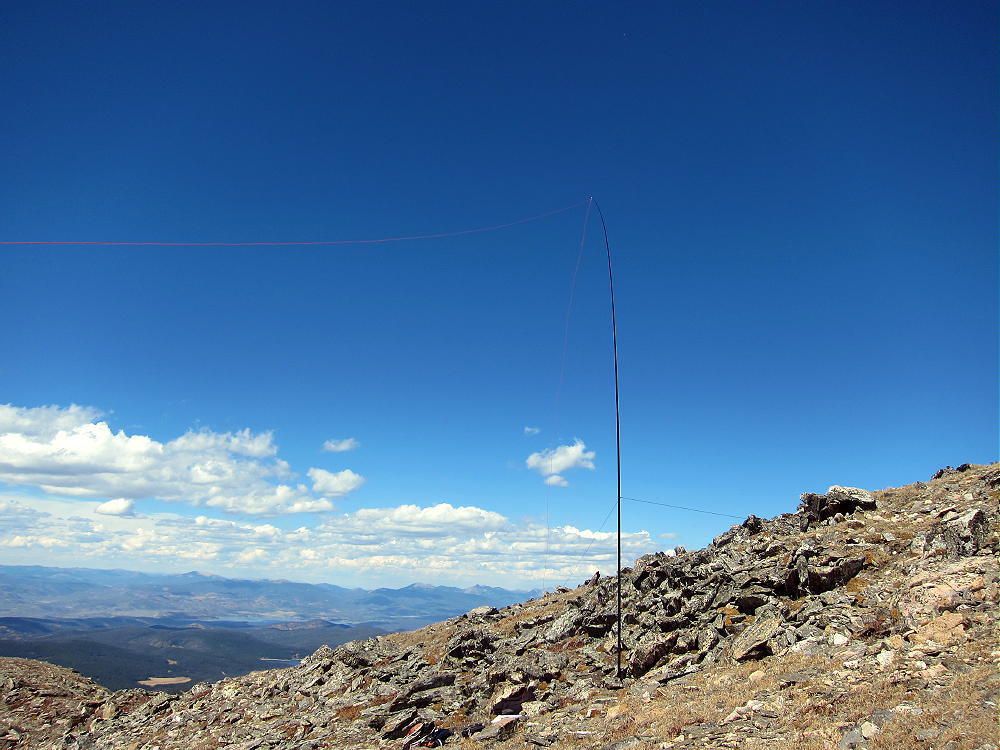
    On a good day you can activate right near the summit; I set up on the south side, far enough below the summit to keep the area clear for visitors – people do travel up here, and usually you’ll meet some fellow climbers. The people I met were intrigued with the radio set-up. I used my 20-foot pole guyed to two rocks, with a 67-foot wire running down the south slope. It was a fine HF activation, with 45 contacts on 4 bands. If the summit is windy, you may have to set up in the lee of the peak – wherever you can find cover.

    Jasper Activation on the Divide looking South
    Jasper Activation on the Divide looking South
    Jasper Activation Rig
    Jasper Activation Rig

    Your best bet is to avoid this summit unless everything is just right! Bad weather up here could be deadly! This is a real mountain – don’t be fooled because it’s less than 13,000 feet high!

    I suggest descending only by a route that you have previously ascended. Most of the ridges have serious problems and may be too difficult. In particular, avoid going over Mount Neva – the craggy ridge north of Neva is difficult/technical.

    The long Southeast Ridge will work OK, provided you descend the steep north slope just southeast of Upper Diamond Lake – but the hike back to the Fourth-of-July Trailhead is much longer.  Going south along the Divide from the Jasper summit is a pleasant route, but you still have to get back to your vehicle somehow. Other descents are possible, but I say again – climb it first and descend what you know!  The routes described here via Deep Lake Cirque are the most efficient.

    It is possible to climb Jasper via Rollins Pass – Corona Pass. If you can drive to Rollins Pass from Winter Park, on the old railroad grade, park at the pass, hike north along the Divide over several smaller peaks. It’s about 4 miles over varied alpine terrain each way. Don’t try this except early on a good day. This might be the preferred route early in the summer.

    Any way you do it, activating Jasper is a SOTA Classic!

    73

    George Carey Fuller
    KX0R


    ATTENTION !! WARNING !! There are old mountaineers, and bold mountaineers… there are no old-bold mountaineers. Hiking and mountain climbing are potentially hazardous activities particularly in Colorado with its extreme elevations. I am not accepting responsibility for any death or injury resulting from activations based on my trip reports. Proper training, experience, and personal capability assessment is required – enjoy!
  • WØC/FR-Ø87 (Bennett Mountain) – 2447 m / 8045 ft

    W0C/FR-087 (Bennett Mountain)
    2447 m / 8045 ft
    Activated Nov 8, 2014

    By KX0R

    Bennett Mountain eluded me the first time I tried to activate it; here’s how to find this easy SOTA peak.

    Start with the SOTA web page for Bennett. Study the maps showing where Bennett is. Google maps is pretty good; the DeLorme atlas is also useful; the Garmin GPS maps are good. The online satellite image is your best resource – it clearly shows the forest roads and the final path up the mountain.

    Drive southwest from Denver on Santa Fe, Highway 85, to Sedalia, and then head southwest on paved highway 67. Continue up steep Jarre Canyon, pass the marked Rampart Range Road, and drive almost 2 additional miles on winding highway 67 to a hilltop community called Moonridge. Look sharp to the northwest side of the road, find a dirt road with a sign that says “Archery Range”, and turn onto this one-lane road that looks like someone’s private driveway. This road goes up steeply and provides access to the Pike National Forest, but it’s not so marked! After passing several houses, come to a locked gate and a parking area next to the Archery Range. Park here and hike north on the closed forest road, as it climbs along a gentle forested ridge toward Bennett Mountain. Eventually you can spot the modest summit in the distance.

    The road climbs up a long ridge southwest of the summit and then descends slightly while heading northeast. Continue toward Bennett – you can see the summit not far away. To climb Bennett you must leave the road where it bends sharply to the left and descends, and then follow an obvious path northeast across a meadow on the saddle, and then climb up to the broad summit ridge.

    Bennett Mountain and Path to Top
    Bennett Mountain and Path to Top

    There are several places to set up in the large Activation Zone. Convenient trees and some shelter from the wind are available.

    Bennett Activation Rig
    Bennett Activation Rig
    Bennett Activation near Summit
    Bennett Activation near Summit

    This is a pleasant 2-point summit with an easy 1-1/2 mile hike, with only about 400 vertical feet of gain. Finding the forest road to the Archery Range is the key to the activation. Bennett has nice views of the surrounding terrain, including Devils Head to the south. Beware during hunting season!

    George Carey Fuller
    KX0R

    Devils Head from Bennett
    Devils Head from Bennett
    View West from Bennett Mountain
    View West from Bennett Mountain


    ATTENTION !! WARNING !! There are old mountaineers, and bold mountaineers… there are no old-bold mountaineers. Hiking and mountain climbing are potentially hazardous activities particularly in Colorado with its extreme elevations. I am not accepting responsibility for any death or injury resulting from activations based on my trip reports. Proper training, experience, and personal capability assessment is required – enjoy!
  • WØC/FR-Ø1Ø (Fairchild Mountain) – 4107 m / 13502 ft

    W0C/FR-010 (Fairchild Mountain)

    4107 m / 13502 ft

    First Activation Aug 04, 2013

    by KX0R

    Fairchild Mountain is one of the 4000+M Peaks in the Mummy Range in the northeastern region of Rocky Mountain National Park. It is a relatively easy mountain to climb, with a marked trail most of the way; however, a long, strong hike is required. Fairchild was my first 4000+M activation, but I had climbed the mountain twice previously.

    Fairchild and Crystal Lake from Trail
    Fairchild and Crystal Lake from Trail

    The hike from the Lawn Lake Trailhead to Fairchild is about 9 miles each way – 18 miles round trip. The vertical gain is about 5000 vertical feet. In order to have a good chance of a successful activation, you should:

    1) Choose a long summer day with dry weather predicted
    2) Start early – perhaps be on the trail before dawn
    3) Travel fast and light, but be prepared for alpine conditions
    4) Have the required ability and conditioning
    5) You’ll need most of your day – maybe more – for this classic SOTA peak

    The Lawn Lake Trail is the standard approach to Fairchild. This trail climbs up the Fall River to Lawn Lake. In 1982 the old Lawn Lake Dam failed, and the Fall River flooded. Most of Lawn Lake roared down the steep valley, causing a fatal flood and massive damage for miles downstream. Lawn Lake is smaller than before the flood, but it’s a beautiful place, so it’s a popular hiking and backpacking destination.

    The trail starts at 8550 feet, and it’s over 6 miles to Lawn Lake at 11,000 feet. The trail was damaged in the September 2013 floods – it’s rocky in spots – but it’s still a fast route up into the Mummy Range. The trail continues past Lawn Lake on the east side, and then it efficiently ascends north of Crystal Lake to The Saddle at 12,400 feet. From The Saddle the last mile is an alpine hike of about 1100 vertical feet up the broad northeast ridge of Fairchild, across tundra and progressively larger rocks, to the top. Early in the summer there may be snow along the route, especially above timberline; you may see bighorn sheep.

    Crystal Lake below Fairchild
    Crystal Lake below Fairchild

    The Fairchild summit is almost flat – the Activation Zone is huge. There is a rock shelter at the top, and it’s a good spot to set up a pole and activate, unless there are other visitors. This mountain doesn’t get a lot of traffic, but there are usually a few climbers on summer days.

    KX0R First Activation of Fairchild
    KX0R First Activation of Fairchild
    KX0R on Fairchild
    KX0R on Fairchild

    I started my hike just before 7:00 AM MDT. I was on the summit at 11:10. That was about as fast as I could go. I stayed over an hour, setting up, doing the activation, and dealing with issues. In retrospect I should have started earlier.

    Large alpine rodents called marmots live on Fairchild. These aggressive animals can be a problem for a SOTA activator! Not long after I was on the air, a large marmot tried to steal my Dacron antenna line and pulled my Black Widow pole down! My radio gear went flying across the rocks! I was lucky to get back on the air and continue the activation.

    Ypsilon Peak and Weather from Fairchild
    Ypsilon Peak and Weather from Fairchild

    The weather was nice when I started on the air, but 20 minutes into the run, a large cumulus cloud moved in from the west, and I heard hissing in the headphones. Within a minute I could hear no callers, as the corona discharge increased. There was no lightning nearby, but I had to get off the air and leave. I still managed to work 22 ops on 20M CW.

    Fortunately the dark cloud passed quickly, and the long exposed trip down the ridge to the Saddle went OK, with no close lightning and only a little rain. Another storm came through as I hiked out near Lawn Lake, and there was a lot of lightning up high. It rained gently for a long time – not bad weather overall. That was a typical summer day in the Mummy Range.

    Hagues Peak from Fairchild
    Hagues Peak from Fairchild
    Crystal Lake below Fairchild
    Crystal Lake below Fairchild
    View NW from Fairchild - Clark Peak in  Distance
    View NW from Fairchild – Clark Peak in Distance

    Fairchild offers a Classic SOTA Summit with a long, spectacular hike, fine views, and a high-altitude wilderness experience – as well as a great activation with special challenges.

    George Carey Fuller
    KX0R

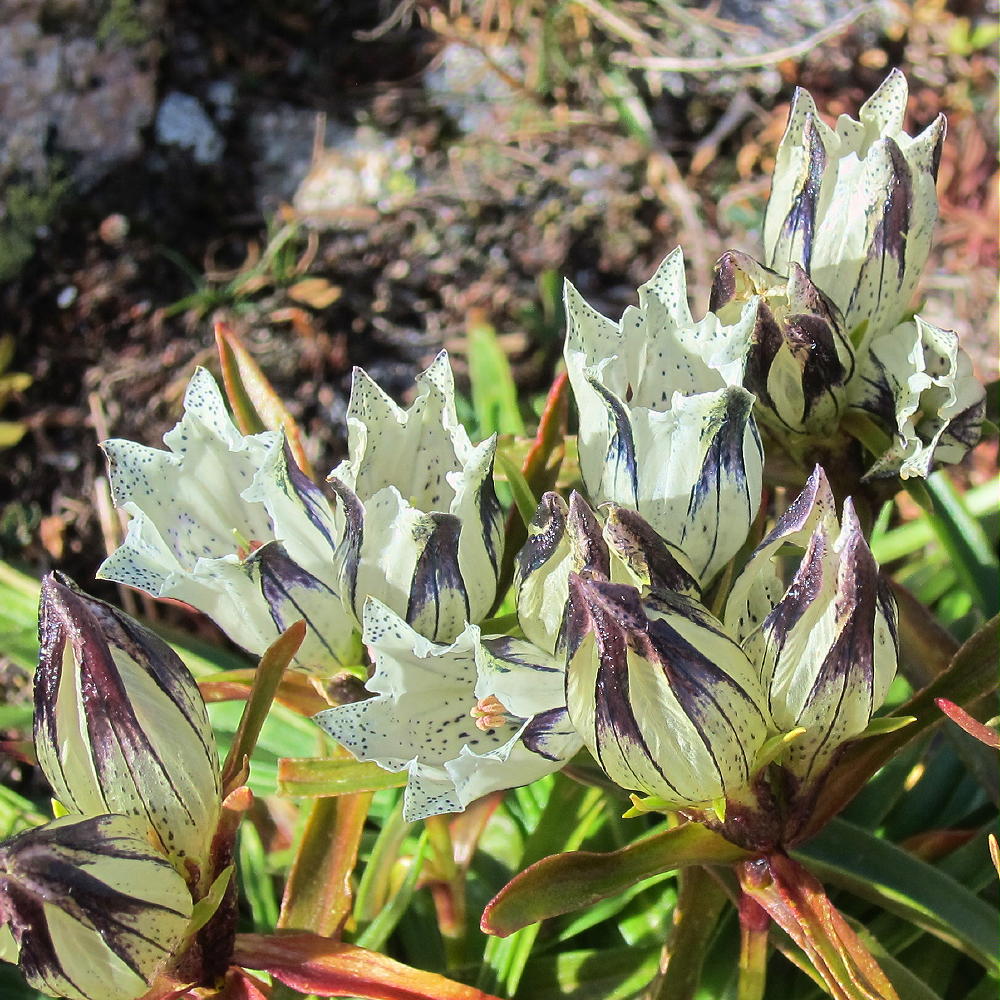
    Alpine Flowers below Fairchild
    Alpine Flowers below Fairchild

    ATTENTION !! WARNING !! There are old mountaineers, and bold mountaineers… there are no old-bold mountaineers. Hiking and mountain climbing are potentially hazardous activities particularly in Colorado with its extreme elevations. I am not accepting responsibility for any death or injury resulting from activations based on my trip reports. Proper training, experience, and personal capability assessment is required – enjoy!
  • WØC/PR-Ø8Ø (11543) – 3511 M / 11543 ft

    W0C/PR-080 (11543)
    3511M / 11543ft
    Sep 21, 2013
    by KX0R

    Please see the trip report for W0C/PR-071 Ethel Mount for most of the details about the route used to climb 11543.

    Peak 11543 sits about 2 miles east of Ethel, but the peaks are on opposite sides of a deep glacial cirque.

    11543 can be climbed easily as a side trip from Trail 1130 that runs from the Divide to the Slide Lakes and Rainbow Lakes to the east. The summit of 11543 is less than a mile east from Trail 1130. There is a game trail or path up most of the northwest ridge of 11543, and it’s a pleasant ascent. The actual summit of 11543 is the rocky eastern summit, and there are other points up there that differ little in altitude. The broad top of the peak is right at treeline. Small trees and large rocks are available for some shelter from wind. There are several good spots to set up and activate. You’ll do better with an antenna pole.

    Please see the USGS topo map for this area, as Google Maps omit many key trails.

    Note that 11543 looks nice on top, but don’t be fooled into trying to descend by a different route than the NW ridge. There are steep cliffs around the west, south, and east sides of this large mountain.

    It is possible to combine an activation of 11543 with another nearby summit, but this requires an early start, a long day, and good weather.

    George Carey Fuller
    KX0R


    ATTENTION !! WARNING !! There are old mountaineers, and bold mountaineers… there are no old-bold mountaineers. Hiking and mountain climbing are potentially hazardous activities particularly in Colorado with its extreme elevations. I am not accepting responsibility for any death or injury resulting from activations based on my trip reports. Proper training, experience, and personal capability assessment is required – enjoy!
  • WØC/PR-Ø71 (Ethel Mount) – 3627M / 11924 ft

    W0C/PR-071
    Ethel Mount

    3627 M / 11924 ft

    Sep 21, 2013
    by KX0R

    Mount Ethel sits atop the Continental Divide in the heart of the Mount Zirkel Wilderness in northern Colorado. At 11924’ it is very prominent, and it can be seen from some peaks of the Front Range. Climbing and activating Ethel is best done as part of an overnight backpack trip into the Wilderness. The trip up the peak is just a long hike, but it requires traveling above tree line for hours, with considerable exposure to weather.

    There are several practical routes up Ethel. I parked at the Rainbow Lakes Trailhead, on the east side of the Park Range, and camped at Big Rainbow Lake. This is an easy backpack trip of about 3-1/2 miles. I climbed Ethel as a day hike from Rainbow Lake, using the fine Trail #1130 that ascends to Slide and Upper Slide Lakes and then climbs up to the Divide. This is a fun, scenic route, and you can see Mount Ethel high above most of the way. At the junction with the trail to Roxy Ann Lake, at about 11,000 feet, I headed off-trail, directly west up to the Divide, via open meadows and gentle rocky slopes. Once on the Divide, I made an approximate beeline south, almost 2 miles, toward the gentle west slope of Ethel; from there I hiked southeast up to the summit. Please see the USGS topo map for this area, as Google Maps omits many key trails and has other serious errors.

    If you prefer to stay on marked trails, just follow Trail 1130 all the way to the Divide, turn south on the Wyoming Trail #1101, follow it to just west of Mount Ethel, and pick a convenient route to the summit.

    These routes require several miles of hiking across tundra above treeline. There is no shelter, and this is no place to be in bad weather. The day I was there was dry, sunny, spectacular, and quite windy. People climb Ethel often, as it is a short detour from the “Wyoming Trail” 1101, but you may not see anyone up there. The peak has gentle meadows on the west side, and steep cliffs on its northeast and southeast faces. The summit is on the Continental Divide; the north summit is considered the peak. There is a rocky outcrop at the top, and it provides some shelter from wind. It’s not hard to set up a pole on the east side of the peak, and tie the far end of the wire to the top of the peak. I had a great first activation up there, with 35 Q’s and strong signals on 20M.

    I combined activating Ethel with a first activation of W0/PR-080, 11543, which is east of the Slide Lakes and Trail 1130. This is practical if you have time, but it’s a long day, and it requires an early start. Please see the report for Peak 11543 for the additional route description.

    George Carey Fuller
    KX0R


    ATTENTION !! WARNING !! There are old mountaineers, and bold mountaineers… there are no old-bold mountaineers. Hiking and mountain climbing are potentially hazardous activities particularly in Colorado with its extreme elevations. I am not accepting responsibility for any death or injury resulting from activations based on my trip reports. Proper training, experience, and personal capability assessment is required – enjoy!
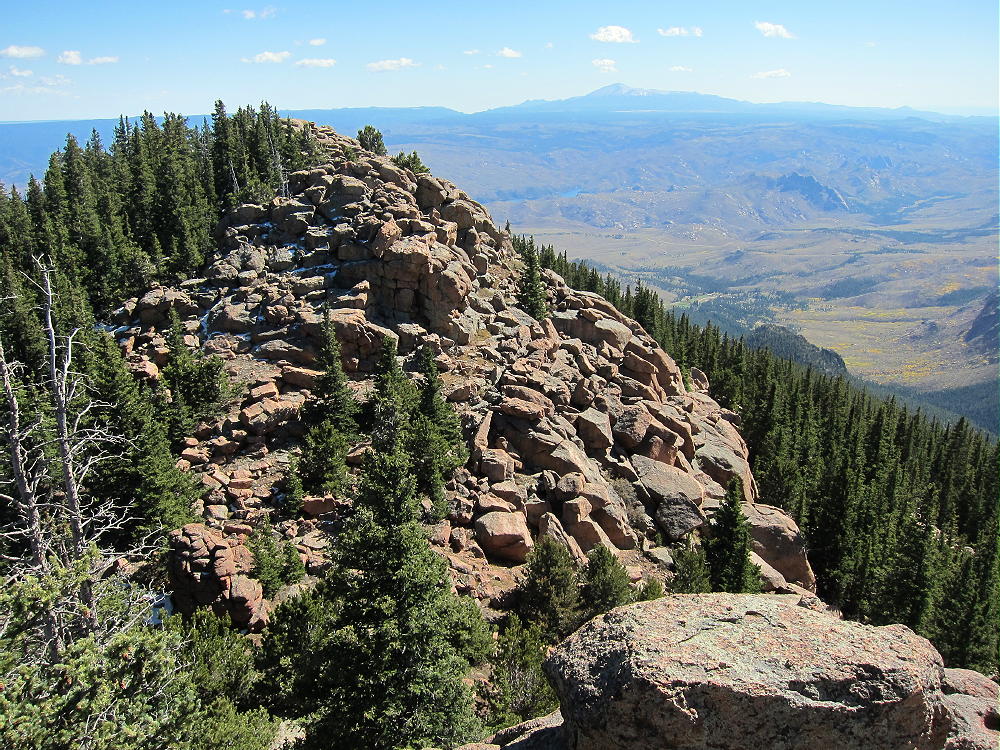
  • WØ/FR-15Ø (Thunder Peak) – Timing is Everything

    W0C/FR-150 (Thunder Peak) – 3083 m / 10134 ft
    May 7, 2014

    by KØMOS

    According to the WX forecast, today was the best chance to bag another summit for the remainder of the week. After a nice thunderstorm over night, more thunderstorms were in the forecast starting at noon, and even some snow was forecast over night. Getting on the trail early was key. So was to travel light and I therefore exchanged my 30′ mast with a lightweight 16′ fishing rod and the Bazooka and J-Pole antennas with a linked EFHW before I left my QTH.

    Thanks to some fresh intell from KX0R/Carey (who activated this summit two days ago) I took a new route which shaved off ~0.5 miles – not much but if you are competing against the clock, every bit helps. I hit the trail under blue skies and not a cloud in sight. I bushwhacked my way up through dense forest  and was greeted on the summit by dark clouds all around . Thanks to the abundance of dead trees on the summit, the antenna was up in no time and I got my QRP signal out just in in time to correspond with my posted SOTA alert.

    W7RV/Tom picked up my signal on 20m and posted a spot (thanks Tom). Within nine minutes I had 10 contacts and no more takers on 20m when I switched to 15m – just to take a peak… clouds were moving in fast and a cold breeze had me add a new layer of clothing.

    My CQs on 15m were answered by M1DXU and shortly after by G2YT/Peter near London (UK). G2YK is a call sign originally issued to ‘Marconi’s Wireless Telegraph Company Limited’ at the Poldhu Radio Station in Cornwall (you can read more about it here) – pretty cool :)

    After this short QSO it was definitely time to pack up my radio and head downhills. The activation only lasted 17 minutes and with ice pellets falling from the sky I slid down the steep and sandy slopes of Thunder Peak, trying to reach the forest to get some protection. By the time I arrived at the TH, the ice pellets morphed into a nice rain shower… exactly what we currently need here in N-Colorado.

    Thanks for all the contacts

    73, Matt/KØMOS

    Complete trip report with photos and elevation profile etc. from an earlier Activation.


    ATTENTION !! WARNING !! There are old mountaineers, and bold mountaineers… there are no old-bold mountaineers. Hiking and mountain climbing are potentially hazardous activities particularly in Colorado with its extreme elevations. I am not accepting responsibility for any death or injury resulting from activations based on my trip reports. Proper training, experience, and personal capability assessment is required – enjoy!
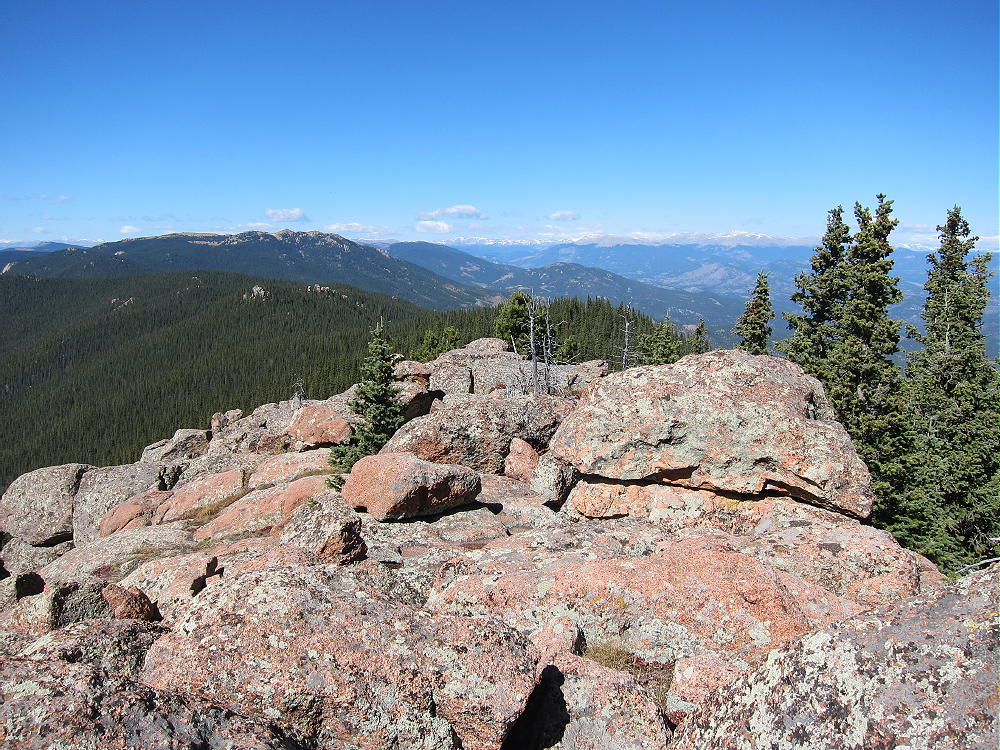
  • WØN/PH-ØØ5 (Scotts Bluff) – 1417 m / 4649 ft

    W0N/PH-005 (Scotts Bluff) – 1417 m / 4649 ft
    March 31, 2014

    by KØMOS

    A high wind warning was in effect for northern Colorado for the last day of March and so I decided to head north-east towards the newest SOTA Association in NA: WØN or Nebraska. Scotts Bluff or WØN/PH-005 is the closest and most accessible WØN summit for me and had not yet been activated. Weather forecast predicted mostly cloudy skies, high winds and a 40% chance of snow for the area. The summit lies within the Scotts Bluff National Monument and even has an established hiking trail from the visitor center to the top.

    Oc course I did not seriously expect to avoid the high winds by traveling north through Wyoming to the plains of Nebraska,  but it was as good as any excuse to make the long trip and activate a new summit in a new association. As far as I know, it was the first activation in WØN.

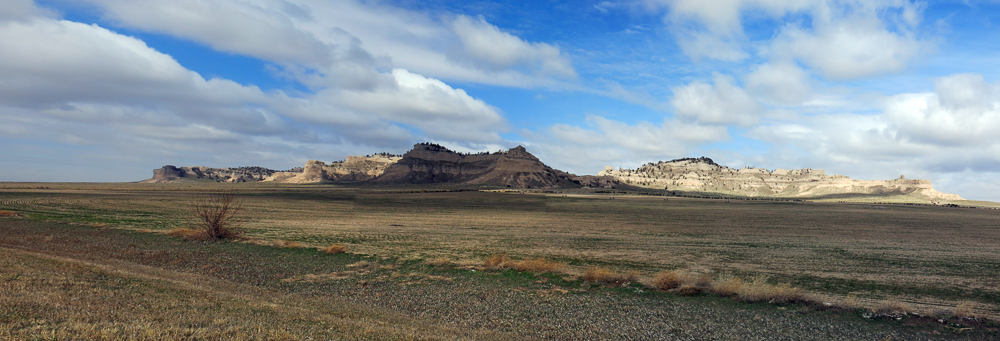
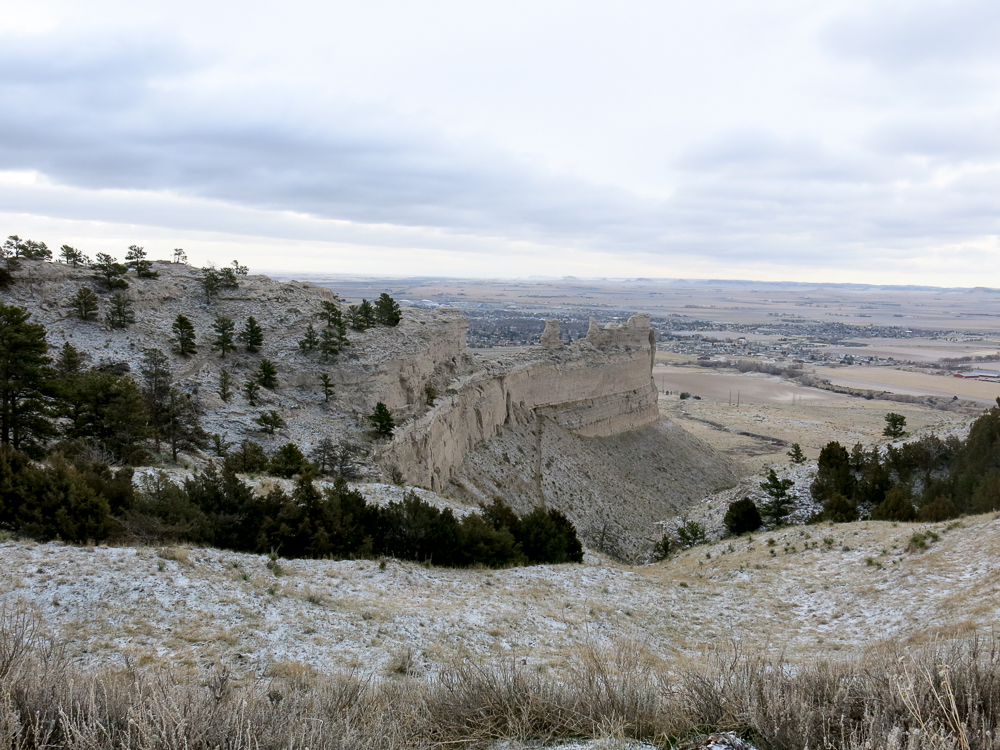
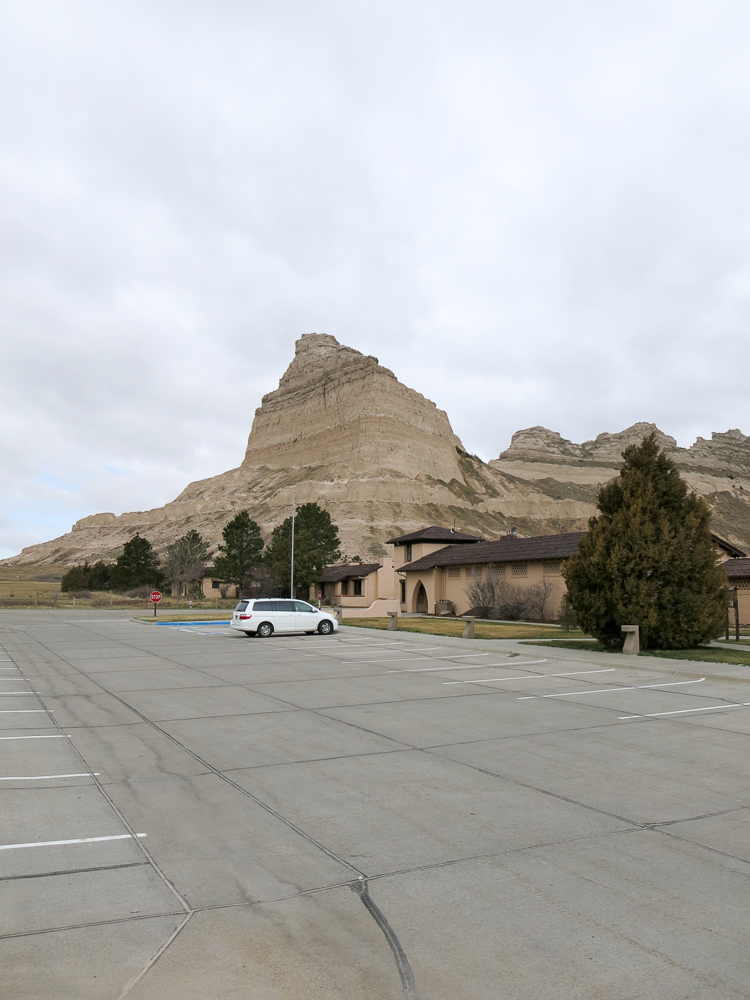
    Scotts Bluff National Monument
    Scotts Bluff National Monument


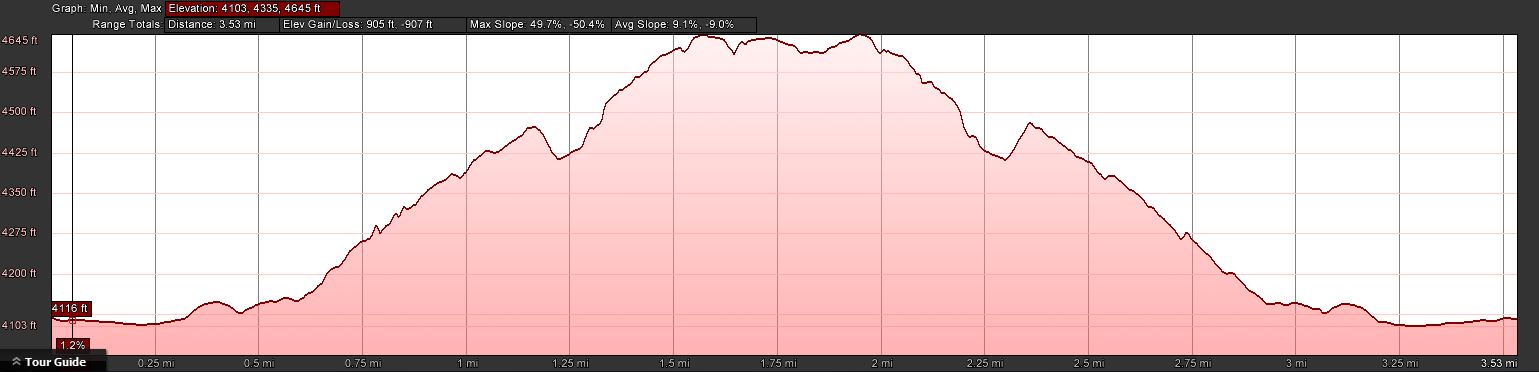
     Trailhead:  4118 ft / 1255 m
     Summit:     4649 ft / 1417 m
     Elev. gain:  531 ft /  162 m
     Roundtrip:  3.2  mi / 5.2 km

    Compare this summit with my other activated summits

    How to get there:
    From my QTH (Fort Collins) I took I25 north towards Cheyenne, WY. I took exit 17 onto US-85 N/Canam Hwy/Torrington Rd. Make sure you have enough fuel in your tank. It’s going to be lonely a lonely trip with only sparse signs of civilization.

    After 46 miles, turn right onto WY-151 E which becomes NE-88 E after about 10 miles. After another 20 miles, turn left onto NE-71 N/State Hwy 88. After another 11 miles, follow the signs towards Scotts Bluff National Monument.

    There is a visitor center with a parking lot on the north side of the road.

    There is hardly any traffic on these roads. I passed the time by trying to avoid as many tumbleweeds as I could. With the high winds, it seemed that I was constantly under attack. Tumbleweeds of all sizes rolling over the hills in troves, jumping over fences and crossing the roads with no respect for oncoming traffic. I had to stop twice and pick the under-carriage clean from the remnants of all the collisions.

    Red Tape:
    There is a $ 5.00 entry fee/car which is valid for seven days. Bikers/Hikers get away with a$ 3.00 fee.

    Make sure to check their opening hours, they change depending on the season.

    The Ascent:
    The trail to the summit starts right behind the visitor center (NE corner). I began my  journey with cloudy skies, high winds and a temperature of 29 degrees Fahrenheit (~ -2C)

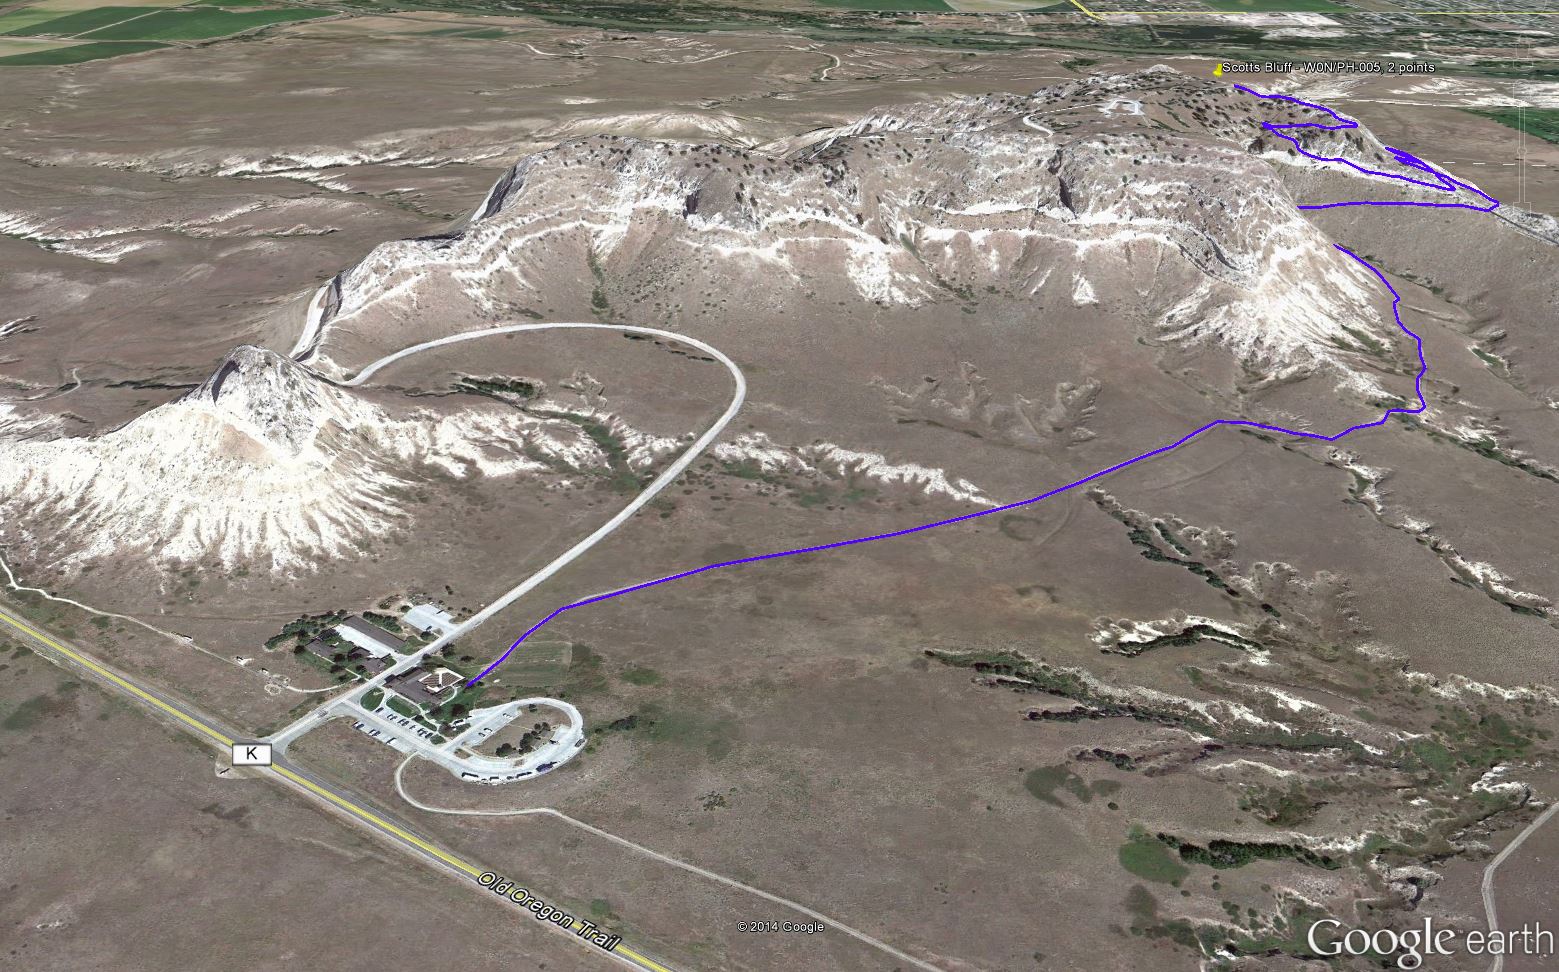
    The trail to the summit - Overview
    The trail to the summit – Overview

    There are no challenges on this hike. Heck, it’s paved all the way to the top :) – you can’t go wrong. The path heads towards NE and hardly gains any elevation for the first 0.6 miles before it eventually heads up a ridge on the east side. With the cold and windy conditions it took me 35 minutes to cover the 1.6 miles to the top, but at least I stayed warm. You end up (almost) at the highest point of the plateau.

    Elevation Profile
    Elevation Profile

    An interesting and rather unusual aspect of the hike is that you get a good view of more than 500 feet (> 150 m) of continuous geologic strata that spans about 11 Mio years into the past. Scotts Bluff is a remnant of an ancient high plain, several hundred feet above than the current plains. It was formed by erosion, well after the continent interior and after the uplifting of the Rocky Mountains.

    The Summit:

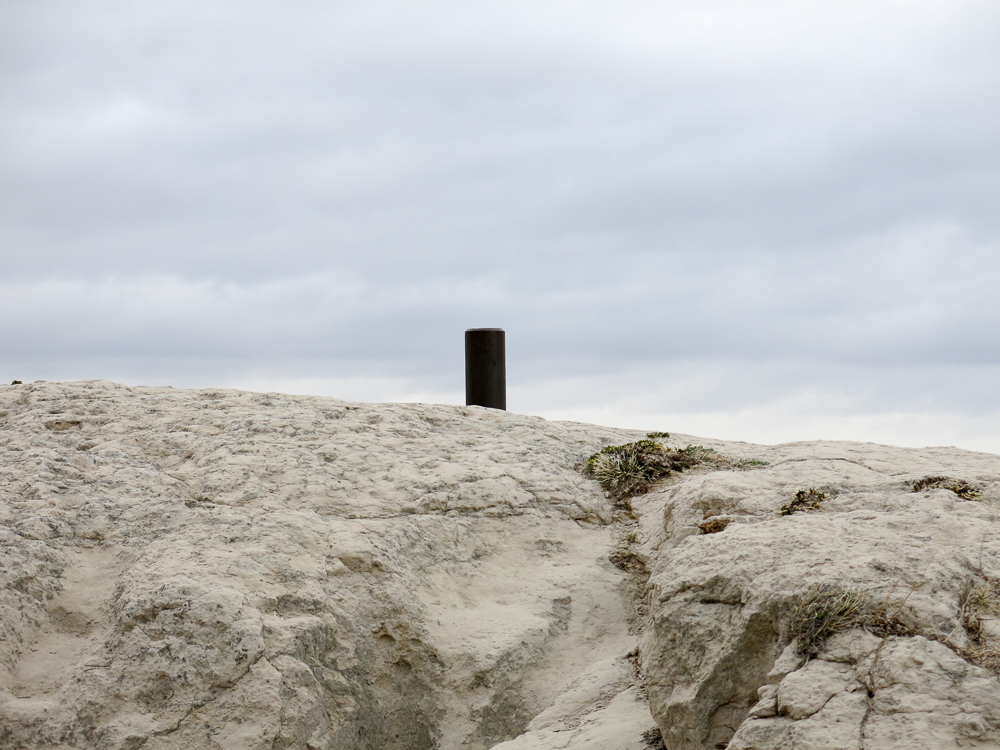
    Scotts Bluff - Highest Point
    Highest Point

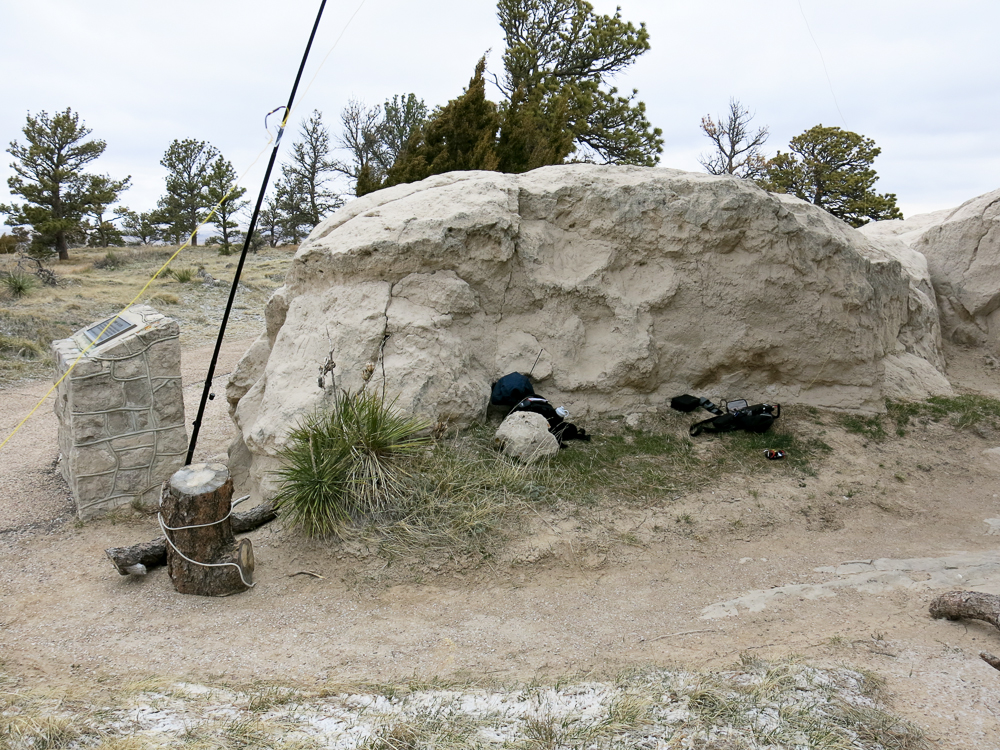
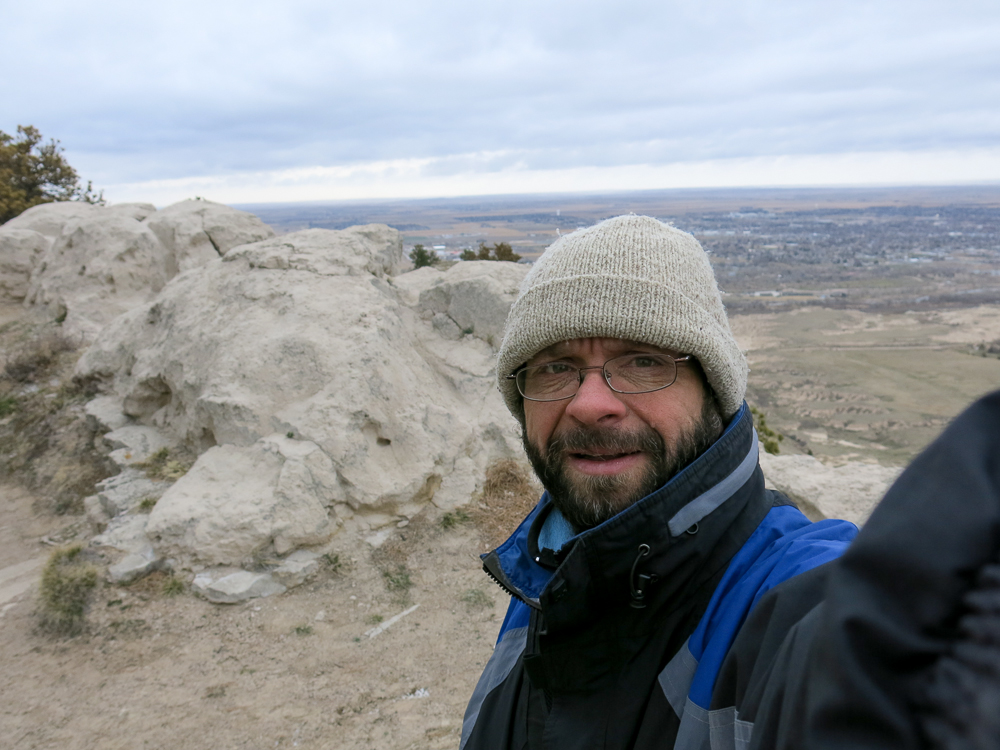
    The winds were howling – around 40 mph (~65 km/h). Sand was in the air due to the geological properties of the mountain (sandstone). It took me no time to find the highest point on the rather large plateau but I moved on quickly to find shelter and to erect my fishing pole holding a linked EFHW antenna. I tried a few different locations before I found a large rock to hunker down behind at the right distance to a tree for my antenna.
    It was immediately clear that I would not last very long on this summit under these conditions. The windchill, hovering around 10 degrees F (~ -12C) made the activation unpleasant. The mini sand storm did not help either and I was seriously afraid that the fishing-pole would not survive the gusts (up to 69 mph [111 km/h]).

    How do I know all these numbers, you might ask? I went to the visitor center to warm up and to learn about the history of the place before hitting the road again. The ranger on duty had access to two weather stations and since I was the only visitor, she had tons of time at her hands to go through the data with me. Highest gust was at 10:07 (local time), just when the first chasers got into my log.

    Shack on a summit
    Shack on a summit

    The upper portion of the 20m band was packed but my QSOs with an ongoing NET attracted a few SOTA chasers. Moving away from the frequency in order not to hijack the NET left me high and dry… nobody followed me to the new frequency and no spot either. I left the summit shortly after my last QSO with icy fingers and sand everywhere… and I mean everywhere. Just seven QSOs in the log but happy that it worked out after all and happy that my pole and antenna survived the beating.


    The Descent:
    Just follow the paved path, all the way to the parking lot.

    A few more photos:

    Final Remarks:
    Don’t miss the exhibitions in the visitor center incl. the movie (on request). It gives you a nice overview of the significance of the place (Oregon Trail) and of course the fauna, flora and geology.

    There is also a road to the top if you decide against hiking. During the high season, there is a bus service which allows you to hike up and take the bus down to visitor center.

    Until next time….
    73, Matt/KØMOS

    Feel free to leave comments and/or questions below.


    ATTENTION !! WARNING !! There are old mountaineers, and bold mountaineers… there are no old-bold mountaineers. Hiking and mountain climbing are potentially hazardous activities particularly in Colorado with its extreme elevations. I am not accepting responsibility for any death or injury resulting from activations based on my trip reports. Proper training, experience, and personal capability assessment is required – enjoy!

  • WØC/FR-165 (Signal Butte) – 2877 m / 9459 ft

    W0C/FR-165 (Signal Butte) 2877M /9459 FT
    Feb 28, 2014
    by KX0R

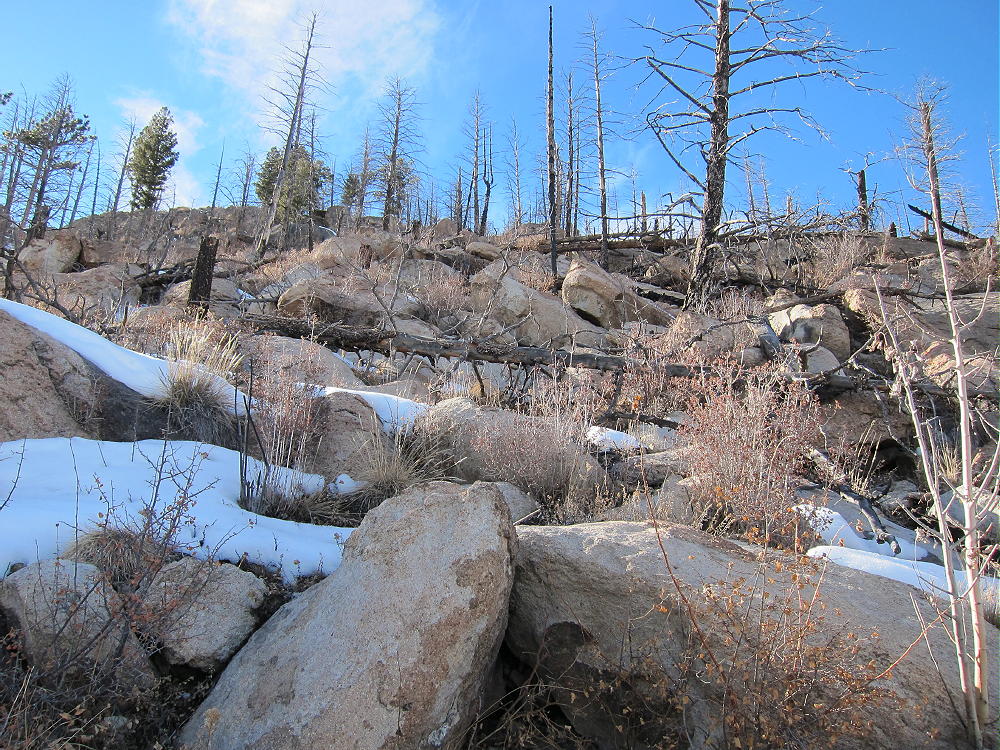
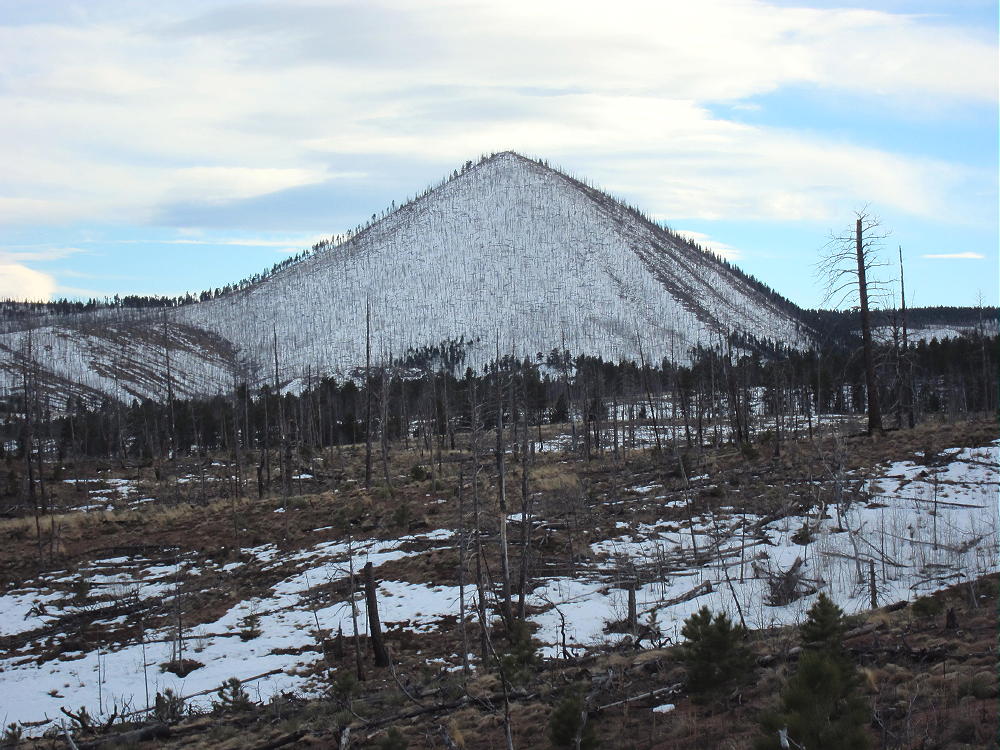
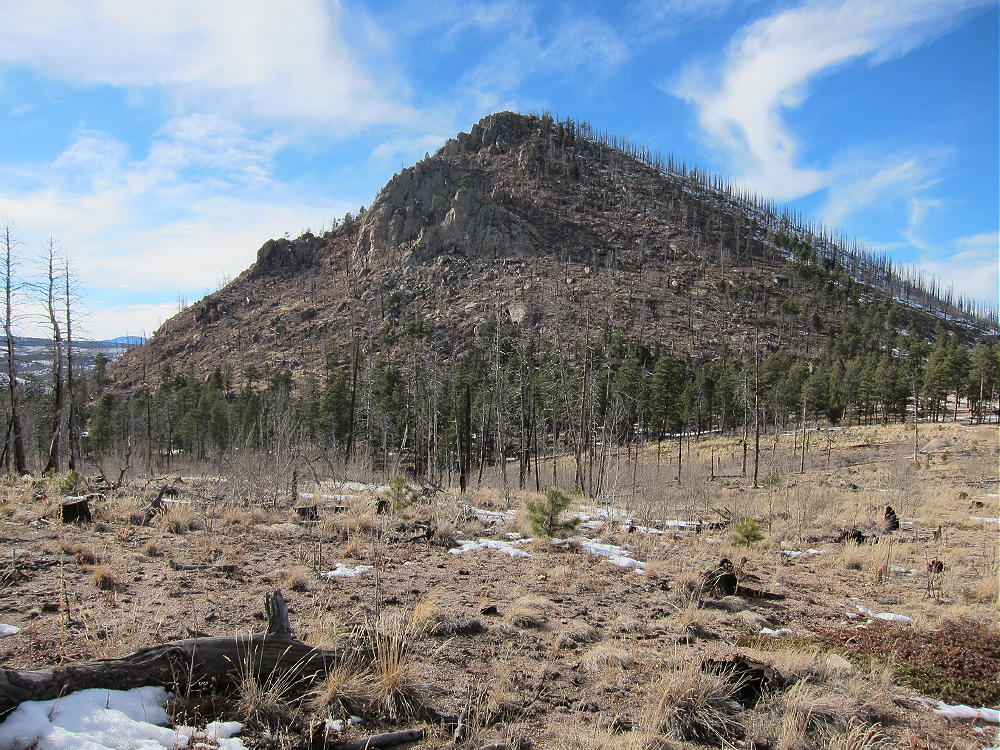
    Signal Butte is a fine SOTA peak located in the southern part of the huge Hayman Burn area. I first saw it from the top of Thunder Butte, about 7 miles to the north. It looks like a little volcano. The 9459-foot summit is only about 570 feet above the saddle to the southeast – but the conical mountain is over 1000 feet above Trail Creek to the northwest. It stands high above endless tens of thousands of acres of burned forest, and it calls out to be climbed and activated!
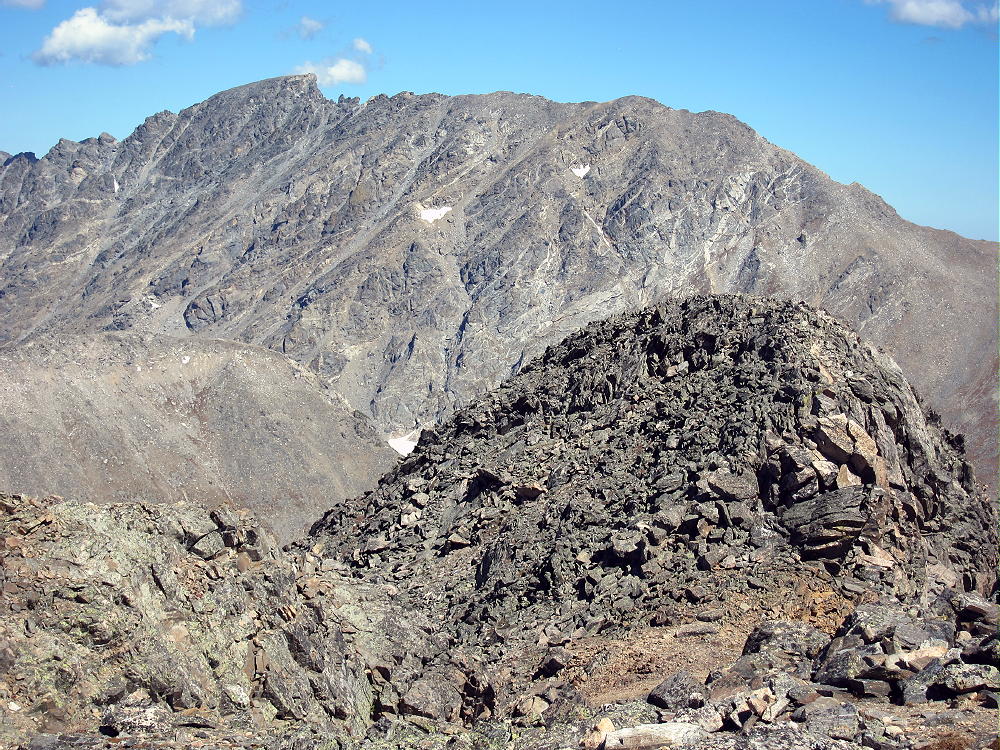
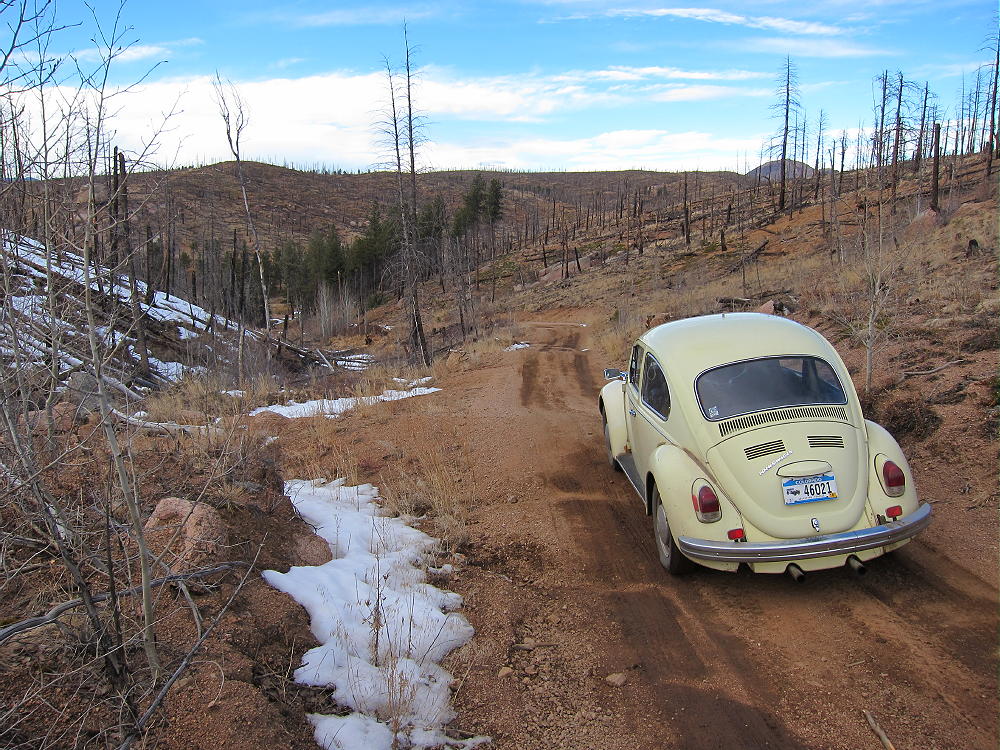
    Reaching the trailhead on February 28, 2014 was harder than climbing the mountain. I drove down from up north via Highway 285, Highway 126 to Deckers, and via a network of forest roads SW of Westcreek. I drove down past Sheep Nose and Thunder Butte on road 68 – no problem there. I took route 33 in, and soon I found myself on route 367 in the middle of the burned area. Road 367 has hump-bumps and gradually degenerates as it goes south to Trail Creek. Rutted snow-piles across the road suggest that maintenance is minimal in winter. Signal Butte is visible to the south – it looks really cool with snow on its north side – it beckons for you to come closer. A sign warns “no trespassing” – but driving the OHV road through the posted land is apparently OK. At Trail Creek there’s a huge wood fence and a 4-way intersection. If you have a 4WD vehicle this place is paradise! However, I was driving my 1970 VW bug – actually just fine until I got to Trail Creek.

    My original plan was to take forest road 364 up the hill north of Signal Butte, then meet road 362, and take that south to the Butte. Road 362 accesses the trailhead east of the Butte and is suggested by others who have described this mountain online. When I saw the start of 364, it looked very jeep-trail, and knowing that it goes up 500 vertical feet in a gully on the northwest side of the hill, I decided to change my plan and take Road 3 that runs SW down Trail Creek. As soon as I started down Trail Creek, I encountered slimy, cheesy mud and huge puddles that looked to be a couple of feet deep. A sign proclaimed “End OHV Area” – that seemed like good news, except the road got worse than what I’d already driven! I was able to drive at least half a mile before I came into a very wet, soft, cheesy section that seemed to be getting wetter and softer the further I went. I could see deep ruts and puddles ahead, and I decided that I’d better turn around before I got stuck trying to turn around!

    If I’d ever done these roads before, the story here might be different. On a cold morning, with everything frozen, there would be no problem with cheesy mud. On the other hand, when you don’t know what lies ahead, where few people go in a burned-out forest on a weekday in February, you better play it safe if you want to activate and get home OK. So I turned around and drove back to the 4-way intersection with a plan to park and walk up the roads to Signal Butte.

    Just for kicks I tried driving road 364 up the gully – I cleared the hump-bumps OK – don’t try this road with an ordinary road car – but there was more of that cheesy mud from the melting snow all along the road. When I came to a particularly steep, slick spot, I decided to turn around and park. I looked at the map, got my pack and pole, and headed up the muddy road, wondering how long it would take to walk to Signal Butte.

    Of course it turned out that the road got steeper but less muddy just past where I had parked. However, up on the ridge there were rutted snowdrifts with shiny ice, so walking was the right plan. Your results may vary – if you have a 4WD vehicle, this area of roads and trails may be a fun place to mess with, as long as the snow isn’t really deep.

    I walked the 2-1/2 miles to the Signal Butte trailhead in one hour. I could see a trail leading around the snowy north side of the mountain, but the wind was blowing steadily from that direction; I realized that if I went directly up the cone from the trailhead, I could avoid most of the snow, and the peak would block the wind.

    The direct route was easy at first, just a steep slope with rocks and downed burned trees. Most of the soil is gone, exposing more rocks, but visibility up the hill was great. In a short time I was up near the top, where snow drifts covered the rocks and logs, so I had to pick through that part carefully. I followed the snow tracks of a recent climber, likely a fellow activator.

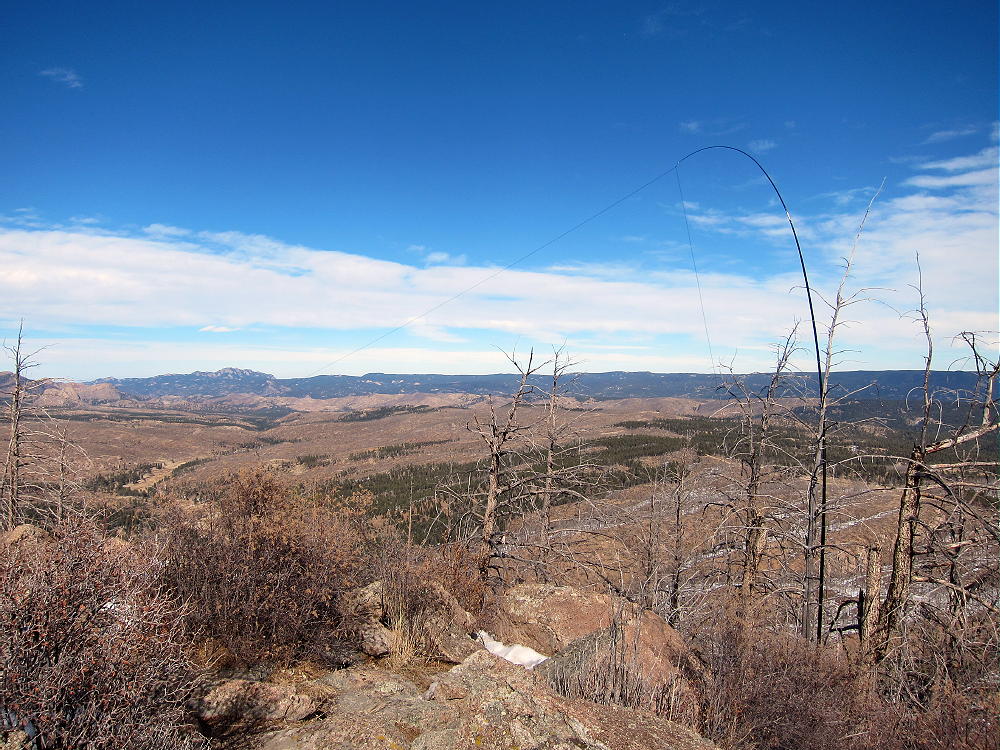
    The summit was sunny and spectacular, but the wind was the boss. I was a little late for my activation, so I chose a place to operate just off the top, on the east side, in a pleasant sunny spot among rocks – almost free of wind. I tied my pole to a dead tree and strung the 66 foot wire north along the windy summit ridge, climbing over rocks and in and out of the snowdrifts. In a few minutes I had the big end-fed wire up and ready to go.  Even though the north end was only 6 feet up, the wire was well above the summit ridge, and I knew I was going to be OK. The temperature was well above freezing, I had sunshine, the weather was stable, and what had seemed like a dubious adventure was looking pretty good all of a sudden. It’s amazing how things change when the antenna is up!

    I matched up the wire on 15M, and N4EX called me before I signed my call, as soon as I sent “QRL?” He spotted me, and then there was a pile. Propagation was great with the solar flux at 170. After about 10 minutes of Q’s, I heard DX, and EA2IF called and worked me. After I worked 21 stations, things came to a stop, so I tuned up on 20M, and there was an instant pile – signals were great – EA2IF worked me again – and then I heard Steve, WG0AT, not far away, out east across the Rampart Range. Near the end of the run EA2LU worked me. I finally went down to 40M but contacted only K5ACO in Arkansas – suggesting that band conditions and the antenna were OK – just no chasers. I was tempted to try other bands, but it was 2:30 and I had a long way to go home, and a cold front was expected to arrive before I would get there. I packed up, hiked down the cone, then back to the car – I enjoyed Road 367 knowing I was going home!

    Although I haven’t driven it, I suspect that Road 362 from the south is the preferred access route. I don’t know if it’s OK for ordinary cars or not – it’s likely a high-clearance road, but since it’s on the south side of the ridge, it may be better than the northern route I used. The southern end of 362 is accessible from Divide. If you can drive 362 to the trailhead, the only thing you have to do is climb the 560 vertical feet up the cone, set up, and activate. Since there are some dead trees near the summit, activating without a pole is possible – but a pole makes it easier. In warm weather the trail on the north side may make the ascent easier.

    The origin of this odd mountain is fascinating. It’s not a volcano – but it’s the remains of a Tertiary intrusion of light-colored igneous rocks that pushed up through the much older Precambrian rocks about 40 million years ago. I found a fine summary of the geology of Signal Butte.

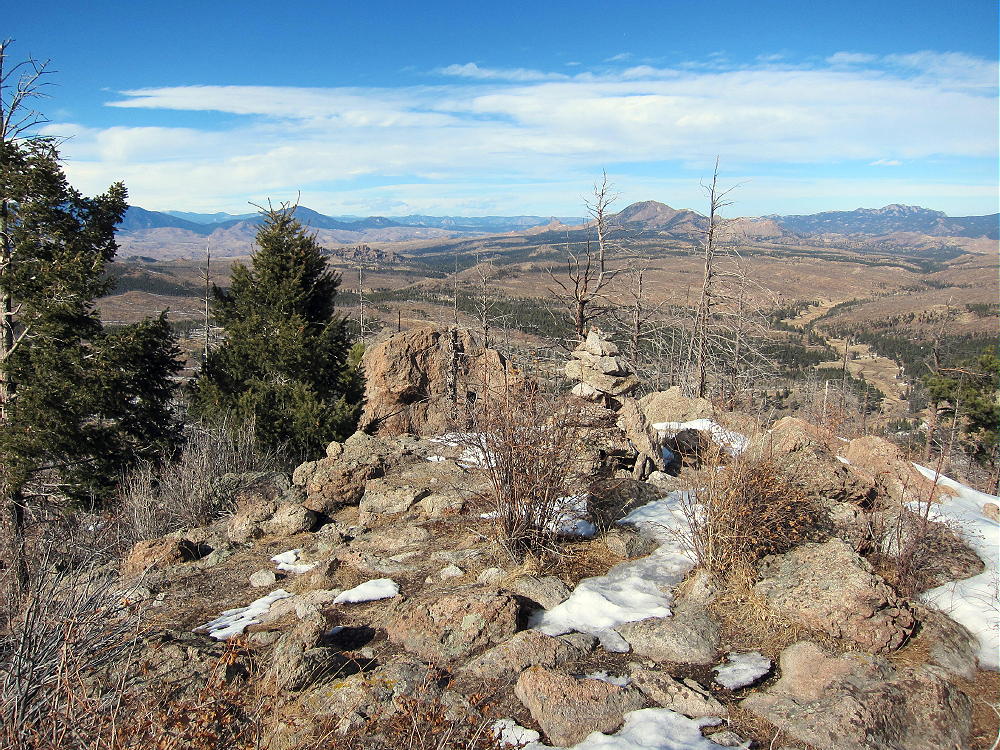
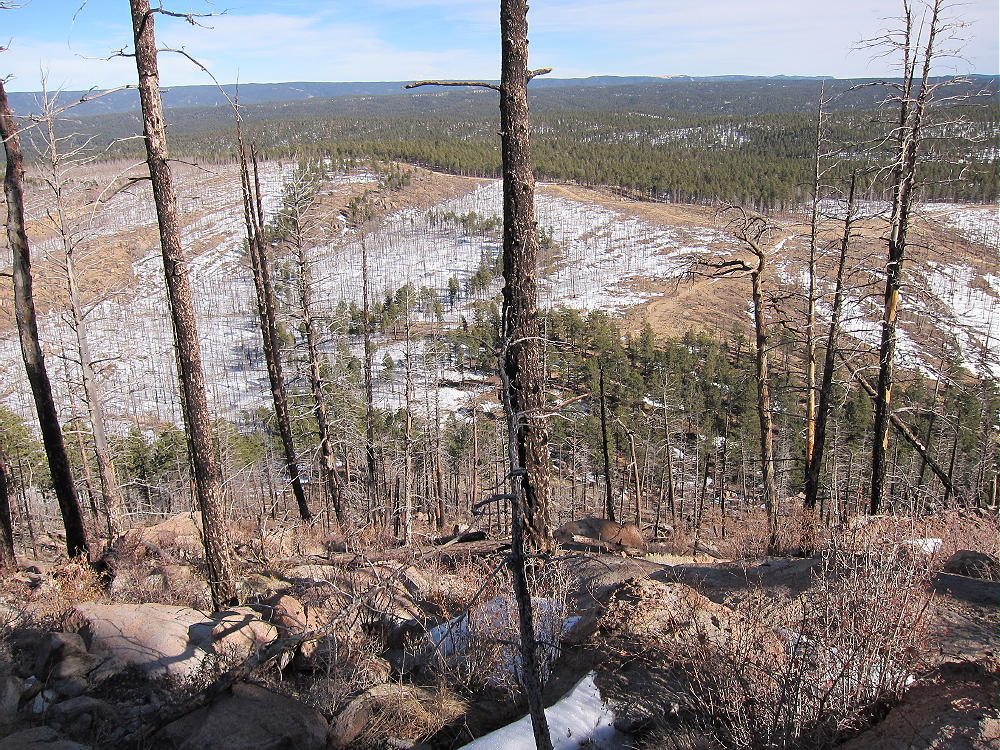
    The 360-degree view from the summit is worth the trip. Thunder Butte stands prominently about 7 miles to the north, and Pikes Peak dominates the picture, roughly 16 miles to the southeast. Some high peaks of the Sawatch are visible about 60-70 miles across South Park to the southwest. Burned-out forest fills the scene to the north and west, almost as far as you can see. The horror of the Hayman fire is beyond our ability to understand – it is what it is. Signs of recovery are everywhere, but I’m glad I never saw that area before it burned.

    George Carey Fuller
    KX0R


    ATTENTION !! WARNING !! There are old mountaineers, and bold mountaineers… there are no old-bold mountaineers. Hiking and mountain climbing are potentially hazardous activities particularly in Colorado with its extreme elevations. I am not accepting responsibility for any death or injury resulting from activations based on my trip reports. Proper training, experience, and personal capability assessment is required – enjoy!