SOTA outings by KØMOS and contributors

Tag: mountain

  • WØC/FR-Ø57 (Crosier Mountain) – 2819 m / 9250 ft

    W0C/FR-057
    Crosier Mountain
    2819 m / 9250 ft

    W0C/FR-064
    West Crosier Mountain
    2749 m / 9020 ft

    Sep 6, 2014

    by KX0R

    Please see K0MOS’s excellent report on Crosier Mountain for details on the trailheads, access, etc. Much of my report here deals with the dual activation of both summits.

    Crosier and West Crosier Mountains are twin summits located several miles north of Estes Park, near Glen Haven. With an early start and good weather, both mountains can be climbed and activated in one expedition. These two peaks make a good 8-point SOTA day.
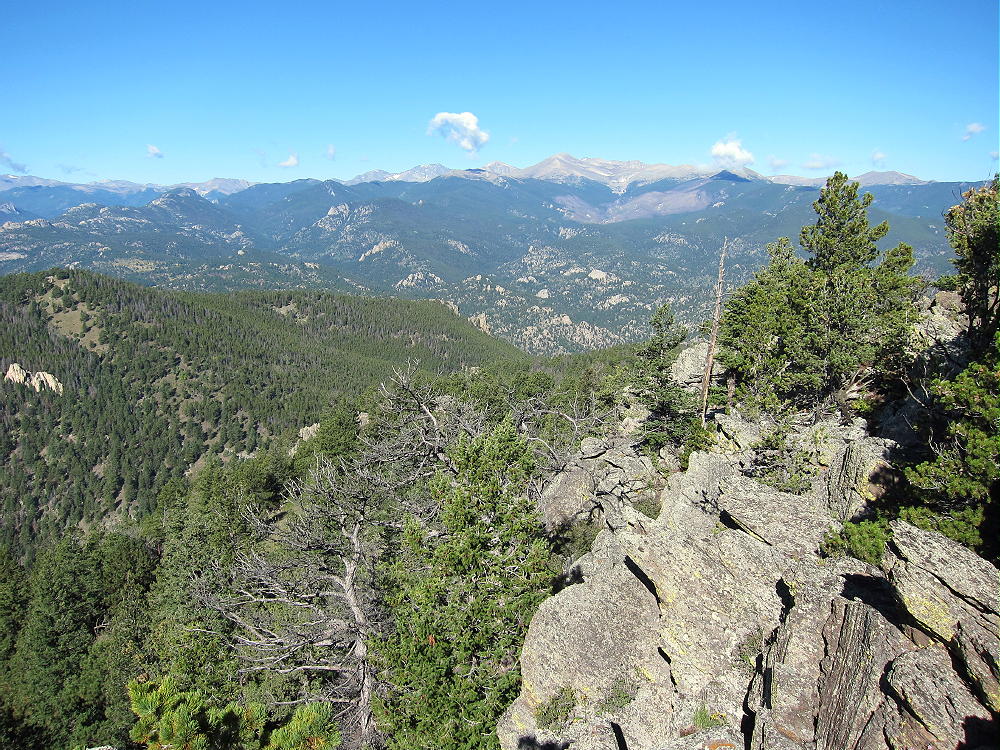
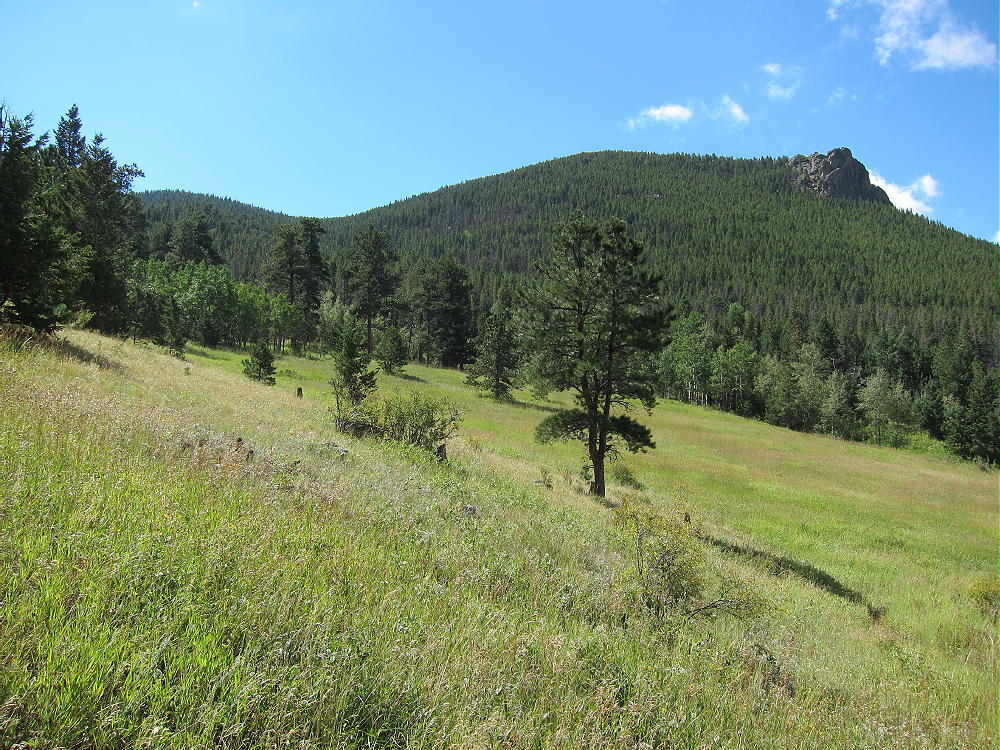
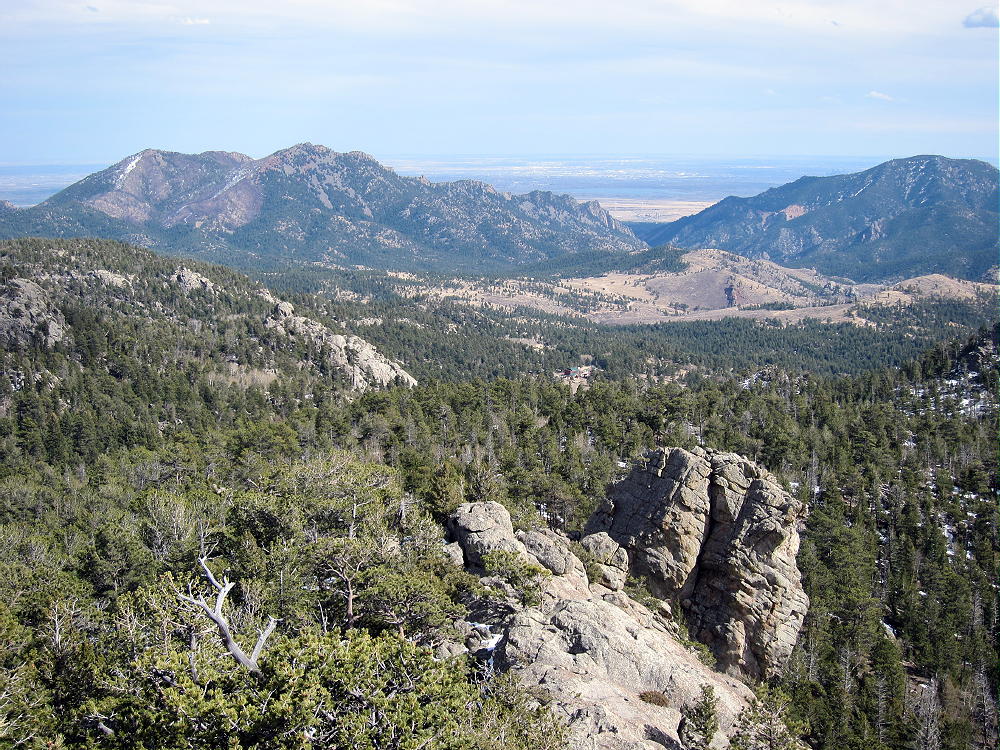
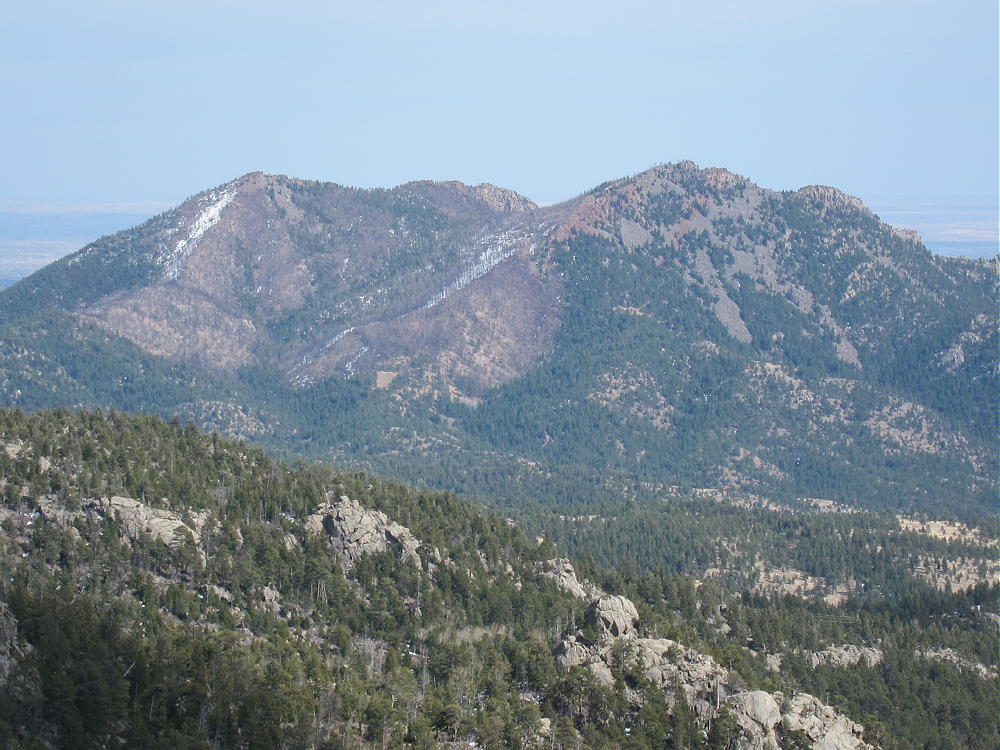
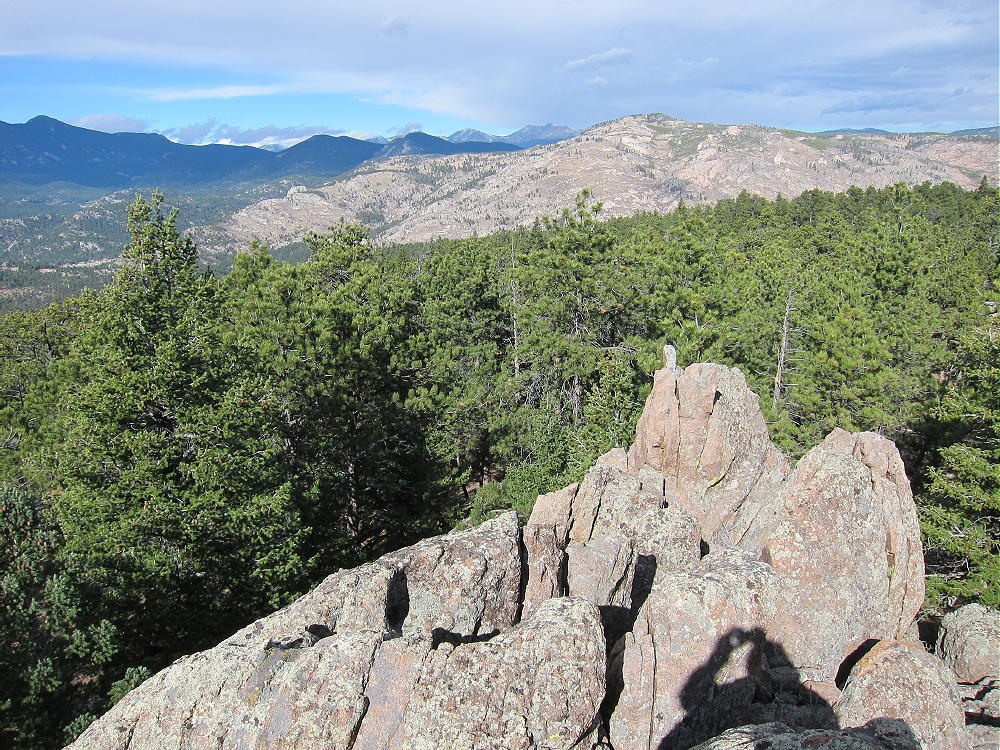
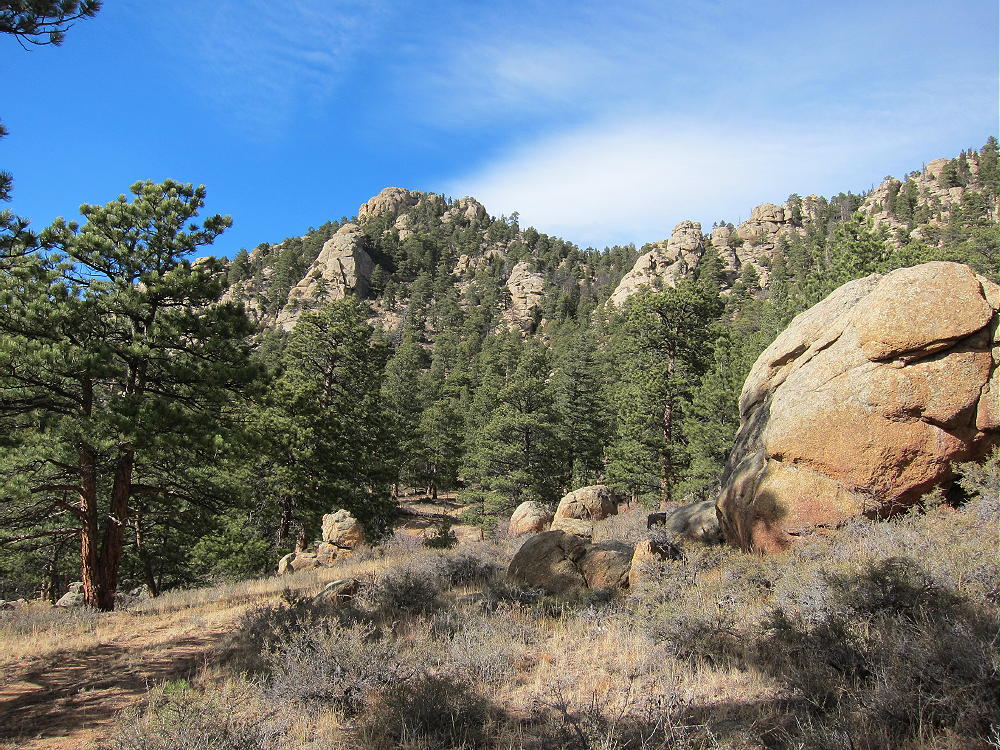
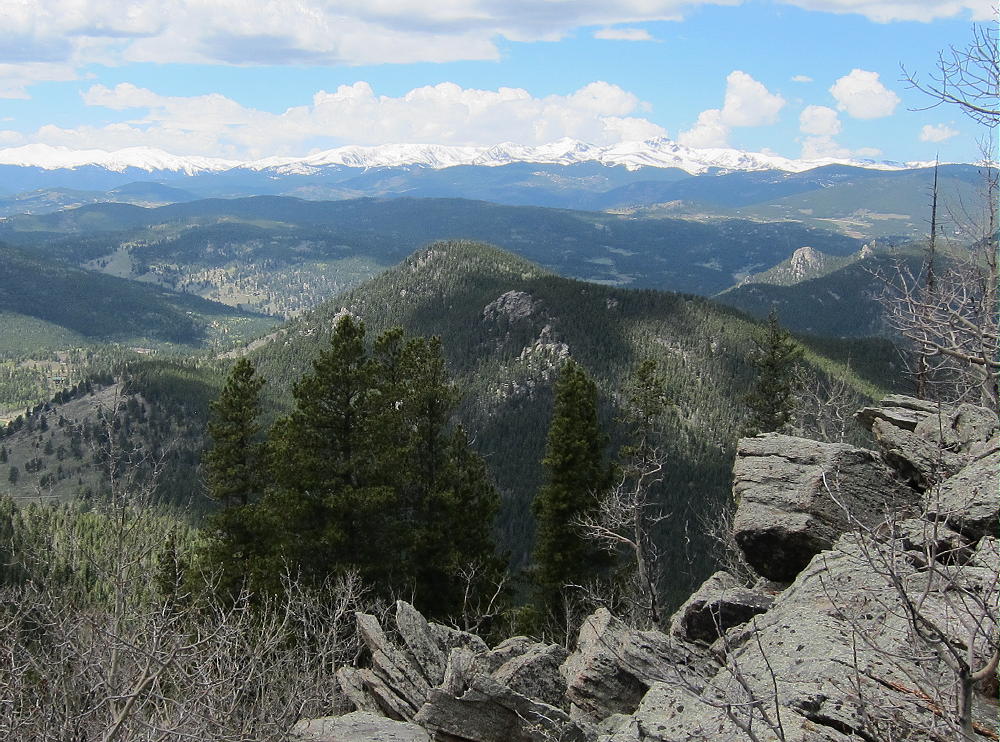
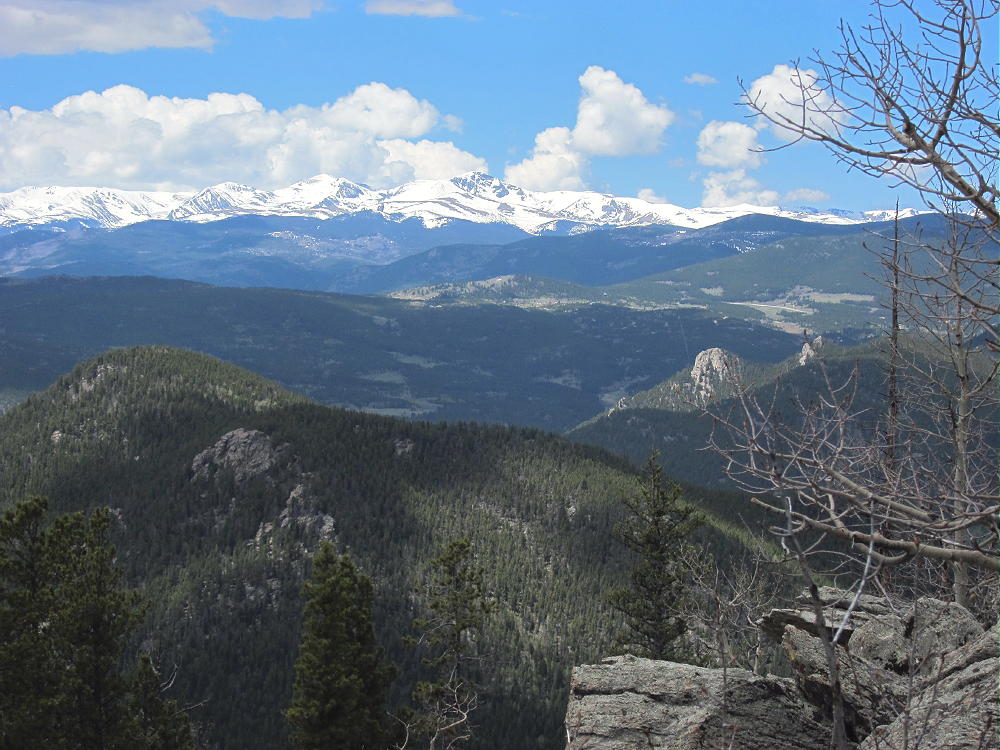
    Crosier Mountain View West to Mummy Peak
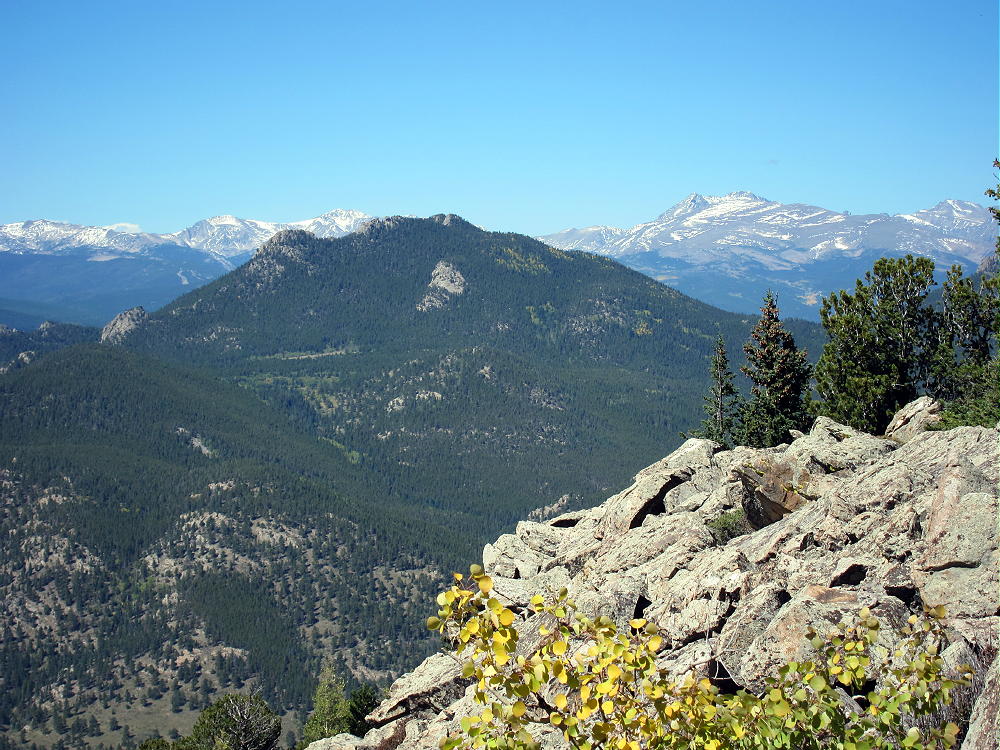
    Crosier Mountain View – West Crosier and Mummy Peak

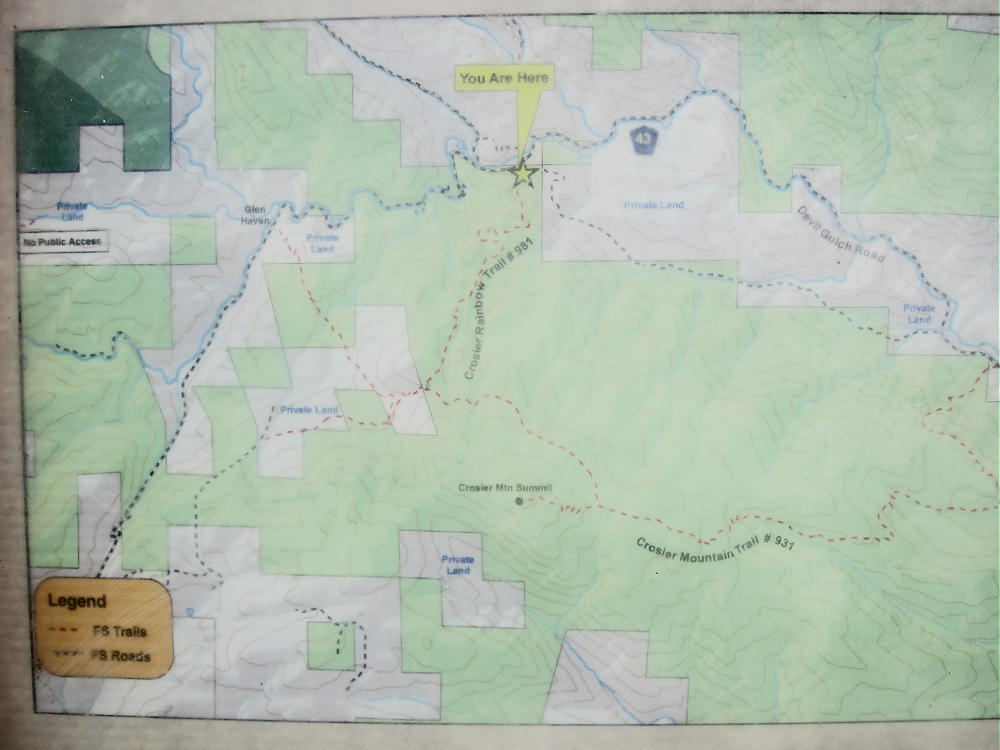
    There are three public trails to Crosier Mountain. These trails, and most roads and trails nearby, were closed after the 2013 floods. I chose the Crosier Rainbow Trail 981, because I had information that it was open, and that the parking was OK. Good parking is available at the “gravel pit” trailhead along road 43, on the south side of the road, about 1.4 miles down the creek from Glen Haven.  There are signs at the start of the trail.
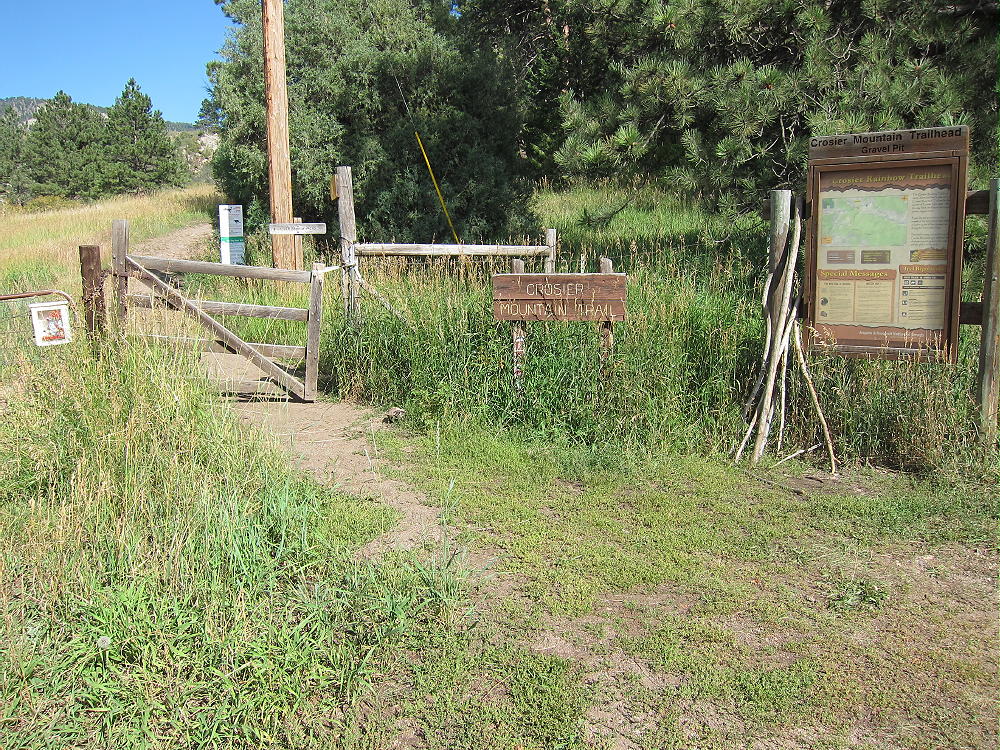
    Rainbow Trail-head and Signs near Gravel-Pit
    Rainbow Trail-head and Signs near Gravel-Pit

    Take plenty of water. Climb up moderately steep, efficient trail 918 about 2 miles to a T-junction with Trail 931.
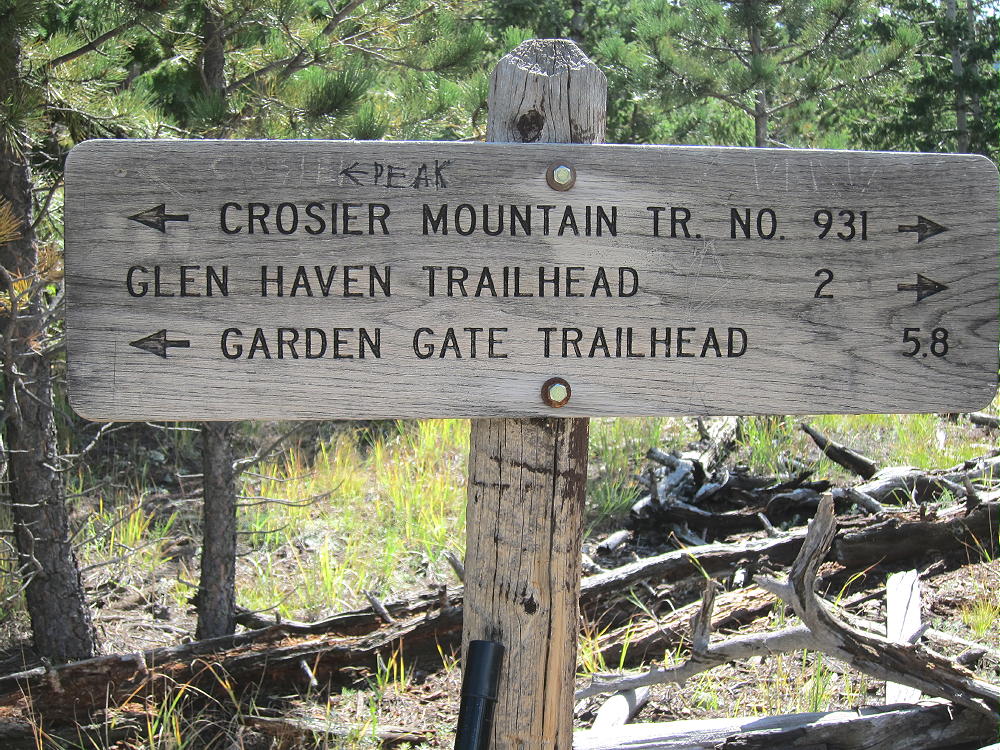
    Sign at T-Junction of Trails 918 and 931
    Sign at T-Junction of Trails 918 and 931

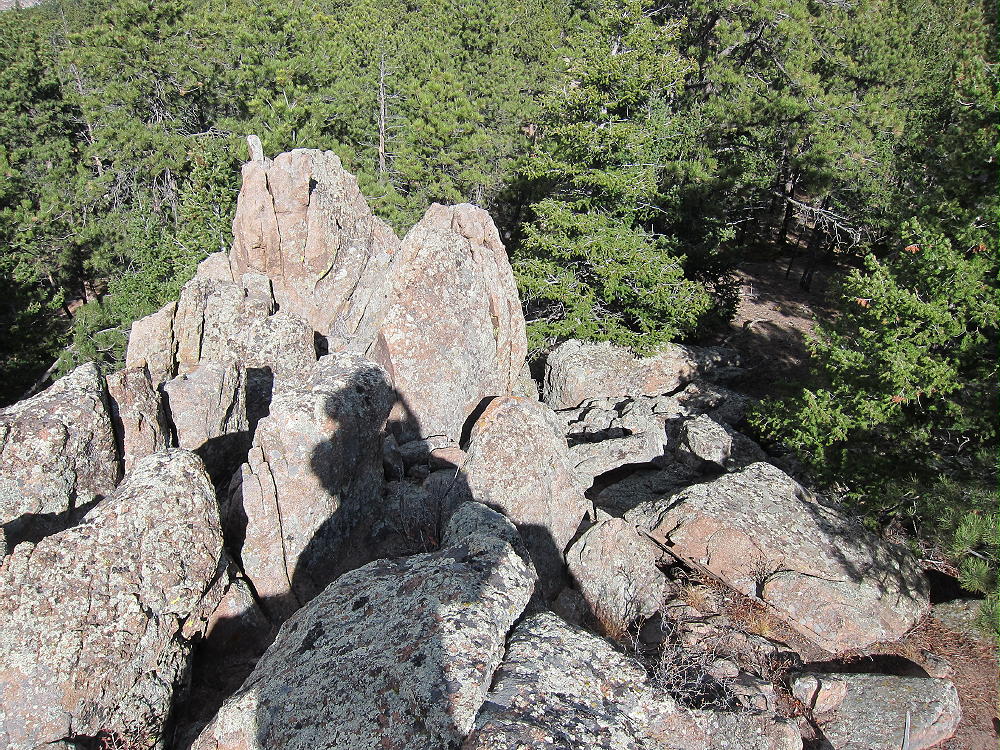
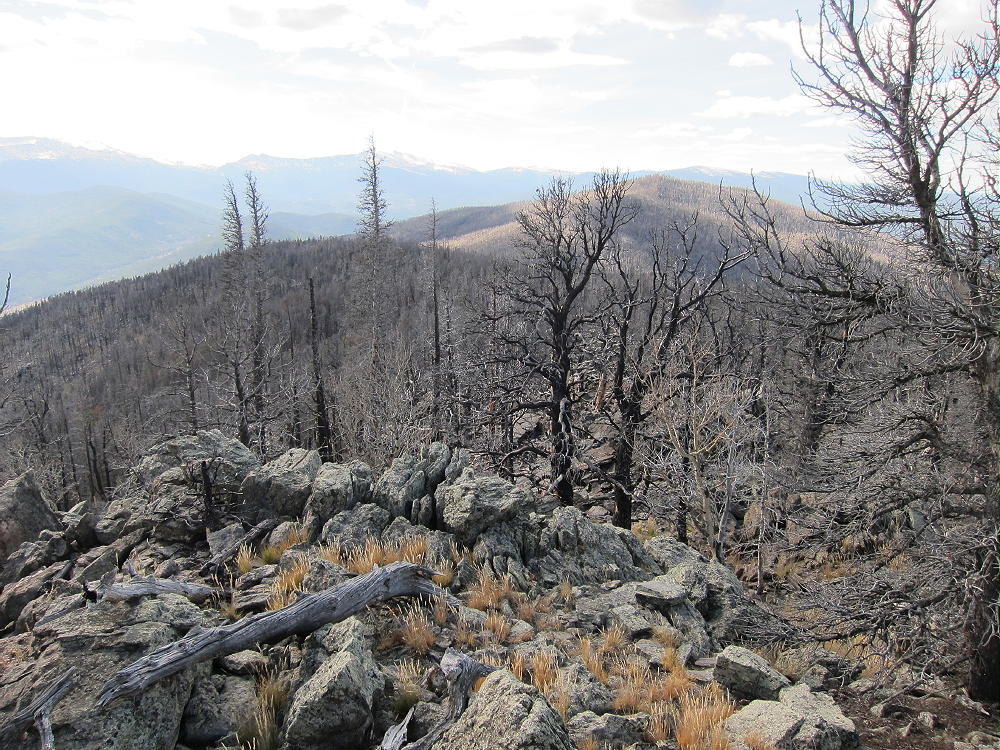
    Turn southeast at the signed trail junction, and continue about a mile to the signed junction with the Summit Trail. Turn right, west, and climb about ½ mile up the southeast side of the mountain. The trail is pretty good. The summit is large, with some nice rocks right at the peak.
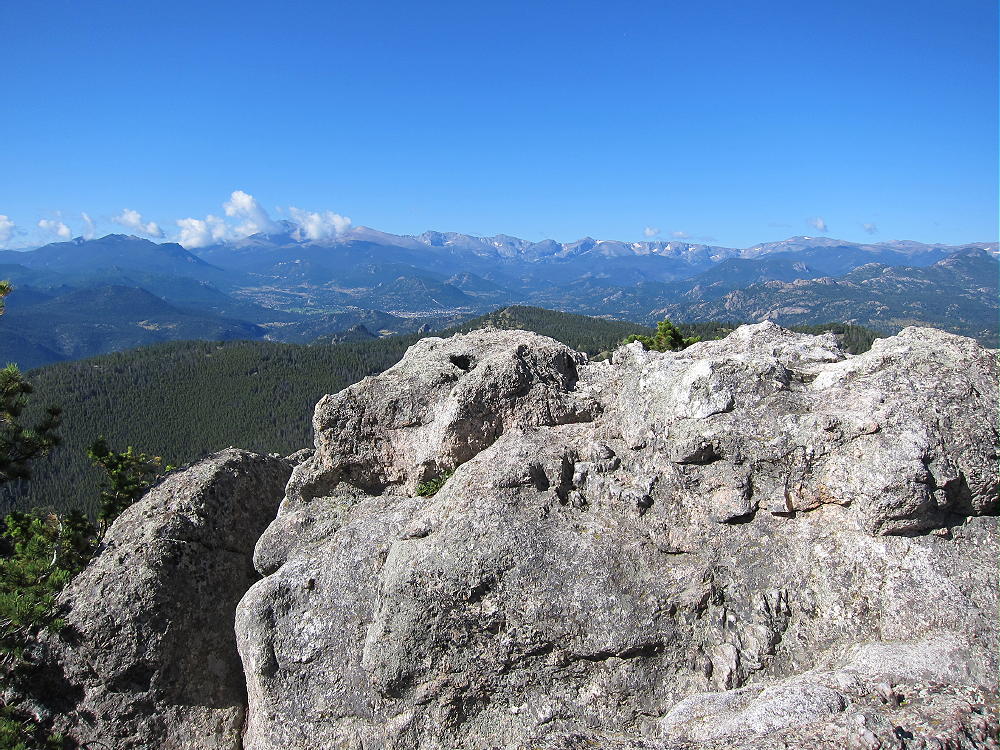
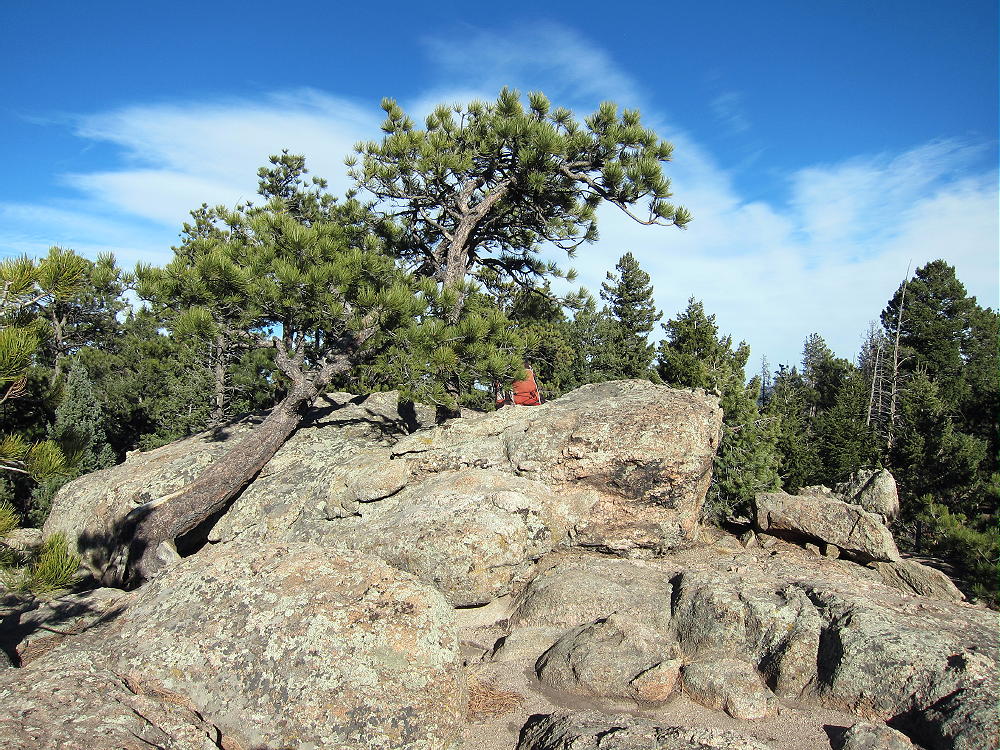
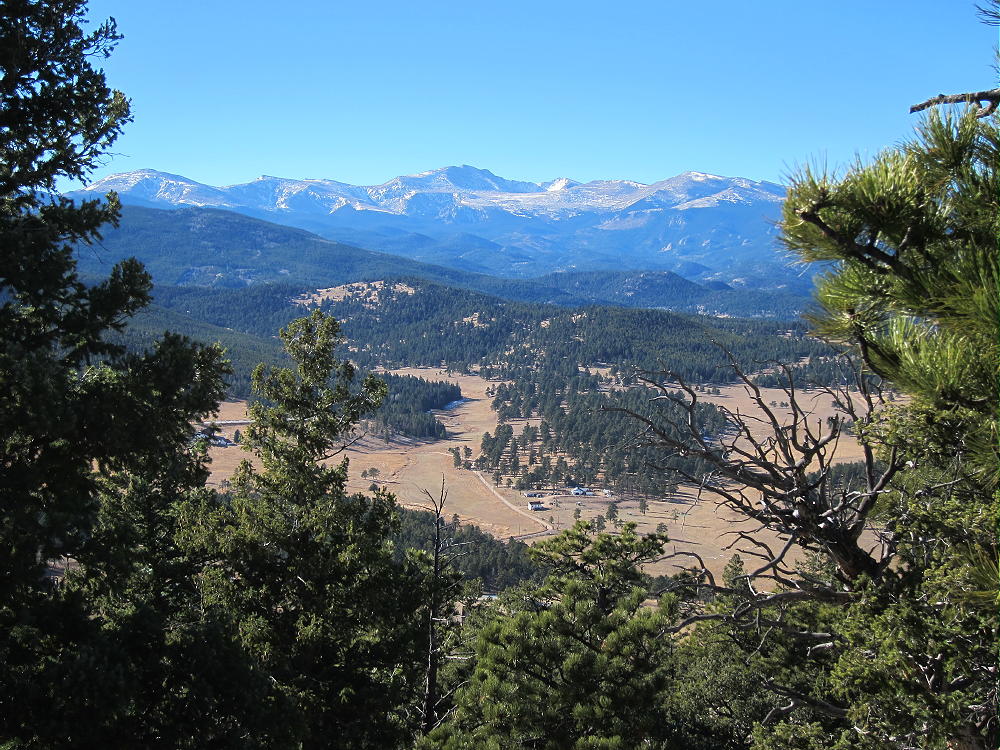
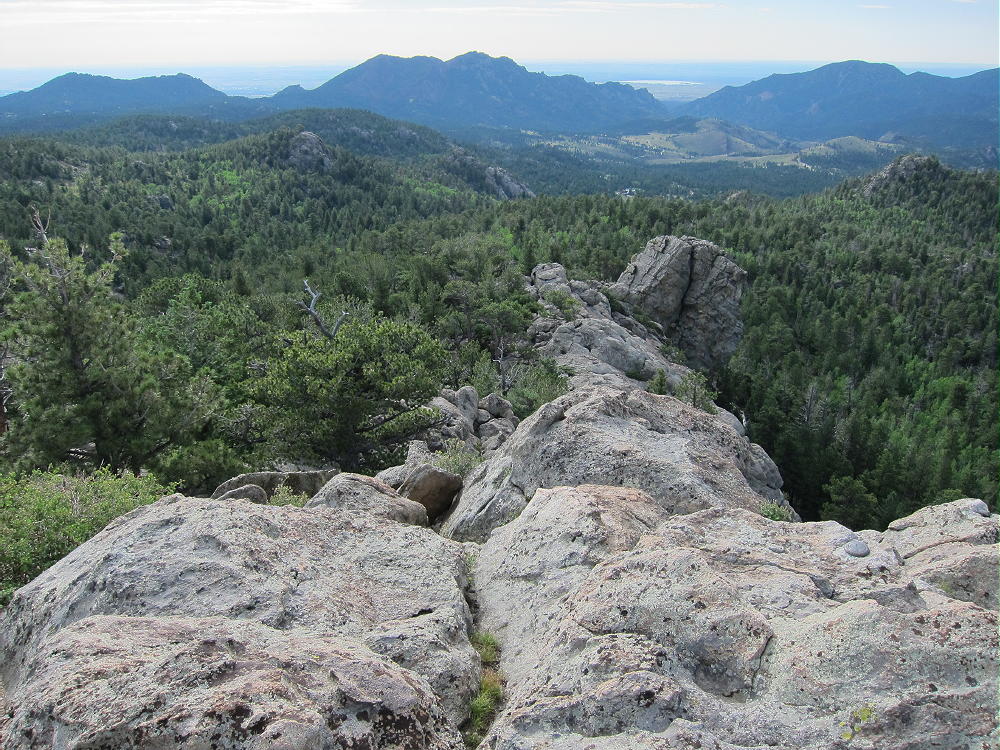
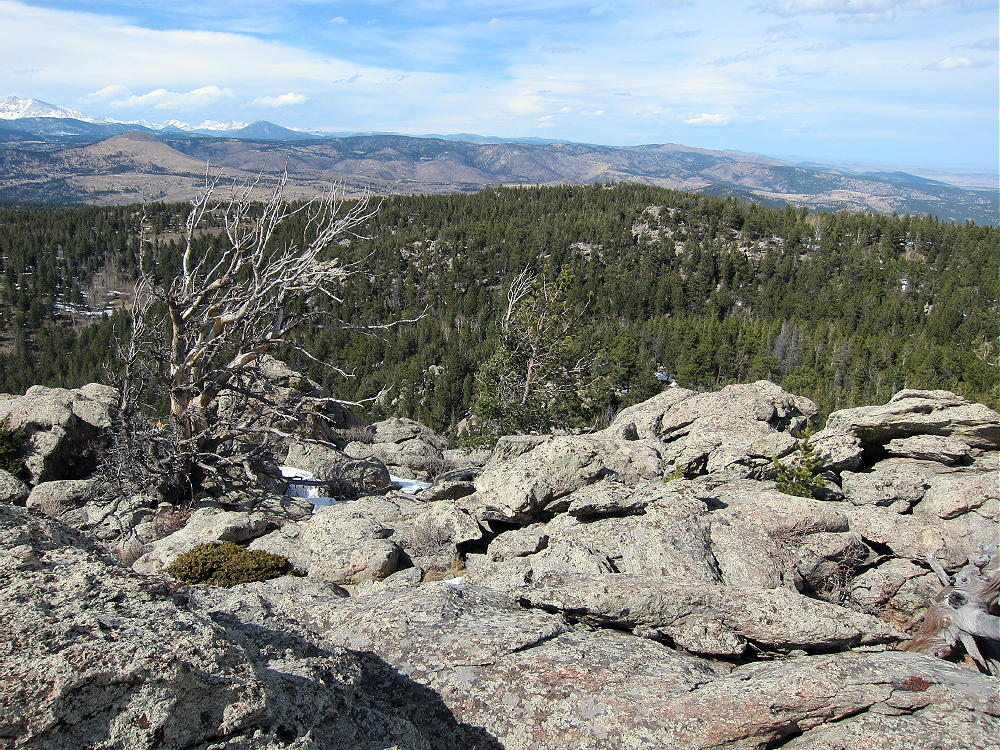
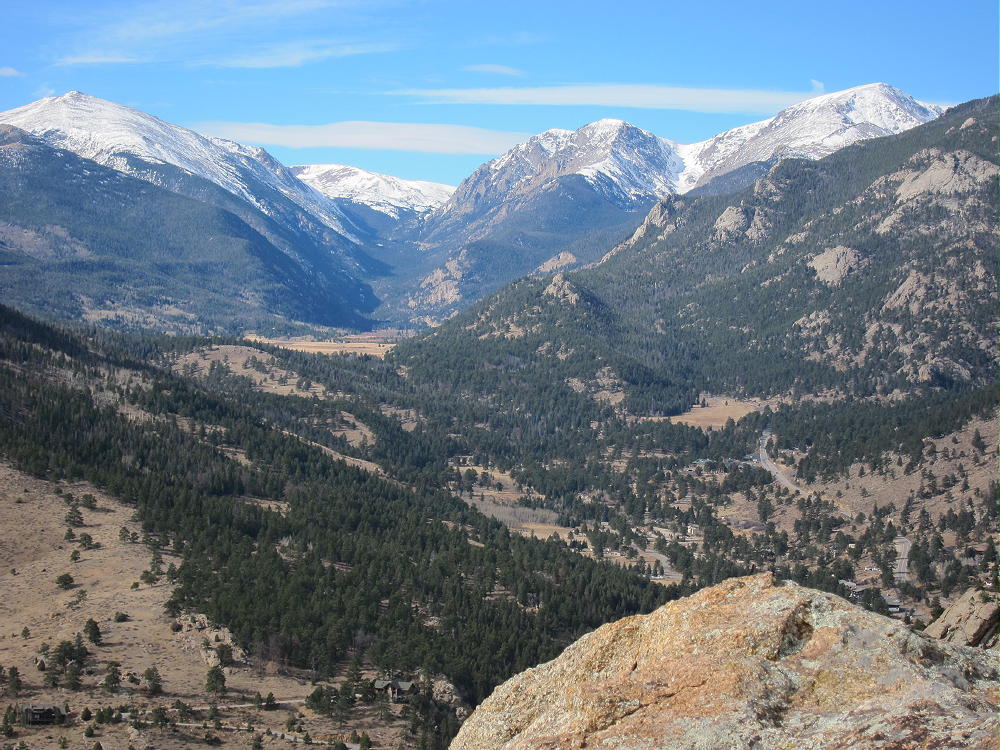
    Crosier Summit and View West to RMNP
    Crosier Summit and View West to RMNP

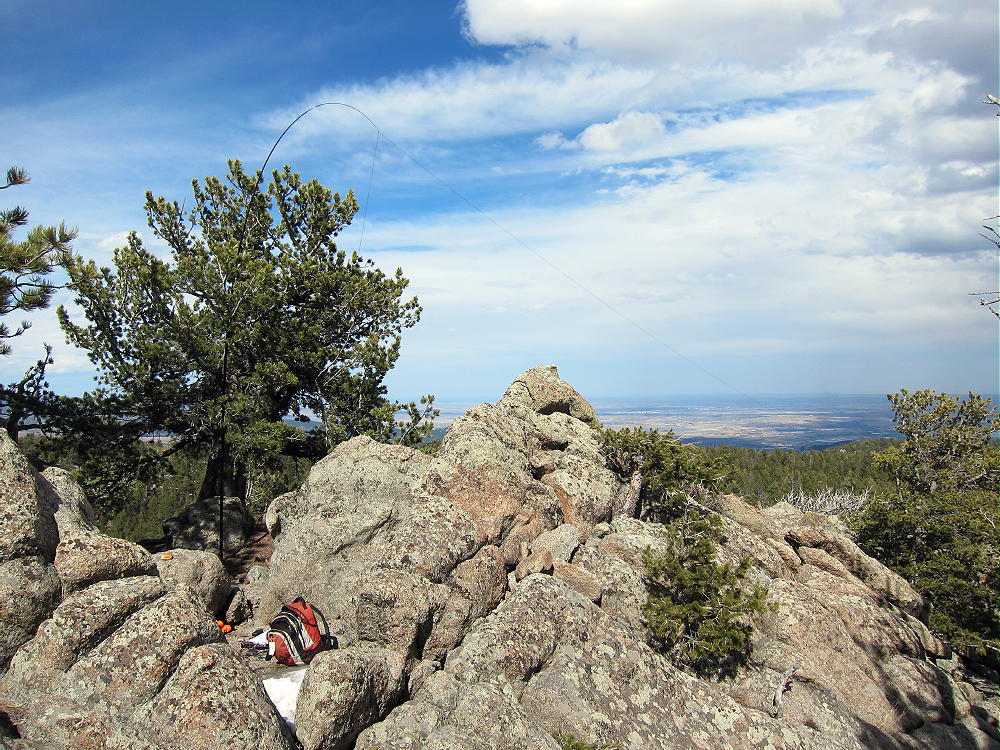
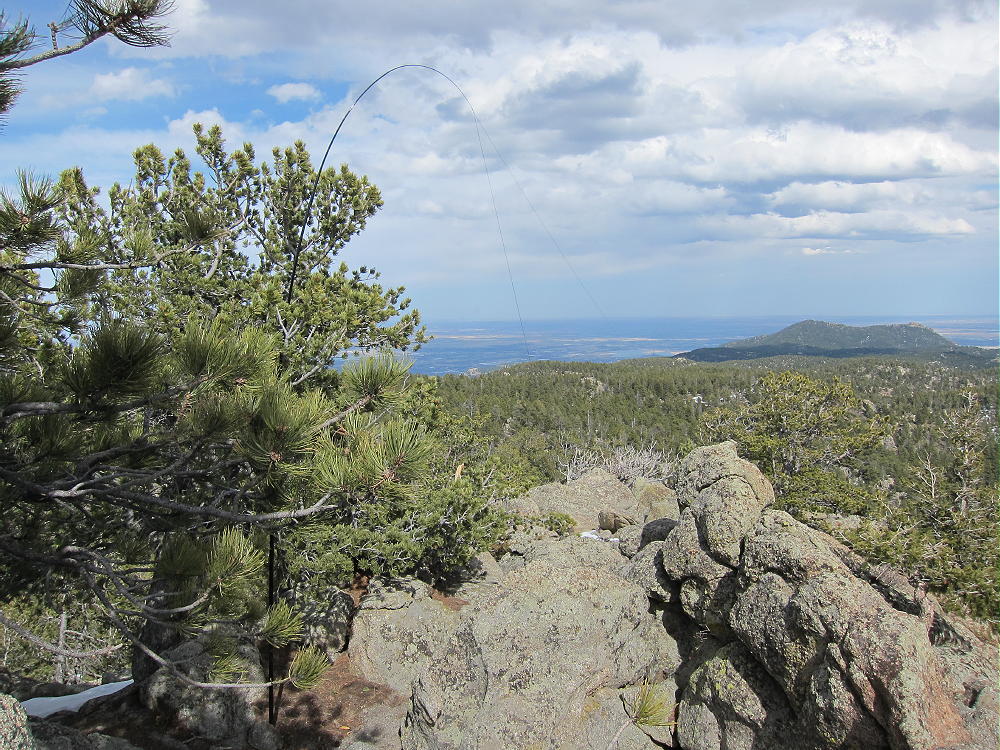
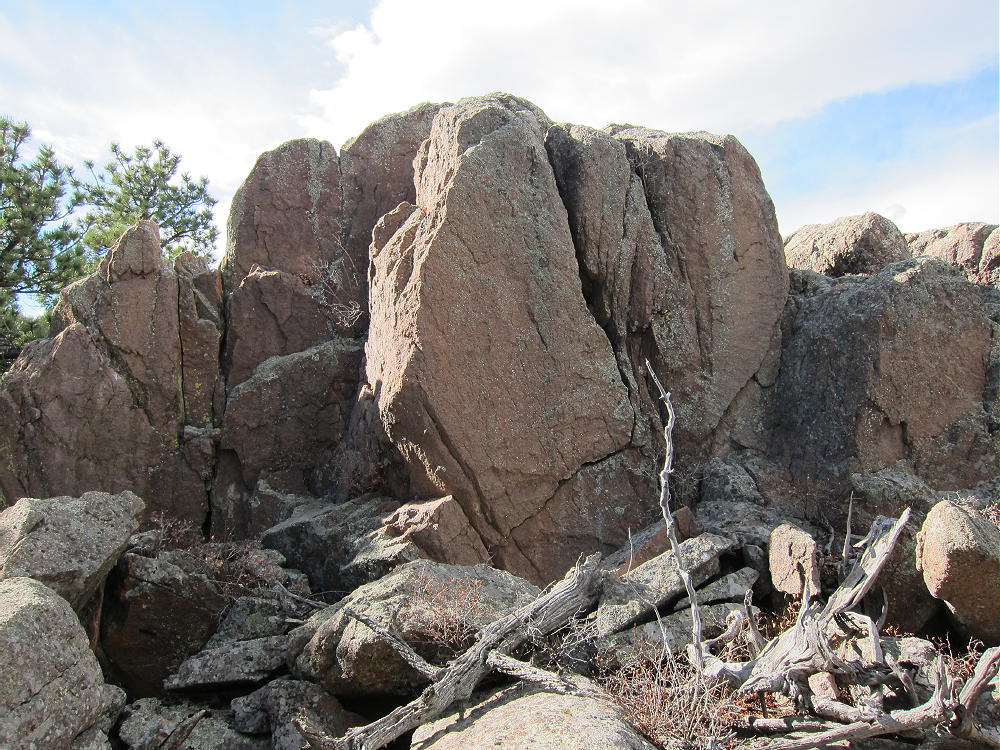
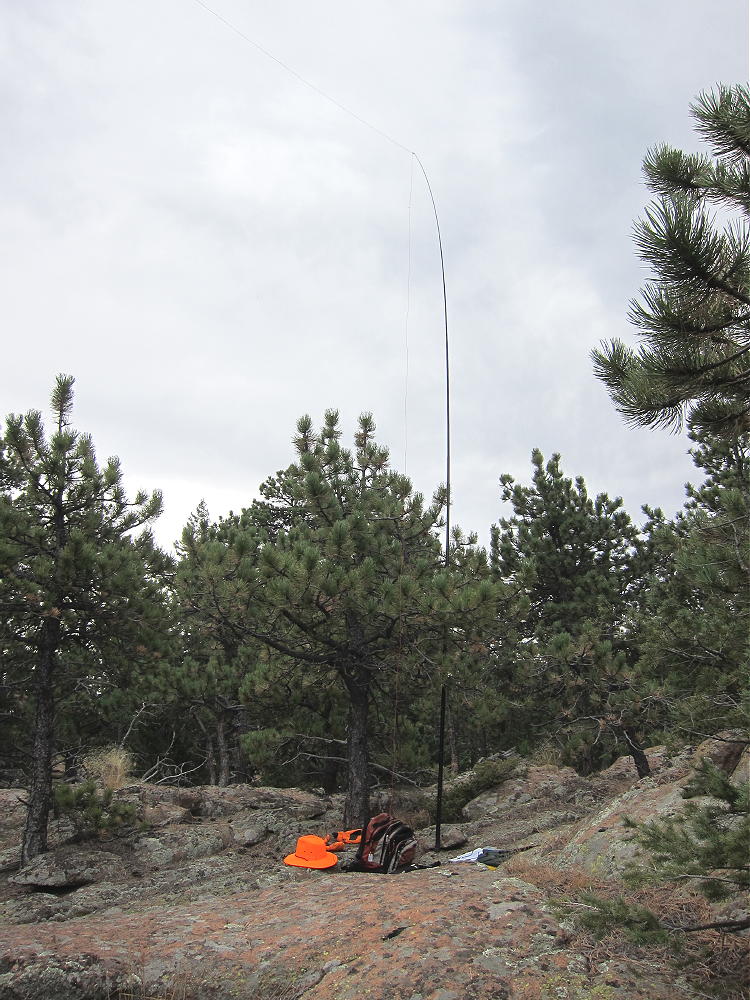
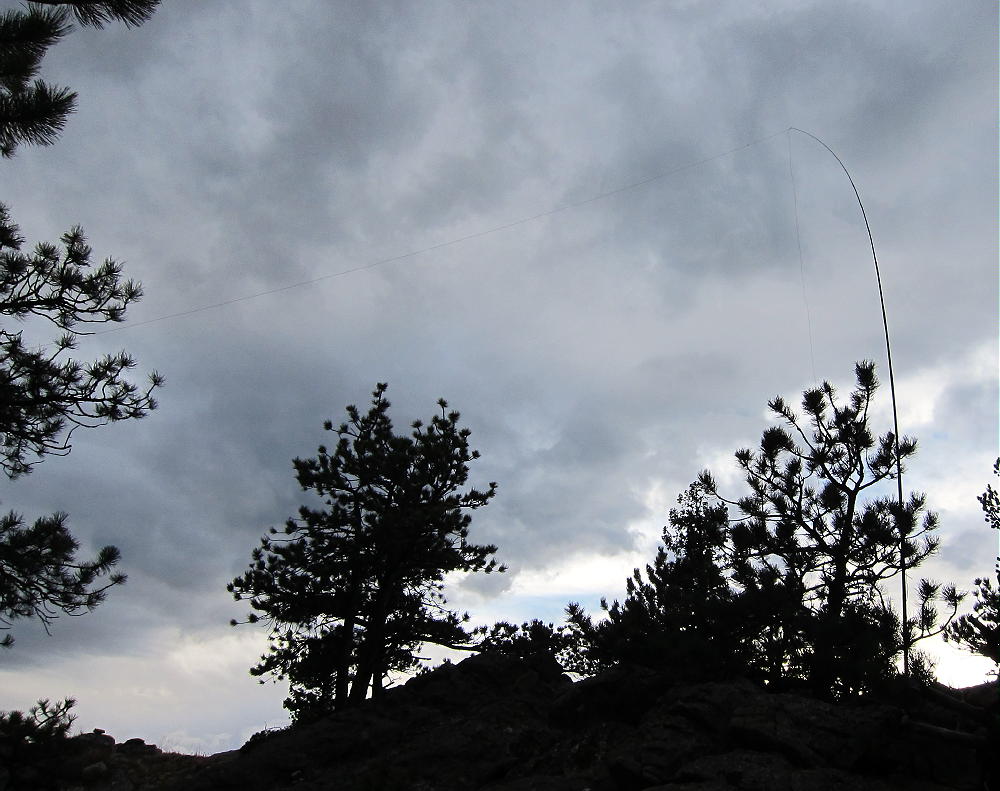
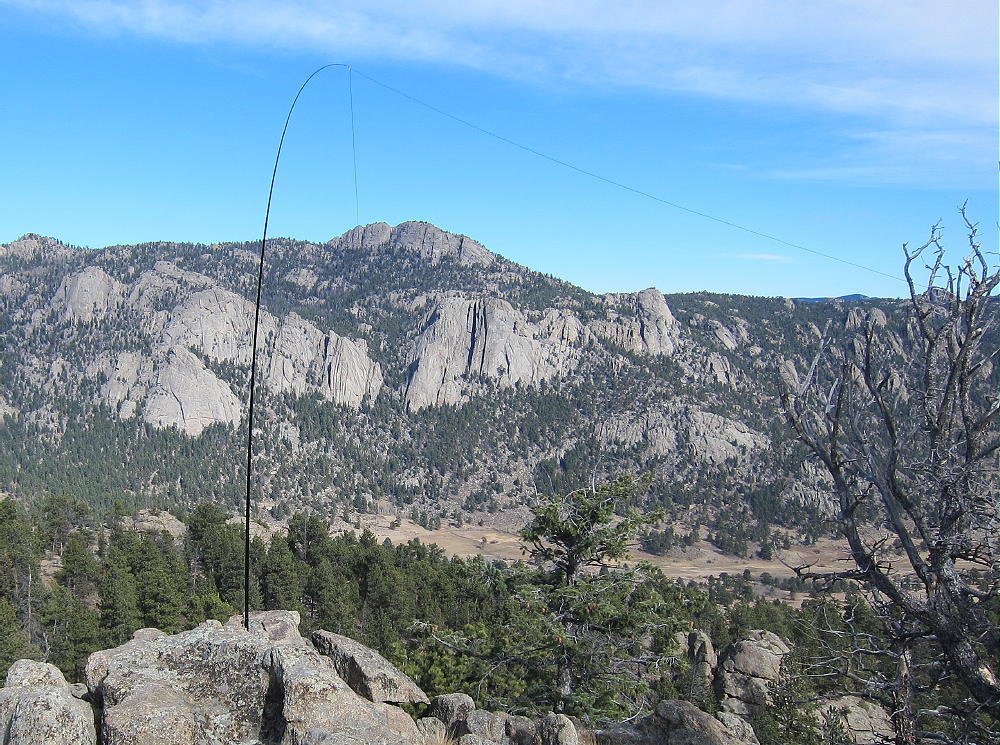
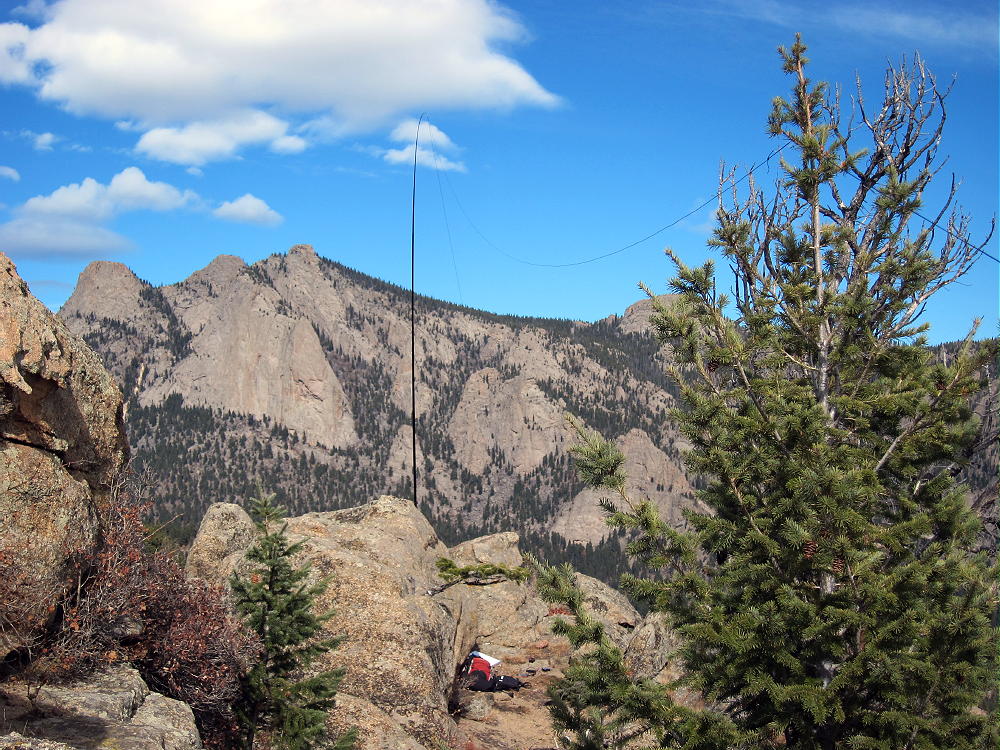
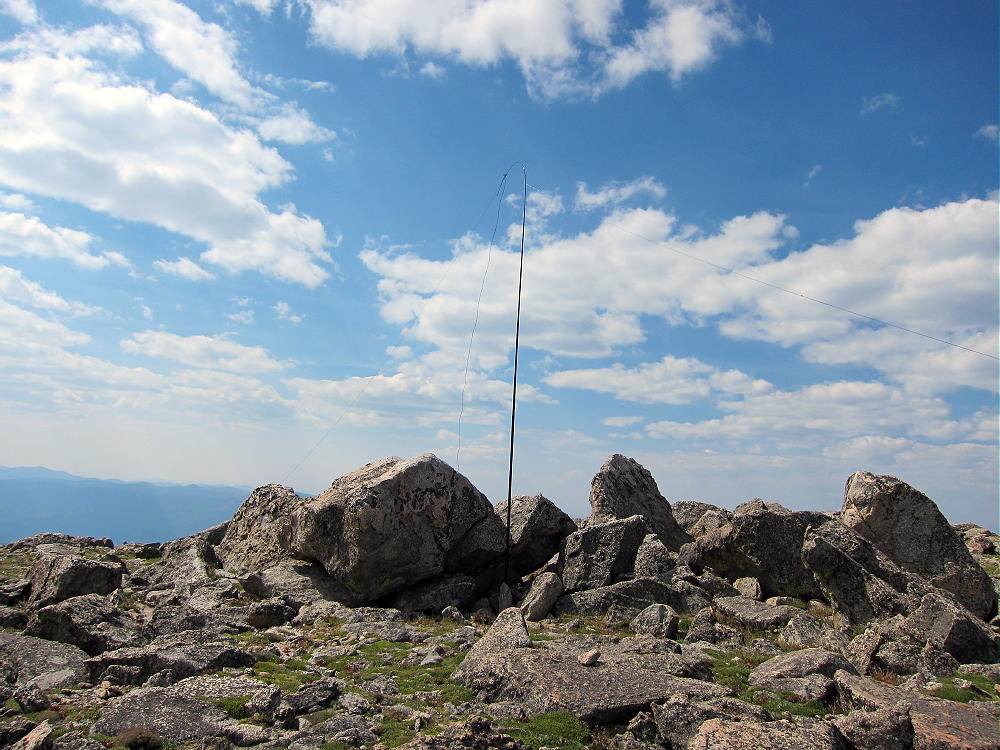
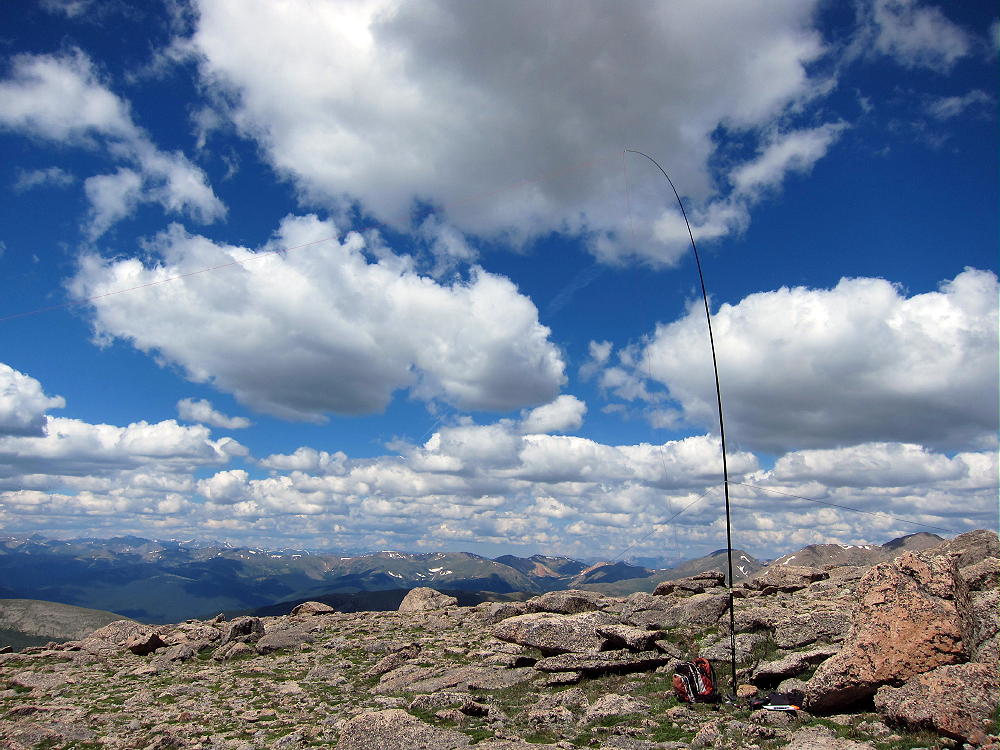
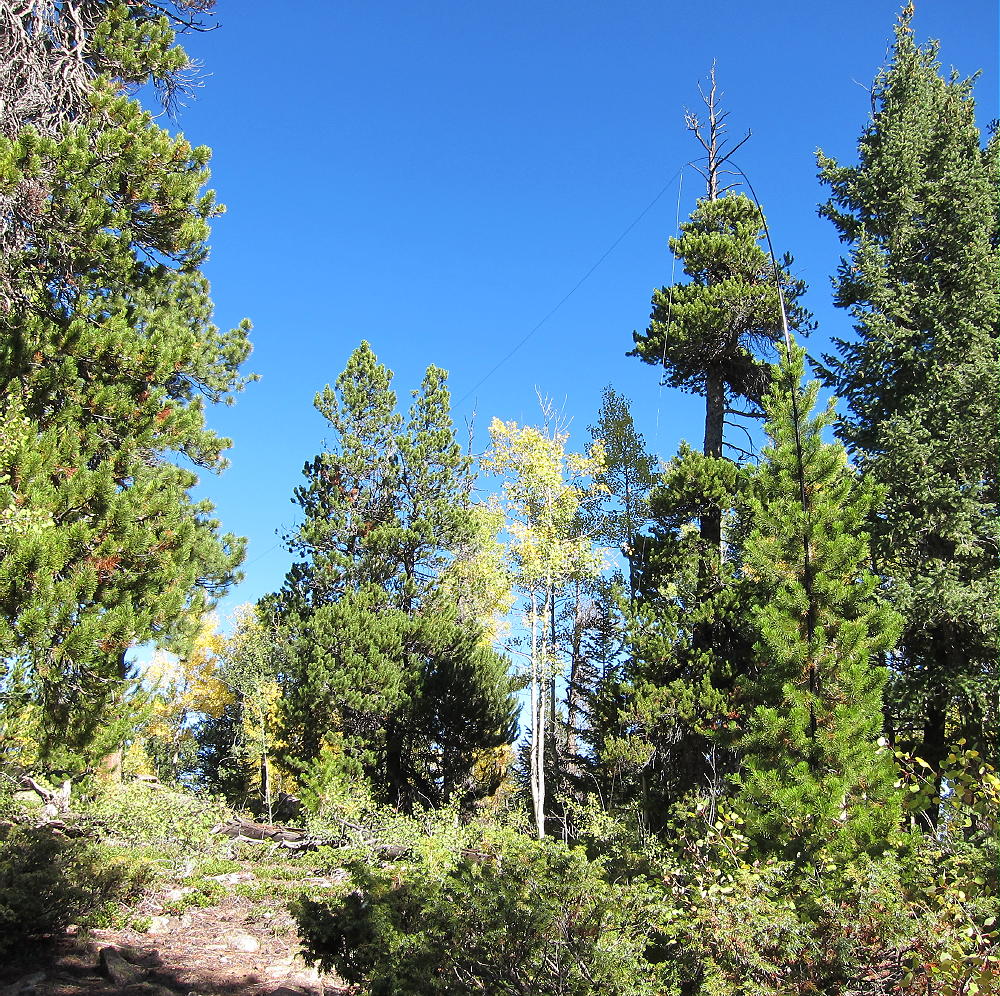
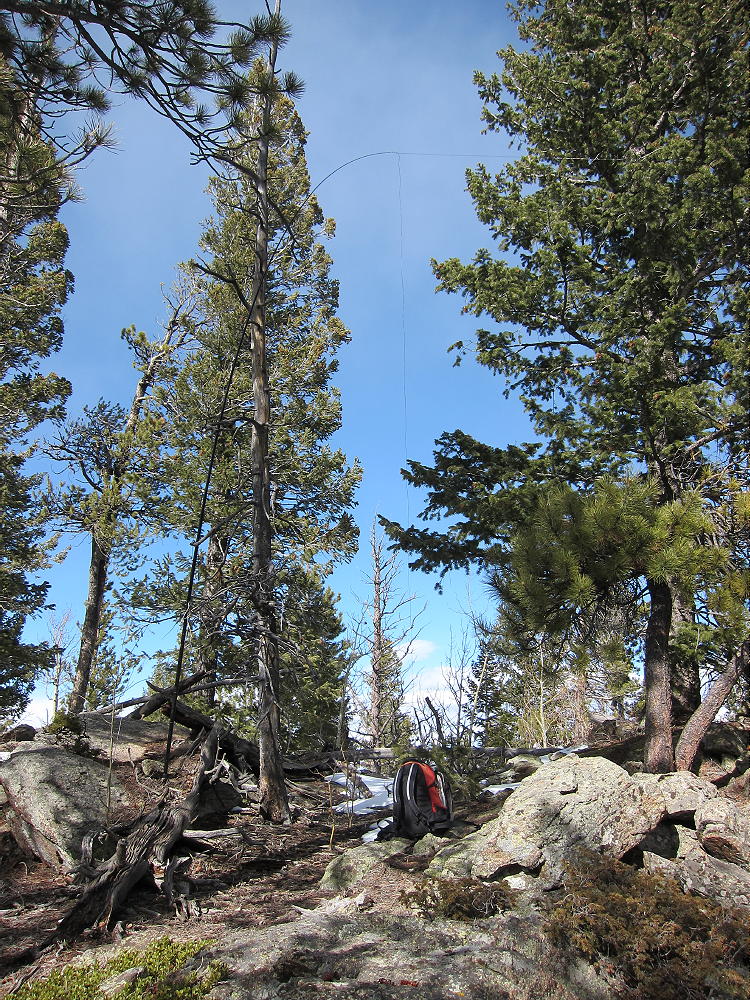
    I set up about 100 feet southeast of the peak, at a convenient open spot with nice views. I ran my 67 foot end-fed wire southeast across the large meadow, and tied it off with a long Dacron string to an elevated tree on the far side. This was an excellent antenna!
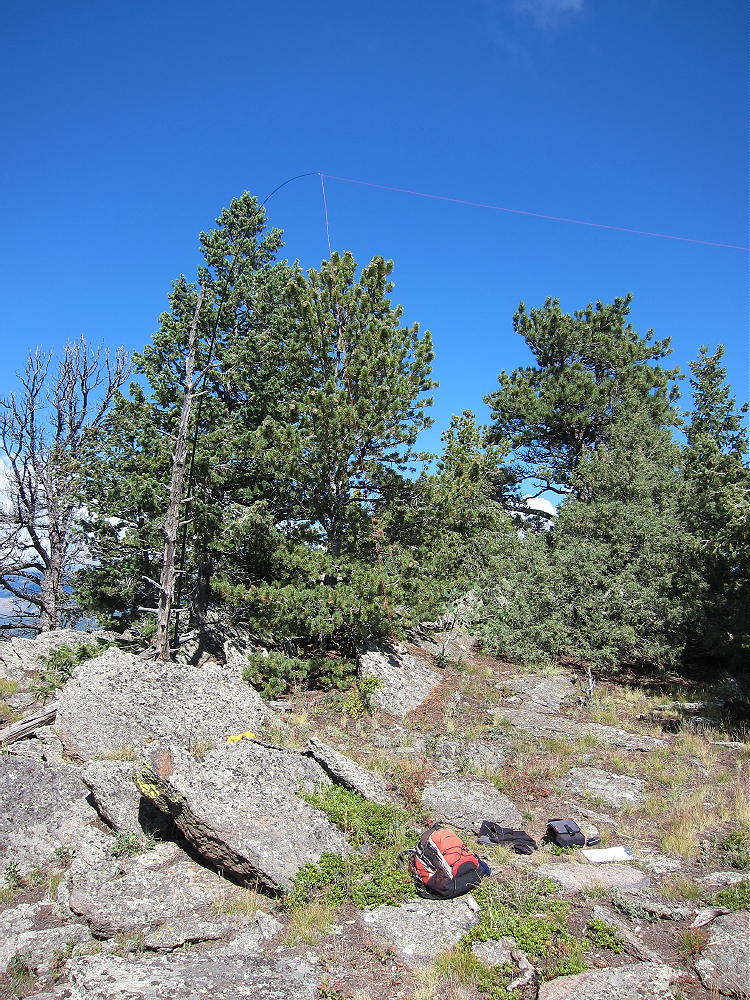
    Crosier Mountain Activation Site
    Crosier Mountain Activation Site

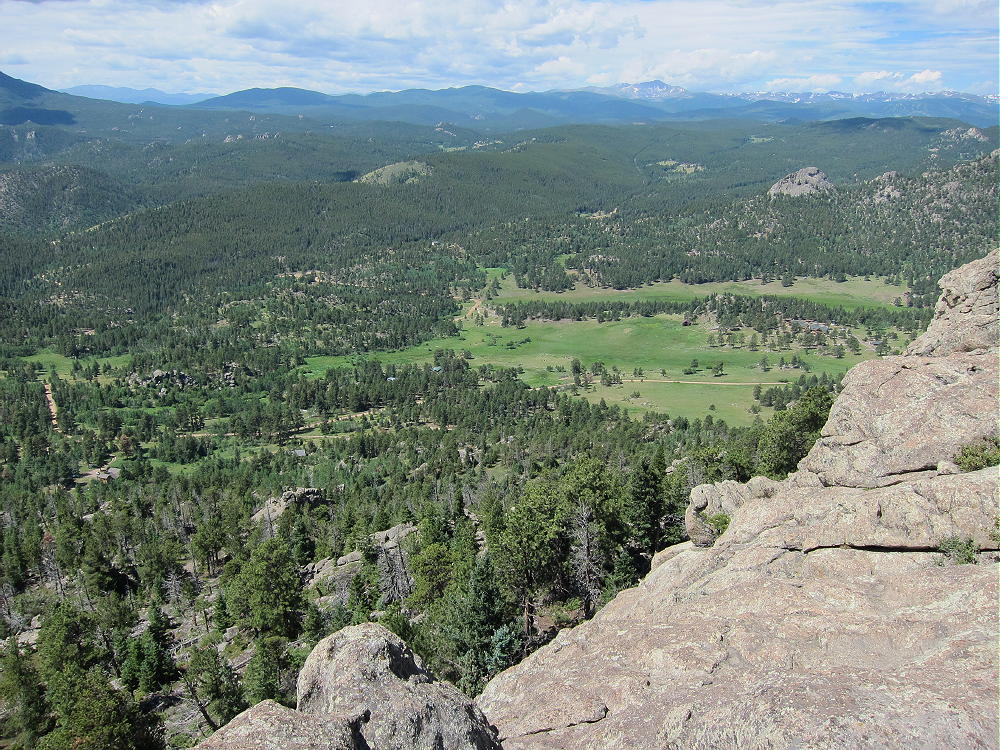
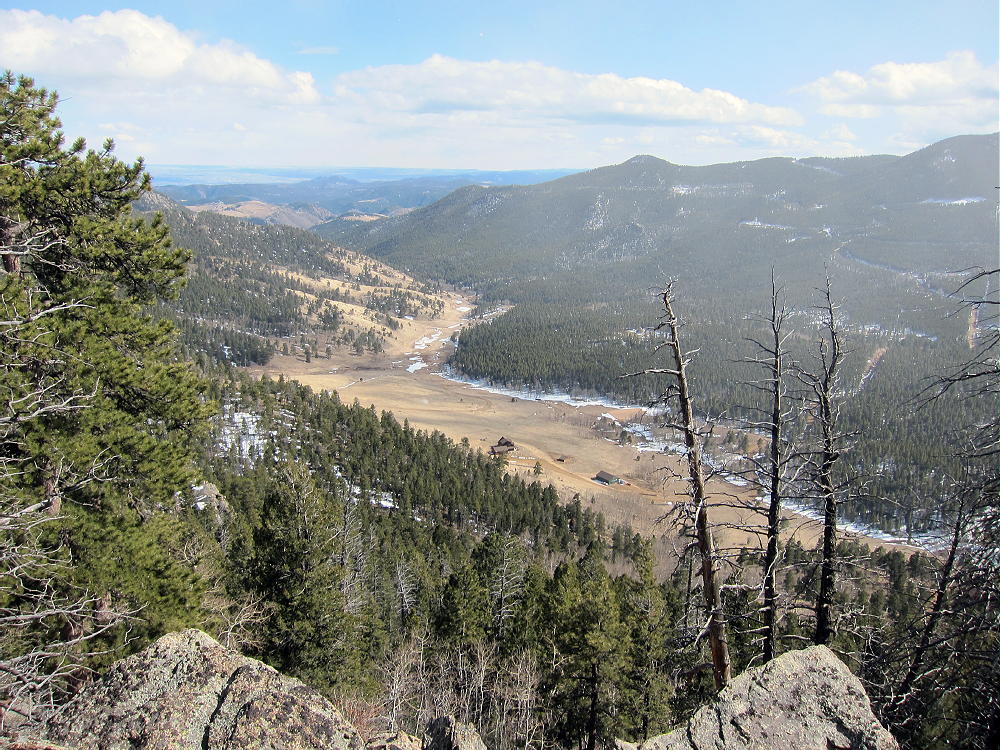
    A few people climb Crosier. There is private space in the woods on the northwest side of the summit. The southwest side looks down over 1000 vertical feet. There are nice views, and the mountain top is wonderful on a good day!

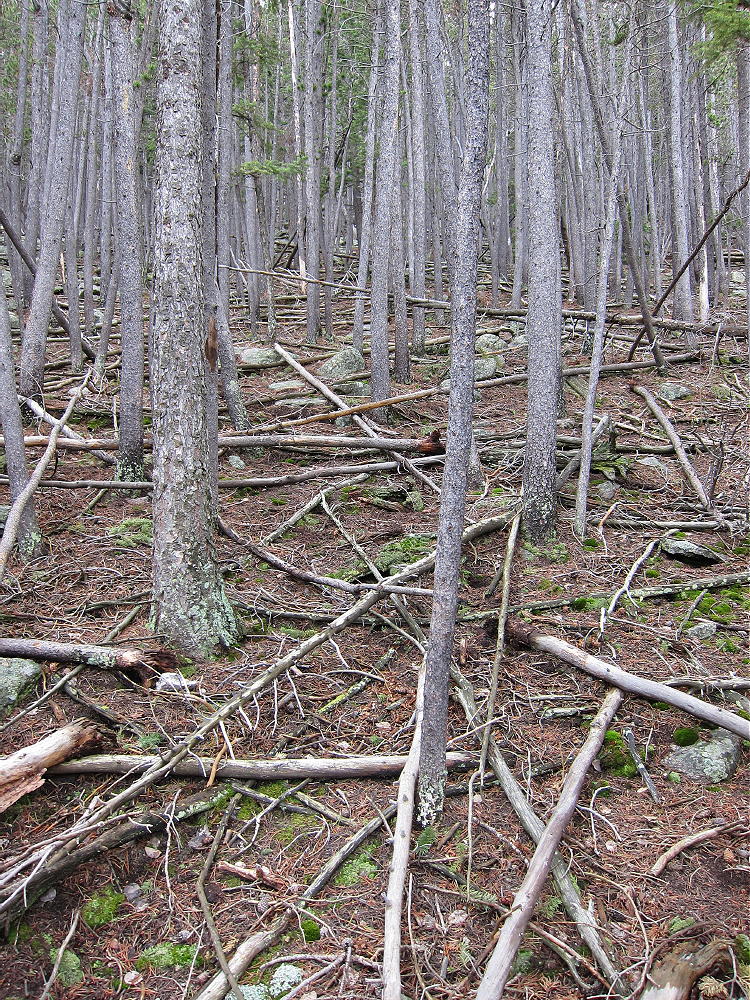
    To connect with West Crosier, it’s tempting to descend the west ridge and find a way directly down to the saddle between the two mountains. There are cliffs and huge rocks on the west side of Crosier, and it’s steep. There probably is a workable route, but it may require dropping down steep, rocky gullies between the rock formations. There is no way to find it quickly from above. If you go too far north, there is a large, dense lodge-pole forest on the north and northwest side of Crosier that is surely Hell. It extends around to the northeast side and even along the trail. It looks difficult to penetrate.
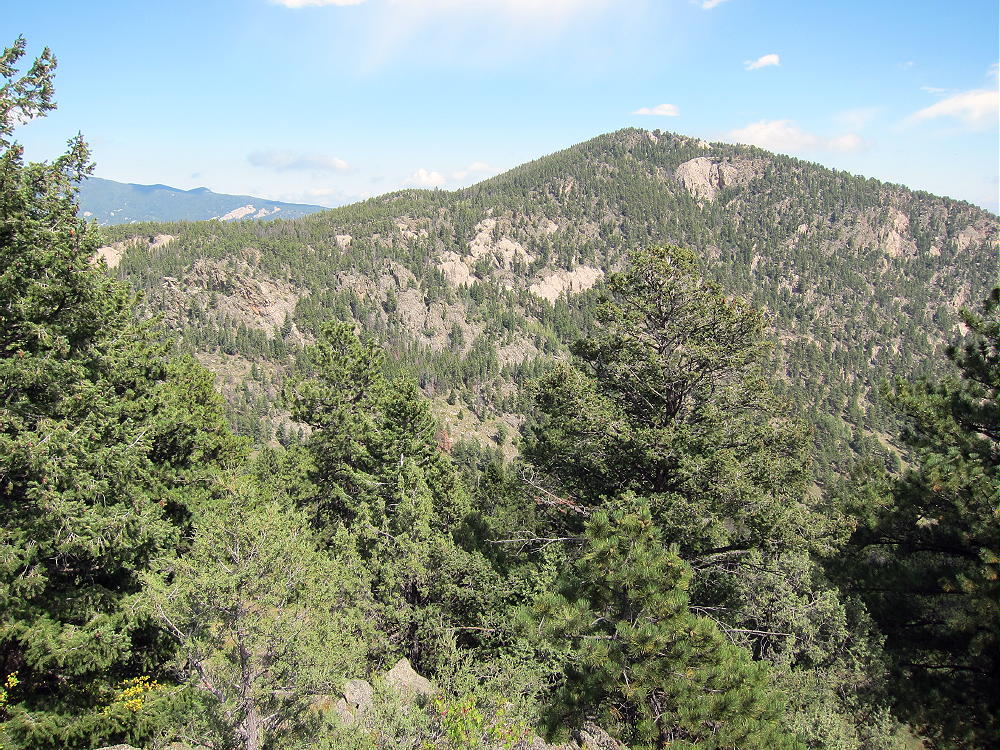
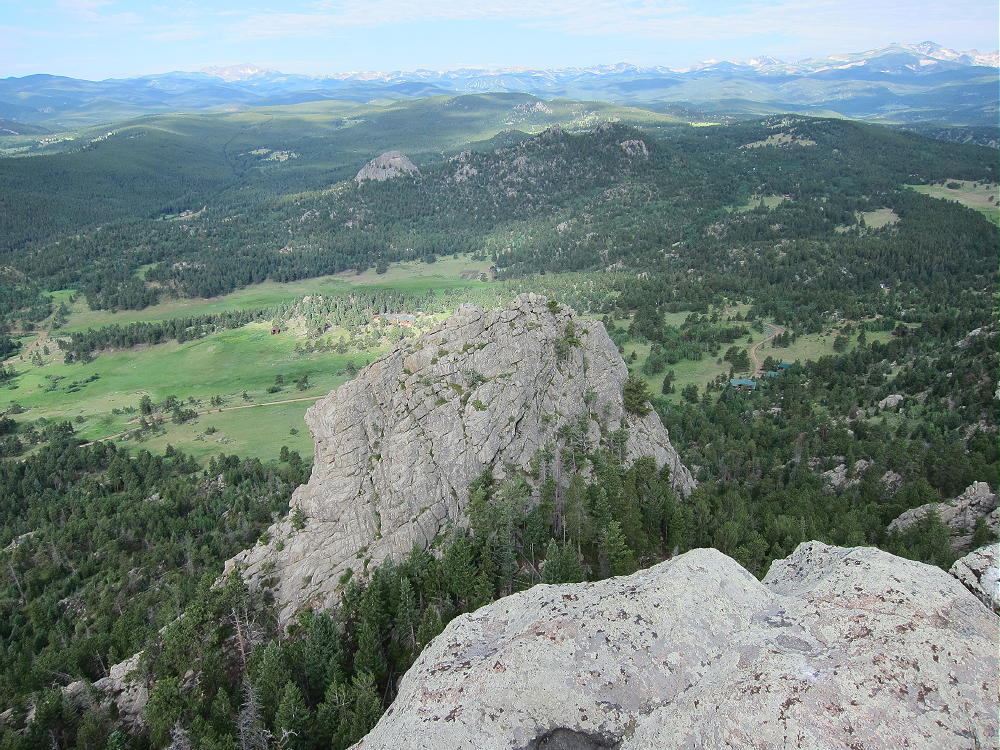
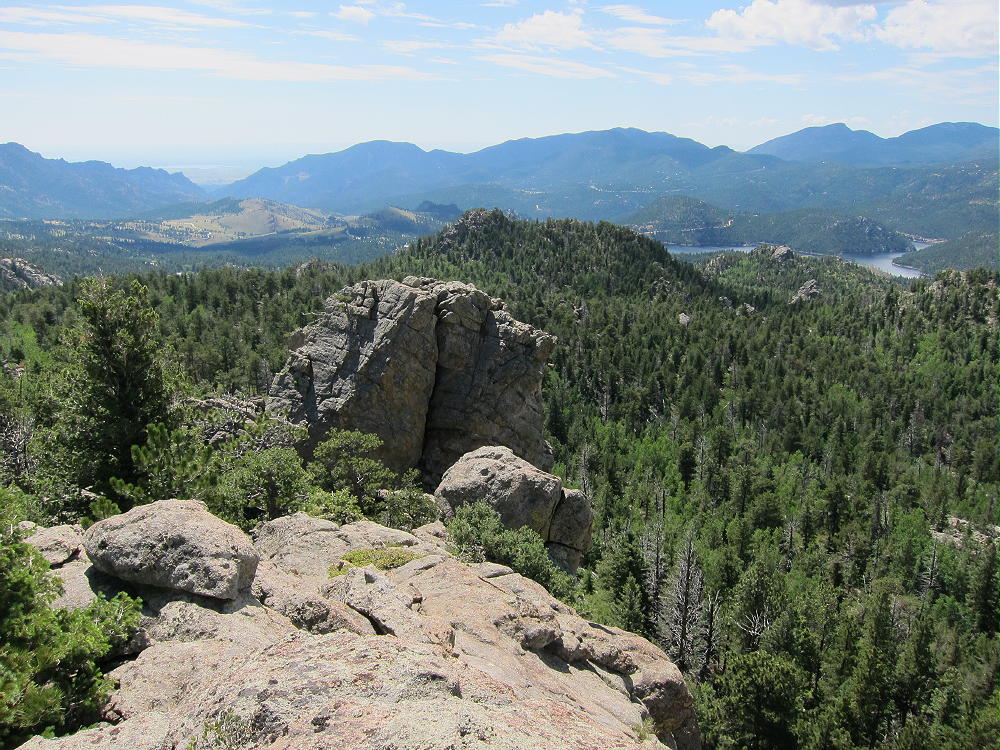
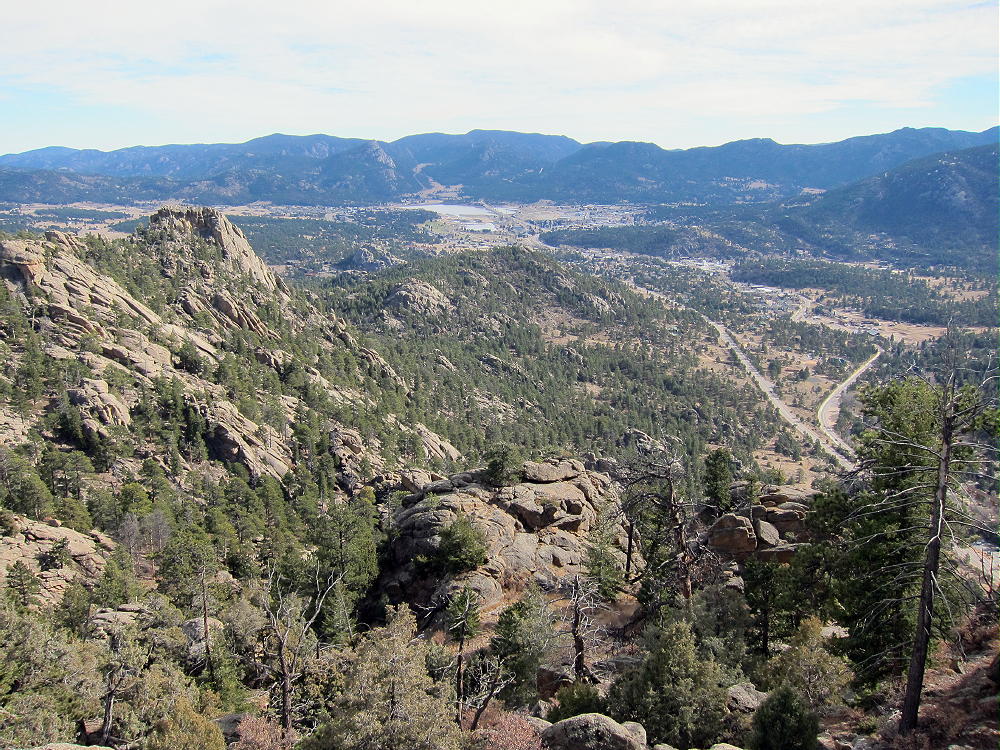
    Crosier Mountain from West Crosier
    West Side of Crosier Mountain from West Crosier Mountain

    I decided to take the “better safe than sorry” approach to West Crosier.

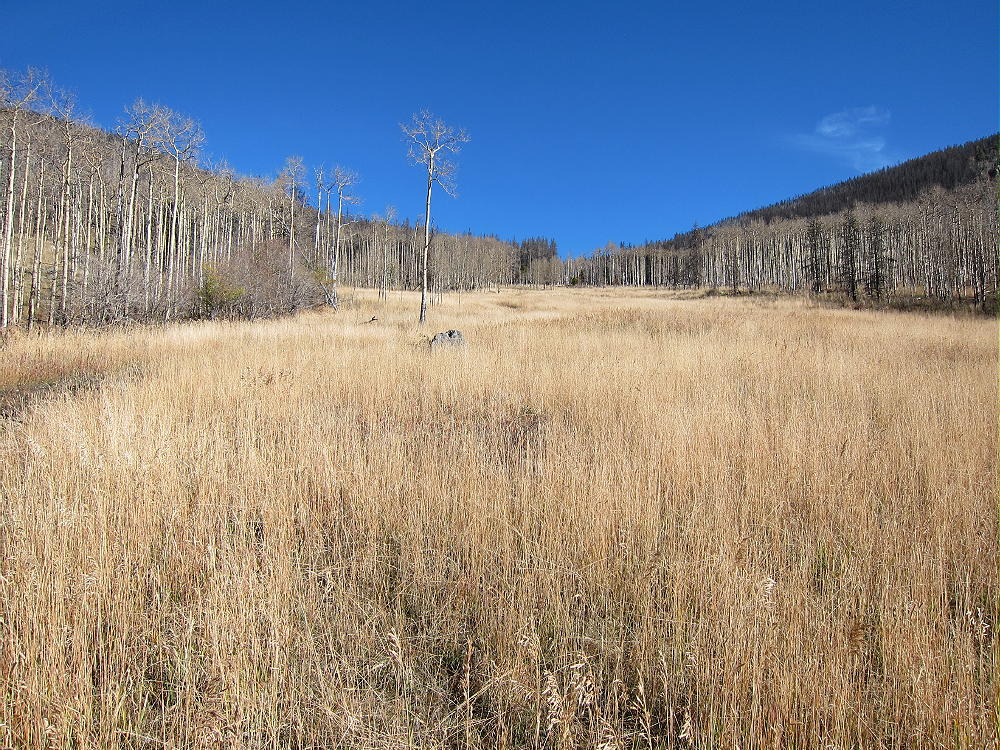
    I followed the summit trail back down to the junction with the main trail 931, turned northwest, and followed 931 back to the signed junction with Rainbow Trail 981, and then I continued down 931 about ¼ mile to Piper Meadows. This is a huge, beautiful meadow with open views to the northwest.
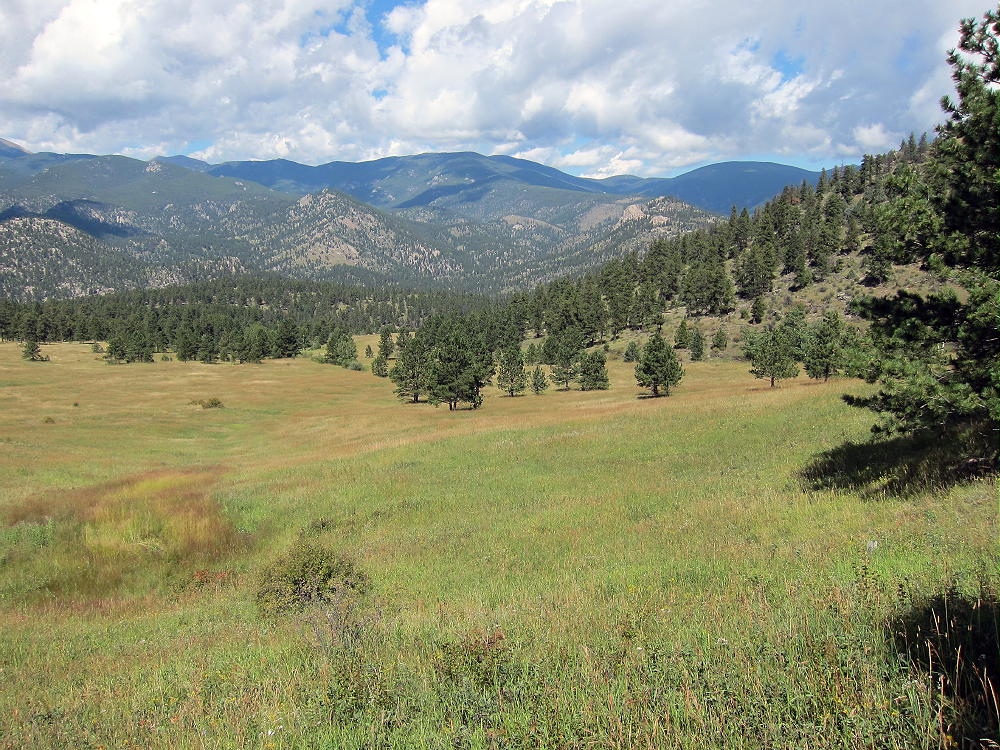
    Piper Meadows View North
    Piper Meadows View North

    The trail through the Meadows leads down to Glen Haven. At Piper Meadows there is a sign for the H BAR G Ranch, which is about 1-1/2 miles to the southwest.
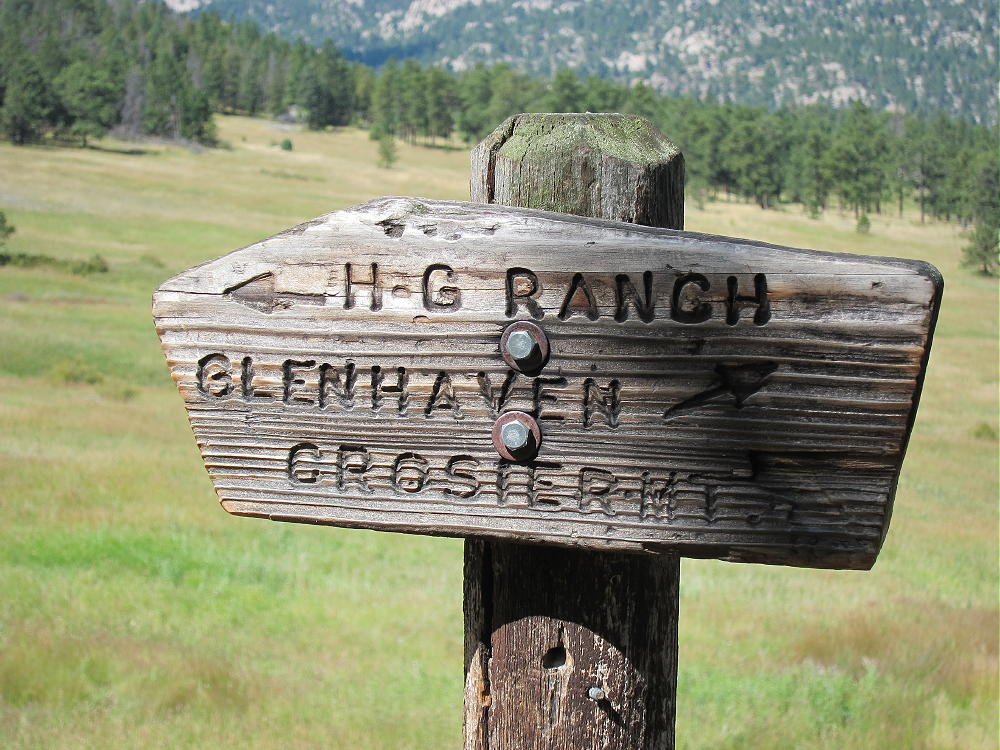
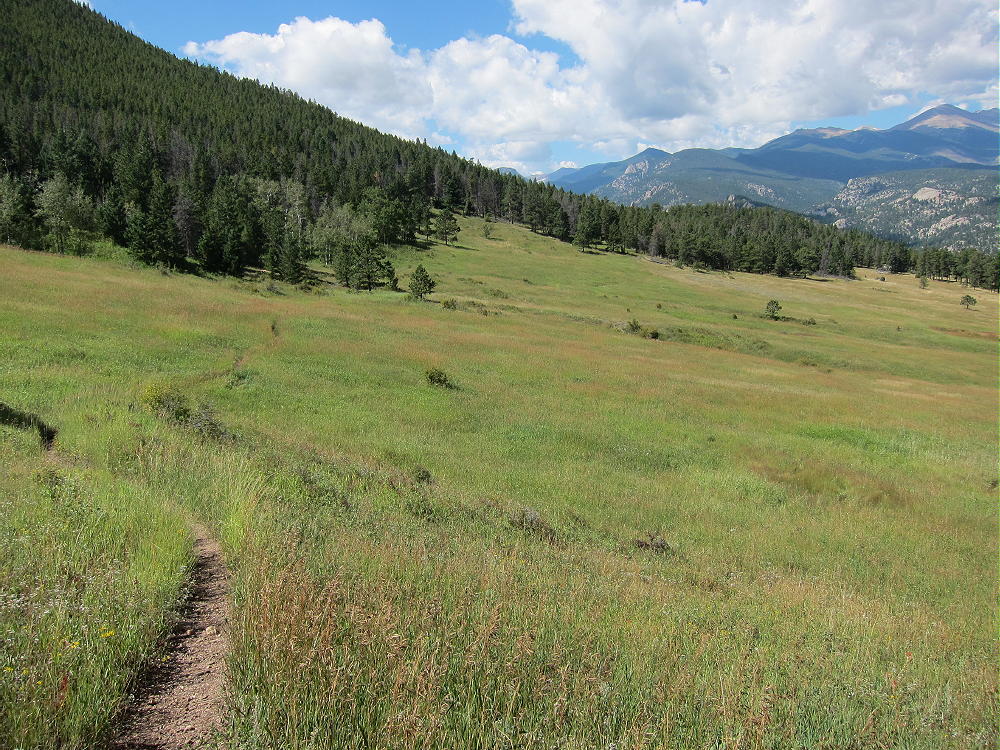
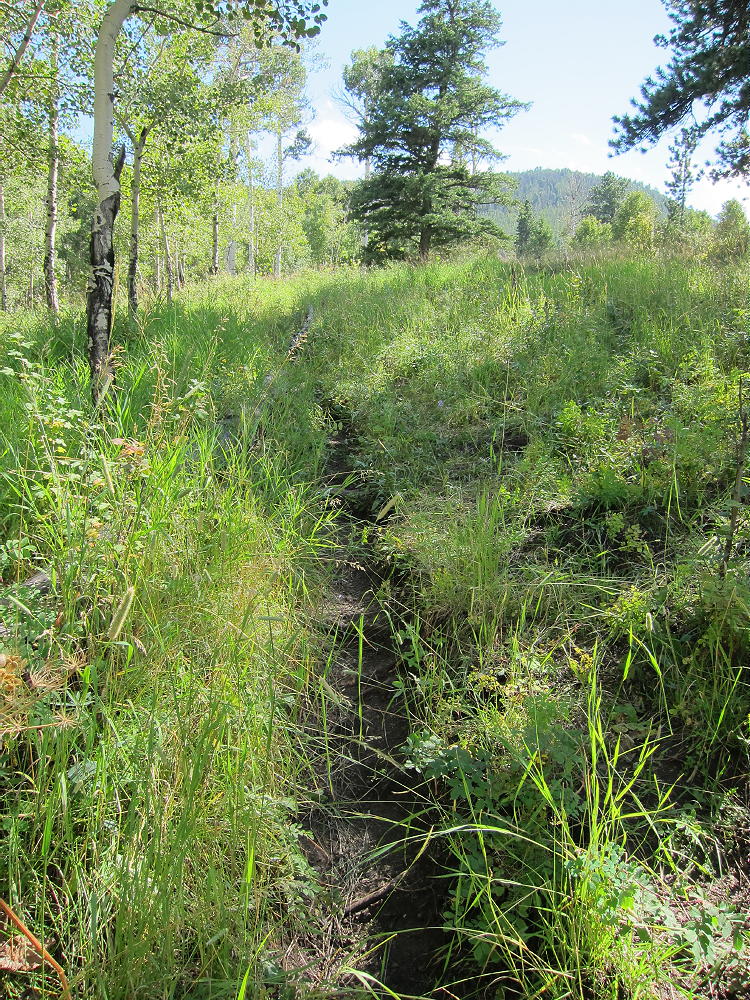
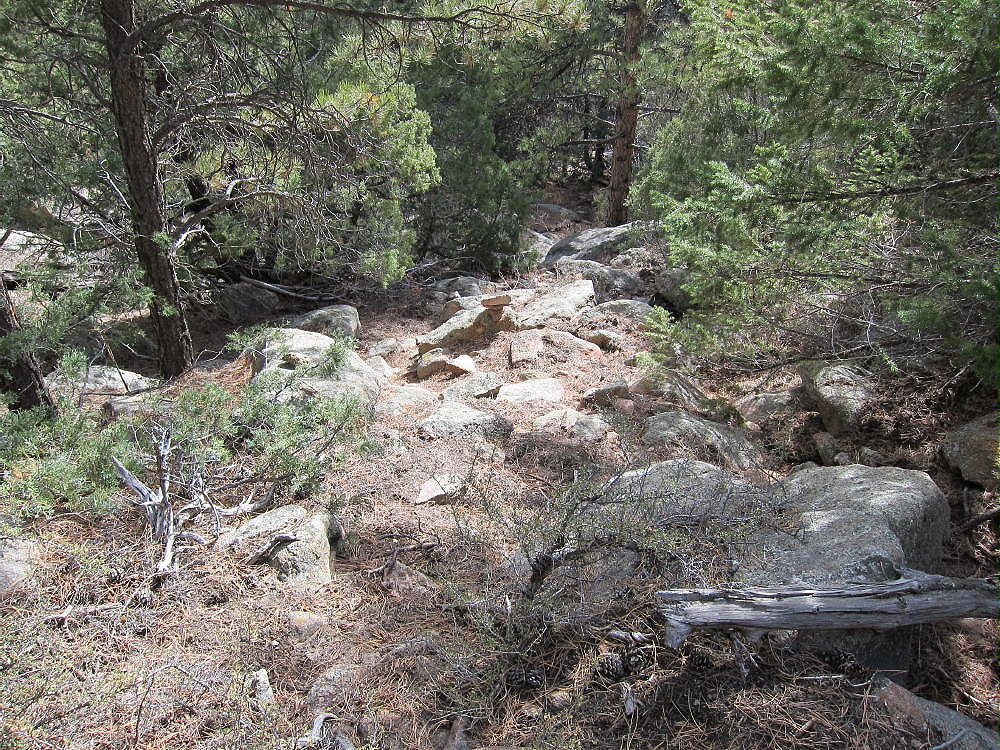
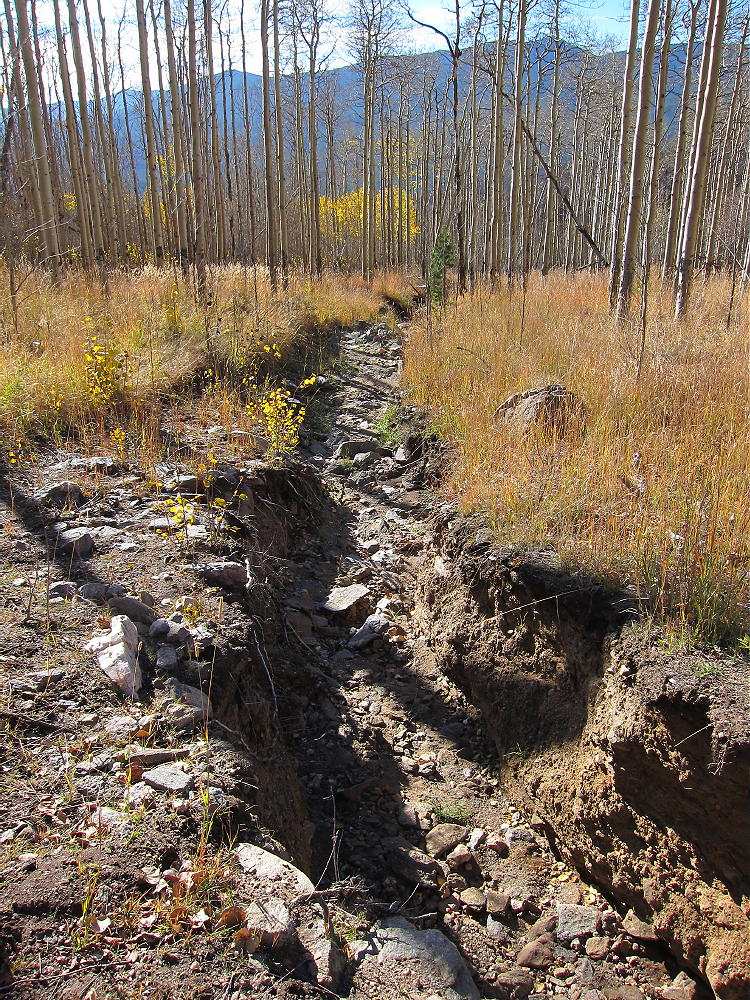
    Follow the small trail southwest toward the H BAR G Ranch – walk only about 100 yards past the sign; then turn southeast, uphill, and climb up through the meadow and into the woods. Find the remains of an old abandoned road that ascends southeast, all the way to the Crosier – West Crosier Saddle. This road follows a small creek-gully that descends from the Saddle. The road is just east of the gully. Remember that you want to go to the Saddle, and you’ll have no trouble finding this obvious road.
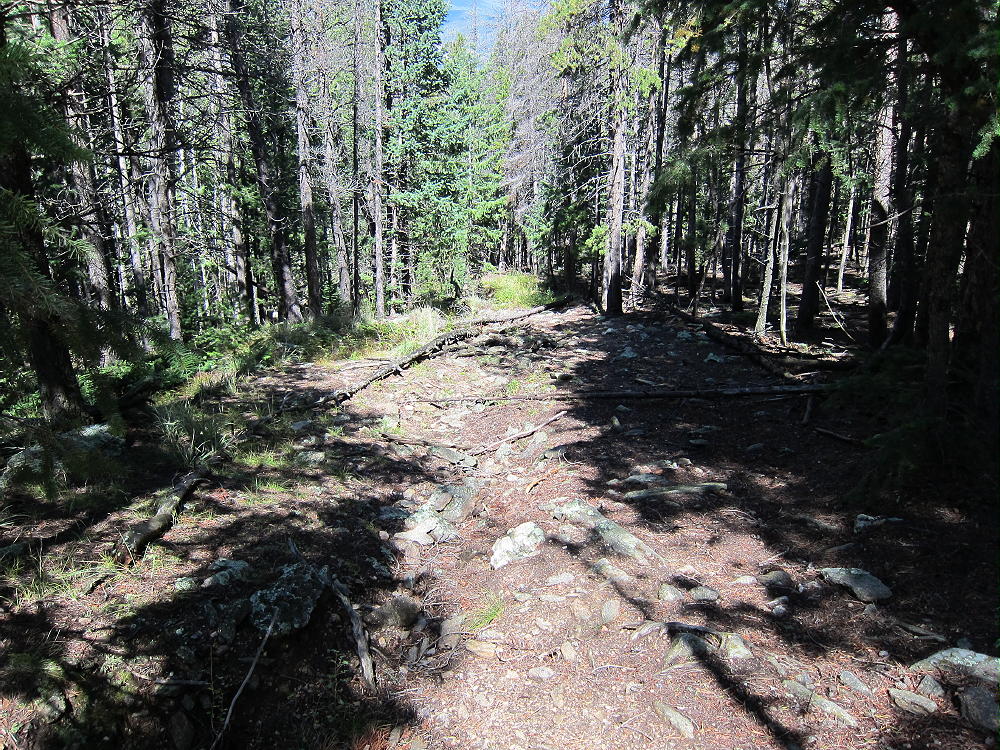
    Old Secret Road to West Crosier Saddle
    Old Secret Road to West Crosier Saddle

    It’s an easy hike up to the Saddle. The road ends there at a teepee and fence, but nothing is posted or signed. This is beautiful country!
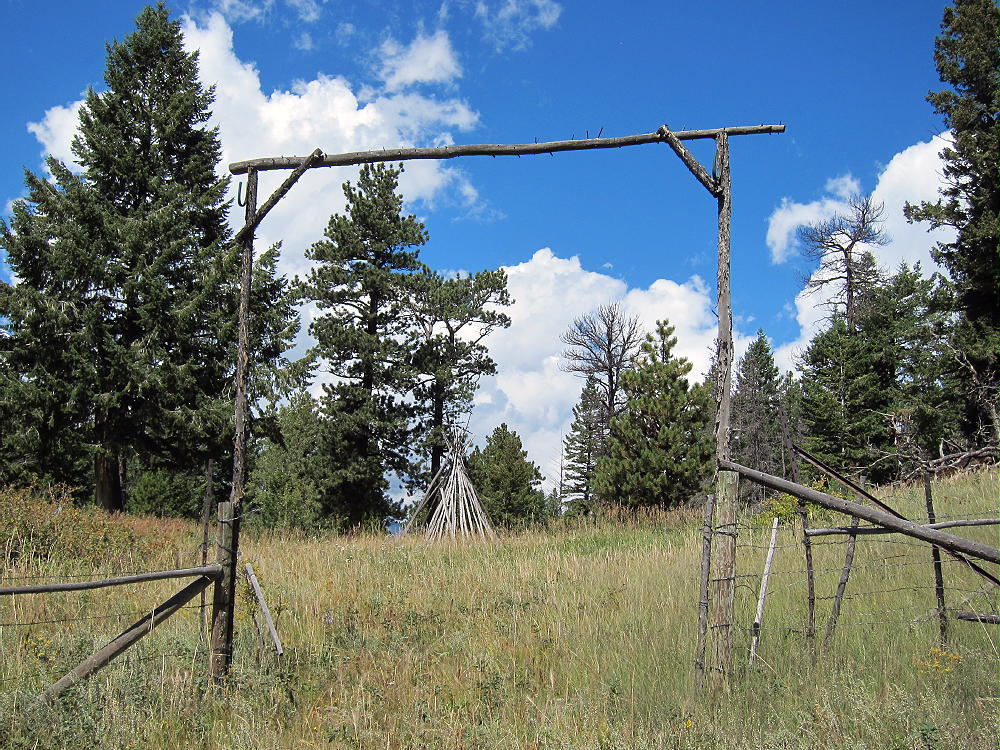
    Gateway at Crosier-West Crosier Saddle
    Gateway at Crosier-West Crosier Saddle

    Follow the ridge southwest from the saddle – look for the remains of a barb-wire fence – there is a decent trail that leads up southwest, on the southeast side of the ridge, right along the old fence line. It’s still used occasionally by horses. Follow this trail about 1/3 mile, climbing about 300 vertical feet, and then head west, directly up toward the peak. If you go to an obvious fence corner along the trail, head up from there – you’ll climb right to the top. There are several false summits to the southwest – the real peak is the northeast knob on the big hill.
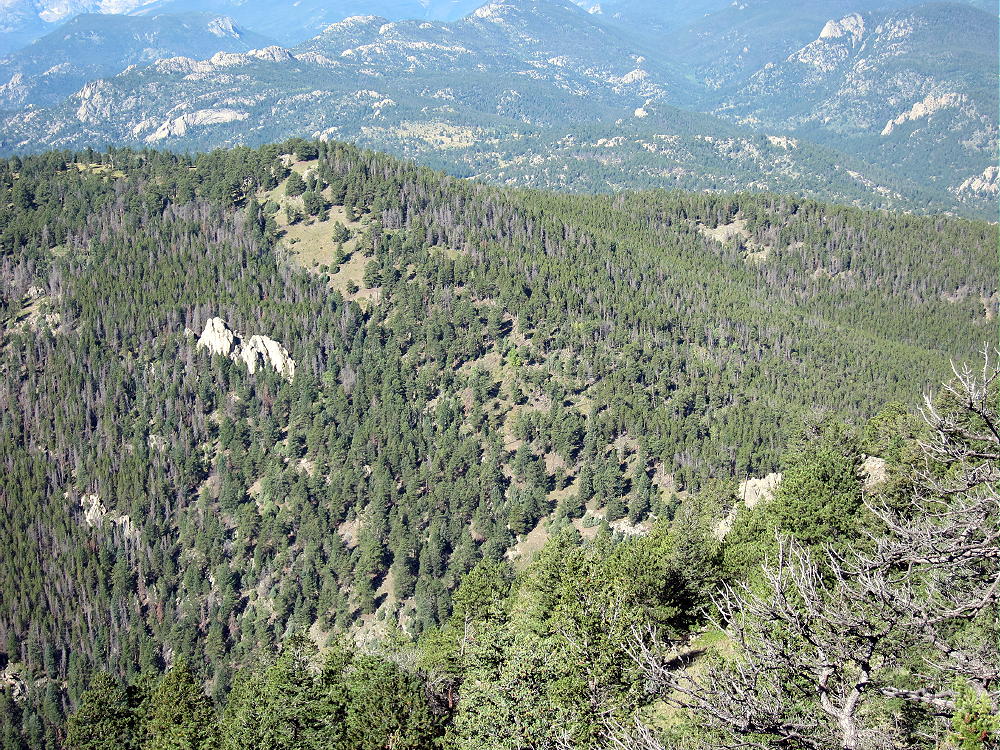
    West Crosier Summit from Crosier Summit
    West Crosier Summit from Crosier Summit

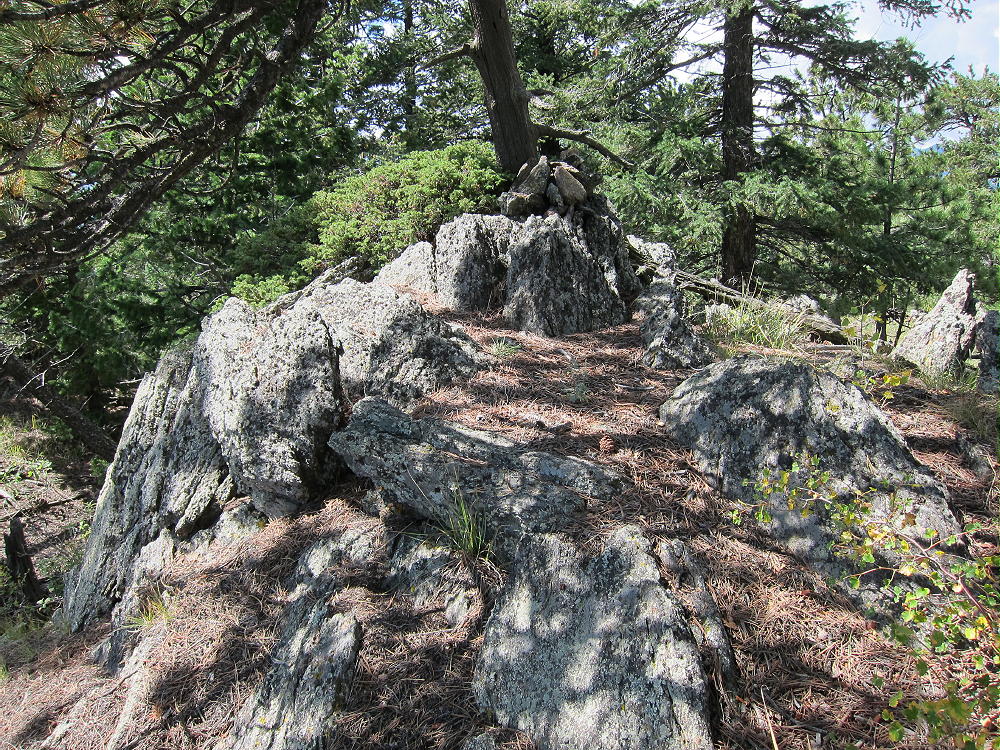
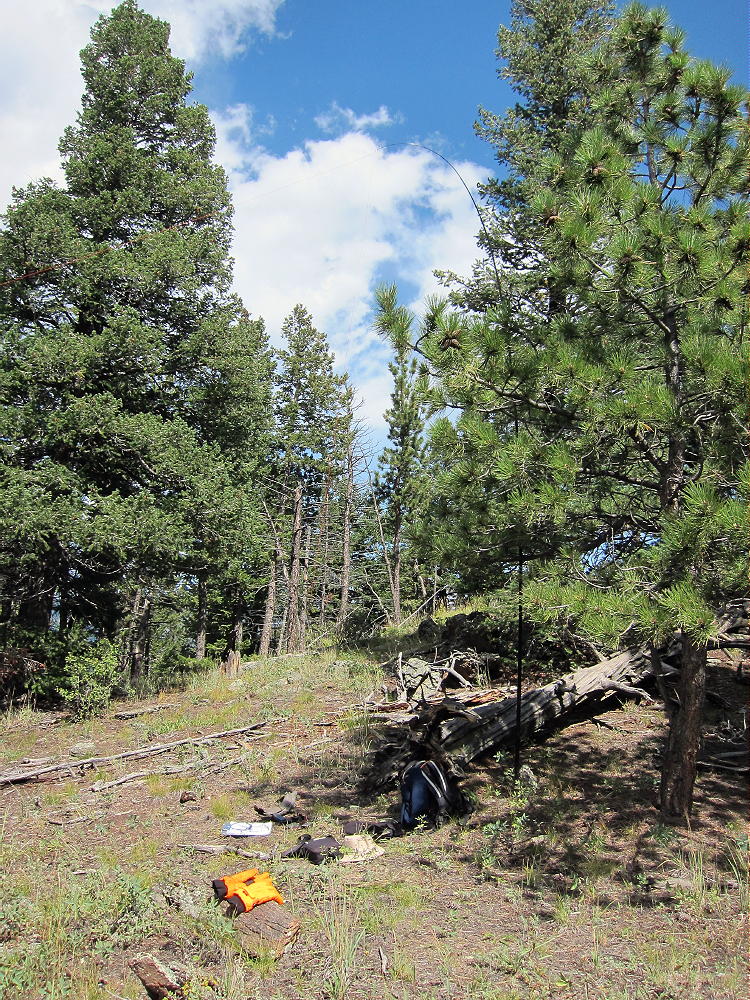
    It takes only 1-1/2 to 2 hours to hike from Crosier summit to West Crosier Summit via the route detailed here. This may be better than the short-cut down the tricky, steep west side of Crosier. No matter how you go, aim for the saddle between the two peaks. Since there’s a trail up the southeast side of the ridge from the saddle, that’s where you need to be. The summits of both peaks are in the National Forest, and the spots that touch private land are not posted or otherwise marked. Very few people visit West Crosier, but it’s a perfect SOTA peak with nice big trees on top, including a large ponderosa pine right on the summit. There are rocks for shelter from wind, sunny spots, and it has just the right amount of open space for running an antenna without trouble from too many trees. The view of Crosier is impressive. This summit delivers a private, pleasant activation!
    Go back to the Rainbow Trail 981 the same way you came to West Crosier. Go back up trail 931 to the junction with 981, and head back down to the trailhead. The total distance for doing both peaks is about 10.5 miles, with about 3400 vertical feet of total ascent. With good weather and enough water, activating both summits is no problem. Only a few hundred feet of easy off-trail “bush whacking” are required, thanks to the unmarked routes described here. The visit to Piper Meadows is one of the best parts of the hike, and it would be a shame to miss it!

    It’s possible to do this trip more efficiently from Glen Haven via Trail 931, if there is access to the trailhead with parking. This trail was closed after the 2013 flood disaster, but perhaps it has been re-opened. It’s slightly easier and shorter than the Rainbow Trail route.

    Here’s the GPS Track PDF Image for both Crosier summits:

    Crosier & West Crosier SOTA’s 9-6-2014

    73

    George Carey Fuller
    KX0R

    ATTENTION !! WARNING !! There are old mountaineers, and bold mountaineers… there are no old-bold mountaineers. Hiking and mountain climbing are potentially hazardous activities particularly in Colorado with its extreme elevations. I am not accepting responsibility for any death or injury resulting from activations based on my trip reports. Proper training, experience, and personal capability assessment is required – enjoy!
  • WØC/FR-Ø46 (West White Pine Mountain) – 3141 m / 10305 ft

    W0C/FR-046
    West White Pine Mountain
    3141 m / 10305 ft
    Oct 17, 2014

    W0C/FR-146
    East White Pine Mountain
    3124 m / 10248 ft
    Oct 17. 2014

    by KX0R

    This report covers both West and East White Pine Mountains.

    The White Pine Summits provide a classic dual activation. These prominent twin peaks are almost the same altitude, and there is a trail leading conveniently to White Pine Pass, the saddle between the two mountains. Start early so you have time to activate both mountains.

    View from East White Pine to West White Pine
    View from East White Pine to West White Pine

    To get to the trailhead, drive to Masonville, and follow Road 27 up Buckhorn Canyon. This road and other roads in this area were badly damaged in the September 2013 floods, but they are being repaired. Check on conditions before starting your trip. About 10 miles from Masonville, the Buckhorn Road 44H splits off and heads west into Buckhorn Canyon. Follow 44H up the winding Canyon for many unpaved miles, until you come to a US Forest Service Ranger Station and some signs. Look for the sign for road FS 100, and park off the road before you come to the gate.

    FS 100 is badly damaged and is closed to motor vehicles – it looks like it will be closed for a long time. The area north of Road 44H includes a huge tract of forest that was destroyed by the High Park Fire in 2012. This includes both of the White Pine Mountains, along with many square miles of previously beautiful forest. Begin by hiking up FS 100 for almost 2 miles, starting at about 8300 feet and gaining 1300 vertical feet at 9600 foot White Pine Pass. The first part of the route is not steep, but as the washed-out road gains altitude, it steepens, and parts of it are just deep gullies.

    West White PIne Trail Flood Damage
    West White PIne Trail Flood Damage


    Walk along the sides and follow the route up to a big meadow.

    White Pine Meadow
    White Pine Meadow

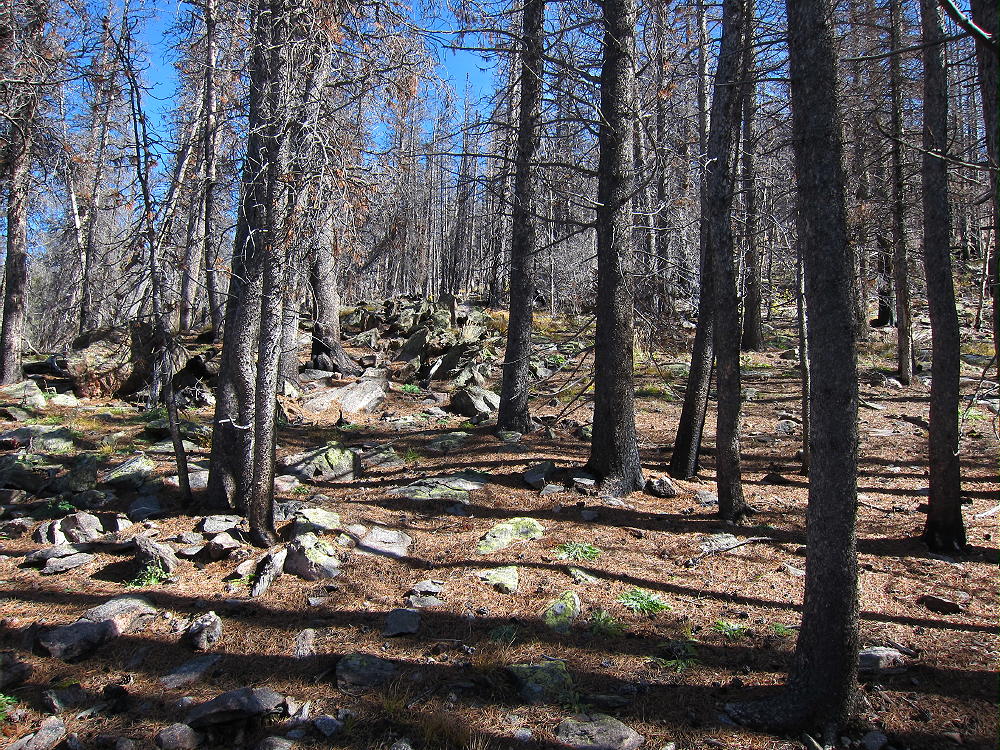
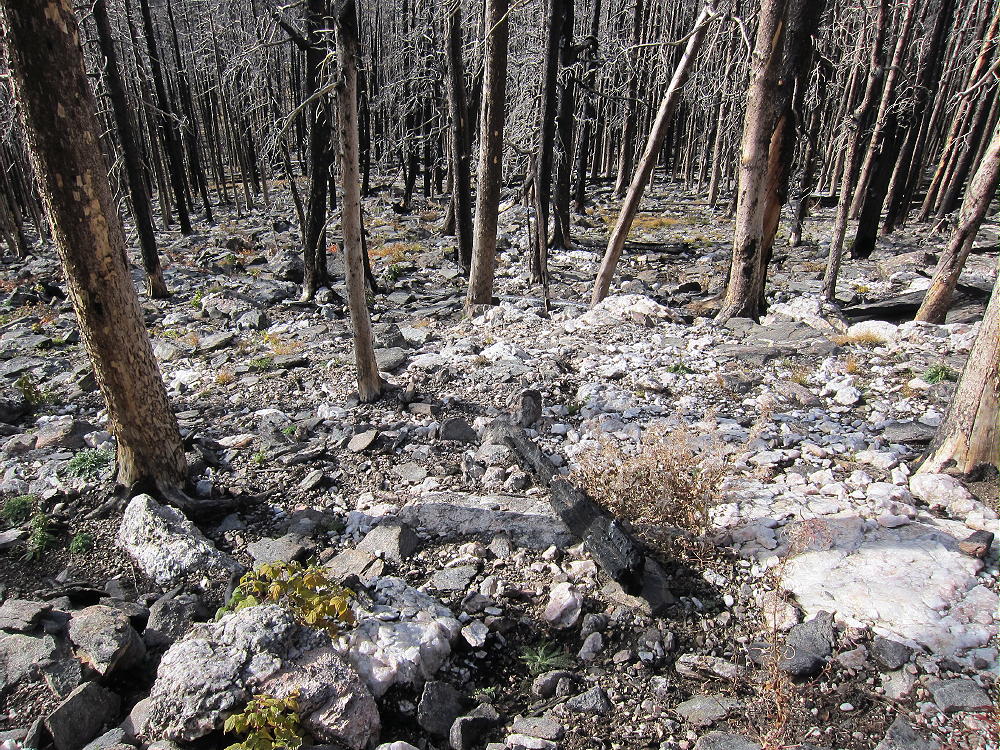
    The route gets better as you go up, and there’s less damage. The forest up high is almost completely burned, but most of the black trees are still standing.

    White Pine Pass
    White Pine Pass

    From the Pass head west, and continue to follow the road all the way to the summit of West White Pine Mountain.

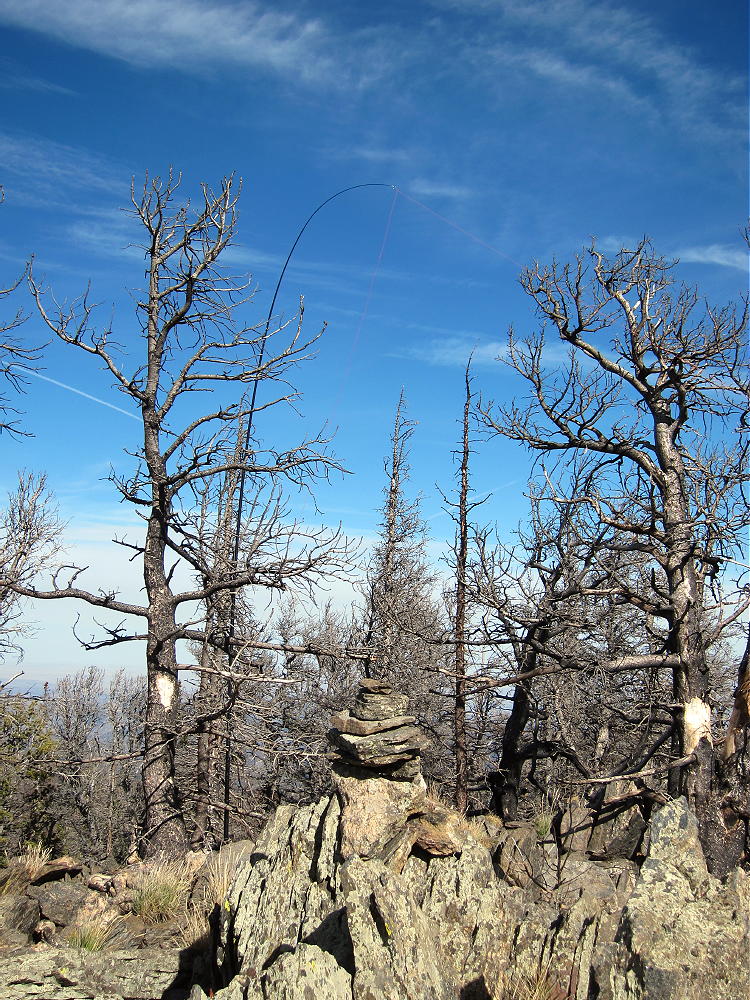
    West White PIne Summit
    West White PIne Summit

    There was once a large fire lookout tower up here, and the remains suggest what a beautiful place it once was. You can see the staircase that the ranger climbed to the tower, the base for the outhouse, the site of the cabin, the tower anchors, etc.

    Footings for West White Pine Lookout
    Footings for West White Pine Lookout

    The view is incredible – most of Northern Colorado is out there. It’s easy to set up on or very near the summit and activate. HF, VHF, and UHF should work fine; it’s a great radio site. The hike is almost 3 miles to the top, with almost 2000 feet of gain.

    After West White Pine, head back down the old road and back to the Pass. From the Pass hike east, up the slope, by any convenient direct route, and climb the west ridge of East White Pine Mountain. There is no marked route, but there are hints of a game trail. In spite of the burned forest, animals live there now – I heard elk bugling the day I was there. The route is steep at first, but it becomes easier after you get up higher on the ridge. You walk over an amazing amount of white quartz on this slope!

    Past the 10,000 foot contour, just follow the ridge up northeast and east, for almost a mile from the Pass to East White Pine’s rocky summit. There are some live trees mixed in with the burned ones up there – not everything was destroyed. It’s easy to set up and activate near the top – and the view is much like on the western summit.

    Be sure to head back to White Pine Pass before descending to the south.

    This expedition was more fun than I thought it would be. It might be possible to activate in colder months, provided the snow is not too deep – but plan on using snowshoes. The burned forest does not retain the snow as long as a live forest does, but both mountains are well above 10,000 feet in a snowy part of our Northern Colorado mountains.

    For the dual activation of both mountains, the total distance for the hike is 7.3 miles, and the total ascent is about 2600 vertical feet.

    73

    George Carey Fuller
    KX0R


    ATTENTION !! WARNING !! There are old mountaineers, and bold mountaineers… there are no old-bold mountaineers. Hiking and mountain climbing are potentially hazardous activities particularly in Colorado with its extreme elevations. I am not accepting responsibility for any death or injury resulting from activations based on my trip reports. Proper training, experience, and personal capability assessment is required – enjoy!
  • WØC/FR-Ø76 (Evergreen Mountain) – 2602 m / 8436 ft

    W0C/FR-076
    Evergreen Mountain
    2602 m / 8436 ft
    Nov 29, 2014

    By KX0R

    Evergreen Mountain is a classic, easy 2-point SOTA peak west of Denver.

    Evergreen Mountain from near Trailhead
    Evergreen Mountain from near Trailhead

    Here’s how to get to the trailhead and the summit:

    1) Drive to Morrison via W-470
    2) Exit and follow paved highway 74 west through Morrison and up Bear Creek Canyon
    3) Drive about 15 winding miles to Evergreen
    4) At a traffic light in Evergreen, just east of Evergreen Lake, turn left, south, on highway 73 – this is marked as “to highway 285”.
    5) Drive south about 0.4 mile and turn right on paved Buffalo Park Road, road 89
    6) Drive west and climb about 2-1/2 miles up to the Alderfer/Three Sisters Jefferson County Open Space Park
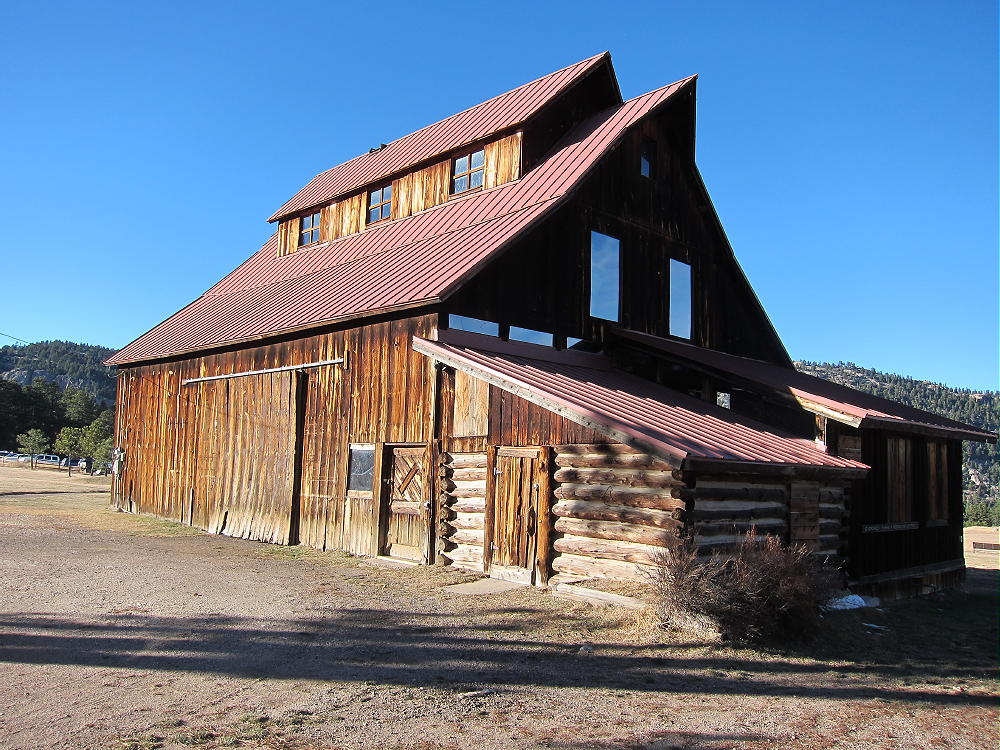
    7) Pass the east parking lot for the Park, climb up a hill, and drive past the Alderfer Barn on the right. Turn right after the Barn at a marked corner, and park in the west parking lot. Everything is free.

    Alderfer Barn
    Alderfer Barn

    8) There are convenient facilities and park maps at the trailhead. Please read and obey the rules – this is a really nice place!
    9) Evergreen Mountain is visible to the south. There are some houses around the mountain, but most of the land is in the Park. Follow the obvious trail south across the highway, hike around the Wild Iris Meadow, and climb Evergreen Mountain via the Evergreen Mountain West trail. There are signs at key junctions.
    10) The trail has a gentle grade and is used by mountain bikers as well as hikers. This peak offers an ideal bike SOTA. The hike is easy, but it’s over 2 miles to the summit, because of the many switchbacks. The trail goes right to the top, and there is a scenic loop around the west side.

    Evergreen Mountain Trail near Summit
    Evergreen Mountain Trail near Summit

    There is no water along the route, so be sure to bring water. The trail goes through lodgepole pines on the north side of the Mountain. It sees little direct sun in winter, so it may be snowy or icy. It would be a reasonable snowshoe hike or cross-country ski trip after a good snowfall.

    Evergreen Mountain has a rocky granite top, with several other rock knobs close by; there are fine views of Mount Evans to the west, as well as the surrounding country. The Activation Zone is large, and parts of it are sunny on a clear day. The Zone is almost flat, far into the forest north of the summit rock. The sheltered woods offer an ideal place for a private activation, away from the many people who climb this mountain every day. On a weekday morning with few visitors, activating the summit or a spot close by would be easy with a pole. There are large trees back in the woods, so no pole is needed if you can get a line over a branch. This summit offers many attractive possibilities for HF operating with efficient antennas.

    Since the mountain is surrounded by other peaks in many directions, it’s probably only a fair VHF/UHF site – the view of the Metro area is limited.

    You can return the way you came, or choose another trail to complete a loop back down to the trailhead. Your trip will be scenic via any of the Park trails!

    An Evergreen Mountain activation can easily be combined with a family hike, a picnic, a bike ride, or whatever you like.

    Evergreen also can be accessed via I-70 west to Evergreen Parkway (Highway 74). This joins Highway 73 at Evergreen Lake.

    73

    George Carey Fuller
    KX0R


    ATTENTION !! WARNING !! There are old mountaineers, and bold mountaineers… there are no old-bold mountaineers. Hiking and mountain climbing are potentially hazardous activities particularly in Colorado with its extreme elevations. I am not accepting responsibility for any death or injury resulting from activations based on my trip reports. Proper training, experience, and personal capability assessment is required – enjoy!
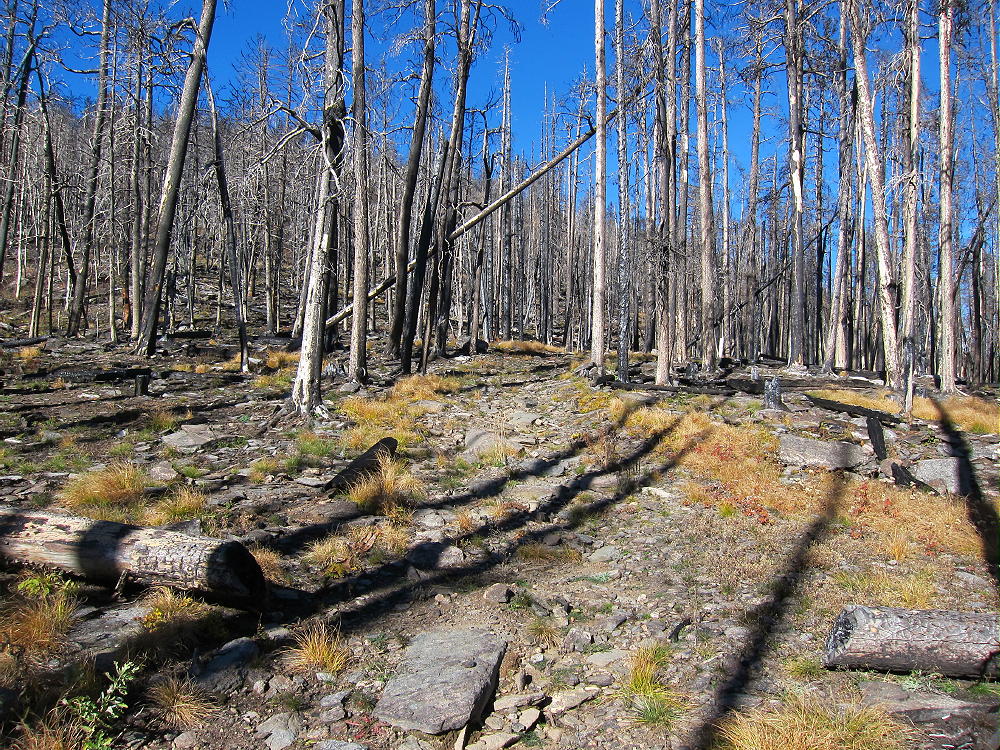
  • WØC/FR-179 (8849) – 2697 M / 8849 ft

    W0C/FR-179
    8849
    2697 M / 8849 ft
    Aug 25, 2013 First Activation
    June 8, 2014 Second Activation

    by KX0R

    Initially Summit 8849 looks like an insignificant 2-point SOTA peak, so unimportant that it doesn’t have a regular name. One of the best aspects of the SOTA program is that we visit summits like this, and so discover these special places.

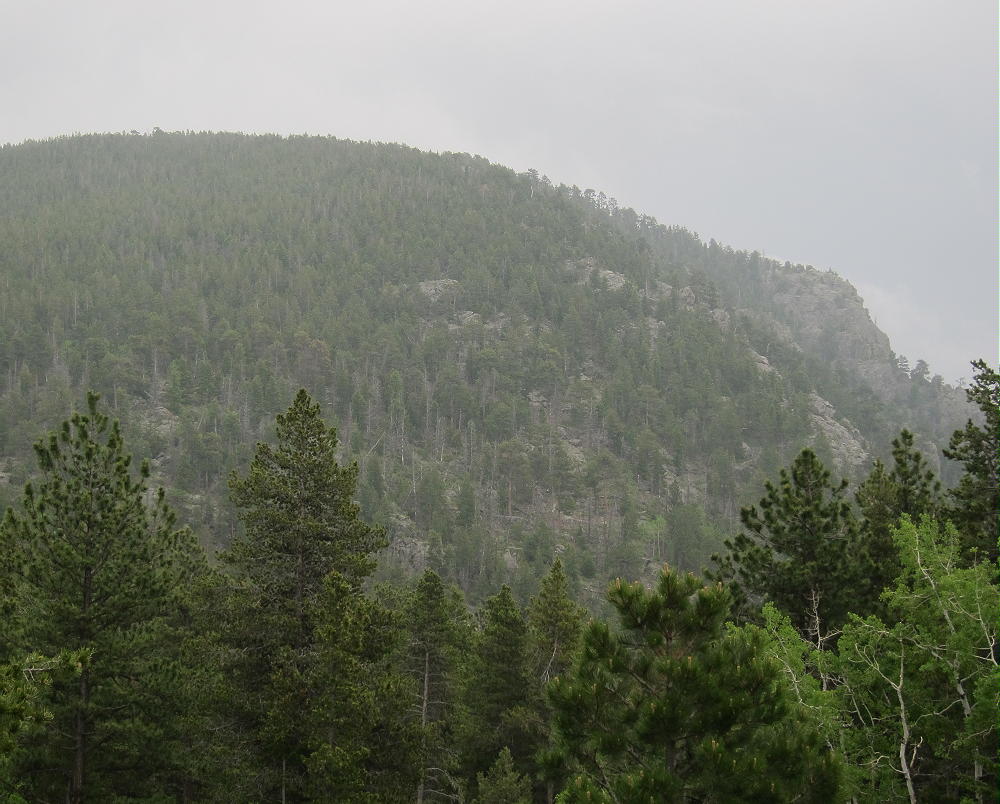
    Summit 8849 with Balcony at Right
    Summit 8849 with Balcony at Right

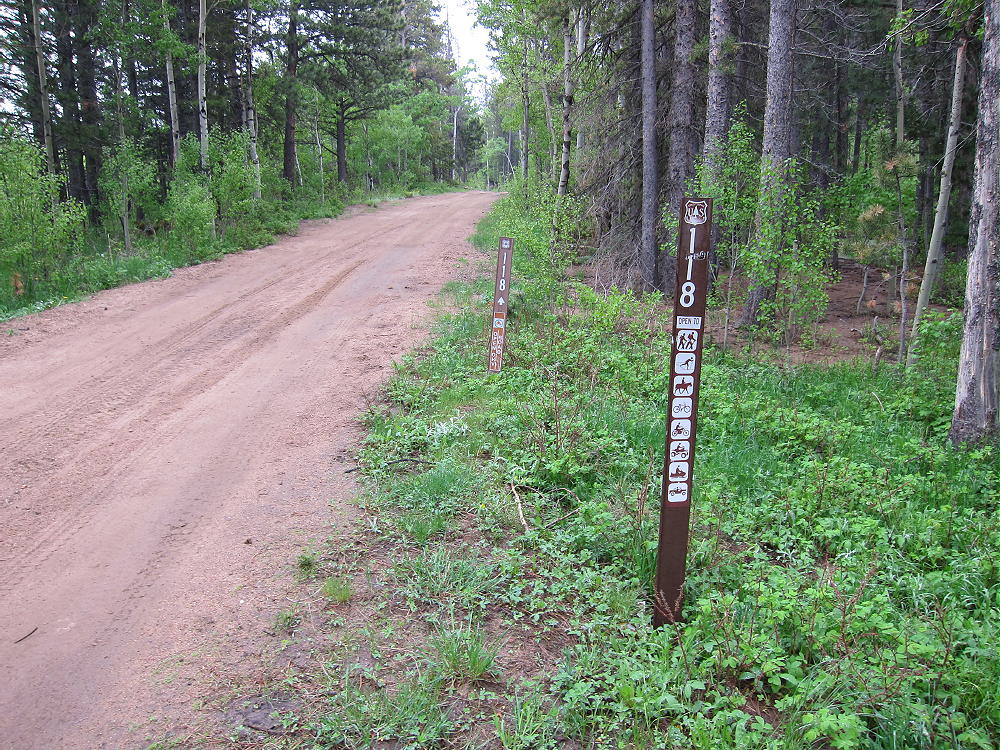
    Getting to 8849 is not hard – drive up the Peak to Peak Highway, Highway 119, north of Allens Park, to Meeker Park, east of huge Mount Meeker. Turn east on Boulder County Road 82, a fair dirt road; follow it about a mile to a fork; and then turn right on Road 82E. Stay on 82E through private property for about 2 more miles; head east down along Cabin Creek, and then follow the winding road up a steep hill to the USFS boundary. The road has been recently repaired, and it’s OK for ordinary cars, as long as it’s dry. At the hilltop, there’s parking and a few informal campsites. Forest Road 118 branches off to the right and leads to 8849, as well as to Johnny Park – several more miles further east. When I was there on June 8, 2014, there were several groups of campers at the hilltop; road 118 was gated, but not closed to hiking.

    8849 Road 118
    8849 Road 118

    Summit 8849 is 1.6 miles from the hilltop parking spot where Road 118 begins; there is only about 600 vertical feet of gain.  If the gate is open on Road 118, it may be possible to drive within 3/4 mile of the summit, with only about 400 vertical feet of gain required.

    Road 118 is not shown on Google maps, but it’s clear in the satellite images. It leads to a saddle between an un-named summit and 8849; 8849 is visible from this saddle – the broad forested summit and the distinctive cliff “balcony” on the southwest side can be seen almost a mile away. Just past the saddle, head right off the road, and enter an obvious firebreak that has been cleared through the forest.

    8849 Route via Firebreak
    8849 Route via Firebreak

    Hike up through this firebreak for about half a mile, being careful not to trip over the debris. At this point you may wonder if this hike is worth the hassle – but the ugly firebreak may save this wild forest from total destruction some day. The firebreak route is efficient and direct – but if you don’t like it, head up through the forest south of the cleared area. If you stay with the firebreak, follow it as far up as it goes; then head right, south, at about a 45 degree angle, and follow game trails up a moderate slope through open woods, for about 1/3 mile to the broad summit.

    The top of the mountain is forested, and there are plenty of good trees to use for antenna supports. There are several open areas where stringing a wire is easy. This is actually a very friendly summit for radio operating! The Activation Zone is huge. There is a pile of rocks on top, but no register; few people visit this summit.

    If weather permits, be sure to see the sights of 8849. Head down the meadows of the south side, where there are many dead trees, and see the stunning view of the huge Canyon of the North Saint Vrain. This is one of the wildest regions of Boulder County, and most residents of Boulder have never seen it. This is part of the area that captured immense amounts of torrential rain during the September 2013 floods, creating incredible floods that caused massive destruction in Lyons and Longmont, miles to the east.

    The best part of 8849 is almost a secret. On the southwest side of the mountain, perhaps 200 vertical feet down from the summit, is a prominent rock outcrop that forms an exposed buttress – this “balcony” lets you look down over 1000 vertical feet to the confluence of the steep, wild canyons of Cabin Creek and the North Saint Vrain! Until you pick your way down to the balcony, you won’t see the view; but when you stand there, it’s hard to believe you’re on the same 2-point mountain you just climbed via the ugly firebreak. For miles around, nothing but wilderness and airy space going down and further down! Be careful on the balcony – this is not a place to hike with small children – and don’t get too close to the edge. If the balcony was closer to the highway they could put in stairs and guardrails, and then charge admission to see the incredible view!

    The first time I went up 8849, I didn’t know about the Balcony, but I saw it from a distance, and I’m sure glad I took the time to see it. The second activation on June 8, 2014, I planned to go see the view again, but right after my activation, a thunderstorm developed close by, and then cold fog came rolling up through the trees. There was no view, and the mountains were filled with clouds and fog – I did well to leave the area before heavy rain fell later that afternoon.

    If you activate this summit, I hope you enjoy it as much as I have!

    73

    George Carey Fuller
    KX0R


    ATTENTION !! WARNING !! There are old mountaineers, and bold mountaineers… there are no old-bold mountaineers. Hiking and mountain climbing are potentially hazardous activities particularly in Colorado with its extreme elevations. I am not accepting responsibility for any death or injury resulting from activations based on my trip reports. Proper training, experience, and personal capability assessment is required – enjoy!
  • WØC/FR-184 (Twin Sisters Peak) – 2663 m / 8738 ft

    W0C/FR-184
    Twin Sisters Peak
    2663 m / 8738 ft
    July 13, 2013
    First Activation
    March 30, 2014
    Second Activation

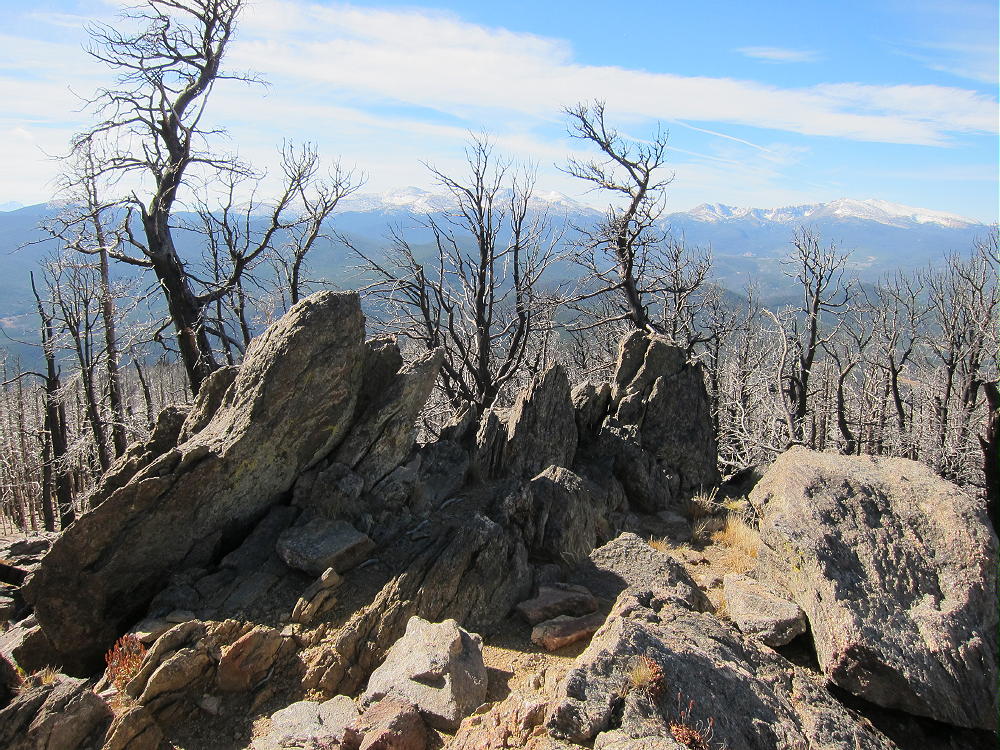
    Twin Sisters Peak is a classic SOTA peak, with fabulous panoramic views of the Plains, Foothills, and the high peaks of the Front Range.

    Twin Sisters Summit
    Twin Sisters Summit

    The Peak is in Roosevelt National Forest, but it’s partly surrounded by private land. Access is via lightly-used and barely-maintained trails. A topo map is useful to find the trailheads, because they’re not obviously marked. In fact, the sign for the trailhead on Boulder County 4WD road 68J has been removed, and a sign stating “no motor vehicles” is lying out of sight on the ground.

    To climb Twin Sisters Peak, drive up curvy Flagstaff Road from Boulder. Follow Flagstaff all the way to a large parking place on a hill east of Gross Reservoir, and park there. There is no legal parking anywhere else along the route to Twin Sisters. Conflicts between local residents, USFS, Denver Water, and visitors have led to the closing of nice picnic areas and parking along Road 68 (Lakeshore Drive). It is OK to walk from the Gross Reservoir parking place along Lakeshore Drive, and the road itself is not posted. Follow Road 68 west along the ridge to the point where it becomes 4WD Road 68J (for “Jeep”), respect posted private land, and continue up the road up to the saddle at 7950 feet, on the ridge south of Twin Sisters.

    If you have a high-clearance 4WD vehicle, it may be possible to drive up road 68J road to the saddle. There is no marked prohibition of parking off the road at that point. Note that Road 68 also may be accessed via Boulder Canyon and Magnolia Road. Road 68 is used by mountain bikers.

    Just west of the saddle at 7950 feet, leave the road, and hike north on an unmarked path toward Twin Sisters, just west of the obvious ridge that runs up to the summit. Follow this trail up through open forest – it’s steep in one spot, where it follows old ruts from 4WD vehicles. The trail is easy and pleasant after the steep spot. Near the high point of the ridge, a faint unmarked trail leads west off the main trail toward the summit. This approach to the peak, on its southeast side, requires no rock-climbing. Twin Sisters Peak is a large, elevated granite knob with a breathtaking view for miles in all directions. There are small trees near the top that can be used for HF antenna supports, well within the 75-foot Activation Zone. This site begs to be put on the air. It has pretty good VHF/UHF coverage of the Denver Metro Area, and it’s perfect for HF. It’s a SOTA Classic!

    The hike from the parking lot above Gross Reservoir to the Twin Sisters Peak summit is about 3.3 miles each way, with a vertical gain of 1250 feet.

    Twin Sisters is totally exposed to wind, weather, and lightning – don’t think of operating there if dark clouds begin to form.

    Twin Sisters View West
    Twin Sisters View West

    Please don’t confuse W0/FR-184 with W0/FR-037, Twin Sisters Peak East, a much higher peak near Estes Park and Longs Peak.

    73

    George Carey Fuller
    KX0R


    ATTENTION !! WARNING !! There are old mountaineers, and bold mountaineers… there are no old-bold mountaineers. Hiking and mountain climbing are potentially hazardous activities particularly in Colorado with its extreme elevations. I am not accepting responsibility for any death or injury resulting from activations based on my trip reports. Proper training, experience, and personal capability assessment is required – enjoy!
  • WØC/FR-Ø81 (Button Rock Mountain) – 2576 m / 8450 ft

    W0C/FR-081
    Button Rock Mountain
    2576 m / 8450 ft
    July 6, 2013
    Nov 2, 2014

    by KX0R

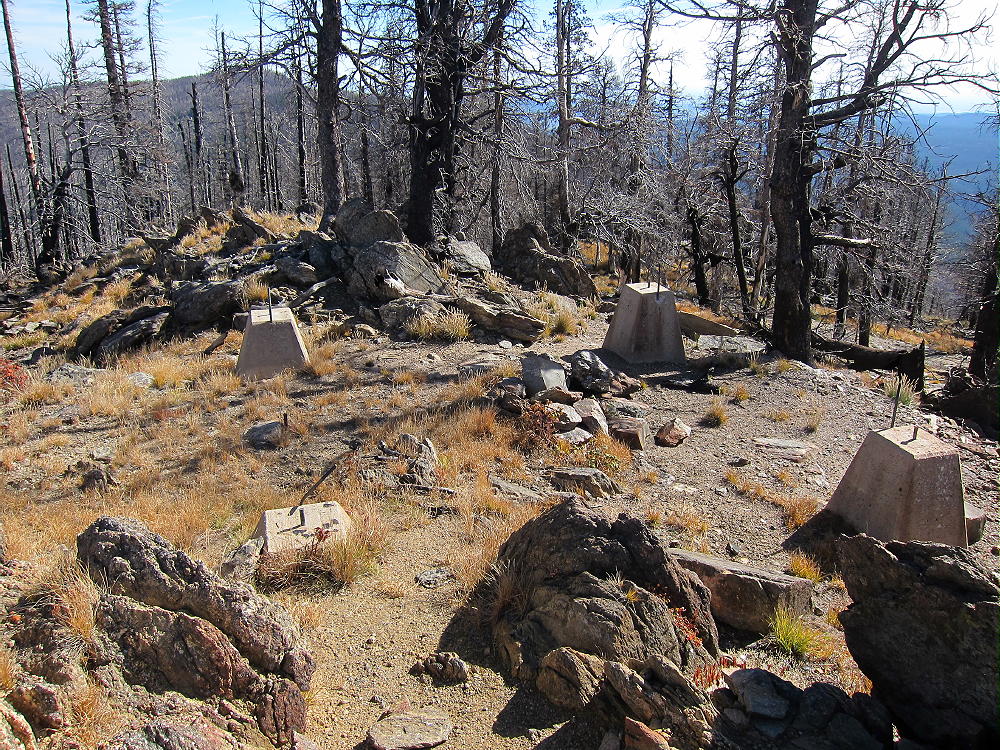
    Button Rock Mountain is a moderate 2-point SOTA peak hidden in the Roosevelt National Forest. This was my first SOTA activation, and it went well, so it is special to me.

    Button Rock Mountain
    Button Rock Mountain and Preserve from Coffintop Mountain

    Access is not difficult, but good navigation is required. I suggest using USGS topo maps – Google maps are incomplete in the area. The forest has several jeep roads, plus secret mountain bike trails. Many of the roads are currently closed to vehicles due to damage from the 2013 floods, but the route to Button Rock Mountain is in good condition and is open to hikers.

    Drive up US 36 to Pinewood Springs, and continue to the junction with road 47. This road has been partly rebuilt following the devastating floods, but it’s not paved – caution is advised. Follow 47 up to the marked cutoff to Johnny Park. Turn left, and if you have enough clearance, drive up the eroded road to the Coulson Gulch Trailhead – otherwise park off the road, and walk up to the trailhead. This trailhead serves as a gateway to a huge area of the National Forest, and almost anything can happen here. People camp, build fires, hang out, drink, take drugs, shoot guns, go hunting, and ride bikes, ATV’s, jeeps, or whatever. Park but don’t leave anything valuable in your car. Hike up the gated Forest Road 118 leading east from the parking area. This road quickly climbs up to a plateau at about 7800 feet. Button Rock Mountain looms up to the east. Follow the road around the plateau, or short-cut northeast across it on a path, and continue northeast and down to a saddle at 7600 feet.

    Continue east on a gated road leading from the saddle; follow this road up a rocky ridge and into the saddle valley north of Button Rock Mountain. The practical way up the mountain is to hike to this broad saddle, and then pick a route up the relatively gentle north side of the mountain.  Don’t head south and up too soon – continue far enough east to pass the steep rocks on the northwest side of the mountain. From the saddle, it’s easy to find a reasonable route up the north slopes. There is no marked route, there are fallen trees, and there are old forestry-maintenance trails that may or may not be useful. Part way up you’ll find a lovely secret mountain bike trail that has been artfully built up the northeast side of the mountain. This route leads up near the summit, but it has so many curves and switchbacks that it’s not an efficient hiking route. Just head up through the open woods, and you’ll be on the large summit plateau before you know it.

    Note that the actual “Button Rock” is not the summit, nor is it on this route.  Button Rock lies well to the northeast of Button Rock Mountain.  Also note that many people use the term “Button Rock” to refer to the Button Rock Preserve or to Ralph Price Reservoir in the Preserve.

    Finding the actual summit is tricky. Cairns lead through the pleasant, open woods along the ridge near the top. A GPS with maps will get you very close. There are several large rock outcrops in the huge Activation Zone, and the western-most crag appears to be the real summit. This point is well-hidden by trees and is the only one with a really good view! A short scramble leads to the top. There is a cairn and register jar top, suggesting that this rock is the summit.

    There are plenty of trees and sheltered spots where you can set up and activate within the Zone. There is no real need for a pole, if you have a way to get a line up over a limb. Erecting serious antennas is possible here. Propagation should be fine at VHF and UHF, as well as HF. Few people visit this massive, prominent mountain.

    Descend by a route that leads back to the saddle north of the mountain – avoid the cliffs on the west side.

    The one-way distance is about 2.6 miles by the route detailed here. The total ascent is about 1000 vertical feet. There is no reliable water on the route, so be sure to bring enough. This is a pleasant hike during spring or fall – wear bright colors during hunting season.

    There certainly are routes up from the East, but I have not hiked in that area.

    Access from Button Rock Preserve is certainly possible, but at this writing, the entire Preserve is closed to all entry due to the floods. One of the logical approaches would be to climb from the Reservoir via Rattlesnake Gulch – which is so named for good reason. There really are rattlers in the Preserve and in the surrounding area – watch your step! Button Rock Mountain has many deer and elk, and it’s also prime mountain lion habitat. The entire area North Saint Vrain Creek area is wild, fascinating, and beautiful.

    A hike up Buttonrock Mountain is a great introduction to this region, and it’s a SOTA Classic!

    73

    George Carey Fuller
    KX0R


    ATTENTION !! WARNING !! There are old mountaineers, and bold mountaineers… there are no old-bold mountaineers. Hiking and mountain climbing are potentially hazardous activities particularly in Colorado with its extreme elevations. I am not accepting responsibility for any death or injury resulting from activations based on my trip reports. Proper training, experience, and personal capability assessment is required – enjoy!
  • WØC/FR-Ø7Ø (Castle Mountain) – 2693 M / 8834 ft

    WØC/FR-Ø7Ø
    Castle Mountain
    2693 M / 8834 ft
    Nov 09, 2013
    First Activation
    Apr 25, 2014

    by KXØR

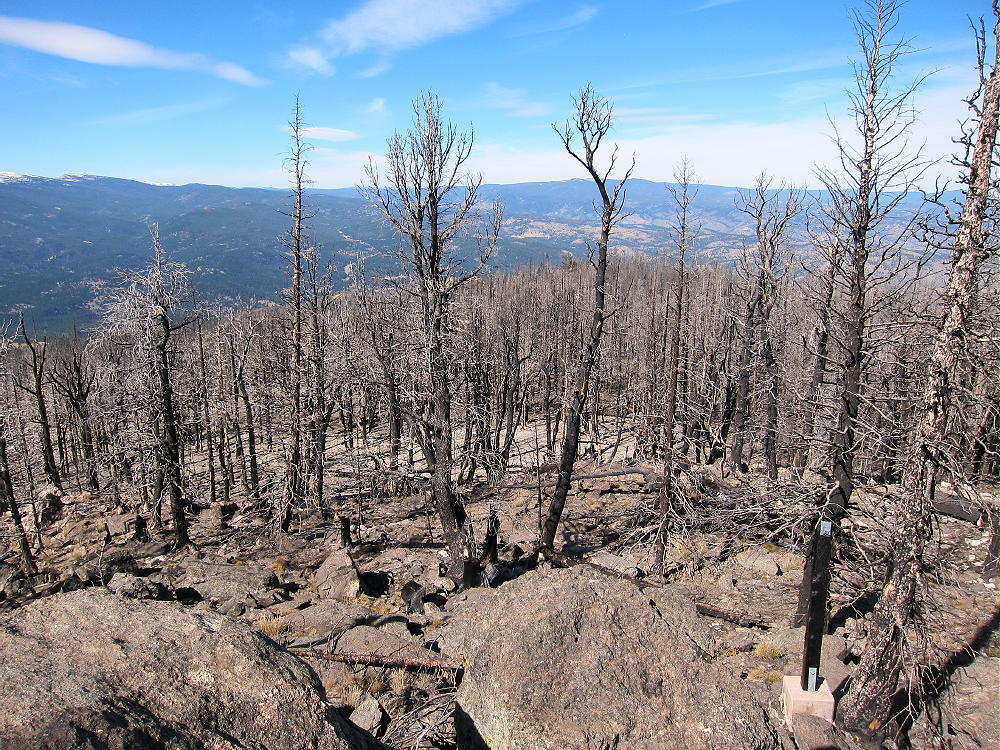
    Castle Mountain is an interesting minor summit in the eastern part of Rocky Mountain National Park, right above the town of Estes Park. It provides a fun SOTA activation.

    Castle Mountain
    Castle Mountain

    Since this trip has no marked route, and the terrain is steep, good navigation is required. Study the route, take a topographic map, and follow the directions here to stay on National Park land. The key to Castle is to know where to start the hike.

    Drive to Estes Park, take the Highway 34 Bypass north (W. Wonderview Ave), drive past the Stanley Hotel and west about 1-1/2 miles, almost to the junction where W Elkhorn Avenue (also Route 34) meets the Highway 34 Bypass west of town. A convenient paved parking spot is on the south side of the Route 34 Bypass, just east of the junction.

    Castle Mountain Parking on 34 Bypass
    Castle Mountain Parking on 34 Bypass
    Castle from Highway 34 Bypass
    Castle from Highway 34 Bypass

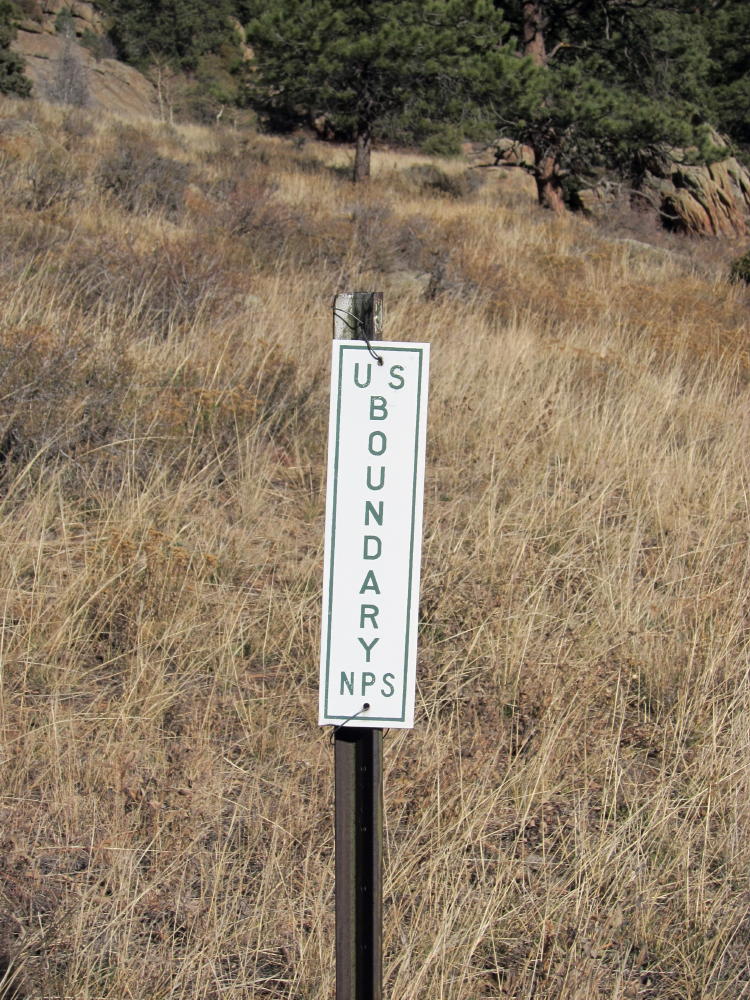
    Right across the highway you can see the NPS signs on posts. The land from the highway to the top of the Mountain is part of Rocky Mountain National Park (RMNP). No fee or pass is required for this adventure!

    Castle NPS Marker near Highway
    Castle Mountain NPS Marker near Highway

    Cross the highway and head up a faint path in the gully north of the parking spot. Stay on the west side of the draw to avoid private land just to the east. After about ½ mile, the gully ends at a saddle near 8000 feet. From this saddle, head first northwest, and then west up the steep ridge toward Castle – there is nothing to follow except bits of game trails. No rock climbing is required – just head up the slope to the rocky ridge leading west toward Castle. On the ridge, stay slightly south to keep inside RMNP. Drop down slightly to a saddle east of the Summit, and continue west up to the easy summit ridge. Climb south toward the obvious peak, and then do a few easy class 3 moves to ascend the prominent summit. Right below the top is a good place to set up and operate. The Needles, McGregor Mountain, Deer Mountain, etc., are close to Castle. Estes Park is over a thousand feet right below. This is a super radio site – like being on a tower! I worked 2 G’s and an EA on 15M CW – 30 Q’s in all.

    There is an alternate shorter route up Castle: from the parking spot, cross the highway, and hike a couple hundred yards northwest – avoid private land near the highway. Find an old road leading toward a major gulch southeast of Castle Mountain – follow the road a short distance up.

    Castle Mountain and Old Road to Gulch East of Summit
    Castle Mountain and Old Road to Gulch East of Summit

    At the end of the road, just head up into the gulch, and climb up a steep, washed-out trail all the way to the saddle east of Castle. It’s steepest midway up.

    Castle Route in Main Gulch
    Castle Mountain Route in Main Gulch

    From the saddle, continue west and then south to the summit as described above. Be sure to descend the same way to avoid cliffs and crags.

    Castle Mountain can easily be combined with other SOTA peaks near Estes Park for a dual or multiple activation.

    73

    George Carey Fuller
    KXØR


    ATTENTION !! WARNING !! There are old mountaineers, and bold mountaineers… there are no old-bold mountaineers. Hiking and mountain climbing are potentially hazardous activities particularly in Colorado with its extreme elevations. I am not accepting responsibility for any death or injury resulting from activations based on my trip reports. Proper training, experience, and personal capability assessment is required – enjoy!
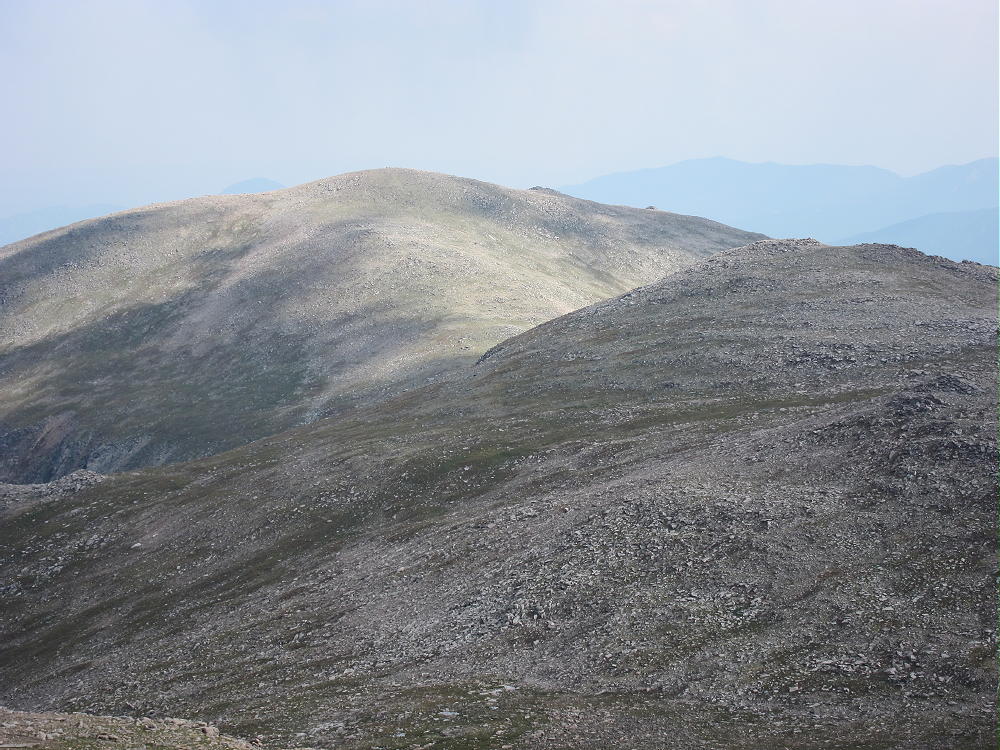
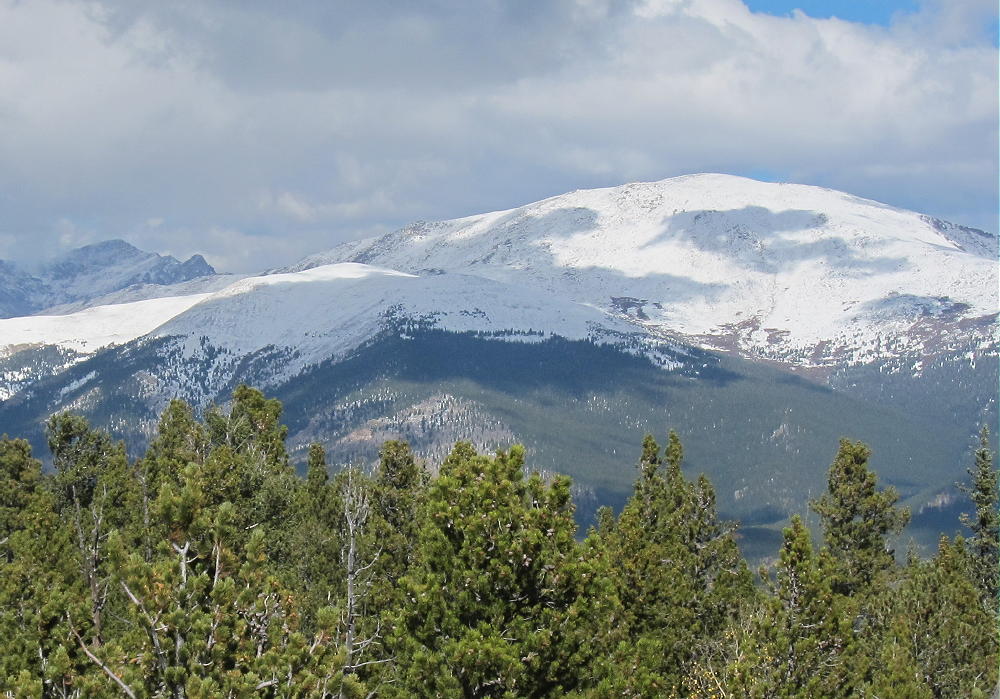
  • WØC/FR-ØØ7 (Rosalie Peak) – 4138 m / 13575 ft

    W0C/FR-007
    Rosalie Peak
    4138 m / 13575 ft
    August 16, 2013
    August 3, 2014

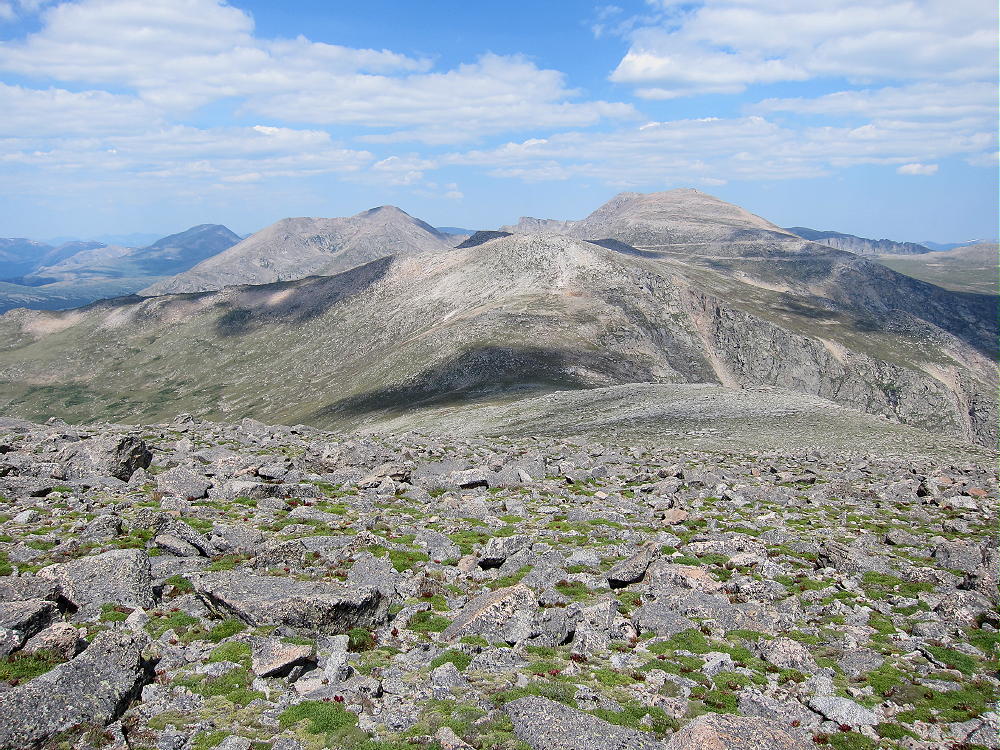
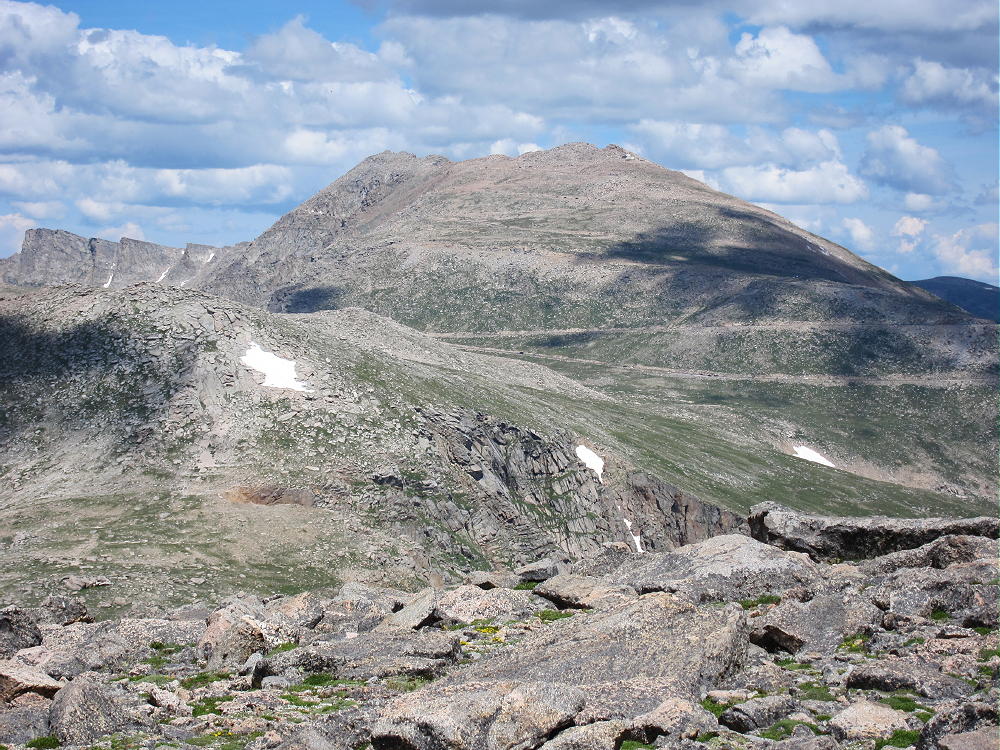
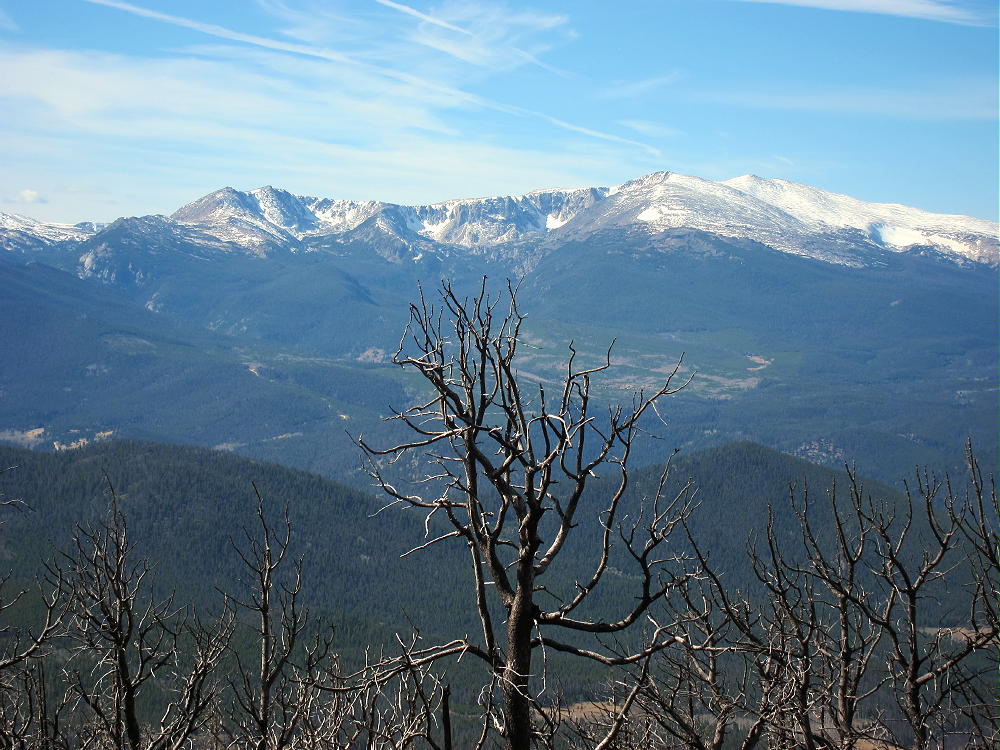
    Rosalie Peak is a nice alpine SOTA peak about 3 miles southeast of Mount Evans.

    To climb Rosalie, start early and drive up the Mount Evans Highway. A fee may be required for the highway. Convenient parking spots are located near the 13,200 foot contour, just above a broad pass to the south. There is no trail to Rosalie. Hike south from the highway, across the marshy pass, and up the easy slope of the first minor peak – elevation about 13,500 ft. Go over this summit, or around the easy east side of the peak, and cross the broad saddle to the southeast.

    Climb the next minor peak – elevation about 13,520 ft – and look at the route more than 500 feet down to the deep saddle between 13,520 and Rosalie. I found a good descent route down and around the east side of 13,520; this avoids the steep rocks directly below 13,520.

    From the saddle at about 12,950 feet, the 625-vertical foot hike up Rosalie is an easy mix of rounded rocks and tundra.

    The broad rocky top of Rosalie has a large activation zone, and setting up is easy. There is little shelter from wind, other than the mountain itself. This is a near-perfect radio site, with excellent low-angle HF, VHF, and UHF coverage in many directions.

    An activation of Rosalie may be combined with an activation of another peak or peaks in the Mount Evans group – weather permitting.

    On a good summer day, the high hike out to Rosalie and back is a pleasant alpine hike. It’s about 2 miles each way; the total vertical ascent for the round-trip is about 1500 vertical feet. The air is thin, but the scenery is continuously superb. On a stormy day, this ridge-top trip could be a horror show – there is no shelter. Pick a good day and start early!

    Rosalie can also be climbed by other routes – check this link out!

    73

    George Carey Fuller
    KX0R


    ATTENTION !! WARNING !! There are old mountaineers, and bold mountaineers… there are no old-bold mountaineers. Hiking and mountain climbing are potentially hazardous activities particularly in Colorado with its extreme elevations. I am not accepting responsibility for any death or injury resulting from activations based on my trip reports. Proper training, experience, and personal capability assessment is required – enjoy!
  • WØC/FR-164 (Visitor Point) – 2896 m / 9501 ft

    W0C/FR-164 (Visitor Point)
    2896 m / 9501 ft
    Sep 26, 2013 First Activation
    Mar 28, 2014 Second Activation

    by KX0R

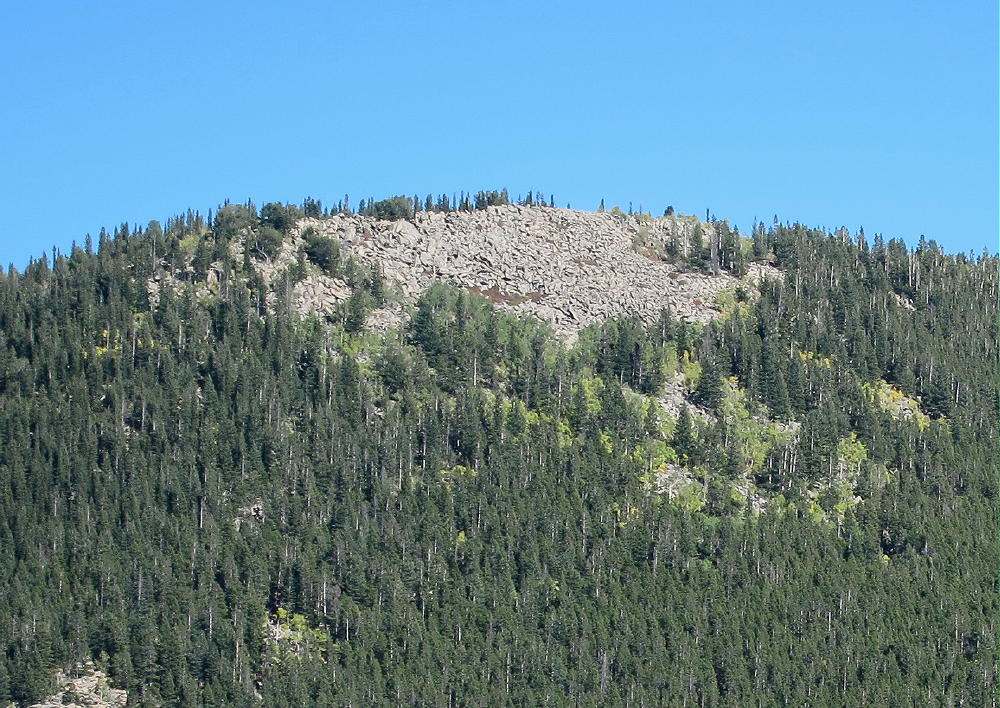
    Visitor Point is like a secret SOTA peak in Golden Gate Canyon State Park. This seldom-climbed summit is close to the Denver metro area. Although the mountain is partly surrounded by private land, the access and summit are in the State Park.

    Visitor Point from Centralia Mountain
    Visitor Point from Centralia Mountain

    Drive to Golden and head west up Golden Gate Canyon. The road is on the north side of Golden at a light on highway 93. It’s about 15 miles up curvy paved Road 70 to the State Park. About a mile before the Visitors Center, the road runs across a low pass, with Visitor Point above on the right. There is even a road there marked Golden Gate Drive, but it leads into a private development. Stay on the main highway, and drive north and down into the Ralston Creek drainage. At the bottom, right after the road crosses the creek, there is a signed junction, and the Visitor Center is just 100 yards to the right, next to the creek. There are some interesting exhibits in the building, as well as restrooms and helpful State Park people. At the Visitor Center you can buy a Park Pass, which you must display in order to park your car in the Park.

    Amazingly, there is no trail from the Visitor Center to Visitor Point, which stands 1300 vertical feet up to the southeast. Most of the route is off-trail, but the navigation is not difficult. A compass and topo map are required; a GPS with a map-set is useful here.

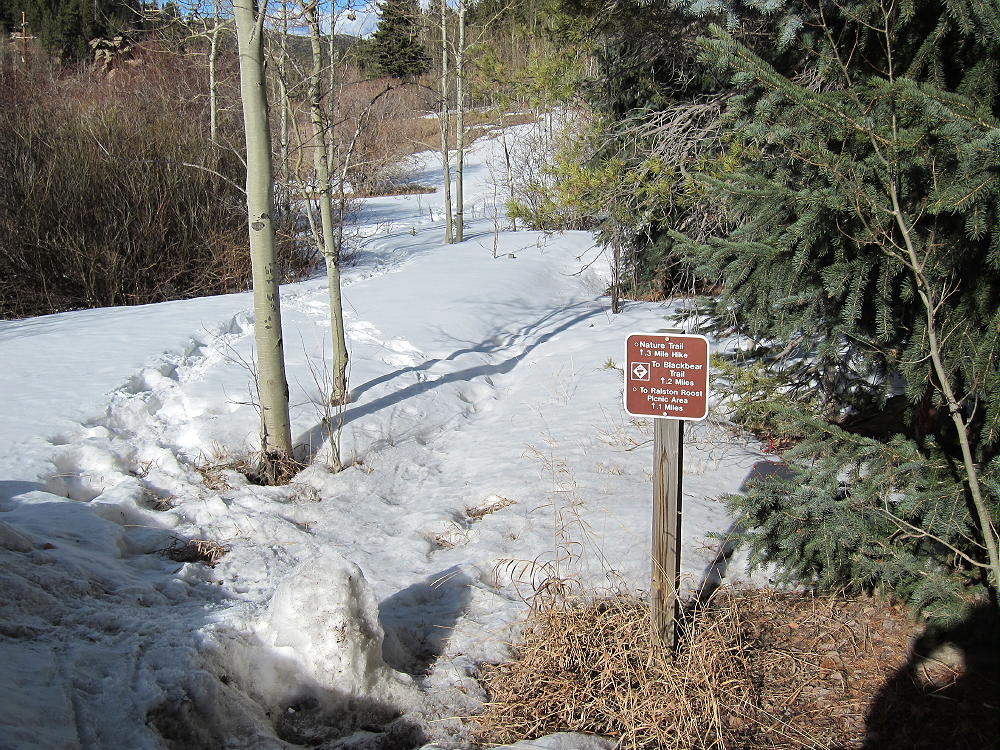
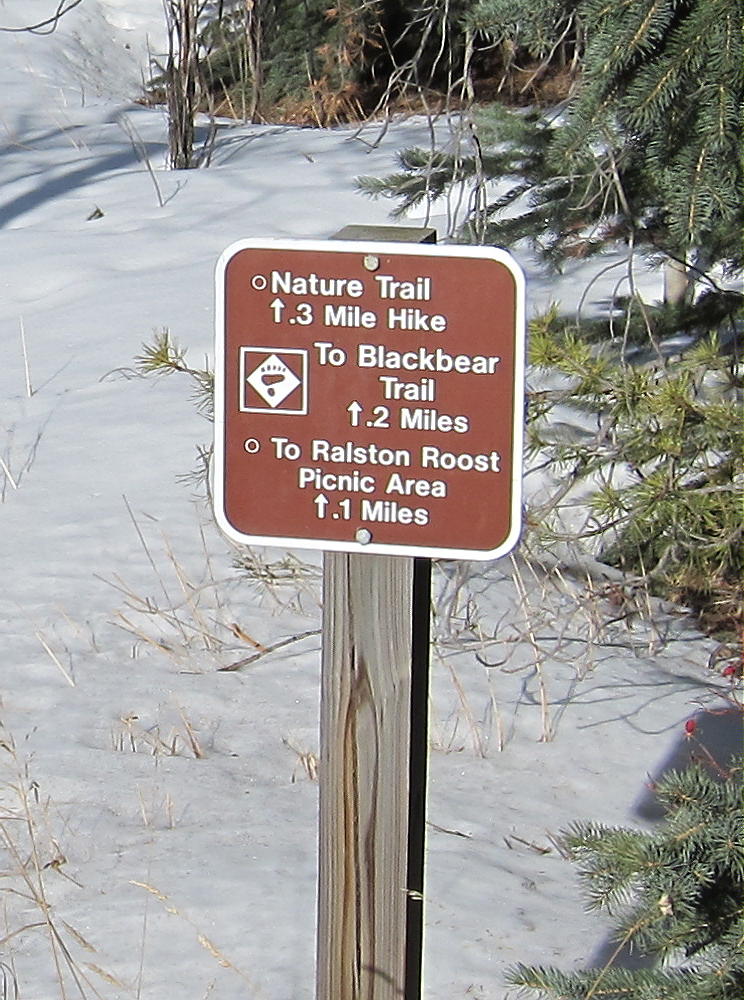
    Park at the Visitor Center and follow the Nature Trail / Bear Trail that heads east from the parking lot, along the south side of the creek.

    After only about 100 yards, there is a marked junction. Turn right, follow the nature trail about 100 feet into a small draw, and head off the trail and uphill to the southeast. Climb the obvious ridge on the east side of the draw, and try to follow an old abandoned trail that leads south up the ridge for a short distance. There is no marked route to the summit, and most of the climb consists of picking your way up the north side of the mountain through a forest of lodge-pole pines and aspen trees. This is a “bushwhack trip”, except that there aren’t many bushes.

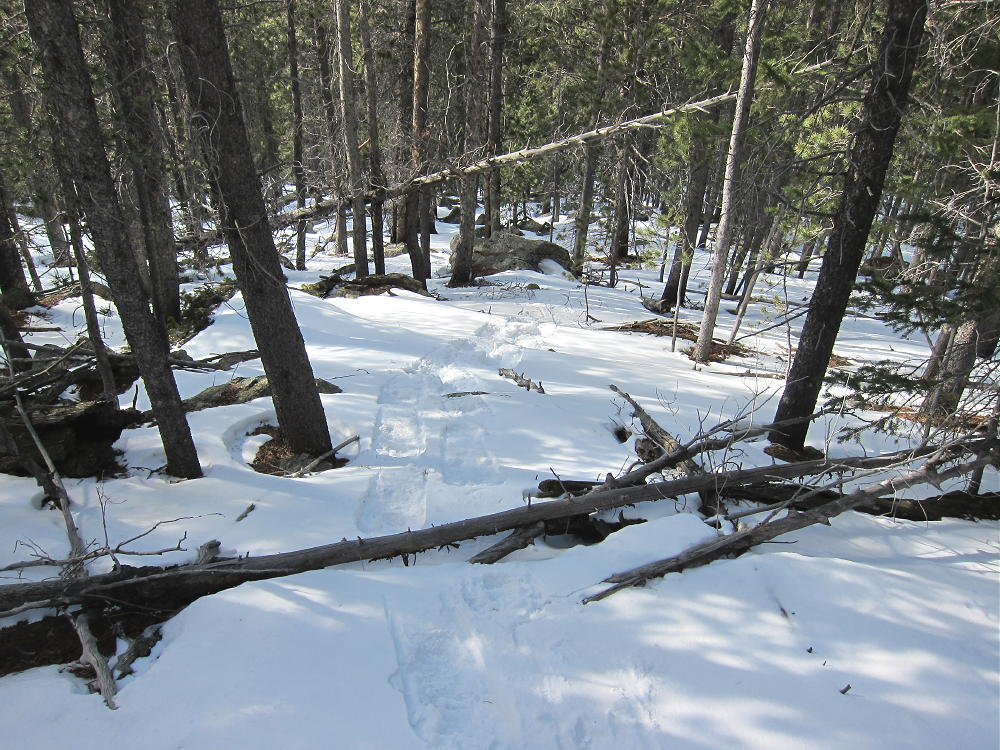
    Snowshoe Route up North Side of Visitor Point
    Snowshoe Route up North Side of Visitor Point

    There is a rocky steep section part way up, but it’s easy to switchback east and get around it. There are bits of game trails that provide useful routes here and there. Although the summit is always hidden by the forest, just head southeast and uphill and you’ll get there. There are no cliffs or talus – just a classic north-slope montane forest. In summer it’s a refreshing, shady morning hike, and in winter it’s a moderately-difficult off-trail snowshoe ascent. With deep powder it could be a tough route to do – but when I went up there in late March, the snow was crusty most of the way, and the 1 to 2 feet near the top covered up many logs and rocks, making for a very reasonable snowshoe trip.

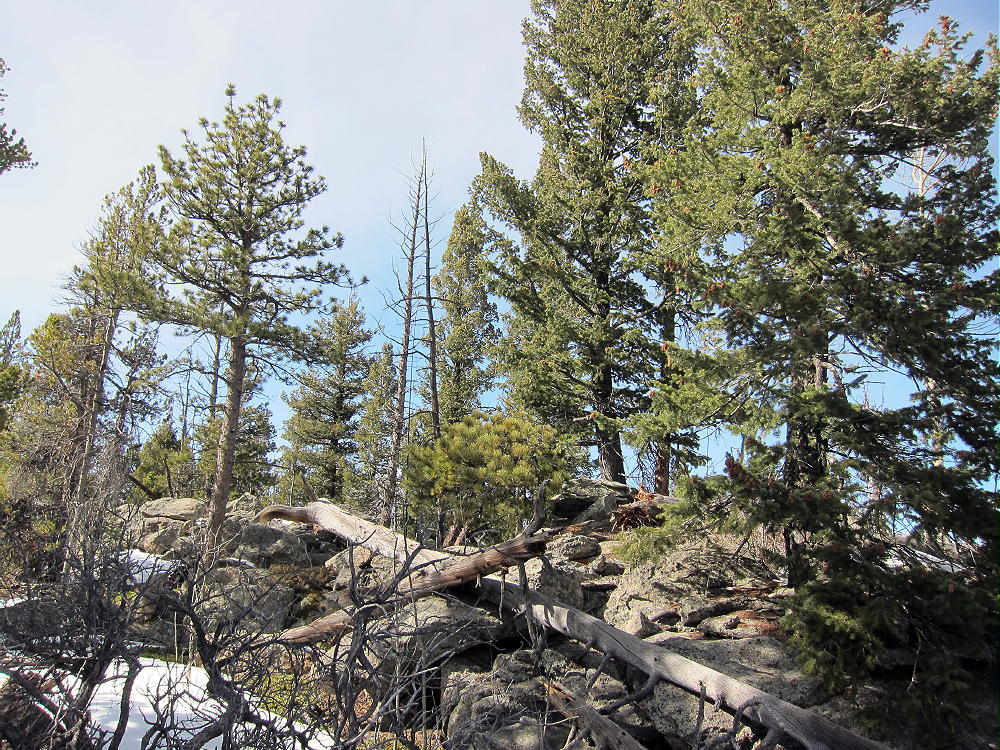
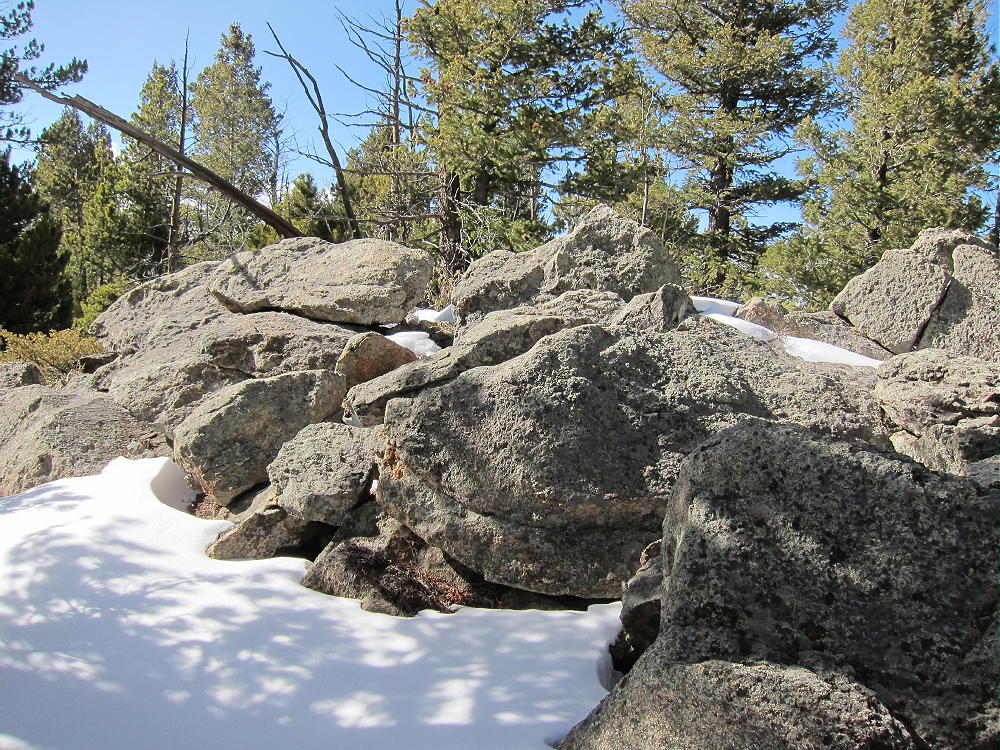
    Visitor Point’s summit is a pleasant forested ridge about a hundred yards long. The actual high point is hard to identify – but operating in the Activation Zone, within 75 vertical feet of the top, is easy. A nice open area is available near the eastern end of the summit ridge, right below some rocks that may be the actual peak.

    There are sheltered, sunny spots among the rocks, with plenty of space to run a wire along the ridge, and some good trees are conveniently located.

    This mountain is an excellent HF radio site, open in all directions; for VHF/UHF it’s probably OK, but higher peaks to the east probably reduce coverage of the Denver Metro Area and nearby communities.

    The mountain falls away in most directions, and there’s a nice view south from the east end of the ridge. Centralia Mountain and Mount Tom stand higher to the east.

    Very few people climb this obscure summit – I saw no register, no jar, no fire ring, and no summit cairn. Visitor Point offers a special, private SOTA experience – the off-trail access is a small price to pay for an easy activation on such a pleasant summit!

    73

    George Carey Fuller
    KX0R


    ATTENTION !! WARNING !! There are old mountaineers, and bold mountaineers… there are no old-bold mountaineers. Hiking and mountain climbing are potentially hazardous activities particularly in Colorado with its extreme elevations. I am not accepting responsibility for any death or injury resulting from activations based on my trip reports. Proper training, experience, and personal capability assessment is required – enjoy!
  • WØC/FR-Ø49 (Centralia Mountain) – 2986 m / 9795 ft

    W0C/FR-049
    Centralia Mountain
    2986 M / 9795 FT
    Sep 26, 2013 First Activation
    May 26, 2014 Second Activation

    by KX0R

    Centralia Mountain is a prominent peak located just south of Golden Gate Canyon State Park west of Denver.

    Centralia from Visitor Point
    Centralia Mountain from Visitor Point

    There are several roads to the Park – start by driving to Golden. Follow Highway 93 to the north side of Golden, and turn west onto Road 70, Golden Gate Canyon. Follow this winding paved highway up into the mountains until it drops down into the Ralston Creek Drainage – there is a sign for the park and the Visitors Center. Unless you have a pass, buy one at the Visitors Center, and drive east along paved Road 57, which leads down Ralston Creek. After about 3 miles there is sign for the Nott Creek parking area – turn north and park immediately in the first parking lot. Be sure that your State Parks Pass is displayed in your vehicle’s front window. This is the best place to start your climb up Centralia.

    Centralia Mountain is partly surrounded by private land, and there are no designated trails to the summit. Climbing and activating this peak requires good navigation and route-finding skills. There are probably several reasonable ways to climb Centralia, but private land and limited access reduce the good options. I found a surprisingly efficient off-trail route up from Nott Creek.

    Walk south from the parking area, cross the paved road, and then cross Ralston Creek on a foot-bridge west of the large barn.

    Bridge over Ralston Creek
    Bridge over Ralston Creek

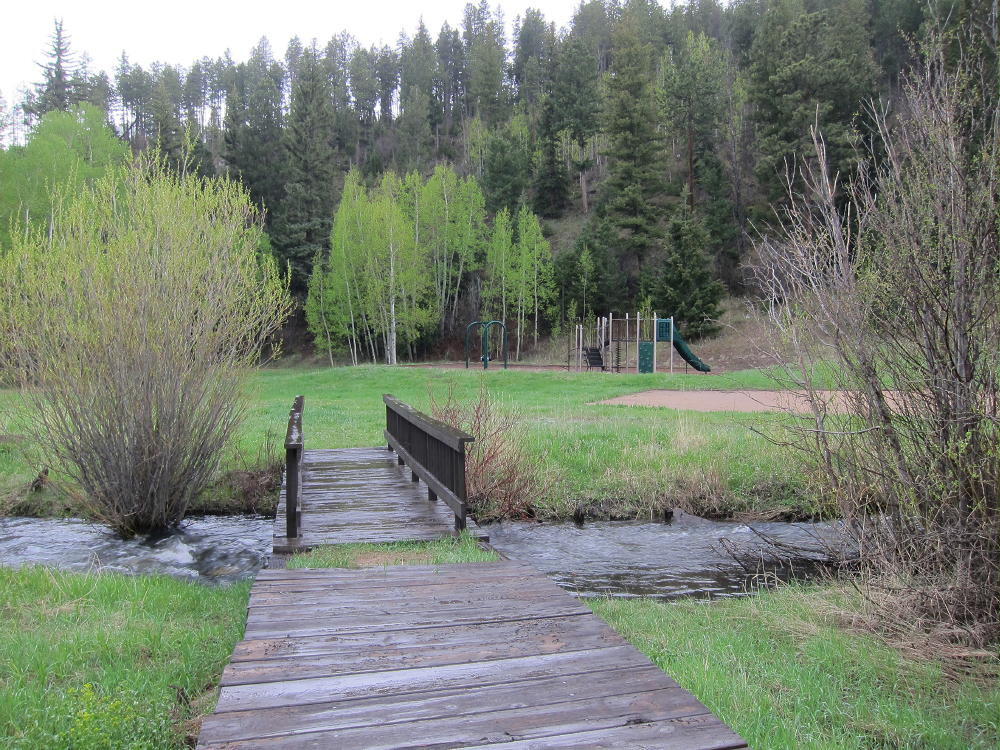
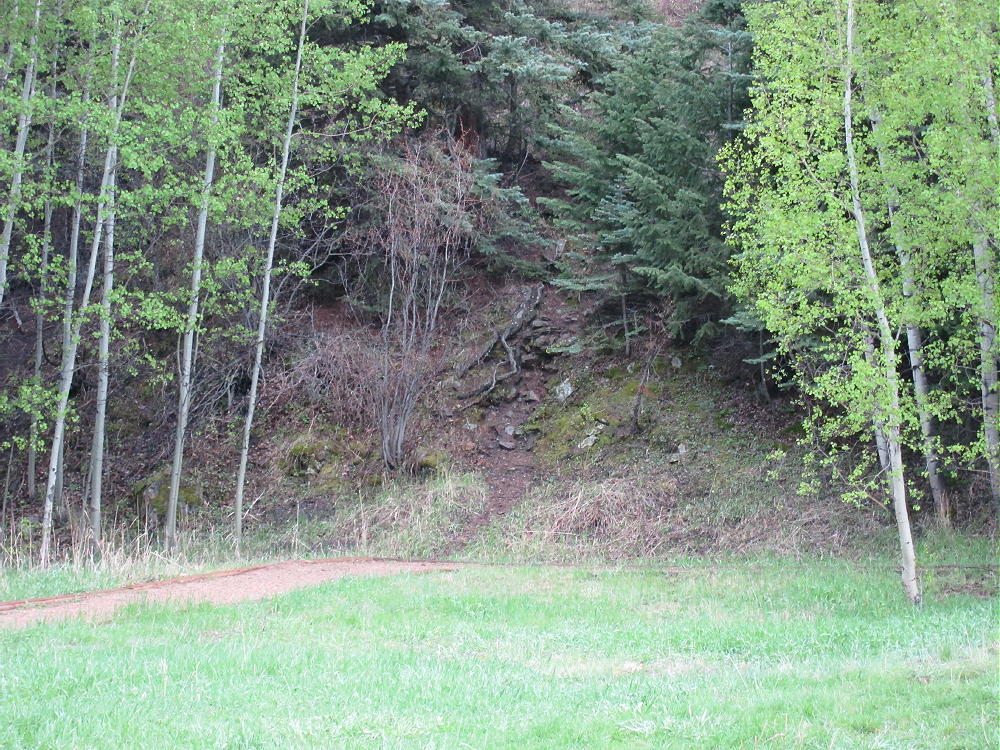
    Look carefully and find an informal path that leads up the steep ridge south of the children’s play area.

    Start of Trail at Playground
    Start of Trail at Playground

    Climb about 100 vertical feet up to the ridge top, head uphill and west, and ascend near the top of the ridge. Continue climbing for several hundred vertical feet, and reach a large area where the forest has been cleared, probably for wildfire prevention.

    Cleared Forest on Centralia looking NE to Blue and East Blue Mountains
    Cleared Forest on Centralia looking NE to Blue and East Blue Mountains

    Stay within the cleared area, and climb south to the highest point that has been cleared. This leads to an interesting ridge that is easy to climb.

    Centralia Ridge Ascent Route
    Centralia Ridge Ascent Route

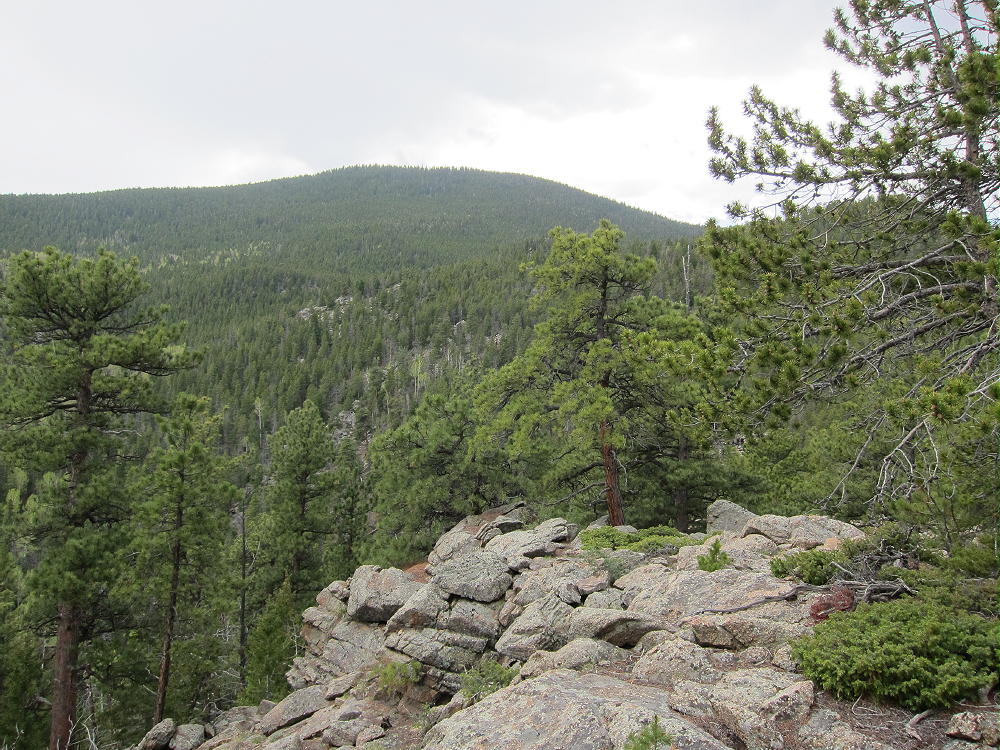
    There are several rocky points along the ridge that must be passed on one side or the other. The last of these “maxima” – near 8920 feet – has an exposed rocky knob from which you get a good view of the east side of Centralia Mountain. Take a good look, because visibility is somewhat limited in the forest. Backtrack down and pass the knob on the south side. The remaining part of the climb is forested, but the lower part is relatively open.

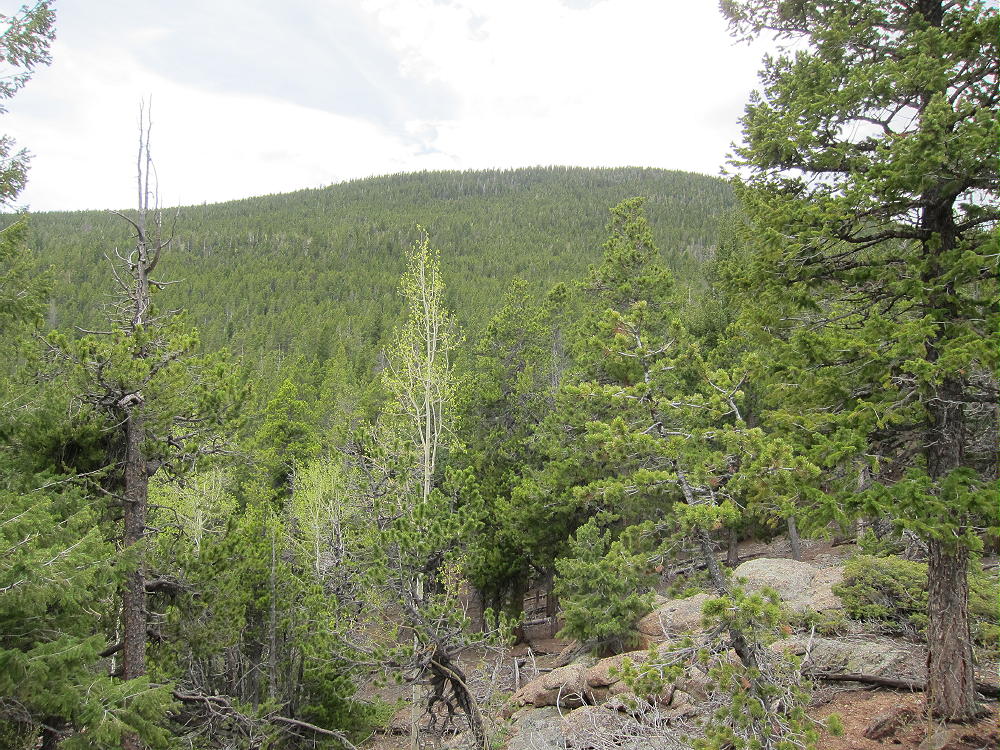
    Centralia NE Top Part
    Centralia NE Top Part

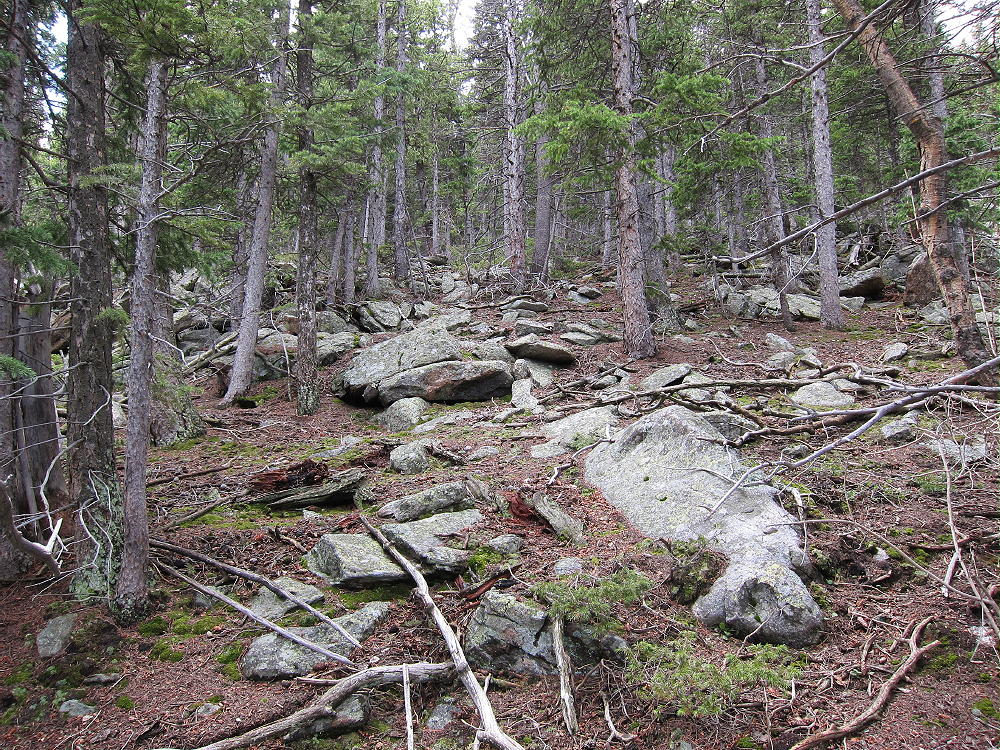
    The last thousand vertical feet up the east side of the mountain may be climbed directly. An ascending traverse heading southeast works well. Aim for a point several hundred feet southeast of the actual summit. If you aim for the summit, the slope is steep and covered with rocks that have come down from the top. The lichens on the rocks are slippery when wet. Heading southeast of the summit is more pleasant and avoids the rocky areas, and there is a natural route that goes right up toward the summit. There are useful game trails up there, and although there are some downed trees, most of them are easy to get over. This is an incredibly easy off-trail route, considering the length and the 2200 vertical feet of ascent required. A GPS is good for route-finding on the last steep section – the summit is not visible from down in the woods.

    It’s only about 2 miles and 2200 vertical feet to the summit of Centralia. I climbed it in 1-1/2 hours, when the woods were cool and damp, with hail from the previous day’s storm still on some of the slopes and near the summit. Don’t mess with this mountain, unless you’re OK with off-trail hiking and have the required level of fitness!
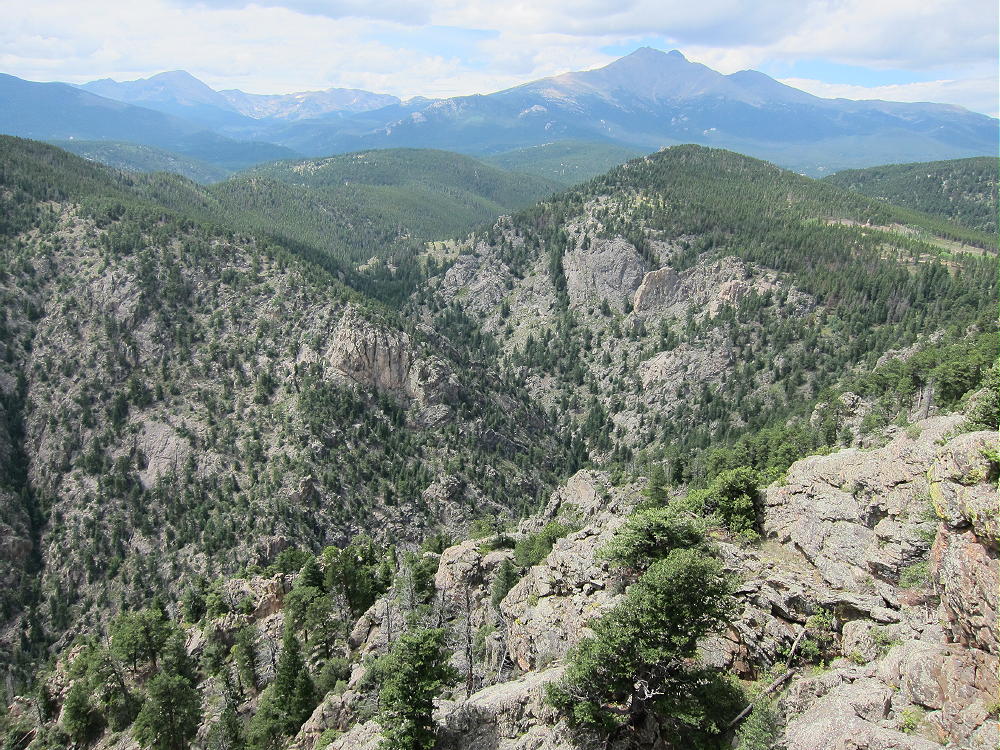
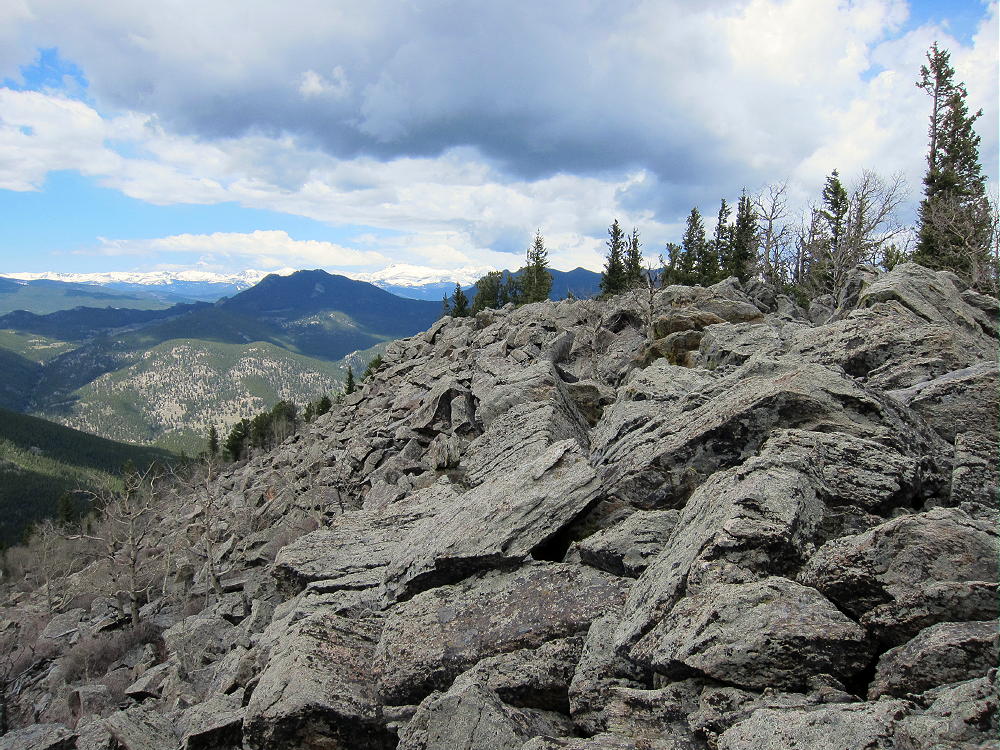
    The summit ridge is long and rocky, with a very steep slope on the west side.


    There is a nice flat spot southeast of the summit, within the Activation Zone, with several useful trees and a sheltered spot to operate from.

    The peak is very prominent, has low RF noise, and propagation is good in all directions. It should be a great site for VHF/UHF across most of the Denver Metro Area and beyond, as well as HF all over the world!
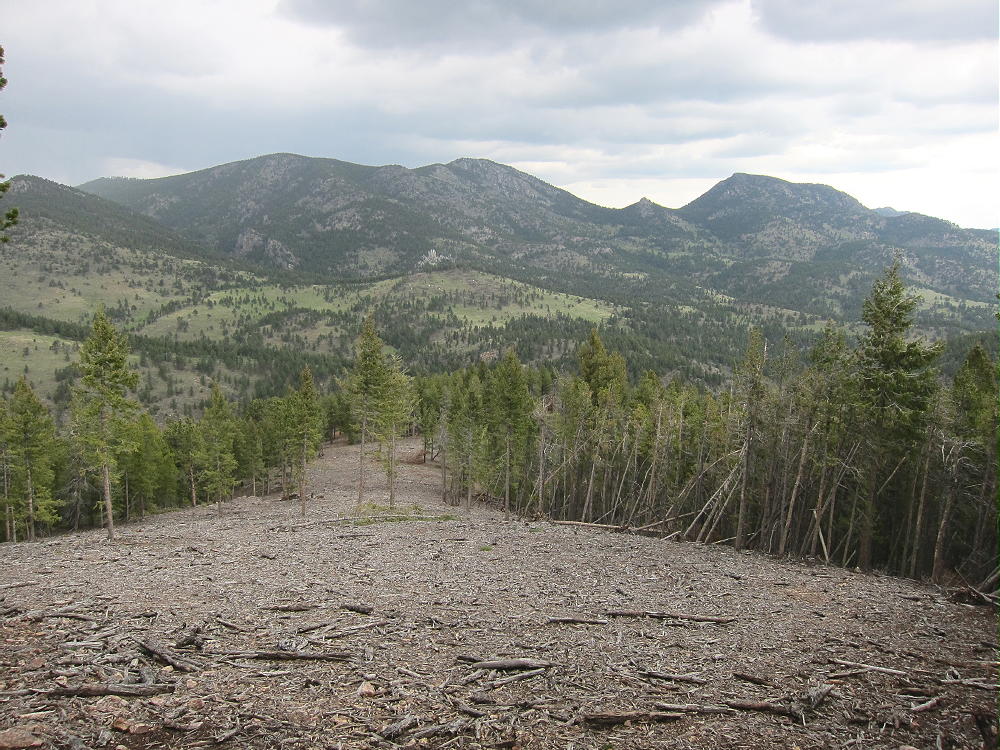
    Very few people visit this special summit. It’s a SOTA Classic!

    George Carey Fuller
    KX0R


    ATTENTION !! WARNING !! There are old mountaineers, and bold mountaineers… there are no old-bold mountaineers. Hiking and mountain climbing are potentially hazardous activities particularly in Colorado with its extreme elevations. I am not accepting responsibility for any death or injury resulting from activations based on my trip reports. Proper training, experience, and personal capability assessment is required – enjoy!