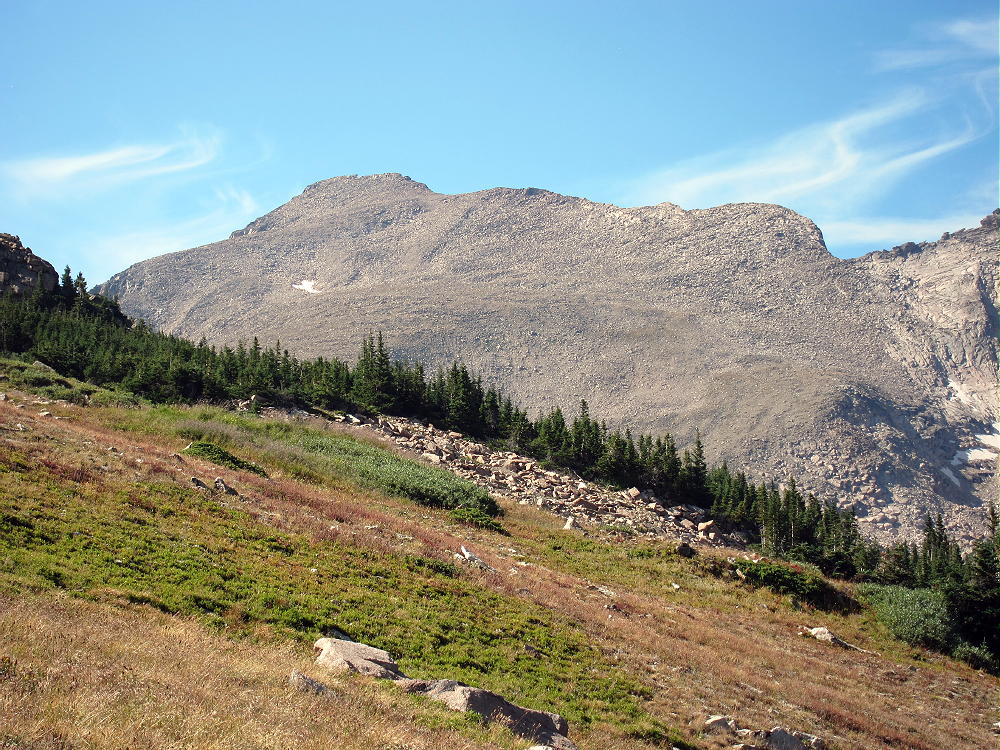
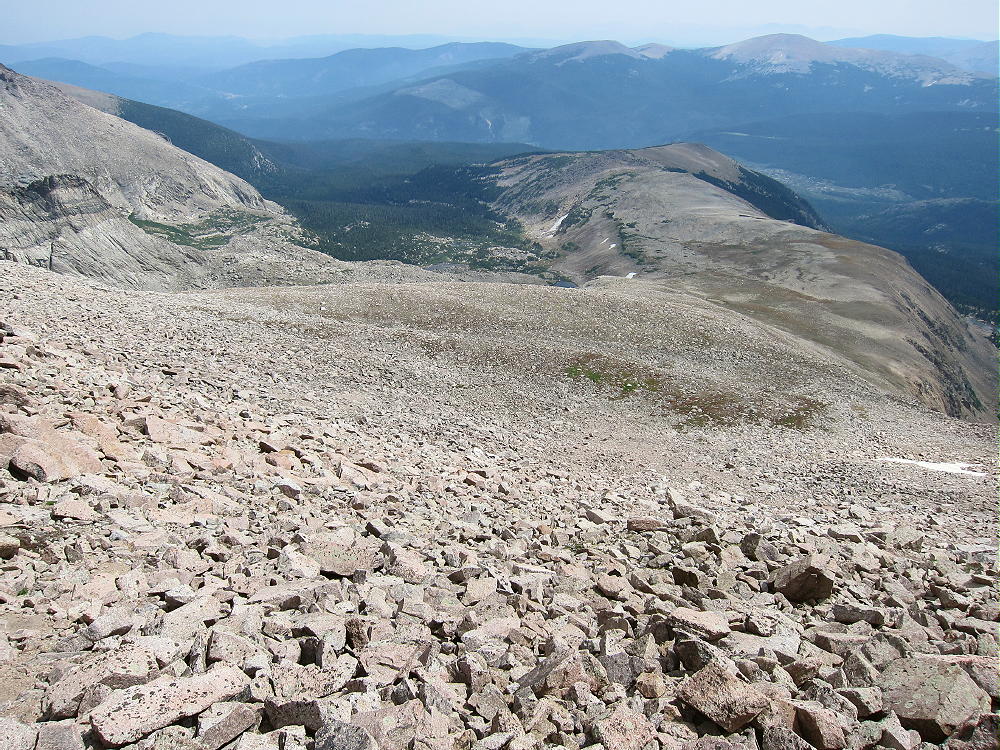
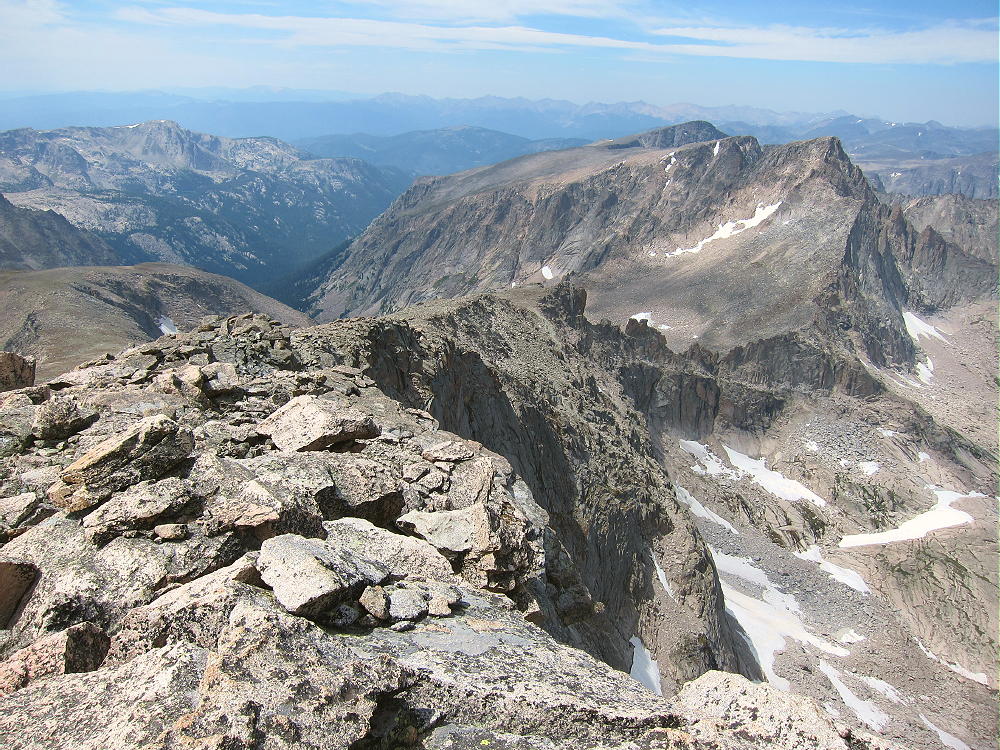
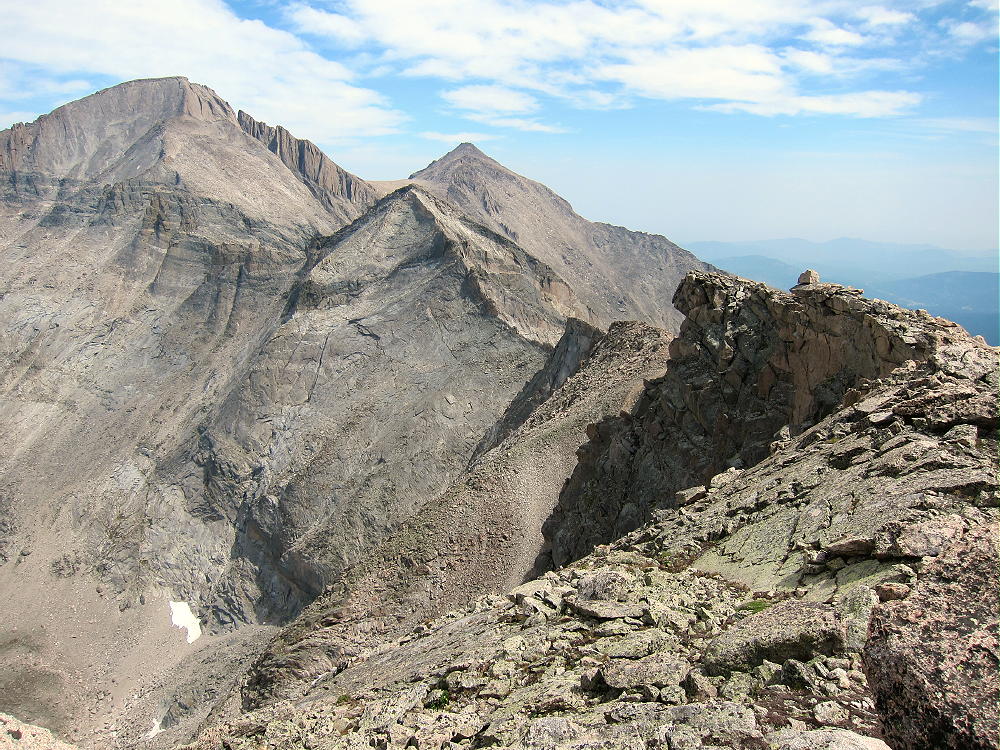
SOTA outings by KØMOS and contributors

Tag: KX0R

  • W0C/SP-102 (Observatory Rock) – 3070 m / 10073 ft

    W0C/SP-102
    Observatory Rock
    3070 m / 10073 ft
    Oct 12, 2015 solo
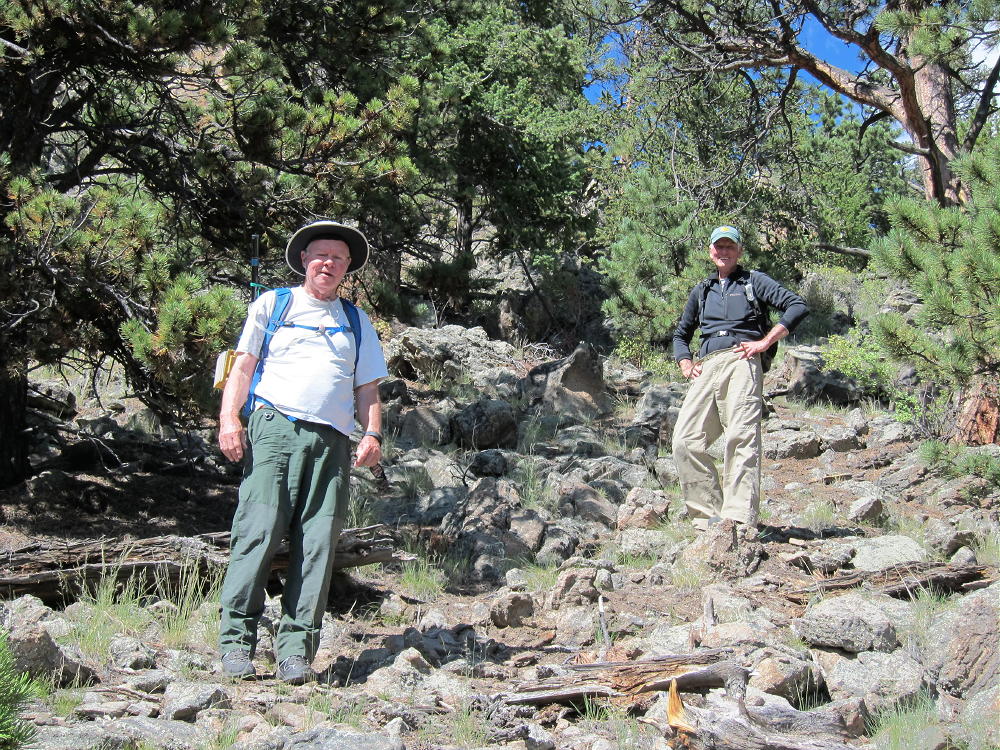
    Sep 5, 2016 with N0TA and WA2USA

    By KX0R

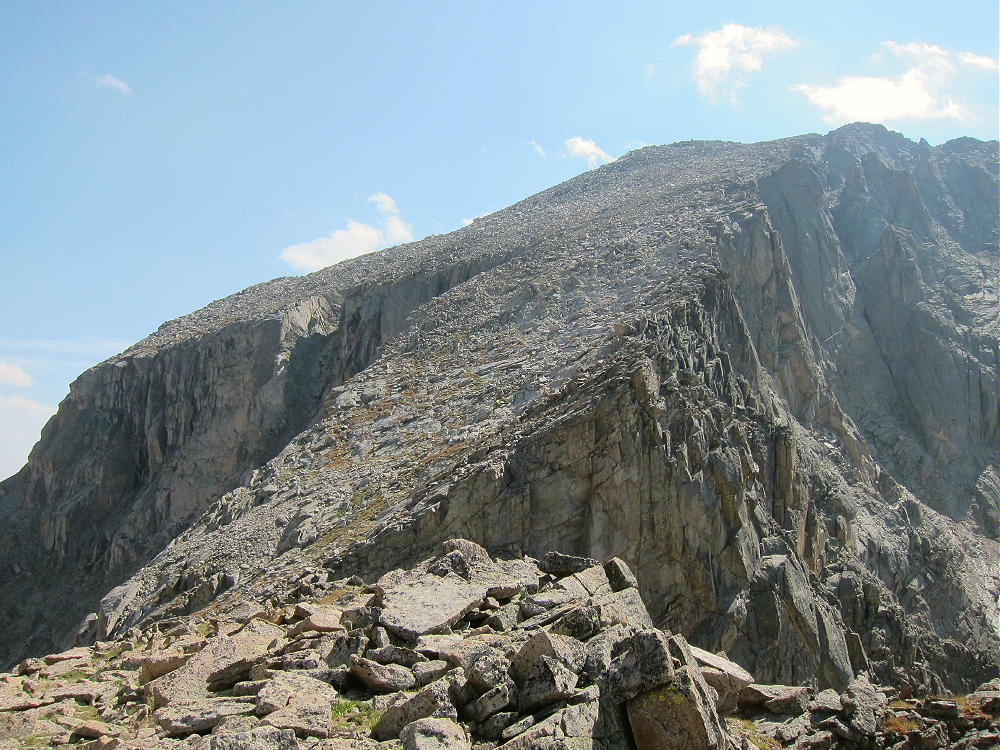
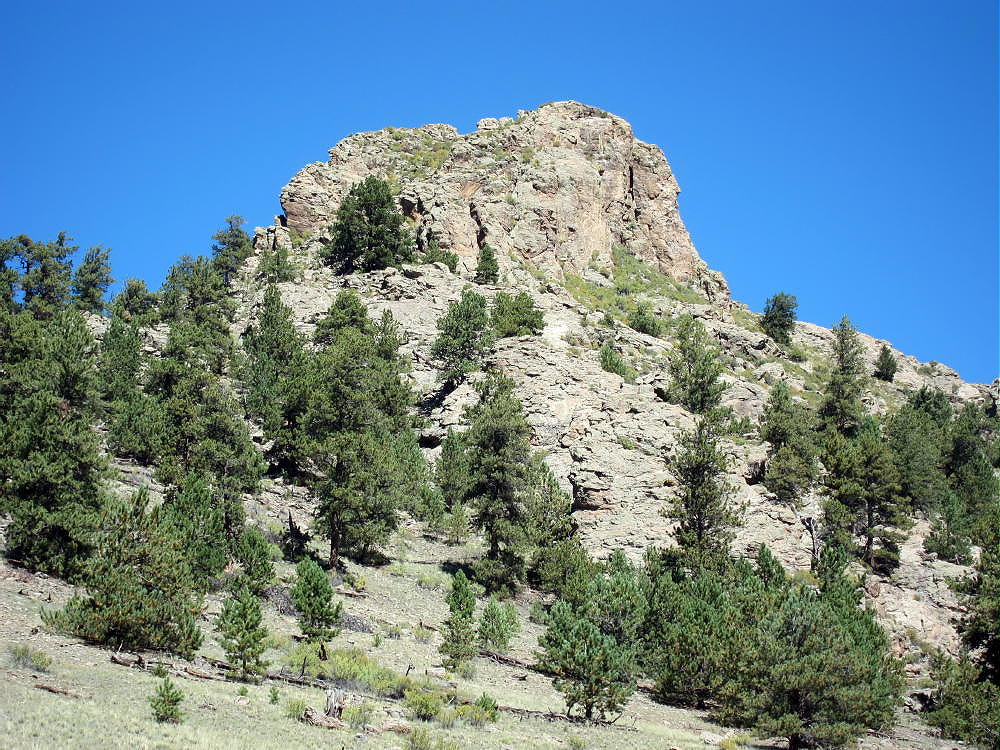
    Observatory Rock is a high, prominent summit named for its resemblance to an observatory dome.

    Key Points:

    • Pike National Forest
    • Access via fair dirt roads
    • Prominent, high rock outcrop
    • No marked trail
    • Fun Class 3 scramble required to summit
    • South side parking at ~ 9400 feet
    • ~ 1.0 mile round-trip
    • ~ 670 vertical feet
    • Fine HF site
    • No red tape or special rules
    • SOTA Classic!
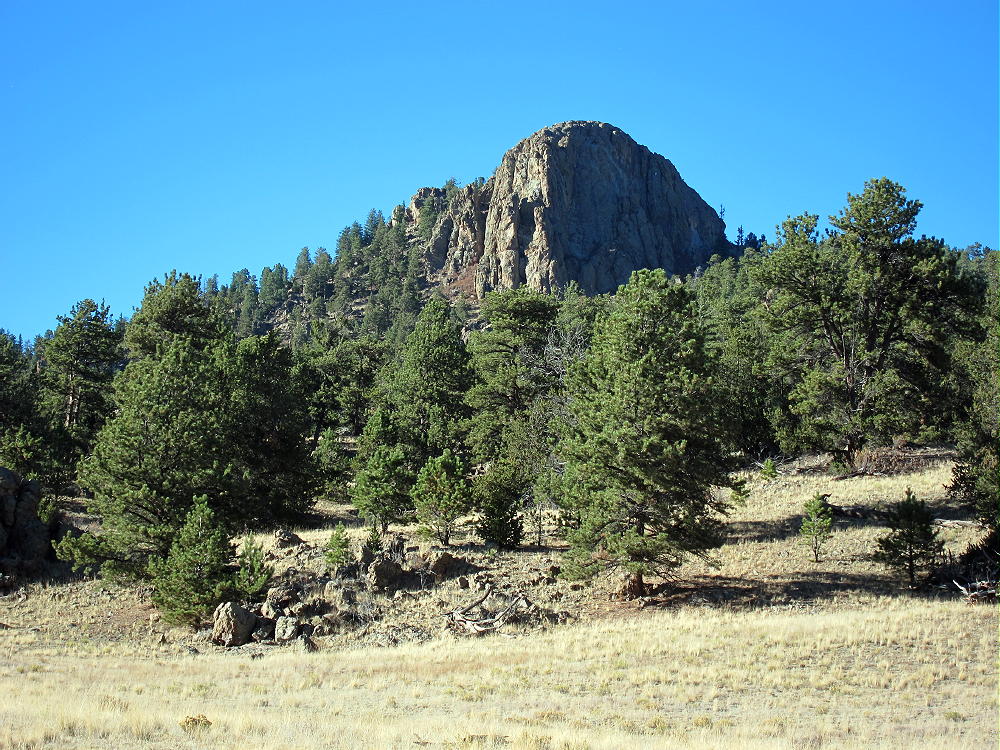
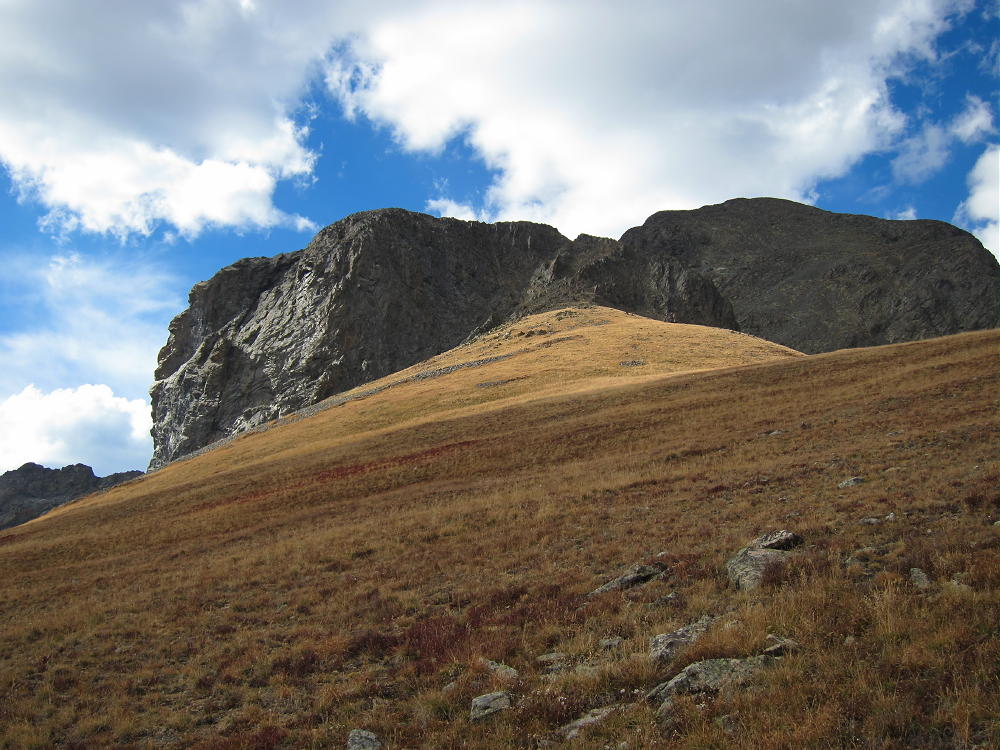
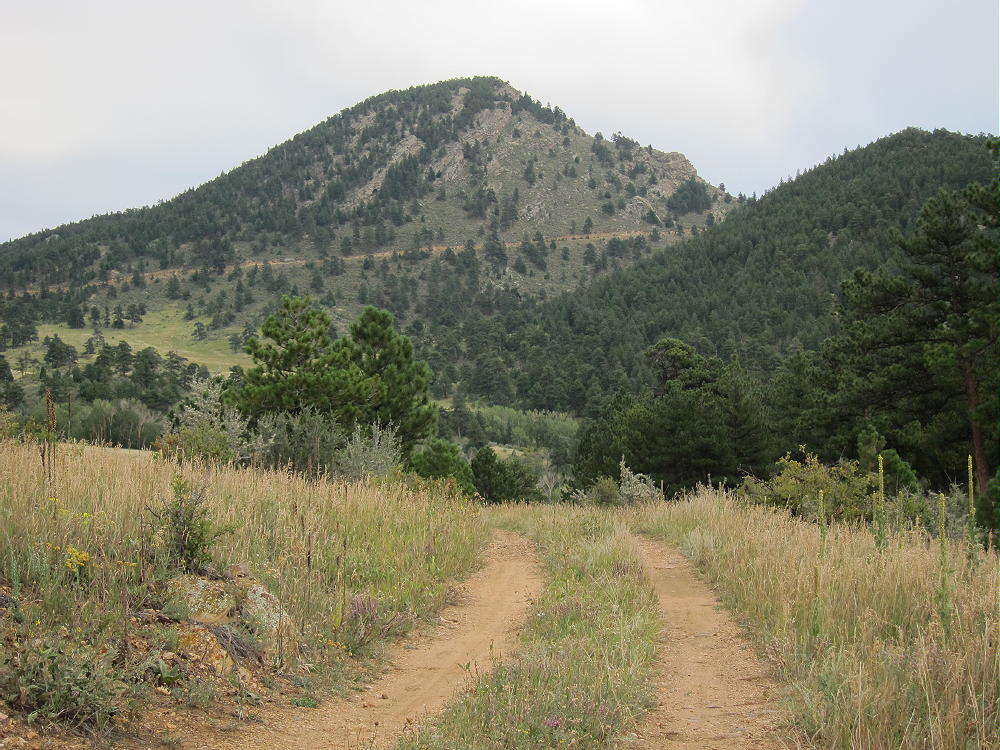
    Located on the east side of South Park, almost 5 miles northwest of Tarryall Reservoir, Observatory Rock is easy to spot from Highway 77. This prominent outcrop provides an exciting scramble up a natural radio tower made of ancient granitic rock. On the right day, climbing and activating this peak is a lot of fun!

    Driving Instructions:

    • Start by driving to South Park, either via Highway 285 from Denver, or via Highway 24 from Colorado Springs.

    • Continue to Tarryall Reservoir via the Tarryall Road, Highway 77, which runs north from Highway 24 near Lake George, to Highway 285 at Jefferson.

    • Near the south end of Tarryall Reservoir, turn west off Highway 77 onto dirt road 23 – the Turner Gulch Road. Follow Road 23 around the Reservoir and west about 2-1/2 miles.

    • Where Road 23 forks off to the south at the top of a hill, keep right – Forest Road 146 heads off to the northwest – look for a sign.
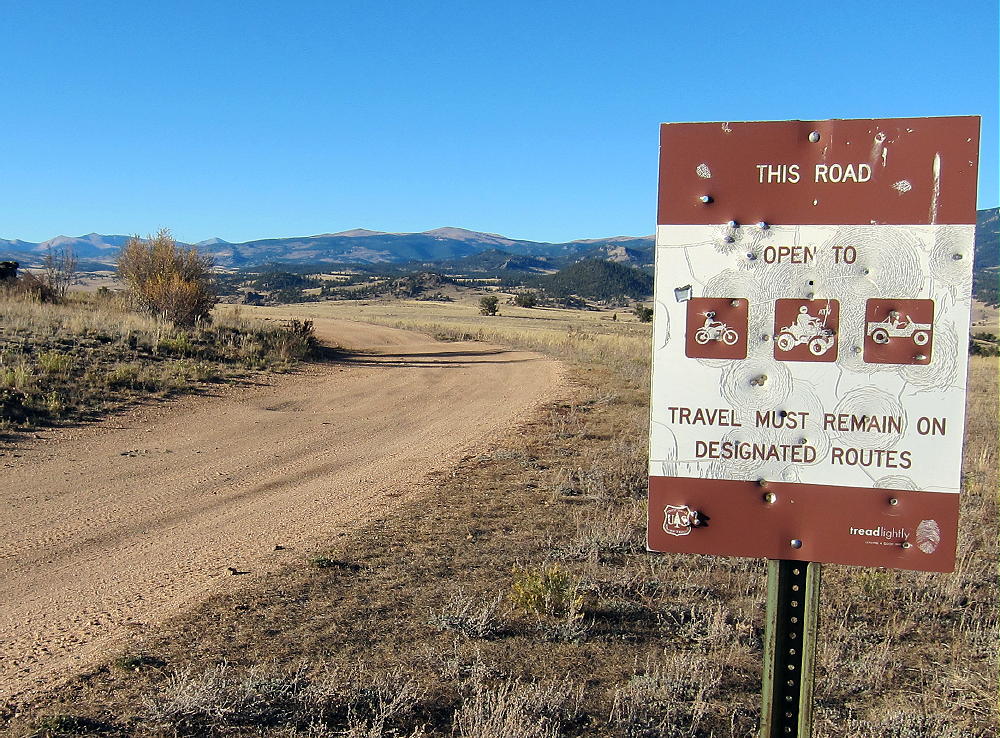
    • Follow rough 2WD dirt road FR-146 down a rocky hill into a valley and back up, for about a mile from Road 23 to Eagle Rock – you can’t miss it on the right! The road passes directly south of Eagle Rock.
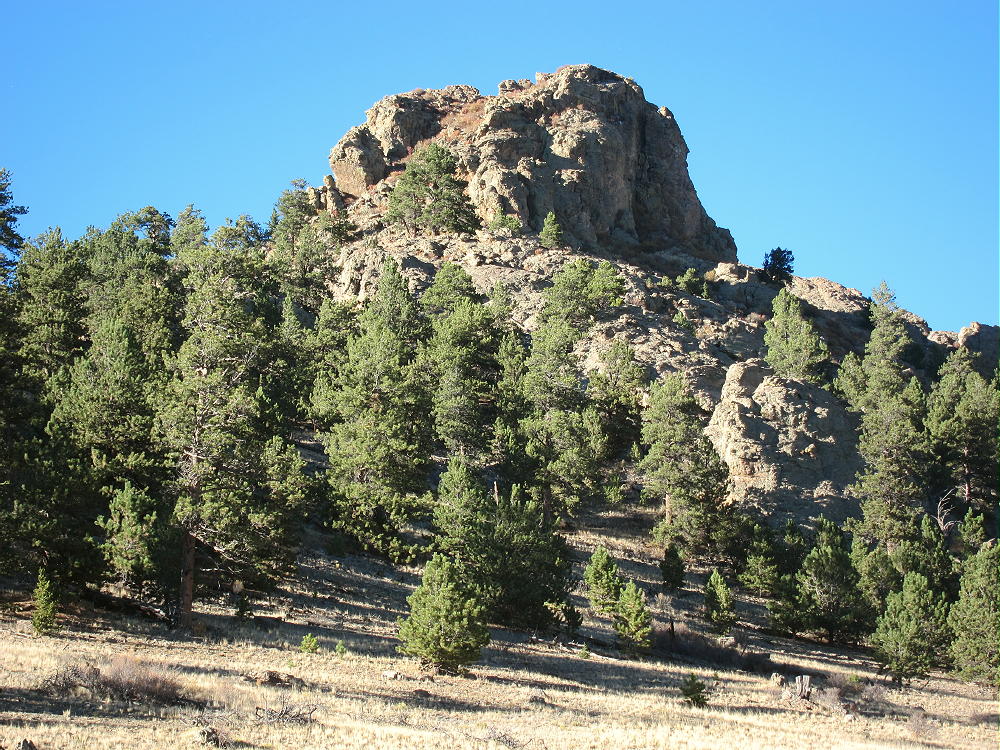
    • Note that the road numbers on Google Maps differ slightly from the USFS Visitor Map for Pike National Forest

    • From Eagle Rock, continue northwest on FR-146/148 for about 1-1/2 miles

    • Soon after a 3-way intersection with FR-146/148, turn right on marked FR- 834. If it’s dry, this road may be OK for 2WD cars with good clearance.

    • Drive carefully north down the small lumpy road, past Berkey Spring

    • Continue past Copenhaver Gulch – Observatory Rock looms ahead to the north

    • About 2 miles from the turn-off from 146/148, there’s a 4-way junction in a flat open area. Go straight, northwest, and ascend about 0.6 mile up a little valley via a small unmarked high-clearance 2WD road. This trail leads directly to the south side of Observatory Rock. Although it’s not shown on Google Maps or the Pike Forest map, it’s easy to see on the satellite image. There’s a campsite about ¼ mile south of the Rock.
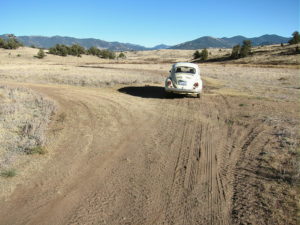
    • Park near the campsite

    The Climb:

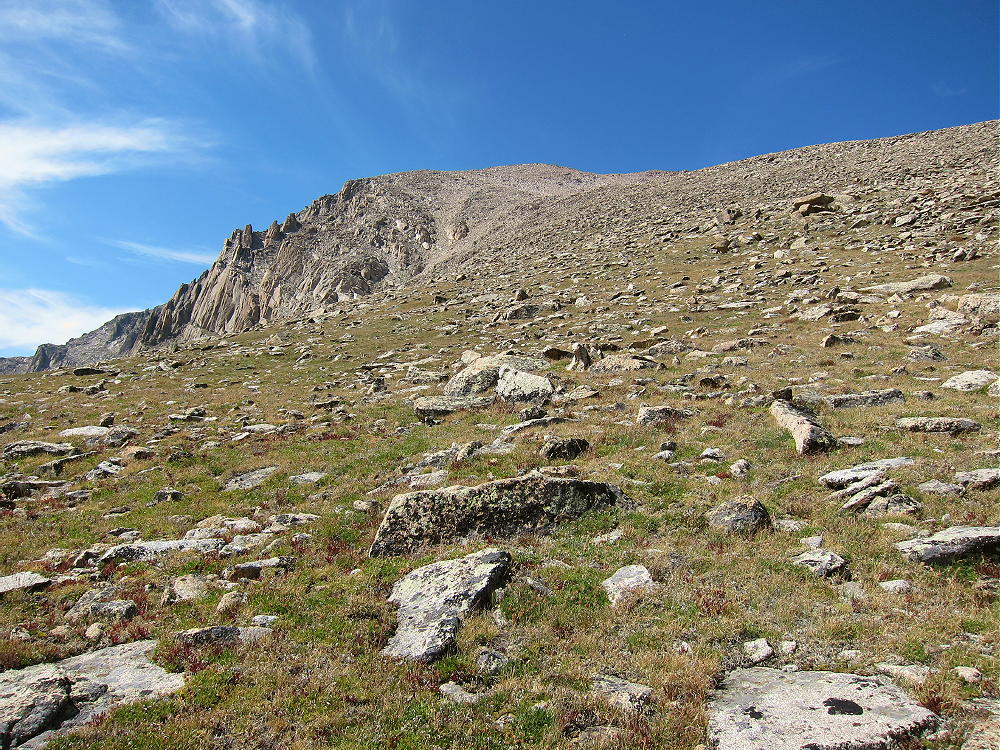
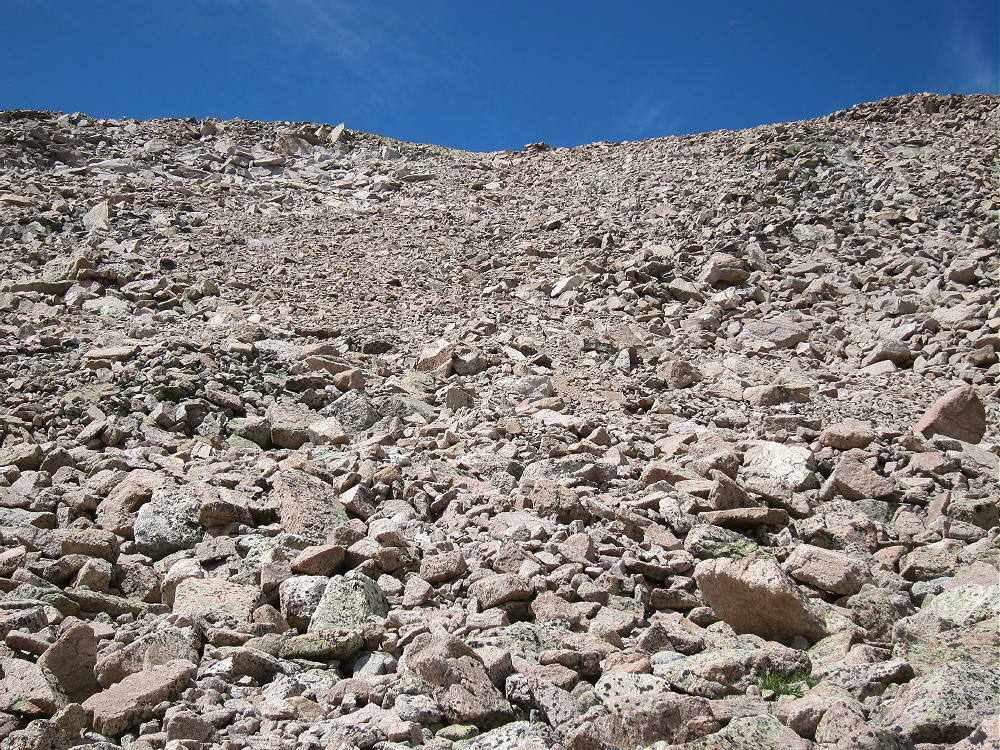
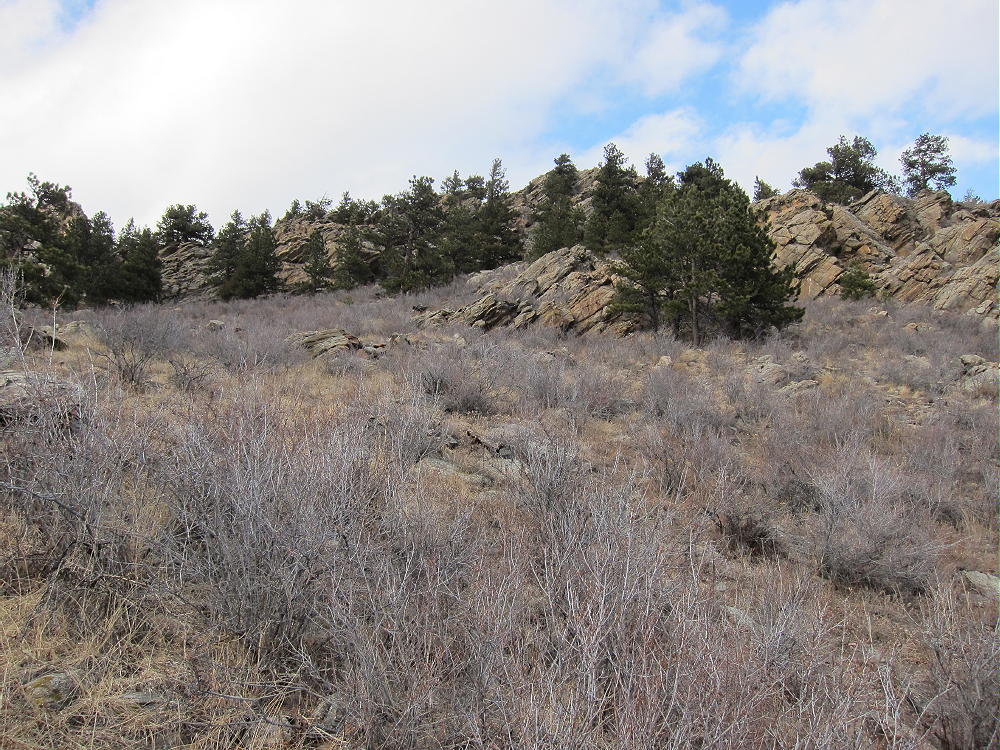
    • Climb up the wide gully west of the huge rock; I found no real trail, but there are game trails.
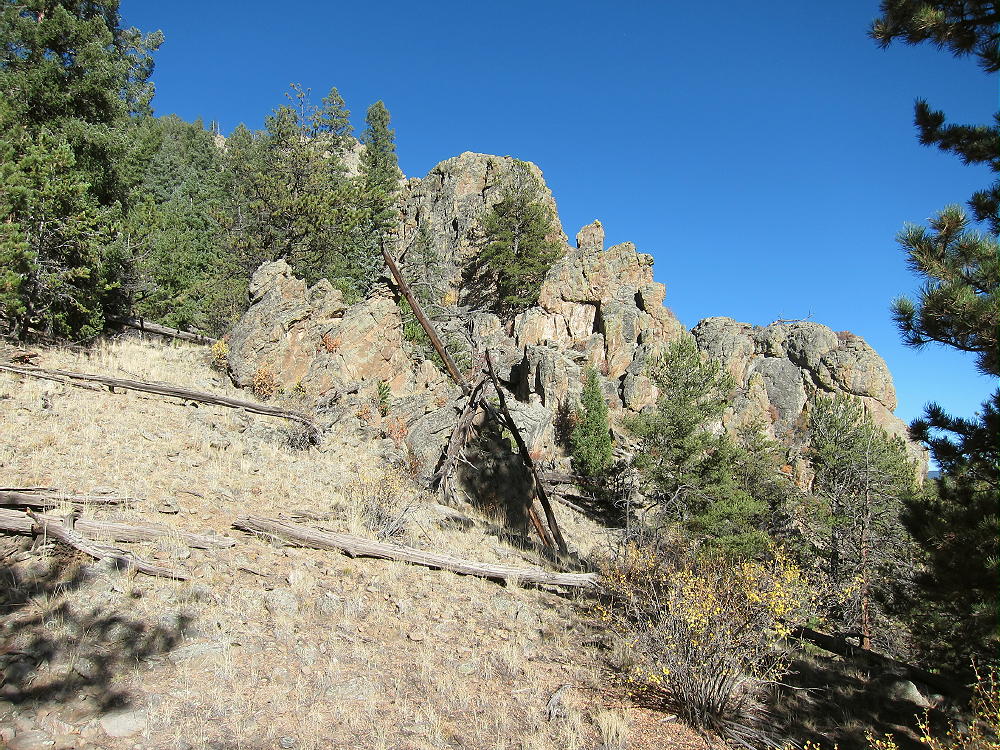
    • Aim for the saddle at 9800 feet between Observatory Rock and its western sub-peak.

    • Ascending slightly left of the gully worked OK to me – avoid the outcrops on the east side.

    • At the saddle, head east up the steep open ridge toward the summit.

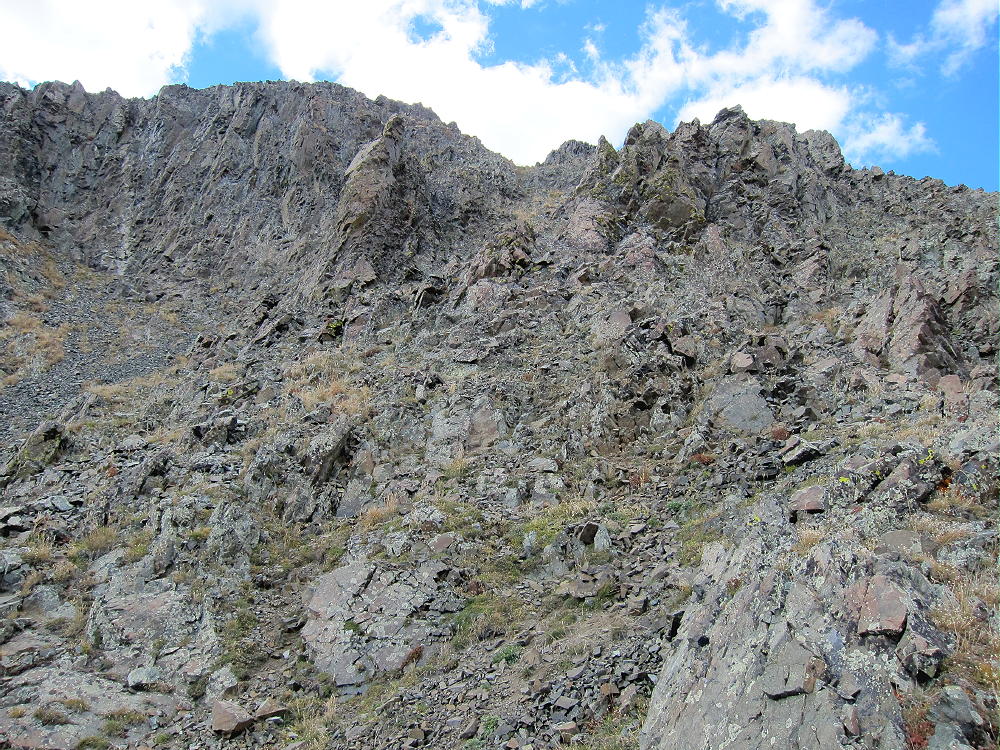
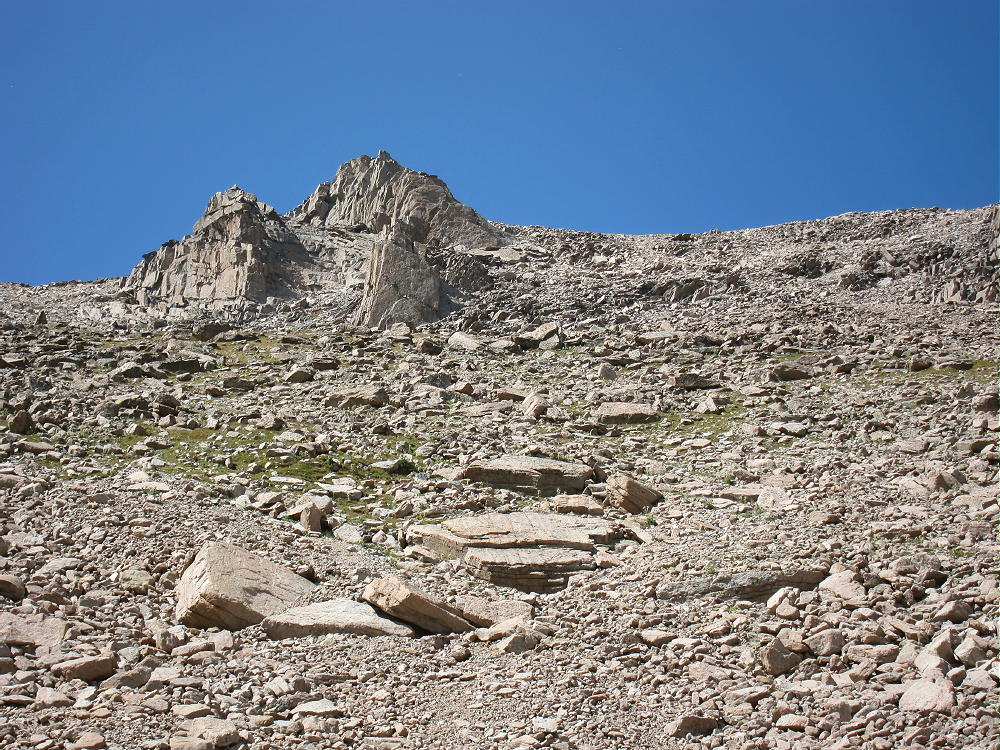
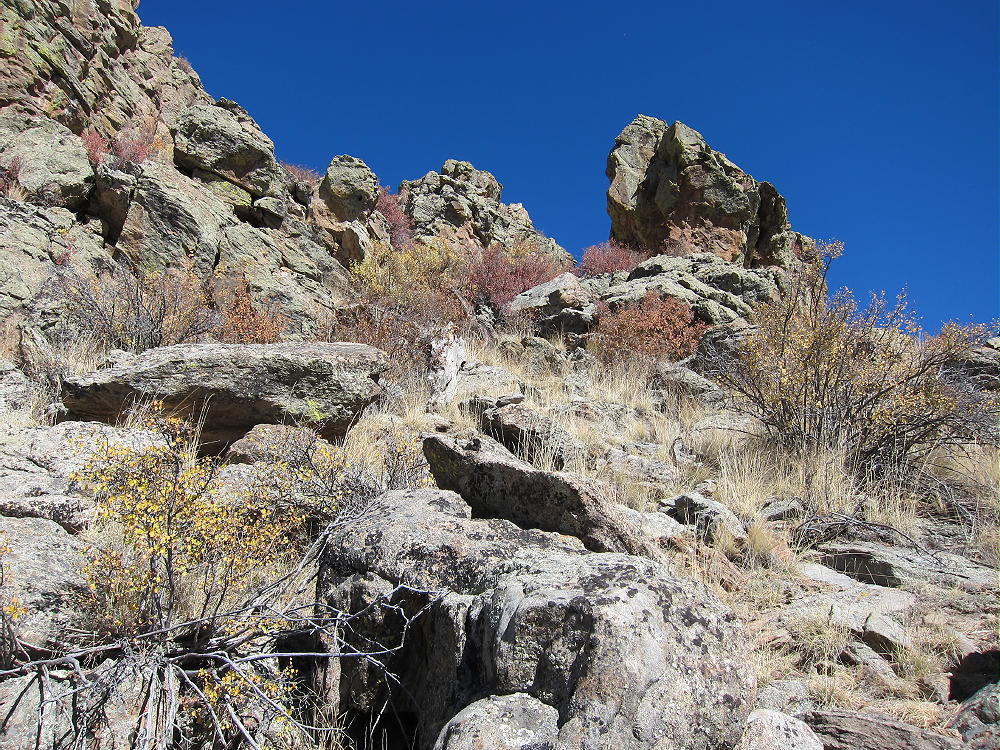
    • After climbing 200 vertical feet up the ridge, the route leads into a gully on the west side of the Rock. There may be a cairn or two, as well as a faint trail. The gully contains an ancient pine tree right below the summit.

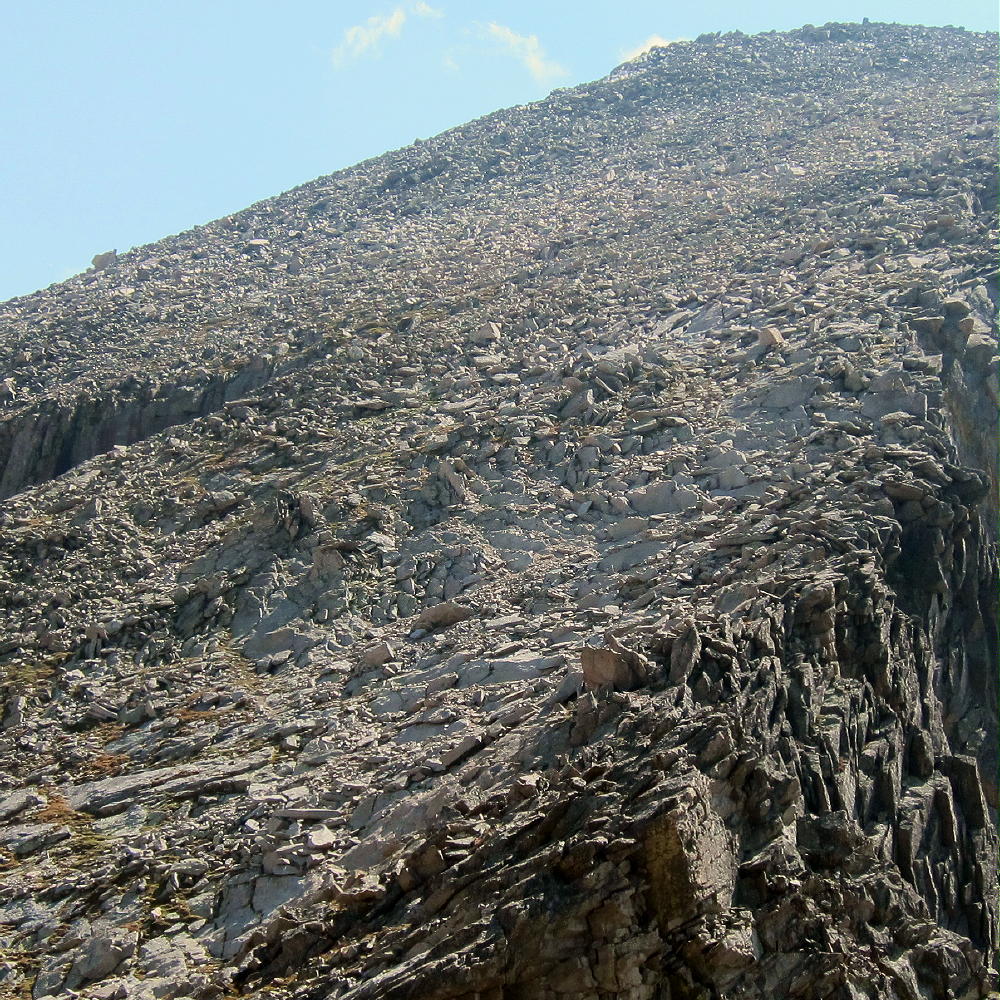
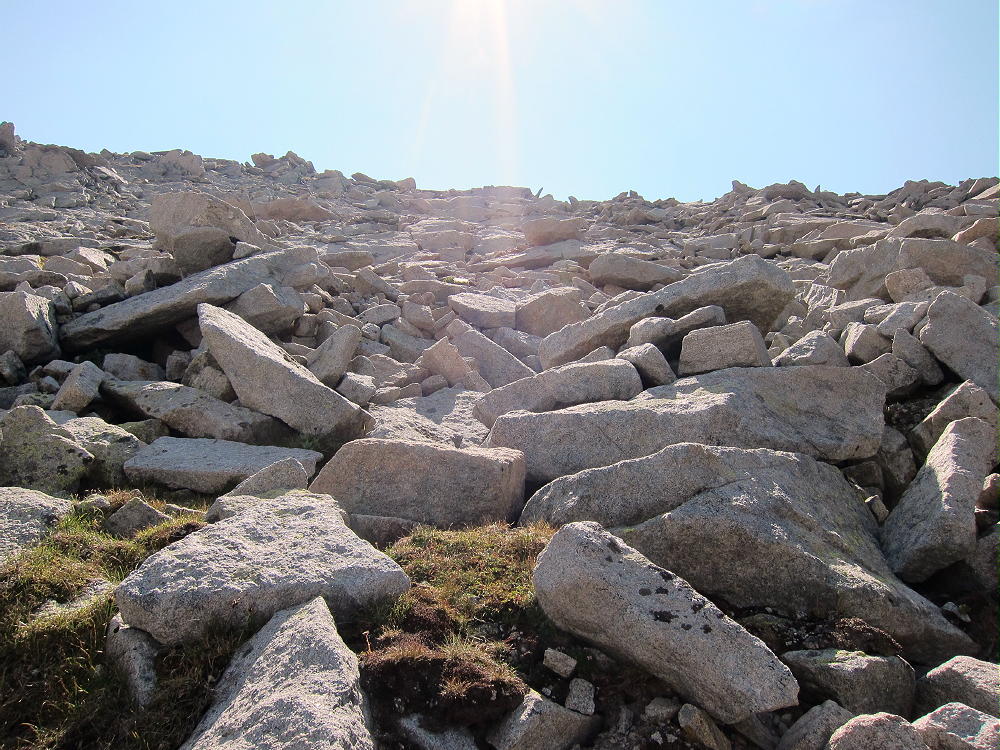
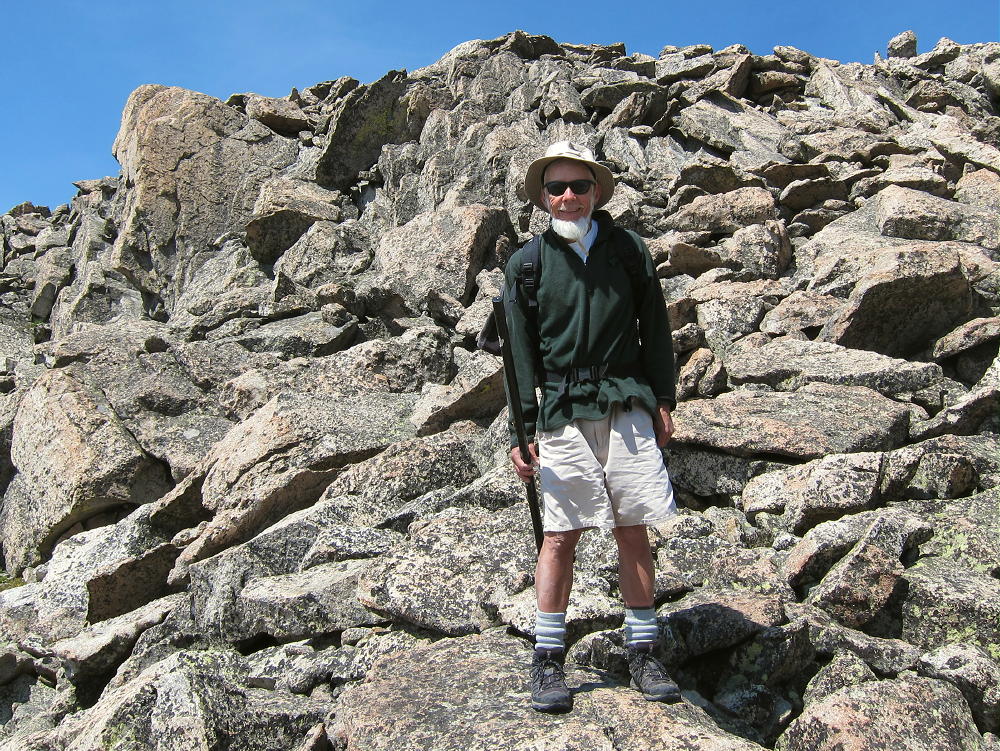
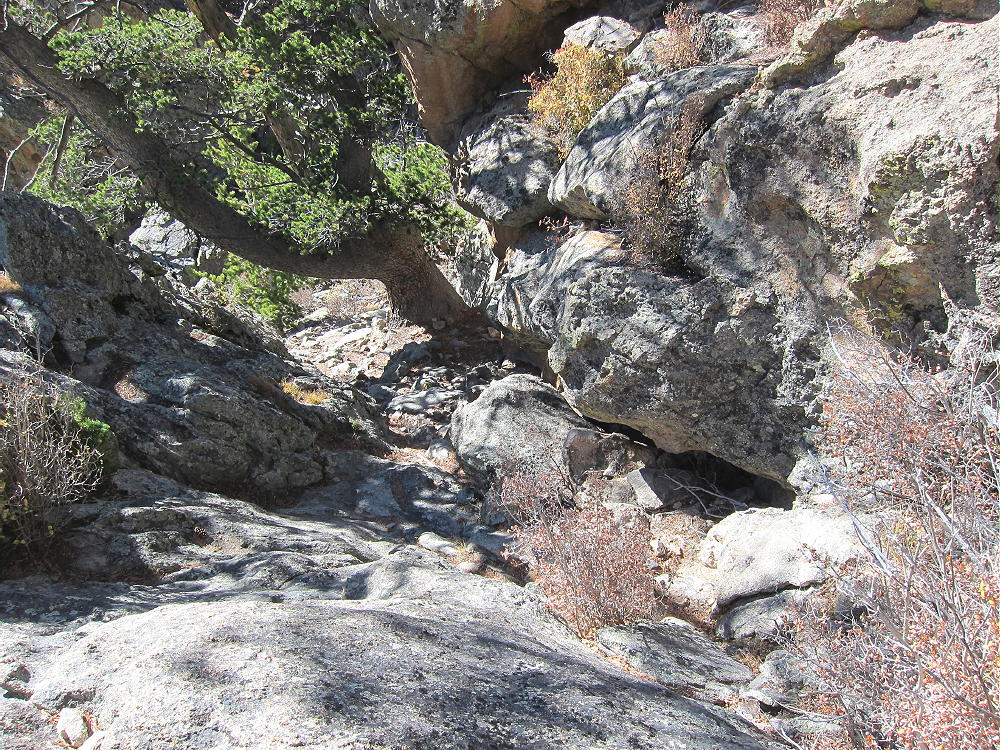
    • The correct route goes right up the rock to the head of the gully. The photos show the route. The climb is Class 2 and Class 3 for about 25-30 vertical feet. You have to use your hands and feet on the rock, but it’s not difficult – provided you have good footwear, and the rock is dry.
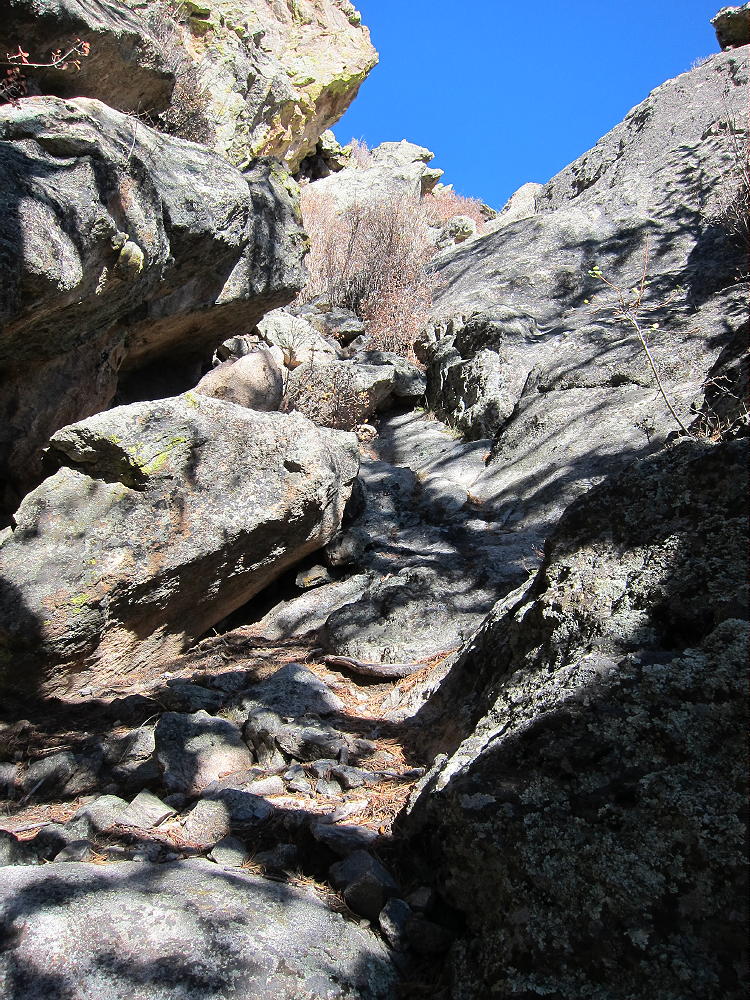
    • The gully is the best access to the top of the Rock, so it’s essential to find this route on the west side; be sure to descend the same way.
    Relevant Details:

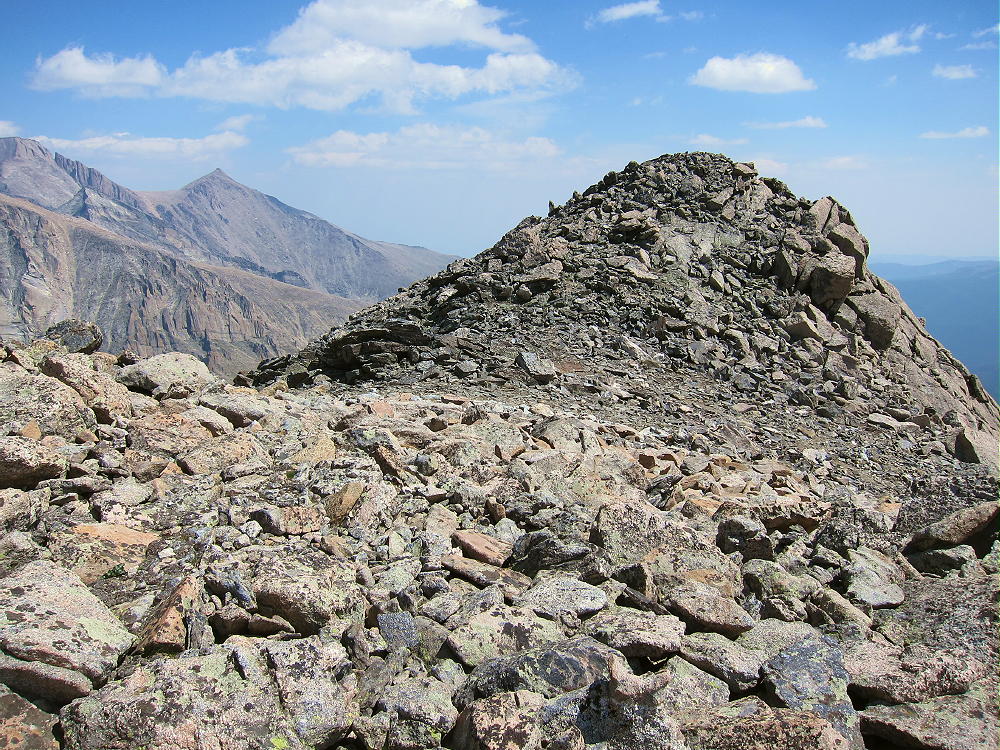
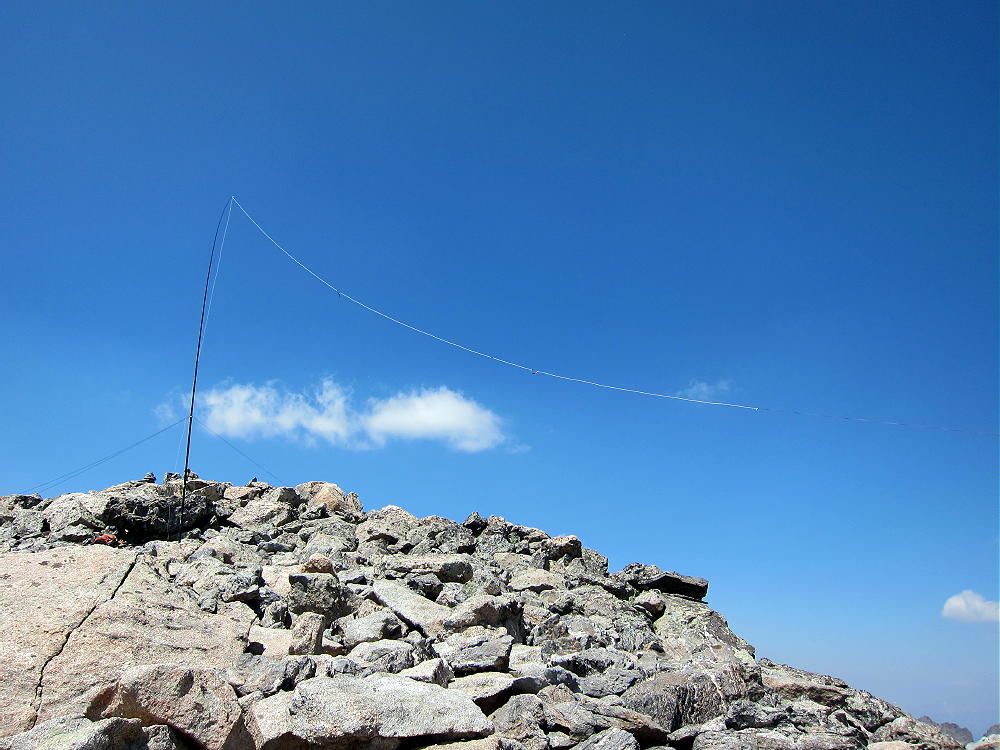
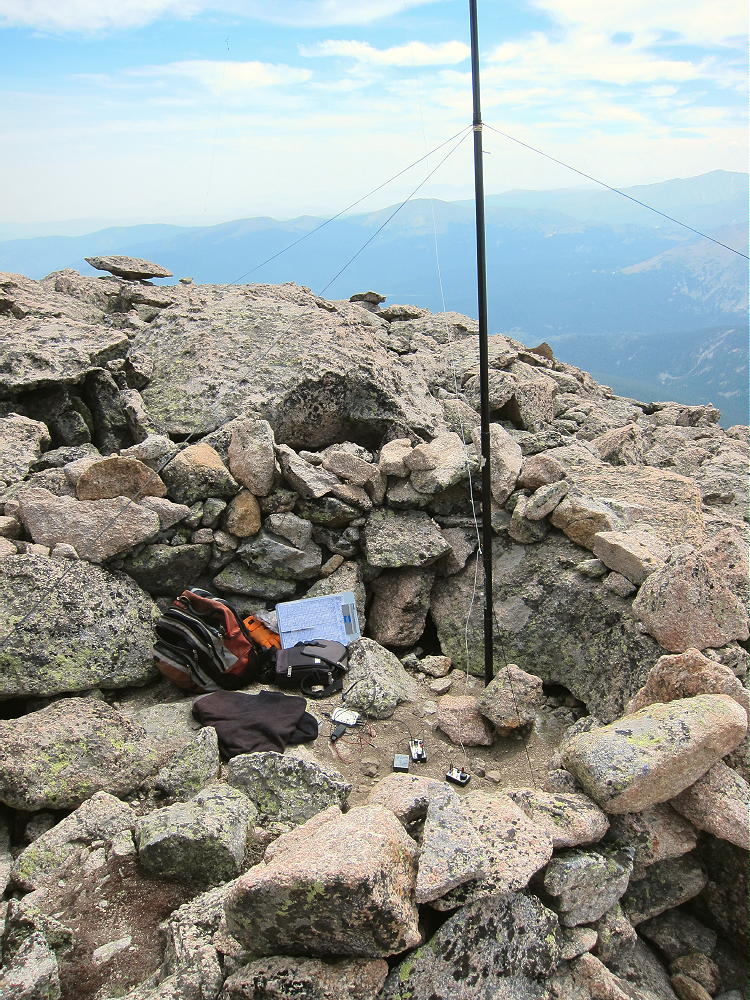
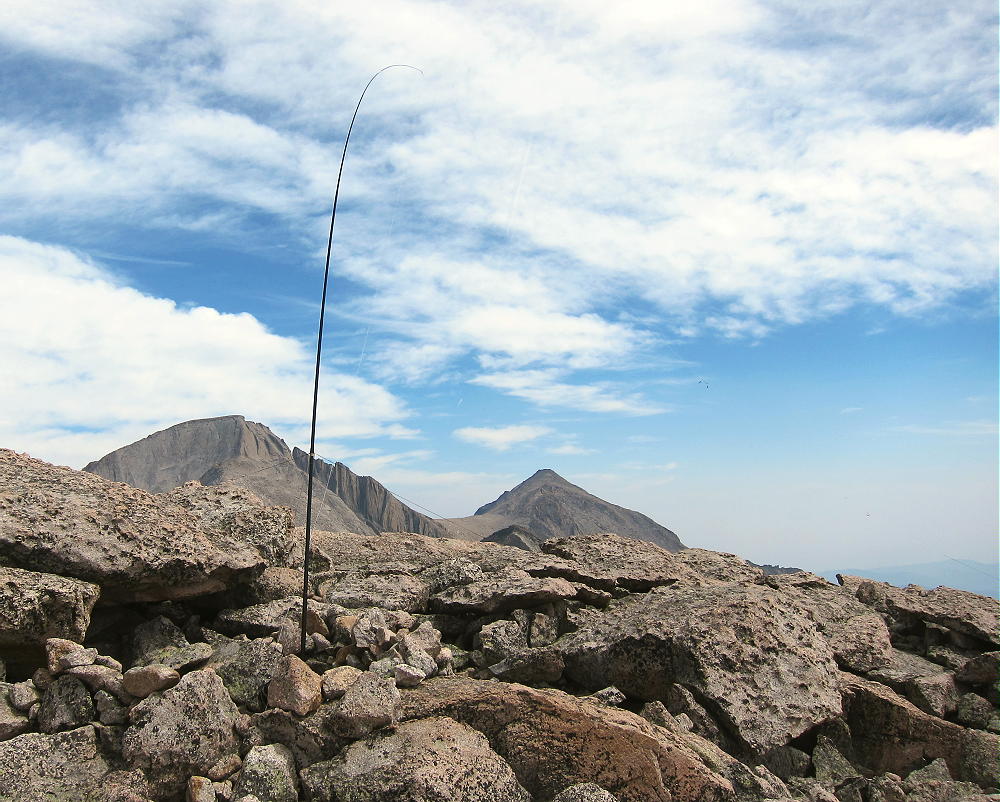
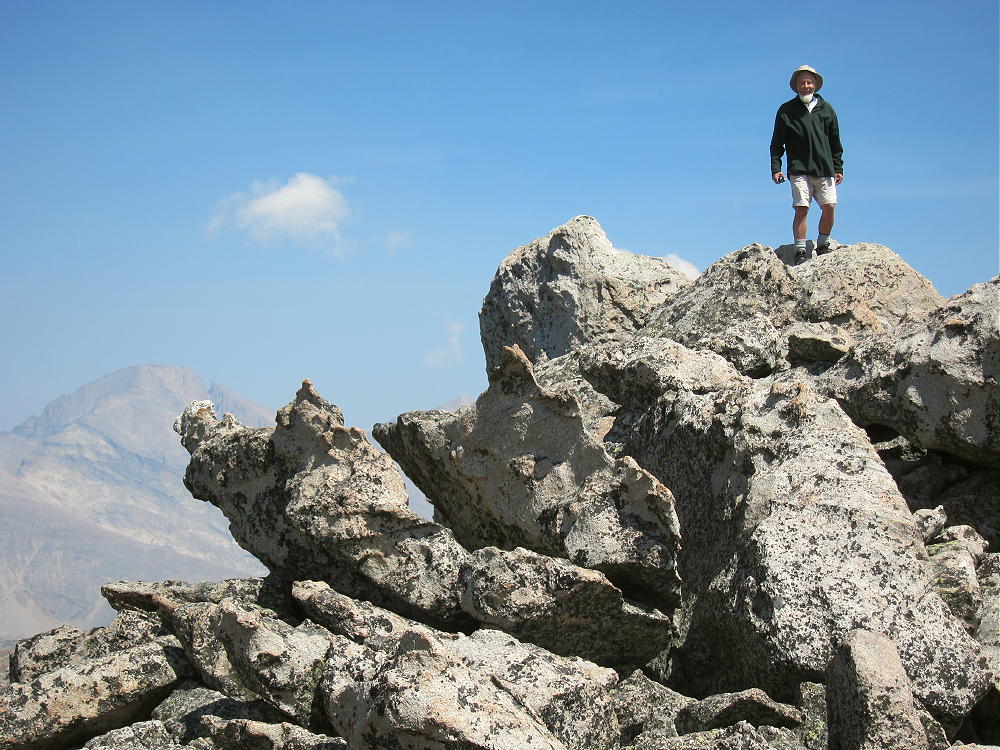
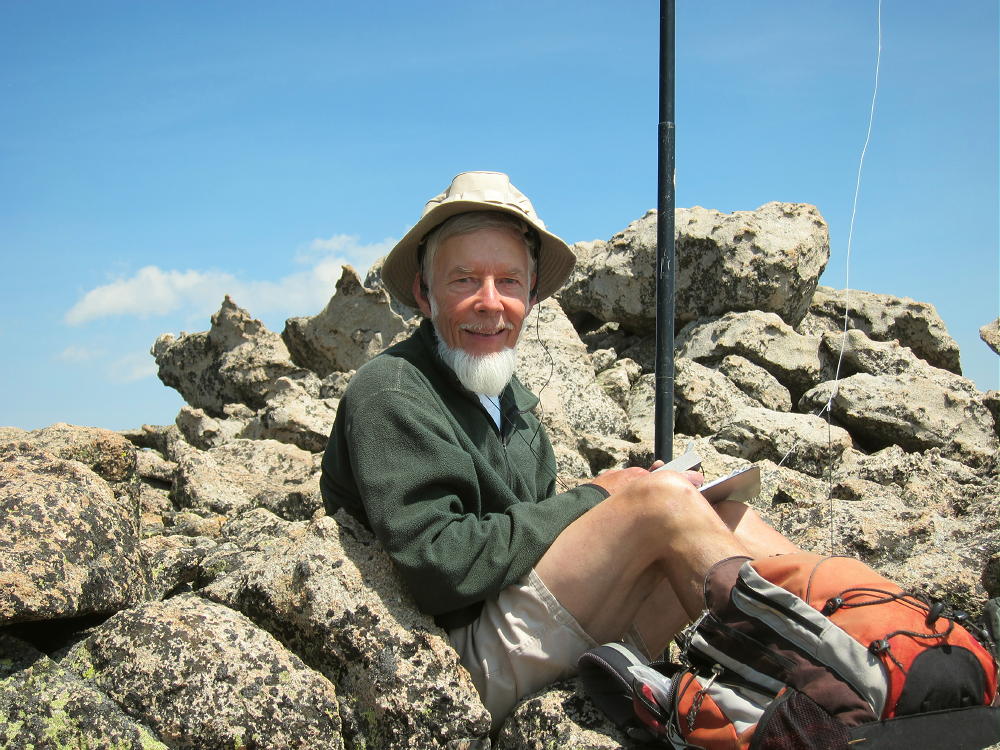
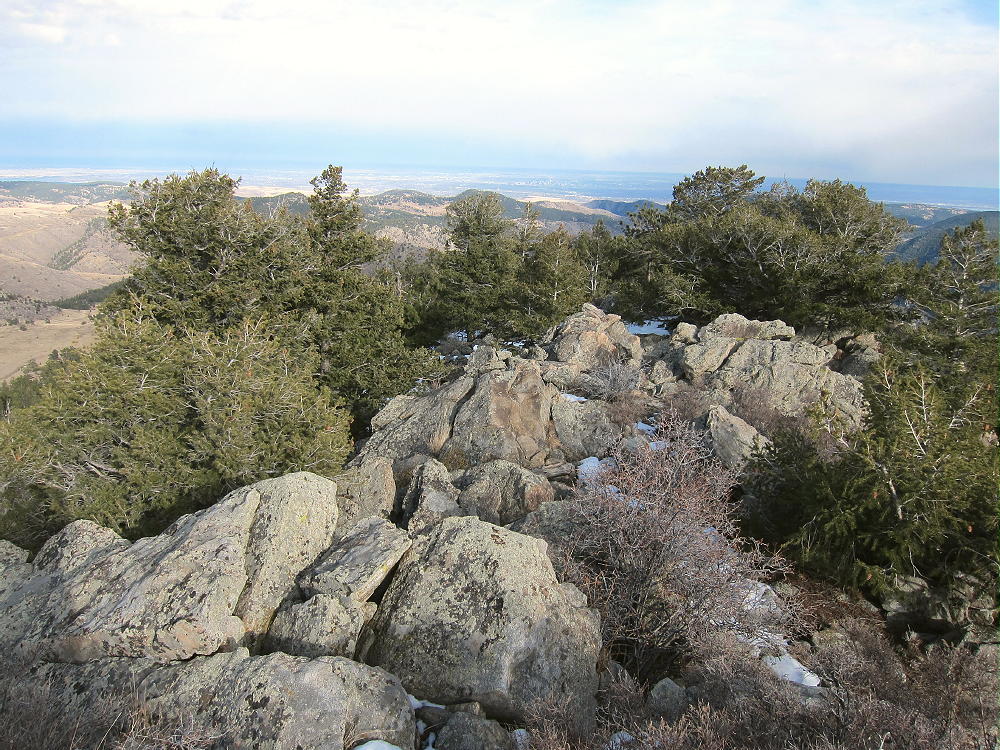
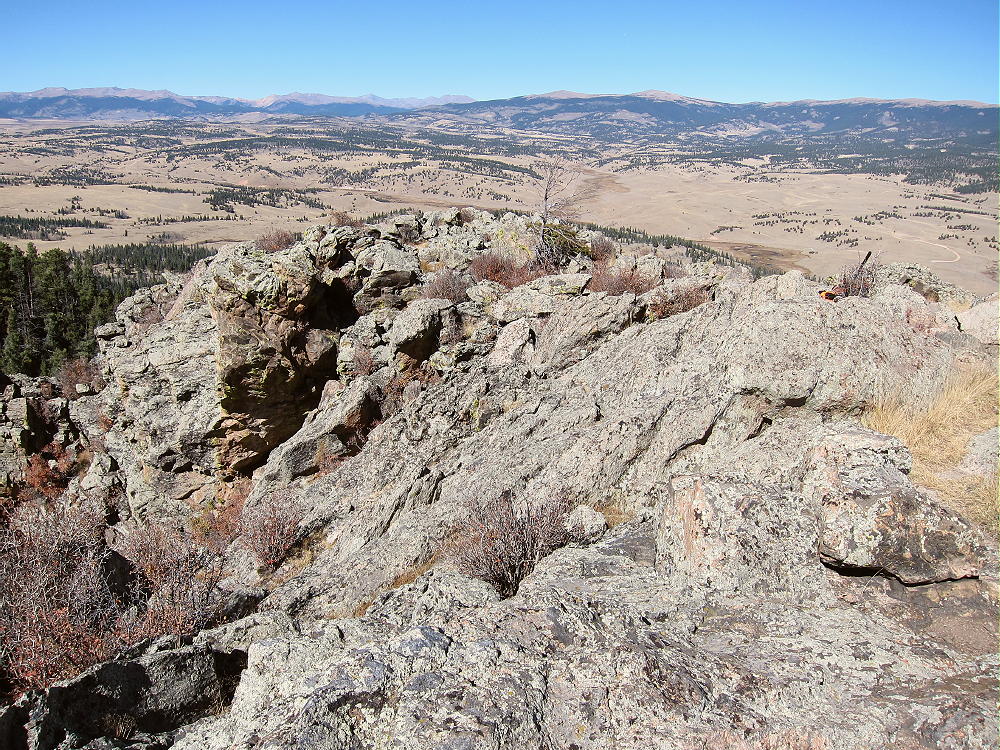
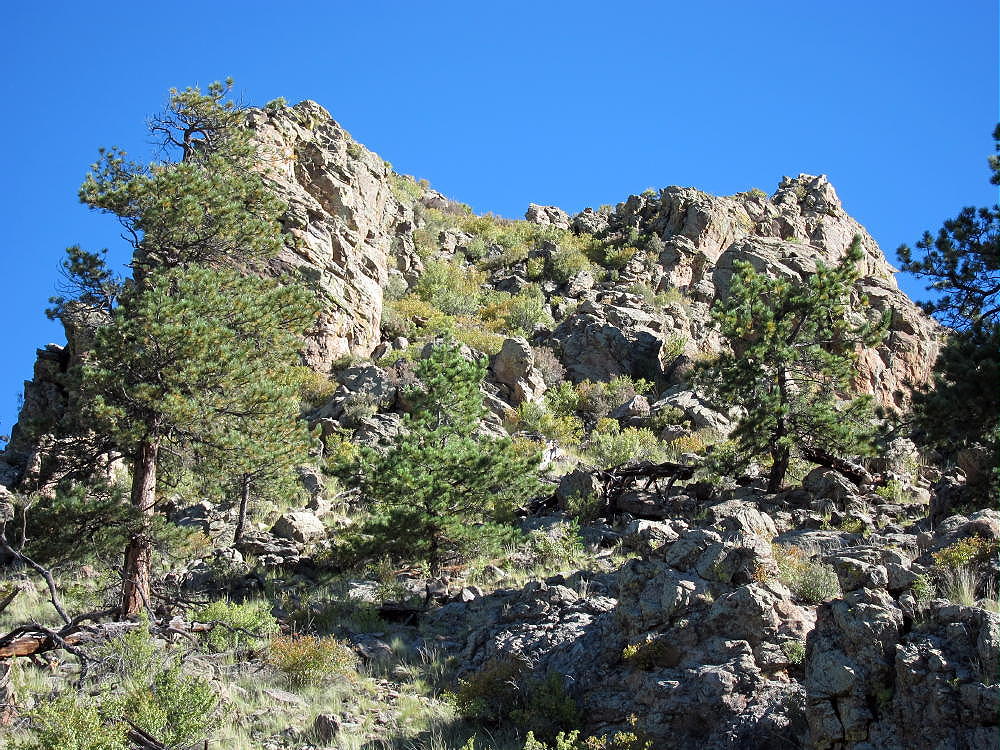
    The top is about 670 vertical feet about the campsite below – and much higher than the terrain immediately to the east. The rocky summit is large and relatively flat – it’s easy to set up an antenna pole. Moving around the summit is relatively safe, and the only exposure is around the edge. A convenient dead tree provides a good pole support.

    The Rock is effectively an 800-foot tower! There are no peaks nearby to raise the effective wave angle or block signals. With little development nearby, the HF noise level is very low.
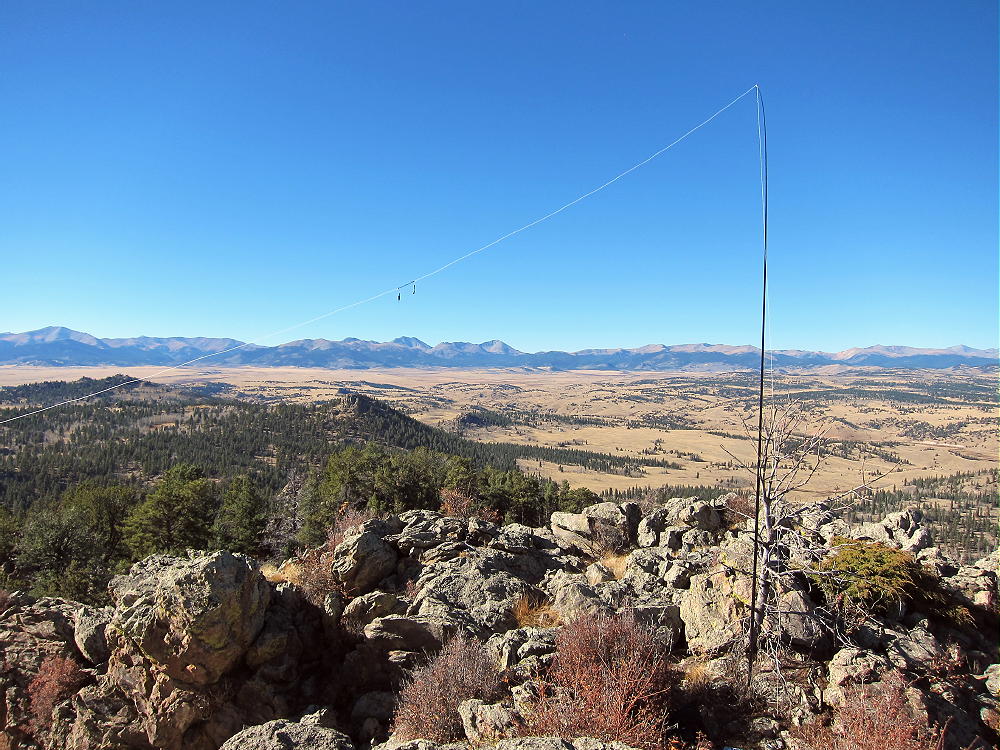
    This summit’s probably poor for VHF/UHF contacts, because it doesn’t look down on any population centers. It has good coverage of parts of South Park, but it’s blocked by the mountains surrounding South Park.

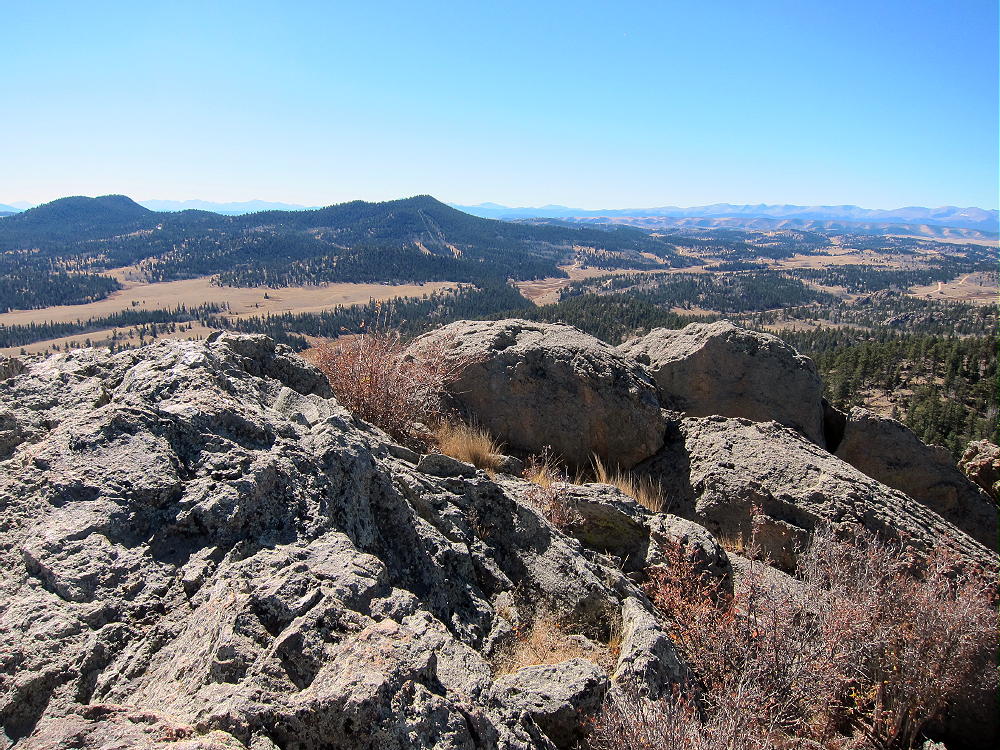
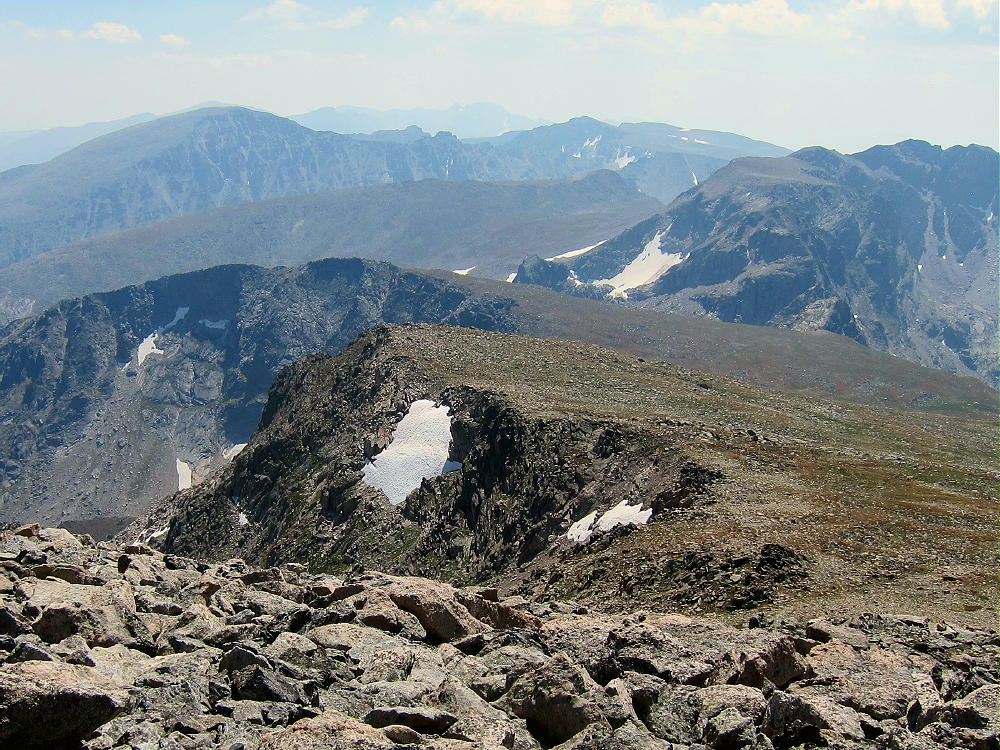
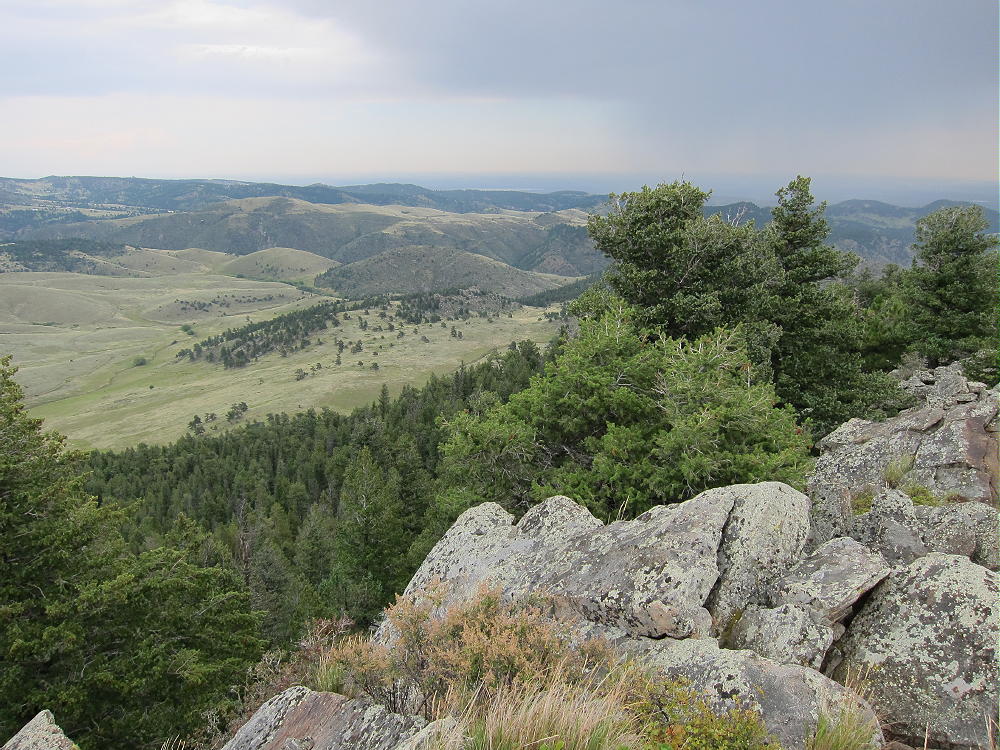
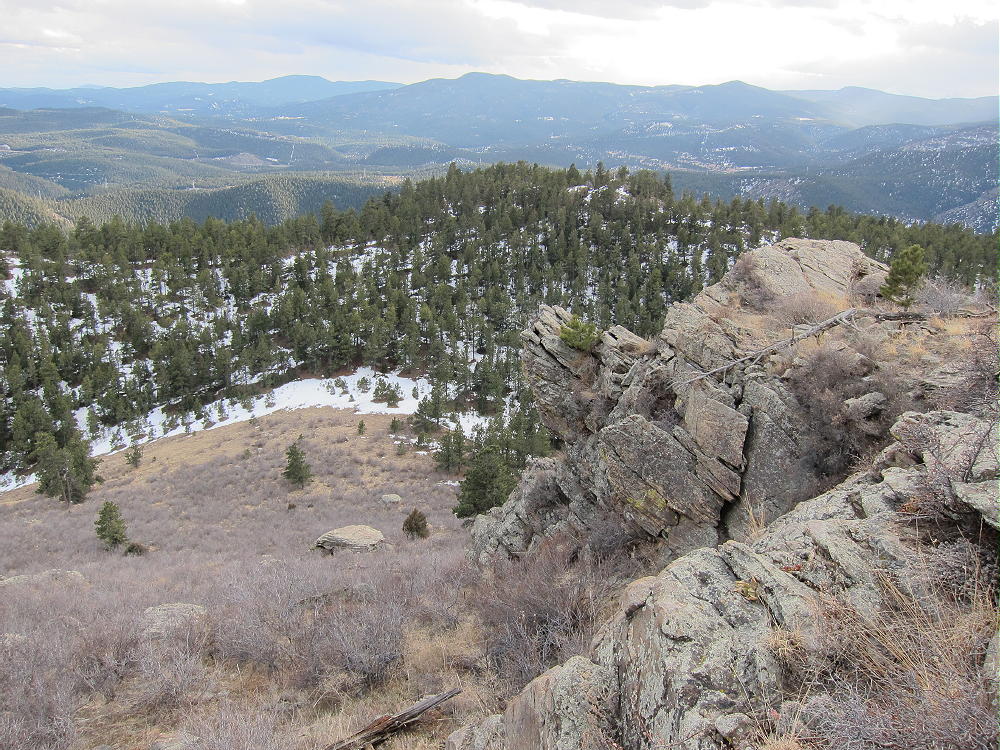
    The views of South Park and the surrounding mountains are spectacular! You can gaze across vast distances while you’re on the air – it’s an amazing place. The high-point of the trip was when first activator Frank – K0JQZ – called me on 40M CW and told me that Observatory Rock was his favorite SOTA peak.
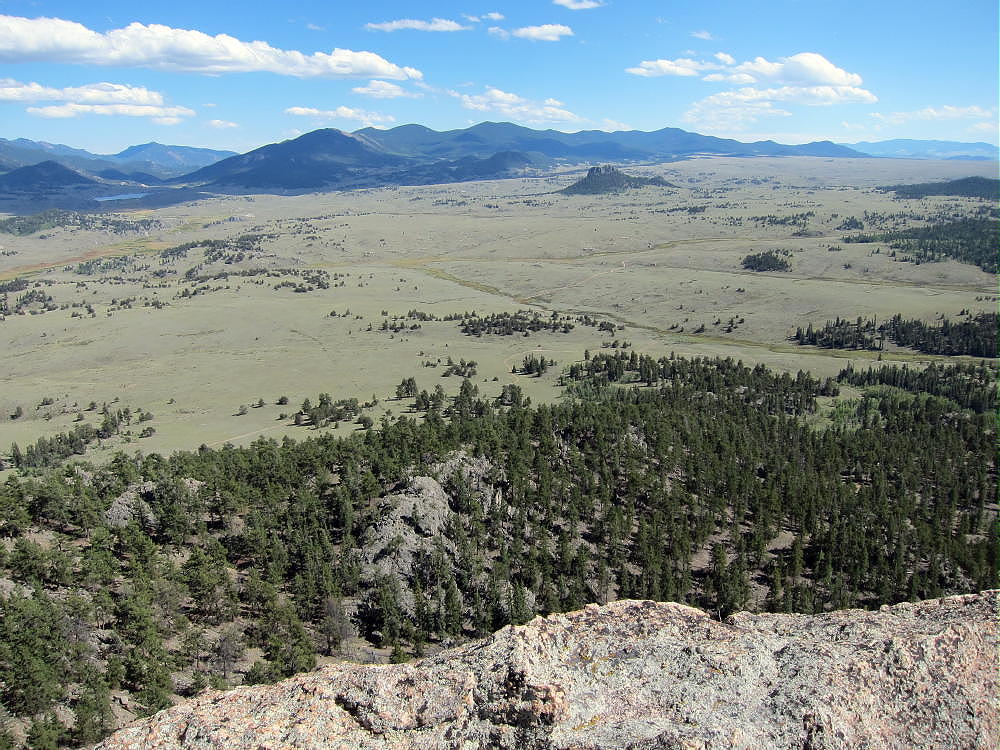
    A dual activation of Eagle Rock and Observatory Rock works well on a dry fall day. I was there in the middle of the week, and there was no one else on either summit. Please see the report on Eagle Rock W0C/SP-113 for more information.

    I saw no hunters near either mountain, although they were out there. If you go during hunting season, wear hunter orange, and be careful.

    Unless the dirt roads are dry, a 4WD vehicle may be required to access this area.

    After activating Eagle Rock, the climb and activation of Observatory Rock was a supreme experience! Observatory Rock is a SOTA Classic for several reasons:

    • Iconic SOTA Peak
    • Unique summit
    • Short but challenging climb
    • Fine views
    • Ideal HF site
    • Few visitors

    If Eagle Rock was fun, Observatory Rock will be more fun. On the other hand, if Eagle Rock was too freaky, better skip Observatory Rock – it’s higher and more challenging. Both summits are well worth the drive to South Park – but save them for a special day!

    73

    George Carey Fuller
    KX0R

    ATTENTION !! WARNING !! There are old mountaineers, and bold mountaineers… there are no old-bold mountaineers. Hiking and mountain climbing are potentially hazardous activities particularly in Colorado with its extreme elevations. I am not accepting responsibility for any death or injury resulting from activations based on my trip reports. Proper training, experience, and personal capability assessment is required – enjoy!
  • W0C/SP-113 (Eagle Rock) – 2960 m / 9710 ft

    W0C/SP-113
    Eagle Rock
    2960 m / 9710 ft

    Oct 12, 2015 solo
    Sep 5, 2016 with N0TA and WA2USA

    By KX0R

    Eagle Rock is a prominent summit about 2-1/2 miles west of Tarryall Reservoir, on the west side of South Park.

    Key Points:

    • Pike National Forest
    • OK dirt road access
    • Prominent metamorphic rock outcrop
    • No marked trail
    • Fun Class 2 scramble
    • West side parking at ~ 9310 feet
    • Fine HF site
    • Awesome views of South Park
    • No red tape or special rules
    • ~ 0.8 mile round trip, south side parking
    • ~ 550 vertical feet, south side parking

    • SOTA Classic!

    Driving Directions:

    To access Eagle Rock, start by driving to South Park, either via Highway 285 from Denver, or via Highway 24 from Colorado Springs. Continue to Tarryall Reservoir via the Tarryall Road, Highway 77, which runs from Highway 24, near Lake George, to Highway 285, at Jefferson up north. Near the south end of Tarryall Reservoir, turn west off Highway 77 onto dirt road 23 – the Turner Gulch Road. Follow Road 23 around the Reservoir and west about 2-1/2 miles. Where Road 23 forks off to the south at the top of a hill, keep right – Forest Road 146 heads off to the northwest – look for a sign. Follow the rough 2WD dirt road 146 down a rocky hill into a valley and back up, for about a mile from Road 23 to Eagle Rock – you can’t miss it on the right! The road passes directly south of Eagle Rock. Note that the road numbers on Google Maps differ slightly from the USFS Visitor Map for Pike National Forest.

    Park off the road on the south side; or drive around to the west side of the Rock, and follow a small road up closer to the summit. A look at the satellite image shows the Rock and access clearly.

    The Climb:

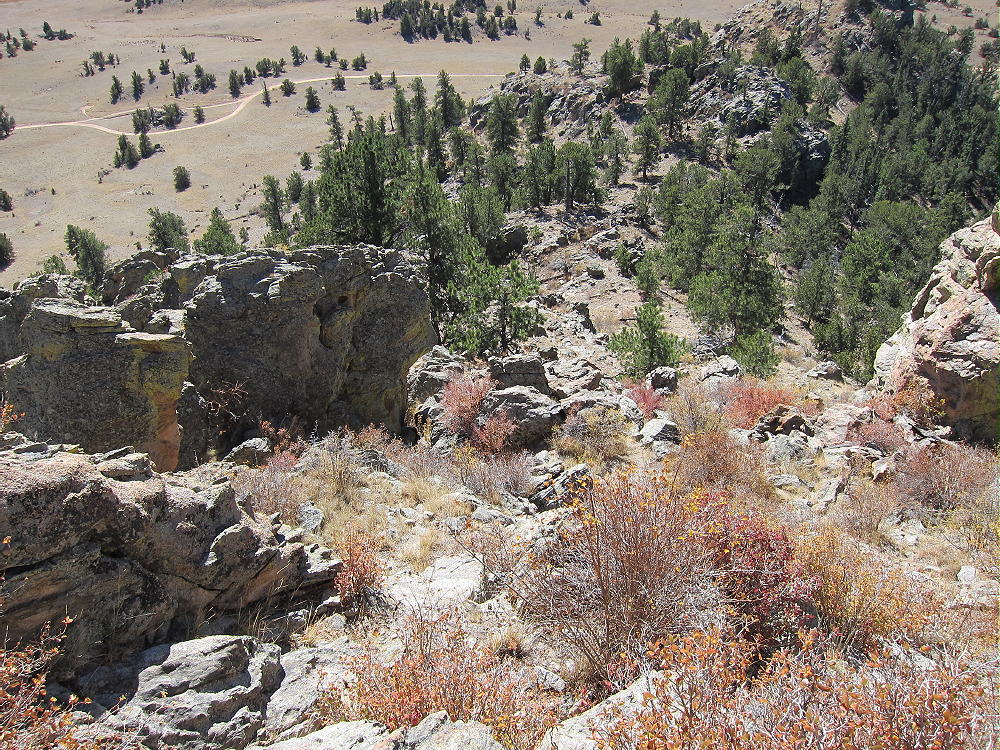
    Hike up to the saddle on the south side of the Rock. There’s no marked route, but social paths lead up over the rocky ground. Look up toward the summit, pick a reasonable route, and start up the south side of the outcrop. Several gullies ascend the summit, and the climb is steeper toward the top. The scramble is mostly easy, but it’s Class 2+ in a few spots. The only exposure is on top, near the cliffs around the sides.

    Except for a few loose rocks and numerous bushes, the climb is fun! The ascent is about 0.4 mile, with about 550 vertical feet from the road south of the Rock; it’s slightly shorter from the west side.

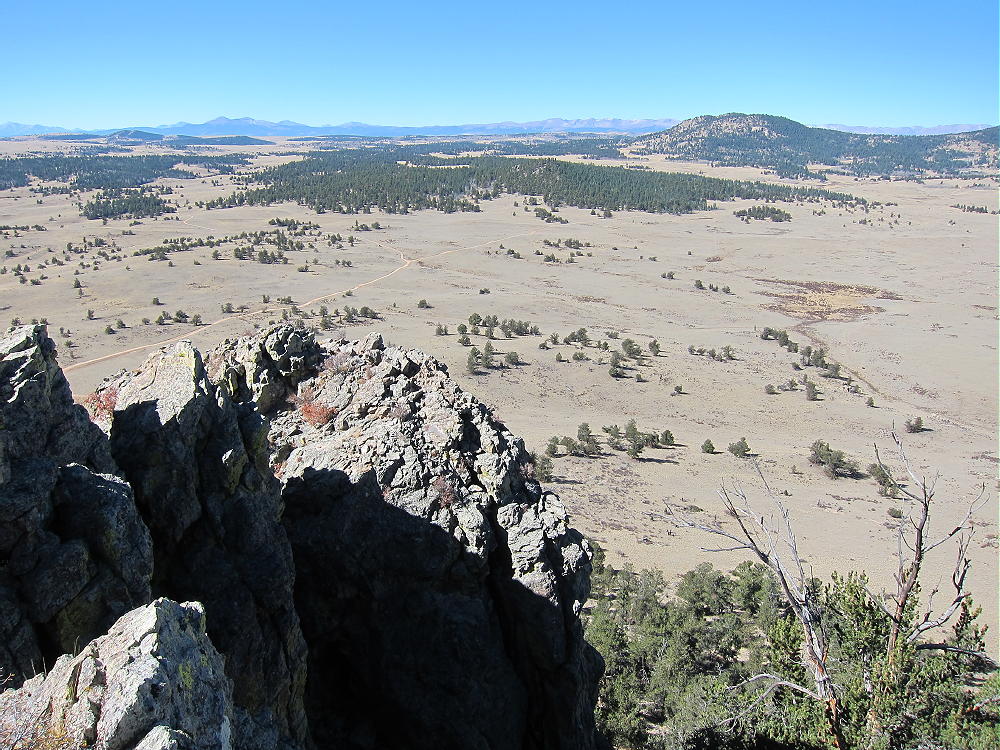
    There are fine views of South Park and the local terrain from the top of Eagle Rock; in particular, Observatory Rock W0C/SP-102 stands prominently 3 miles to the northwest.

    Useful Details:

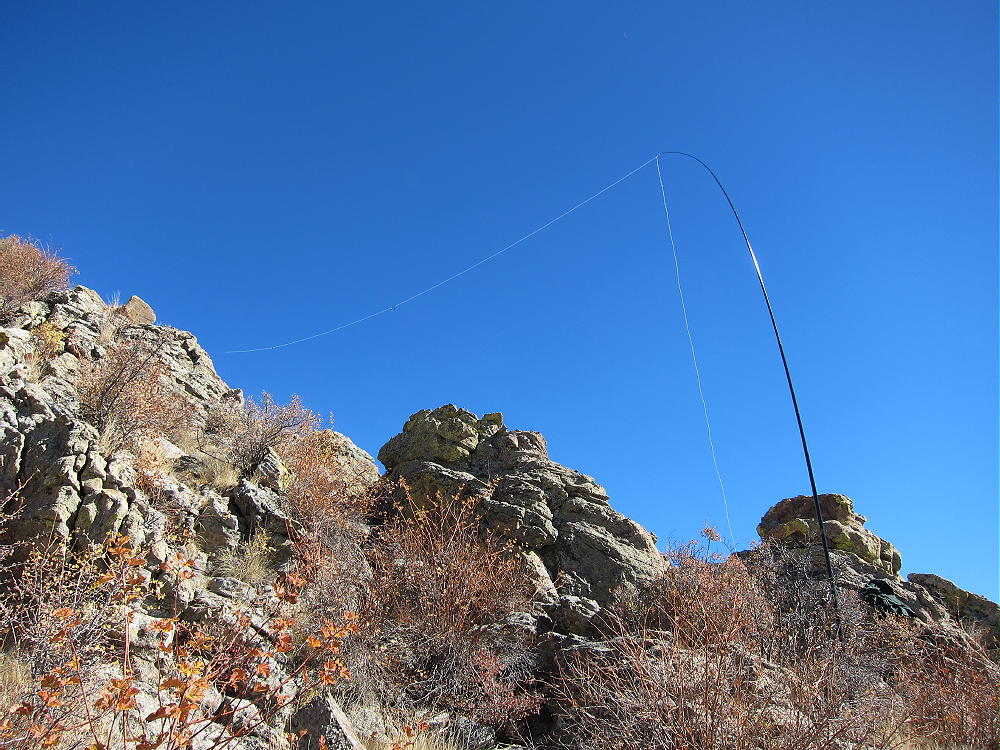
    Activating Eagle Rock on HF requires a little creativity. The summit’s large enough for a decent wire antenna, but there are few supports; guying a pole is the obvious choice. I wanted to save time for climbing and activating Observatory Rock, and because of wind on top of Eagle Rock, I set up just below the top on the south side. This made for a fast, easy activation. With my pole attached to a large bush, I tied my 52-foot wire up near the peak.

    Eagle Rock is a superb HF summit. There’s no development for miles, and the noise level is very low. Operating from this prominent rock is similar to being on a 500-foot tower!

    I made 7 contacts on 40M CW, followed by 16 contacts on 20M CW. The activation lasted 26 minutes, and I could have made more contacts on other bands. However, my focus was on Observatory Rock. I wasn’t sure if I could access it or activate it in the time remaining, so I packed up and headed down quickly.

    Please see my report on Observatory Rock W0C/SP-102 for the rest of the story.

    The decision to try for a dual activation worked out well. Activating both Eagle Rock and Observatory Rock is reasonable with good weather. It was the middle of the week, and no one else was on either summit when I was there.

    I saw no hunters near either mountain, but there certainly were hunters out there in the National Forest that day. During hunting season, wear hunter orange and be careful.

    Eagle Rock is a fine SOTA peak, and it’s a SOTA Classic!  If you like a challenging activation, I recommend it; it’s a good warm-up for Observatory Rock. It was well worth the long drive from Boulder!

    73

    George Carey Fuller
    KX0R


    ATTENTION !! WARNING !! There are old mountaineers, and bold mountaineers… there are no old-bold mountaineers. Hiking and mountain climbing are potentially hazardous activities particularly in Colorado with its extreme elevations. I am not accepting responsibility for any death or injury resulting from activations based on my trip reports. Proper training, experience, and personal capability assessment is required – enjoy!
  • W7U/GR-044 (5580) – 1701 m / 5580 ft

    W7U/GR-044
    5580
    1701 m / 5580 ft
    Dec 03, 2015

    By KX0R

    Summit 5580 is an interesting, challenging summit. It’s probably the easiest SOTA “peak” in Arches National Park, north of Moab, Utah.

    • High desert activation
    • Most of the hike is on a marked trail
    • Parts of the route are along the tops of high rock fins
    • Incredible scenery
    • Peak is near the famous Double-O Arch
    • Activation zone is accessible by hiking and easy scrambling
    • Actual summit is a technical climb
    • ~ 5.0 miles round trip
    • ~ 400 vertical feet of gain to the activation zone
    • Hike and activation take about 5 hours
    • SOTA “Classic”!

    I relied on the directions posted by K7ODX on the SOTA summit page, and they’re helpful and accurate. Fortunately I had been out to Double O Arch a couple of times previously, so I was familiar with the interesting hike on the “primitive trail”.

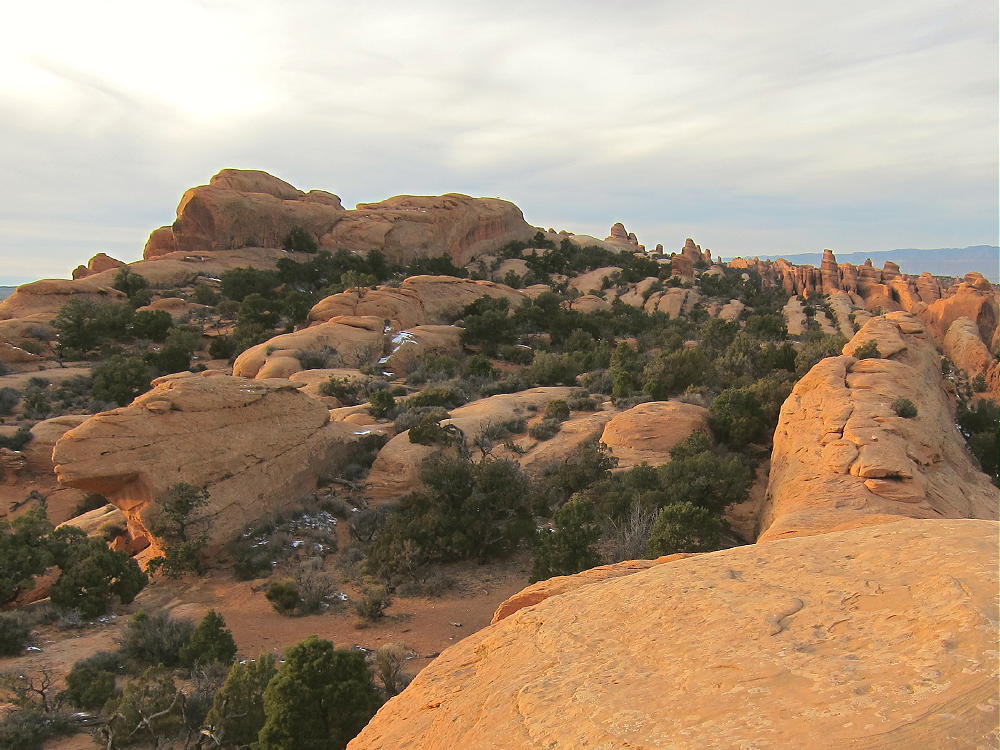
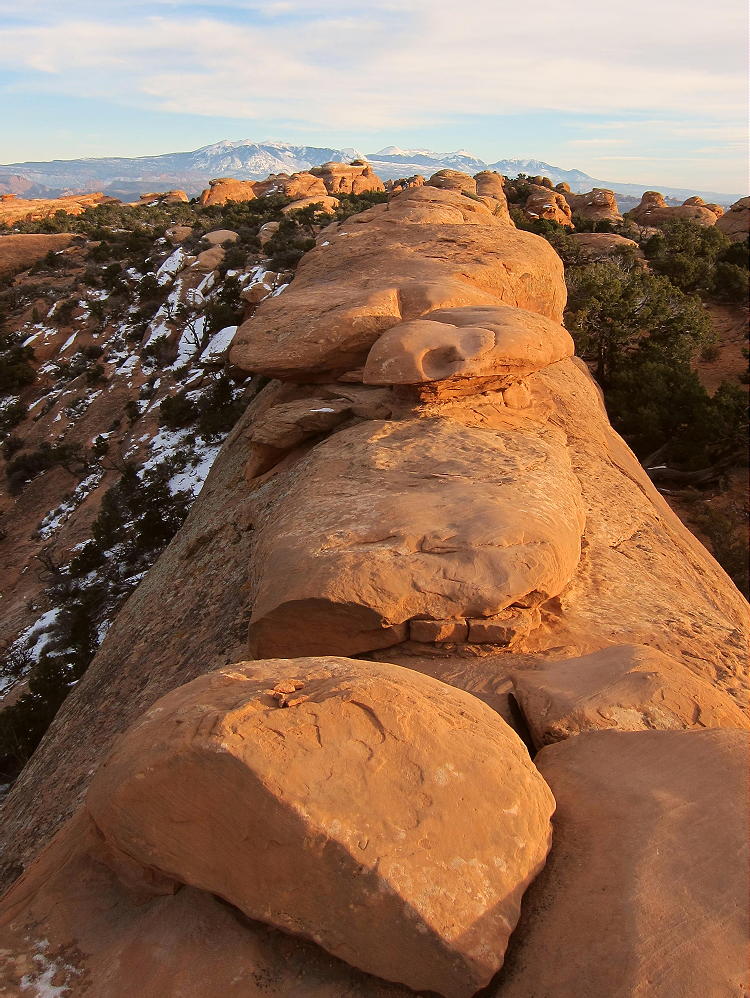
    The route to 5580 begins at the popular Devils Garden Trailhead. The scenic trail is easy for the first mile to Landscape Arch; then the route becomes more challenging, as it climbs up and travels along “fins” of firm red sandstone. Cairns and a few signs mark the way. There’s some exposure to heights, but the danger is minimal if the sandstone is dry.

    If there’s snow or ice on the rocks, leave this trip for another day! I was able to complete the route on Dec 3, 2015, and there was about an inch of snow in the shade; fortunately almost no snow remained on the exposed rock of the trail.

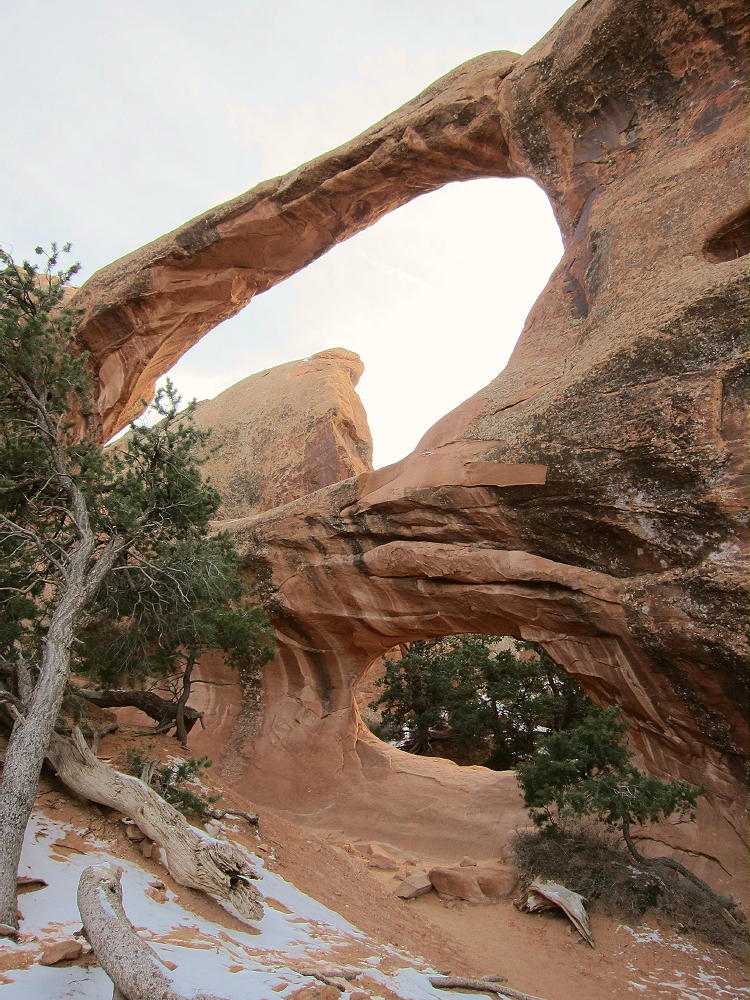
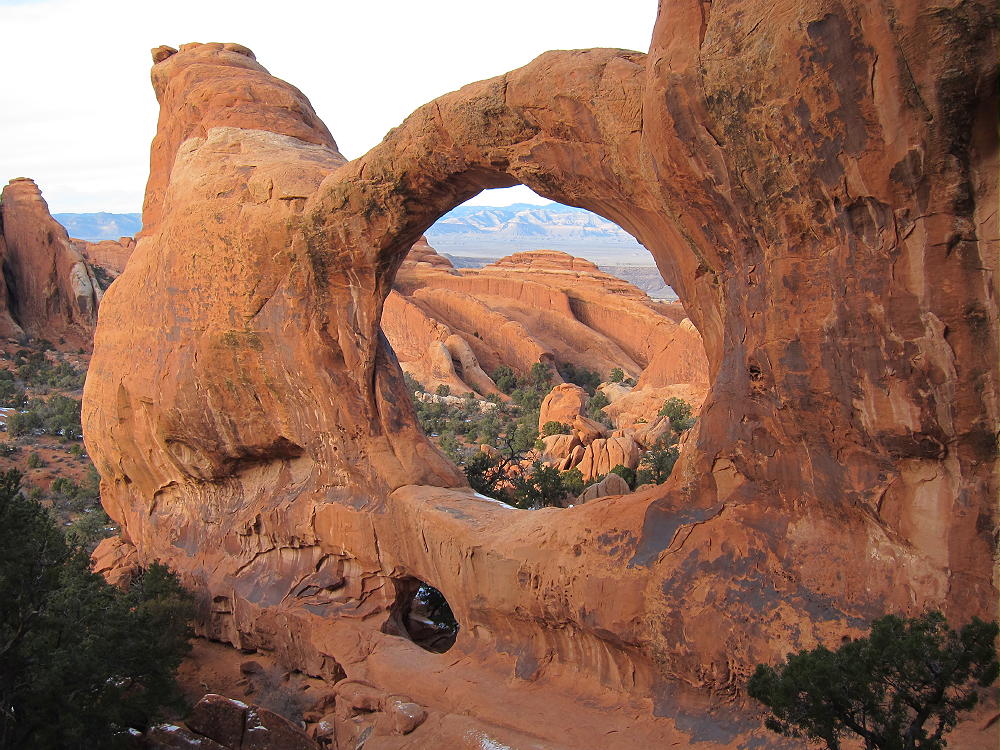
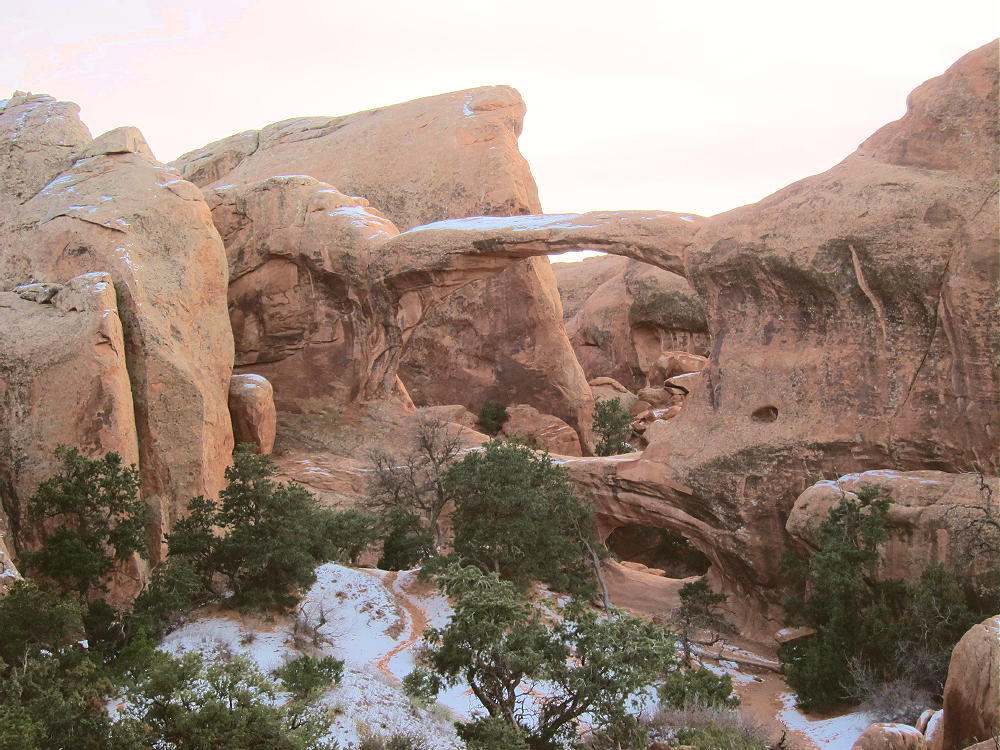
    Just beyond 2 miles from the trailhead, the trail descends along a very long fin and drops around a corner to Double O Arch. This is a good place to take some photos and enjoy the magnificent twin arches.

    It’s possible to climb through the smaller lower arch, but I decided to go around the long way to the north. Follow the marked trail to the Dark Angel for a short distance around the rock fin containing Double O Arch, and then head southeast up an obvious path to the west side of the arch. If the rock’s dry, it’s possible to climb up on the slick-rock and ascend up the draw south of the arch.

    Peak 5580 is at the top of the large fin south of Double O Arch, but the summit isn’t visible from near the arch. W7ODX suggests studying the satellite image of the area near Double O Arch prior to going in there, and he’s right. You can’t activate this summit unless you know where you’re supposed to be! 5580 is not climbable by ordinary people, but it’s practical to reach the Activation Zone. Your goal is to climb up to the sandy high point between the Double O Arch fin and the 5580 fin. If you set up on the top of the sand pile up there, right below the 5580 fin, you’ll be within the Activation Zone. My GPS measurements, when compared to topographic map elevations, confirm that the spots W7ODX and I have used are in the Activation Zone. His coordinates are within GPS accuracy of mine:

    W7ODX:

    N38 47.912’
    W109 37.235’

    KX0R:

    N38 47.907’
    W109 37.232’

    We arrived at these points independently. Although I used W7ODX’s excellent route description, I recorded my waypoint where I set up my gear. I didn’t go to his coordinates with a recorded waypoint on my GPS, etc.

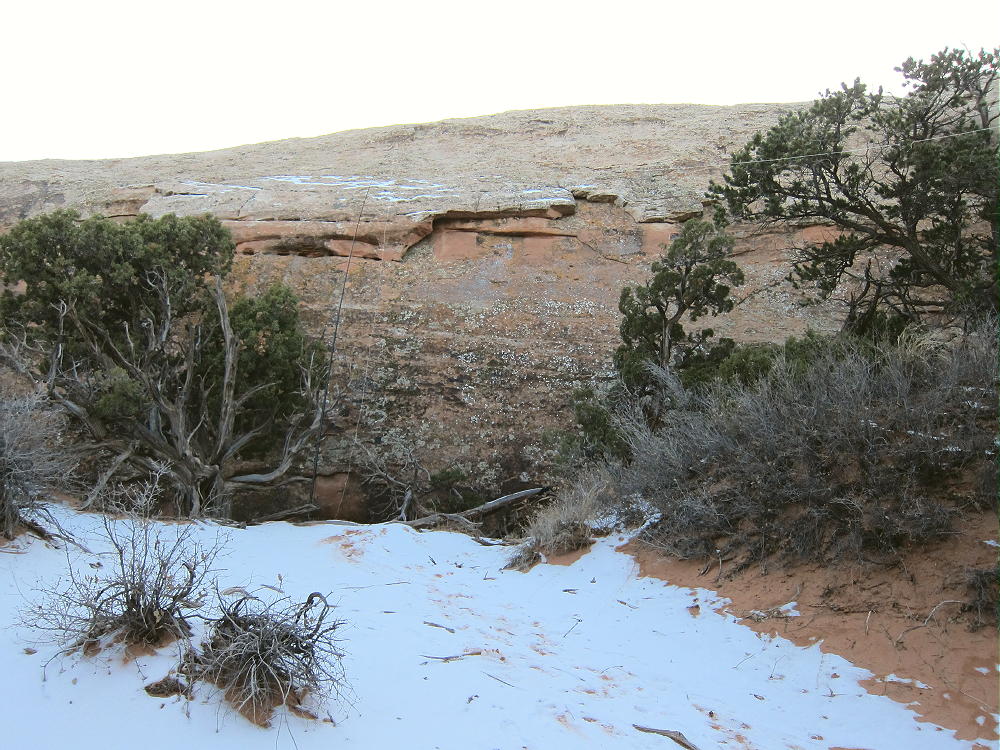
    There’s room to suspend a wire from the operating position, across the open space, to a tree on the other side. Small trees on top of the dune could be used to support a wire, but a pole is better. I used a 20-foot Black Widow pole on top of the dune, and the northeast end of my 52-foot wire was slightly lower. Initially I was pessimistic about the compromised location down between the large sandstone fins. While there are better spots to set up and string an antenna up there, either they’re inaccessible, or they’re likely not within the activation zone.

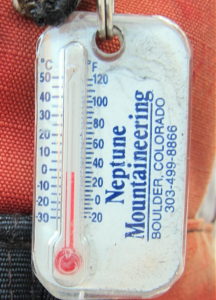
    My doubts disappeared as soon as I got on the air. There was normal band noise as I tuned up on 40M. I made three contacts on 40M CW immediately, followed by a long run on 20M CW, with 26 contacts and reasonable signal reports. Then I went to 30M CW and made 5 more contacts. There really was very little reduction in performance compared to a summit-top setup. It was a long one-hour session sitting in the deep blue winter shade, late in the afternoon, surrounded by snow, with my CW fingers near freezing! The thermometer read 30F at 2200Z, and I had to use gloves and a cloth around the Palm paddles for most of the activation. Of course it was fun!

    Activating 5580 on a good day should be a spectacular and rewarding experience. The hike is more than scenic – it’s awesome to walk along the tops of the giant Entrada sandstone fins, with incredible views of the red-rock all around, and the snow-covered La Sal Mountains in the east. There are side trips to several large arches, and nothing up there is less than incredible!

    There are a few possible problems with this expedition:

    1. The Devils Garden area is so popular that it can fill up during busy times.
    2. The hike’s dangerous or impossible if the rock’s snowy or icy
    3. Summer conditions during mid-day can be so hot that it’s unpleasant or unsafe – take plenty of water.
    4. If you stay out there too late, it might be difficult to find the way back via the “primitive trail” in the dark.
    5. There’s no VHF/UHF coverage from the activation spot between the fins. Unless you can climb much higher, there are no good options, except for HF.

    If you plan to activate 5580, arrange your trip to avoid these problems. You’ll be rewarded by an exciting, fun hike through incredible rock formations. The SOTA activation will be a nice rest-stop in a unique destination. Except for cold fingers during my activation, my trip on December 3 was wonderful!

    5580 is a SOTA Classic!

    • Fun, spectacular hike
    • Incredible scenery
    • Challenging three-dimensional route
    • Numerous famous arches nearby
    • Low-noise HF site
    • Unique location in world-class National Park

    If you have time, consider continuing out along the marked trail to the Dark Angel. This well-named spire is visible for miles, and it’s larger than you think!

    73

    George
    KX0R


    ATTENTION !! WARNING !! There are old mountaineers, and bold mountaineers… there are no old-bold mountaineers. Hiking and mountain climbing are potentially hazardous activities particularly in Colorado with its extreme elevations. I am not accepting responsibility for any death or injury resulting from activations based on my trip reports. Proper training, experience, and personal capability assessment is required – enjoy!
  • WØC/PR-ØØ2 (Mount Richthofen) – 3944 m / 12940 ft

    W0C/PR-002
    Mount Richthofen
    3944 m / 12940 ft
    First Activation
    Sep 27, 2015

    By KX0R

    Mount Richthofen is the highest peak in the rugged Never Summer Range in Rocky Mountain National Park. This special mountain offers a very challenging SOTA activation, with all of the rewards that come with high alpine summits.

    Mount Richthofen from Lulu Mountain
    Mount Richthofen from Lulu Mountain

    I waited until everything was just right to activate Richthofen, and the experience was superb. Mount Richthofen demands plenty of respect, and only climbers with off-trail alpine experience should venture near it. Decades ago I climbed this peak, and I thought it was hard then. It certainly wasn’t any easier in 2015!

    Key points:

    • Rocky Mountain National Park
    • Wilderness journey
    • There are two primary routes – the east side and the west side
    • The east side route can be accessed from either the Colorado River Trailhead in         RMNP, or from the Thunder Pass route starting near Cameron Pass
    • The west side route is accessed from near Cameron Pass via Lake Agnes
    • This report is about the longer route from the Colorado River Trailhead
    • The total round-trip distance is 15.4 miles
    • The total elevation gain is about 3900 feet
    • This trip is Grade II, Class 2, with Class 2 on some of the summit ridge
    • The route is via the big ridge southeast of Richthofen, and then up the rocky southeast slope to the top
    • Most of the route above 10,400 feet is off-trail, in wilderness
    • It takes a long day to climb and activate Richthofen
    • My ascent required about 4-1/2 hours, including breaks, etc.
    • I was on top about 1-1/2 hours
    • My descent time was about 4-1/3 hours
    • The driving time from Boulder to the trailhead was about 2 hours each way

    Richthofen, Static Peak, and Nokhu Crags from Lulu Mountain
    Richthofen, Static Peak, and Nokhu Crags from Lulu Mountain

    A few details:

    The Colorado River Trailhead is on the west side of Rocky Mountain National Park. The easiest route from the Denver Metro Area is across the Divide via Trail Ridge Road, Route 34.

    From the Colorado River Trailhead, hike north, and take the trail to Lulu City at the first junction. The trail follows the valley of the Colorado River to the site of an old mining town. Continue north to a major split just south of Lulu City; take the left fork to Lulu City and Thunder Pass; don’t follow the trails to Little Yellowstone or La Poudre Pass. Where the trail splits north of Lulu City, again take the left fork toward Thunder Pass; don’t go to Little Yellowstone Canyon. The correct trail ascends northwest, following the path of an old stage road up to about 10,160 feet, where the path divides again. This junction is well-signed; take the left fork southwest toward Ditch Camp #3 Campsite, Skeleton Gulch, and Mount Richthofen; don’t go right, northeast, toward Box Canyon Campsite or Thunder Pass.

    Key Sign to Mount Richthofen East Ridge Route
    Key Sign to Mount Richthofen East Ridge Route

    Follow the trail about ¼ mile, past the campsite, to the Grand Ditch. Turn right on the Ditch Road, walk a short distance north, and find the marked trail leading over a bridge across the Ditch, and into Skeleton Gulch.

    Cross the bridge and take a break. This is a good spot to pump some water, have a snack, and prepare for the climb; there’s no water on Richthofen above Skeleton Gulch.

    The route to Richthofen requires climbing the long east-west ridge southeast of the summit.

    East Ridge Route of Richthofen from near the Summit
    East Ridge Route of Richthofen – View SE from near the Summit

    There are various ways to ascend the ridge from the Skeleton Gulch Trail. I walked about ½ mile west on the Skeleton Gulch trail from the Ditch; then I chose a route up the south side of the ridge, at a place where the slope looked reasonable.

    Game Trail up from Skeleton Gulch ot East Ridge
    Game Trail up from Skeleton Gulch ot East Ridge

    Further west in the Gulch, the slope becomes steep and craggy. There’s no marked route, but several game trails lead up to the ridge. It’s also possible to climb up the southeast end of the ridge without going very far into Skeleton Gulch.

    The open ridge-top is a grand place with fine views; an easy hike leads west across the grassy tundra toward Richthofen.

    East Ridge of Richthofen - View SE
    East Ridge of Richthofen – View toward the Southeast

    This is a good place to see bighorn sheep. At 12,000 feet, the easy ridge-route ends with a steep ascent up a rocky gully to a dark buttress southeast of Richthofen.

    Route up East Slopes of Richthofen
    Route up East Slopes of Richthofen to Buttress
    Route up Rocky Gully
    Class 2 Route up Rocky Gully to top of Buttress

    There are climbers’ trails up through the talus. You have to get over or around the east side of the buttress – no difficult moves or serious exposure are required. A route through the obvious notch is OK, as well as a traverse east of the notch.

    Looking down at Buttress Route
    Looking down at Buttress Route

    Past the knob descend to an easy saddle, and then do a steep, challenging ascent up about 600 vertical feet of loose rocks. Pick the best route you see, and avoid any really steep areas. The Class 2 route leads right up to the east end of Richthofen’s summit ridge.

    Rocky Southeast Slope of Richthofen
    Rocky Southeast Slope of Richthofen

    The summit is small and rocky, but it’s a spectacular, exciting place. As you look at the incredible views all around, you may forget about your activation! Lake Agnes, Mount Mahler, Tepee Mountain, Lead Mountain, Static Peak, the Nokhu Crags, Lulu Mountain, and the Diamond Peaks fill the amazing scene.

    View North from the Summit of Richthofen
    View North from Richthofen across Nokhu Crags
    Richthofen West Ridge to Mount Mahler
    Richthofen West Ridge to Mount Mahler – North Park Beyond

    On Richthofen you may feel suspended above all the other local summits! Many more high peaks stand far beyond the local summits. The Medicine Bow Range runs north in the distance, the Never Summer Range leads south for miles, and the Park Range stands like a wall on the west side of North Park.

    View North to Clark Peak
    View North to Clark Peak – Medicine Bow Range Beyond

    Richthofen has a nice rock shelter right on top. If no one else is there, you can set up radio gear in the shelter and run a wire along the ridge.

    First SOTA Activation of Mount Richthofen
    First SOTA Activation of Mount Richthofen

    The summit is all rocks, and a pole is required for a good HF activation. As Richthofen is the highest mountain in the area, it’s a great HF site. No development lies within several miles of the peak, so man-made RF noise is minimal. The only possible problem with Richthofen is that because its slopes are so steep, it offers no ground plane to reflect and enhance HF signals toward the horizon.

    I was concerned about time, so I limited my activation to 20M CW. Propagation was excellent, and I made 28 contacts in 25 minutes; these included an S2S with W7TAO on W7W/OK-164 in Washington, and S58AL in Slovenia, about 5500 miles to the northeast! If I had it to do again, I would have operated on more HF bands.

    KX0R Radio Equipment on Mount Richthofen
    KX0R Radio Equipment on Mount Richthofen

    Mount Richthofen probably is a poor summit for VHF/UHF contacts. It looks out across North Park and southern Wyoming, but not many people live there; the eastern Plains are barely visible to the northeast, but again, not a very populated area. All the major population centers are mostly blocked to VHF/UHF signals by numerous mountains standing south, east, and north of Richthofen.

    Mount Richthofen is a SOTA Classic for many reasons:

    • Superb views
    • Beautiful sub-alpine journey
    • Challenging alpine hike
    • Very prominent summit
    • Lightly visited
    • Interesting geology
    • Pristine wilderness in Rocky Mountain National Park
    • Miles from development
    • Low RF Noise

    The Never Summer Range breeds lightning storms in summer. Avoid this area if storms are likely! The entire ridge route is dangerous in bad weather! Don’t go near this place, unless the weather is good and predicted to stay dry.

    There are many opportunities for camping, backpacking, fishing, and other recreation in the nearby National Forests, the Colorado State Forest, and Rocky Mountain National Park. There are nice back-country campsites in Skeleton Gulch and near the trails below Mount Richthofen – reservations are required.

    Unfortunately Mount Richthofen is too difficult a mountain for most hikers and SOTA activators. This summit calls to the few who seek the challenge of a long, hard day combined with an incredible alpine activation.

    73

    George Carey Fuller
    KX0R

    Suggestions for the north approaches:

    Starting from Cameron Pass might be a better choice from Fort Collins or other northern areas; this requires driving about 60 miles up the Poudre Canyon via Highway 14. Both the American Lakes Trailhead and the parking area near Cameron Pass provide access to the Thunder Pass Trail, for the eastern route, as well as the Lake Agnes Trail, for the western route.

    About 2-1/2 miles southwest of Cameron Pass, Road 62 leads east, down from Highway 14 into the Michigan River Valley. This 2WD road is passable by most cars to the American Lakes Trailhead – it’s about 1-1/2 miles east of the turnoff from the highway. Part of the trail is in the Colorado State Forest, and a pass is required for parking and entry – there is a fee.

    An alternate place to park and enter this area exists – a large parking area off the main highway is just north of Cameron Pass. This is a popular spot; get there early, especially on weekends. There is no fee to park.

    Cross Highway 14 and look for a gated dirt road that parallels a ditch. A fee is requested to walk this road into the State Forest. Follow the almost level road for about two miles southeast along the ditch to where it intersects the American Lakes Trail near 10,400 feet elevation. This route adds about one easy mile each way, but it avoids several miles of driving on the highway and the dirt road. The total time is about the same with either route. This is a beautiful area, with moose, deer, elk, trout, lush vegetation, and many wildflowers in summer.

    The American Lakes Trail leads up past American Lakes to Thunder Pass, and then down southeast about 1-1/2 miles to Grand Ditch and the Skeleton Gulch Trail. From there, the climb up Richthofen via the big ridge southeast of the summit is the same as described above. Unfortunately the north route via the Thunder Pass Trail requires an ascent of about 1100 vertical feet up from Grand Ditch on the return trip north, so this adds to the difficulty. The total vertical gain of the climb from the American Lakes Trailhead to Thunder Pass, the climb from Grand Ditch up Richthofen, and the return climb from the Ditch to Thunder Pass is about 5250 feet. This is somewhat extreme.

    The alternate more-efficient route is to climb the west side of Richthofen via Lake Agnes. I have not done this route. The climb is steep, but it requires only about 2700 feet of vertical gain from the Lake Agnes Trailhead, accessible from Road 62. This climb is Class 3, with plenty of talus and steep rocks above Lake Agnes. From the top of Richthofen, the west route looks harder than the southeast route, but it’s much shorter.

    Please be careful!

    KX0R


    ATTENTION !! WARNING !! There are old mountaineers, and bold mountaineers… there are no old-bold mountaineers. Hiking and mountain climbing are potentially hazardous activities particularly in Colorado with its extreme elevations. I am not accepting responsibility for any death or injury resulting from activations based on my trip reports. Proper training, experience, and personal capability assessment is required – enjoy!
  • W0C/FR-014 (Copeland Mountain) – 4016 m / 13176 ft

    W0C/FR-014
    Copeland Mountain
    4016 m / 13176 ft
    First Activation
    Aug 6, 2015

    By KX0R

    Copeland Mountain stands prominently 1-1/2 mile east of the Continental Divide, in the southern part of Wild Basin.

    Copeland Mountain
    Copeland Mountain

    Key Points:

    Rocky Mountain National Park
    • Accessible trailhead
    • Rugged alpine summit
    • Incredible views
    • Challenging hike
    • Infrequently climbed
    • No marked route
    • No trail to the top
    • Navigation and route-finding required
    • Fine HF site
    • 14 miles round-trip
    • 4675 vertical feet
    • Grade II
    • Class 2

    Copeland Mountain sees few visitors, but it offers a fine alpine SOTA activation. This high peak combines a challenging bushwhack hike with great scenery. Climbing to the top requires a sustained, steep hike in thin air. Only activators with off-trail experience and excellent fitness should attempt to climb Copeland. Since part of the route is far above tree-line, this expedition should be reserved for a day with good weather. The mountain is most accessible in summer and fall.

    The trailhead is at the Wild Basin Ranger Station. An easy dirt road leads two miles west from the Peak to Peak Highway, Route 7, to the trailhead. An entry fee or pass may be required to enter the National Park. The popular trailhead is not large, and it often fills before 8 AM on summer weekends. With the early start needed for Copeland, parking should not be a problem. An early start may avoid the entrance fee.

    From the trailhead, follow the signed, marked trails through Wild Basin to Ouzel Lake. The route leads west along the roaring North Saint Vrain Creek; across a bridge at about 1.5 miles; west to Calypso Cascades; northwest past Ouzel Falls; and west on the Bluebird Lake Trail to Ouzel Lake. Ouzel Lake is about 5 miles from the trailhead. Copeland Mountain looms high above the south side of the Lake.

    Ouzel Lake
    Ouzel Lake

    The hike to Ouzel Lake is just the introduction. While only two miles of the journey remain, more than 3000 vertical feet must be ascended from the Lake, and there is no real trail!

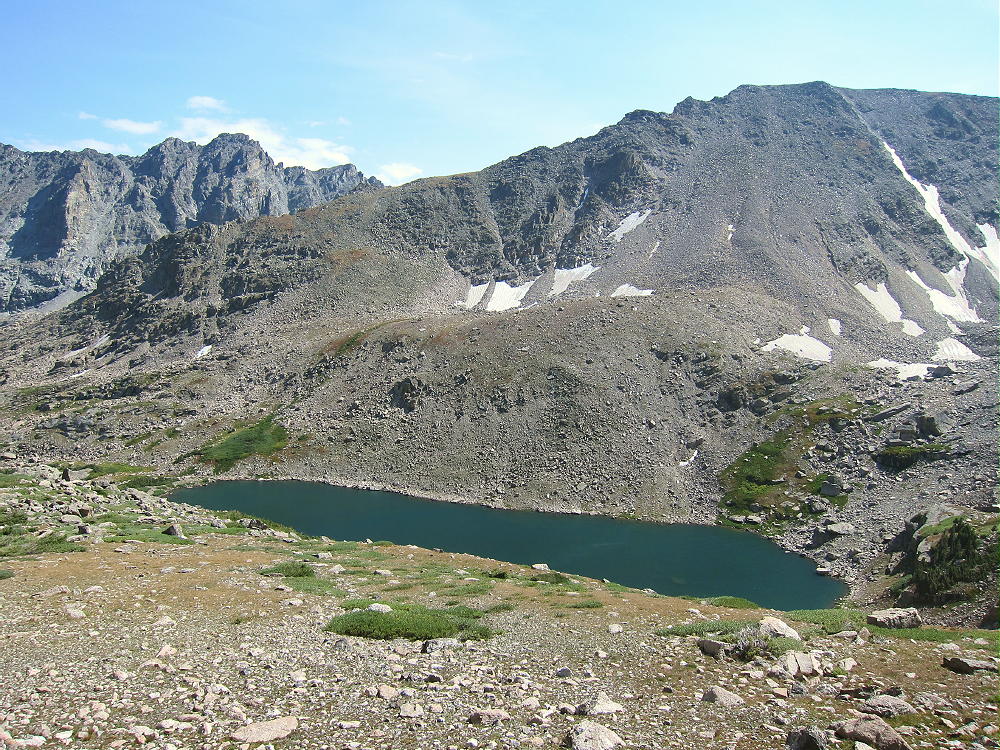
    To access the mountain, Ouzel Creek must be crossed. This is best done east of the lake outlet. When I was there, a convenient log-bridge was available about two hundred feet from the Lake. From the creek crossing, hike around the east side of beautiful Ouzel Lake. Climb up the forested drainage south of the Lake – follow the available game trails. Try to maintain a heading slightly east of south. The primary goal is to ascend the east slopes of Copeland far enough southeast to minimize the gradient of the climb. A second objective is to avoid the thickets and swampy parts of the densely-forested, north-facing drainage.

    The animals know where to go. Game trails lead through the forest and up the slopes; I was able to climb through the sub-alpine jungle by following the deer, elk, and moose. A couple of slide paths just below tree-line helped guide me higher. These steep slopes have been partly cleared of trees by avalanches. The game trails led me up to the slide paths.

    The most challenging part of the hike is the first half-mile or so up through the dense forest above Ouzel Lake. The worst problem is the lack of visibility – a GPS unit is useful for navigation, and for recording the track. The climb becomes easier above 10,600 feet; avoid thickets, and pick a route through the trees toward timberline. It’s easy to see where to go above the forest.  Soon wonderful views open up!

    Copeland Mountain View of Longs Peak
    View of Longs Peak from Copeland’s East Ridge

    The steep northeast ridge of Copeland is a mix of talus and tundra. I saw no marked route or cairns, but there are useful game trails and a few climbers’ paths. Climb southwest toward the summit. The route is steep, but there are almost no other problems; no scrambling is required. The climb up the alpine slope to the peak ascends about 2000 vertical feet in one mile – this is a real test! I thought it was more difficult to descend than to ascend.

    Copeland Mountain East Ridge Route
    Copeland Mountain East Ridge Route

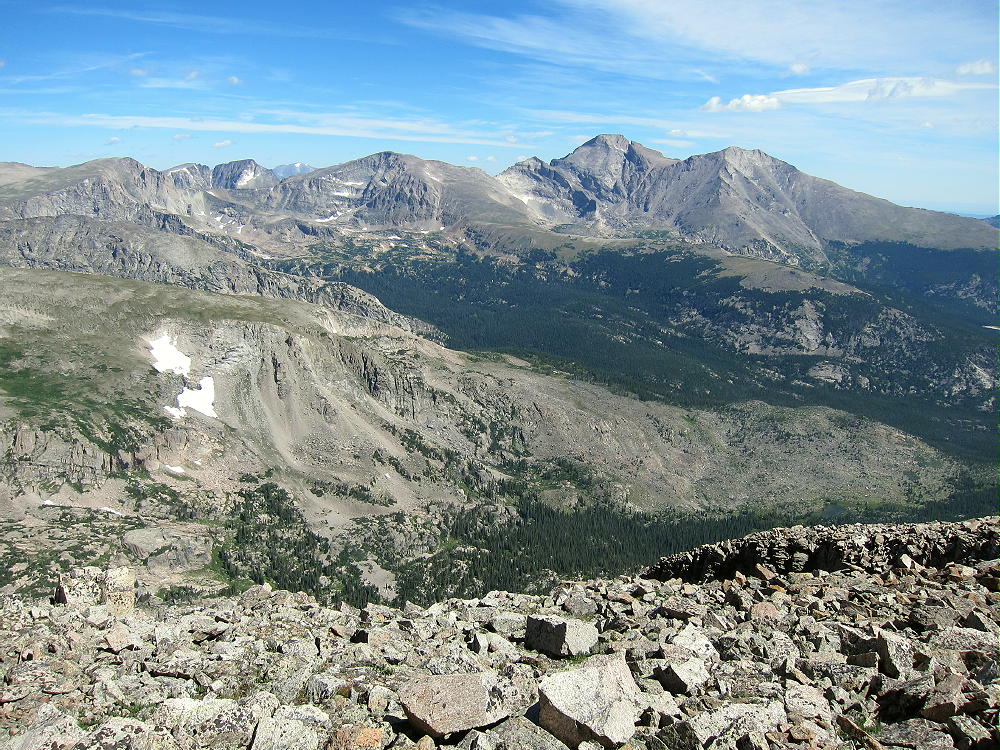
    Copeland Mountain location provides incredible views of all the high peaks of Wild Basin: Longs Peak, Mount Meeker, Pagoda Mountain, Chiefs Head, Mount Alice, Isolation Peak, Ogalalla Peak, and Saint Vrain Mountain.

    Copeland Mountain Wild Basin View
    View North from Copeland Mountain across Wild Basin

    Several large lakes lie below Copeland. The entire area is heavily glaciated – this is some of the most rugged terrain in the National Park. The Indian Peaks Wilderness and its craggy alpine peaks are only a few miles to the south. Copeland is high enough to see over the Divide to the west. The Never Summer Range, Parkview Mountain, the Park Range, the Gore Range, and the Flat Tops are all visible from Copeland!

    Indian Peaks View from Copeland
    View of Indian Peaks from Copeland
    Copeland Mountain View SW
    Ogallala Peak and Cony Lake from Copeland Mountain

    I was surprised to find a large wind shelter built by climbers just west of the actual peak; however, it was so windy that I decided not to set up my activation there.

    Copeland Mountain Wind Shelter
    Copeland Mountain Wind Shelter

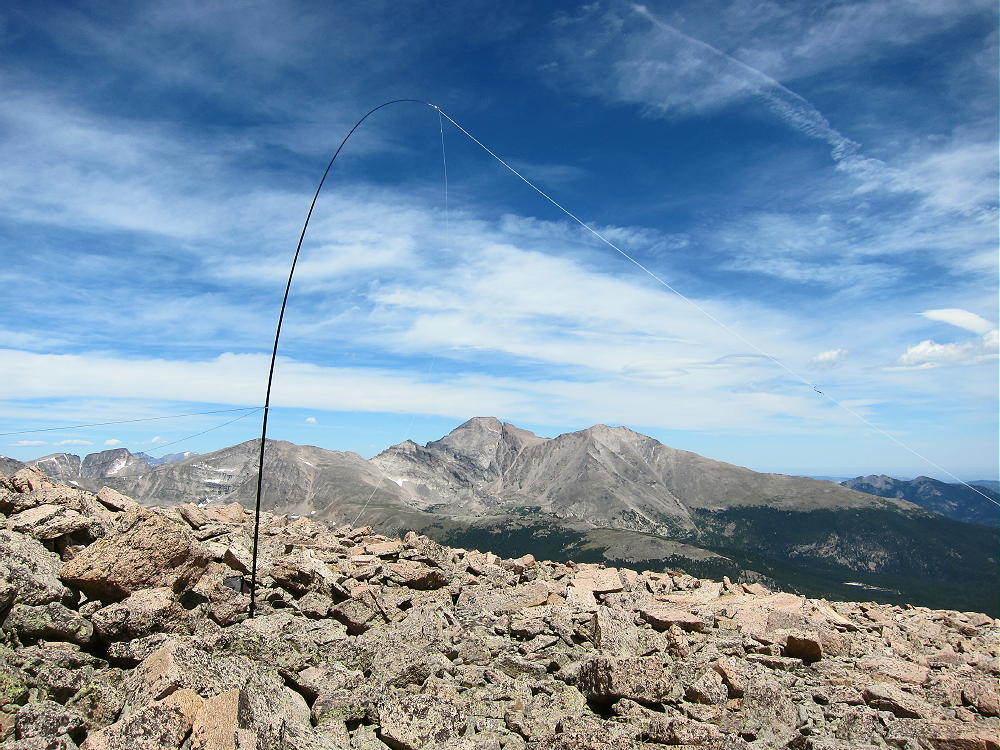
    I found a spot among some boulders east of the summit; this worked well. The large, rocky activation zone is relatively flat. There’s plenty of room for any kind of activation, but a pole is necessary to erect a wire antenna. It’s easy to set up and get on the air.

    Copeland Mountain Activation Antenna
    Copeland Mountain Activation Antenna

    Copeland is an almost perfect radio site. It stands far enough from other peaks that there’s little blockage to HF signals in any direction except north, where Longs Peak and its neighbors raise the horizon several degrees. The HF noise level is very low – there’s no development for miles. Copeland is probably a useful VHF/UHF site, because it looks out across a wide area of the eastern Plains, including parts of the Denver Metro area. The view west also includes some populated areas in the valleys across the Divide.

    I made 25 HF contacts on three bands from Copeland. It was a pleasure to operate from this wonderful high spot on a fine sunny day…never mind the wind!

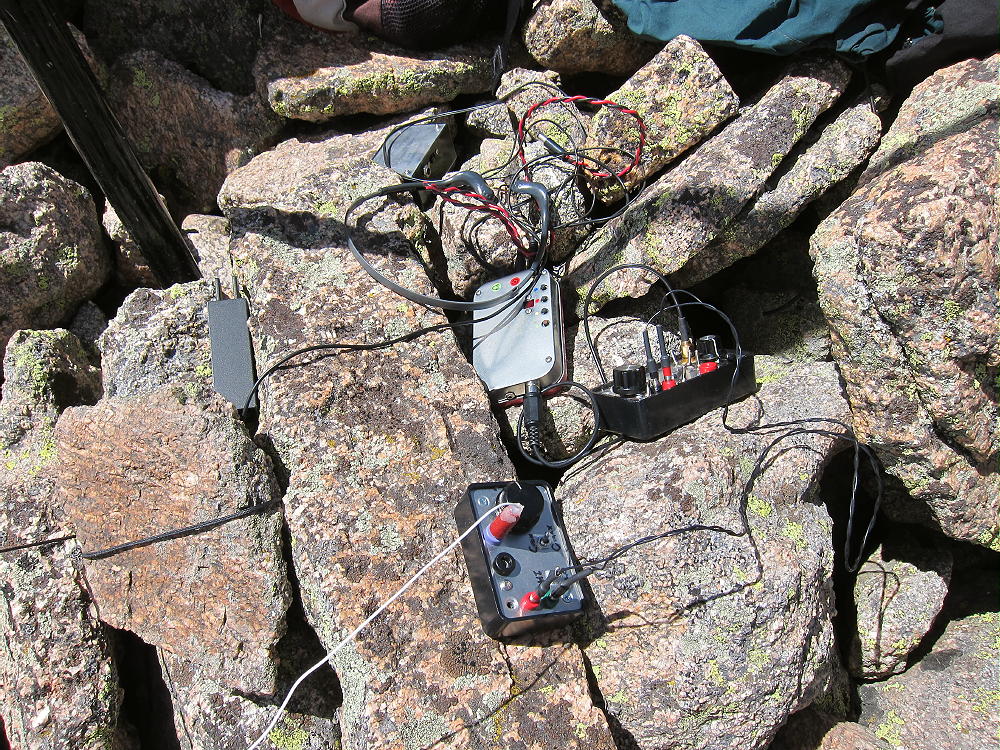
    Copeland Mountain Radio Gear
    Copeland Mountain Radio Gear

    I saw no one on the mountain. It still amazes me that such fantastic mountain paradises are accessible from our cities, yet sometimes I have an entire alpine summit to myself all day!

    As nice as Copeland Mountain was for my climb, it could be a deadly place in bad weather. It’s totally exposed to severe lightning storms, high winds, hail, and snow. Wild Basin and the Divide generate strong storms when humid systems come into the area; this mountain should be avoided except in dry, stable weather. It’s impossible to descend quickly!

    I dreaded the descent when I was on top, but it wasn’t so bad. It’s very steep, and care is required most of the way down to tree-line.

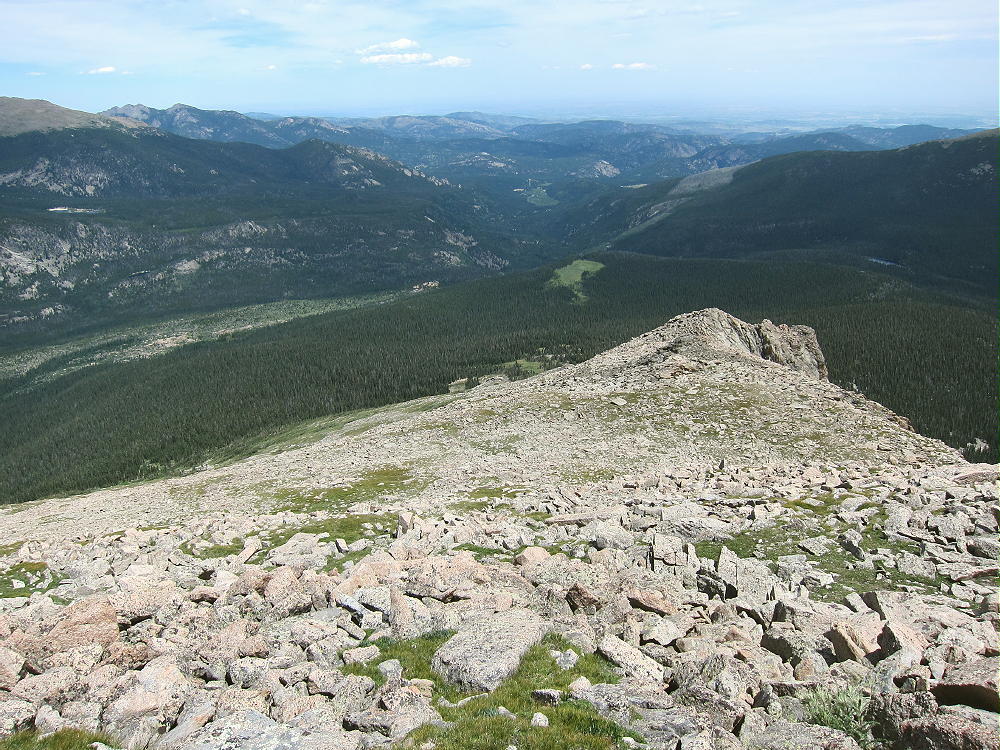
    Copeland Mountain East Ridge View Down
    View Down Copeland Mountain’s East Ridge

    The dense forest was easier to descend than to ascend – I used my GPS track, and the game trails were where I needed them! The swampy bogs were full of wildflowers in sunny spots.

    I started the hike at 6:20 AM, and I was on the summit at 10:41 AM. I stayed on top until 1:03 PM, and I returned to the parking lot at 5:34 PM. It took slightly longer to descend than to ascend!

    Copeland Mountain is one of the best SOTA peaks I’ve activated. It’s totally a SOTA Classic, with its pristine wilderness location, stunning views, a very challenging route, and an excellent activation zone. I recommend it only to activators who are prepared for the serious effort it requires. Copeland is best climbed in ideal summer or fall weather with lightweight gear.

    73

    George Carey Fuller
    KX0R

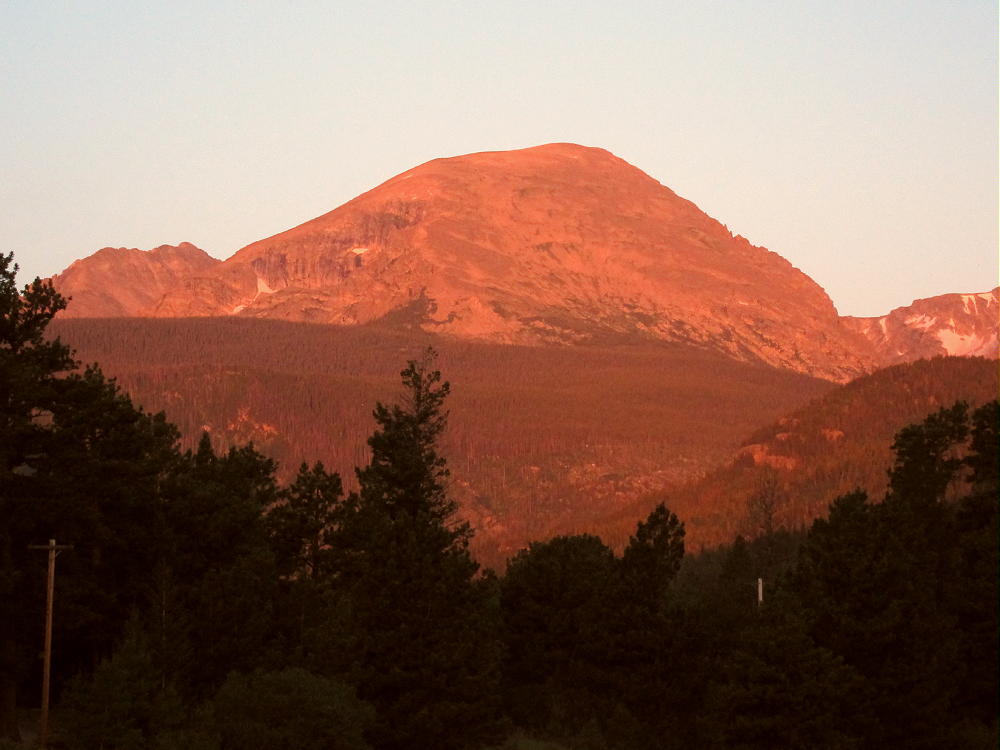
    Copeland Mountain Sunrise
    Copeland Mountain Sunrise
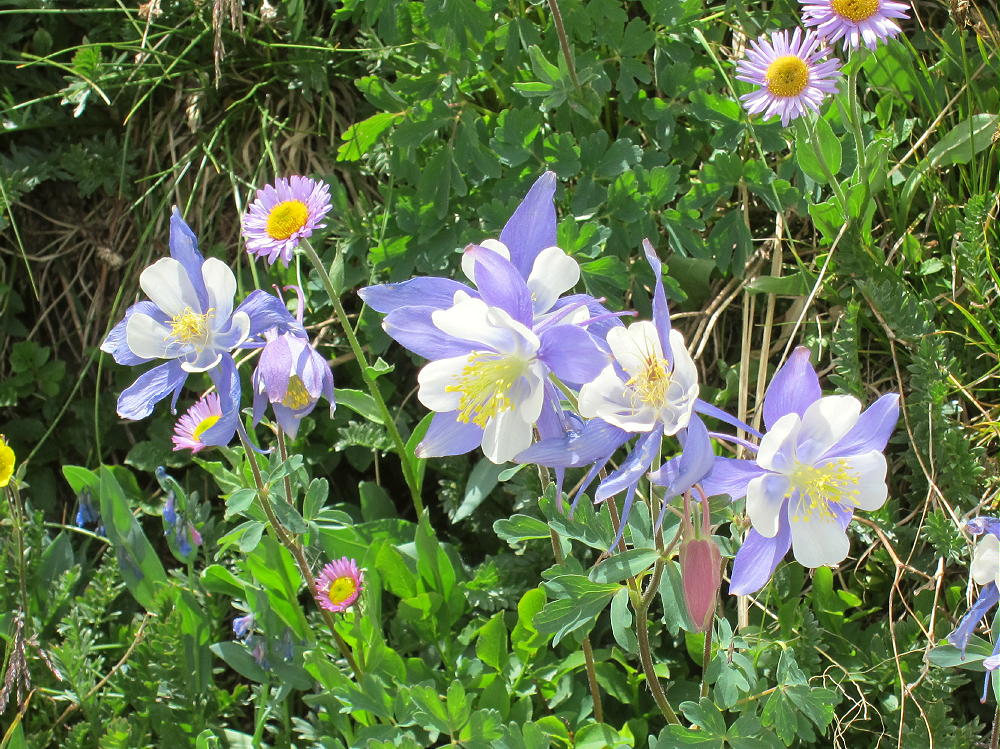
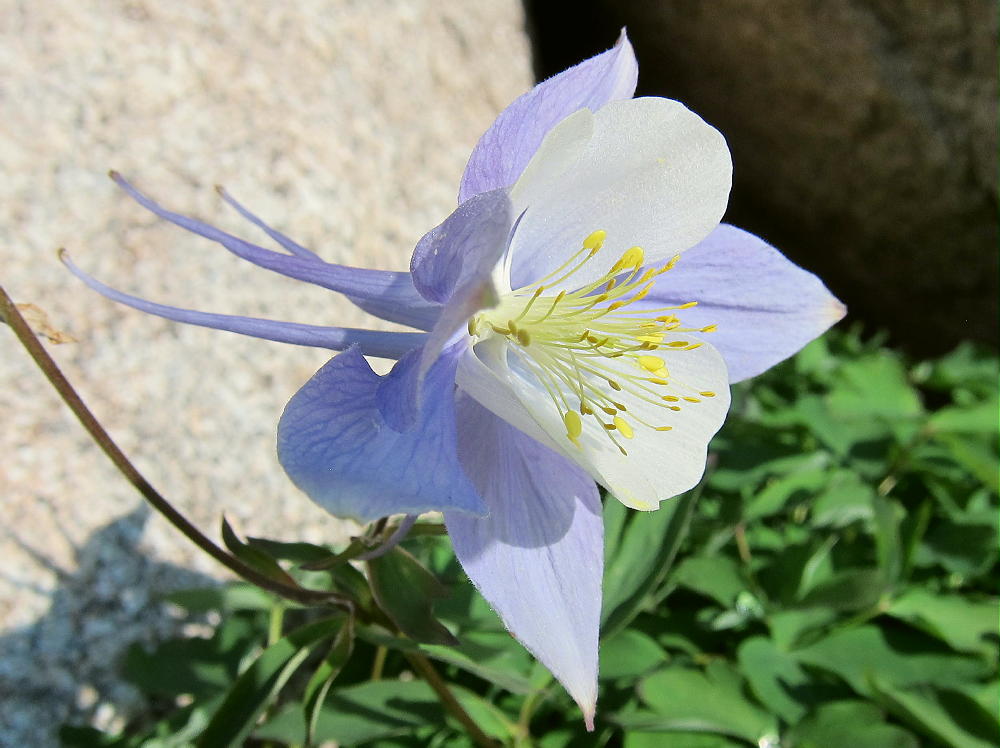
    Copeland Mountain Columbines
    Copeland Mountain Columbines

    ATTENTION !! WARNING !! There are old mountaineers, and bold mountaineers… there are no old-bold mountaineers. Hiking and mountain climbing are potentially hazardous activities particularly in Colorado with its extreme elevations. I am not accepting responsibility for any death or injury resulting from activations based on my trip reports. Proper training, experience, and personal capability assessment is required – enjoy!
  • W0C/FR-012 (Mount Alice) – 4057 m / 13310 ft

    W0C/FR-012
    Mount Alice
    4057 m / 13310 ft
    First Activation
    Aug 20, 2015

    By KX0R

    Mount Alice is a rugged alpine peak on the Continental Divide, about three miles west of Longs Peak.

    Mount Alice East Face
    Mount Alice East Face

    Key Points:

    Rocky Mountain National Park
    • Northwest area of Wild Basin
    • High, challenging activation
    • Spectacular hike
    • No trail to the summit
    • Navigation and route-finding required
    • 17.6 miles round-trip
    • 4800 vertical feet
    • Fine HF Site

    Climbing Alice requires a long, sustained, non-technical hike; only activators with off-trail experience and good fitness should attempt to climb Mount Alice. Much of the route is above tree-line, in thin air; this trip should be reserved for a day with good weather. The mountain is most accessible in summer and fall.

    There are two standard hiking routes for climbing Alice from Wild Basin. Both routes start at the Wild Basin Ranger Station and go up toward Thunder Lake. The southern route leads to Thunder Lake; a small trail continues west and climbs to the Divide at Boulder-Grand Pass. The final leg of this route runs north along the Divide about a mile and up to the summit. This route is Grade II, Class 2, about 9 miles each way, and 4800 vertical feet.

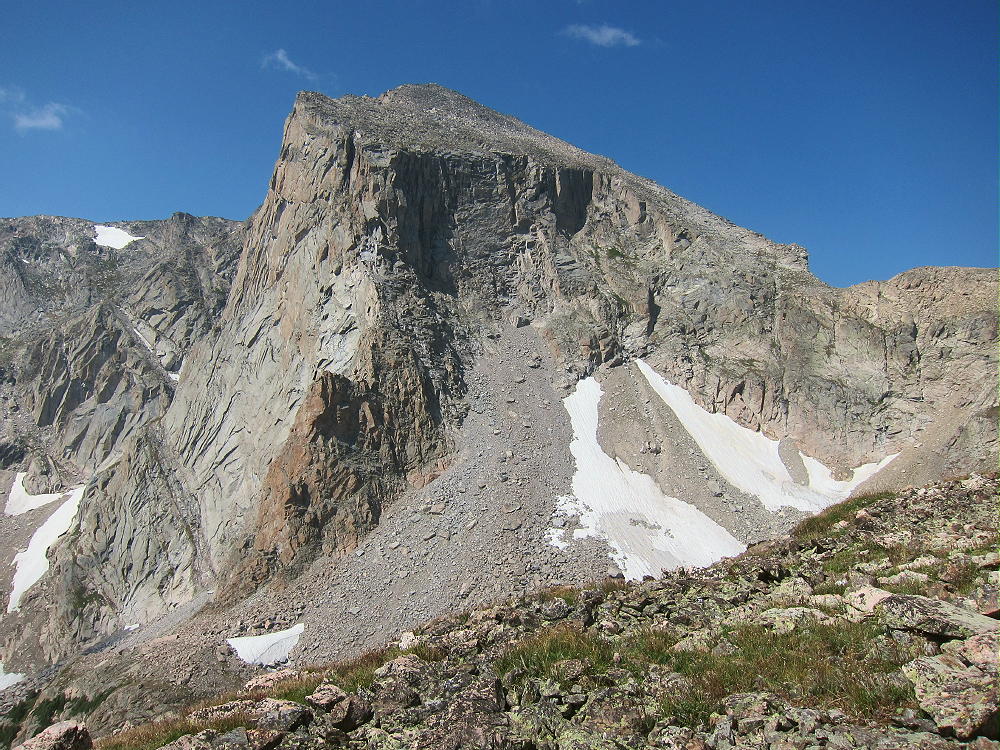
    The northern route also heads toward Thunder Lake initially, but the Lion Lakes Trail is used to ascend north into the large cirque east of Mount Alice. A long ridge leads up west of Snowbank Lake to the Divide at 12,500 feet. The route continues south along the Divide and leads up the north slope of Alice via the steep Hourglass Ridge. This route is Grade II, Class 2+, about 8.8 miles each way, and 4800 vertical feet.

    Mount Alice Hourglass Ridge
    Mount Alice Hourglass Ridge

    I climbed this mountain once prior to 2015 via the Hourglass Ridge, and that time I descended via the southern Boulder-Grand Pass route. I chose the Hourglass Route for my climb in 2015, mostly because it’s such a classic trip.

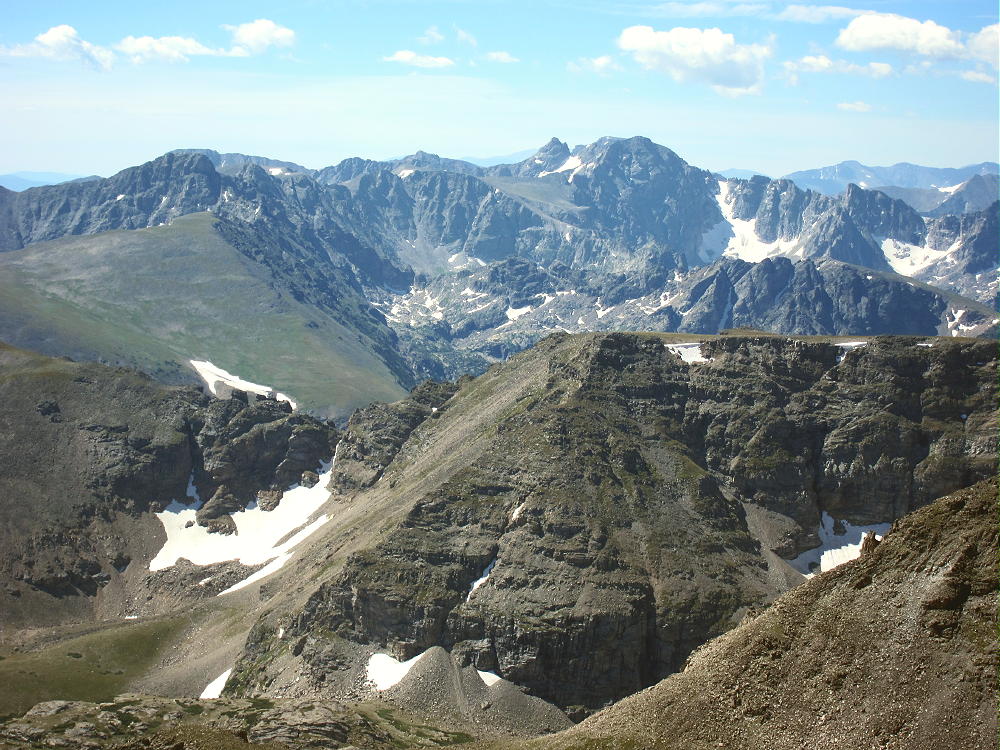
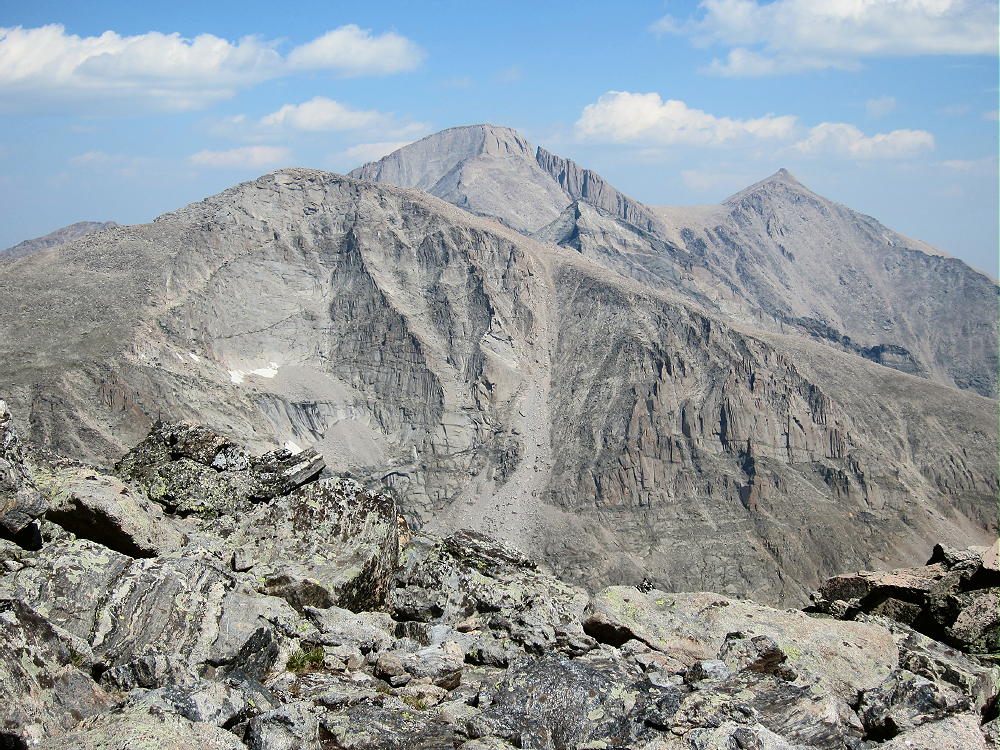
    Both routes are spectacular, with interesting close views of Chiefs Head, Pagoda Mountain, Longs Peak, and Mount Meeker. Alice stands on the Continental Divide – it looks down thousands of feet to North Inlet and the west side of the National Park. This is some of the most beautiful glaciated terrain in northern Colorado.

    Chiefs Head, Longs, Pagoda, and Meeker from Alice
    Chiefs Head, Longs, Pagoda, and Meeker from Alice

    Here are additional details of the Hourglass Ridge Route I used in 2015:

    The trailhead is at the Wild Basin Ranger Station. An easy dirt road leads two miles west from the Peak to Peak Highway, Road 7, to the trailhead. An entry fee or pass is required to enter the National Park. The popular trailhead is not large, and it often fills before 8 AM on summer weekends. With the early start needed for Alice, parking should not be a problem. An early start also may avoid the entrance fee.

    The first part of the trail is fast and easy – it follows the roaring North Saint Vrain Creek west up the drainage. Time may be saved by taking the north branch of the trail, which heads off up a hill about 1.2 miles from the trailhead; this short-cut leads to some backcountry campsites on the north side of the Creek. The main branch of the trail crosses a bridge over the Creek, runs along the south side of the Creek, leads by Calypso Cascades, and continues to Ouzel Falls. This route is longer, but it’s more scenic than the north side route; the choice is yours.

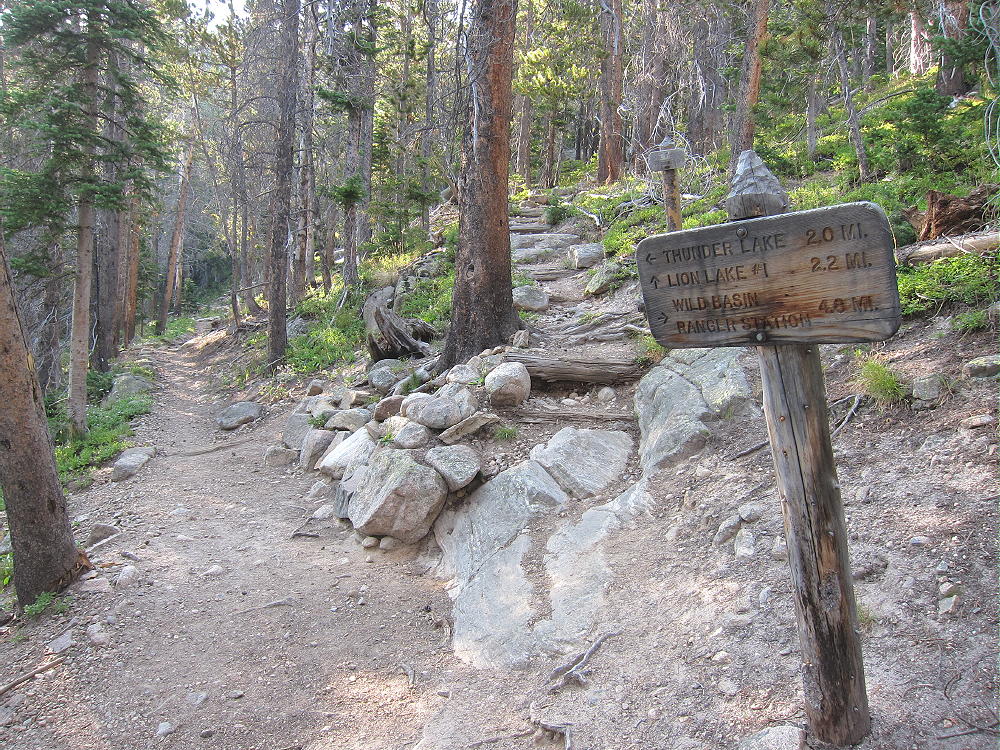
    The trail is well marked – follow the signs toward Thunder Lake. The trail splits about 4.5 miles from the trailhead; follow the steep Lion Lakes Trail north uphill for about 2 miles.

    Turn-off to Lion Lakes and Mount Alice
    Turn-off to Lion Lakes and Mount Alice

    Continue on the trail past the first Lion Lake, and follow the creek up the cirque. The trail is marked by some cairns, and it crosses the creek below Trio Falls. Look sharp for cairns marking where the trail heads up to a rocky gully west of the Falls – this is the easiest way up to the next lake.

    View of Lion Lake #1
    View of Lion Lake #1

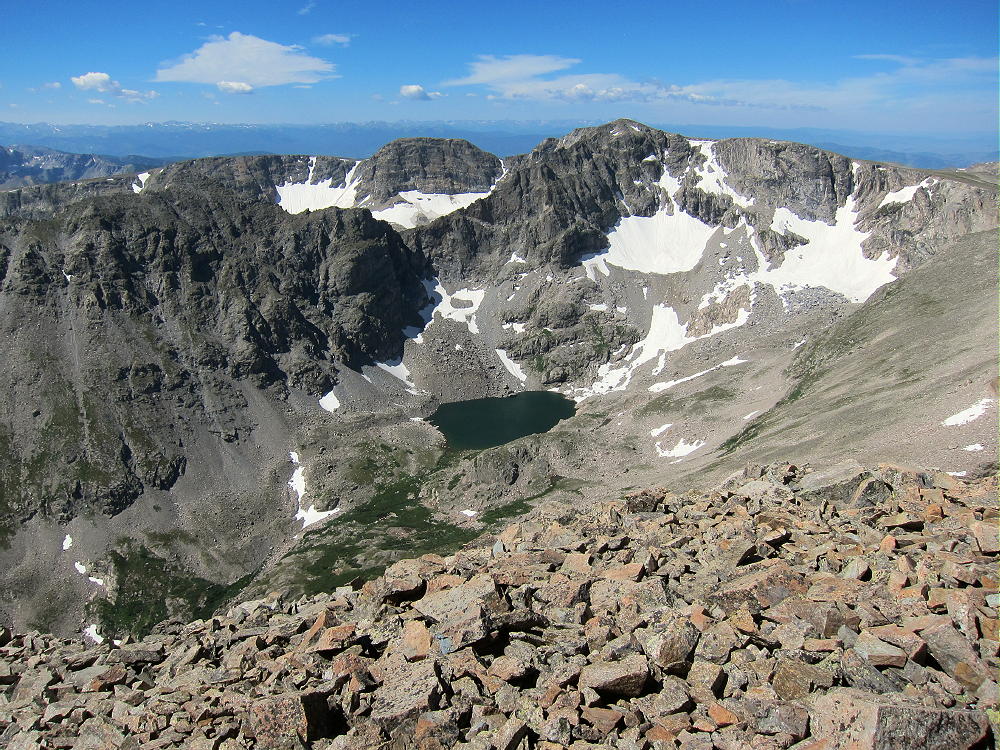
    Beyond Lion Lake 2 the route is informal, with few cairns and no real trail. The goal is to ascend the obvious ridge west of Snowbank Lake sooner or later. Either head up toward the ridge from Lion Lake 2, or continue on to Snowbank Lake, and then climb up to the ridge there. Bring plenty of water, or pump water at the lakes. Pick a route that avoids thickets and cliffs. The hike is easier on top of the ridge, where there’s a small trail. Follow the ridge northwest about 1 mile, up about 1000 vertical feet, to the Continental Divide. The view of Alice’s nearly vertical cliffs is impressive!

    Ridge Leading up to Continental Divide
    Ridge Leading up from Snowbank Lake to Continental Divide
    View Down the Ridge to the Lion Lakes
    View Down the Ridge to the Lion Lakes

    On the Divide, hike southwest across the tundra toward Alice. The ridge narrows, and there are a couple of minor obstacles – traverse around any problems on the west side of the Divide. No difficult moves are required, and it’s not necessary to descend very far to bypass the obstructions.

    Divide Route Northeast of Mount Alice
    View Back of Divide Route Northeast of Mount Alice

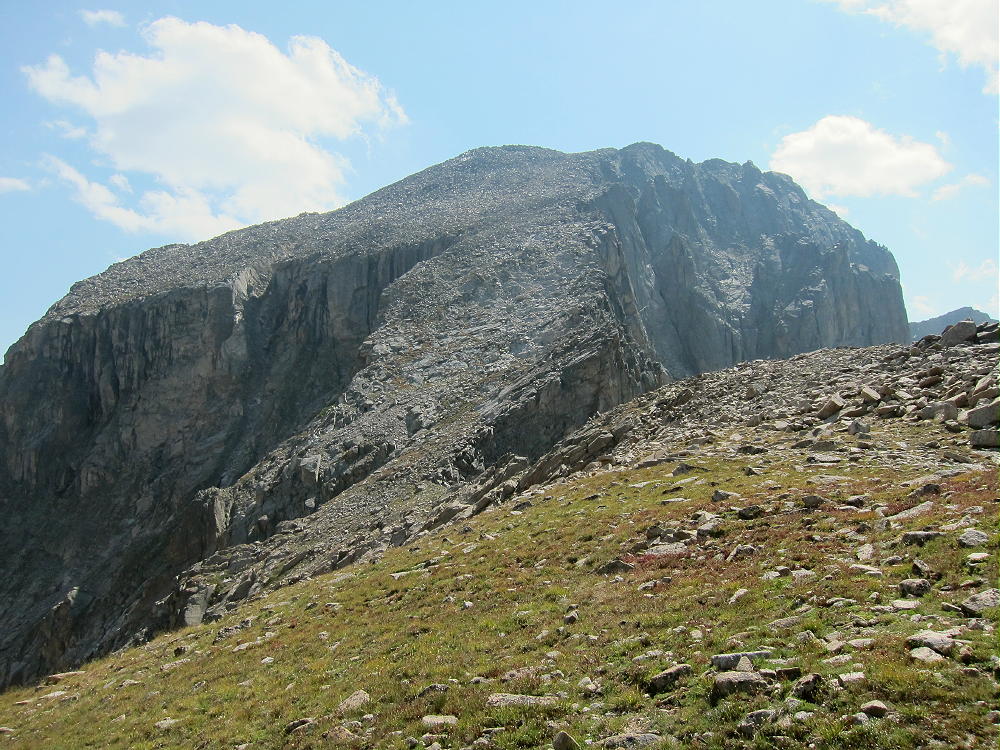
    The Hourglass is a huge slope of rocks all the way to the summit of Alice. This slope is 800 vertical feet of class 2+ climbing. There are some paths up through the blocks and talus. Many of the rocks are loose, so good judgment is necessary. The various routes offer options and work OK. Avoid going too far left or right, especially in the first couple of hundred vertical feet. The route gets easier toward the top – the gradient eases, and the blocks are more stable. With snow or ice on the rocks, the difficulty increases; by late summer the Hourglass is usually clear of snow.

    Hourglass Ridge Route up Mount Alice
    Hourglass Ridge Route up Mount Alice
    Hourglass Ridge Route Detail
    Hourglass Ridge Route Detail
    Detail of Hourglass Route near Summit
    Detail of Upper Hourglass Route near the Summit

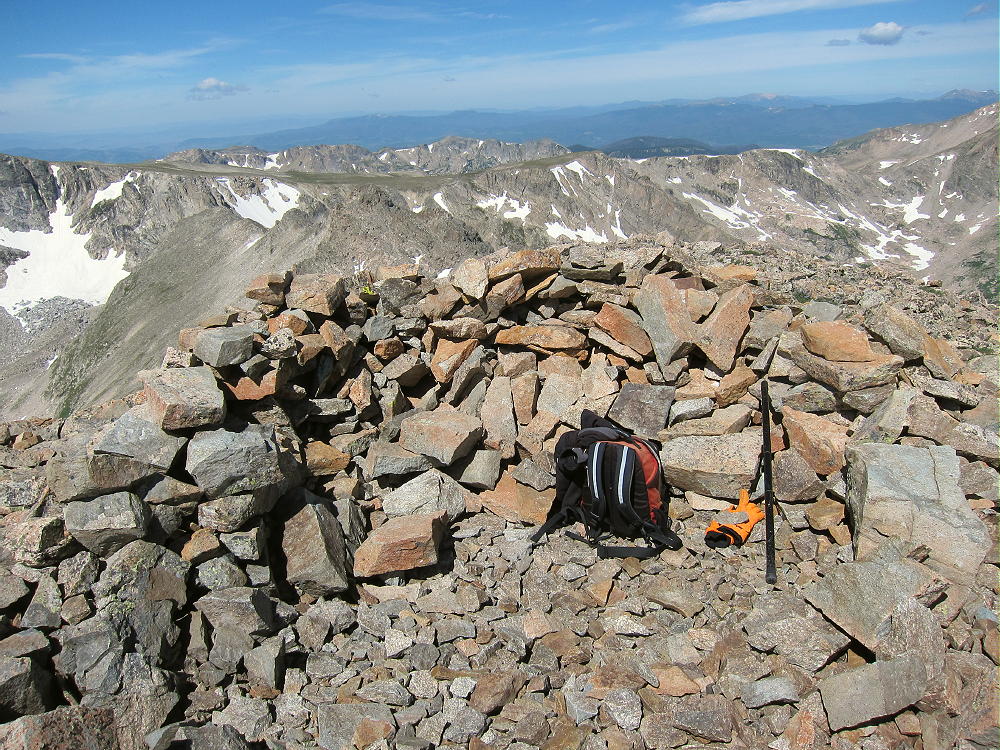
    Alice has two summits; the small east summit is the actual peak, both on the Google map and the USGS quad. Both summits have almost the same altitude, and the shallow saddle between them is well within the large Activation Zone. I did my activation just east of the west summit, to avoid some wind.

    Actual Summit of Mount Alice
    Actual Summit of Mount Alice (East Summit)
    Mount Alice Activation Antenna
    KX0R Activation Antenna on West Summit of Mount Alice

    There’s little to support an HF antenna on the top of Alice, so bring a pole. Alice is almost ideal for HF – very prominent, with few close obstructing mountains. Longs Peak looks like a wall to the northeast, but this is no problem on HF. Alice has a limited open view to the southeast, but it’s mostly blocked for direct paths to populated areas on VHF and UHF. HF noise is very low, since there’s no development for several miles all around.

    I had a nice HF activation, with 35 CW contacts on three bands. I had the whole mountain to myself when I was there.

    Activation Gear on Mount Alice
    KX0R Activation Gear on Mount Alice

    I descended via the Hourglass route – this was not as bad as it looked.

    An alternate descent is available down the easy south ridge of Alice. This route drops 1250 vertical feet down across grassy tundra to Boulder-Grand Pass, about one mile along the Divide.

    Divide on South Side of Mount Alice
    Divide on South Side of Mount Alice

    While this route looks really nice from Alice, the descent down the east side of Boulder-Grand Pass is not visible. This steep route down runs along the edge of a snowfield, and it may be icy, wet, muddy, and loose. Early in the summer it may not be melted out, and descent of the steep snow would be dangerous without proper equipment. Usually it’s OK in August and early September. Check on conditions ahead of time before committing to a descent of the east side of Boulder-Grand Pass! There’s no built trail there, despite the name.

    The trail below Boulder-Grand Pass down to Thunder Lake is good and easy to follow. After passing by Lake of Many Winds, the route continues along a rushing creek, through a beautiful sub-alpine forest, to Thunder Lake. The path leads along the north shore of the lake to the outlet end, where it meets the main trail slightly up the hill near some campsites. The trail from Thunder Lake to the trailhead is about 6 or 7 miles, depending on whether the shortcut on the north side of the creek is included.

    Mount Alice is a wonderful alpine SOTA peak, and it’s a SOTA Classic! It’s an excellent radio summit with incredible scenery and challenging ascent routes. By any route it’s long and hard. This summit is only for strong climbers with alpine experience and lightweight equipment.

    Mount Alice and Lion Lakes from Chiefs Head
    Mount Alice and Lion Lakes from Chiefs Head

    Alice’s location high on the Divide makes it particularly prone to dangerous lightning storms, snow at any time of the year, and high winds. It should not be attempted unless the weather forecast is really good. An early start is recommended, both to reduce risks and to allow time to complete the journey during daylight. Despite her nice name, Alice has no mercy!

    73

    George Carey Fuller
    KX0R


    ATTENTION !! WARNING !! There are old mountaineers, and bold mountaineers… there are no old-bold mountaineers. Hiking and mountain climbing are potentially hazardous activities particularly in Colorado with its extreme elevations. I am not accepting responsibility for any death or injury resulting from activations based on my trip reports. Proper training, experience, and personal capability assessment is required – enjoy!
  • W0C/FR-111 (Chiefs Head) – 4139 m / 13579 ft

    W0C/FR-111
    Chiefs Head
    4139 m / 13579 ft
    First HF Activation
    Aug 23, 2015

    By KX0R

    Chiefs Head Peak is a classic alpine peak west of Longs Peak.

    Key Points:

    Rocky Mountain National Park
    • No marked trail much of the way
    • Navigation and route-finding required
    • 16 miles round trip
    • 5200 vertical feet
    • High altitude
    • Spectacular summit and views
    • Superb HF site

    Chiefs Head from Mt. Orton North Ridge
    Chiefs Head from Mt. Orton North Ridge


    Chiefs Head offers a challenging, high activation with proportional rewards. Climbing this big mountain requires a long, sustained, non-technical hike through scenic terrain; only activators with off-trail experience and good fitness should attempt Chiefs Head. Much of the route is on a long ridge, high above tree-line, and this trip should be reserved for a day with good weather. The summit is most accessible in summer and fall.

    There are two standard hiking routes for climbing Chiefs Head. I had climbed this mountain twice prior to 2015, first via the eastern route, and later via the western route. I chose the shorter eastern route via Sandbeach Lake for my 2015 ascent. The trail starts at the Sandbeach Lake Trailhead, just west of the Peak-to-Peak Highway, Route 7. This route climbs to Sandbeach Lake, ascends west through the forest up Mount Orton, and continues across the alpine “North Ridge” between Orton and Chiefs Head. The unmarked route then climbs up the southeast slope of Chiefs Head to the east ridge, and then up the ridge to the top.

    Chiefs Head View South to Mount Orton
    Chiefs Head Ascent Route Looking Back South along “North Ridge” to Mount Orton


    This journey is Grade II, Class 2. More than half the route is not on marked trails; there’s some bushwhacking on game trails leading up Mount Orton. It took me almost 12 hours to climb Chiefs Head, do a 3-band HF CW activation, and return to the trailhead via the Sandbeach Lake route.

    The western standard route is completely different – it starts at the Wild Basin Ranger Station trailhead. The hike initially follows the main trail west toward Thunder Lake; then it turns north up the Lion Lakes Trail to the Lion Lakes. The climb continues off-trail up the long ramp-like ridge northwest west of Lion Lakes, all the way to the Continental Divide at about 12,500 feet. The route then goes north and then east along the Divide, and finally up the west ridge of Chiefs Head to the top. The Lion Lakes route is longer than the Sandbeach Lake route, but the vertical gain is slightly less, about 5000 feet. The one-way distance is about 9.5 miles, 3 additional miles total for the round-trip; but no bushwhacking is needed, and the rocky parts are not as steep.

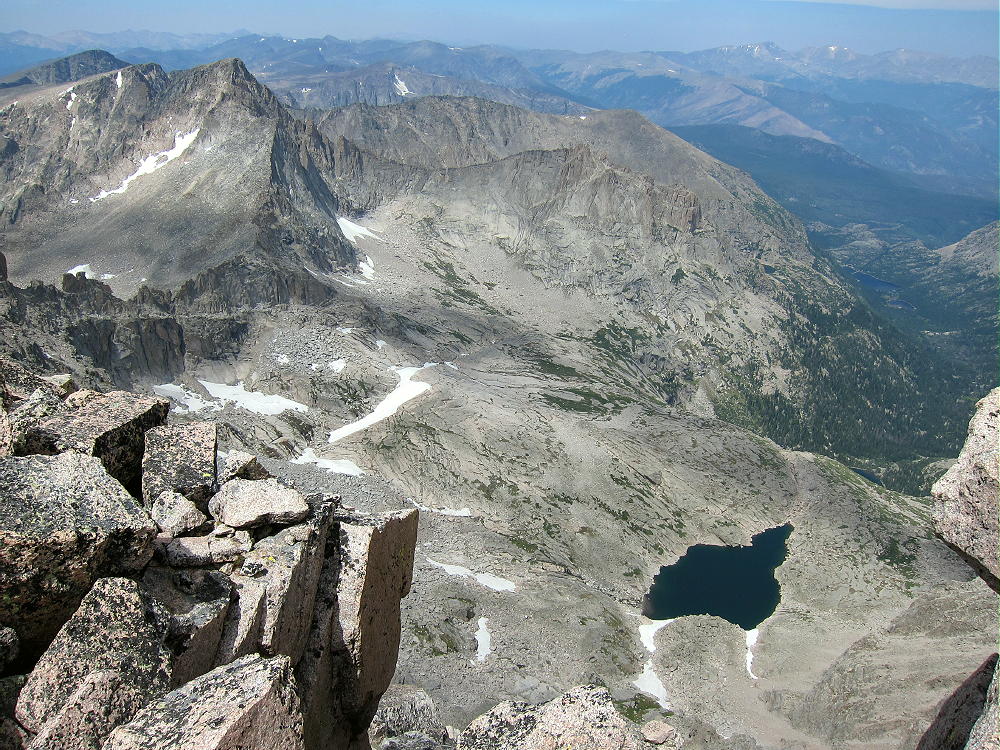
    Both routes are incredibly spectacular, with close views of Longs Peak, Mount Meeker, Pagoda Mountain, Copeland Mountain, and Mount Alice. Chiefs Head has stunning views in all directions; the north face drops over 1500 feet. This is some of the most rugged, beautiful terrain in the National Park.

    Chiefs Head North Ridge to McHenrys Peak
    Chiefs Head North Ridge to McHenrys Peak
    Chiefs Head East Ridge, Pagoda, Longs, and Meeker
    Chiefs Head East Ridge, Pagoda, Longs, and Meeker


    Details of the Sandbeach Lake route I used in 2015:

    The excellent Sandbeach Lake Trail starts at about 8400 feet elevation; it climbs about 4 miles west through the forest to Sandbeach Lake, a popular destination at about 10,300 feet.

    Sandbeach Lake
    Sandbeach Lake


    At the north end of the Lake, it’s necessary to bushwhack up through the trees for almost ½ mile to the open east slopes of Mount Orton above. Avoid going north of the Lake – that area is a tedious, rocky moraine. The forested gully northwest of the Lake leads steeply up where you need to go. An old trail is hidden under fallen trees, but there are game trails. Be sure to carry enough water, or pump it from the small creek; this is the last good water, except for snow up high. At 10,800 feet the route opens up into high flower meadows, and it’s a simple climb up toward Mount Orton at 11,700 feet. Occasional cairns help navigate this section. Work through the numerous rocks and traverse around the top of Orton – I went around the east side. There are only a few cairns, but it all works out.

    Flower Meadow above Sandbeach Lake
    Flower-Meadow above Sandbeach Lake
    South Side Route up Mount Orton
    South Side Route up Mount Orton


    After Orton, the hike is a pleasant, fast trip for about a mile across “North Ridge”, the long, barren, broad ridge between Orton and Chiefs Head. Pagoda, Longs Peak and Mount Meeker stand high and close!

    Chiefs Head, Pagoda, and Longs Peak from Orton North Ridge
    Chiefs Head, Pagoda, and Longs Peak from Orton North Ridge


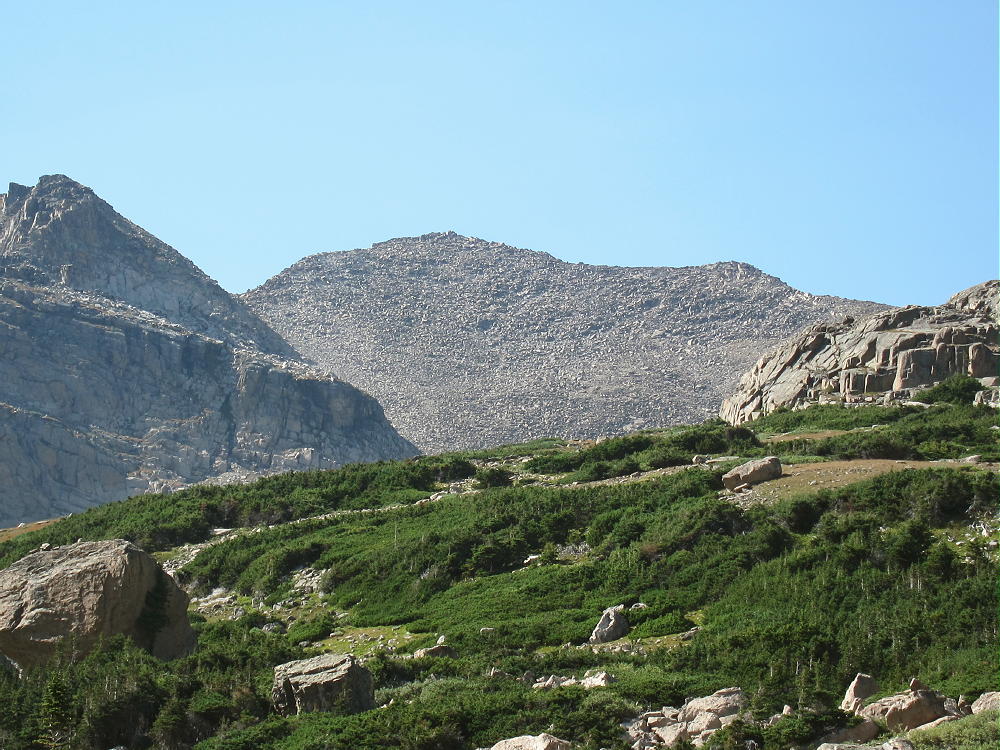
    At 11,900 feet, climb any convenient route up the rocks and blocks on the southeast slope of Chiefs Head. Most of this slope is pretty solid, with a few climbers’ trails; climb 1400 vertical feet to the high, narrow ridge east of Chiefs Head. Then ascend west for about 1/3 mile to the top.

    South Tundra Route up Chiefs Head
    South Tundra Route up Chiefs Head
    South Slope Route up Chiefs Head
    South Slope Rocks and Blocks up Chiefs Head


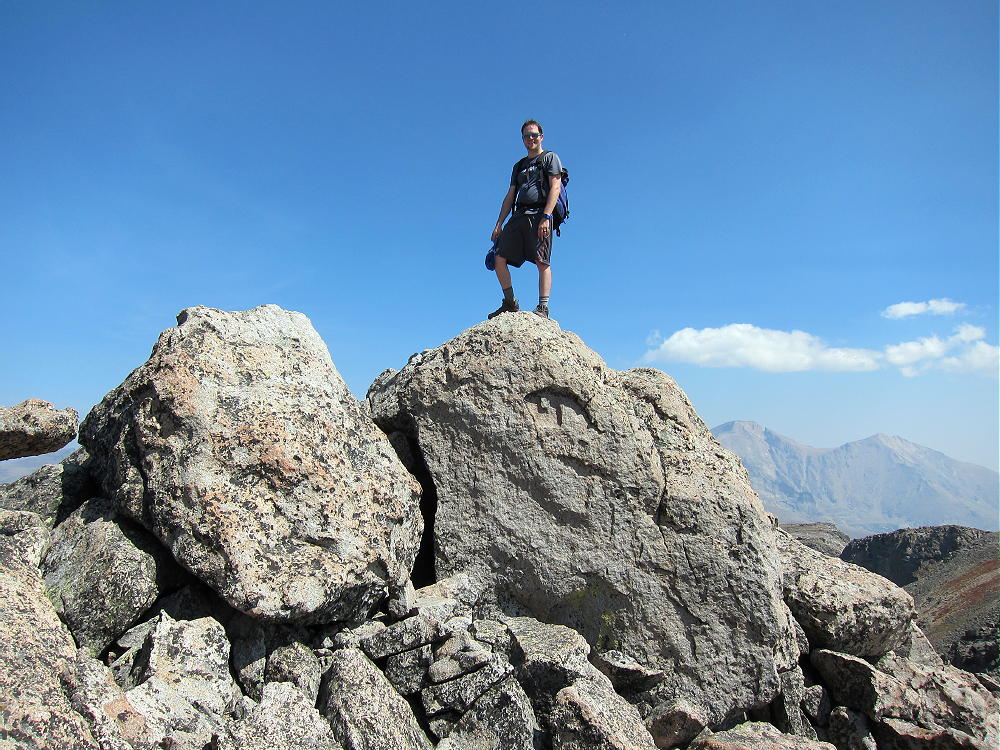
    The rocky summit is not large, but there’s space to set up an HF antenna. Bring a pole for an HF antenna. There’s a convenient rock shelter near the top, and it’s easy to erect and guy a pole there. The site is miles from any development, and the RF noise level is very low. Chiefs Head has a view southeast across the Denver metro area, it’s a good VHF/UHF site in that direction; it’s blocked in most other directions. In good weather this mountain is a pleasant alpine SOTA peak!

    Chiefs Head Activation in Wind Shelter
    Chiefs Head Activation in Wind Shelter
    KX0R SOTA Antenna on Chiefs Head
    KX0R SOTA Antenna on Chiefs Head


    I made 30 CW contacts on 3 HF bands from Chiefs Head. Setting up was relatively easy, and the 45-minute activation was a nice break after hours of hiking!

    It’s possible to continue west across Chiefs Head, descend the west ridge to the Continental Divide, and then continue down into the Lion Lakes cirque via the long ridge northwest of the Lakes. Some navigation – or prior knowledge – is required to find the trail leading down into Wild Basin from the Lion Lakes. Unfortunately the Wild Basin route ends up at the Ranger Station, a couple of miles west of the Sandbeach Lake Trailhead at Copeland Lake; therefore the total distance from the summit back to Copeland Lake via the west route is 11.5 miles! This is too long for an ideal loop hike.

    Mount Alice and Lion Lakes from Chiefs Head
    Mount Alice and Lion Lakes from Chiefs Head South Slope


    Both routes up Chiefs Head are long and hard, and an early start is required, even on a day with perfect weather. In order to have time for a good activation, the summit should be climbed before noon. On a day with storms, noon is usually too late. It took me almost 5 hours to do the climb – this included breaks for water, food, and navigation. This required an average of over 1000 vertical feet per hour, with a higher rate on some slopes. I saw no one after Sandbeach Lake until I returned back there!

    In some ways the western Lion Lakes route is better than the Sandbeach Lake route. It might be worth starting earlier in the morning to climb the longer route up the west side of Chiefs Head; this avoids the rough off-trail route from Sandbeach Lake to Mount Orton.

    It might be possible to do a dual activation of Mount Alice and Chiefs Head, but only if you’re Superman. Both peaks are accessible from the spot where the long ramp ridge from the Lion Lakes meets the Divide. A dual activation would require a very early start, or part of the descent might be after sunset.

    Chiefs Head is one of the more difficult SOTA peaks I’ve activated. The weather was pleasant, except for some gusty wind along the ridge north of Mount Orton. In bad weather this summit should be avoided! The entire area around Longs Peak and Wild Basin is prone to serious lightning storms in summer! Rain, snow, hail, and high winds are possible any time of year.

    Chiefs Head is a SOTA Classic in every way. Climbing and activating this spectacular peak, while surrounded by even higher and more rugged summits, is an incredible experience! Only activators with high-altitude experience, sufficient fitness, and light-weight gear should attempt this mountain.

    73

    George Carey Fuller
    KX0R

    Chiefs Head View North
    Chiefs Head View North
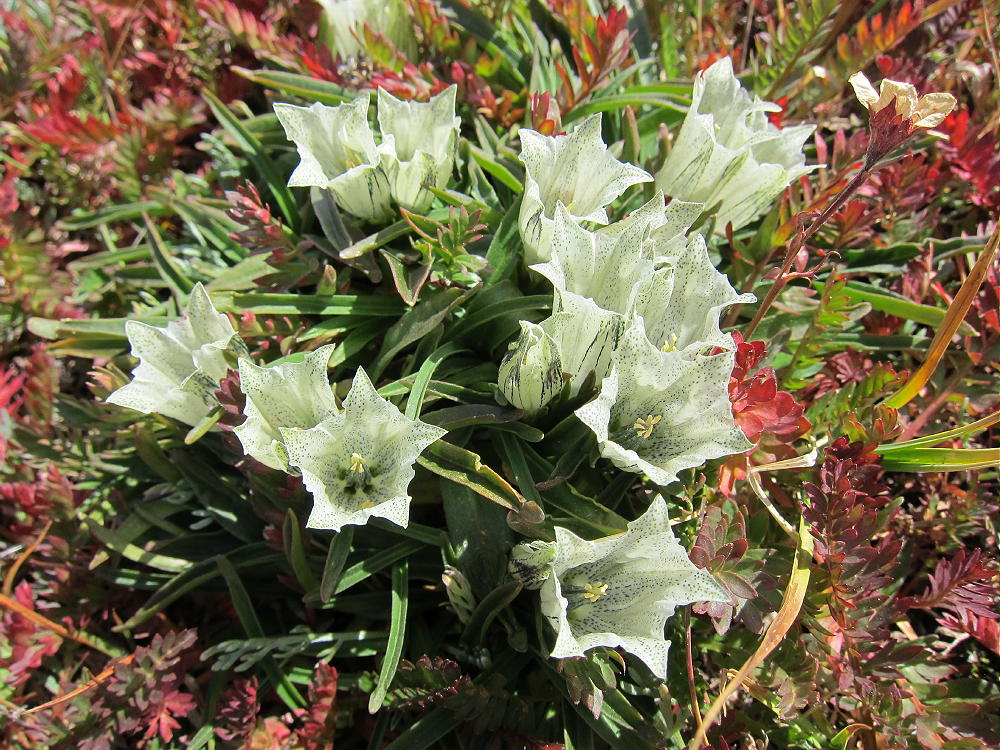
    White Gentians on Chiefs Head
    White Gentians on Chiefs Head

    ATTENTION !! WARNING !! There are old mountaineers, and bold mountaineers… there are no old-bold mountaineers. Hiking and mountain climbing are potentially hazardous activities particularly in Colorado with its extreme elevations. I am not accepting responsibility for any death or injury resulting from activations based on my trip reports. Proper training, experience, and personal capability assessment is required – enjoy!
  • W0C/FR-116 (Isolation Peak) – 3998 m / 13118 ft

    W0C/FR-116
    Isolation Peak
    3998 m – 13118 ft
    First Activation
    Aug 29, 2015

    Isolation Peak stands high on the Continental Divide, among huge glacial cirques at the western head of Wild Basin, in the alpine wilderness of Rocky Mountain National Park.

    • Long, challenging hike
    • High altitude
    • No marked route or trail to the summit
    • Considerable navigation and route-finding
    • Incredible alpine scenery
    • Fine HF summit
    • ~ 17 miles round trip
    • ~ 4620 vertical feet

    Isolation Peak from Pipit Lake
    Isolation Peak from Pipit Lake


    Of all the SOTA peaks I have climbed, Isolation Peak is the most accurately named. This was one of my best activations! The hike was huge, everything went incredibly well, and I made 30 contacts from the summit. My son Tom hiked with me all the way, we had a good day, and it was a long one!

    Tom Fuller on Isolation Peak Summit
    Tom Fuller on Isolation Peak Summit


    I climbed Isolation Peak back in 1971, when I was much younger. It was the longest and most difficult climb I had done at that time. I had the USGS topo map “Isolation Peak”, and on a dry day in September, I found my way to the top – it was incredible! I was a little late getting to the summit back then, and I still remember marching out the last couple of miles in the twilight as fast as I could walk, with very sore feet.

    When Tom and I got to the trailhead early in the morning, we were ready for the expedition. The hike is almost 17 miles round trip, from the Wild Basin Ranger Station at about 8500 feet, to the summit at 13118 feet, for a vertical gain of 4618 feet. The first part of the trip is on a good, popular trail up North Saint Vrain Creek and Ouzel Creek to Bluebird Lake at about 11,000 feet. We started hiking at 6:26 AM, and we were at Bluebird Lake by 9:30; that was the easy part. Isolation Peak came into view, over 2000 feet above us, and almost 2 miles away. We crossed at the lake outlet, and then we picked our way around the rocky north shore of the lake and up the slopes toward Pipit Lake. There’s no marked route, but there are a few cairns. Not many people go up beyond Bluebird.

    We followed the north side of the beautiful creek up the drainage above Bluebird, through the alpine wilderness. We were alone. We ascended 600 vertical feet up the open slopes north of scenic Pipit Lake; at 10:42, we were standing at Isolation Lake, in its rocky cirque at 12,000 feet. The Peak stood silently in the sun, over 1100 feet above us.

    Isolation Peak South Side
    Isolation Peak South Side


    After a short break to pump water, we climbed a steep slope above the west side of Isolation Lake; we continued up the rocks and tundra to the south shoulder of Isolation at 12,800 feet. It’s mostly all rocks after that – up the south ridge and then to the summit. Tom led around to the west side as we approached the top – that worked OK. At 11:43 we were next to the summit block at the top – it took 5 hours and 17 minutes for the entire ascent. We were both pleased with our climb!

    KX0R near Isolation Peak Summit
    KX0R near Isolation Peak Summit
    KX0R on Isolation Peak Summit
    KX0R on Isolation Peak Summit


    The weather was perfect, and we stayed on the summit for two hours. Tom climbed the summit block, we took pictures, ate food, drank water, and marveled at what we could see from the high peak. I got busy and set up my 20-foot Black Widow pole, connected up the rig, and got on the air. It was already a race against the clock!

    I was on by 1821Z – 12:21 MDT – calling CQ on 15M CW. I made just one contact, so I went to 30M and ran through 13 stations in 12 minutes. Then I went to 20M CW and ran through 16 stations in 14 minutes. I would have enjoyed operating on more bands, but our time was limited. I logged 30 Q’s, including an S2S with W6AH on W6/CT-009, in just over 40 minutes – that would have to do. There certainly was no problem getting contacts up there!

    KX0R First Activation of Isolation Peak
    KX0R First Activation of Isolation Peak


    The summit of Isolation Peak is a pile of large boulders on a long, narrow, east-west ridge. The activation zone has plenty of room to put up an HF antenna; I set up in a flat area among large rocks, just west of the summit block. This was a comfortable spot in the sun! The RF noise was very low – there’s no development for miles – and there were no storms in the area. There was only a breeze, and activating Isolation was almost an ideal alpine SOTA experience. Experience and light-weight gear were essential to activating such a remote peak and making it back to the trailhead at a reasonable time.

    Isolation Peak View NW
    Isolation Peak View NW
    Pipit Lake below Isolation Peak
    Pipit Lake below Isolation Peak


    We headed down from Isolation at about 1:43, picking our way down the rocky south ridge; we wasted little time on the long trip down the valleys. We reached the parking lot at 7:20 PM MDT; our descent took 5 hours and 37 minutes. We were on the summit for two hours – a long time for such a peak; but we were on the trail for about 10.9 hours. The average speed for the 17 miles on the trail was about 1.56 mph, including all breaks and stops. While we were generally hiking about 2.0 to 2.5 miles per hour on the trail, sometimes even faster, we really slowed down off-trail. We averaged less than 1 mph in the steep rocks and thin air above 12,000 feet.

    We made no errors – what a fine day!

    I don’t recommend Isolation Peak, or similar wilderness peaks with long hikes and lots of vertical distance, for most SOTA activators. Almost everything has to go right, or such a trip can turn into a disaster. There’s very little margin for error!

    Reasonably careful preparation helps control risks related to navigation and weather. Having established routines and familiar gear are essential. Taking too much equipment is as bad as not having enough, especially when the air is thin. Lots of experience is critical, but sometimes it creates a false sense of security.

    On the right day, at the right time, the alpine wilderness can be lots of fun. Add a good SOTA activation on a high summit, and a rich, intense experience is possible.

    Isolation Peak certainly is a SOTA Classic – but this summit is right for a small minority of athletic operators, and only on a limited number of days with safe weather. Most of the high, remote peaks of Rocky Mountain Park and the Indian Peaks are in the same class. There are listed SOTA peaks in this region that are much more difficult than Isolation, and some of them may never be activated!

    73

    George Carey Fuller
    KX0R

    Columbine near Isolation Lake
    Columbine near Isolation Lake

    ATTENTION !! WARNING !! There are old mountaineers, and bold mountaineers… there are no old-bold mountaineers. Hiking and mountain climbing are potentially hazardous activities particularly in Colorado with its extreme elevations. I am not accepting responsibility for any death or injury resulting from activations based on my trip reports. Proper training, experience, and personal capability assessment is required – enjoy!
  • WØC/PR-118 (Pence Mount) – 3018 M / 9903 ft

    W0C/PR-118
    Pence Mount
    3018 M / 9903 ft
    March 28, 2015
    First Activation

    Pence Mount, or Mount Pence, is a moderately easy 3000 meter summit about 3-1/2 miles east of Squaw Mountain. This peak is perhaps 2/3 mile from the Squaw Pass Road, with an ascent of about 900 vertical feet.

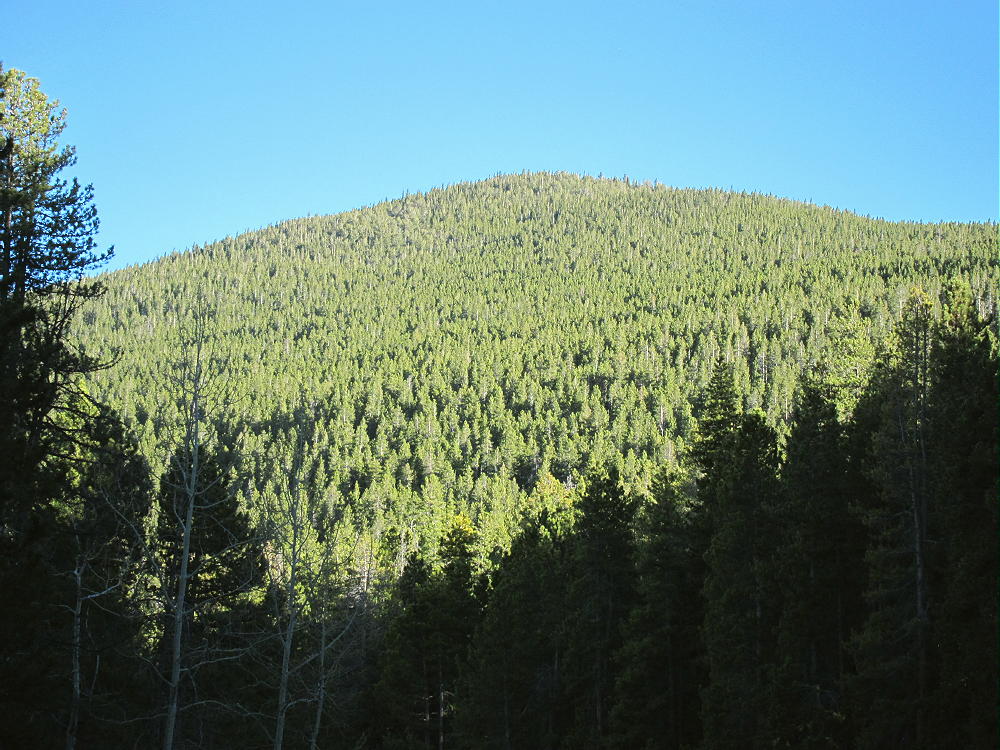
    Mount Pence West Side from Squaw Highway
    Mount Pence from Squaw Highway

    In many ways Pence is an ideal SOTA peak, but this isn’t apparent at first.

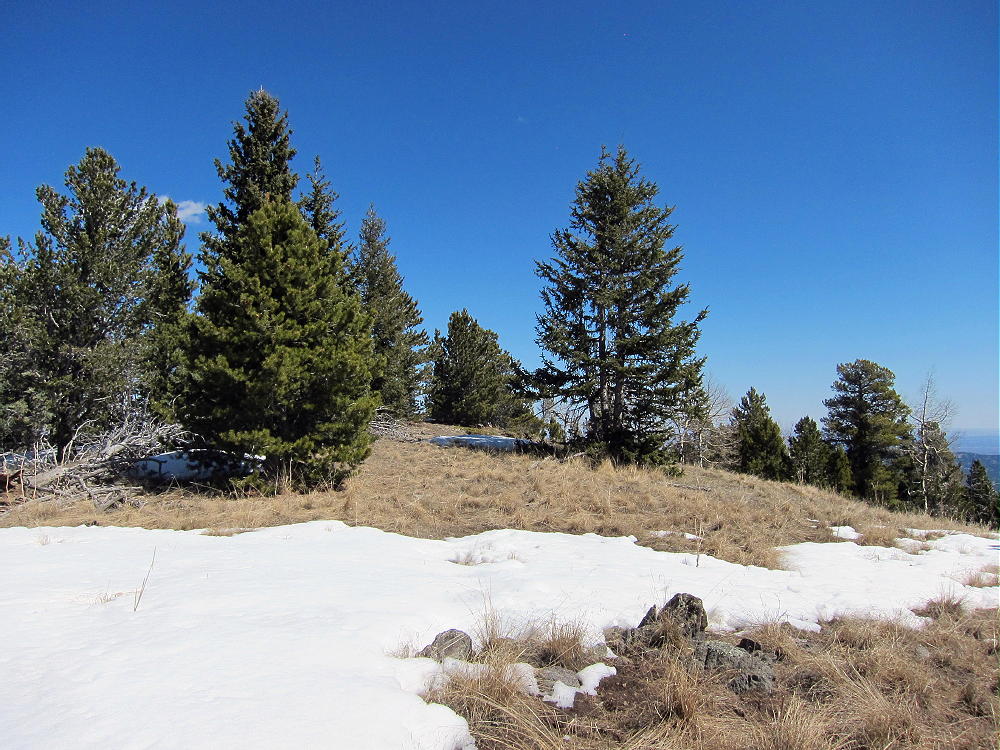
    Mount Pence Summit Meadow
    Mount Pence Summit Meadow

    Please look at Google maps while reading these directions:

    To find the trailhead, drive west from Denver via I-70, and exit onto the Evergreen Parkway, Highway 74. At Bergen Park, turn right and drive west up the Squaw Pass Highway 66 several miles. Continue on 66 for about one mile after the second junction with the marked Old Squaw Pass Road 170. This is a very curvy section of road that winds along the north slopes of Mount Pence. Look for an obvious parking area on the left (southeast) side of the highway, at about 8940 feet elevation. There are two such pull-outs. Choose the second parking spot, just past where the road wraps almost a full circle left around a hill. This spot is ¼ mile north of where the road contours into a valley between Pence and Snyder mountains. If you drive too far, there is a very sharp right hairpin turn where the road goes near the creek – if so, turn around, drive back north ¼ mile, and park at the first large parking spot on your right. There is a jeep road with a steel cable across it, as well as USFS sign posts.

    Gated Road to NW Ridge of Mount Pence
    Gated Road to Northwest Ridge of Mount Pence

    The start of the jeep road is shown clearly on Google Maps. Please don’t block the road.

    There is no sign marking the path up Mount Pence. Hike up the hill about 100 feet, and then follow the road to the right and up the northwest ridge of Mount Pence.

    Closed Jeep Road up Mount Pence
    Closed Jeep Road up Mount Pence

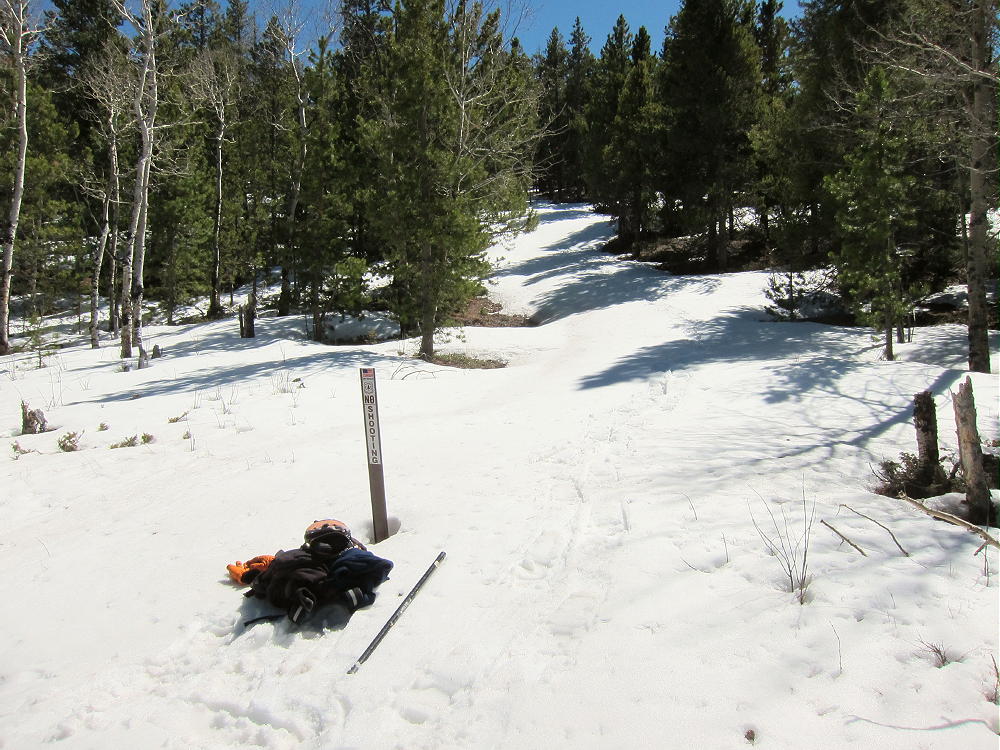
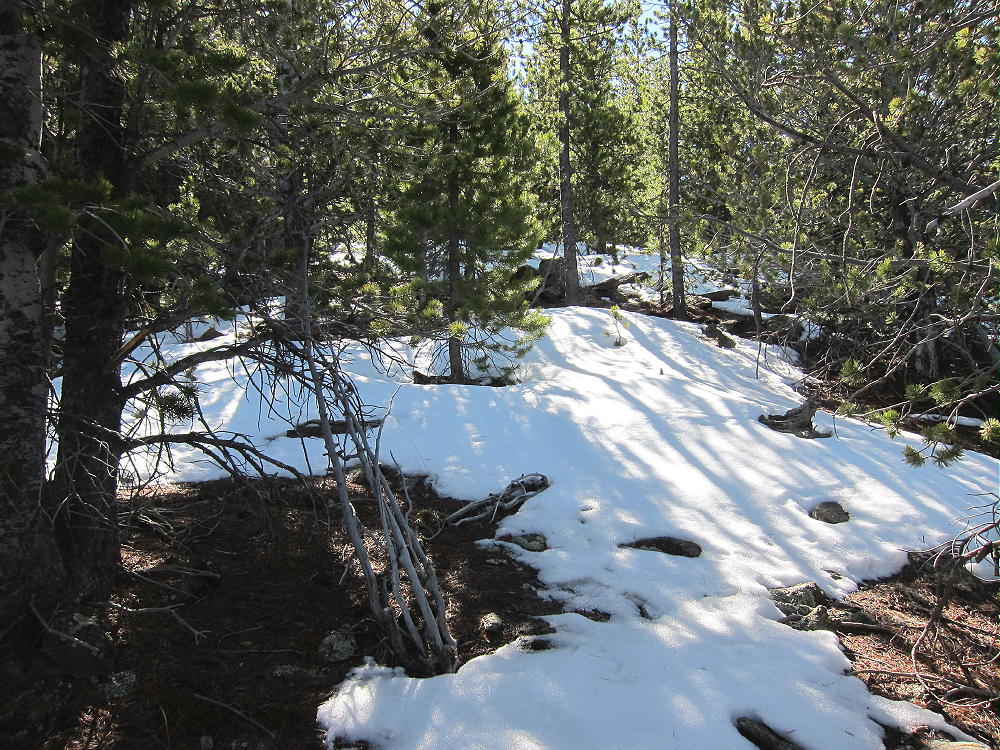
    The road soon ends, but an informal, un-maintained trail continues up the forested ridge. The day I climbed Pence, the ridge was 90% snow, but bits of the trail were visible between the snow piles. If the ridge is all snow, forget the trail and just stay on the ridge to the top.

    Mount Pence NW Ridge Route
    Mount Pence Northwest Ridge Route

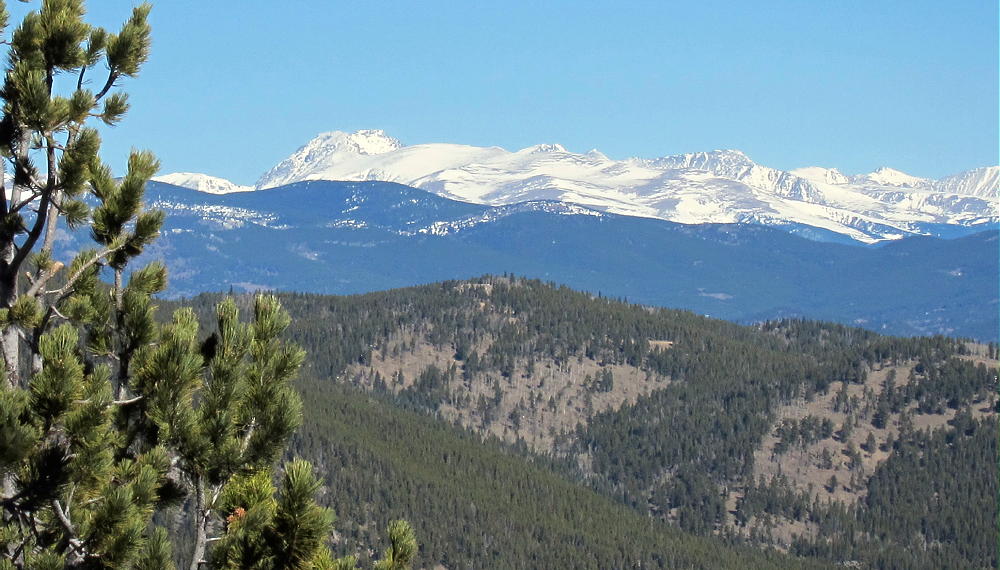
    This is a simple hike, almost a straight line up a ramp! The forest is moderately thick, so the summit isn’t visible until you’re there. There are nice views north as you ascend.

    Arapaho Peak from Mount Pence
    Arapaho Peak from Mount Pence

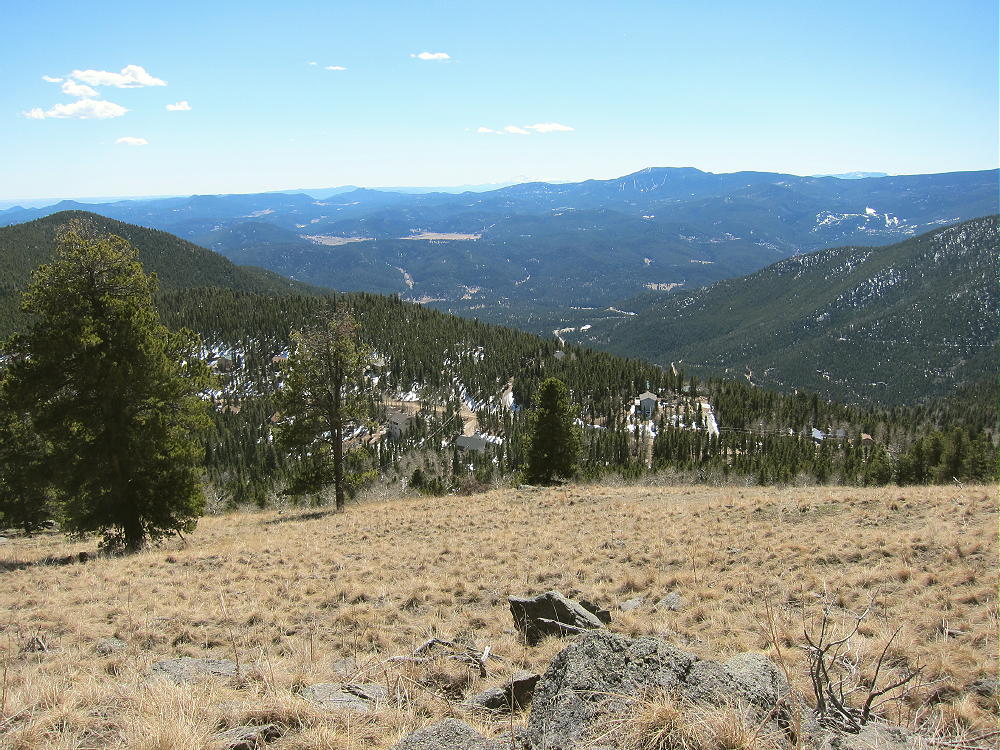
    Satellite images of Pence reveal many houses and roads just south of the summit. Initially I thought Pence might be private land. The houses are part of a mountain subdivision located 200 to 400 vertical feet below the summit, and most of them are not visible from the summit.

    Mount Pence View South
    Mount Pence View South

    The available evidence suggests that the northern part and activation zone of Mount Pence are on USFS land.

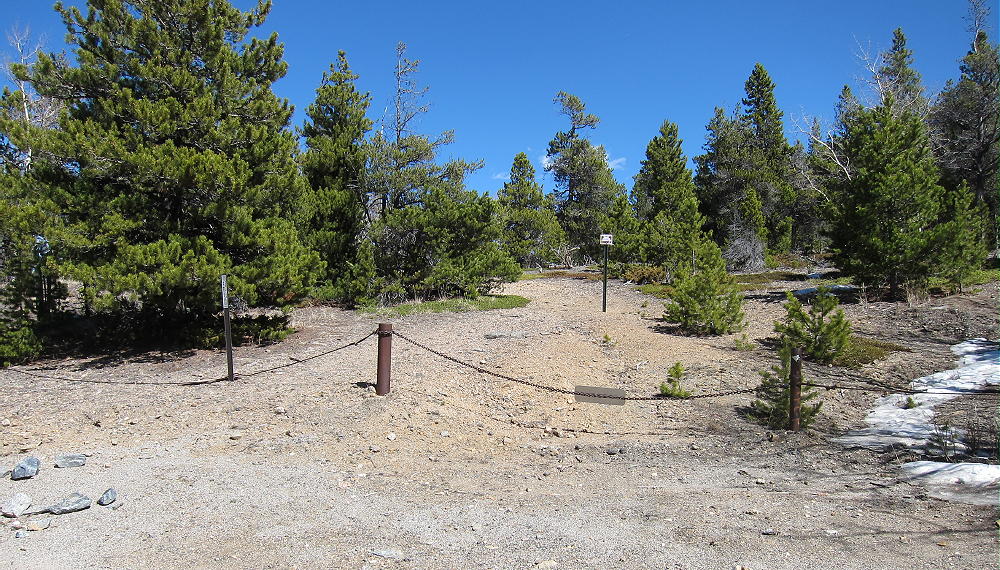
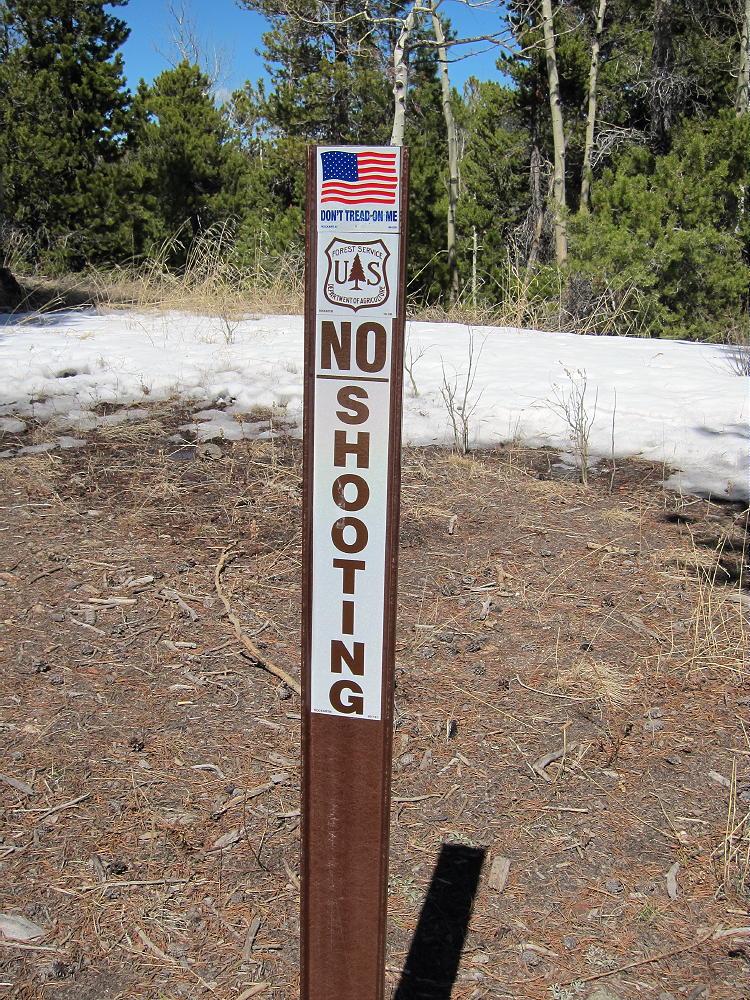
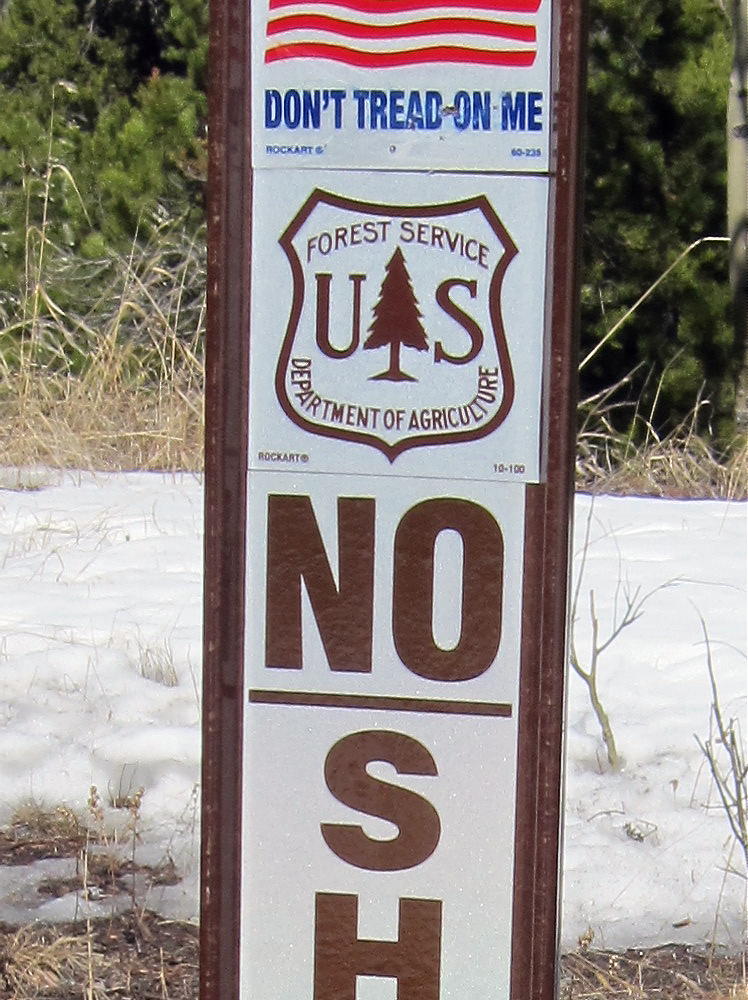
    The route up the northwest ridge has no “Posted” signs or fences. The only sign I saw near the summit indicated that shooting is not allowed behind the post – in the direction of the houses.

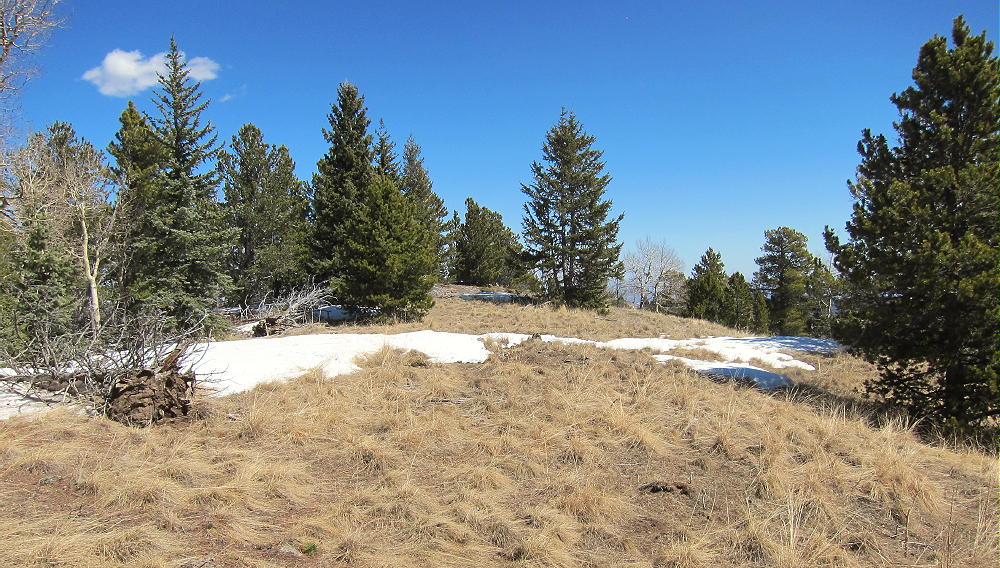
    Despite the satellite image, Pence is a surprisingly private, pleasant peak to activate. There is a large, nearly flat meadow on top, with trees to the north.

    Mount Pence Summit Meadow
    Mount Pence Summit Meadow

    The summit is a pile of rocks near the east end of the summit ridge. The activation zone is large and convenient, and the view south is spectacular. There is a faint path up the east ridge, but evidence of visitation is minimal.

    Mount Pence is a convenient summit with year-round access via a paved road close to the Denver area. The mountain provides an enjoyable snowshoe climb in winter and early spring. In warmer weather the hike is short and efficient. The summit has excellent VHF/UHF coverage across much of the Metro area, and it’s ideal for HF. The noise level was low when I was there, despite the houses less than 1000 feet away.

    Mount Pence Radio Gear
    Mount Pence Radio Gear

    Pence Mount, Mount Judge, Squaw Mountain, and Chief Mountain are all fun SOTA peaks, located a few miles from each other, and accessible via the Squaw Pass Road; they provide opportunities for efficient dual or multiple activations. The day I climbed Pence, I had no problem activating the more challenging Mount Judge on snowshoes, up through the forest on the north side.

    73

    George Carey Fuller
    KX0R


    ATTENTION !! WARNING !! There are old mountaineers, and bold mountaineers… there are no old-bold mountaineers. Hiking and mountain climbing are potentially hazardous activities particularly in Colorado with its extreme elevations. I am not accepting responsibility for any death or injury resulting from activations based on my trip reports. Proper training, experience, and personal capability assessment is required – enjoy!
  • WØC/FR-185 (Centennial Cone) – 2645 m / 8679 ft

    W0C/FR-185 (Centennial Cone)
    2645 m / 8679 ft
    30 Aug 2013
    27 Feb 2014

    by KX0R

    Centennial Cone is a fun, challenging summit with good access from three directions.

    Centennial Cone Trail Near Western Trail-head
    Centennial Cone Trail Near Western Trail-head

    To reach the convenient western trailhead, drive west from Golden, CO, up Route 6 in Clear Creek Canyon – follow the signs toward Blackhawk and Central City. You are definitely going gambling, but not at the Casinos! Shortly after Road 119 splits from Route 6 and heads north toward Central City, take a well-marked right turn toward Centennial Cone Park. The steep road is paved all the way to the Park. The popular Park is free and has good parking, but note that hikers are allowed only on odd-numbered weekend dates; or ride a bike on an even-numbered weekend day; or go on a weekday.  The Elk Range Trail to the peak may be closed during the winter and spring due to elk calving – check before you go!
    At the trailhead, you can see the well-named Cone 1-1/2 miles to the east.

    Centennial Cone West Side
    Centennial Cone West Side

    Walk northeast up the gentle Elk Range Trail about 1.4 miles; just before a saddle northwest of the Cone, leave the trail and head up southwest across a meadow, and aim for a little gulch going up into the forest. If you are lucky, you’ll find an old road leading to an abandoned pegmatite mine. Follow a faint path above the mine and continue up on game trails or whatever you can find, for about 500 vertical feet, until you reach the top. The map suggests that the northeast ridge might be a better but longer route from the saddle mentioned above – however, access may be closed below there.

    The summit also can be accessed from the south side via a direct bushwhack hike.

    Centennial Cone South Side Bushwhack Route
    Centennial Cone South Side Bushwhack Route

    This route is slightly easier and longer than the northwest bushwhack route above the pegmatite mine. An obvious old road leads around the west side of the Cone from the Elk Range Trail.

    Here’s another interesting detailed report.

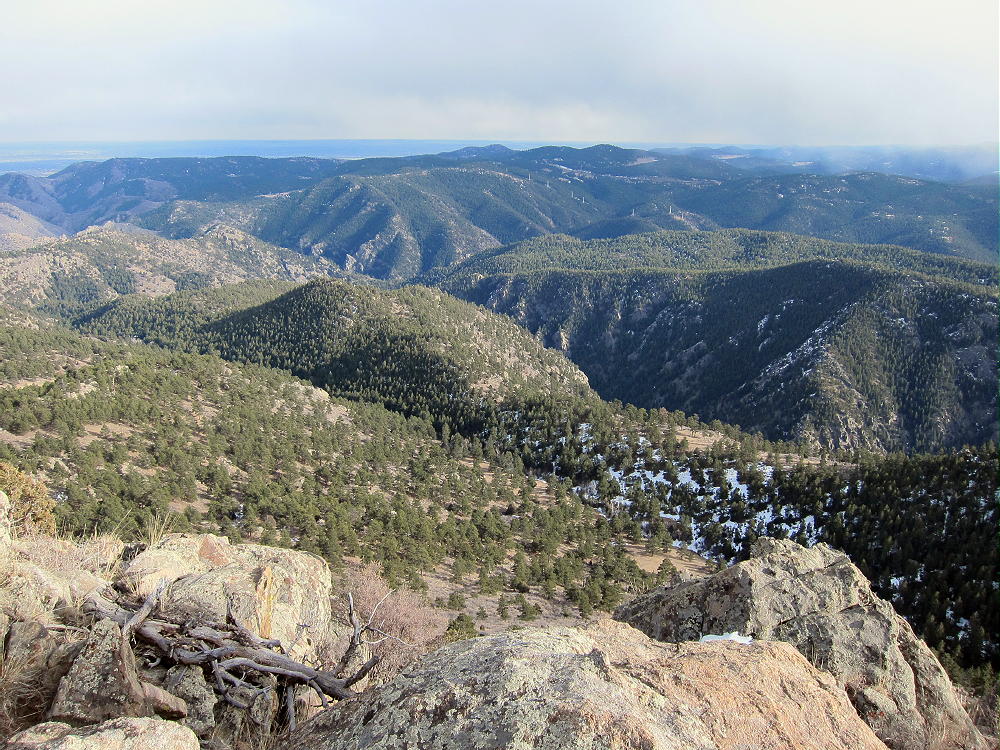
    The peak sees few visitors, and it’s a fine, quiet radio site. The summit area is large and open, there are large trees available, and the 360-degree view shows you everything you miss from Route 6 in the canyon far below.

    The site has pretty good VHF/UHF coverage of the plains to the east, as well as all directions for HF. There is some shelter from wind in the Activation Zone just east of the summit.

    Centennial Cone Activation East of Summit
    Centennial Cone Activation East of Summit

    Fall access is possible if you pick the right day and perhaps a different route up, but check the website for extensive closures, as the park and/or trail are closed for most of the winter and spring to protect the elk.

    73

    George Carey Fuller
    KX0R


    ATTENTION !! WARNING !! There are old mountaineers, and bold mountaineers… there are no old-bold mountaineers. Hiking and mountain climbing are potentially hazardous activities particularly in Colorado with its extreme elevations. I am not accepting responsibility for any death or injury resulting from activations based on my trip reports. Proper training, experience, and personal capability assessment is required – enjoy!