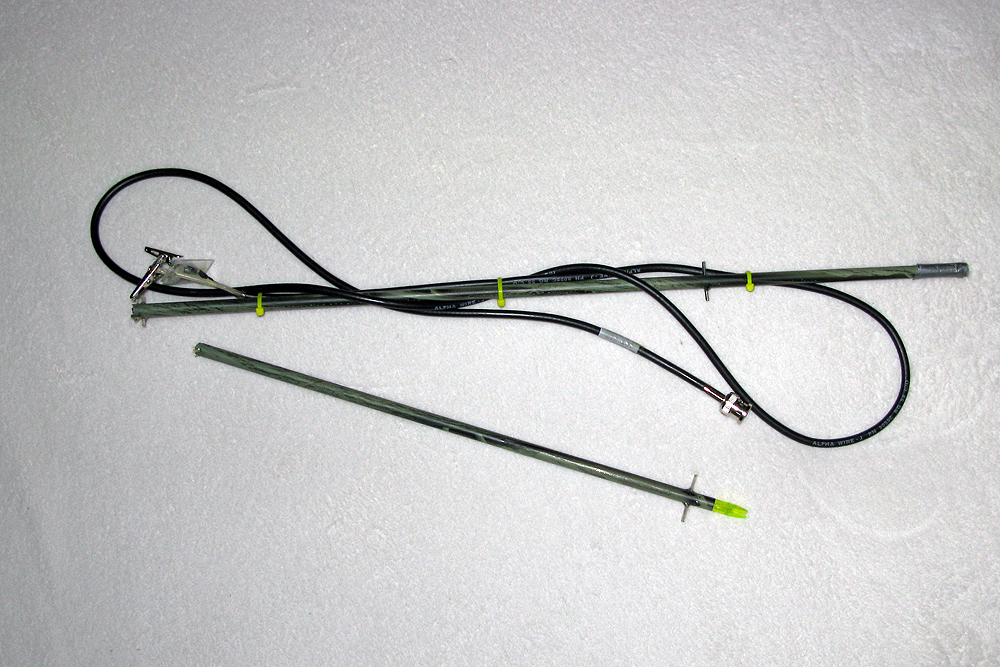
W0C/PR-080 (11543)
3511M / 11543ft
Sep 21, 2013
by KX0R
Please see the trip report for W0C/PR-071 Ethel Mount for most of the details about the route used to climb 11543.
Peak 11543 sits about 2 miles east of Ethel, but the peaks are on opposite sides of a deep glacial cirque.
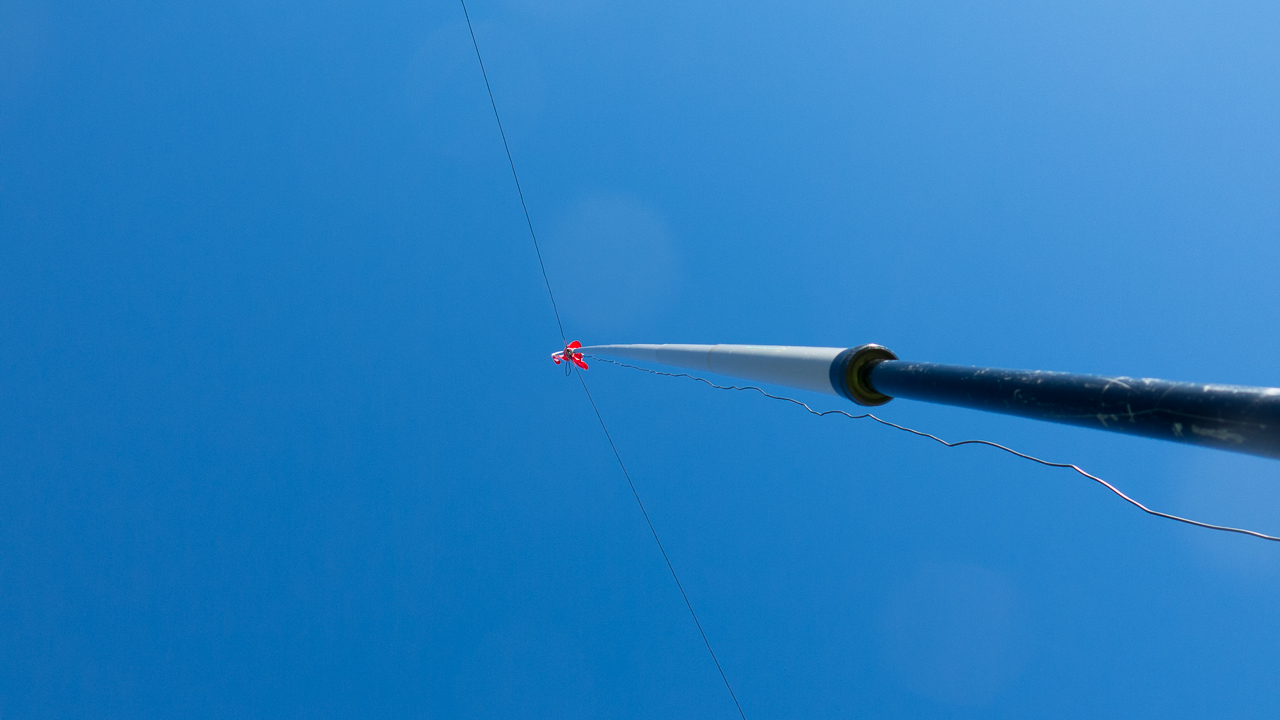
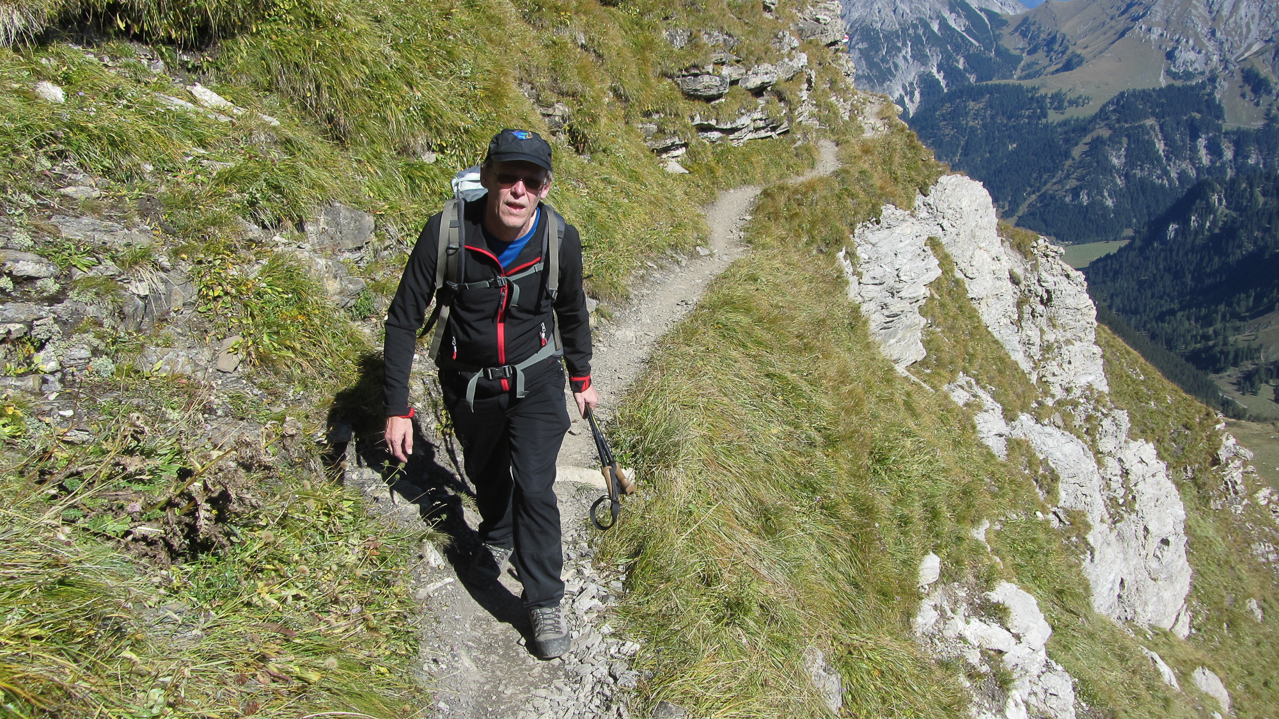
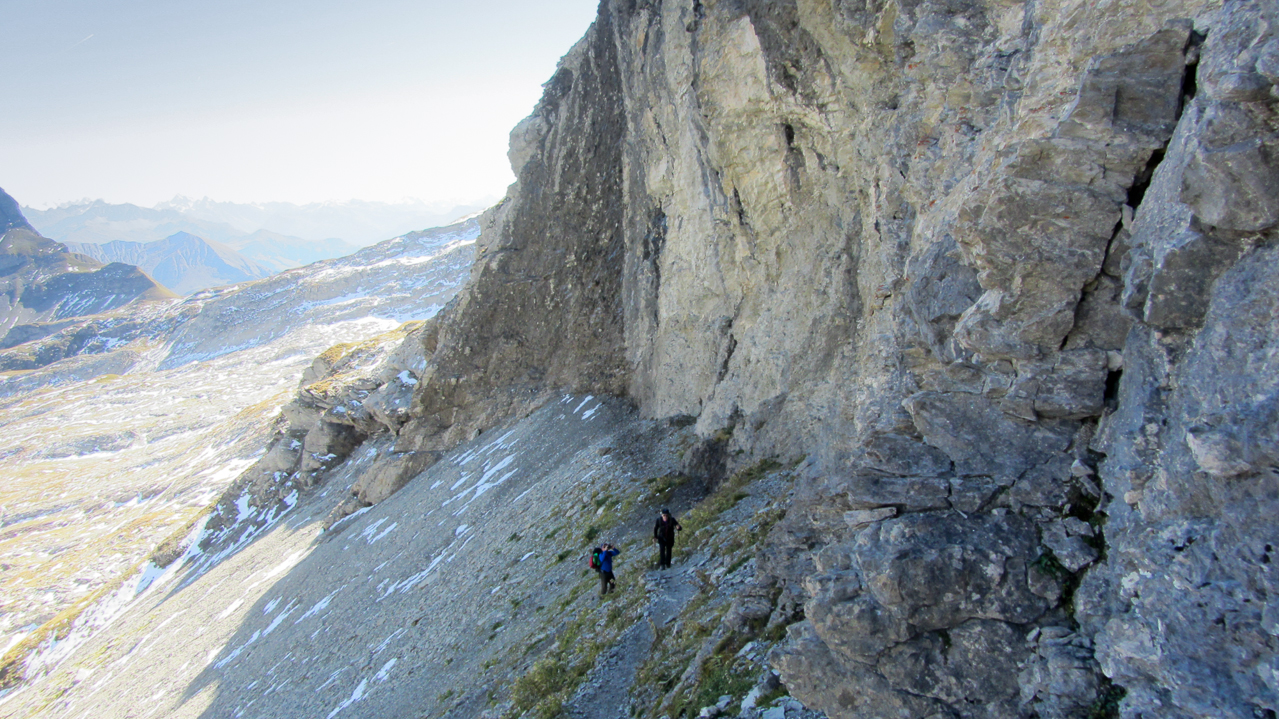
11543 can be climbed easily as a side trip from Trail 1130 that runs from the Divide to the Slide Lakes and Rainbow Lakes to the east. The summit of 11543 is less than a mile east from Trail 1130. There is a game trail or path up most of the northwest ridge of 11543, and it’s a pleasant ascent. The actual summit of 11543 is the rocky eastern summit, and there are other points up there that differ little in altitude. The broad top of the peak is right at treeline. Small trees and large rocks are available for some shelter from wind. There are several good spots to set up and activate. You’ll do better with an antenna pole.
Please see the USGS topo map for this area, as Google Maps omit many key trails.
Note that 11543 looks nice on top, but don’t be fooled into trying to descend by a different route than the NW ridge. There are steep cliffs around the west, south, and east sides of this large mountain.
It is possible to combine an activation of 11543 with another nearby summit, but this requires an early start, a long day, and good weather.
George Carey Fuller
KX0R
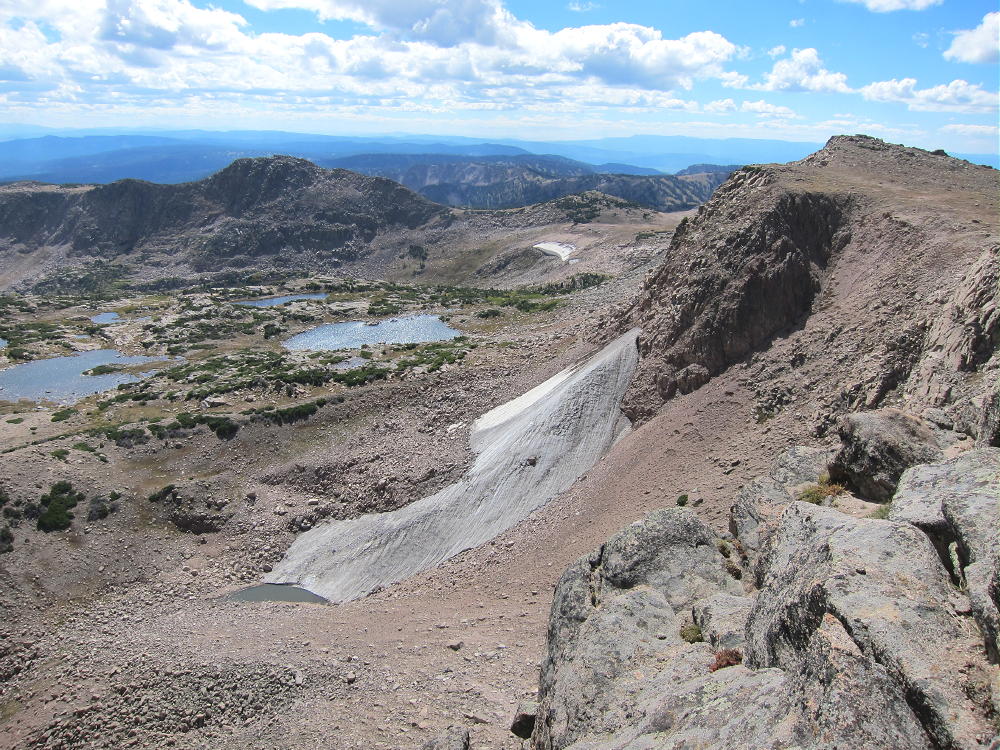
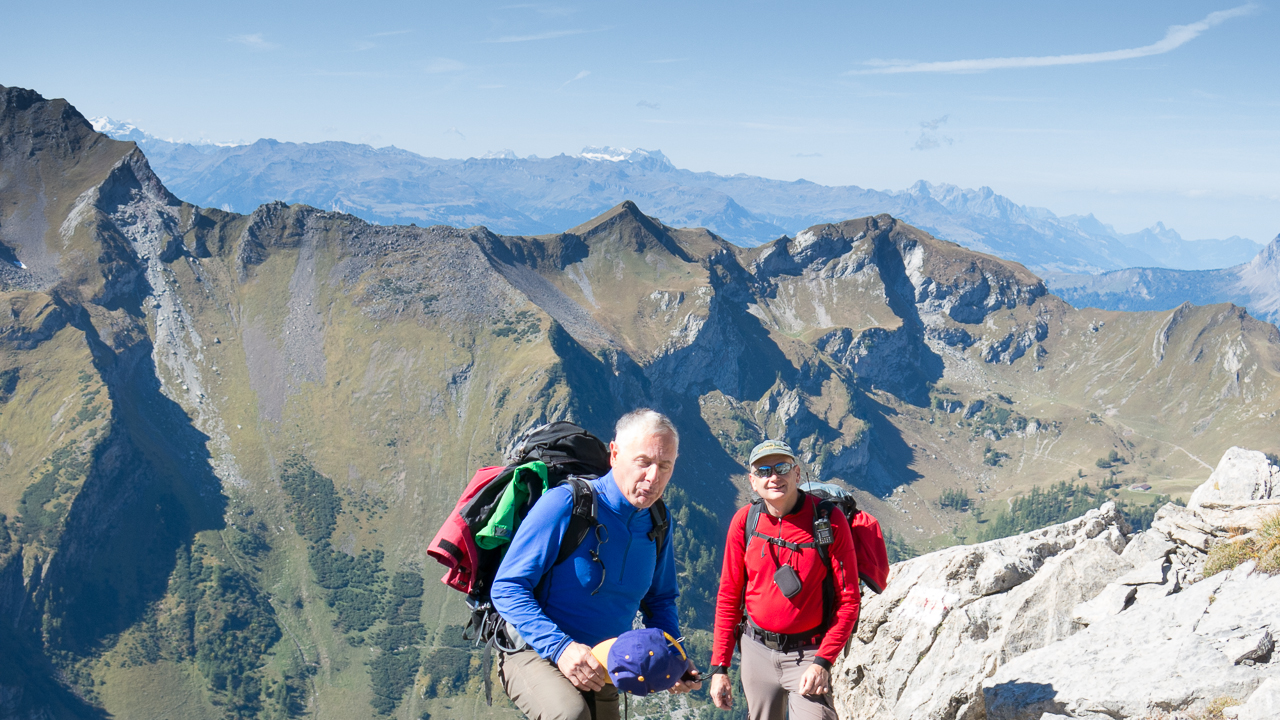
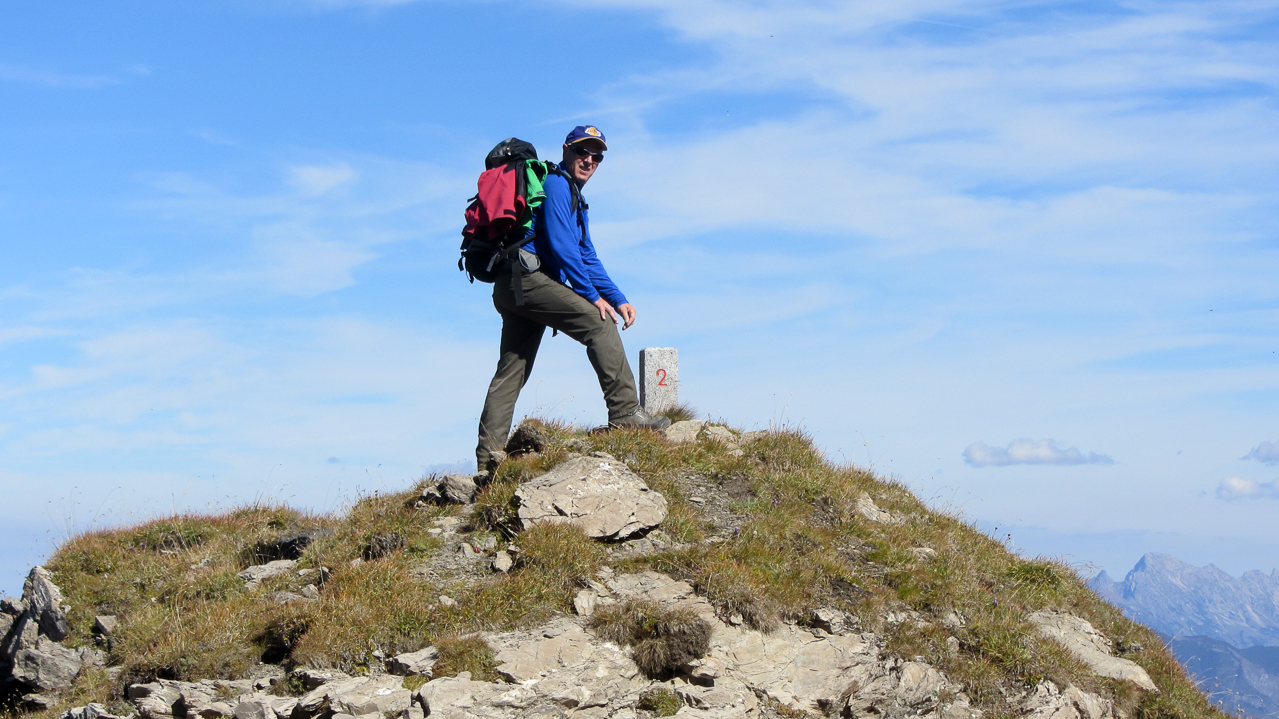
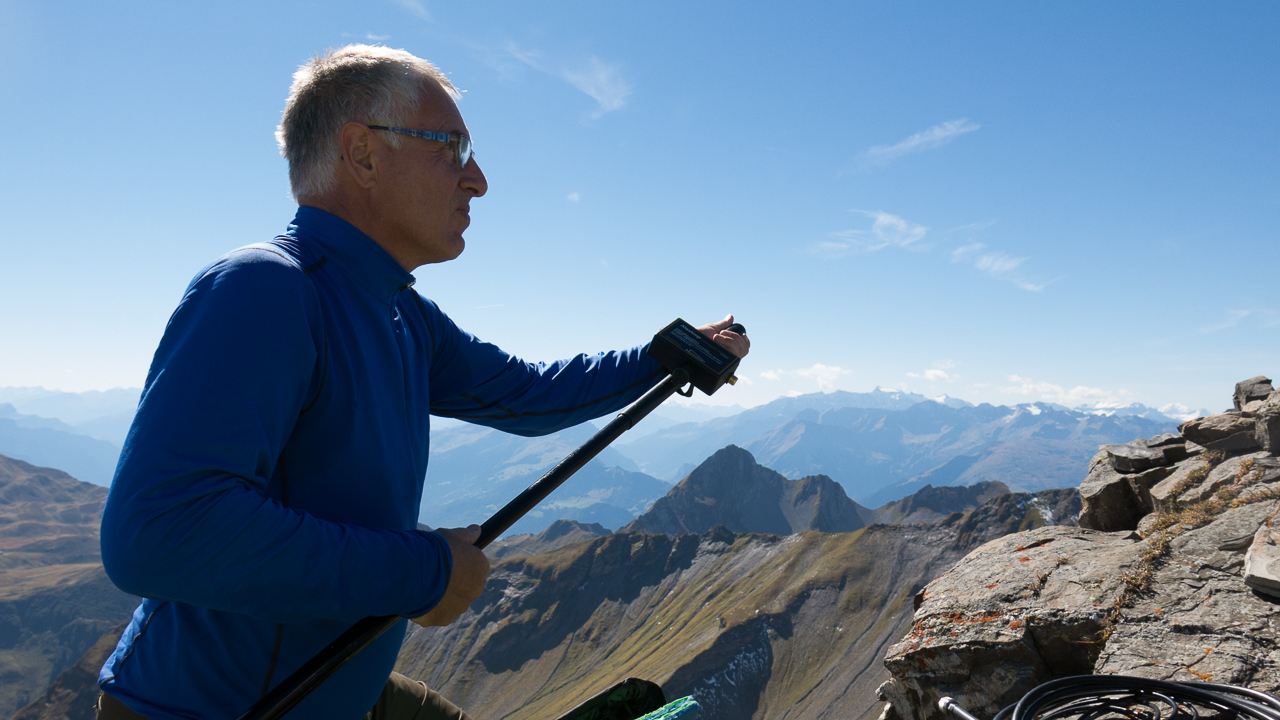
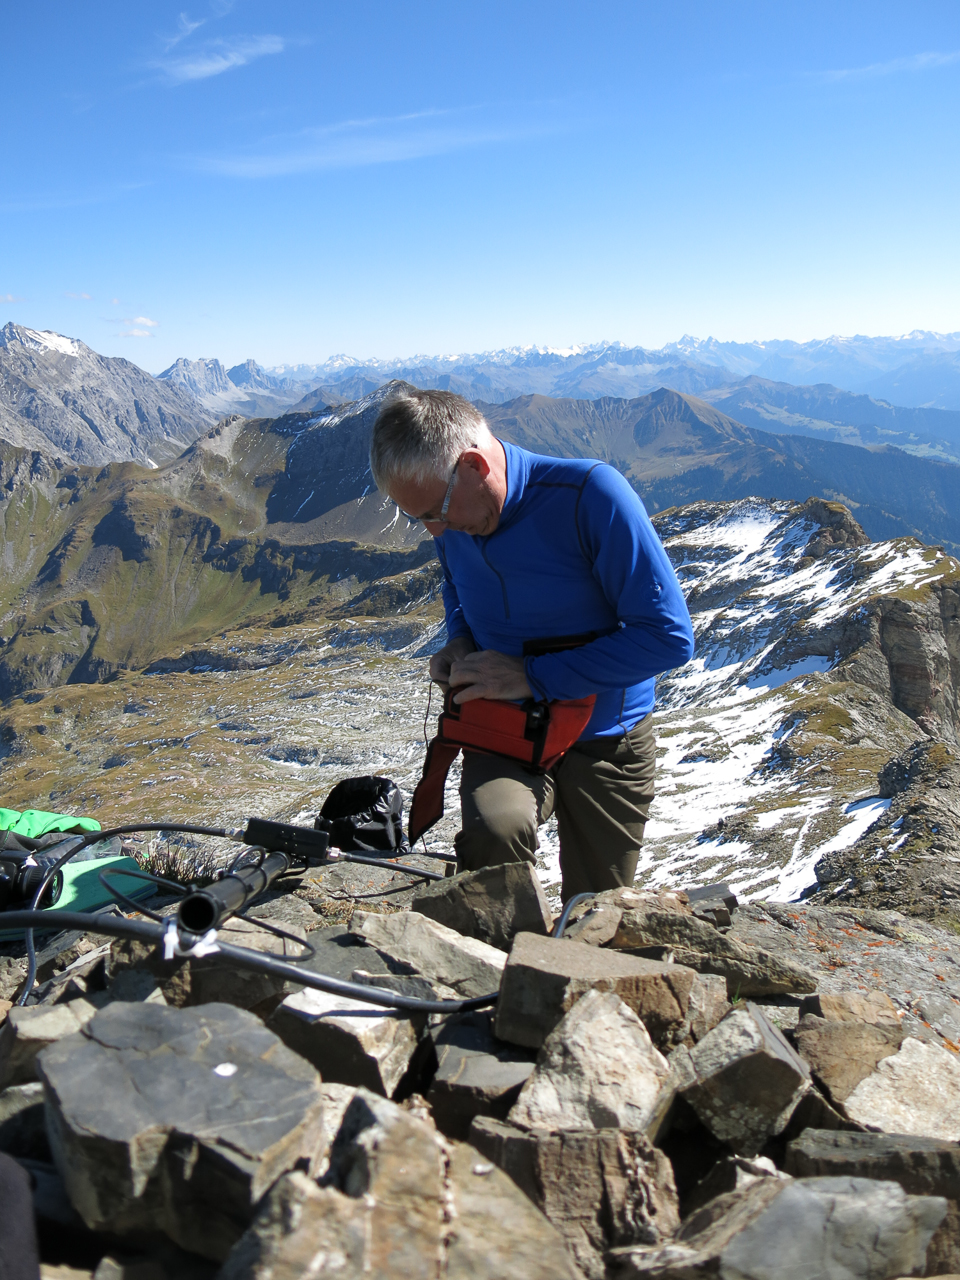
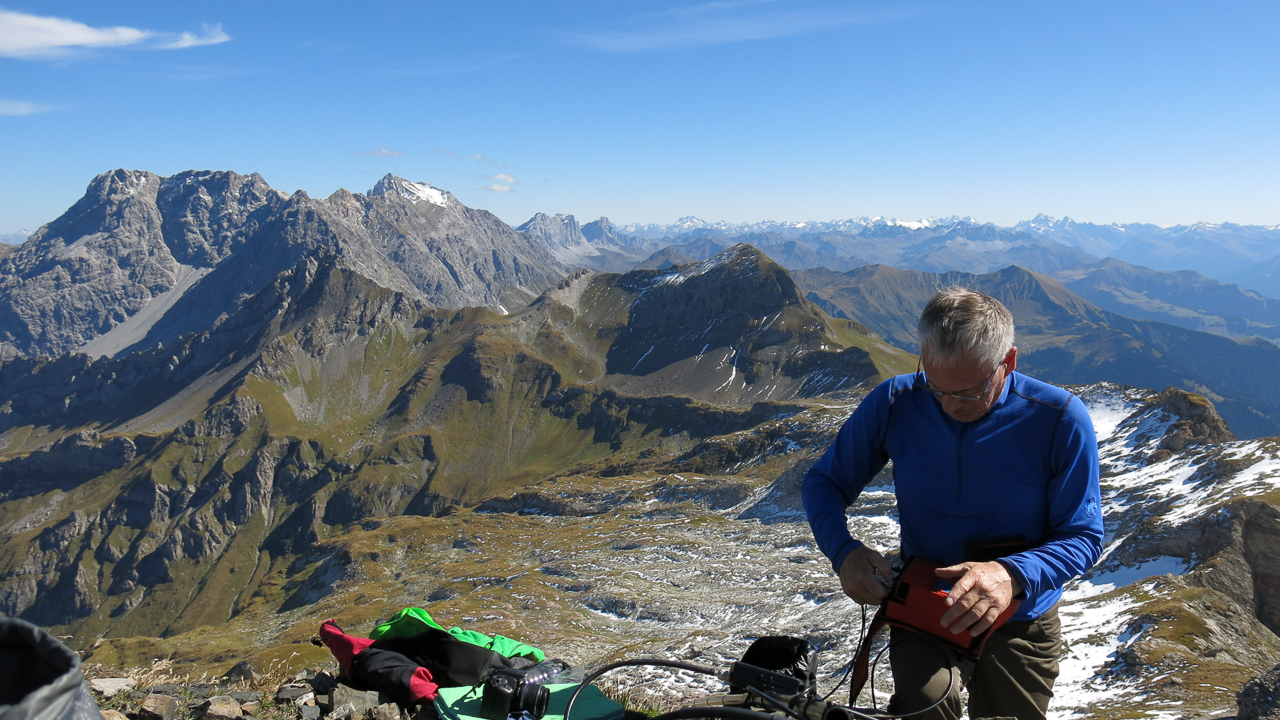
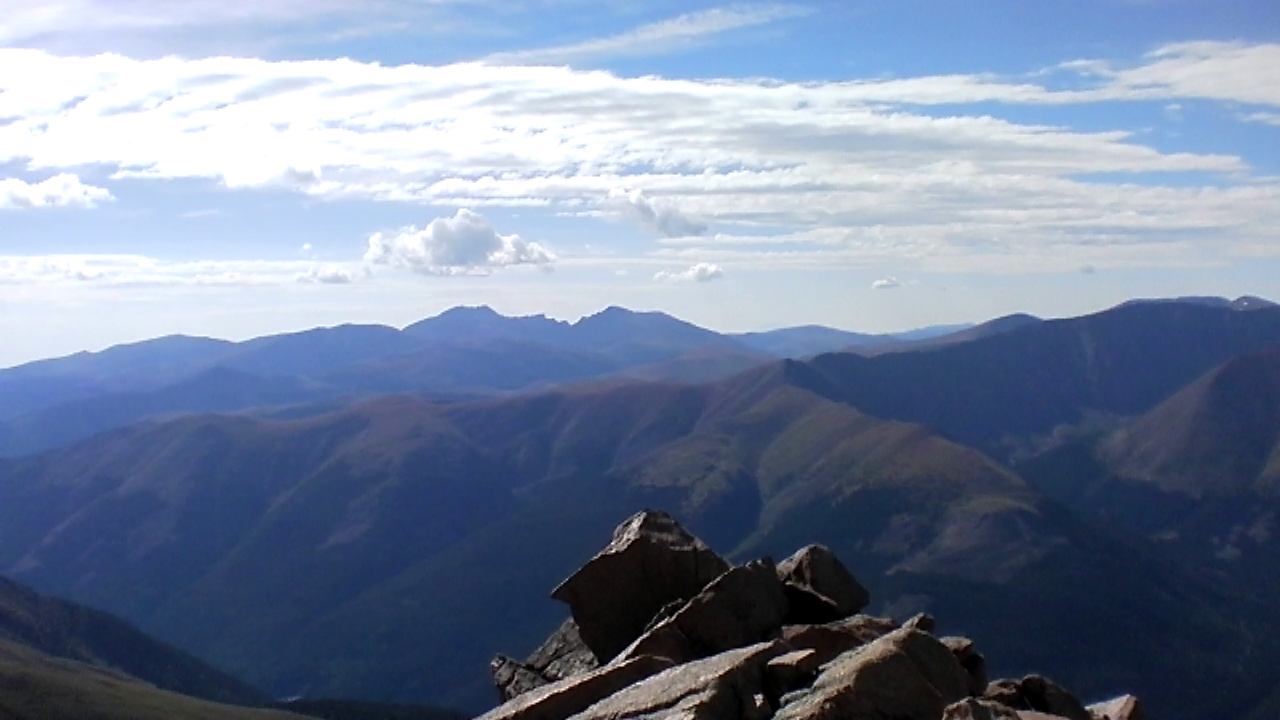
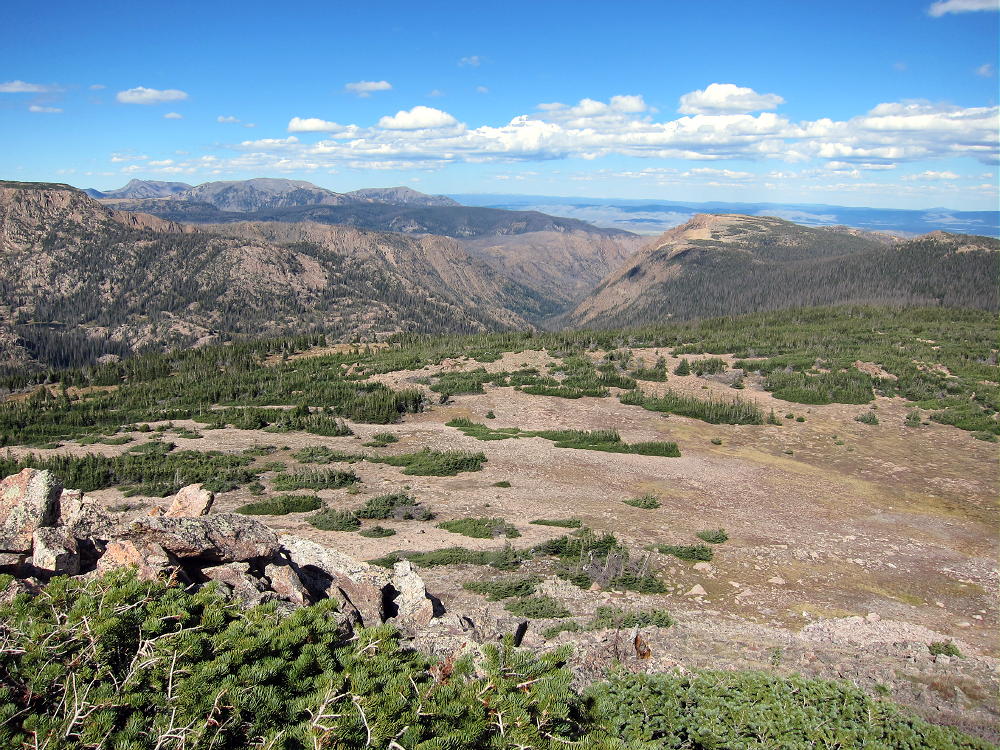
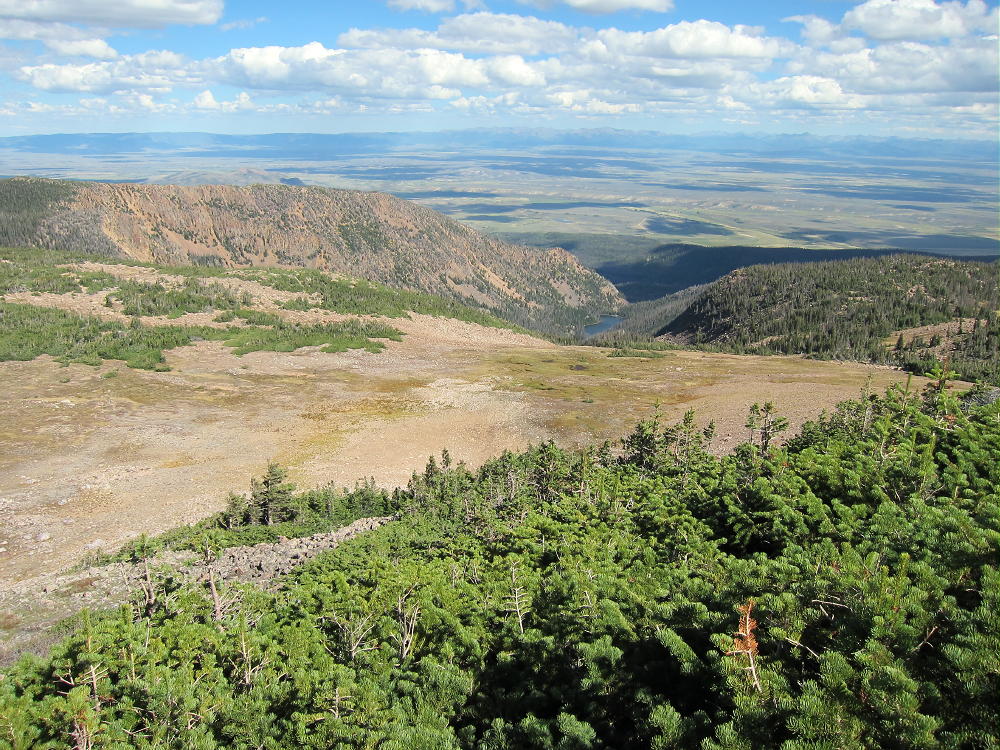
View NE from 11543 Summit
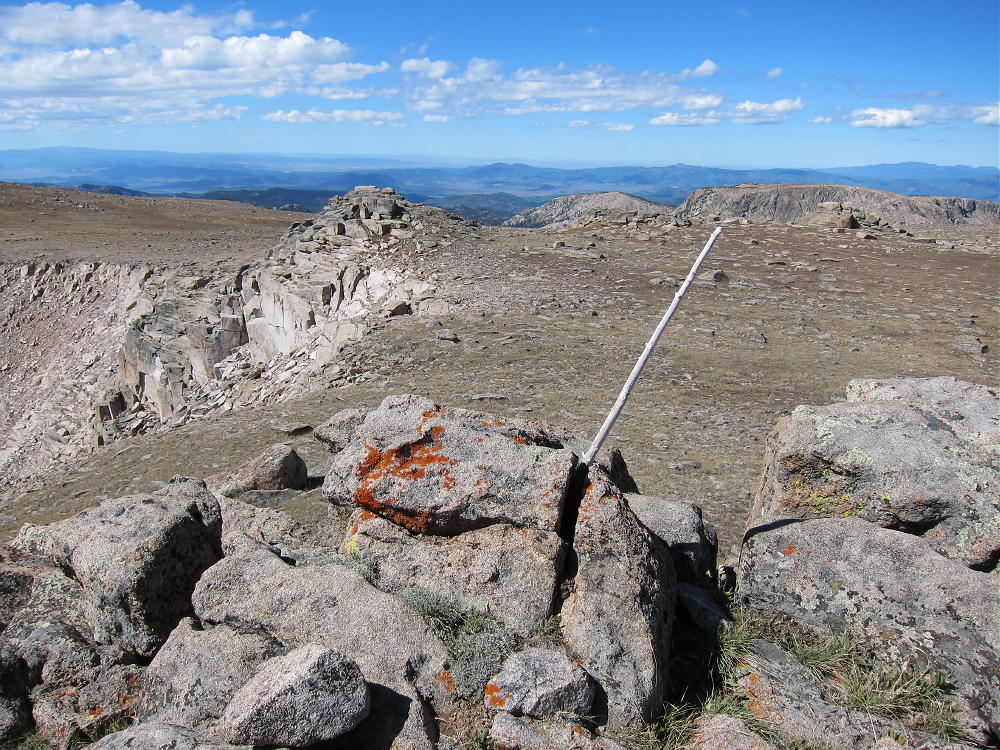
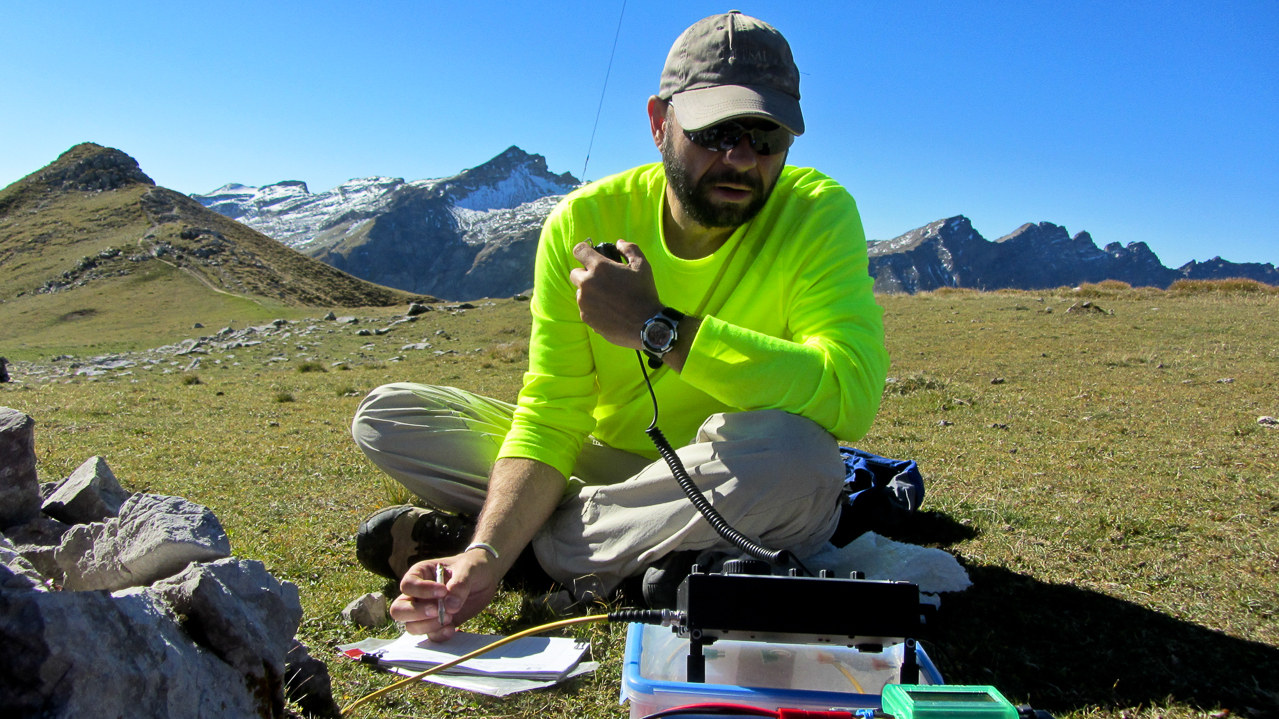
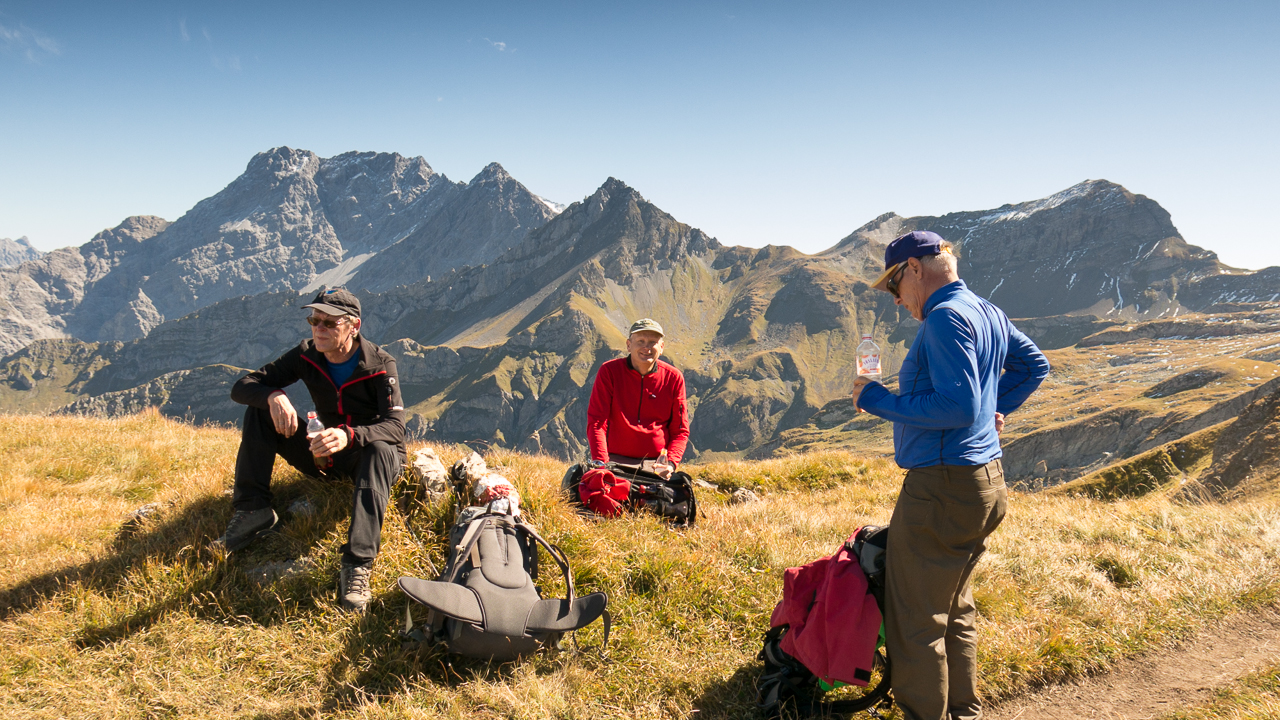
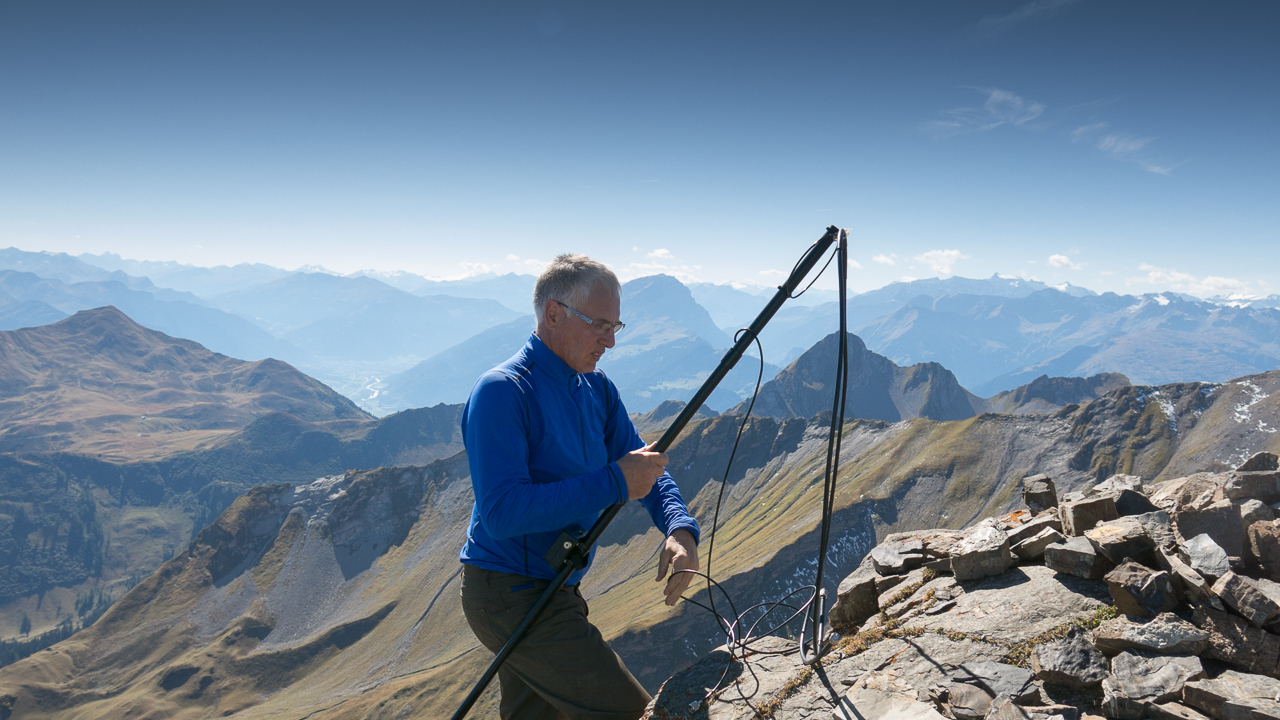
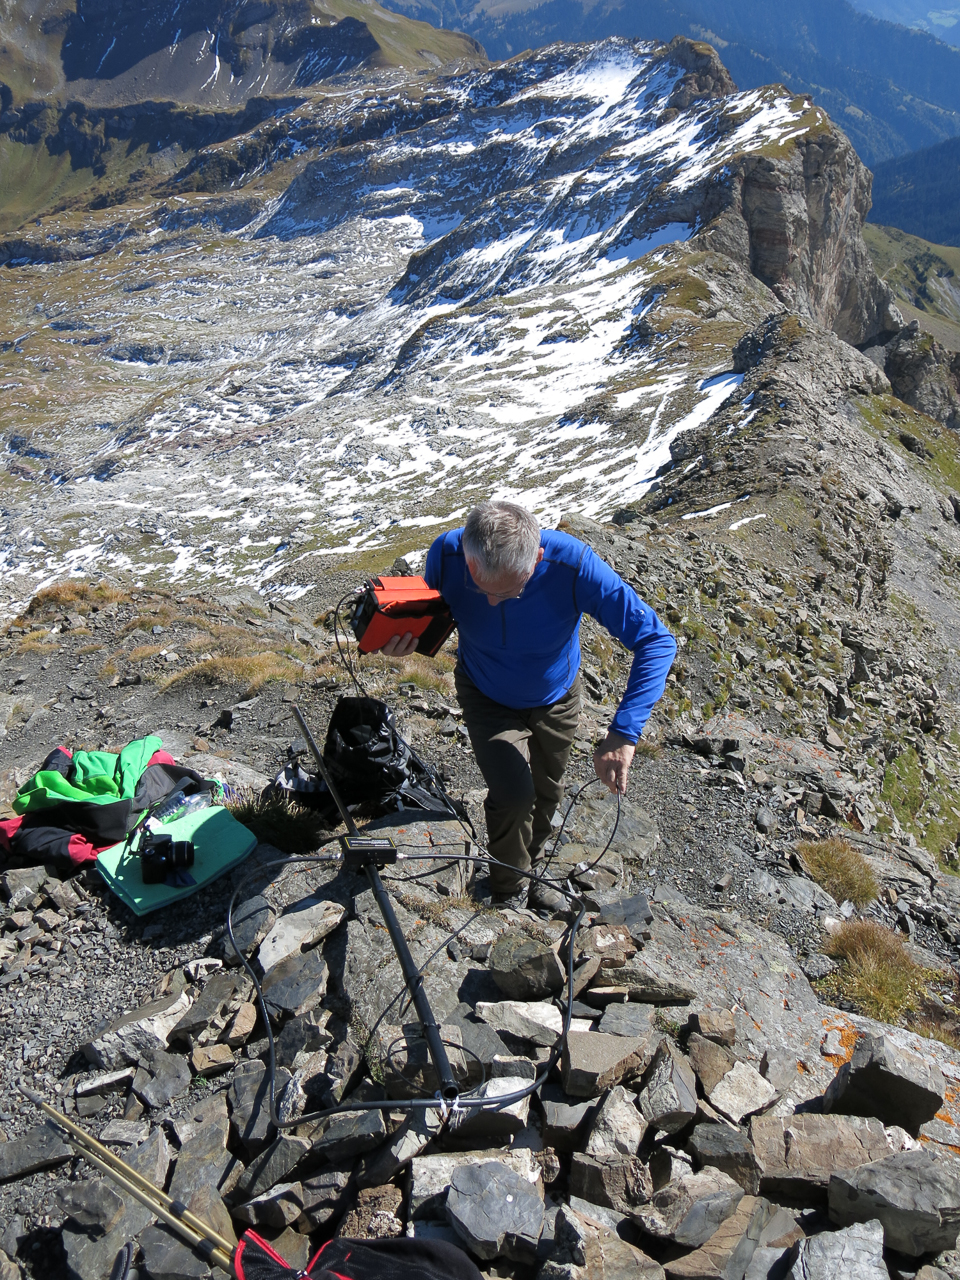
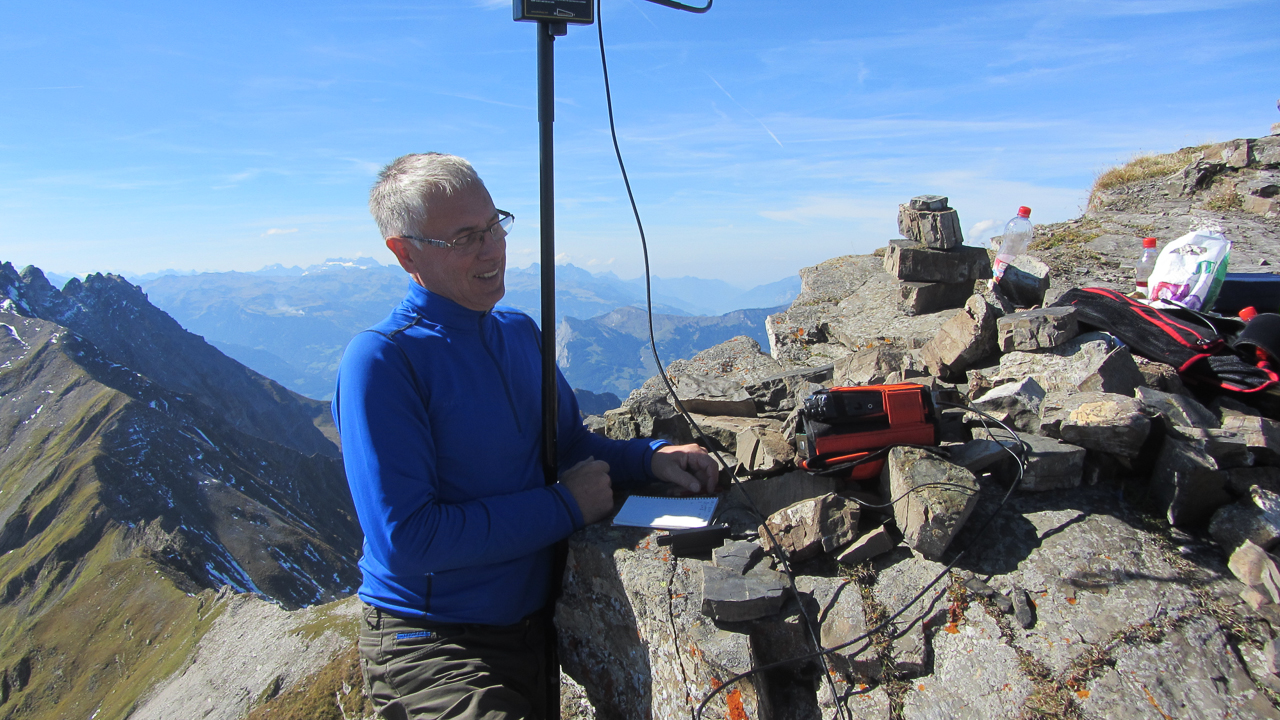
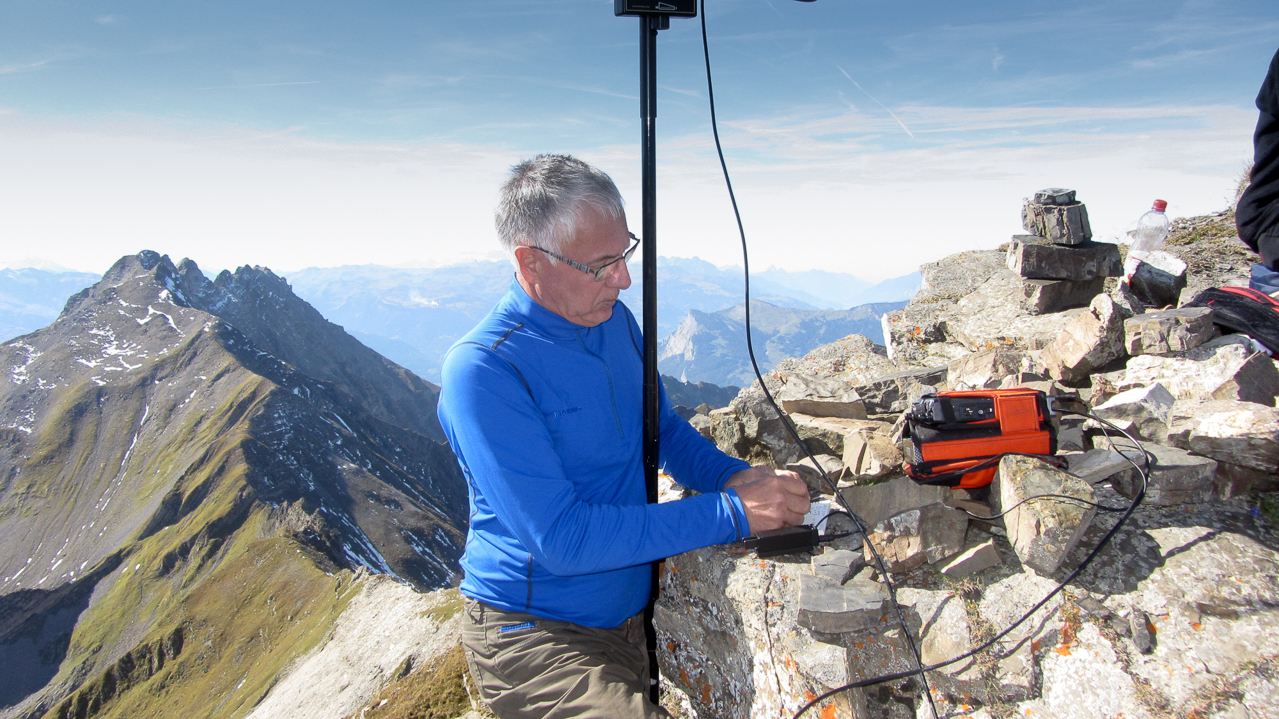
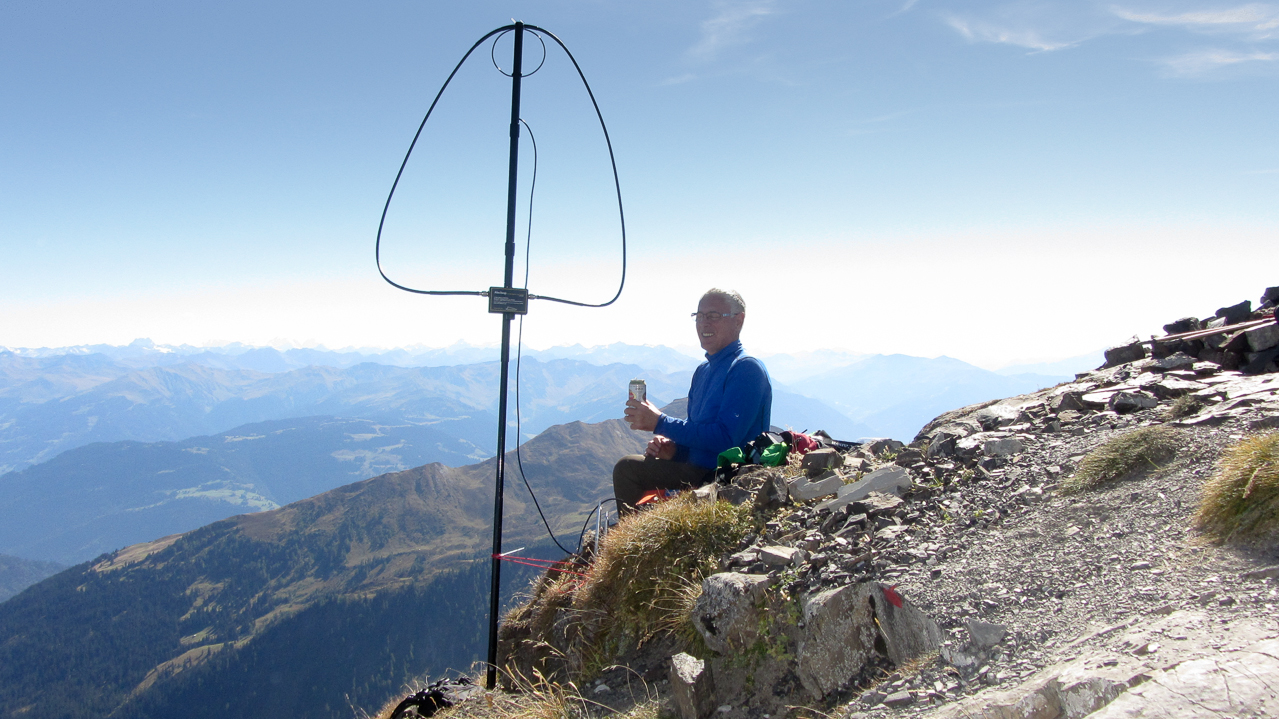
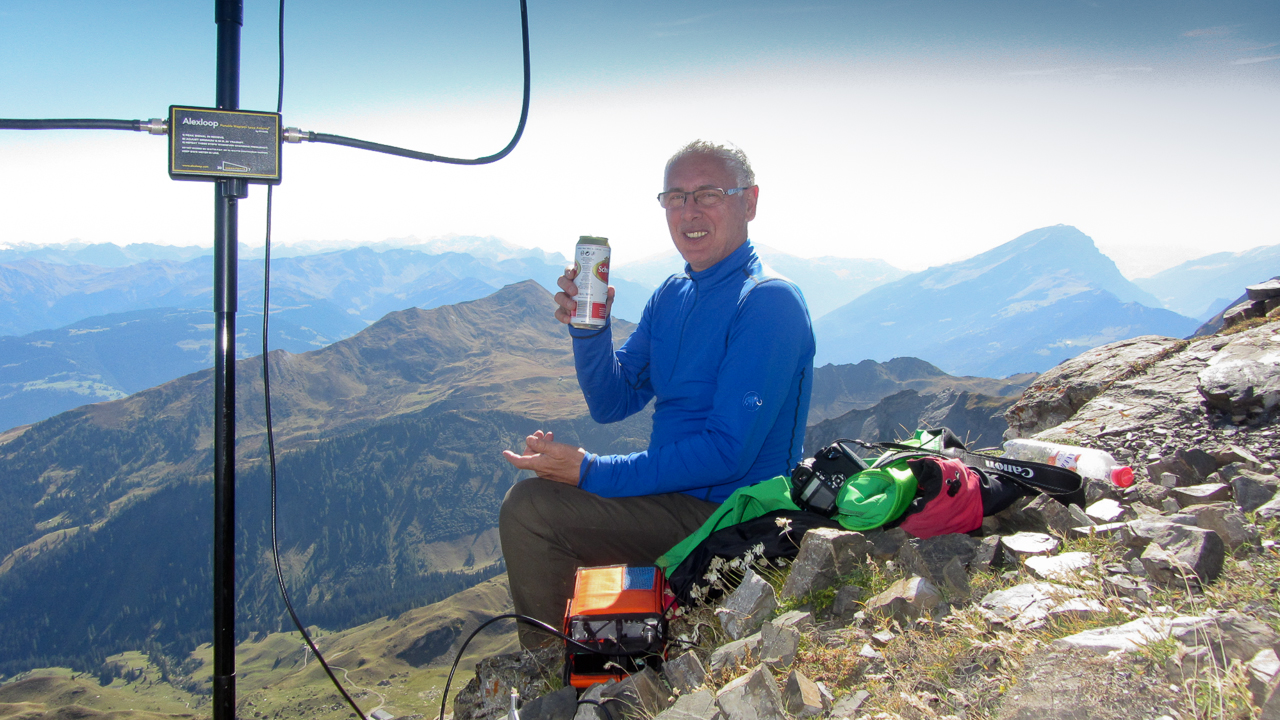
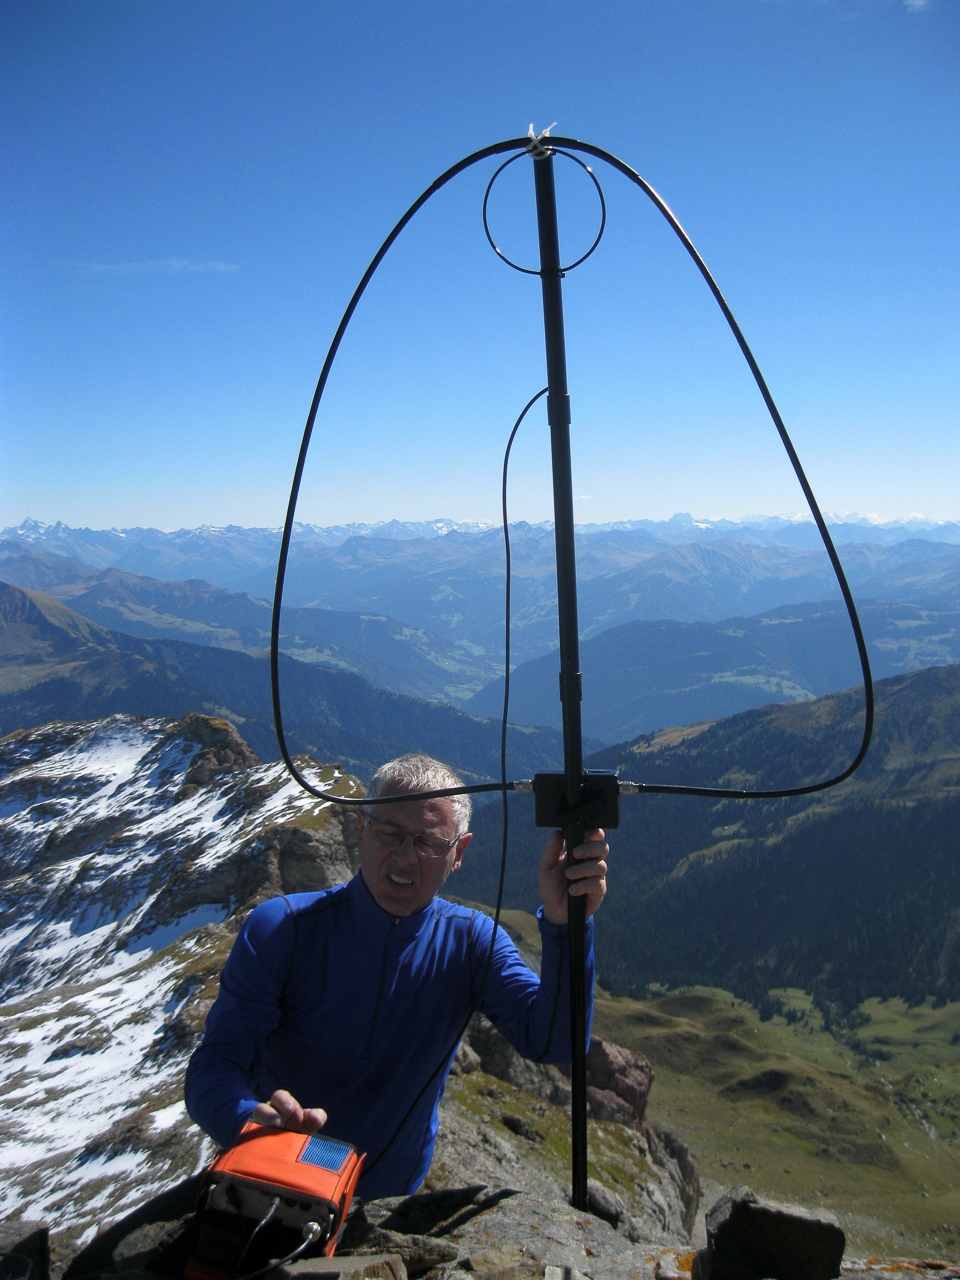
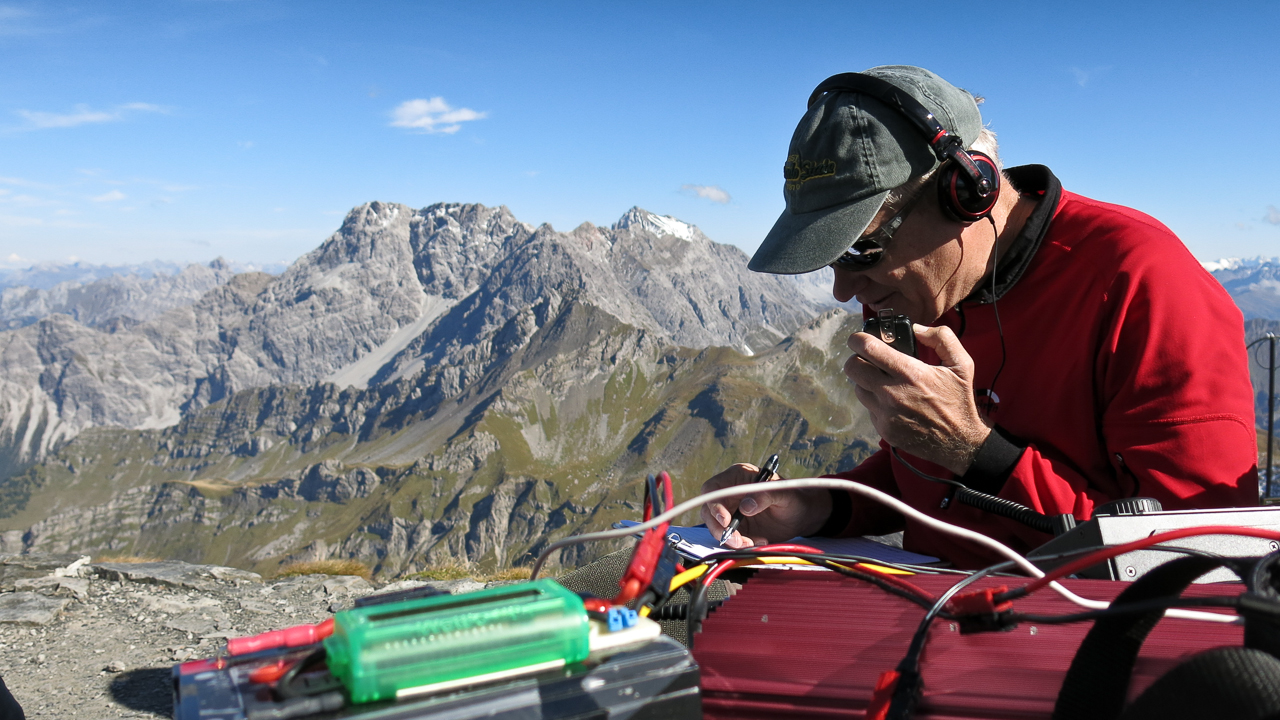
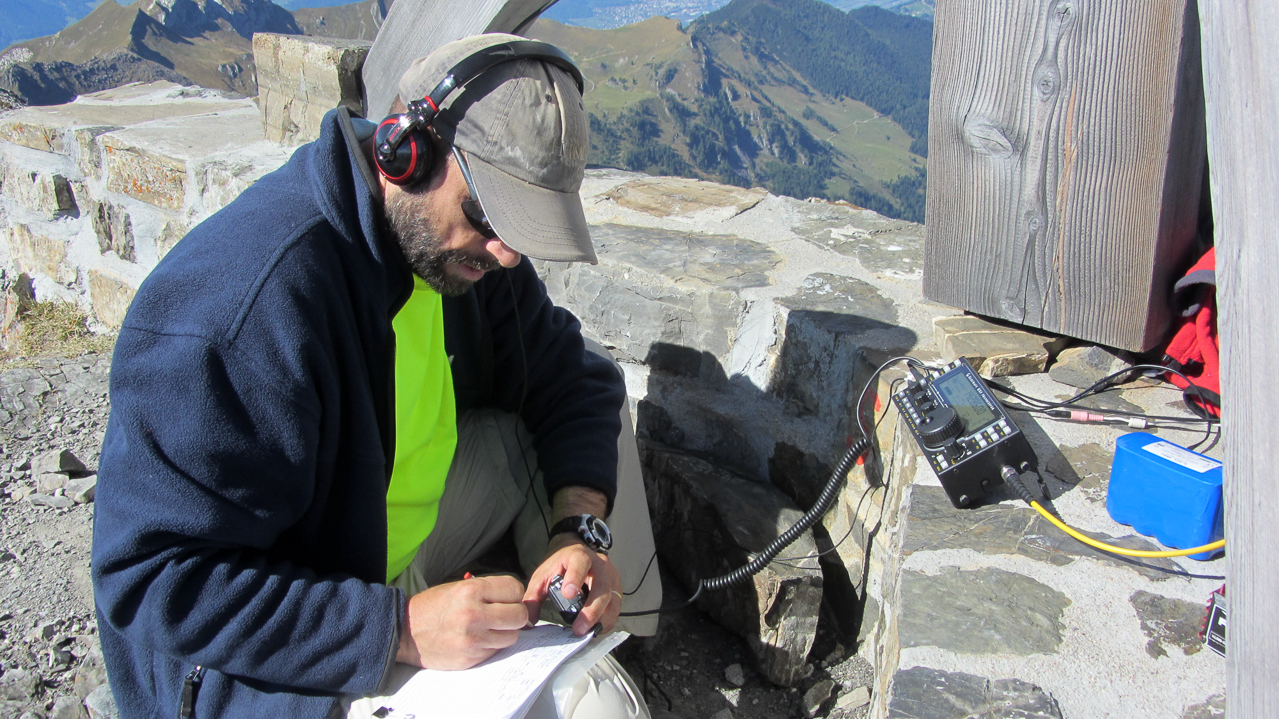
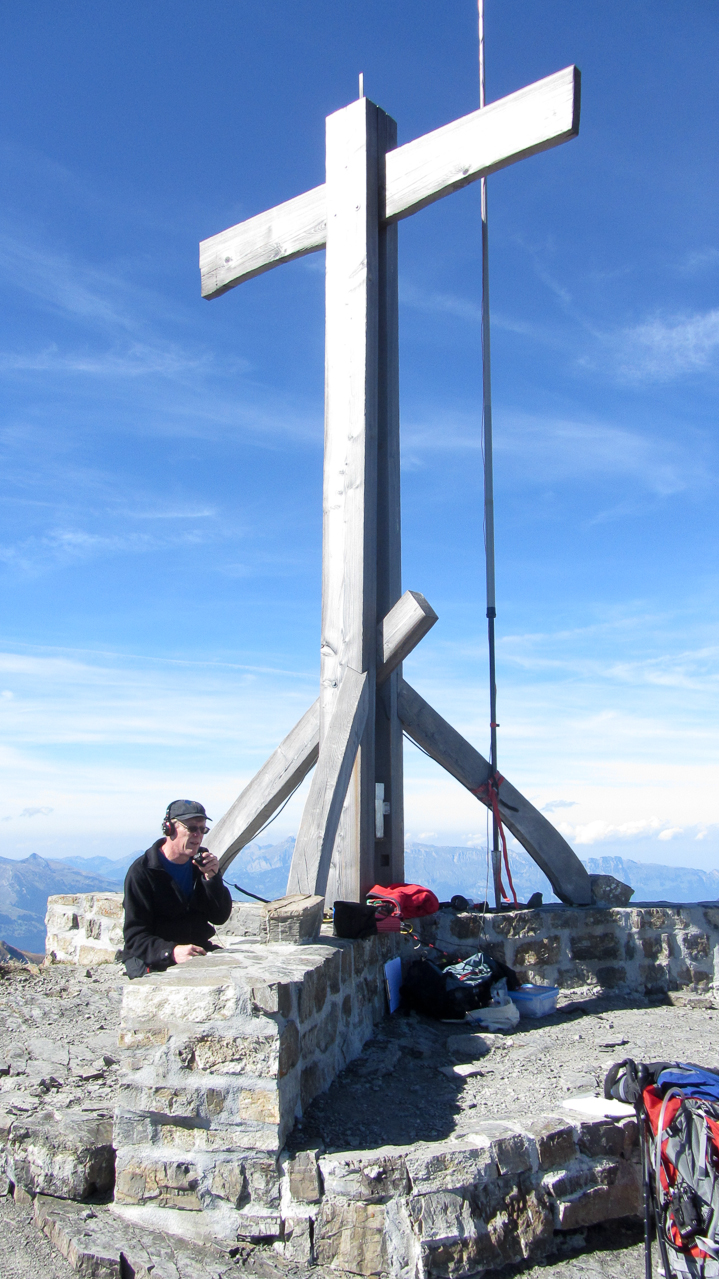
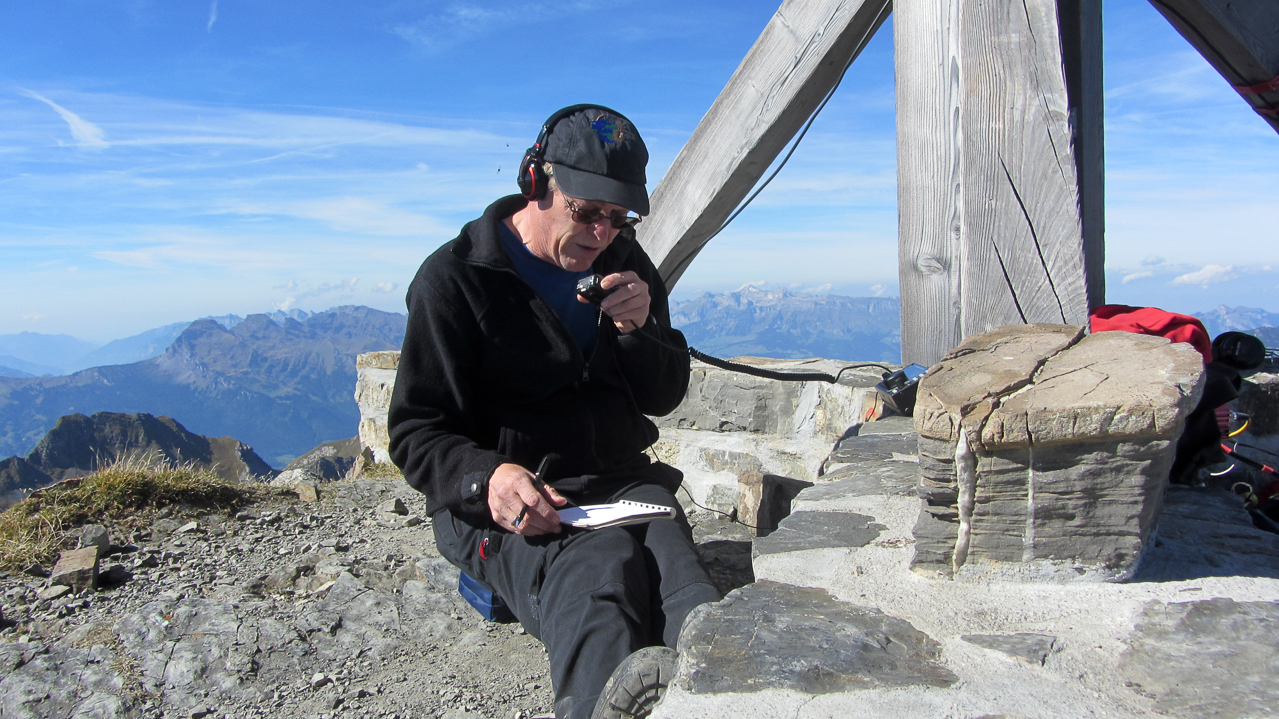
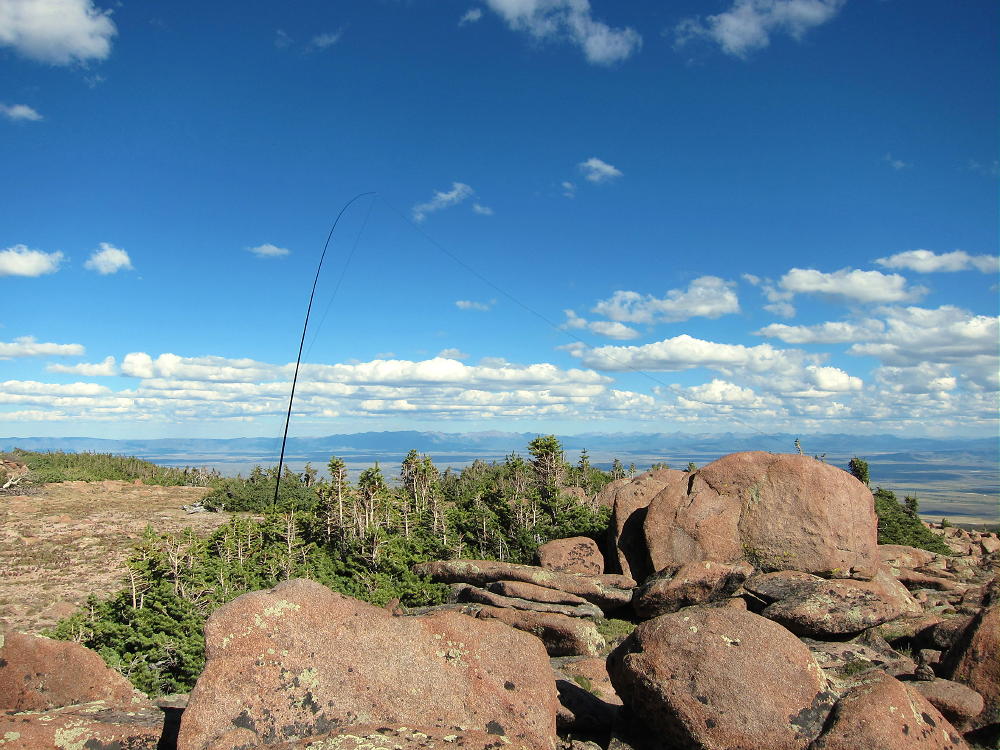
11543 Activation
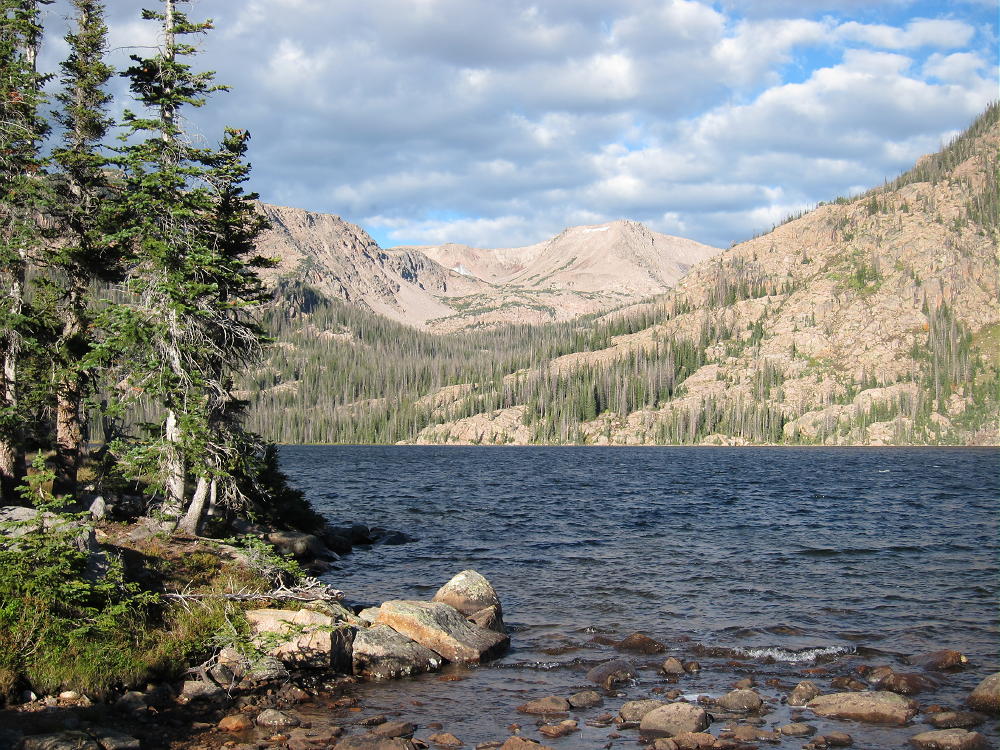
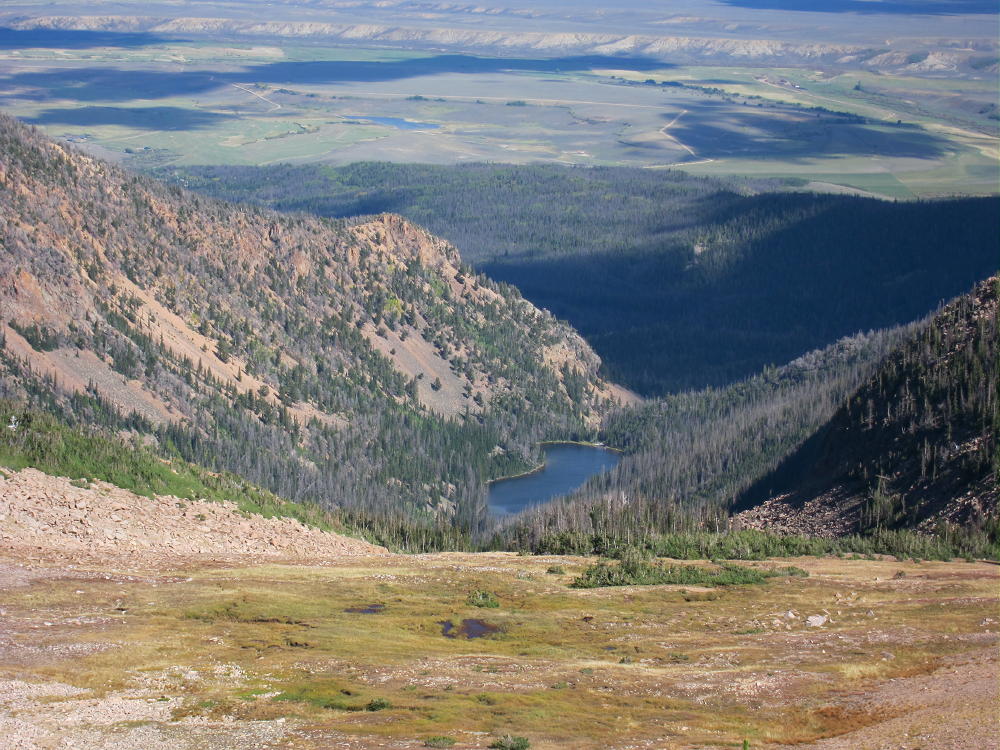
Ceanothuse Lake below 11543
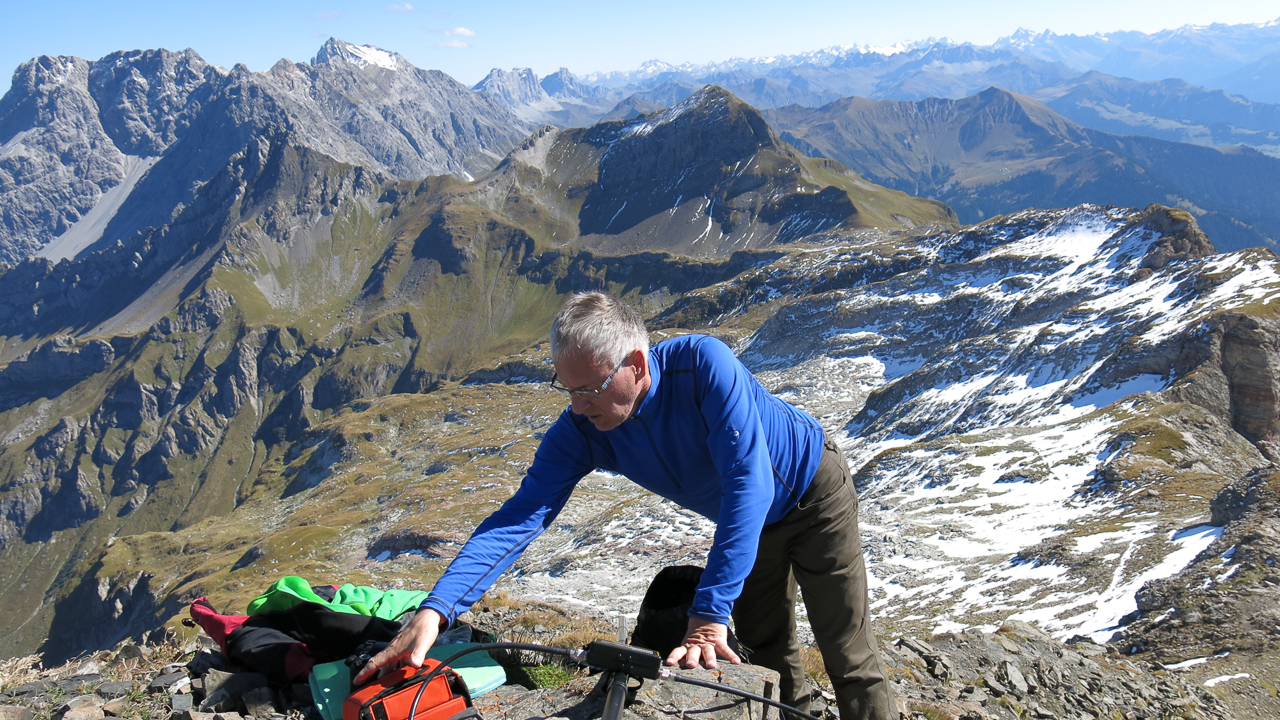
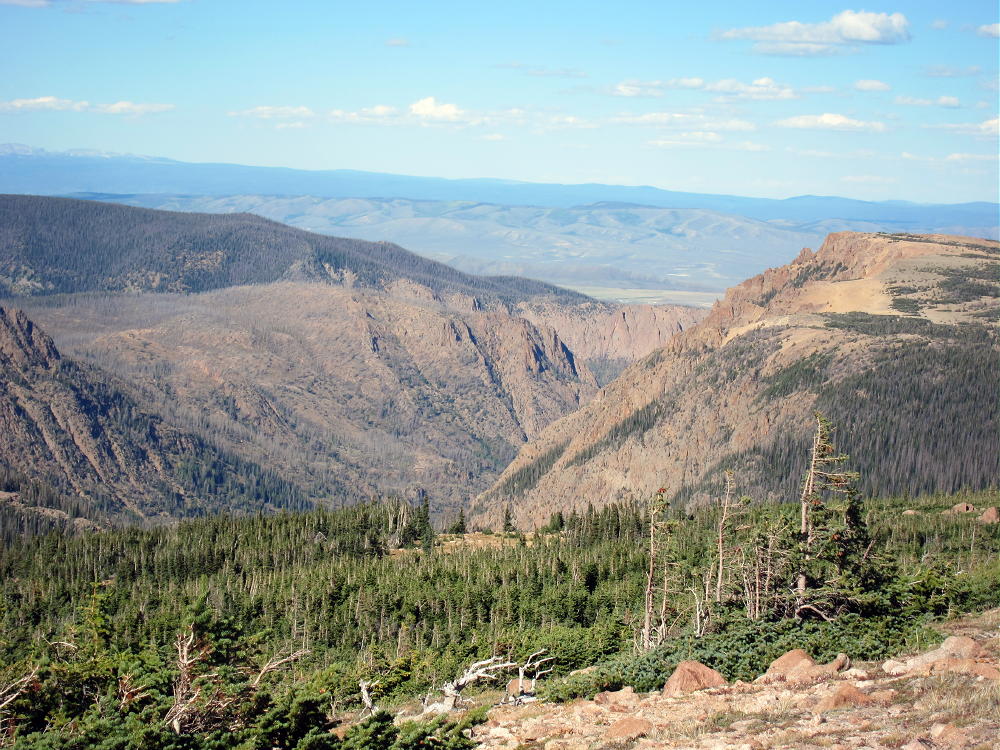
Red Canyon NE of 11543
11543 View East
!! WARNING !! There are old mountaineers, and
bold mountaineers… there are no old-bold mountaineers.
Hiking and mountain climbing are potentially hazardous activities particularly in Colorado with its extreme elevations. I am not accepting responsibility for any death or injury resulting from activations based on my trip reports. Proper training, experience, and personal capability assessment is required – enjoy!
Mount Ethel sits atop the Continental Divide in the heart of the Mount Zirkel Wilderness in northern Colorado. At 11924’ it is very prominent, and it can be seen from some peaks of the Front Range. Climbing and activating Ethel is best done as part of an overnight backpack trip into the Wilderness. The trip up the peak is just a long hike, but it requires traveling above tree line for hours, with considerable exposure to weather.
There are several practical routes up Ethel. I parked at the Rainbow Lakes Trailhead, on the east side of the Park Range, and camped at Big Rainbow Lake. This is an easy backpack trip of about 3-1/2 miles. I climbed Ethel as a day hike from Rainbow Lake, using the fine Trail #1130 that ascends to Slide and Upper Slide Lakes and then climbs up to the Divide. This is a fun, scenic route, and you can see Mount Ethel high above most of the way. At the junction with the trail to Roxy Ann Lake, at about 11,000 feet, I headed off-trail, directly west up to the Divide, via open meadows and gentle rocky slopes. Once on the Divide, I made an approximate beeline south, almost 2 miles, toward the gentle west slope of Ethel; from there I hiked southeast up to the summit. Please see the USGS topo map for this area, as Google Maps omits many key trails and has other serious errors.
If you prefer to stay on marked trails, just follow Trail 1130 all the way to the Divide, turn south on the Wyoming Trail #1101, follow it to just west of Mount Ethel, and pick a convenient route to the summit.
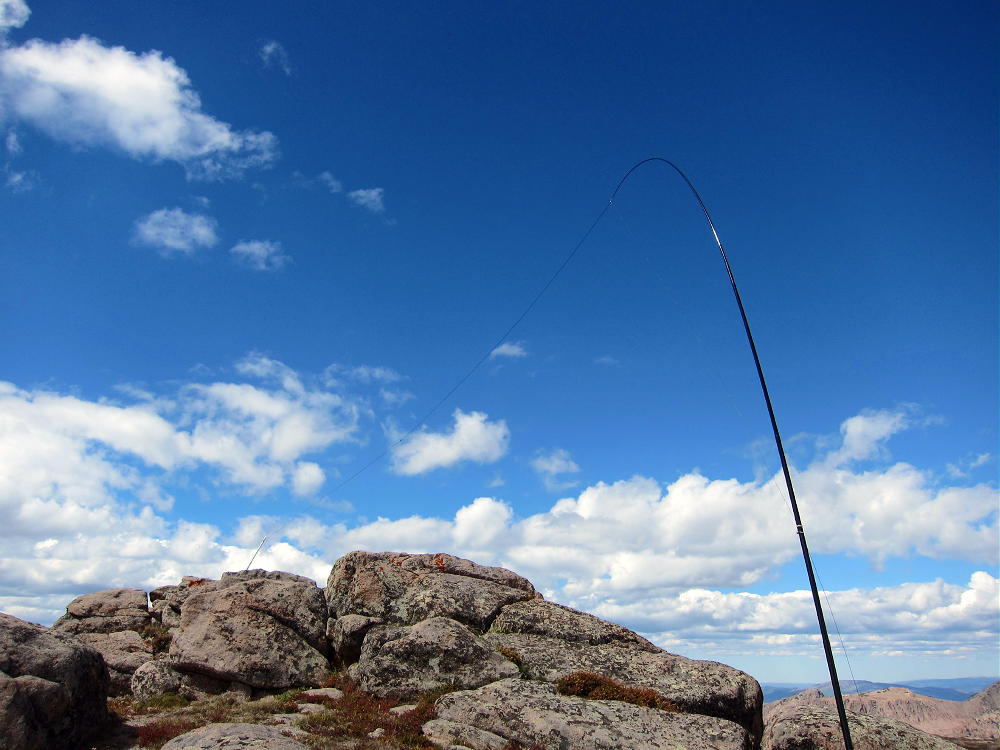
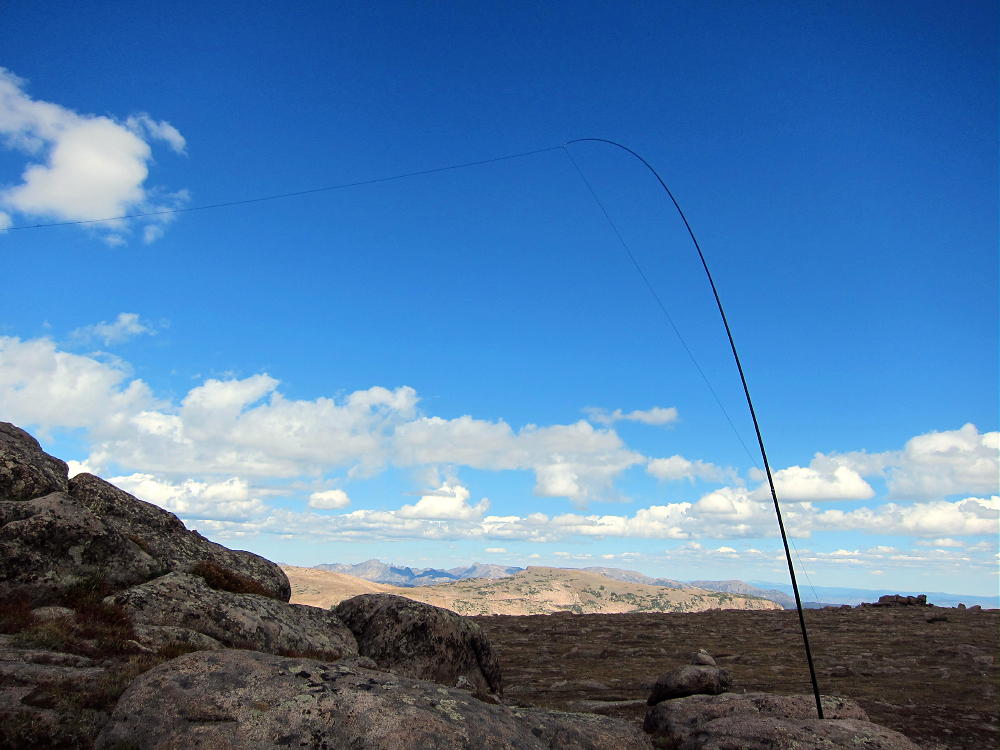
These routes require several miles of hiking across tundra above treeline. There is no shelter, and this is no place to be in bad weather. The day I was there was dry, sunny, spectacular, and quite windy. People climb Ethel often, as it is a short detour from the “Wyoming Trail” 1101, but you may not see anyone up there. The peak has gentle meadows on the west side, and steep cliffs on its northeast and southeast faces. The summit is on the Continental Divide; the north summit is considered the peak. There is a rocky outcrop at the top, and it provides some shelter from wind. It’s not hard to set up a pole on the east side of the peak, and tie the far end of the wire to the top of the peak. I had a great first activation up there, with 35 Q’s and strong signals on 20M.
I combined activating Ethel with a first activation of W0/PR-080, 11543, which is east of the Slide Lakes and Trail 1130. This is practical if you have time, but it’s a long day, and it requires an early start. Please see the report for Peak 11543 for the additional route description.
George Carey Fuller
KX0R
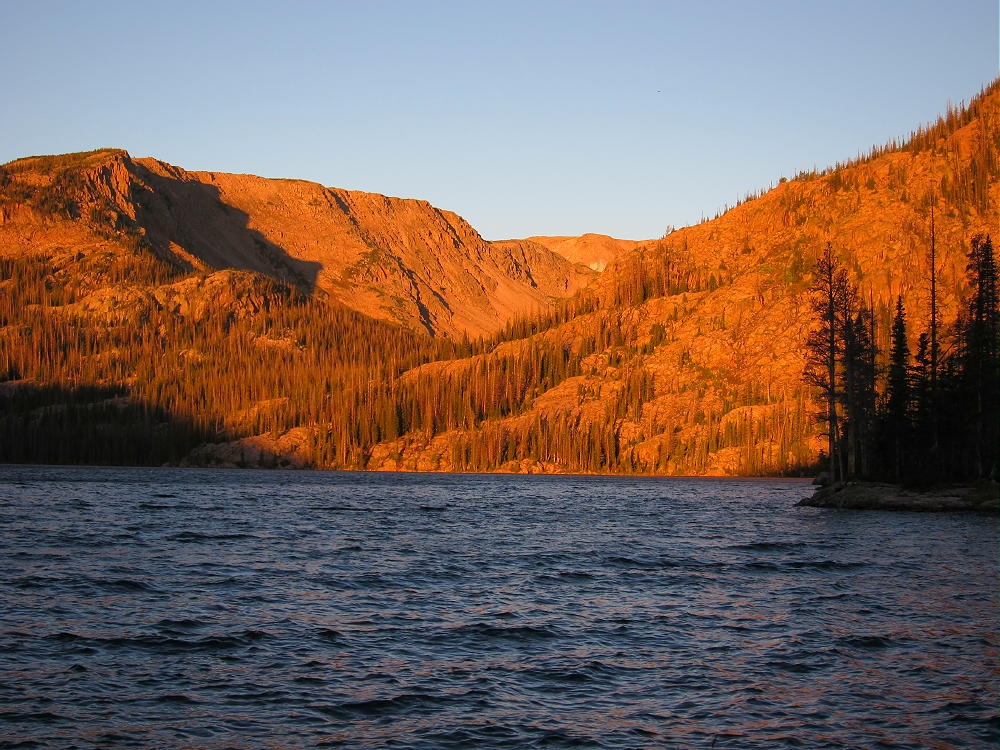
Rainbow Lake Sunrise from Camp
Rainbow Lake & Ethel
Ethel Summit
Ethel View South
Ethel Summit and Antenna
Ethel Summit Activation
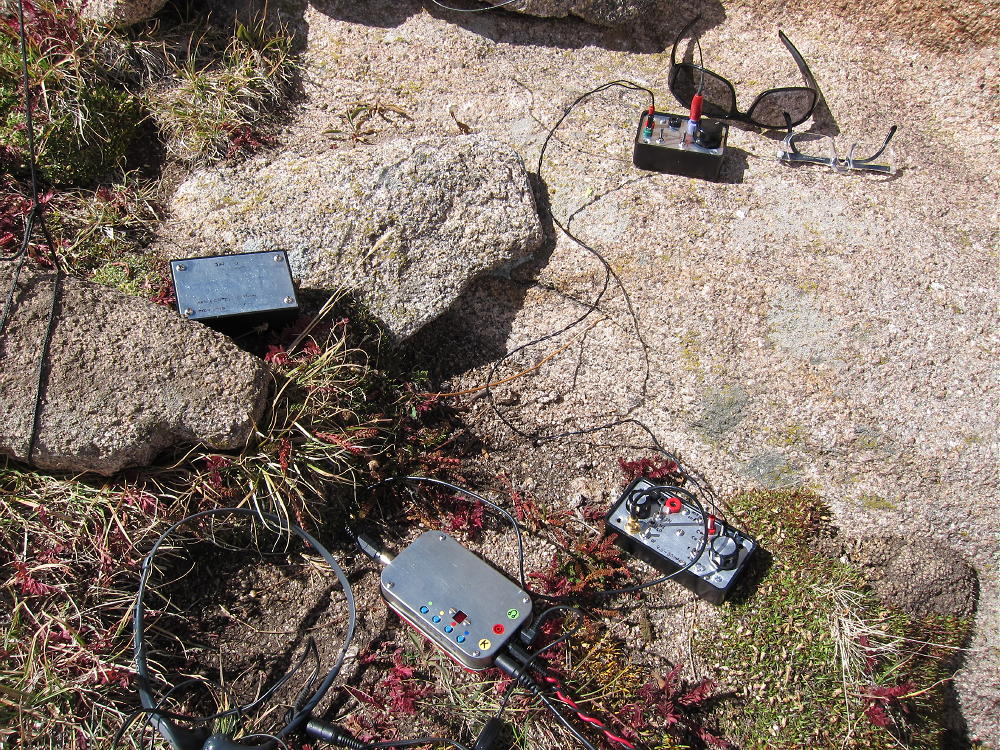
ATS-3B & Tuners
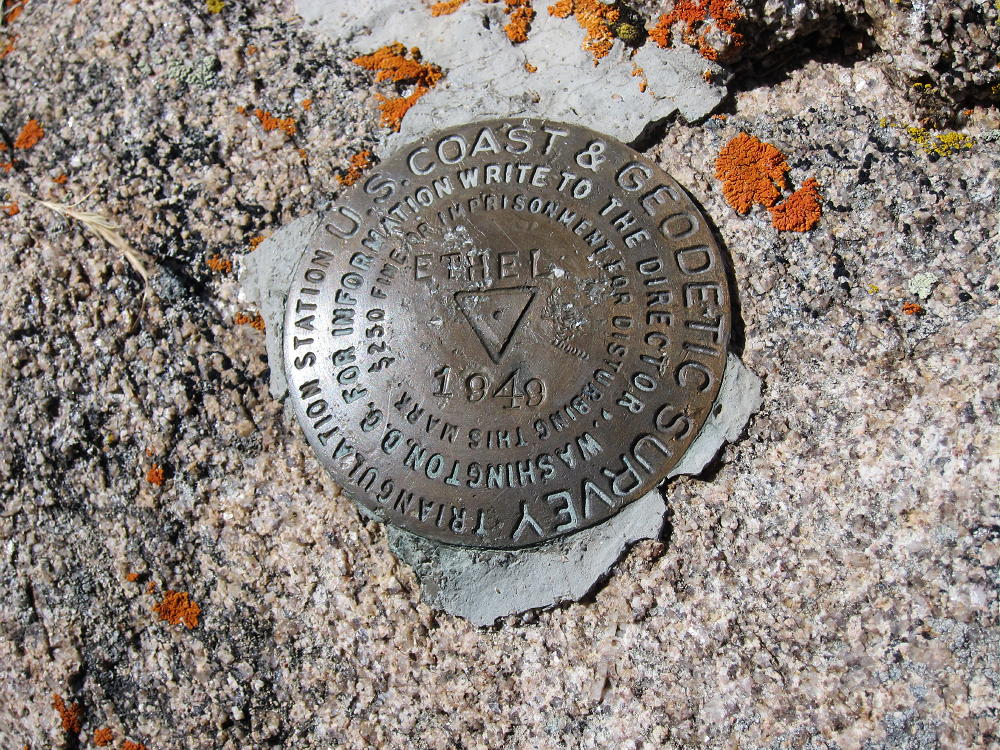
Ethel Benchmark
!! WARNING !! There are old mountaineers, and
bold mountaineers… there are no old-bold mountaineers.
Hiking and mountain climbing are potentially hazardous activities particularly in Colorado with its extreme elevations. I am not accepting responsibility for any death or injury resulting from activations based on my trip reports. Proper training, experience, and personal capability assessment is required – enjoy!
I just wrapped up a trip in Europe and I could not resist to activate a few summits while I had the chance. Staying in Austria (OE), I was able to activate two nearby and new (for me) associations (HBØ and HB). I also took the opportunity to make a second attempt on HBØ/LI-ØØ4 – Augstenberg. This summit eluded me last year due to extreme winds in excess of 100 km/h (60 mph). We had to turn around shortly before reaching the summit. This time the WX forecast looked more promising.
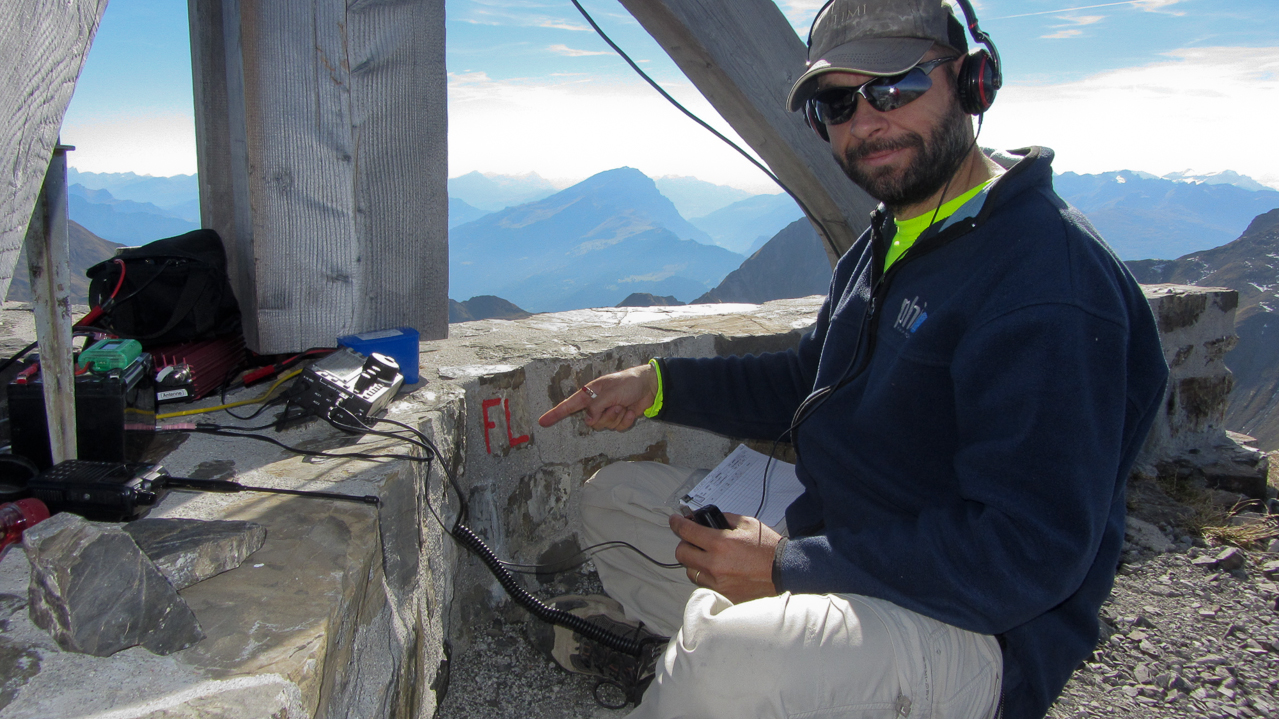
As usual, Herbert/OE9HRV organized the activations when I visit his neck of the woods. Arno/OE9AMJ and Ramon/OE9CSH joined the activation and what these guys had in store for me was quite a trip. Weather and time permitting they were planning to continue on a loop with the possibility to activate three more summits for a total of four. The best part… HBØ/LI-ØØ2 or Naafkopf was one of them. This unique SOTA summit is a rare gem. The border of three countries, Lichtenstein (HBØ), Switzerland (HB) and Austria (OE) meet exactly at the summit and it is therefore worth 30 SOTA points in total. I am not aware of any other SOTA summit which has a similar setting.
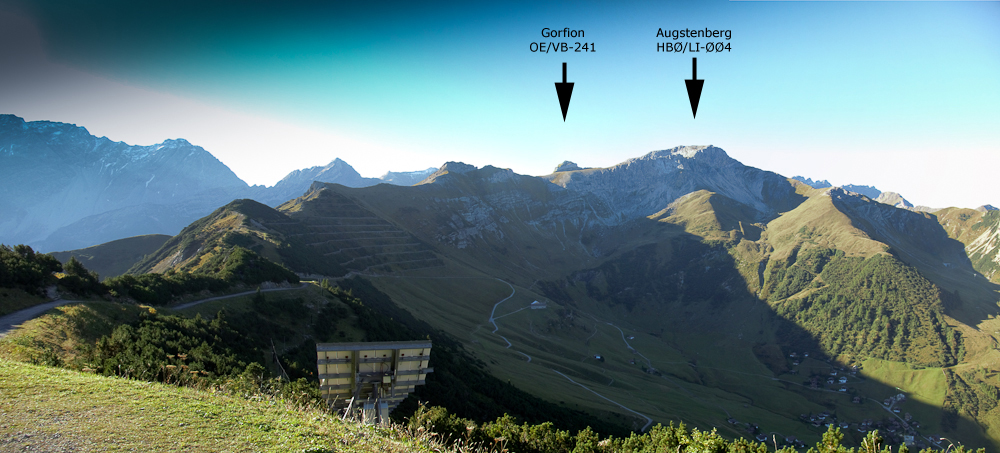
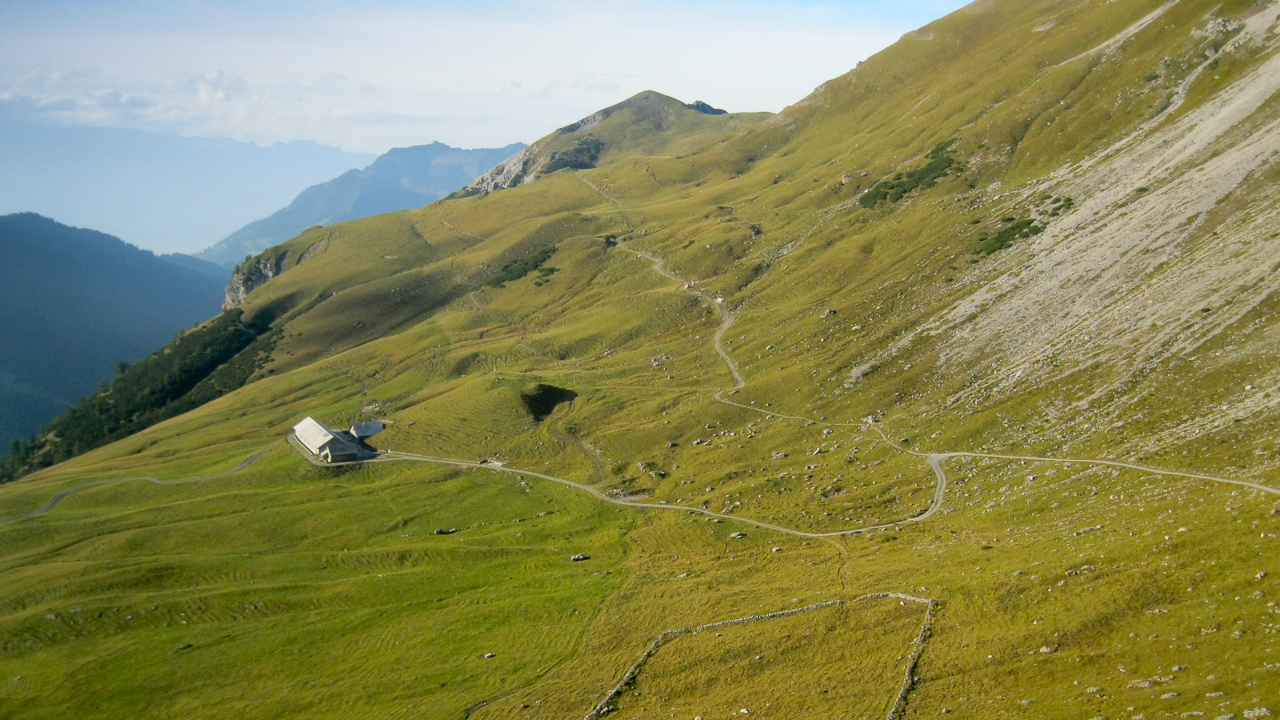
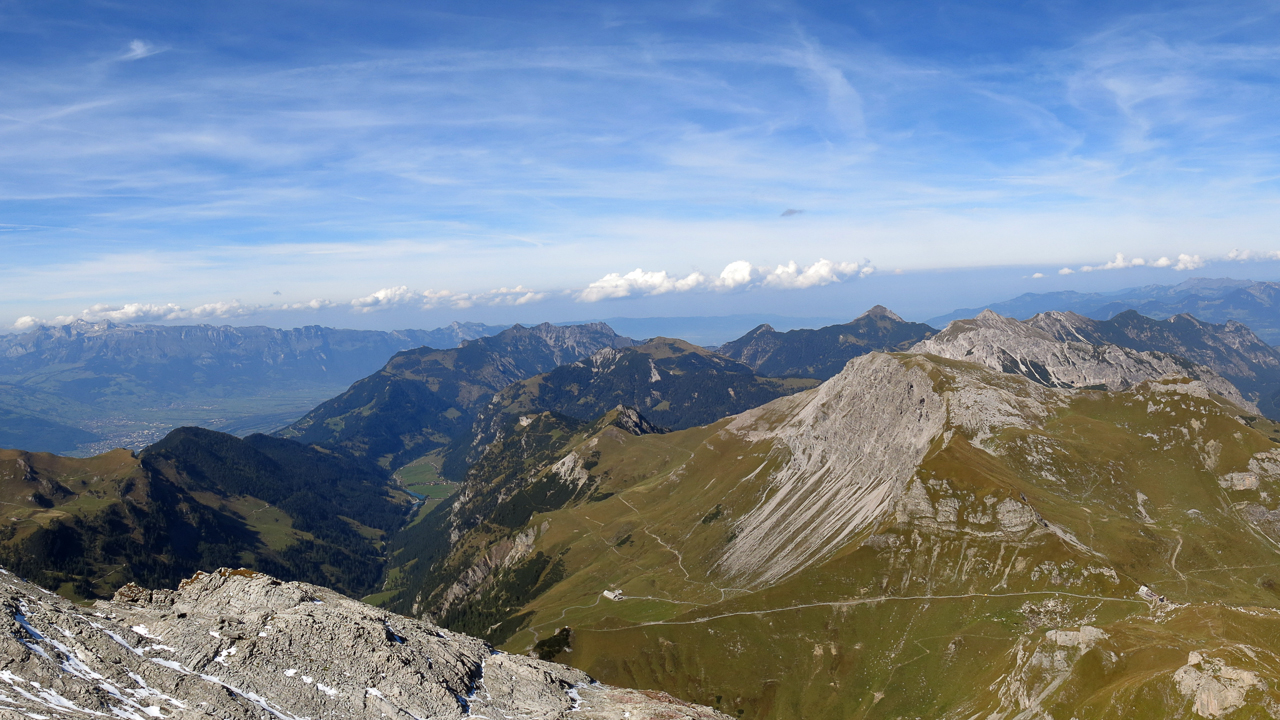
Panorama from the summit station
The complete trip could potentially rake in a total of 58 points on a ~20 km (12.5 mi) loop with 1700+ m (~5600 ft) elevation gain including two new associations for my log. Needless to say that I was motivated :)
This trip report is focused on the Naafkopf only.
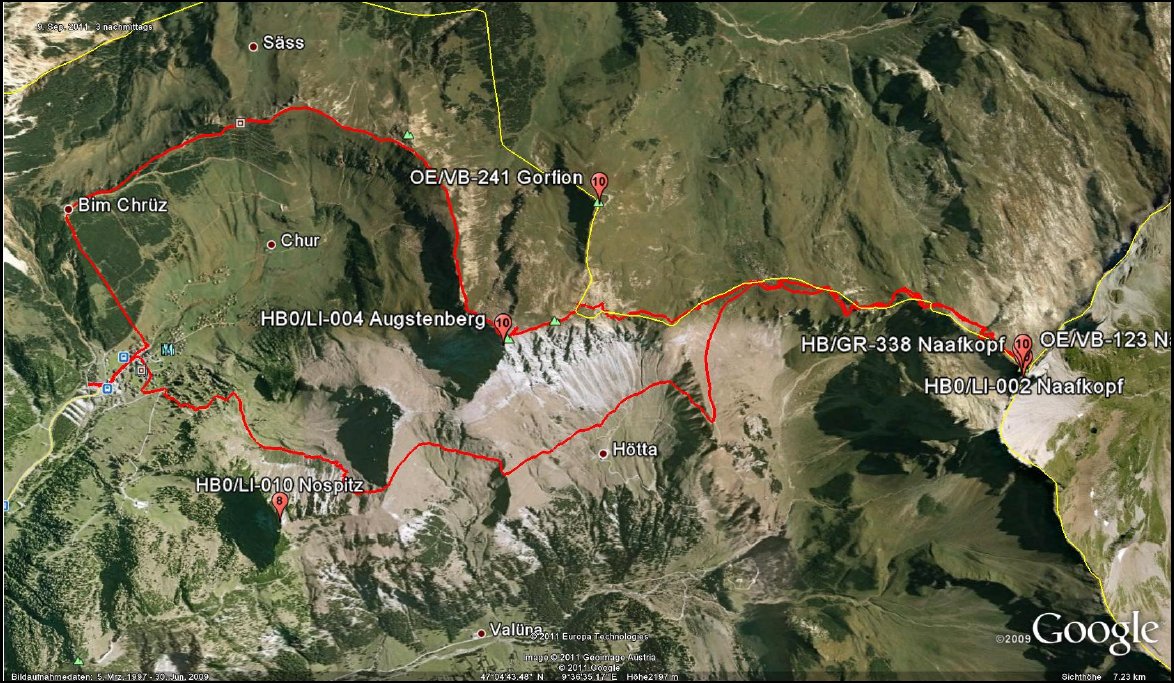
The route we took in red
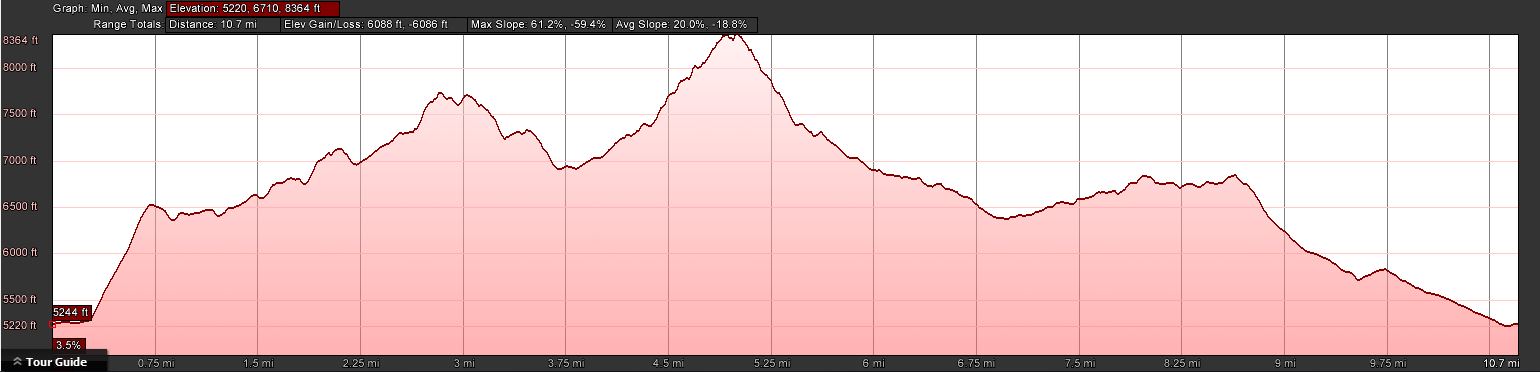
 Trailhead:  5243 ft / 1598 m
 Summit:     7740 ft / 2359 m (Augstenberg)
             8432 ft / 2570 m (Naafkopf)
             6860 ft / 2091 m (Nospitz)
 Elev. gain: 4832 ft / 1473 m (exludes gondola - hiking only)
 Roundtrip:  10.2 mi / 16.4 km(exludes gondola - hiking only)
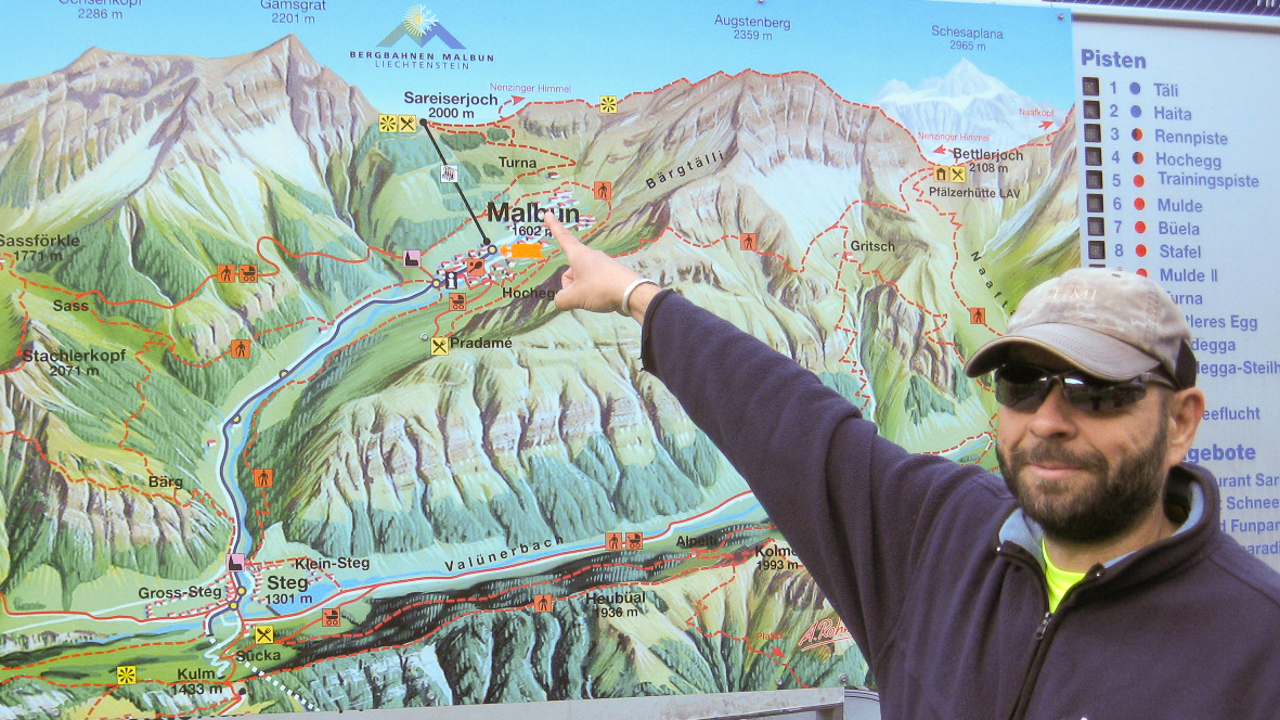
We headed south from OE towards the Principality of Liechtenstein (or Liechtenstein for short.) Liechtenstein is a rather small independent country near the Lake of Constance and shares the border with Switzerland and Austria. With an area of just over 160 square kilometers (62 sq mi), it has a population of ~35’000 and a total of eleven SOTA summits – all of them already activated. We started our hike in Malbun, the only ski resort in Lichtenstein.
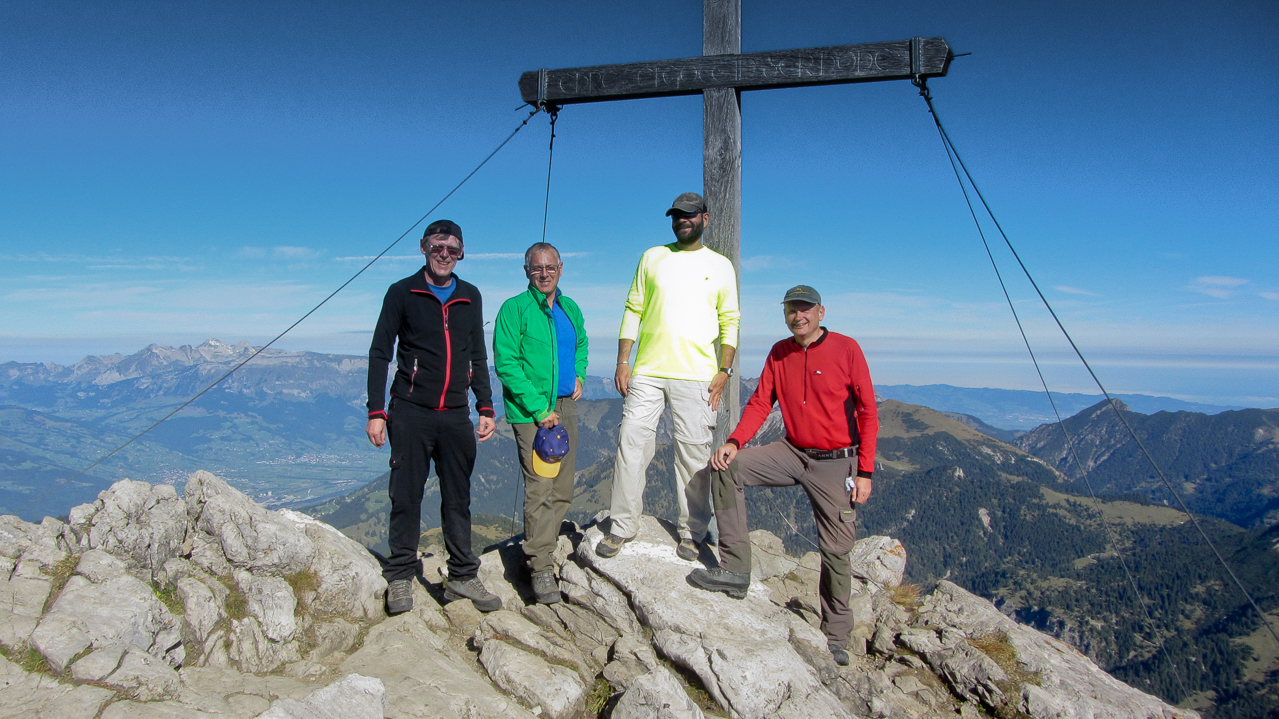
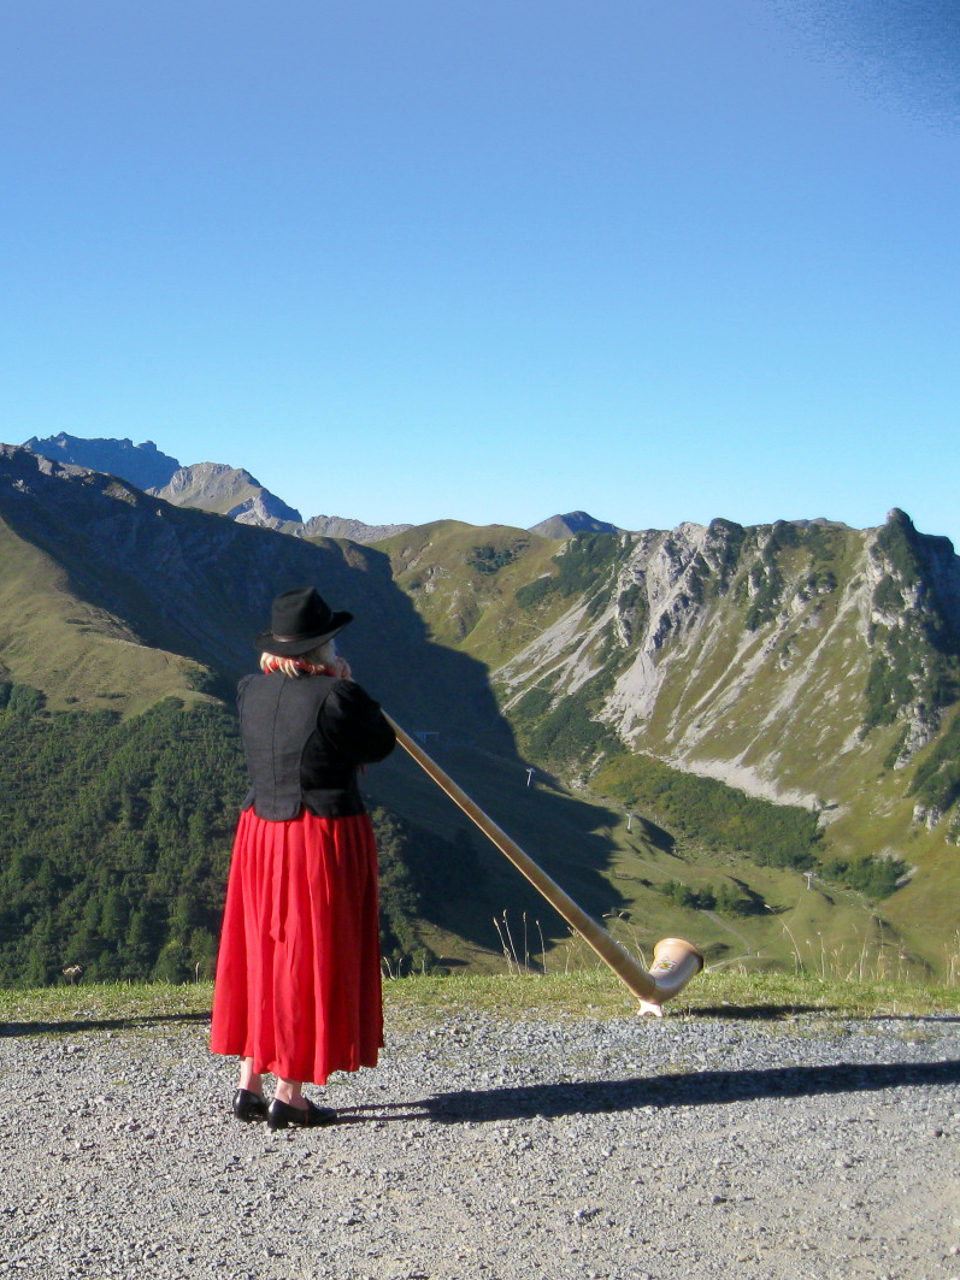
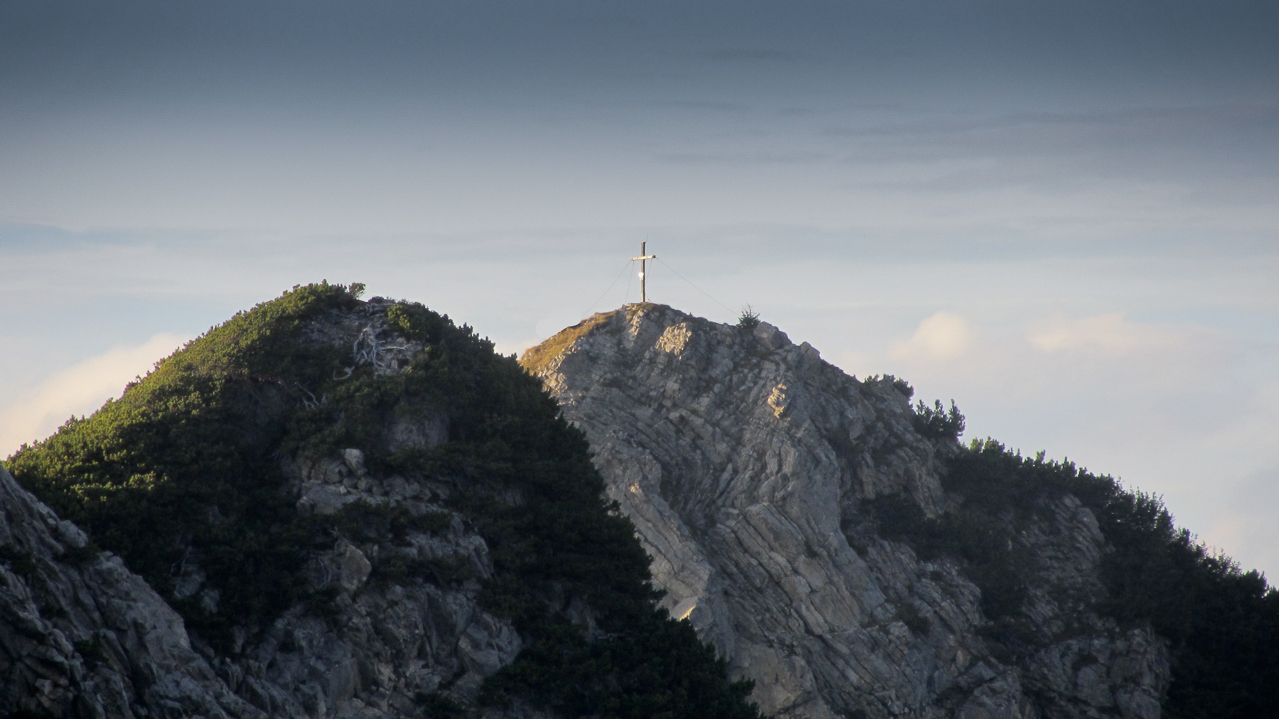
From Malbun we took the gondola from 5274 ft (1608 m) to the Sareiserjoch at 6526 ft (1990 m). At the top we were greeted by an Alphorn player – a nice touch to start our day – and we could hear her tunes for quite a while across the valley. The first ~2.5 mi (4 km) follows a trail to the Chalbergrad and continues along a very pronounced ridge towards our first summit. Great views in both directions of the ridge. The last 0.4 mile (0.6 km) before HBØ/LI-ØØ4 – Augstenberg, are kind of steep. The summit is a rocky outcropping on a rather large, sloped and green summit. The obligatory cross at the summit served as a backdrop for our first SOTA summit photo of the day.
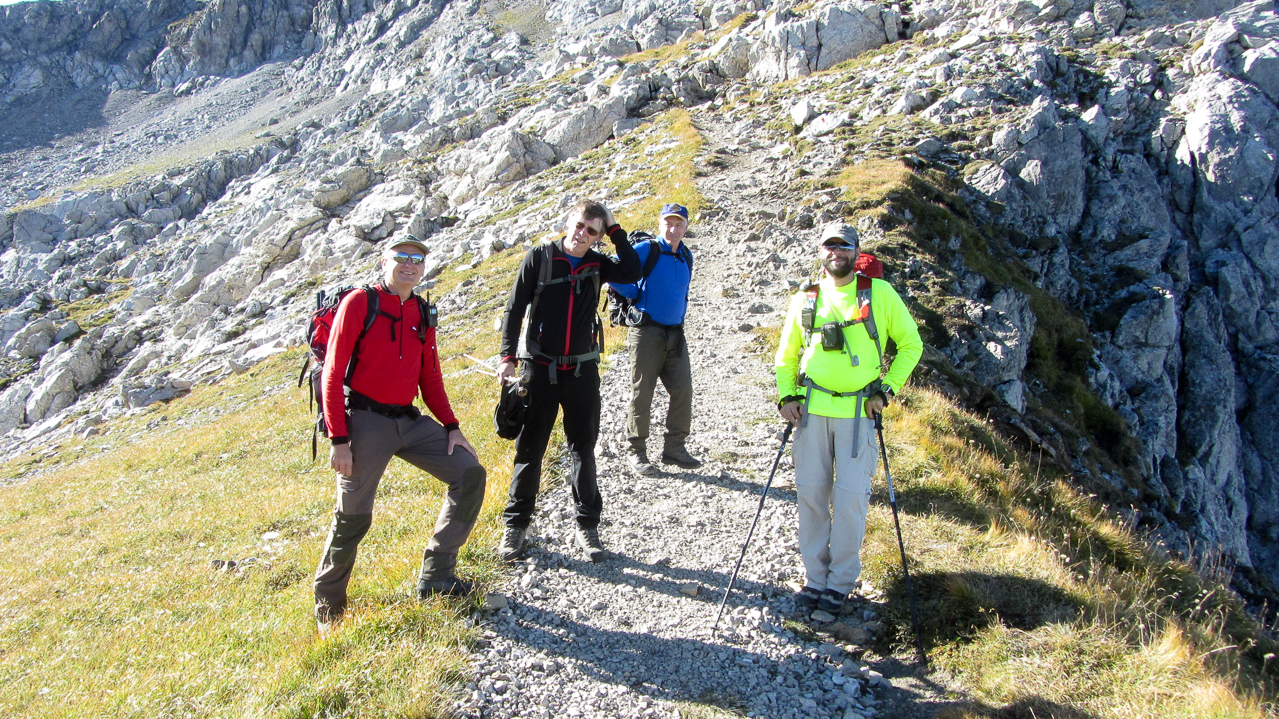
OE9CSH, OE9AMJ, KØMOS, OE9HRV (l to r)
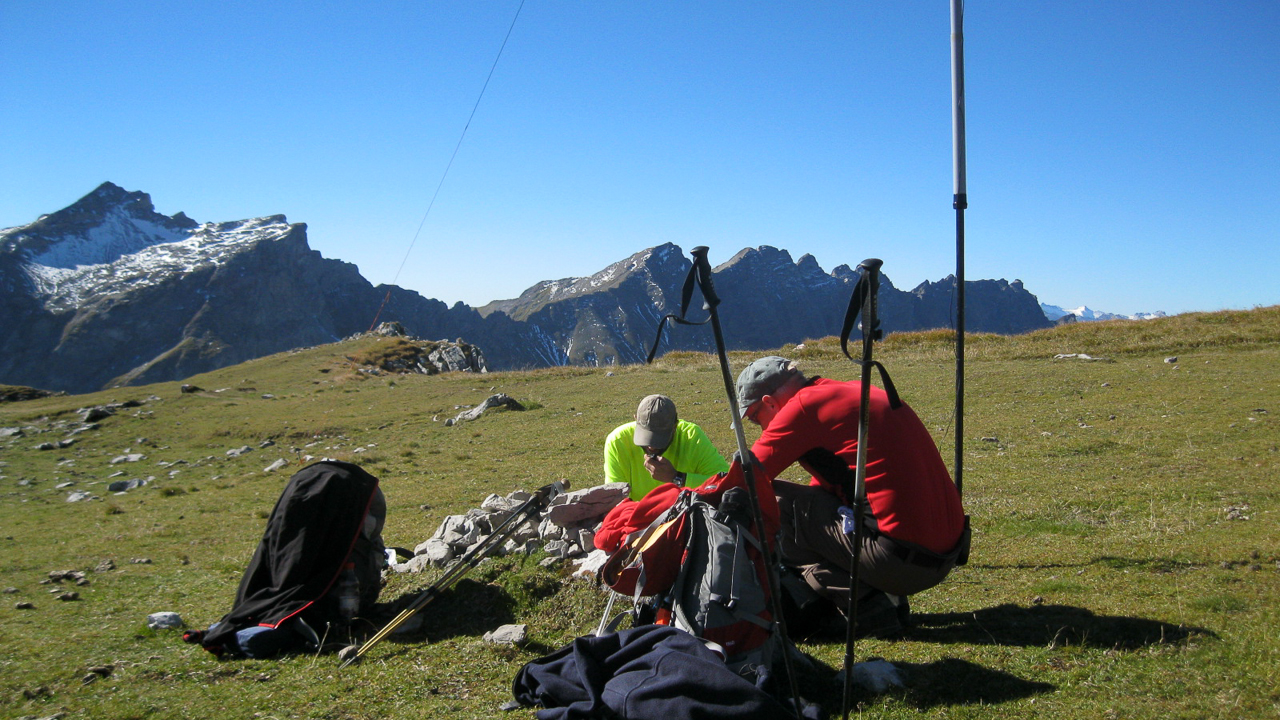
On the summit we setup two stations, a CW station for Arno/OE9AMJ and an SSB station for the rest of us. No problem to activate a summit on 40m in Europe :)
Within 40 minutes we all had our contacts logged and were on our way to the grand prize of the day. Reluctantly we decided to skip Gorfion (OE/VB-241) to allow plenty of operation time on the Naafkopf. In retrospect a wise decision, considering that we reached the car just as the sun went down.
Haeding towards Pfälzerhütte
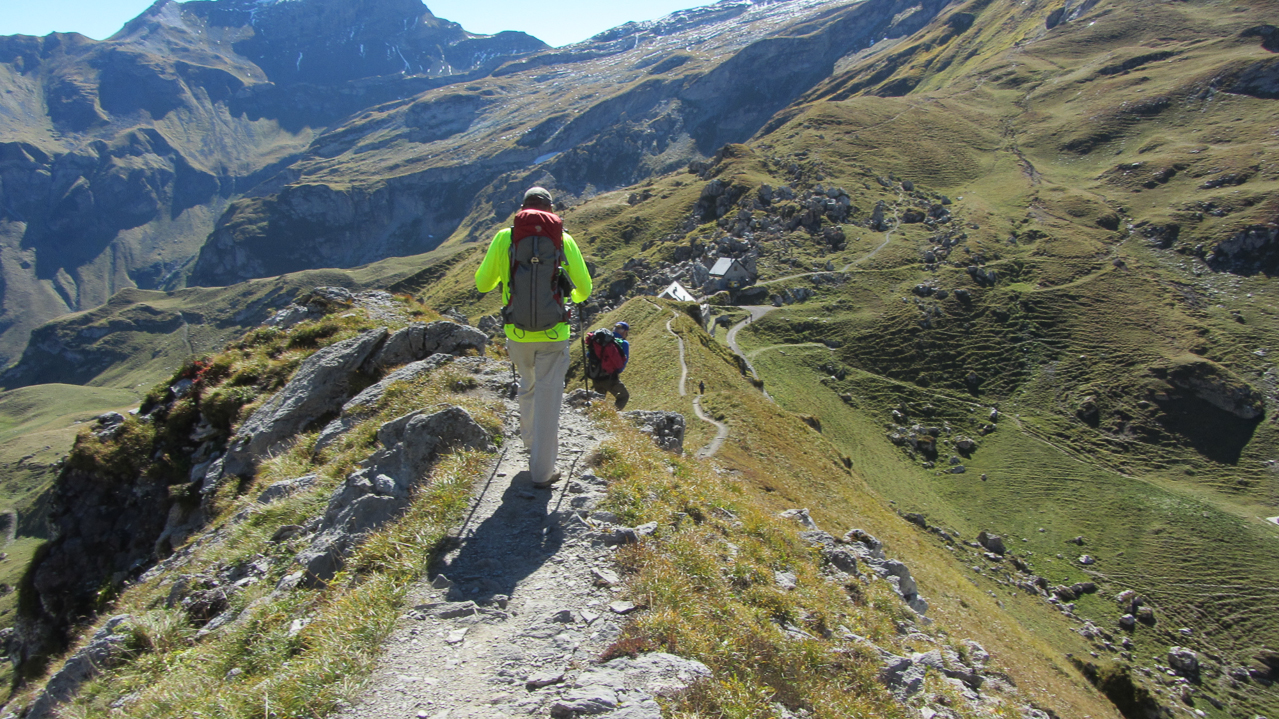
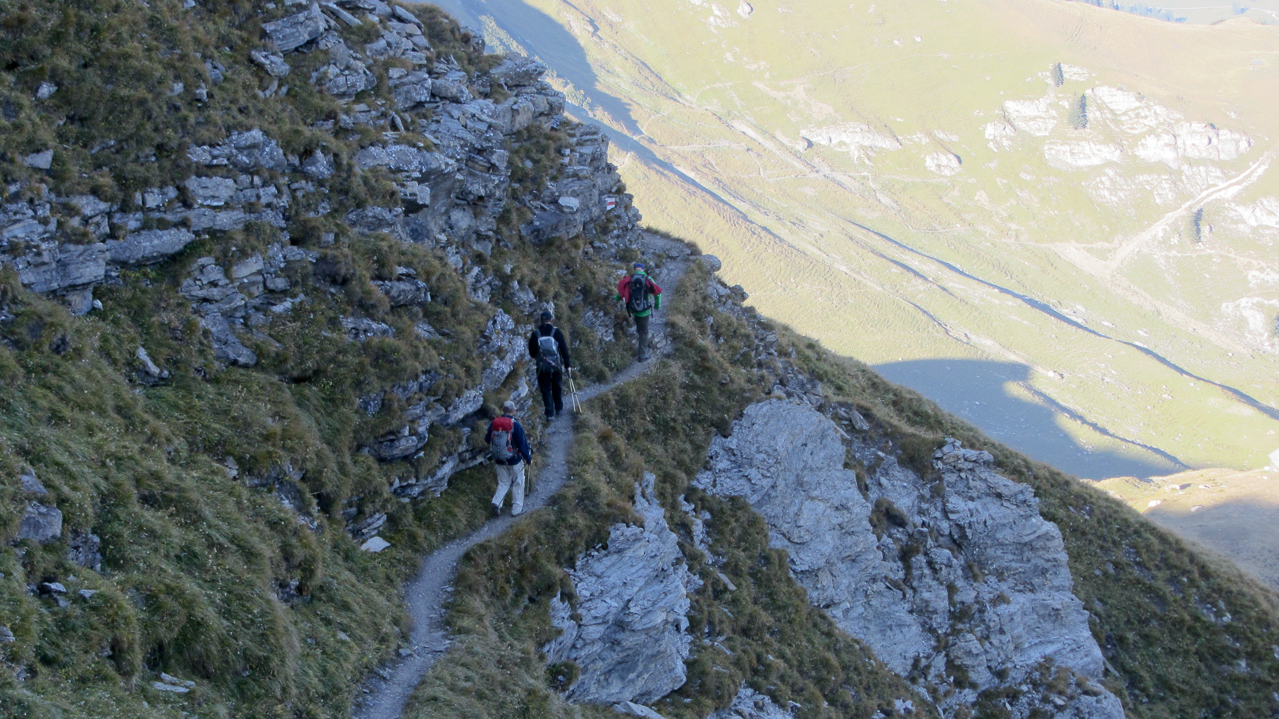
From the summit of Augstenberg (2359 m/7740 ft) we had to descend to the saddle, where the Pfälzerhütte is located at 2108 m/6916ft. A great location for having a beer, assuming you have the time… we decided to continue on to the next summit – a 462 m/1516 ft ascent over 1.8 km/1.1 mi. There is still a well defined trail up the steep slope and only one ‘critical’ spot we had to navigate. Some lingering snow from last weeks nasty weather in combination with the steep terrain slowed us down just a bit about halfway up to the summit. After that it was smooth sailing.
The Summit:
Setup on the summit:
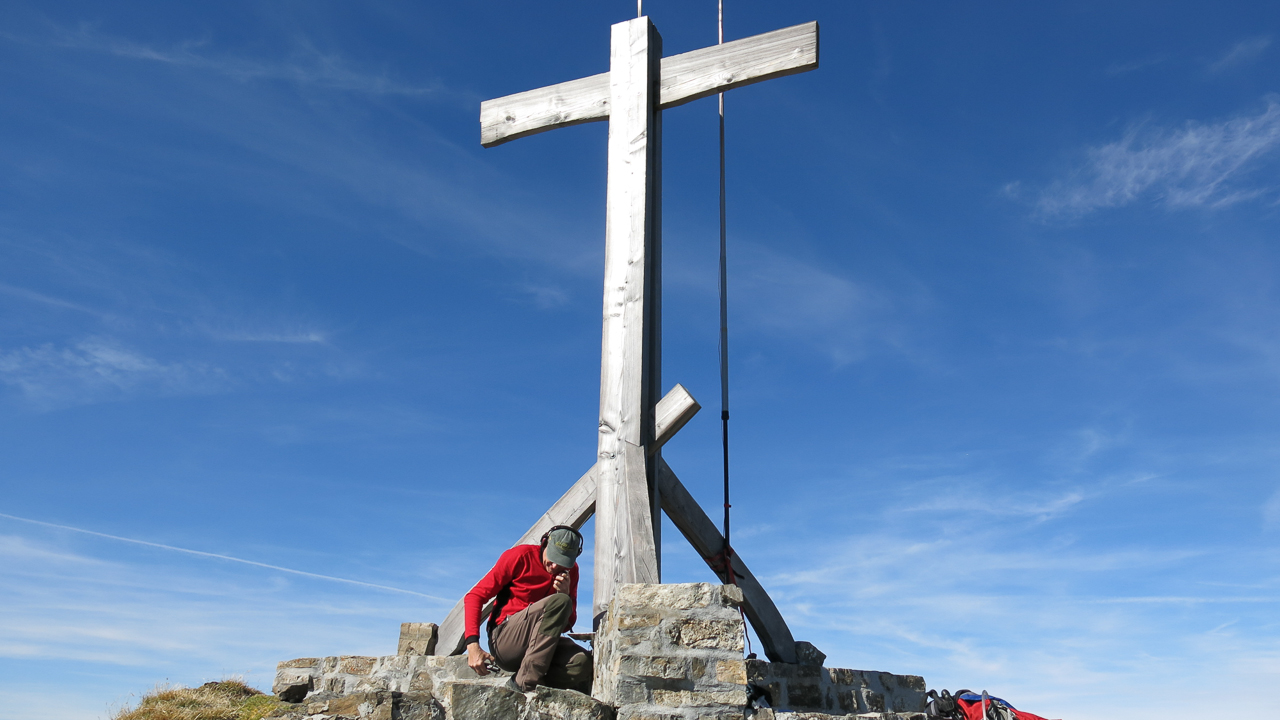
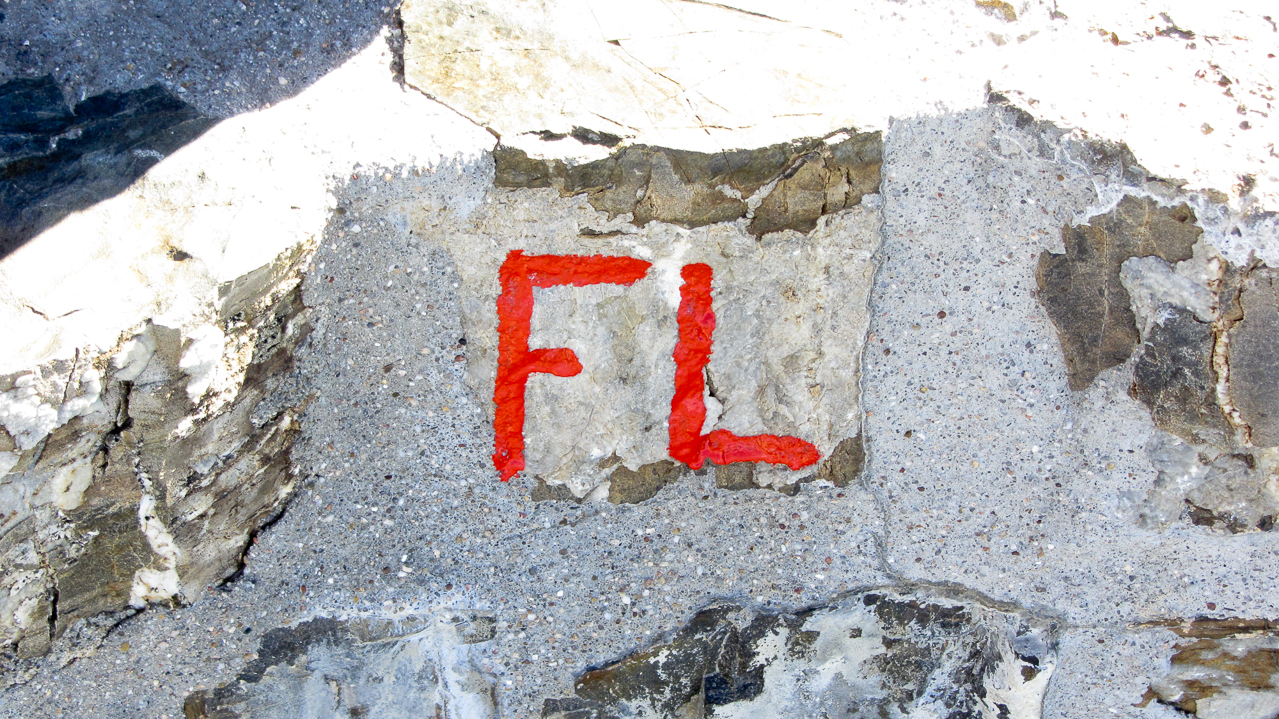
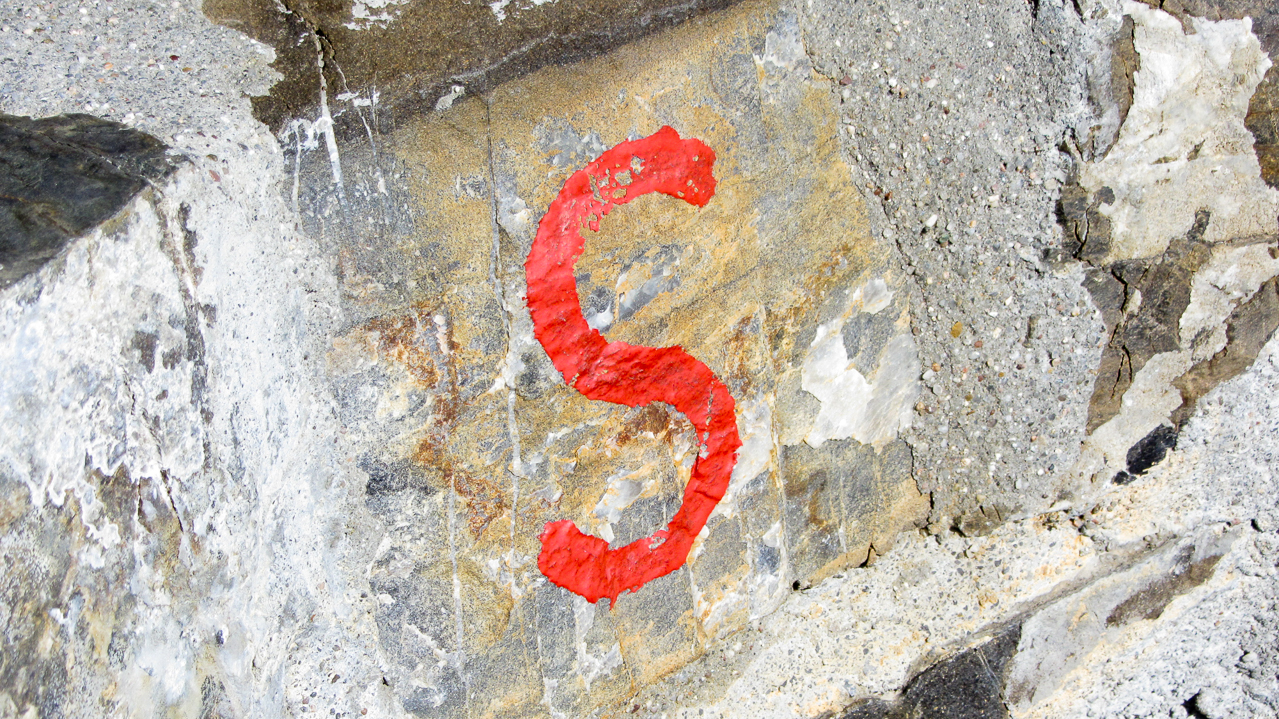
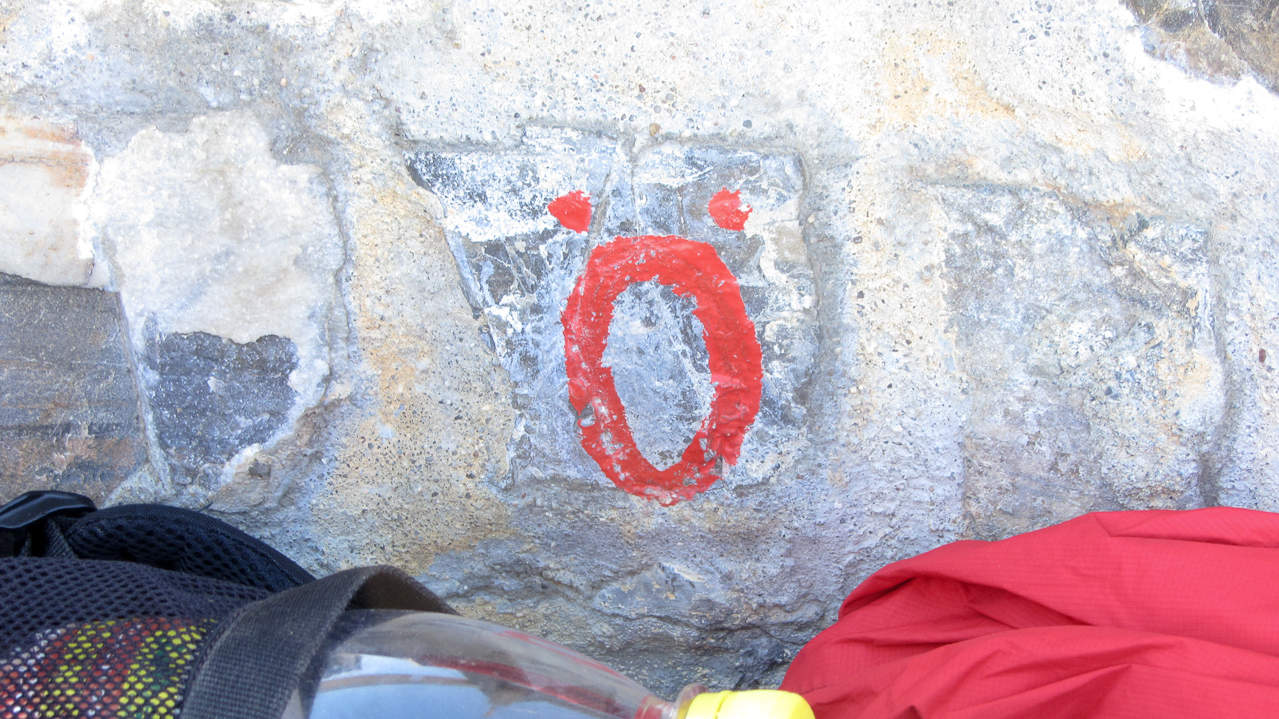
We reached the small summit around 14:00 local time under blue skies and with very comfortable temperatures. An artificial wall built from rocks, ~40 cm/16 in. in height, is dividing the summit along the border lines and building the base for the dominating summit cross. To make it really easy for us, each section of the wall was clearly marked with the name of the country so we would always know where we are :)
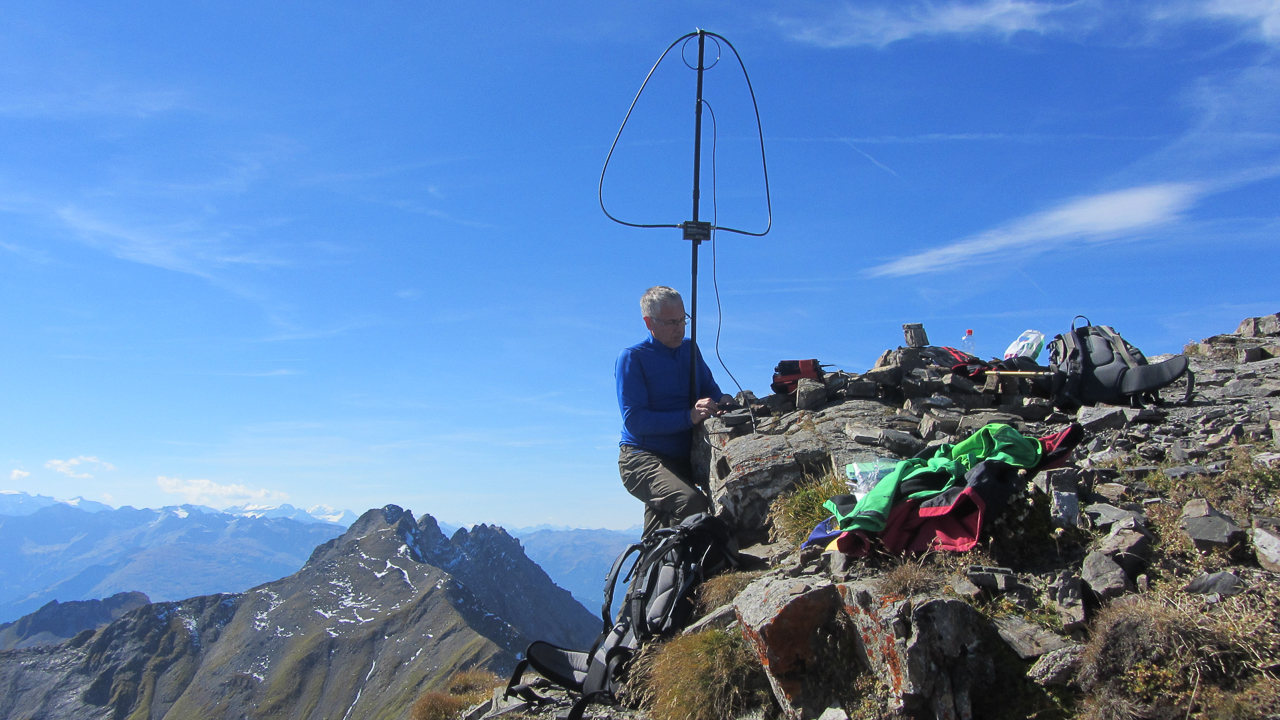
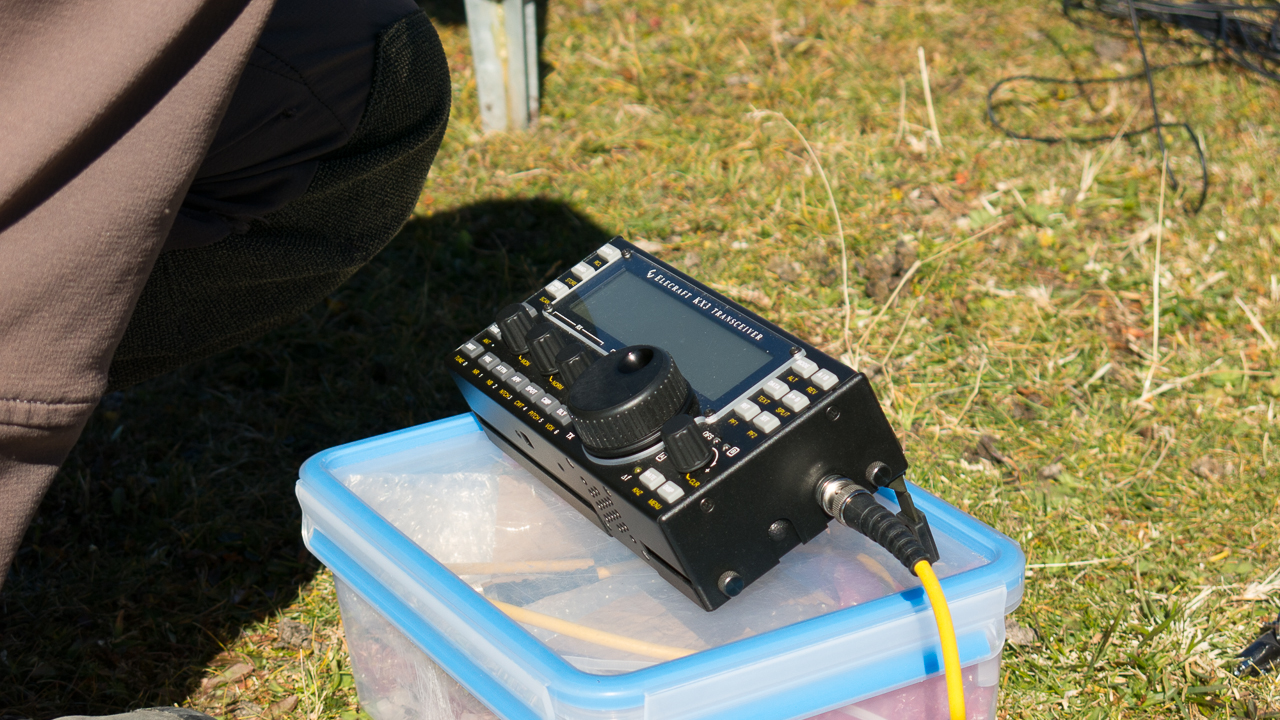
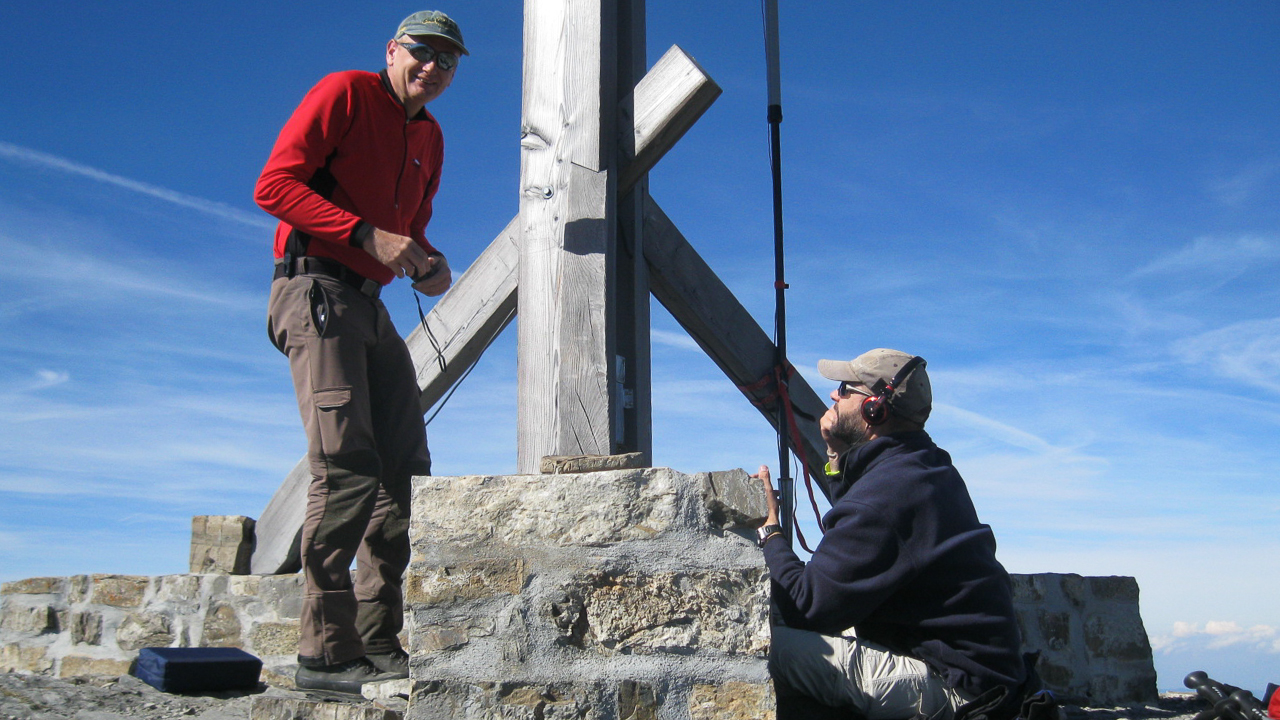
We followed the same procedure as before; Arno setting up a CW station with his FT-817 and an Alex loop, and Hebert setting up the KX-3 with a 20m J-Pole for the SSB crowd. I got the honor to go first and I chose to start on the Swiss (HB) side of the summit – hoping to activate my 10th SOTA association.
Arno/OE9AMJ on the summit
We took turns on the radio. Every 15-20 minutes we announced an operator change so we all had the chance to activate every section (association) of the summit. But announcing a summit change after the first hour stirred up some confusion in the chaser community. Changing the operator and the summit within 30 sec. on the same frequency is not very common. A short explanation of the situation kept everybody’s log in sync.
Taking turns on the summit worked out great, giving me enough time to talk and share stories with other SOTA operators and to take plenty of pictures and video footage of a perfect day.
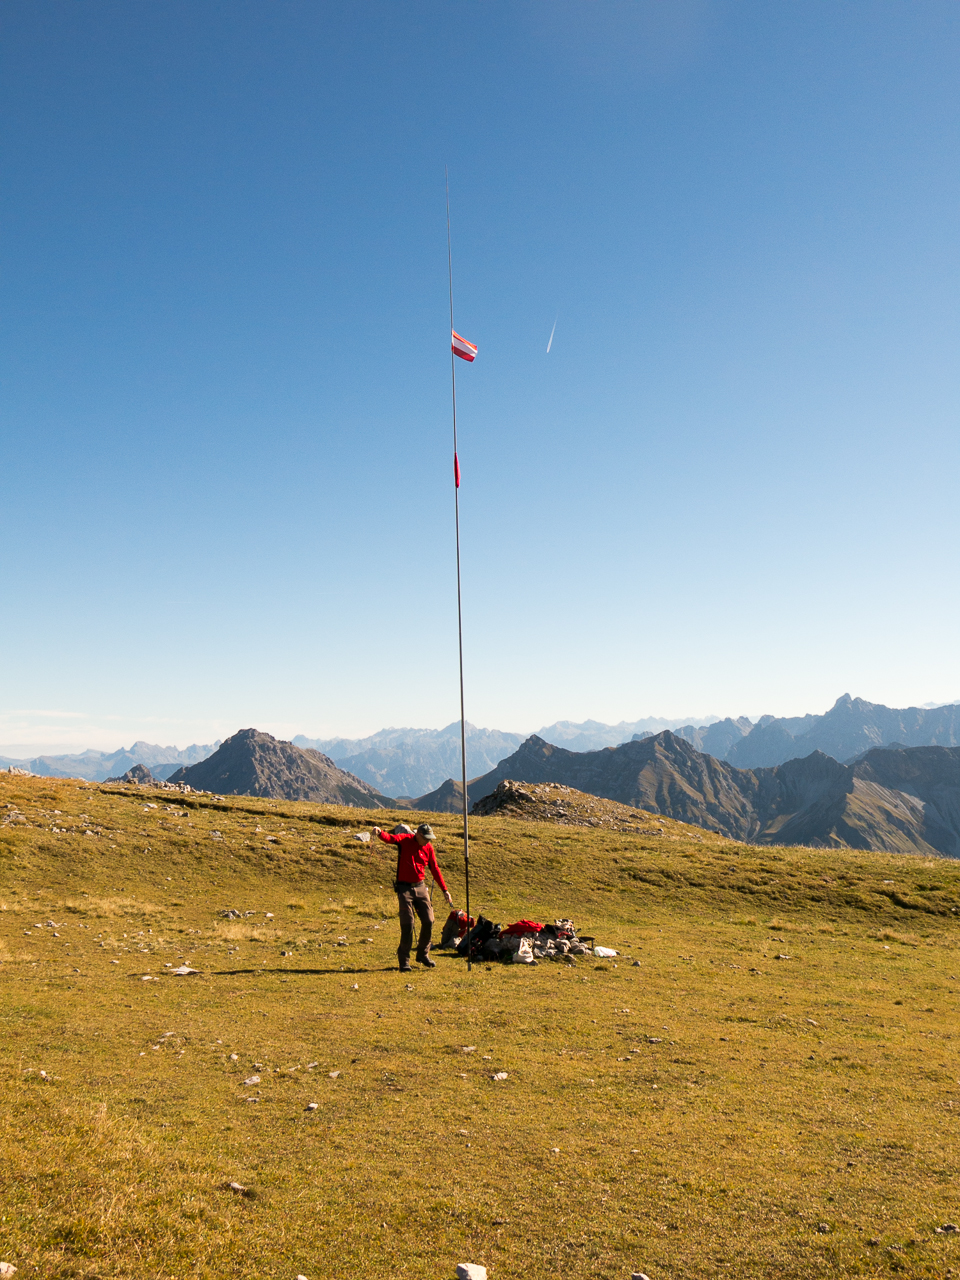
The view towards the east with Arno’s Alex loop
We saved the best for last. With just 11 SOTA summits, Lichtenstein (HBØ) is a rare opportunity for chasers. We changed our antenna for the 15m band, hoping to get across the Atlantic and catch some stations in the US. The plan worked, NA1RL/Richard in Connecticut copied my signal and so did K2JB/Jimmy and AE4FZ/Chuck both in NC. The highlight for me however was the contact with YC5YZ on Sumatra Island – my first contact with Indonesia :)
Following my motto ‘always stop when things are at the top‘I announced another operator change and handed over the mic to Ramon.
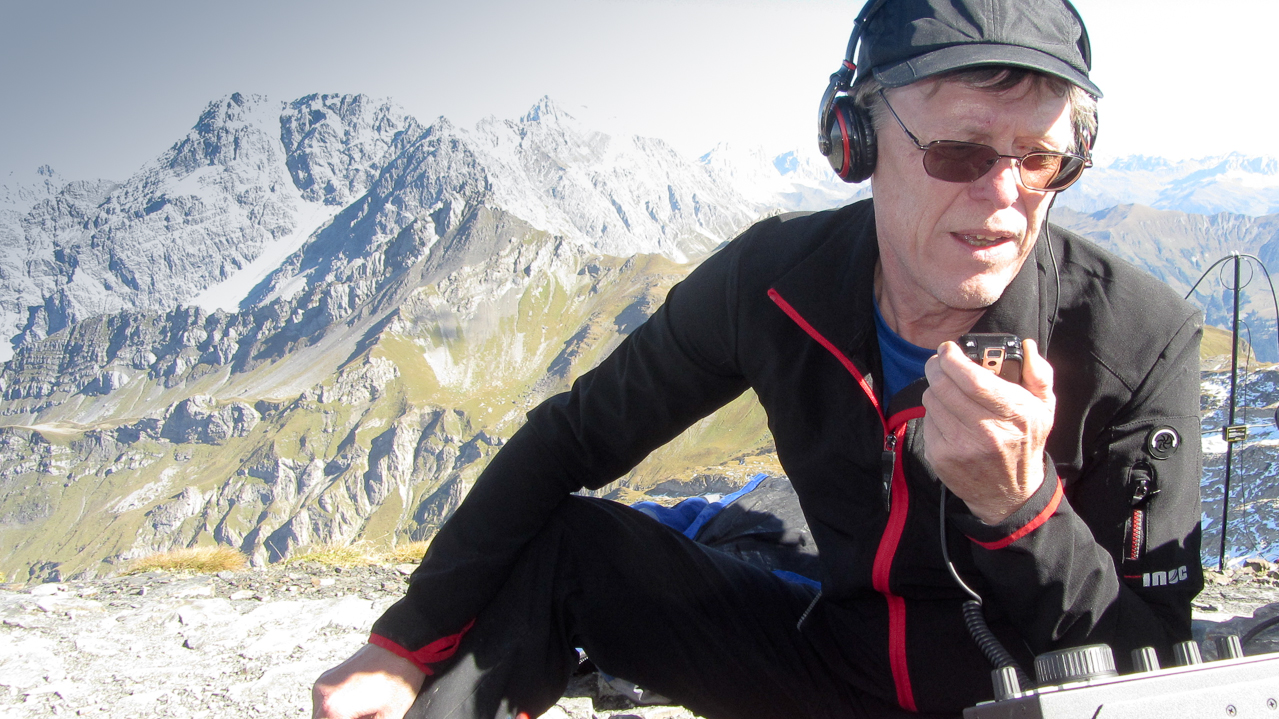
Ramon/OE9CSH on 20m
The Descent:
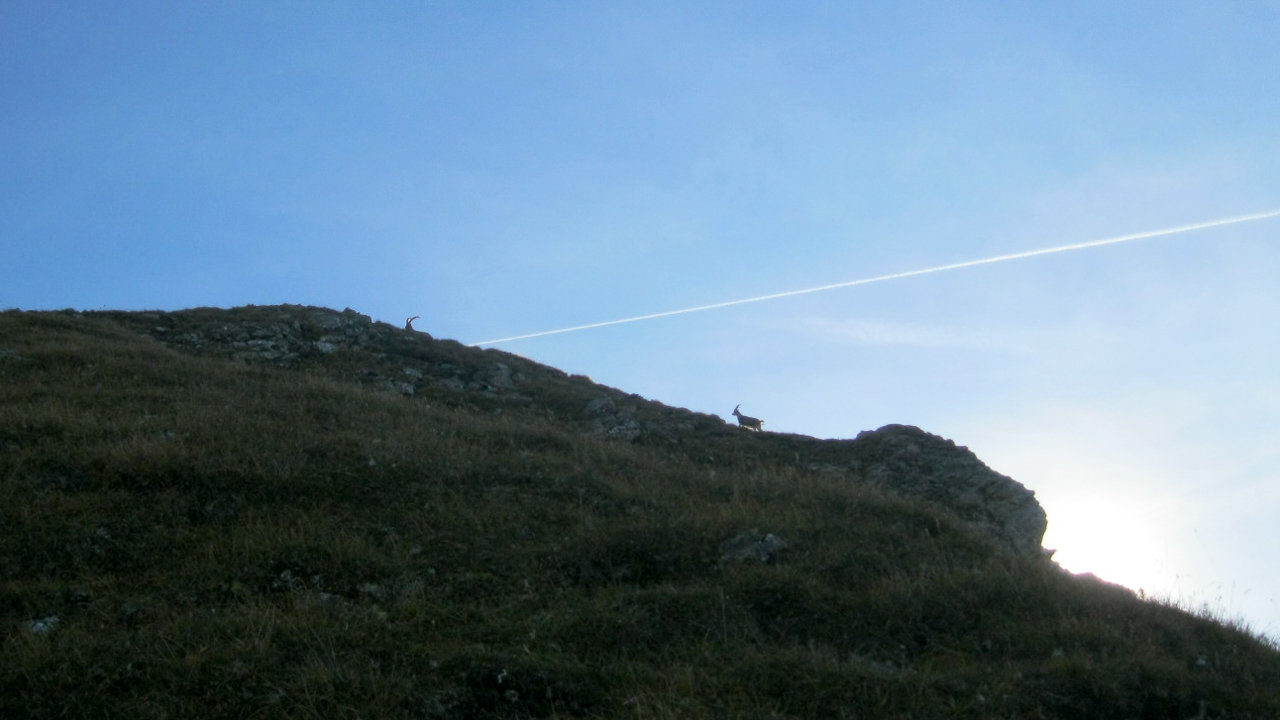
Alpine ibex
We almost had to detach Herbert from the radio by force… as longs as he has some space left in his logbook, he will not quit. But there was another summit beckoning from the distance. It was already late in the afternoon and a cool breeze forced us to put on another layer for the descent. Arno led the way down. A herd of Alpine ibexretreated from us and gave us little chance for a decent photo. At the Pfälzerhütte we turned west towards Alp Gritsch. Arno could not believe that we passed up the chance to have a beer, but chose to press on to activate another summit. Luckily he is a great guy and readily admitted that the chance to activate another HBØ summit does not come along everyday for me. I guess I owe him a beer.
Tälihöhi with Nospitz in the distance
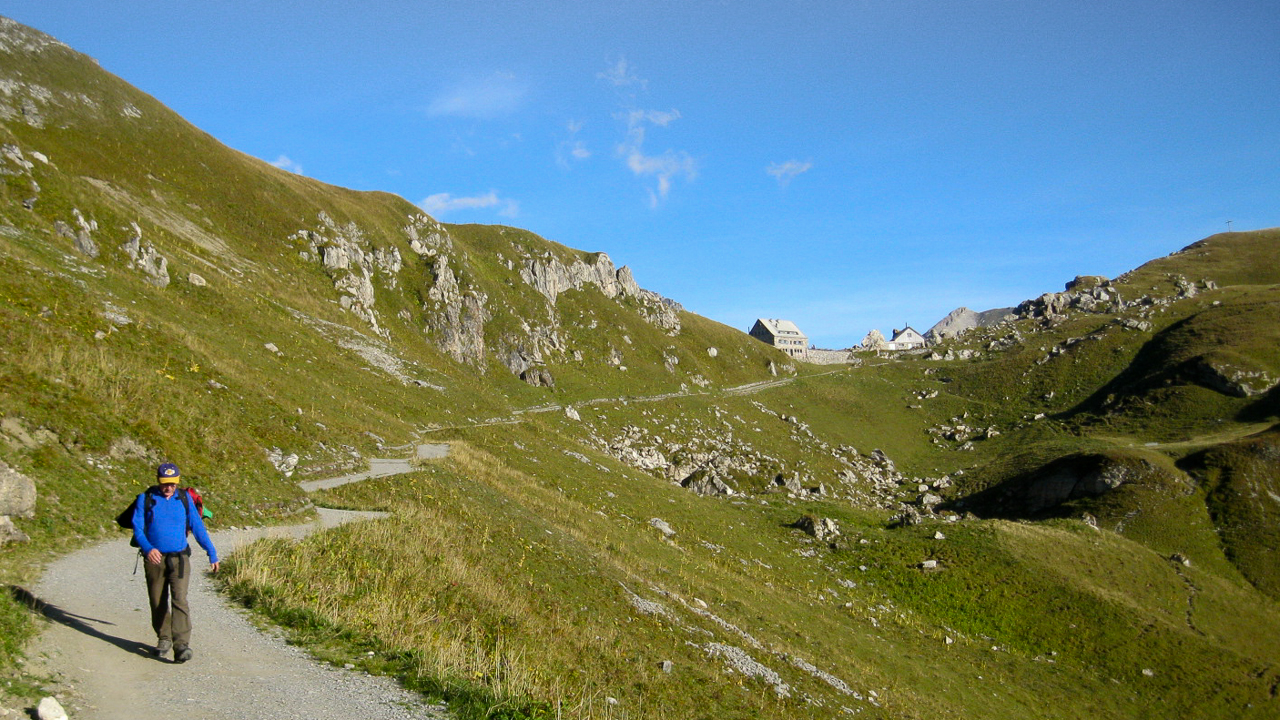
We passed by the Alp towards Tälihöhi, the last ridge we had to get over before heading down to Malbun. The Nospitz can be easily reached by a short ascent from the Tälihöhi. From this ridge it was another 45-50 minutes back to town and to the car. We all started to feel some wear and tear in our bones and joints and reached the car just when the sun went down – perfect timing.
Needless to say that it was an incredible day. The weather cooperated, amazing views, a great hike, special camaraderie and overall perfectly organized by Herbert – a trip I will always remember.
Here some additional pictures:
Alphorn player at the summit station
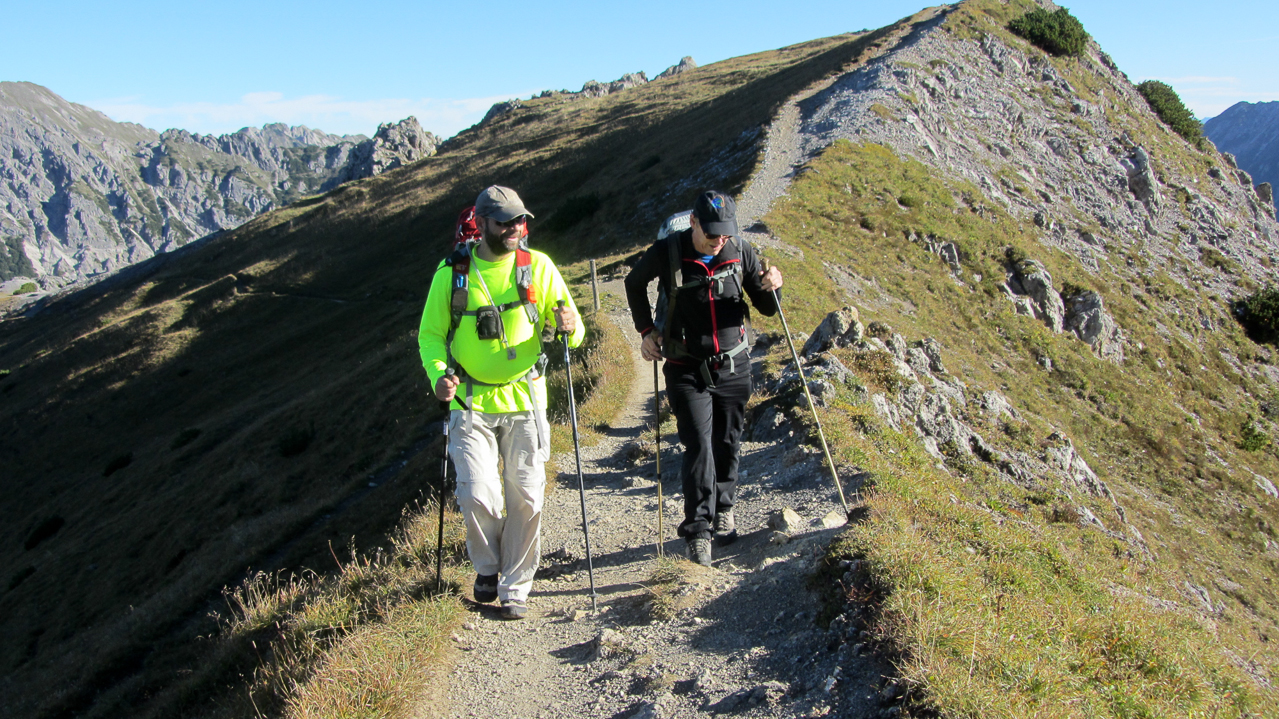
Ramon & Matt on the ridge
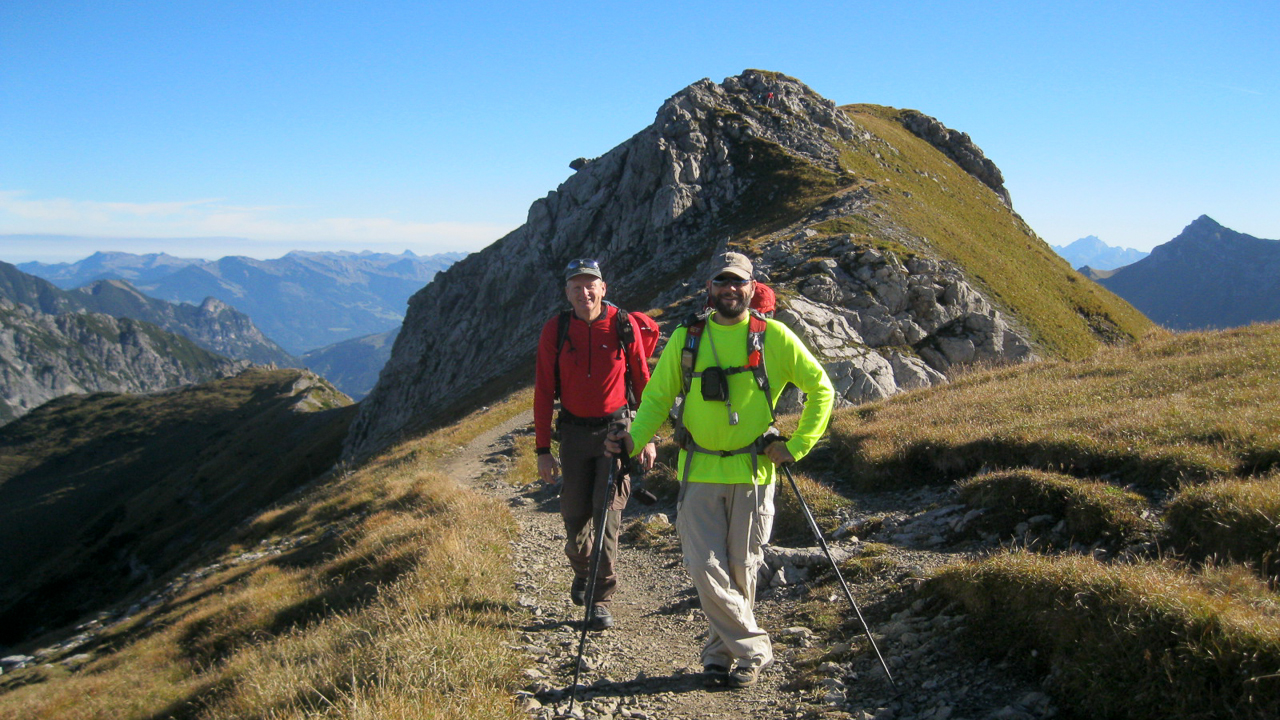
Herbert & Matt on the ridge
Heading up Augstenberg
The summit of Augstenberg
Setting up on Augstenberg
Setting up on Augstenberg
The view from Augstenberg with the Naafkopf
40m Bazooka
KX3 ready for action
Herbert
Matt
Herbert & Arno
Short break: Ramon,Arno and Hebert
Ramon heading up Naafkopf
Arno, Ramon, Matt
Arno, Ramon
Arno investigating a boundary stone
Slippery when wet
Waiting for Herbert
Operating on the HBØ side
Arno is setting up his station
Arno is setting up his station
Arno is setting up his station
Arno is setting up his station
Arno is setting up his station
Please don’t trip
Ready to go
CQ CQ
Arno celebrating
Arno celebrating
re-tuning the Alex loop
The view towards the east with Arno’s Alex loop
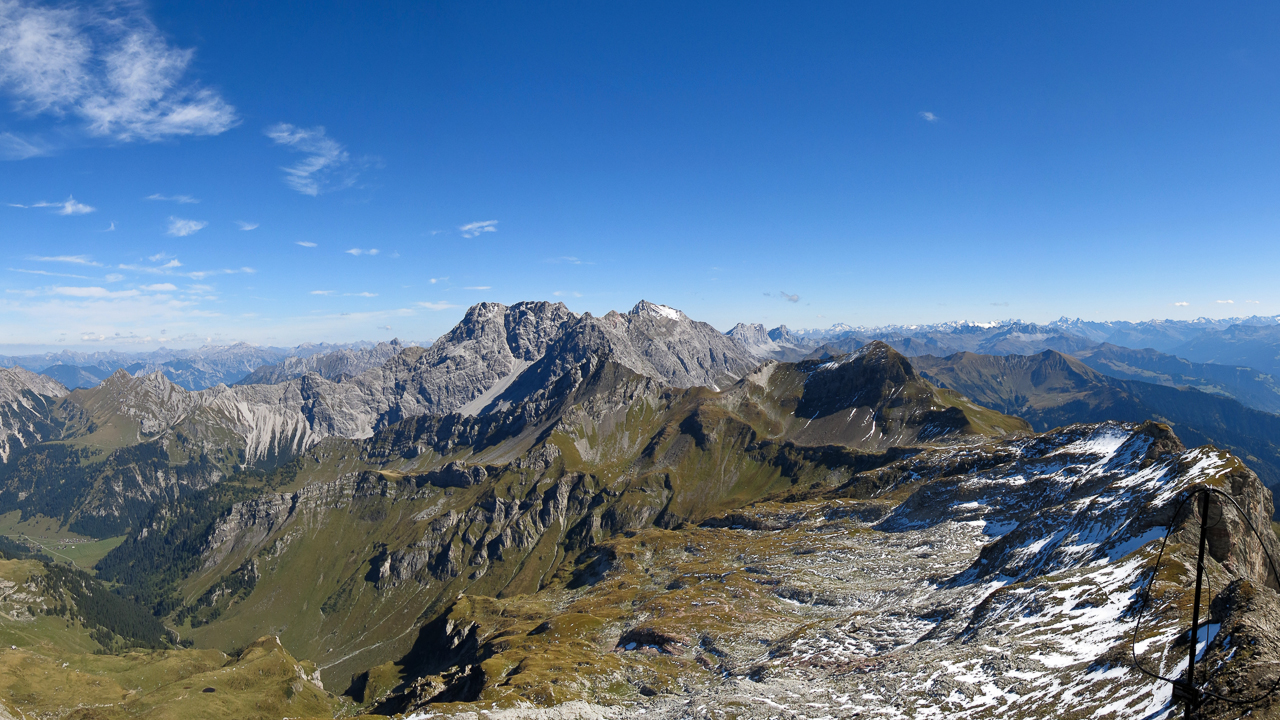
The view towards NE
Labels on the summit (FL-Fürstentum Lichtenstein)
Labels on the summit (S-Schweiz)
Labels on the summit (Ö=Österreich)
Hebert in his element
Matt on the OE side
Ramon on HB side
Ramon a little closer
I am in HBØ
Heading down
Arno with Pfälzerhütte in the background
The last summit of the day: Nospitz
Some video impressions:
httpvh://www.youtube.com/watch?v=gA8NaYhz1fQ
If you would like to leave questions or comments, please do so through Youtube.
!! WARNING !! There are old mountaineers, and
bold mountaineers… there are no old-bold mountaineers.
Hiking and mountain climbing are potentially hazardous activities particularly in Colorado with its extreme elevations. I am not accepting responsibility for any death or injury resulting from activations based on my trip reports. Proper training, experience, and personal capability assessment is required – enjoy!
W0C/PR-021 (Mt. Parnassus) 4129 M / 13574 ft
W0C/FR-006 (Bard Peak) 4150 M / 13641 ft
August 21, 2013
by KØMOS
Mount Parnassus (no, not the famous Mountain from the Greek mythology) and Bard Peak are two summits in the Rocky Mountains of Colorado. They are just along I-70, shortly before entering the Eisenhower tunnel (coming from the east). I have driven by these unspectacular mountains numerous times without even noticing them. They are rather easy to access via Herman Lake TH which is right at the exit 218 of I-70. Looking at the SOTA map for WØC, I decided to pay them a visit.
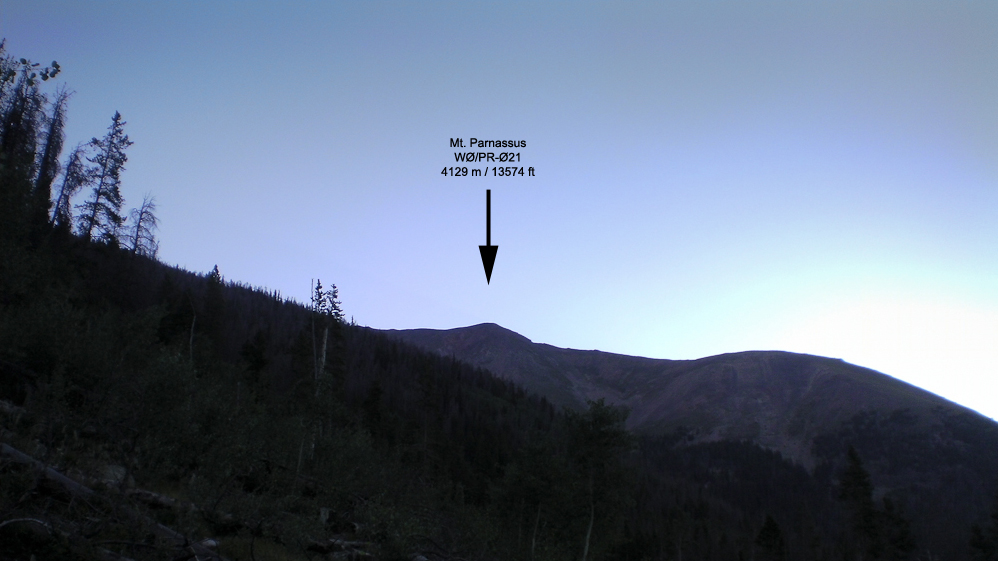
Mt. Parnassus as seen from the TH (almost)
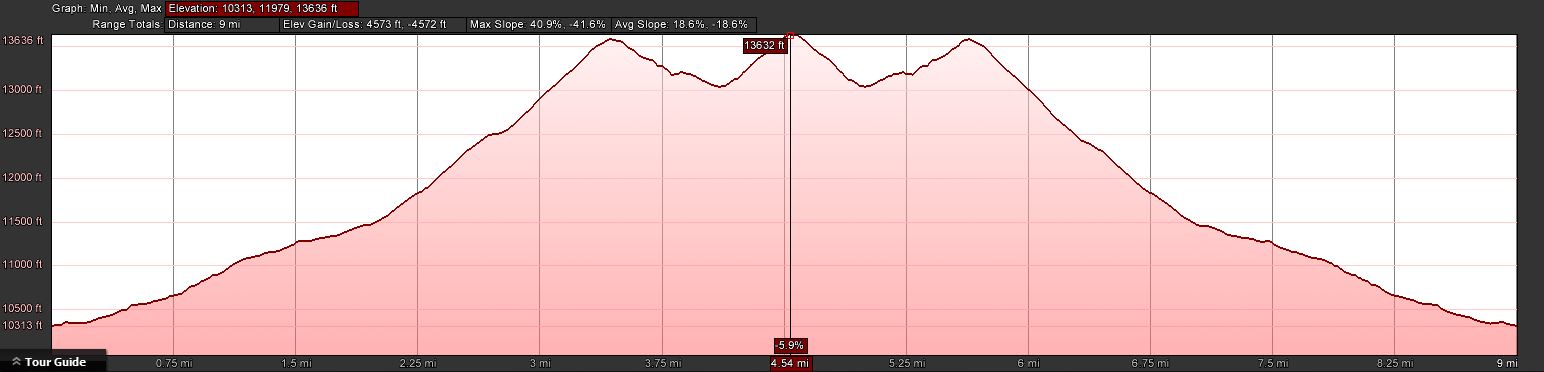
 Trailhead:  10313 ft / 2526 m
 Summit:     13574 ft / 4137 m (Parnassus)
             13641 ft / 4150 m (Bard Peak)
 Elev. gain: 4574 ft  / 1394 m
 Roundtrip:  9.0  mi  / 14.5 km
From Denver, take I-70 West and take exit 218. If you go through the Eisenhower tunnel, you went too far. Take a right at the end of the ramp and drive back, parallel to I-70, for 0.15 mi (0.25 km). Information kiosk and outhouse are right there.
Red Tape:
Both summits are part of Arapaho National Forest and their rules and regulations apply.
The Ascent:
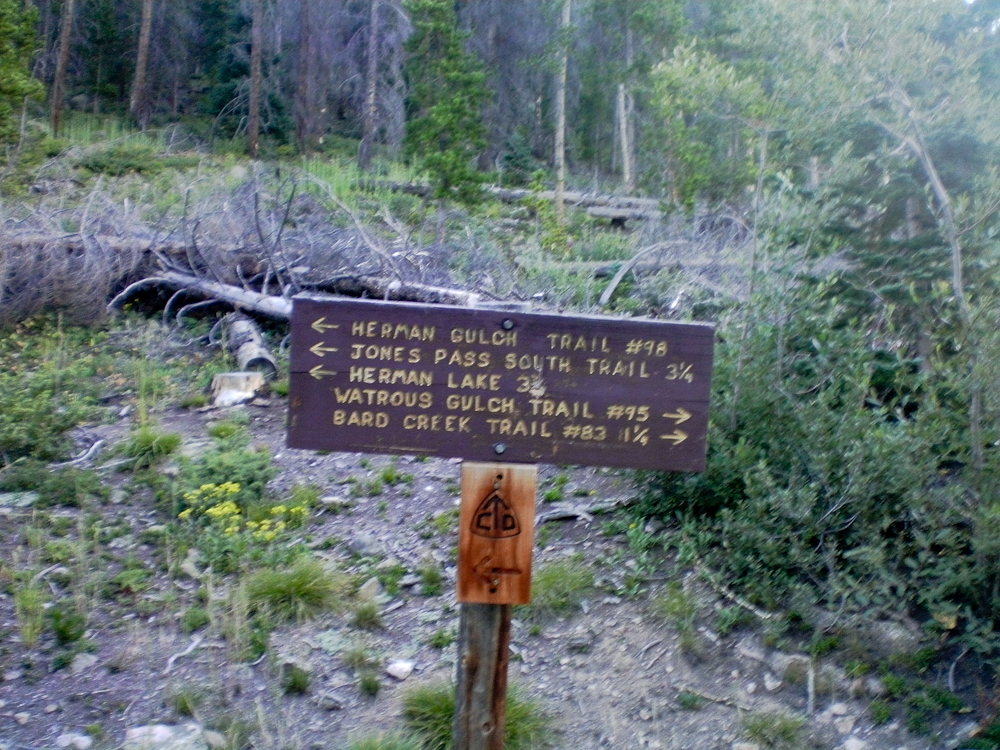
The elevation profileTrail splits after 300 yds
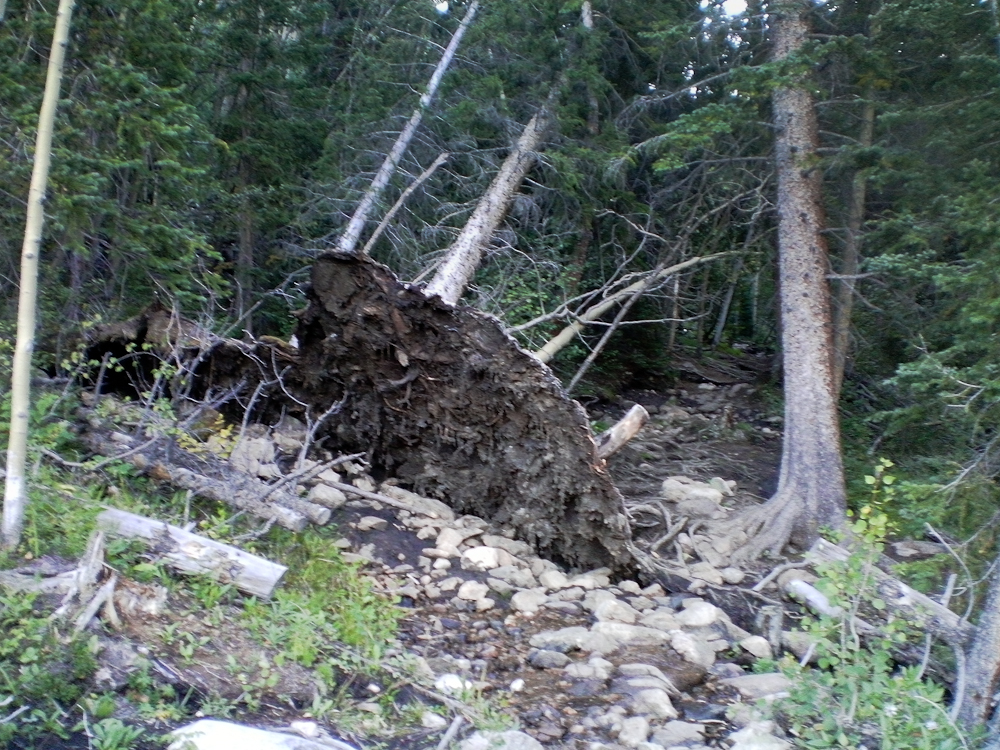
The first part of the trip follows the Watrous Trail. From the info kiosk I headed out east. After a few hundred yards the trail splits… I continued east on the trail through dead and downed trees and lots of noise coming from the highway :(
When I tried to take a few snapshots with my trusted Canon G9 I only got a ‘Lens error, restart camera’ error message combined with an ear piercing whining noise in return. A couple of restarts gave me the same result – the lens was stuck in the open position – therefore all photos were made with my video cam. My excuse for the ‘great’ quality of all the pictures. What I did not know at this point, more camera problems were to come.
Down and dead trees
After about a mile into the hike the trail starts to head towards the north, along what I can only assume is Watrous Creek. Even though the creek was still carrying water, the noise coming from I-70 was still prominent. Eventually the forest/dead-tree environment makes room for alpine tundra with quite nice scenery and views of Woods Mtn. and Mt. Parnassus. The trail follows along the west side of the creek and disappears soon after it crosses over to the other side towards the saddle between Woods Mtn. and Mt. Parnassus.
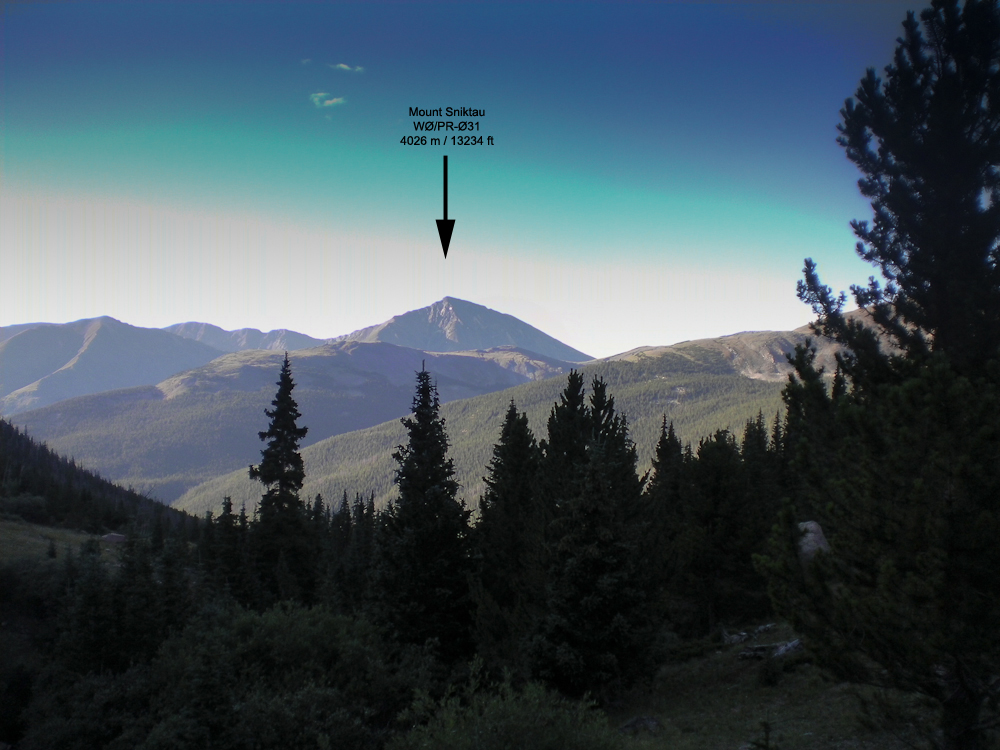
View of Mt. Sniktau
From here it is a straight shot to the saddle after passing through a few remaining trees. Conveniently, somebody erected a stone cairn near the top of the saddle. You can barely see it from here but aiming for the cairn brings you into perfect position for the last 3/4 miles or so up a rocky/grassy slope to the top of Mt. Parnassus. The views are rather nice, nearby Mt. Sniktau (WØC/PR-Ø31) clearly visible with Quandary Peak (WØC/PR-Ø14) in the background under mostly blue skies with only a few white clouds.
Aim for the stone cairn
View of Mt. Parnassus from the saddle
The Summit:
The rather steep west slope flattens towards the summit. The stone shelter can be reached without any obstacles. The large summit could host quite a few activators with their gear and antennas without getting too crowded. The views are stunning in all directions. Lot’s of high altitude SOTA peaks are in clear view.
Just after I finished shooting a 360 degree video, the battery of my remaining camera quit on me. Now I was sitting at 13574 ft / 4137 m with beautiful weather and a second summit to activate, and no camera – very disappointing.
Mt. Evans and Mt. Bierstadt with the saw-tooth route in the distance
With hardly any wind and with very comfortable temperatures I started to setup my antenna and gear. I logged my first QSO at 16:00 UTC, exactly as planned. I handed out the wrong SOTA reference number at first. Realizing that something was fishy, I asked Glenn/N4MJ to verify it for me. I only logged four QSO’s in 25 minutes. Since I had still a lot of ground to cover and because there were no more takers, I started to pack-up and move towards Bard Mountain.
Bard Peak as seen from Mt. Parnassus
Mt. Parnassus to Bard Pk.: The decent from Parnassus down to the saddle is similar to the west flank, a steep grassy slope with some rocks. Larger outcroppings can be circumnavigated without any problems . From the bottom of the saddle it is another ~600 ft (183 m) of elevation gain to the summit. I started to feel my knees and other body parts but having another 10 pointer so close by released some new energy.
It took me more than an hour to get to the top, slightly longer than planed. Setting up my shack went without hick-up under still amazing weather conditions. Logged 12 QSQ’s in 15 minutes on 20m SSB. Looked like all the chasers were finally awake ;)
After a few more but unanswered CQ’s I started my long hike back to the car.
The Descent:
Nothing noteworthy on the descent… took the same route via Parnassus. It felt like it took forever going down to the saddle and up again before heading down to the saddle of Parnassus and Woods Mountain. I reached the car, conked out after 9 miles and 4574 ft ASL (14.5 km / 1394 m). A snack and fresh water supply in the car gave me back the necessary energy for the drive home.
73, Matt/KØMOS
Feel free to leave comments and/or questions below.
!! WARNING !! There are old mountaineers, and
bold mountaineers… there are no old-bold mountaineers.
Hiking and mountain climbing are potentially hazardous activities particularly in Colorado with its extreme elevations. I am not accepting responsibility for any death or injury resulting from activations based on my trip reports. Proper training, experience, and personal capability assessment is required – enjoy!
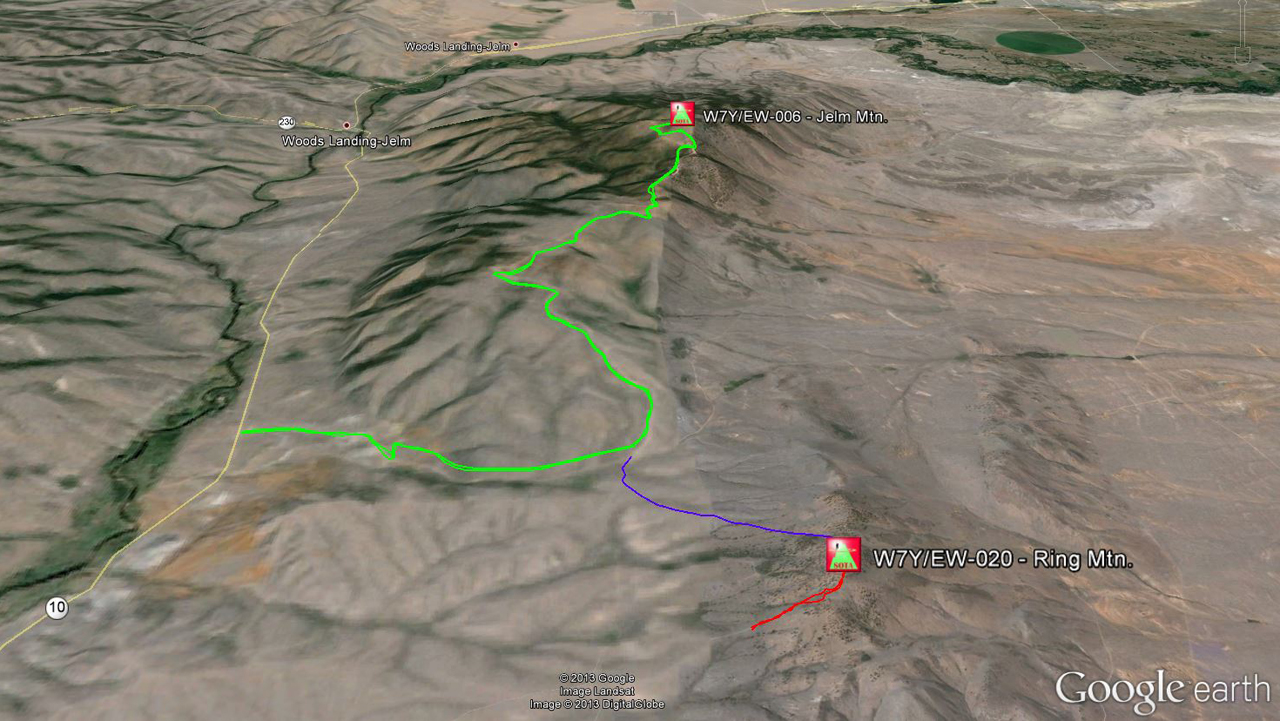
Ring Mountain (W7Y/EW-020), the second activation of the day, presented some obstacles… my planned route coming from Jelm Mountain (see picture below) was blocked by a closed gate with a NO TRESPASSING sign. There is a separate trip report for Jelm Mtn. if you are interested.
Green = route to Jelm Mtn. Blue = planned route to Ring Mtn. Red = actual route to Ring Mtn.
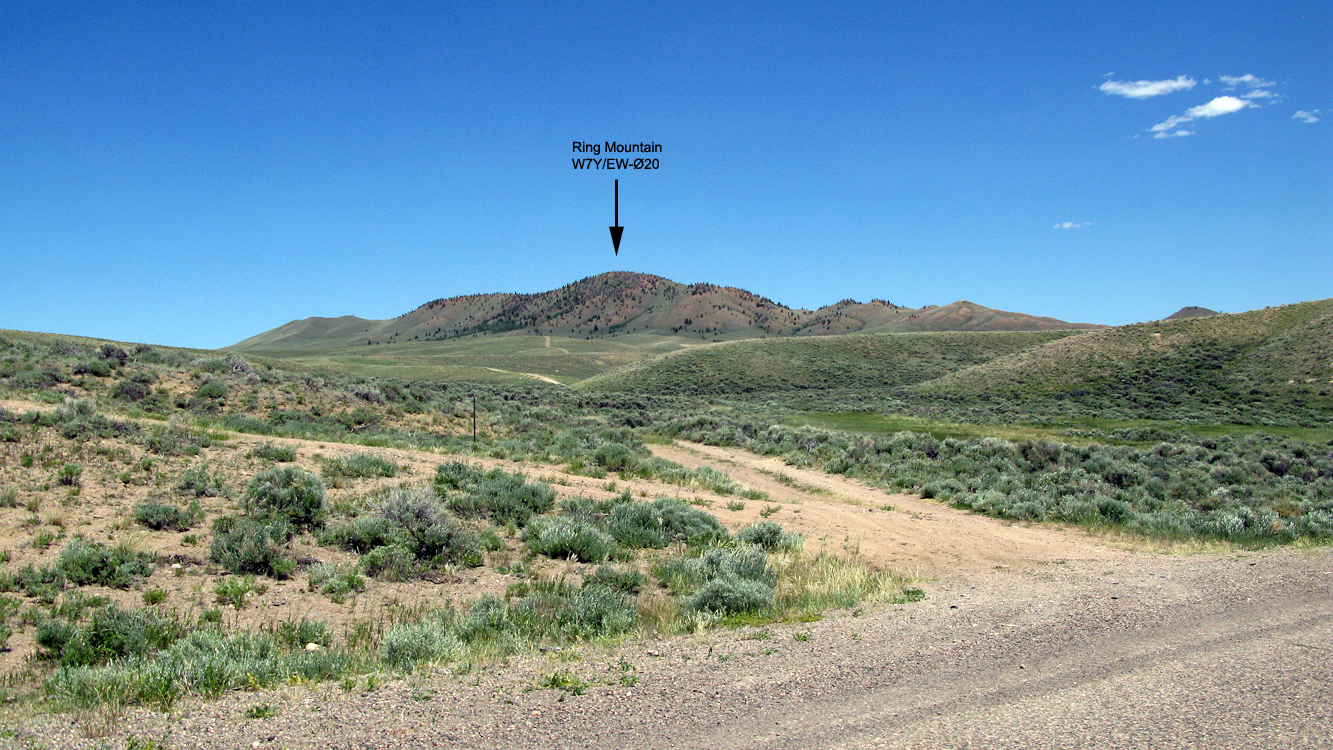
To find public access, I continued to drive south on Wy10. The only possible access I could find was a small two-track, not even a dirt road… I almost missed it and had to back up to turn east.
Access to Ring Mtn.
Being hot, tired and thirsty from my prior 10+ mile hike up Jelm Mopuntain, I decided to drive my old Subaru as far up the hill as I could. It was an adventure for the old Subi, some of the ruts were deeper than the ground clearance of my Subi and I had to make sure not to get stuck up here… who knows when the next car would come by… towing would become expensive.
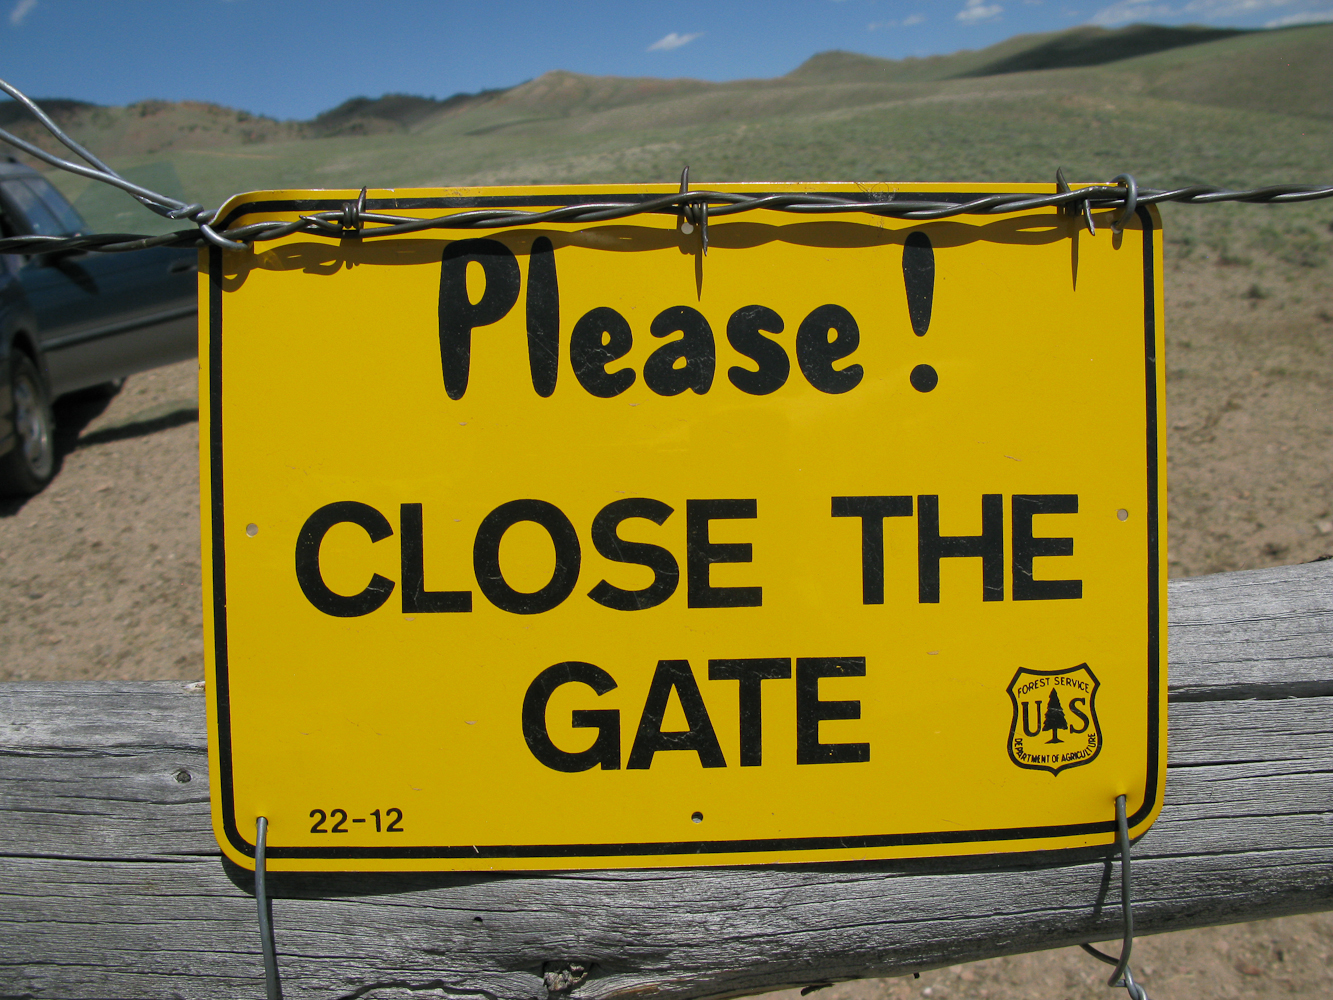
US Forest Service Gate
I managed to reach a gate with the car hitting the ground only once. I was sure hoping not to encounter another NO TRESPASSING sign. Luckily it was a US Forest Service gate, just 0.5 miles from WY10. I passed the barbed wire fence/gate in no time and continued to follow the two-track up the hill.
Finally the track disappeared completely and it became too steep to continue by car. I left the vehicle, declared this point as the trail-head and continued my climb by foot.
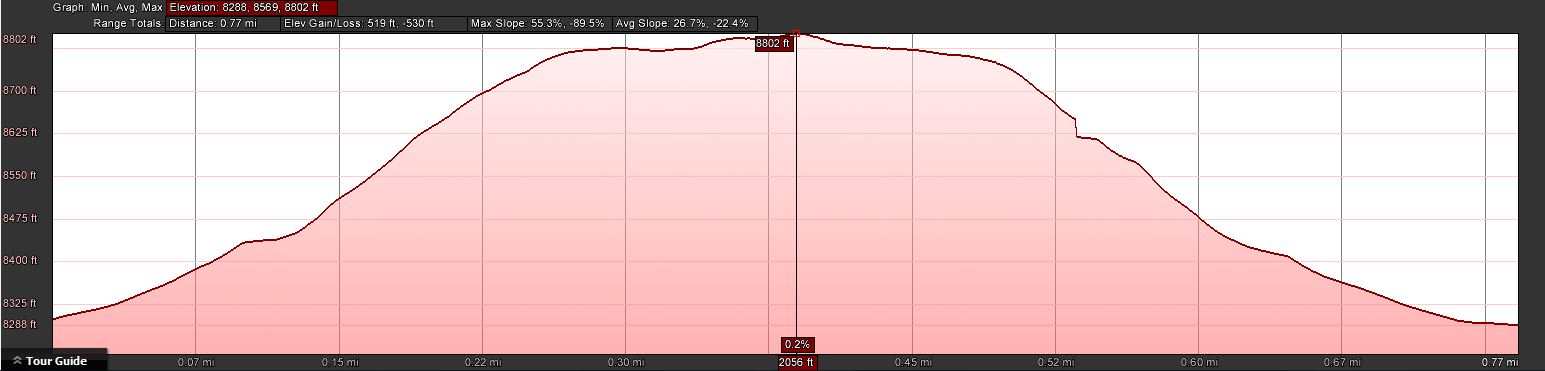
Trailhead: 8288 ft / 2526 m
Summit: 8818 ft / 2688 m
Elev. gain: 519 ft / 158 m
Roundtrip: 0.8 mi / 1.2 km
Red Tape:
There is private land everywhere and the two-track seems to be the only public access to the summit.
The Ascent:
The elevation profile
The summit is close and clearly visible. Taking the route of least resistance, I crawled up the mountain in scorching temperature. The ground beneath me radiated the heat to uncomfortable levels and no shade was in sight.
View back towards the TH (you can see the car if you look closely)
The Summit:
My shack with Jelm Mtn. in the background
The summit offers a nice 360 degree view, Jelm Mountain with the WIRO dome clearly visible just a few files to the north. The sun was already high in the sky and the scarce vegetation provided no shade what so ever. I used a dead tree to tie my mast to and tuned the antenna for 20m, only to encounter the same kind of QRM I ‘enjoyed’ on Jelm Mtn. This time I did not try other bands but moved my shack immediately a little further down the mountain to have the summit between my antenna and Jelm Mtn, still blaming some of the radio installations up there for the noise – BINGO, the noise was gone and Phil/NS7P answered my call, spotted me and I logged ten contacts in no time – thanks Phil.
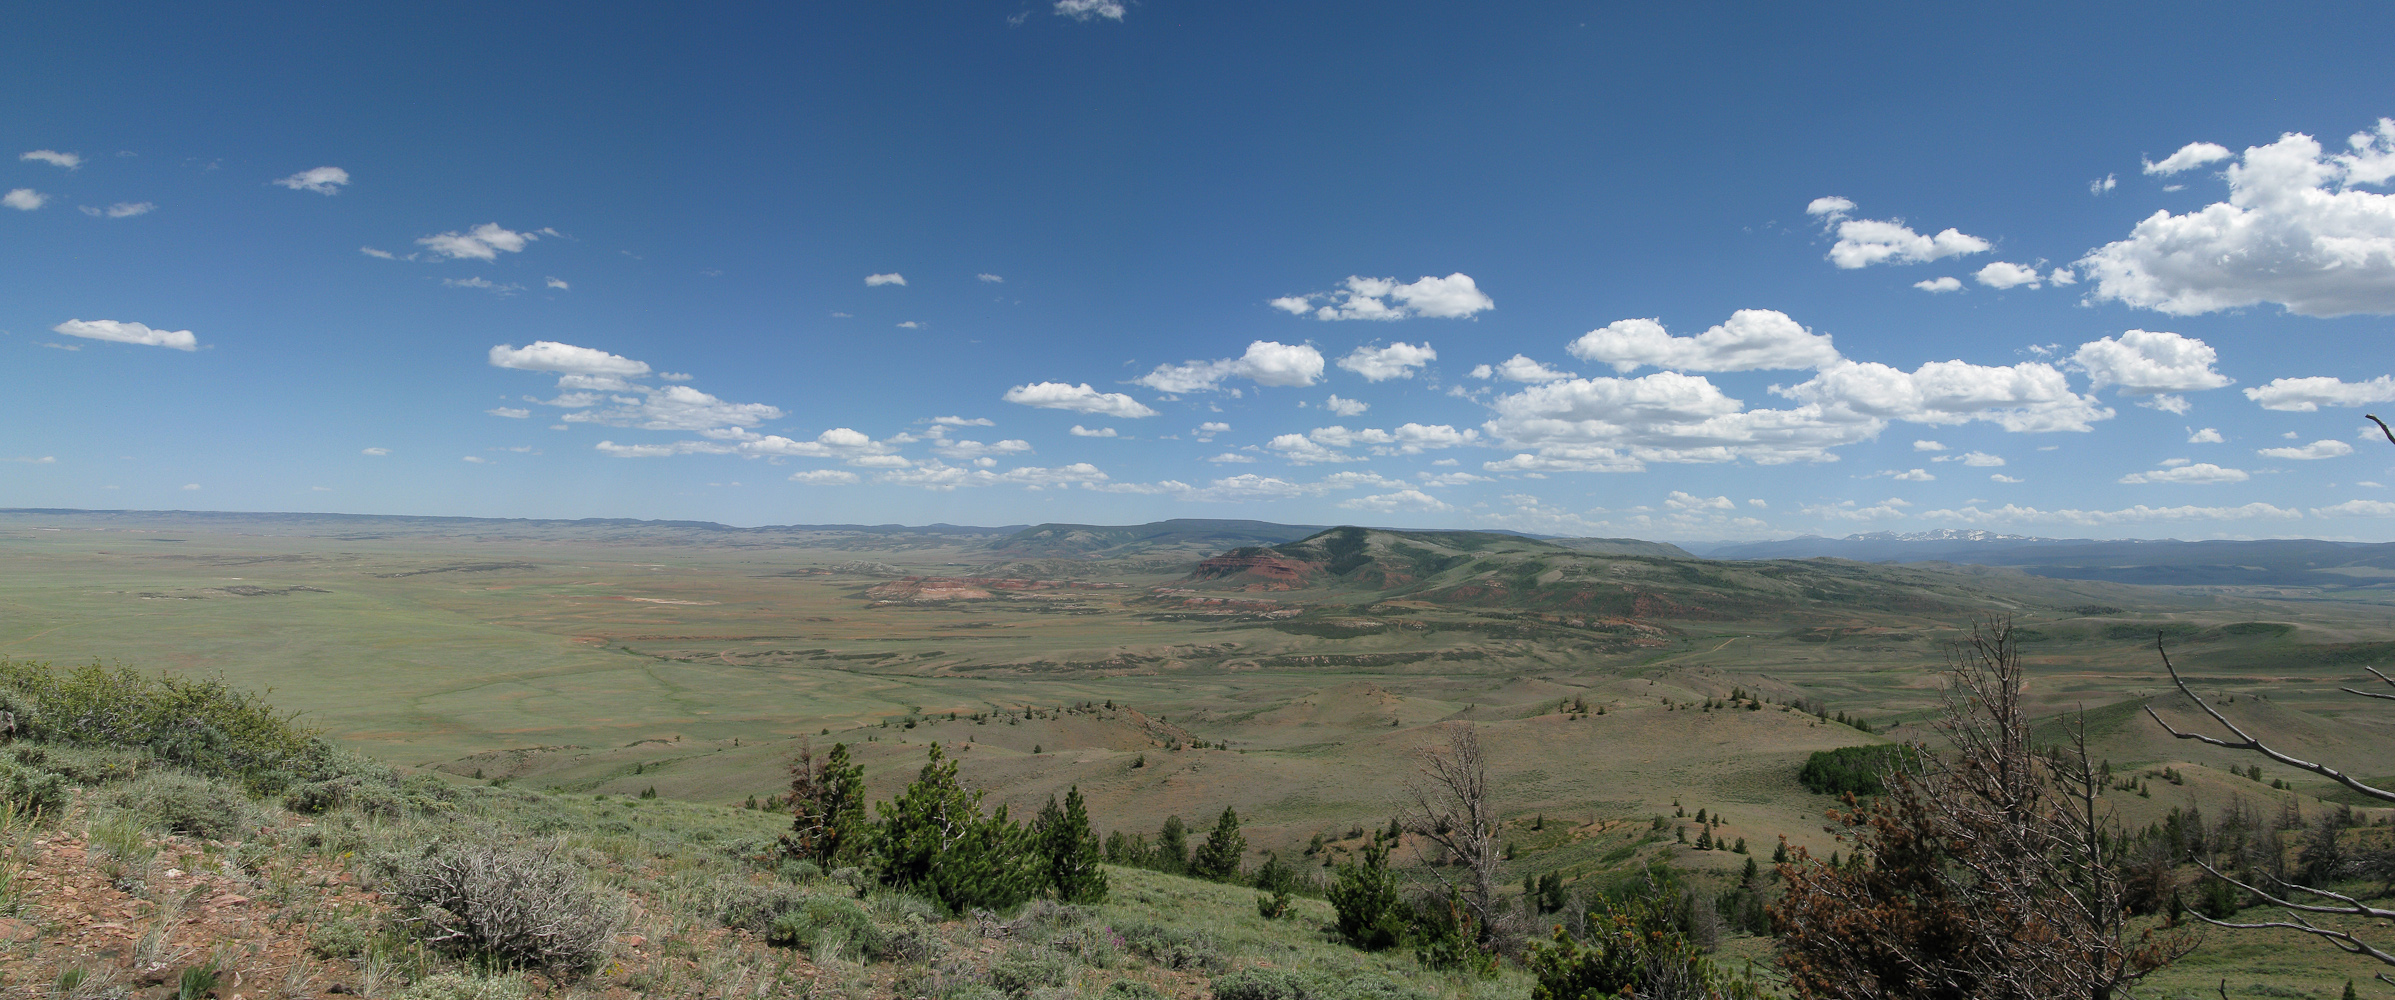
Panorama view towards north-west
The Descent:
Nothing noteworthy on the descent… did I mention that it was HOT? I reached the car, turned on the air-condition to max and carefully navigated my way back to the road while nibbling on my sandwich – thanks to the heat with a layer of melted cheese – yummy.
Some video impressions:
If you would like to leave questions or comments, please do so through Youtube.
!! WARNING !! There are old mountaineers, and
bold mountaineers… there are no old-bold mountaineers.
Hiking and mountain climbing are potentially hazardous activities particularly in Colorado with its extreme elevations. I am not accepting responsibility for any death or injury resulting from activations based on my trip reports. Proper training, experience, and personal capability assessment is required – enjoy!
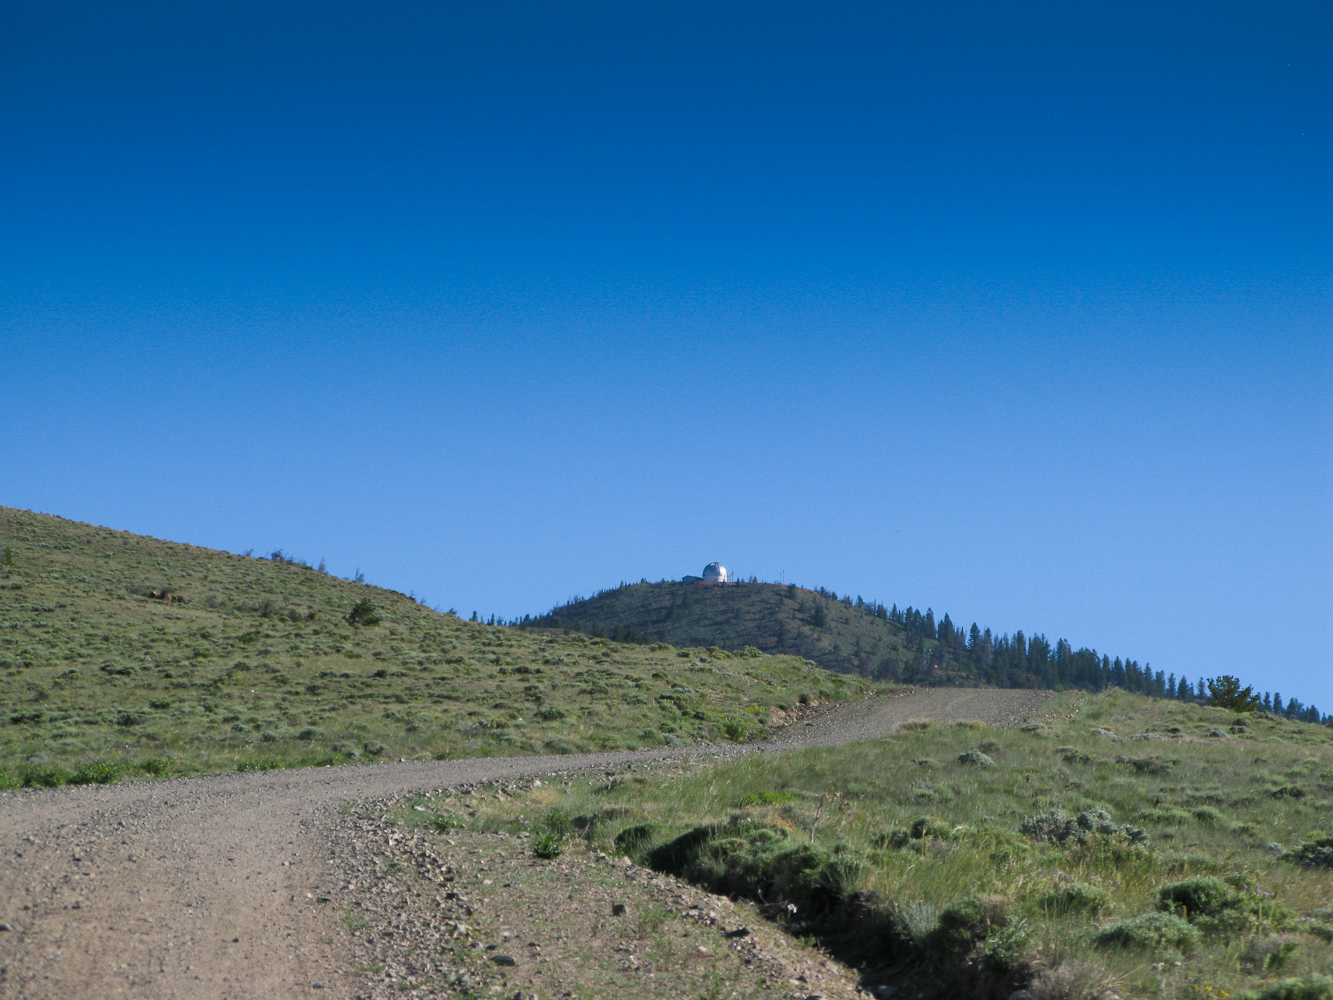
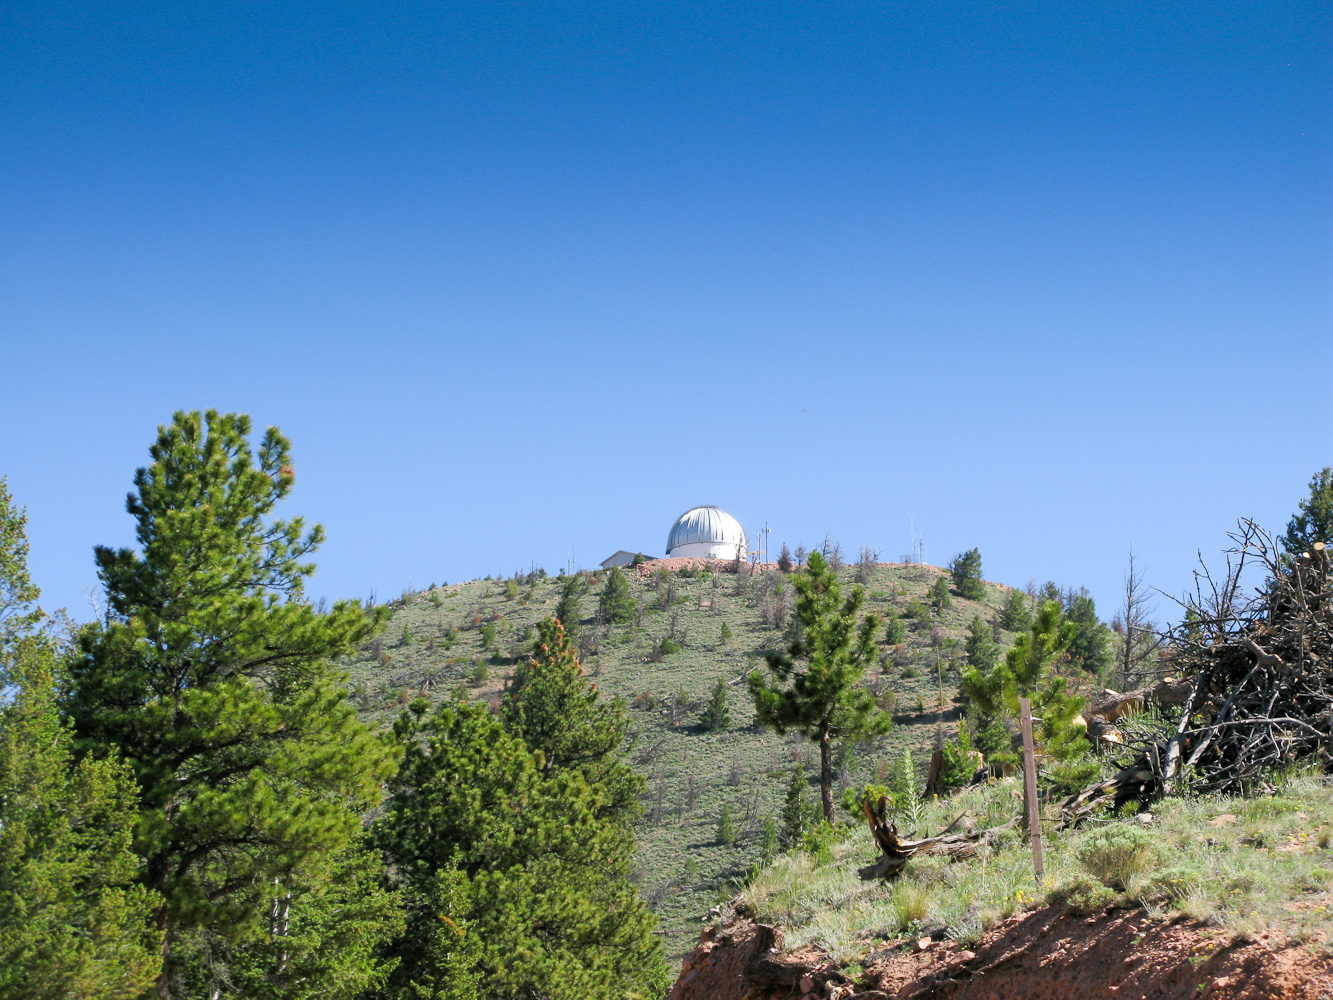
I felt like it was time to explore the association just north of me, W7Y or Wyoming. The closest mountains are just ~60 mi / 100 km from my home QTH (as the crow flies) and are in the SE region of the association. To ‘justify’ the ~300 mi / 480 km drive I was planning to activate at least two summits. Jelm Mountain (W7Y/EW-006) and Ring Mountain (W7Y/EW-020) seemed to fit the bill perfectly. The two summits are just three miles apart and reaching Ring Mountain is about a two mile extension coming back down from Jelm Mtn. (see picture below) – so much for the plan.
Green = route to Jelm Mtn. Blue = planned route to Ring Mtn. Red = actual route to Ring Mtn.
During my research for the hike to Jelm Mtn. I discovered two notable facts:
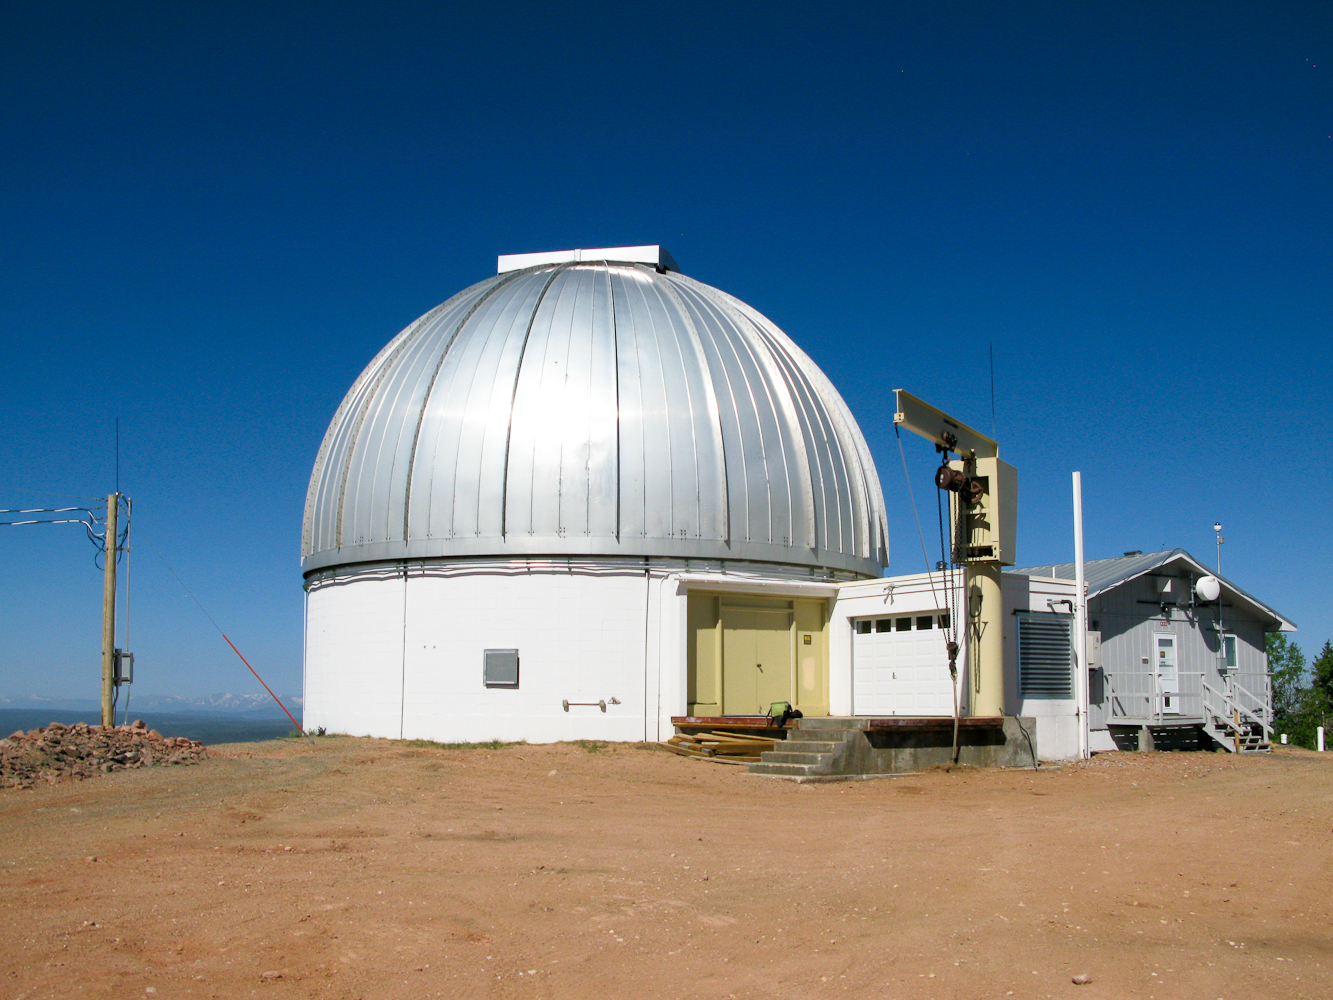
1) The summits hosts the WIRO, the Wyoming Infrared Observatory and therefore a dirt road connects WY10 with the summit.
2) The yearly organized Jelm Mountain Run is following the same road. The course record is held by Nik Deininger who finished the 10+ mile course in 1:10:30 in 2012. The challenge was on… could I beat his record? ;)
I was not seriously planning to break Nik’s record but I was hoping to get a tour of the observatory.
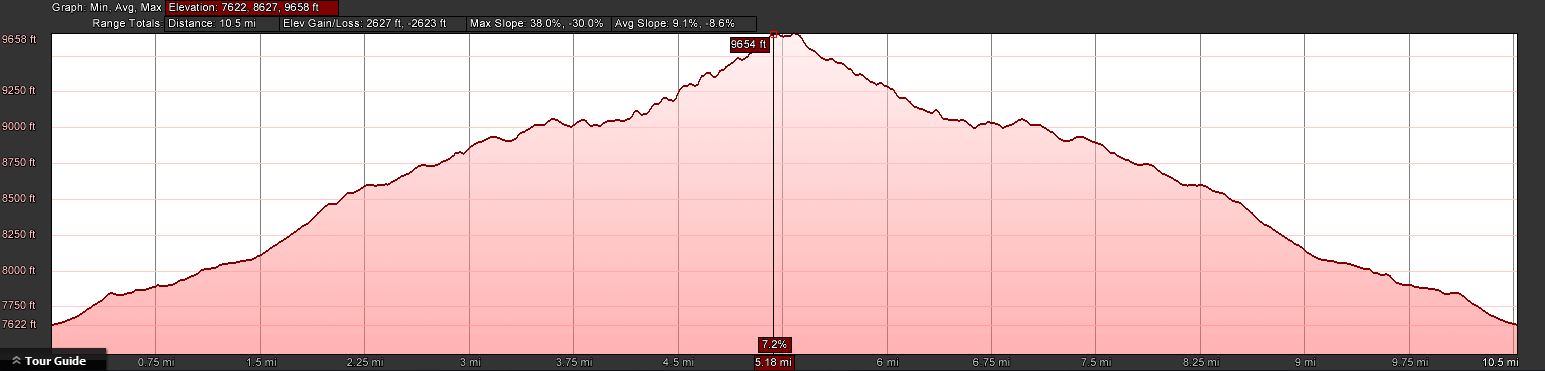
Trailhead: 7622 ft/ 2323 m
Summit: 9656 ft / 2943 m
Elev. gain: 2627 ft / 801 m
Roundtrip: 10.5 mi / 16.9 km
Jelm Mountain (incl. the dome of the observatory) is visible for miles and miles (even before reaching Laramie) and it is straight forward to get to. From Laramie WY, take WY-230 W for about 26 miles.
Take a left onto WY-10 S for another three miles.
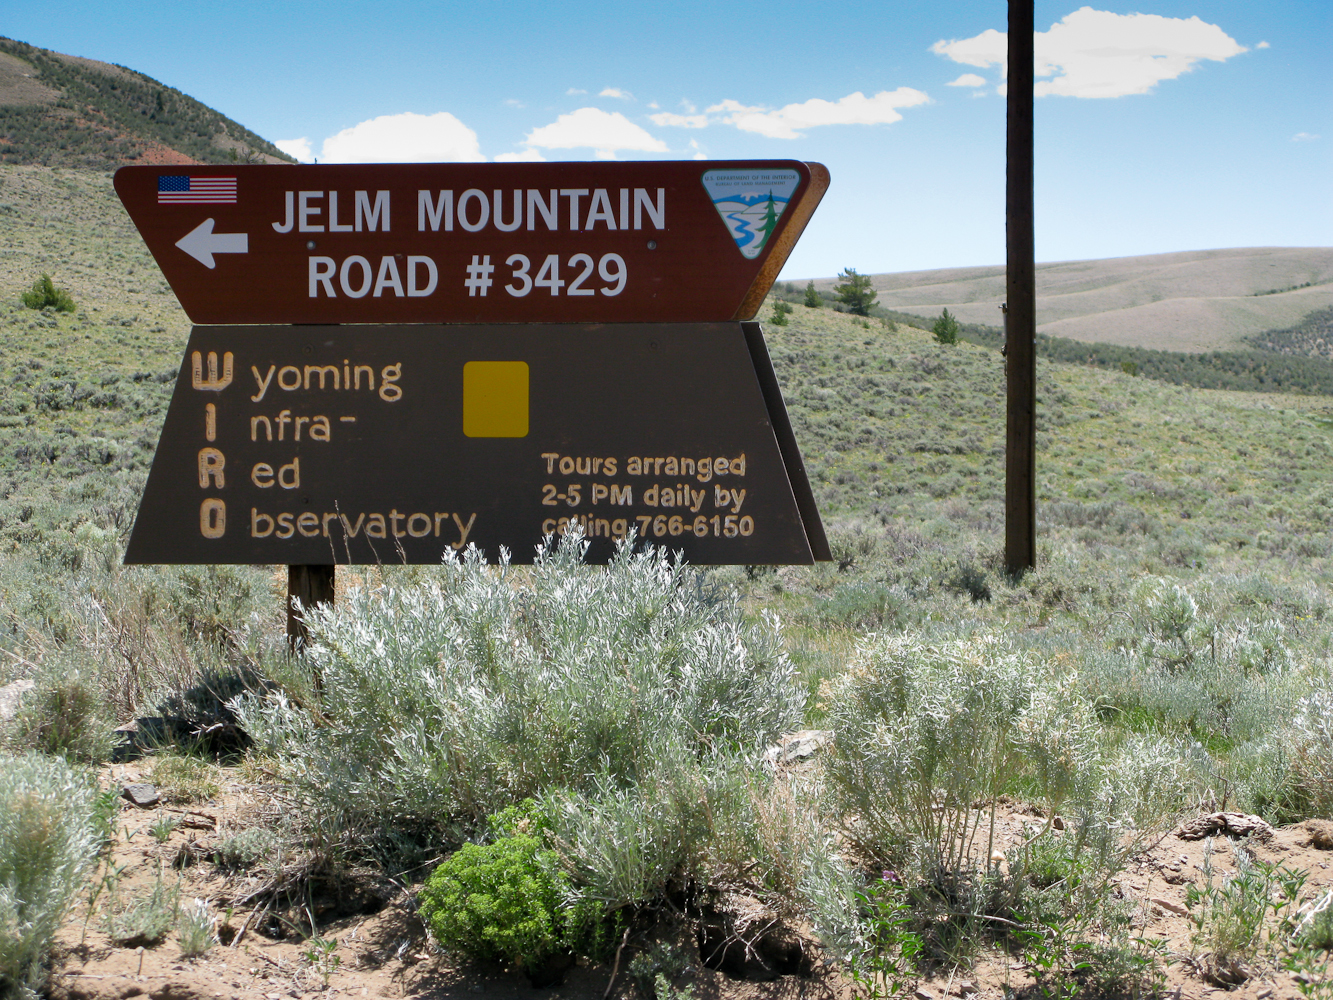
You will see the sign for the WIRO on your left (see picture on the right) with a maintenance building from the county with ample space to park your car… You can’t miss it.
Red Tape:
This is private land and the dirt road seems to be the only public access to the summit.
The Ascent:
Jelm Mtn – Elevation Profile
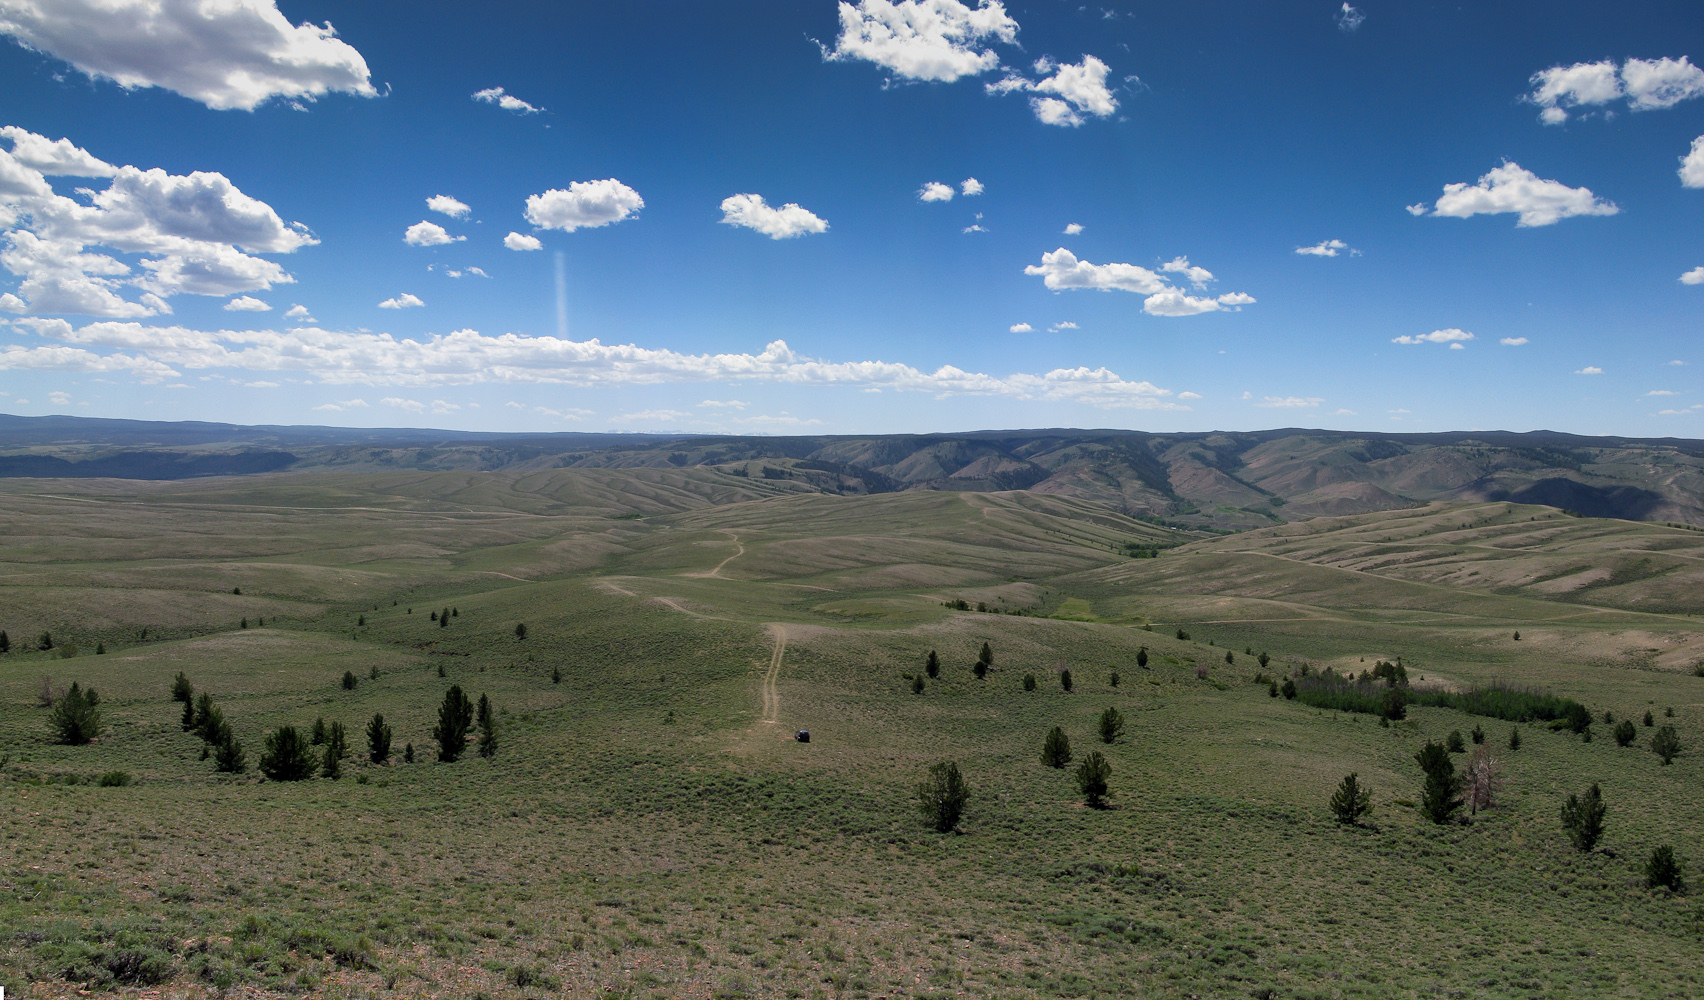
It does not get any easier than this. Just follow the dirt road all the way to the top. It was a very hot day (upper 90° F / 35°+ C) and the route does not provide any shade. It’s just you, the heat, tons of mosquitoes and a long long dusty road to the top. The views are completely different to what I am used to from the Front Range. Less dramatic but appealing and captivating nevertheless.
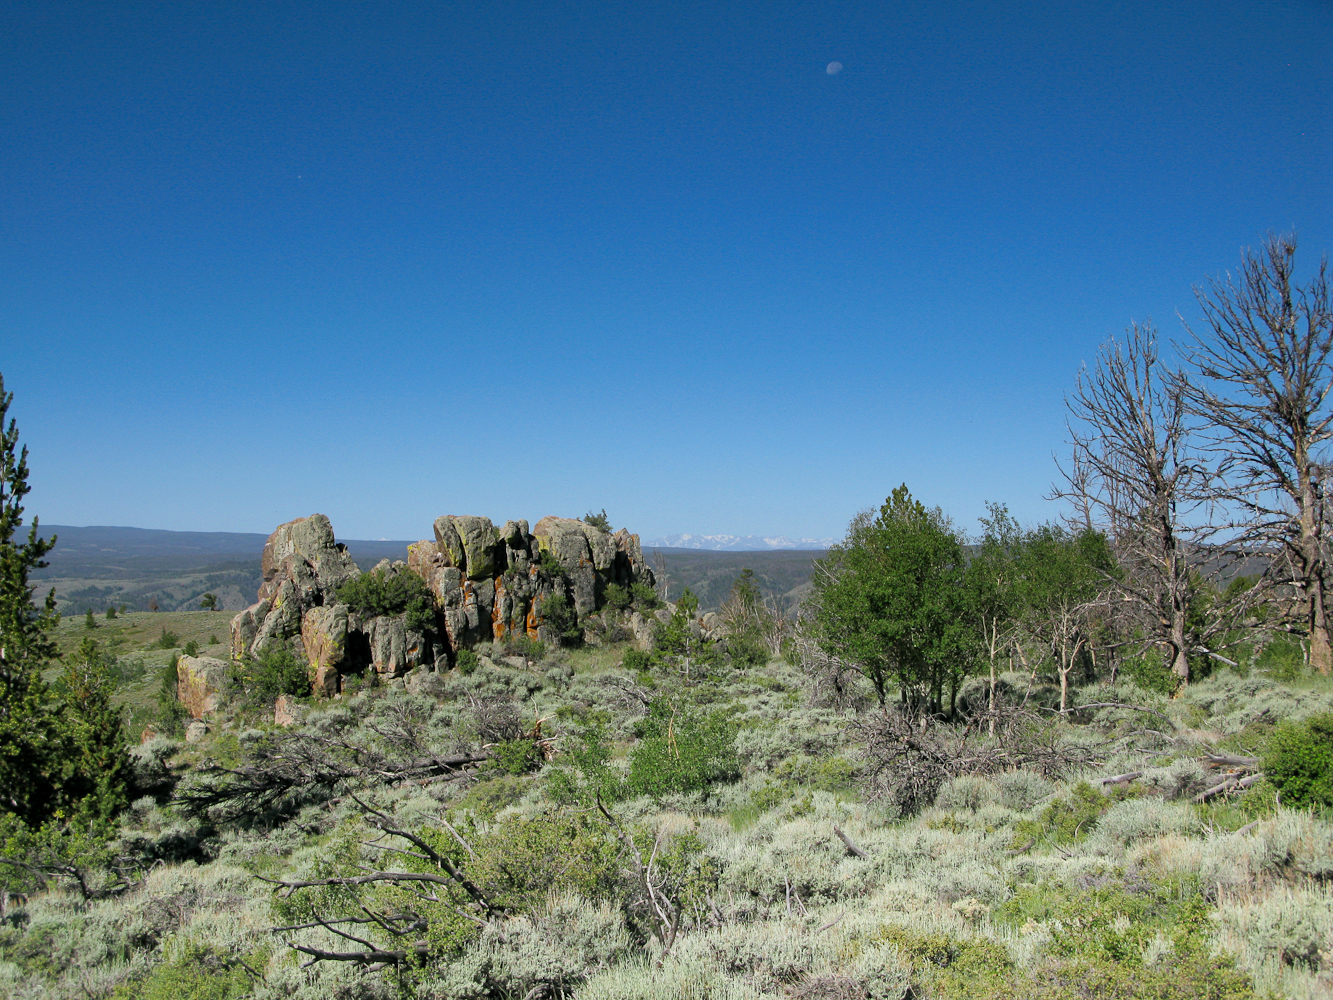
Snowy Range in the distance
The Summit:
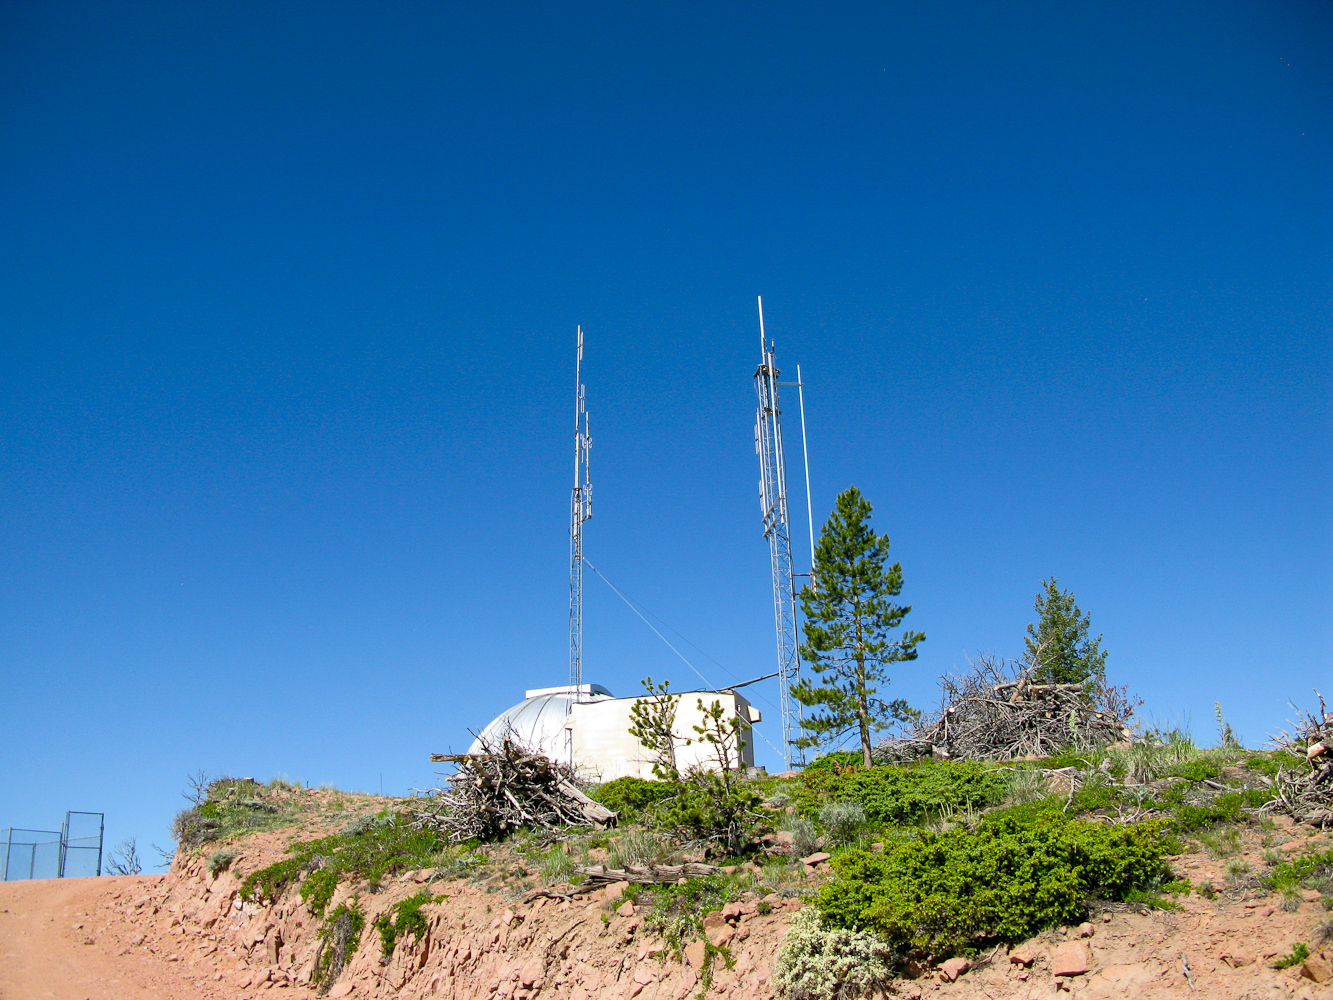
A few antennas on the summit
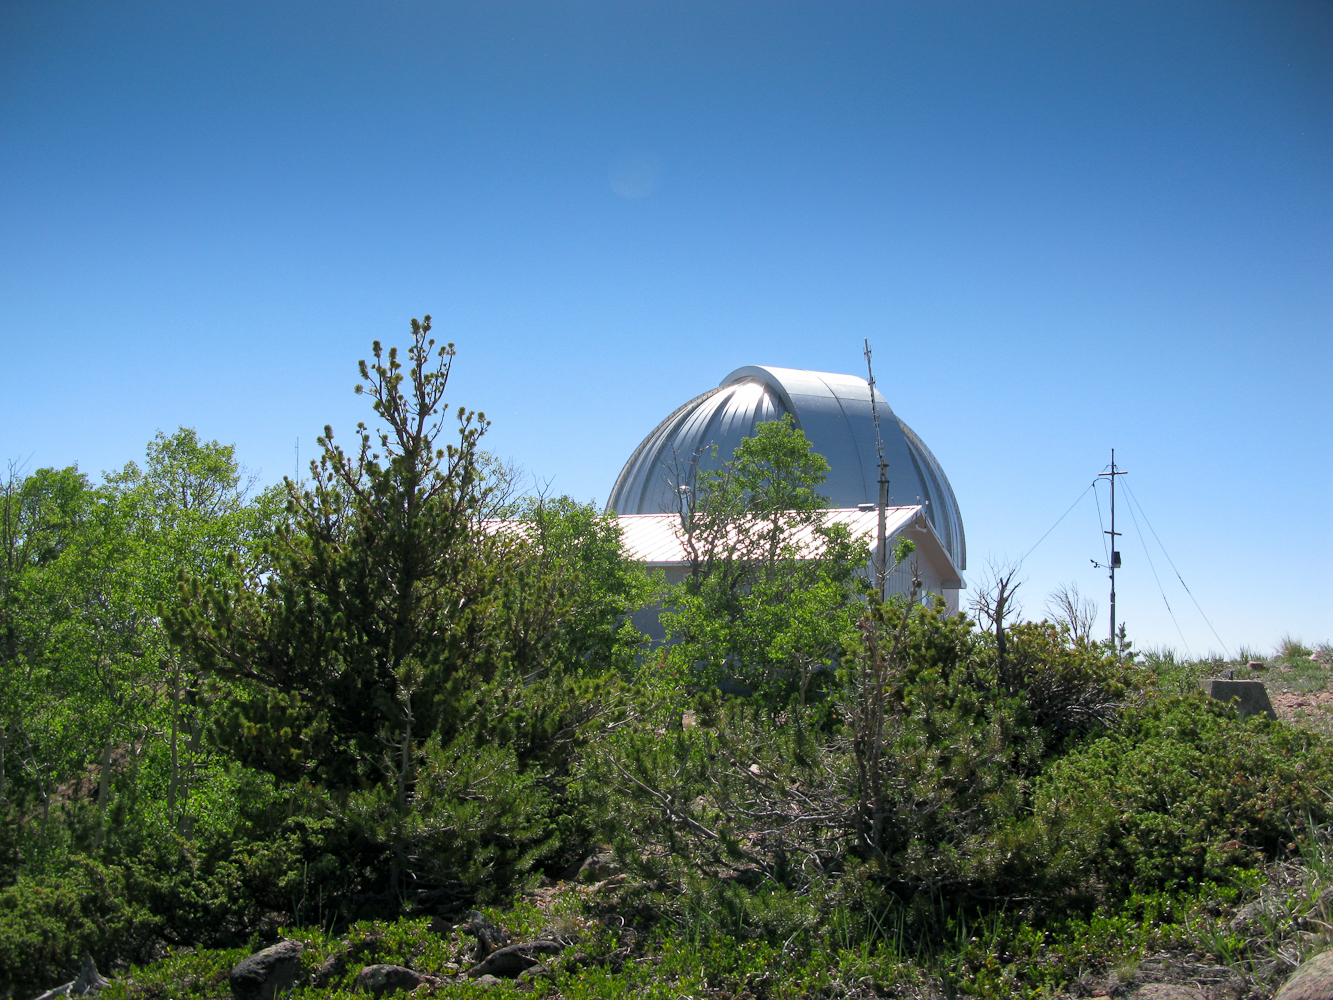
The summit is occupied by the dome (observatory), attached living facilities, and a few antennas with a container for equipment which seem not to be related to the WIRO. Even though there was a car parked in front of the observatory, I did not meet anybody… so much for the tour I had been hoping for.
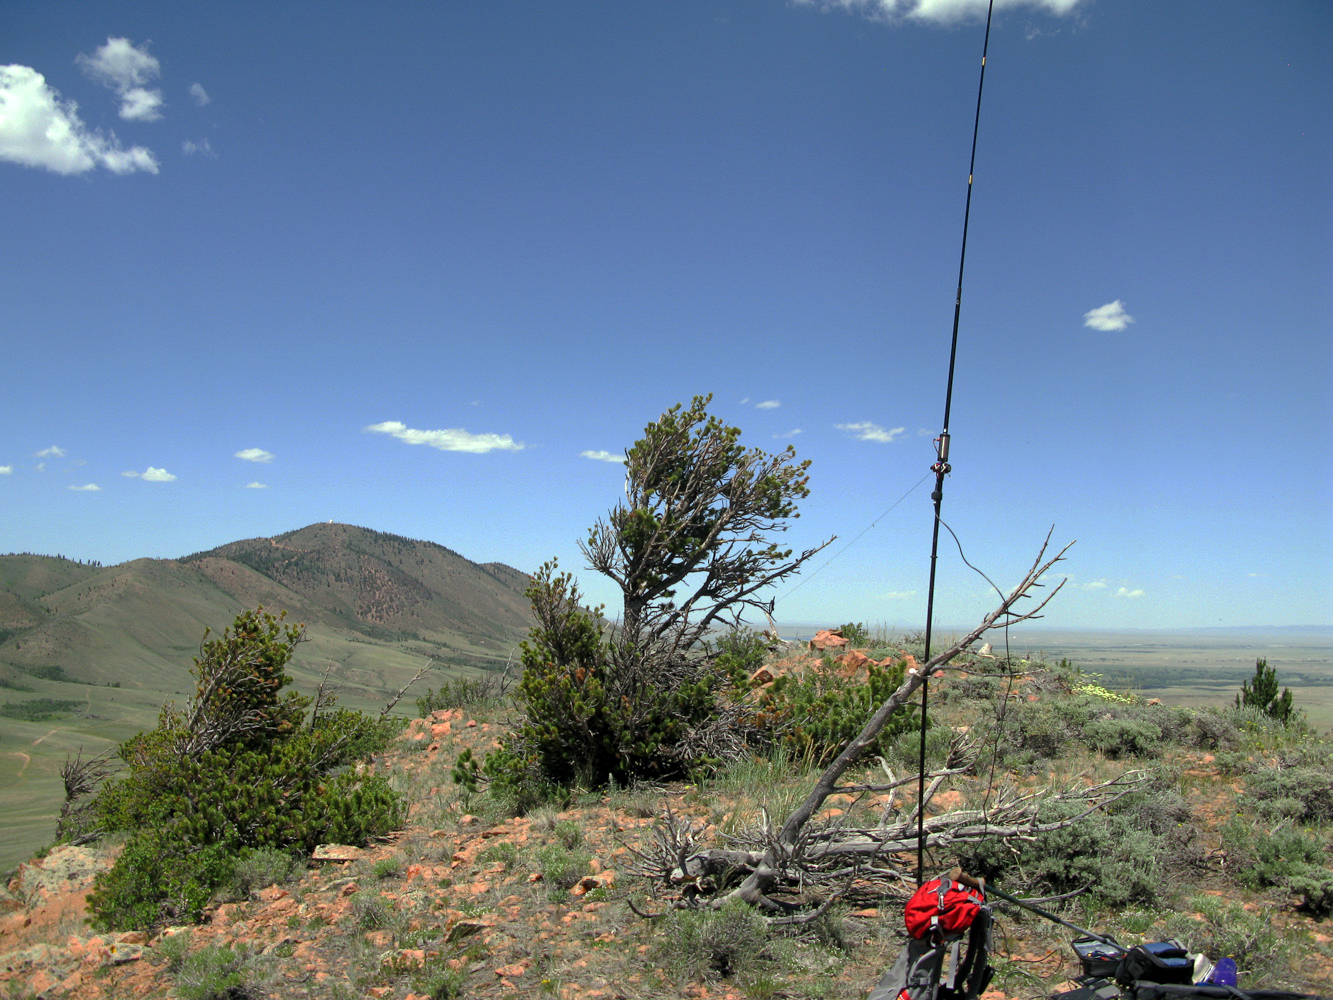
I setup the Buddipole behind the dome, attaching the mast to a dead tree. Turning on the radio presented me with S8 noise on 15, 17 and 20m… I could not hear a thing. I blamed it on the observatory and switched to 2m and my tape-measure Yagi antenna, hoping to get the necessary four contacts. The only contact was with K7HRO/Tom in Cheyenne (~60 mi with a few mountains in between). Signals were barely above the noise but we finally had a valid QSO.
Trying to get below any potential radiation patterns coming from the antenna on the summit, I moved my stuff further down the mountain, careful not to leave the activation zone. Setting up the antenna on the west side – with the antenna well below the summit – achieved the goal… noise on 20m was down to a ‘normal’ levels. I was now more than two hours beyond my posted SOTA alert but WØMNA/Gary and WØERI/Martha returned my call immediately and spotted me on SOTAwatch, rescuing this activation – thanks guys.
The Descent: I picked up the pace on my way down to make good on my time, not easy with these temperatures. I felt like a turkey on Thanksgiving… HOT.
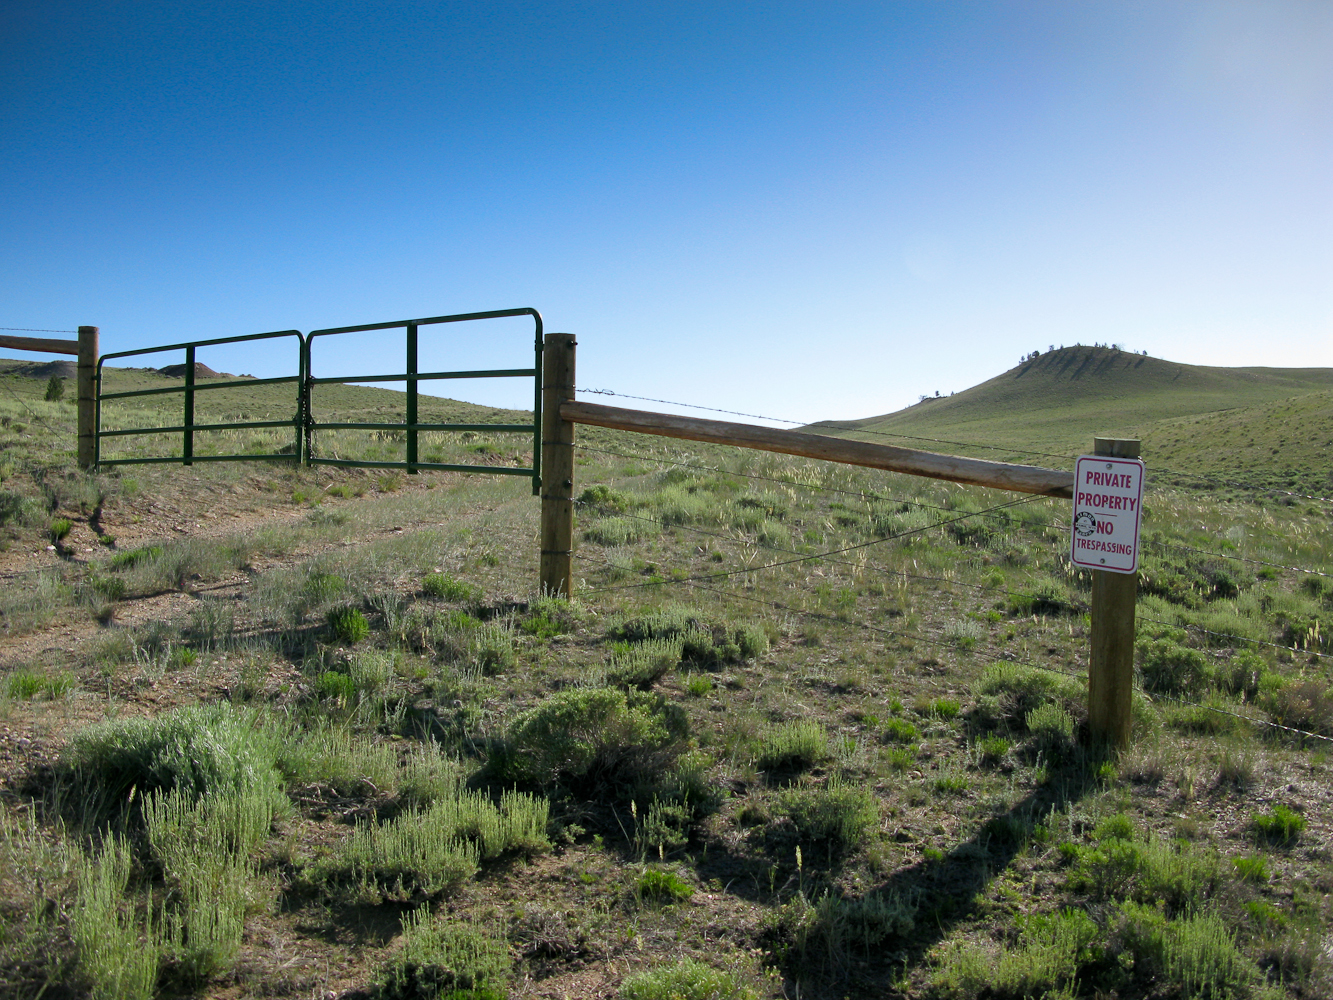
Closed gate / No Trespassing
According to my plan I was supposed to ‘swing over’ to Ring Mtn., the blue route on my map (see picture above). Unfortunately it was impossible… a closed gate with a NO TRESPASSING sign blocked my way to the second summit of the day. Disappointed I moved on to the car, hoping to find public access further down the road. I found the car where I left it, jumped in, started the engine to get the air-condition going and made a serious dent into my water supply stored in the car.
I continued driving south on Wy10 in order to find access to Ring Mountain. Feel free to add your questions/comments below and/or Read on…
More photos:
Snowy Range in the distance
The Observatory at the top
A little closer to the summit
A few antennas on the summit
Dome occupies most of the summit
Behind the Dome
!! WARNING !! There are old mountaineers, and
bold mountaineers… there are no old-bold mountaineers.
Hiking and mountain climbing are potentially hazardous activities particularly in Colorado with its extreme elevations. I am not accepting responsibility for any death or injury resulting from activations based on my trip reports. Proper training, experience, and personal capability assessment is required – enjoy!
ATTENTION: This trip report is outdated. The City of Estes Park implemented a (new) trail up the mountain. You cannot access the summit legally from the new trail. Reports say you can get into the AZ.
Prospect Mountain is a prominent landmark in downtown Estes Park, the gateway to the Rocky Mountain National Park (RMNP). It is easily accessible by a short but enjoyable hike up the south side or even with a tramway from the north. The actual summit is about 300 ft above the tramway summit station and can be reached by walking along a gravel road. The summit hosts a bunch of communication equipment, which is visible from most of Estes Park. I have chosen to hike up the south side, an approximately 30 minute hike.
The Trailhead
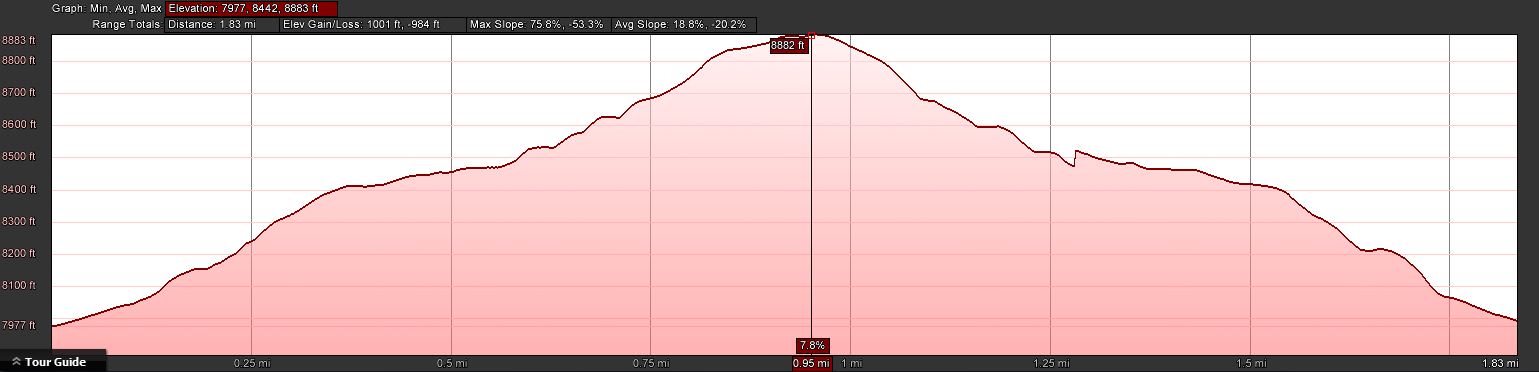
Trailhead: 7977 ft/ 2431 m Summit: 8900 ft / 2713 m Elev. gain: 1001 ft / 305 m Roundtrip: 1.8 mi / 2.9 km
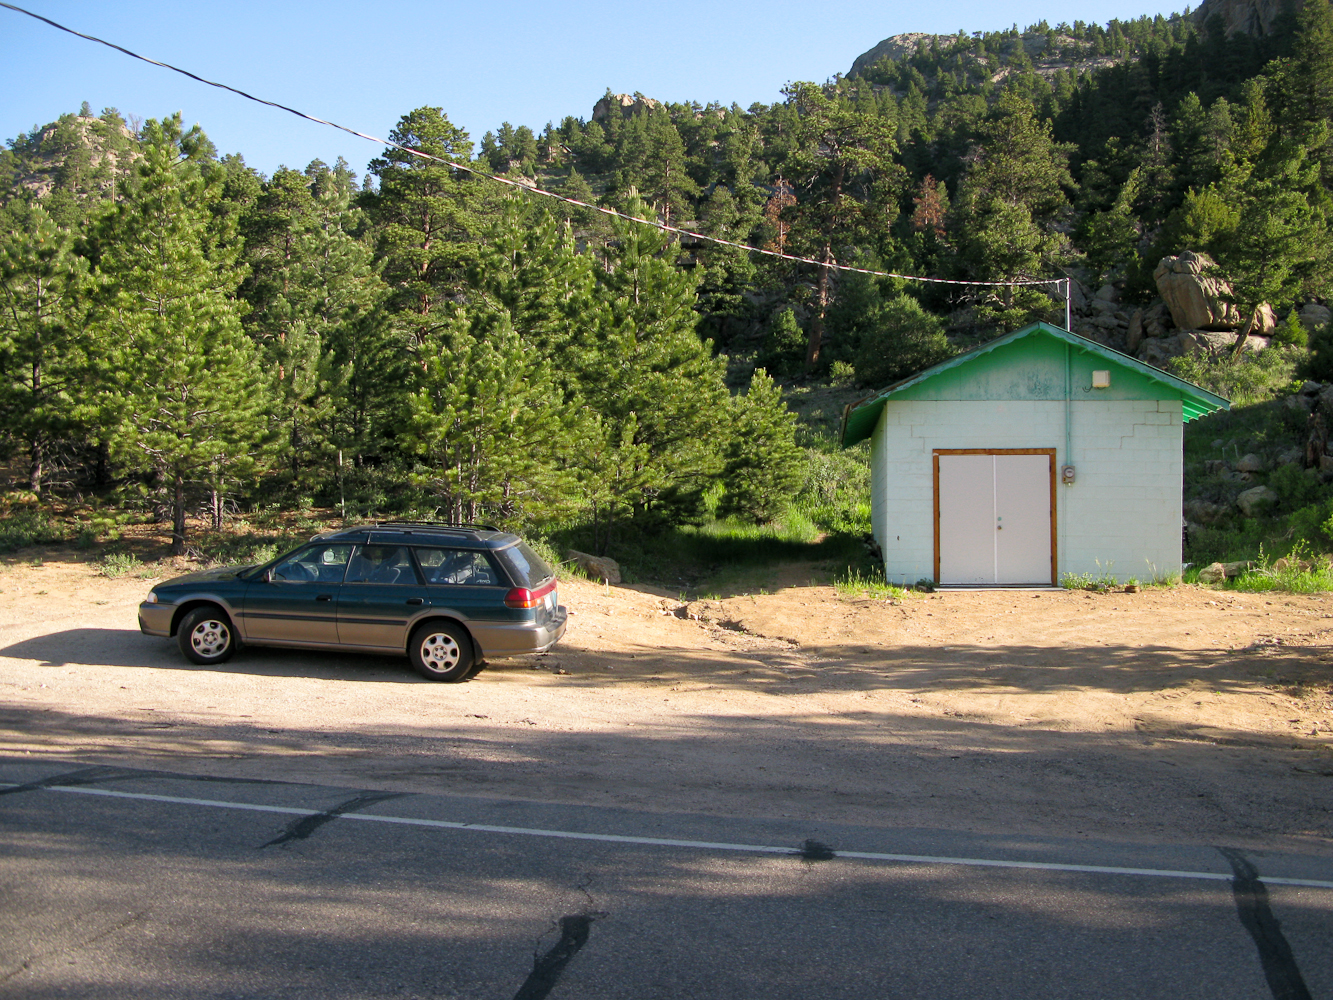
How to get there: From downtown Estes Park, take S. St. Vrain Avenue (US 7) towards Allenspark. Take a right onto Peak View Drive after about 2 miles (there is a wind turbine on the left, just before Peak View Drive). After about 1.1 miles, park you car at a small pull out with a cinder block structure on the right (see picture above) . The trail starts behind the cinder block structure.
Red Tape: There is some private property along the trail.
The Ascent:
Prospect Mtn – Elevation ProfileWildflowers along the way
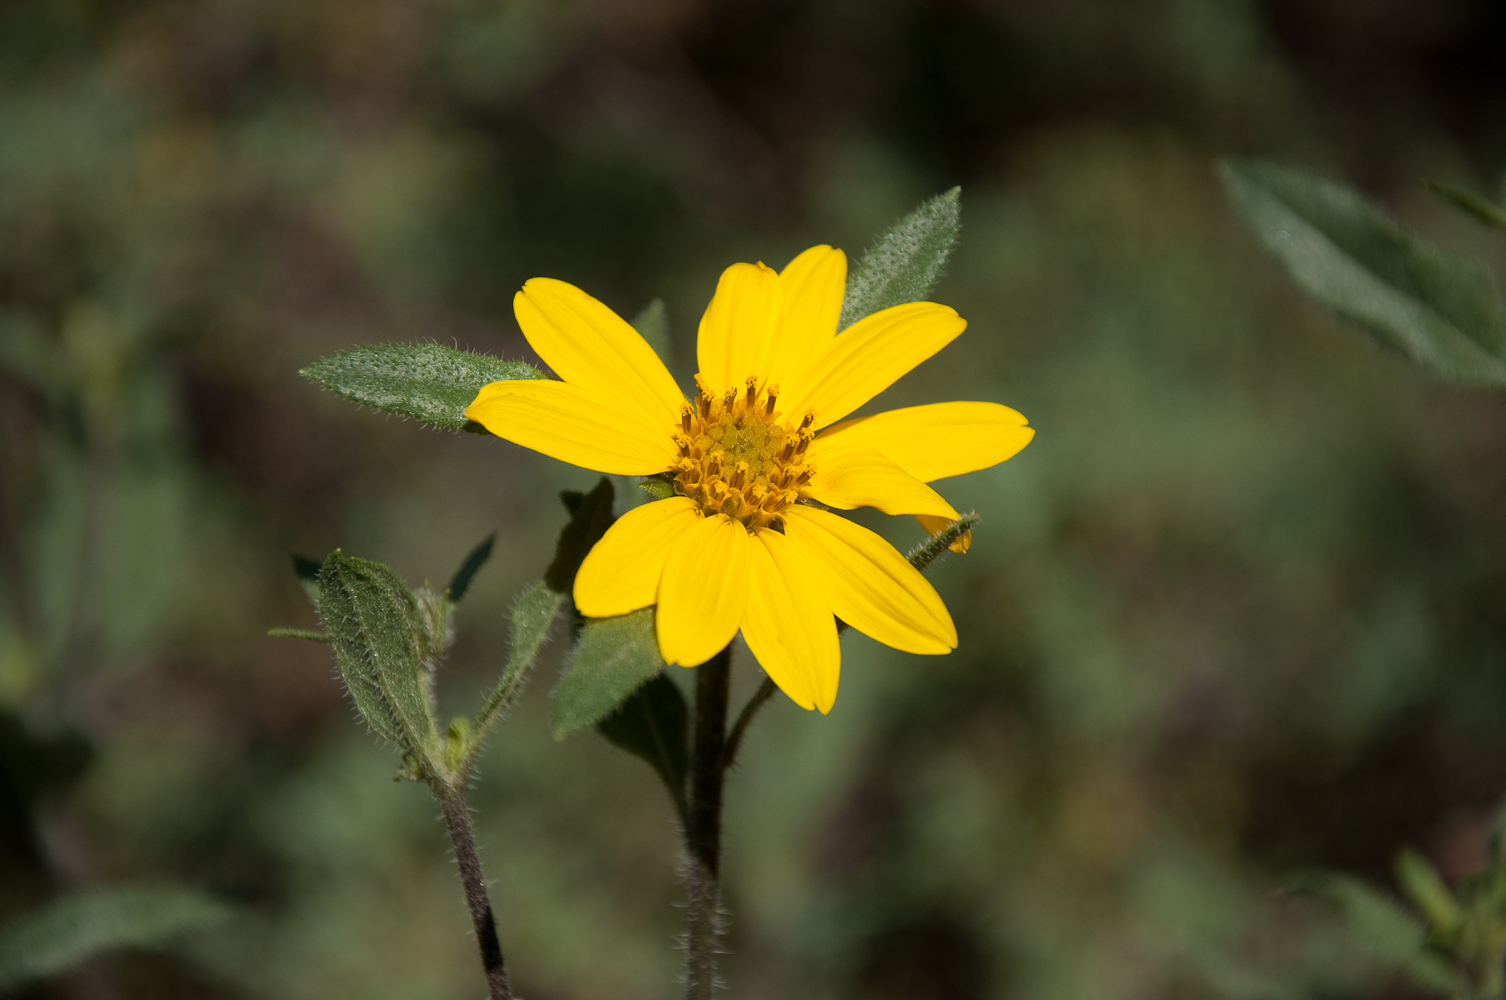
The ascent does not present any challenges. The well established trail follows along private property before turning north east. Every now and then you will find stone cairns to help with navigation, increasingly towards the summit. It continues to meander through Pines and rock outcroppings before reaching the flat and rather large summit. Since we had some late moisture this year, wildflowers and Cacti are blooming everywhere and hummingbirds were buzzing around my head.
The Summit: There is plenty of space to setup the equipment on the rather large summit, even for larger groups of activators. Many trees, dead and alive to strap you mast or antenna to.
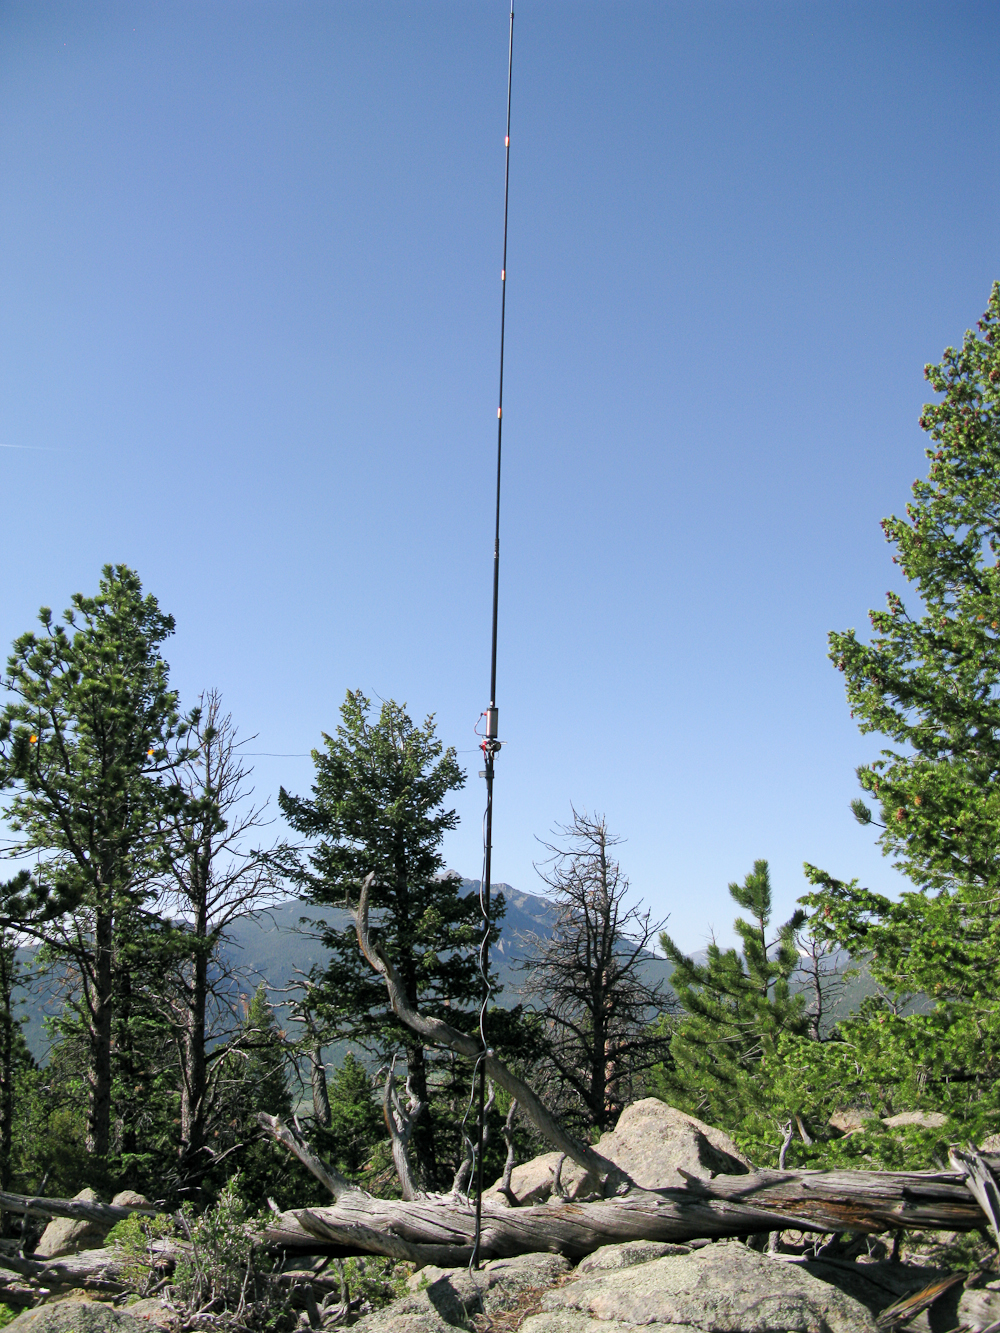
Buddipole on the summit
I have chosen a large dead tree with one of it’s branches sticking up in the air to bungee my mast for the Buddipole to. With all the commercial antennas up on the mountain, it was no surprise that my SWR meter went bonkers. The FT-817 was fine though and I was calling CQ on 20 m in no time. Since this was only the first of several activations planned for today, I spent only a short time on the summit, packing up after I did no longer get any responses to my calls.
The Descent: Descent is straight forwards, following the same route I cam up.
Some video impressions: http://www.youtube.com/watch?v=QSL8PRR1MNo
If you would like to leave questions or comments, please do so through Youtube.
!! WARNING !! There are old mountaineers, and
bold mountaineers… there are no old-bold mountaineers.
Hiking and mountain climbing are potentially hazardous activities particularly in Colorado with its extreme elevations. I am not accepting responsibility for any death or injury resulting from activations based on my trip reports. Proper training, experience, and personal capability assessment is required – enjoy!
Using a Buddipole antenna (BP) for my SOTA activations leaves me high and dry when it comes to the 40 m band. I was never able to build an efficient BP for these frequencies and received many ‘complaints’ that I never activate on 40m, thereby leaving out the ‘local’ chasers. This is going to change now…
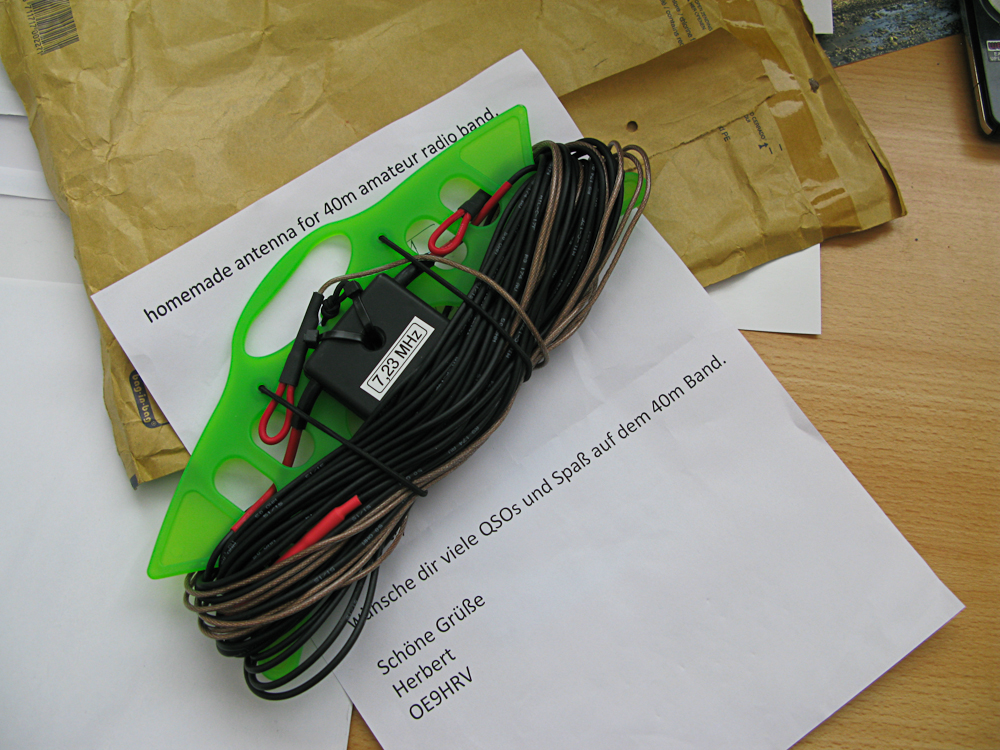
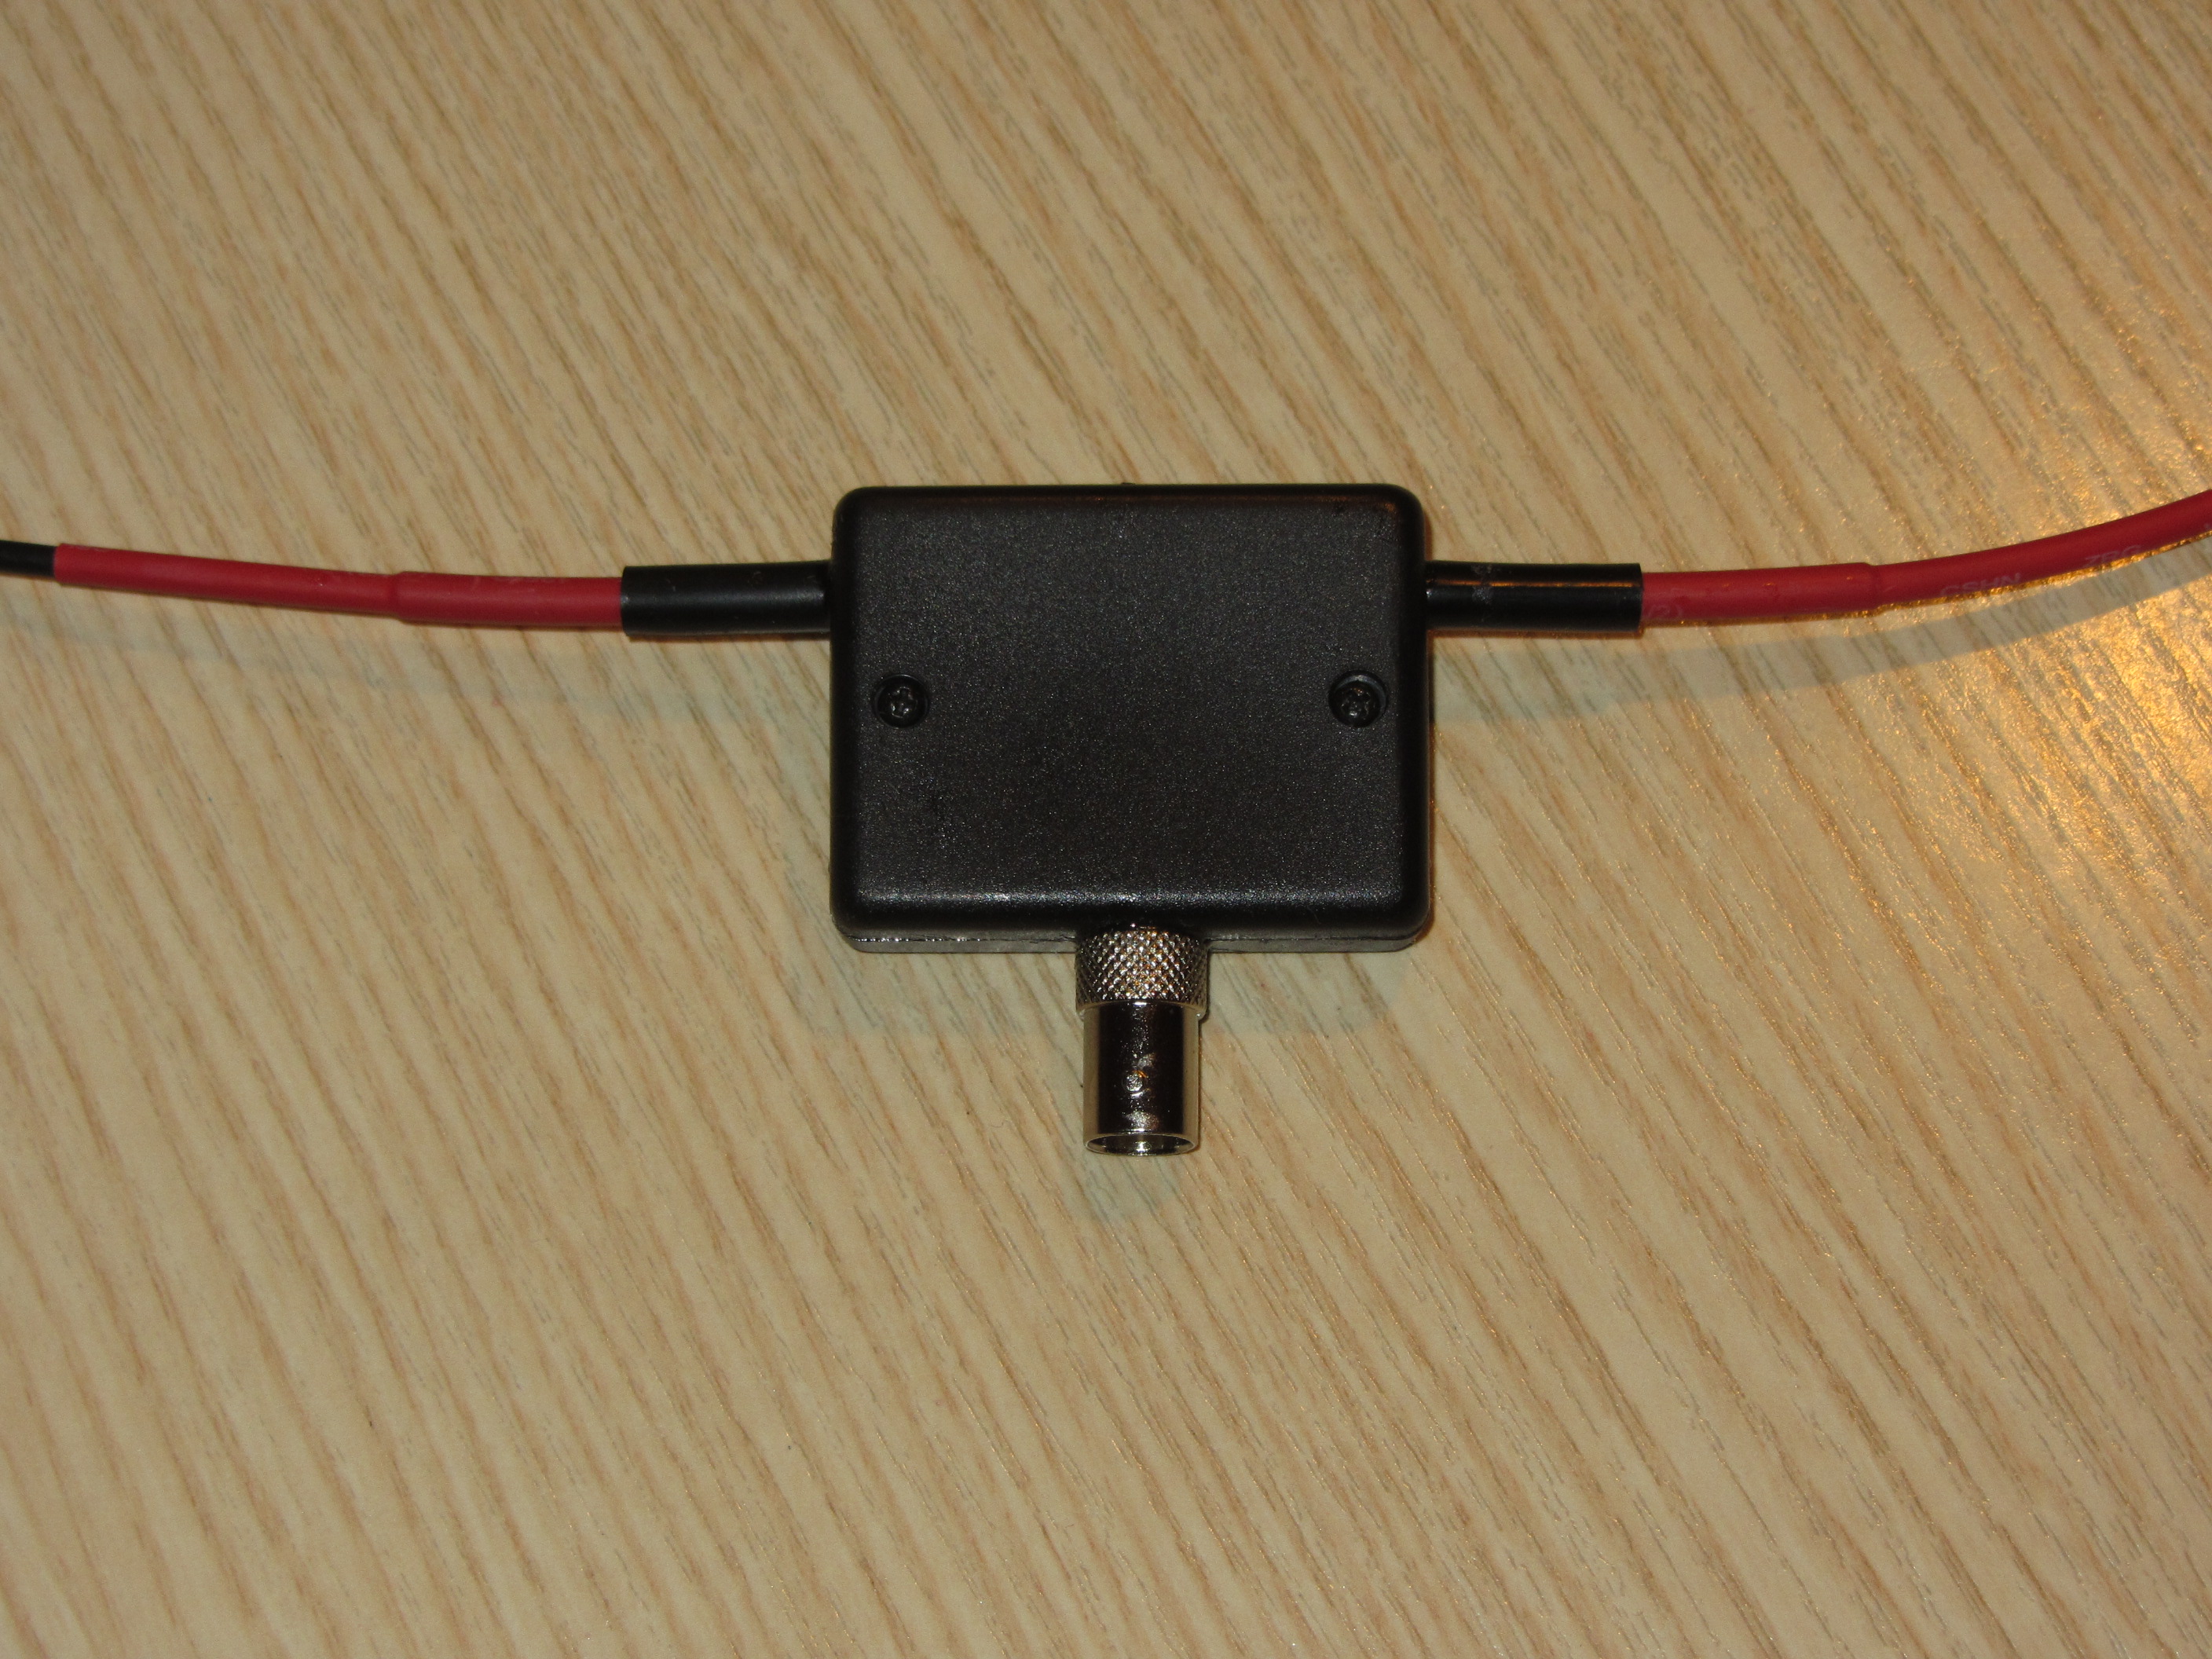
RG174 based double Bazooka
Yesterday I received a package from my buddy and SOTA Mountain Goat Herbert/OE9HRV, containing a home brew double Bazooka for 7 MHz based on RG174 coax. Herbert is my go-to guy when it comes to antennas. On our joint SOTA activations in OE he always carries an impressive assortment of home brew antennas to the summits, and due to this weight I would NOT want to carry his backpack – seriously. To see some examples of his creations, check out his FLICKR stream and/or QRZ page.
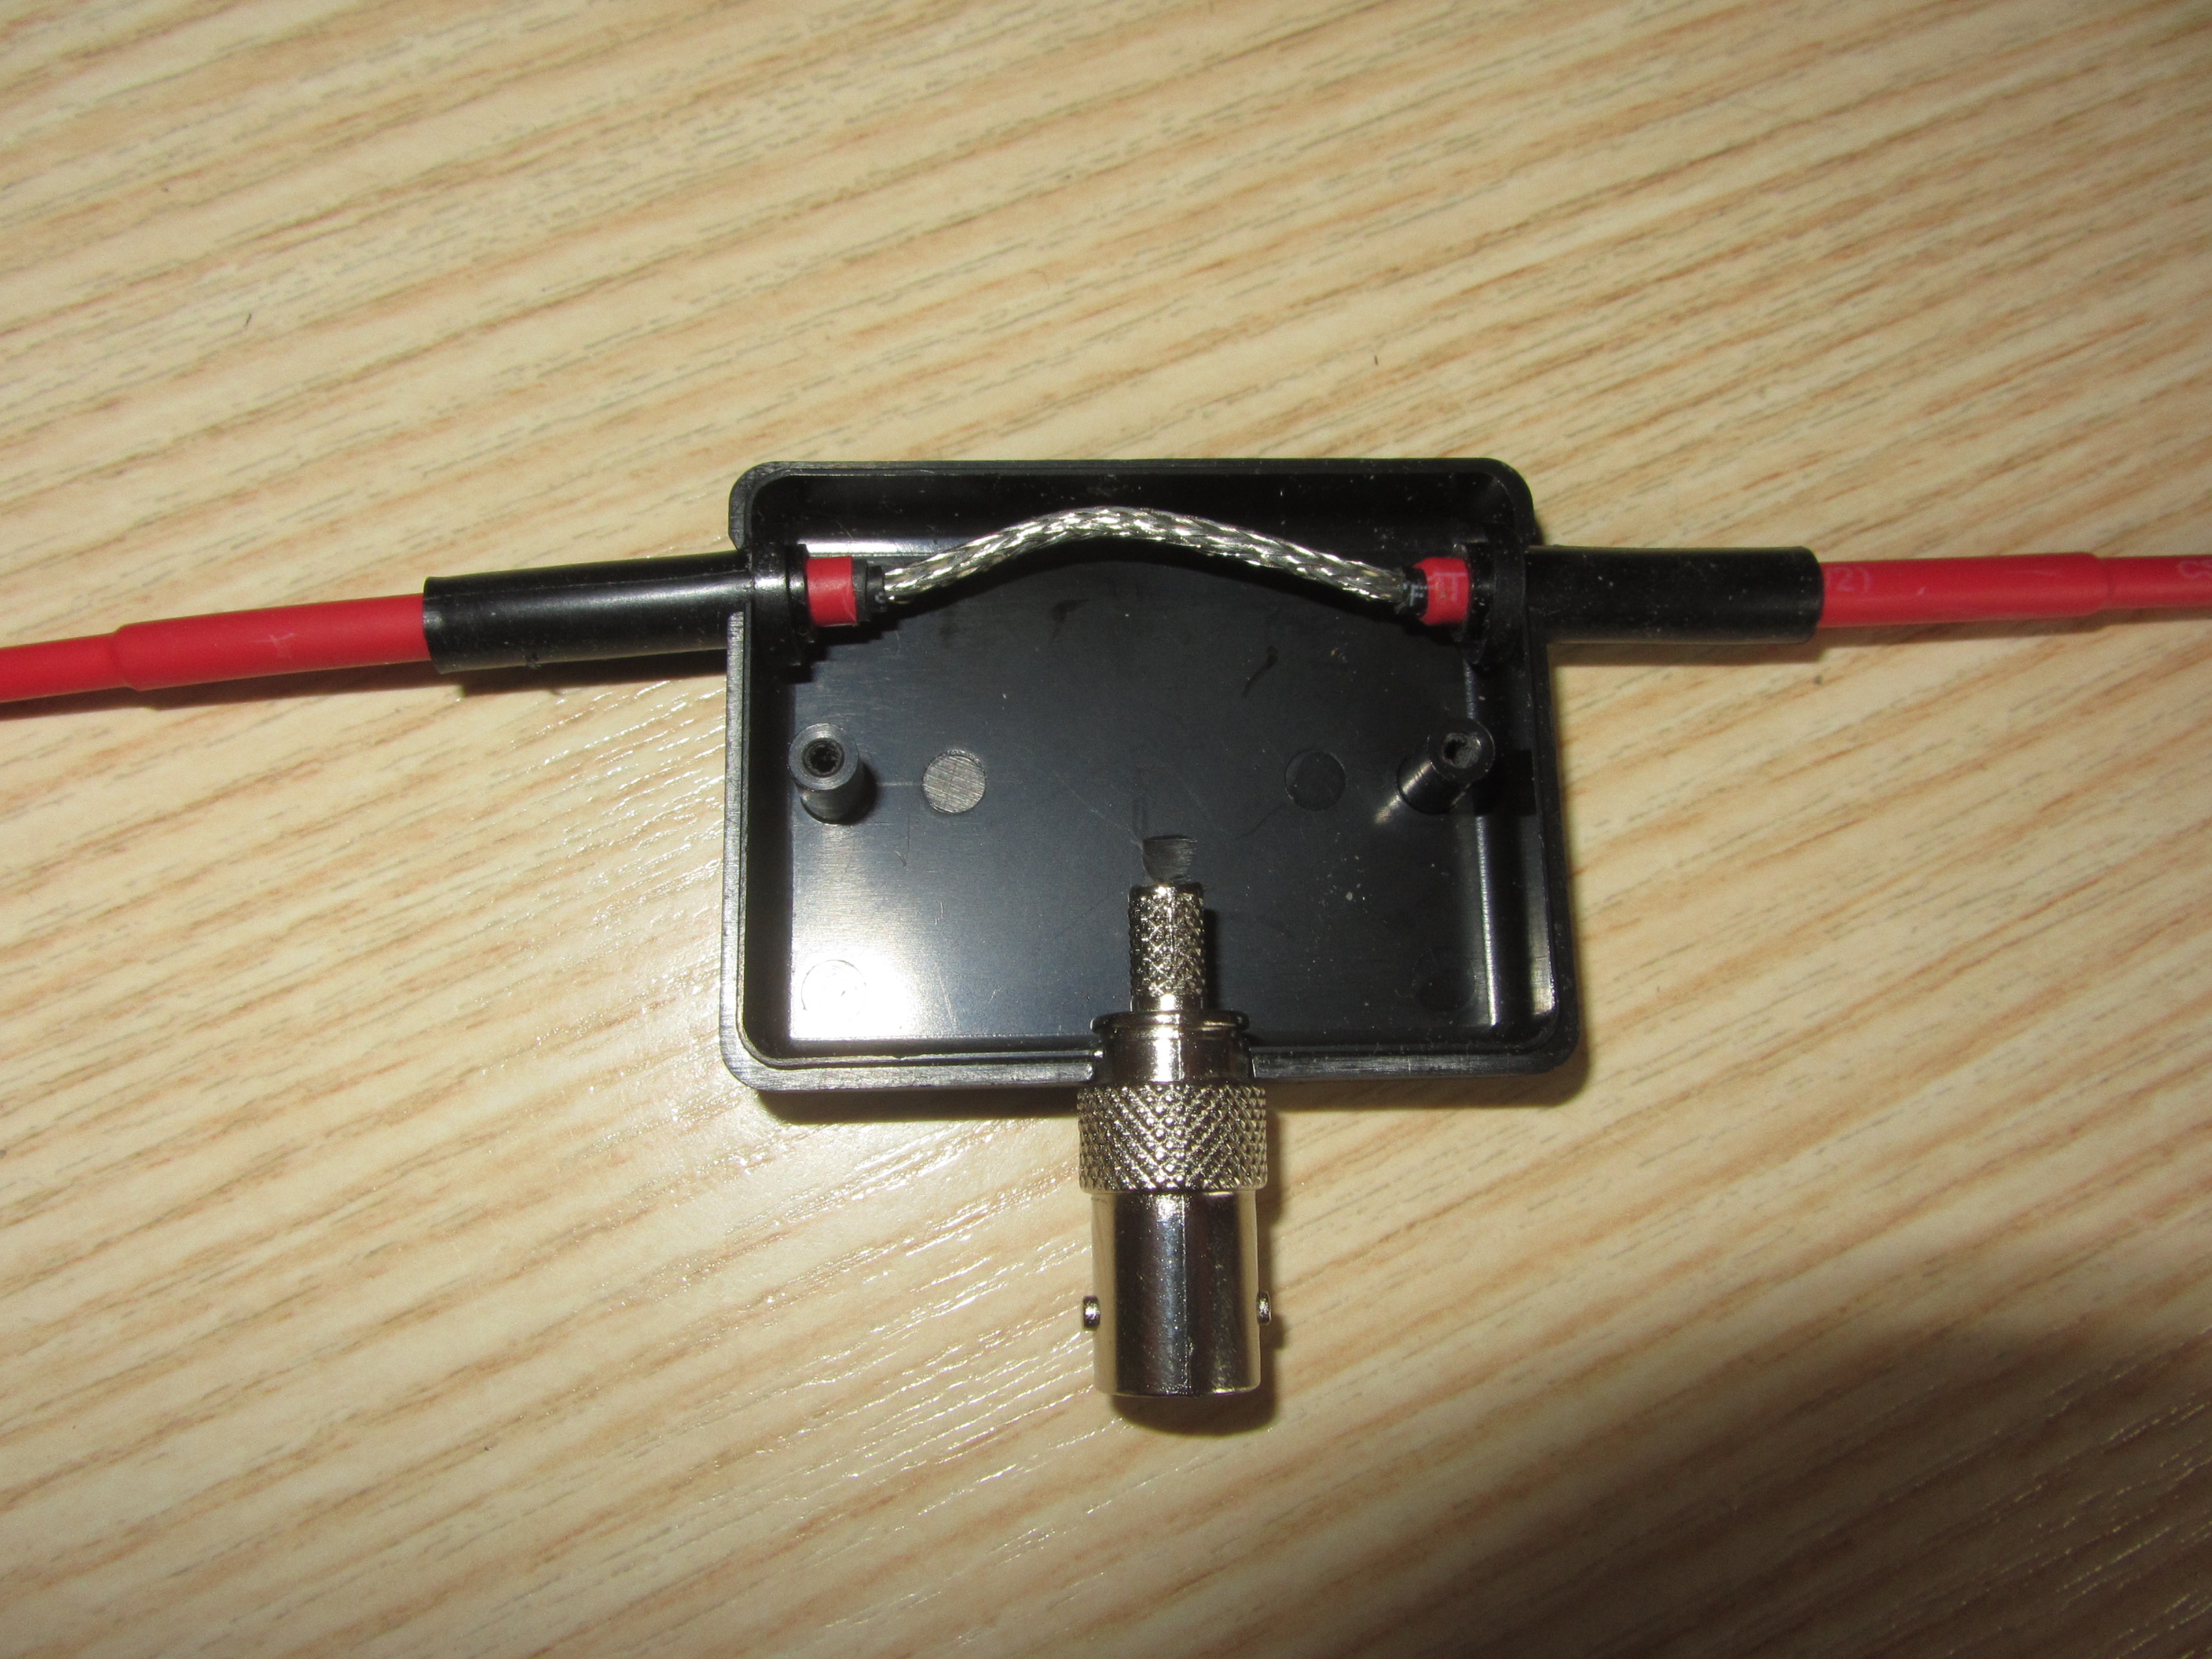
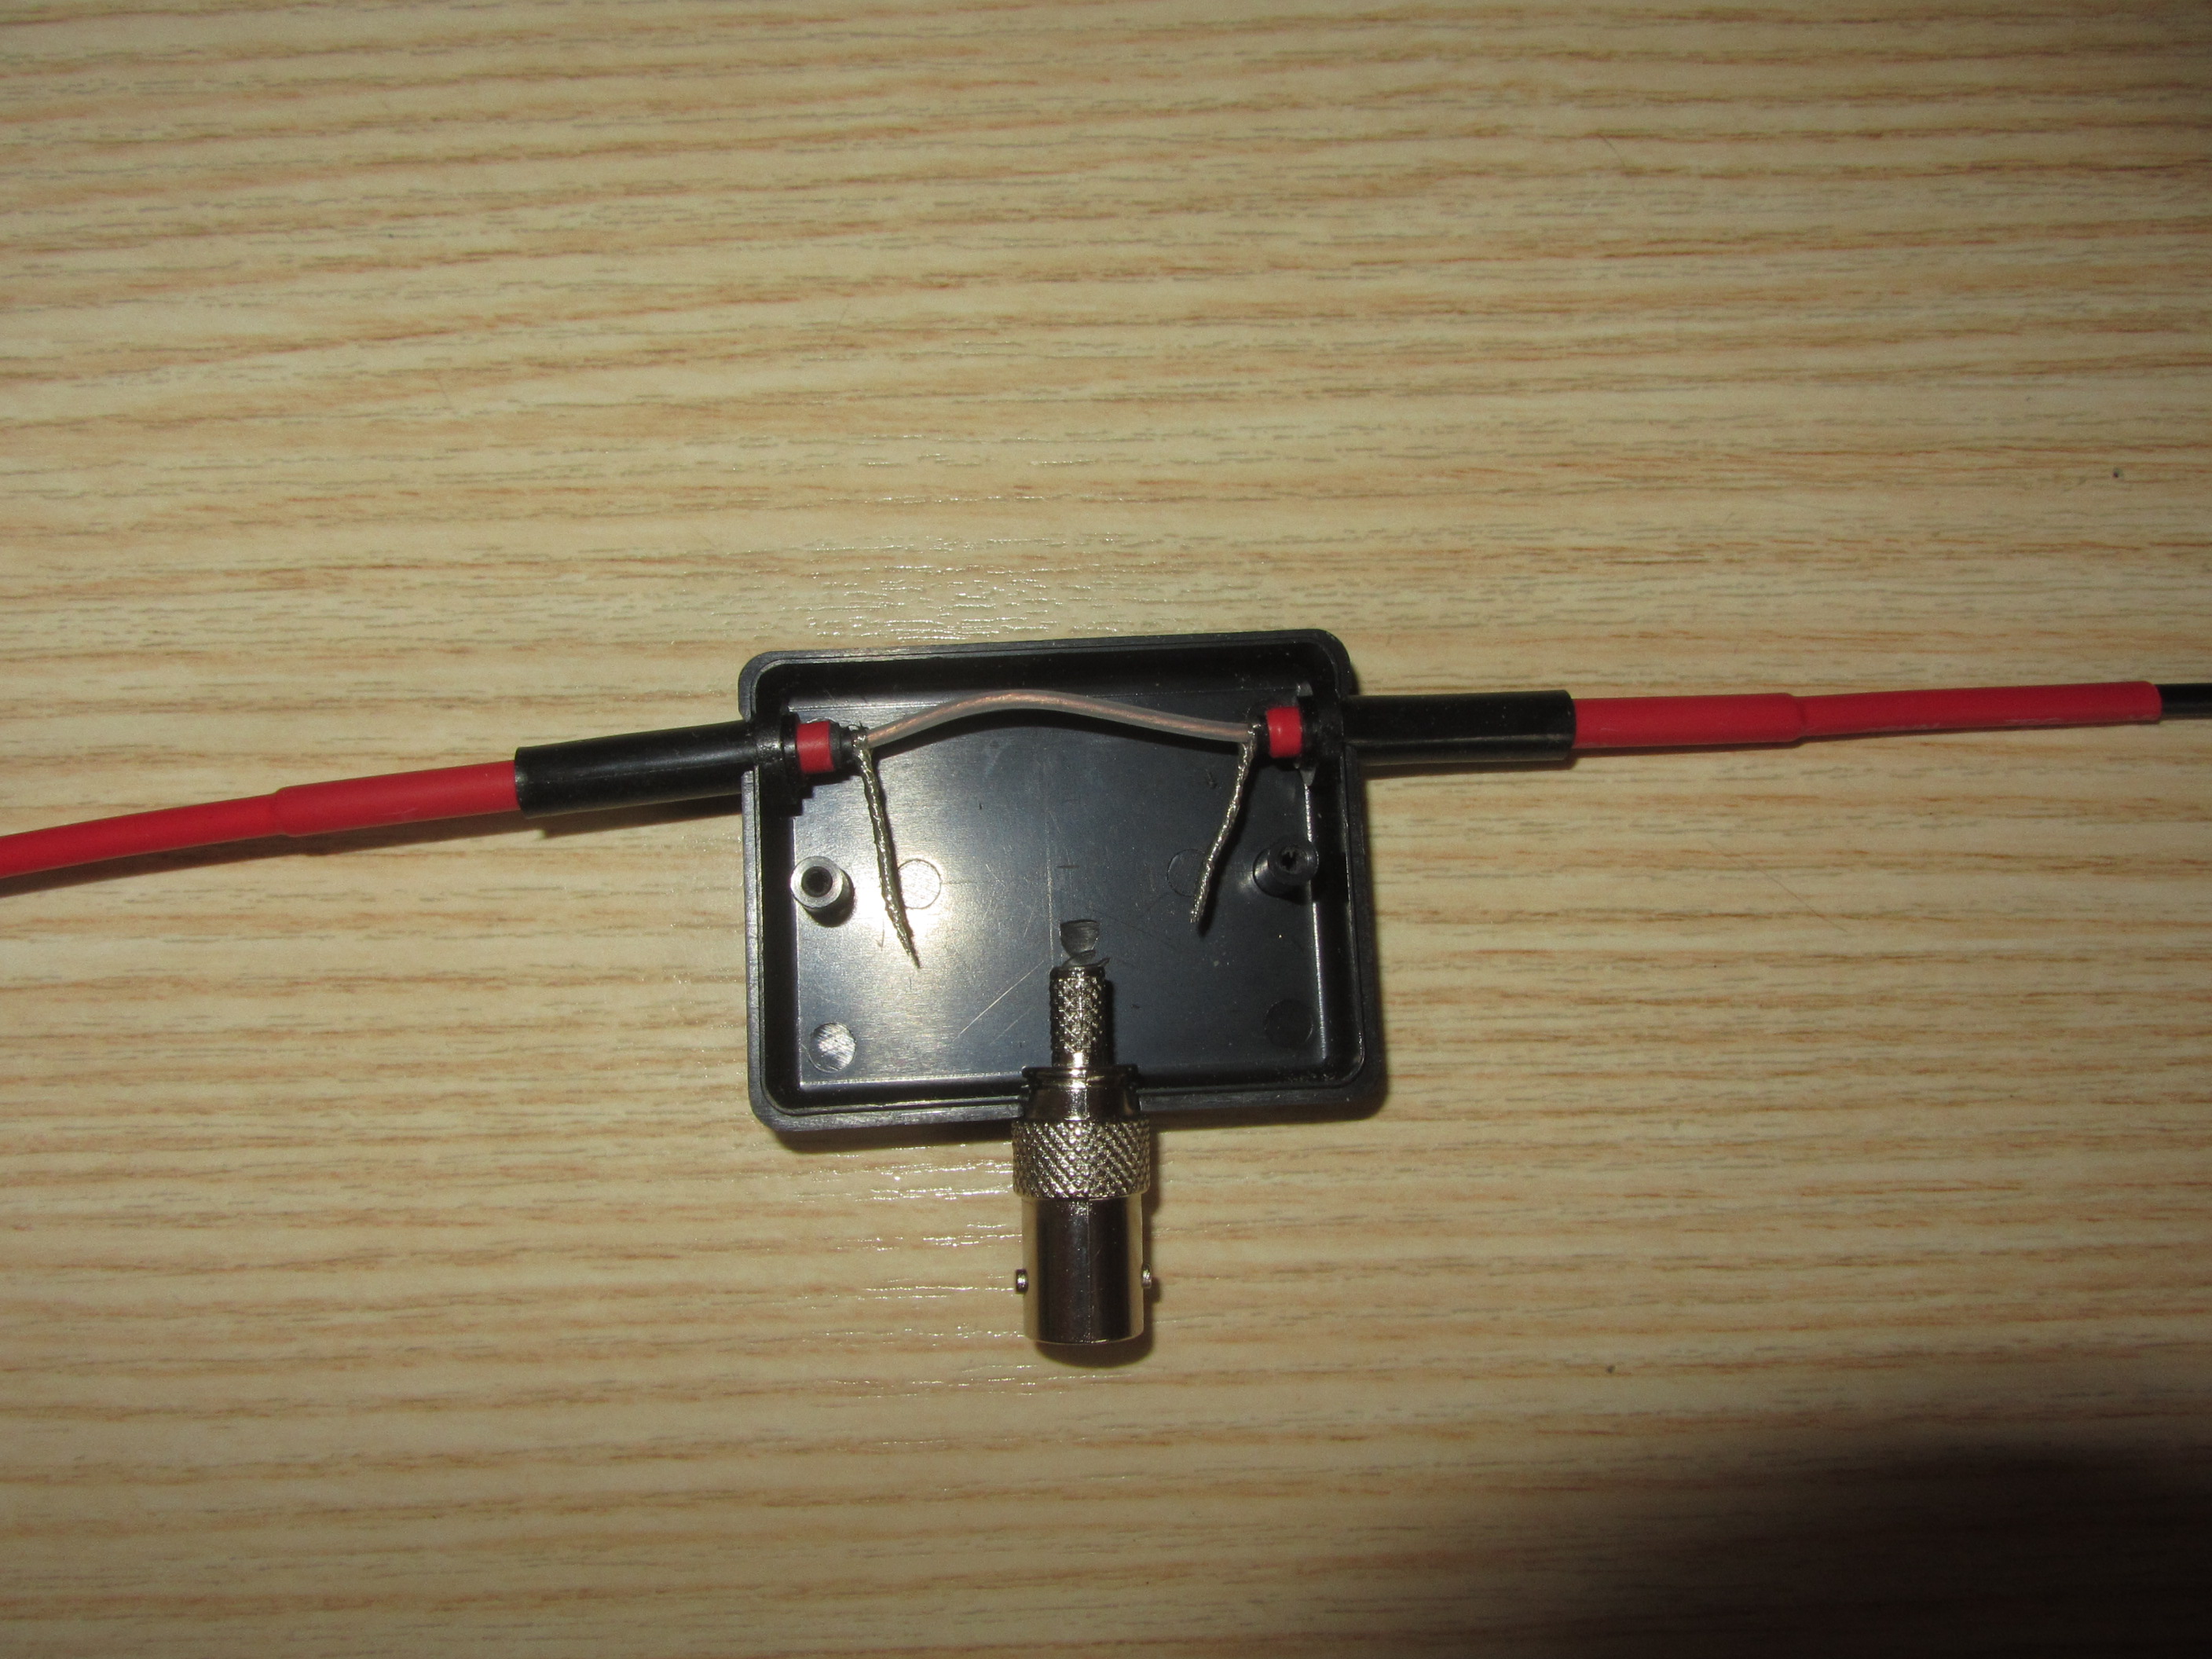
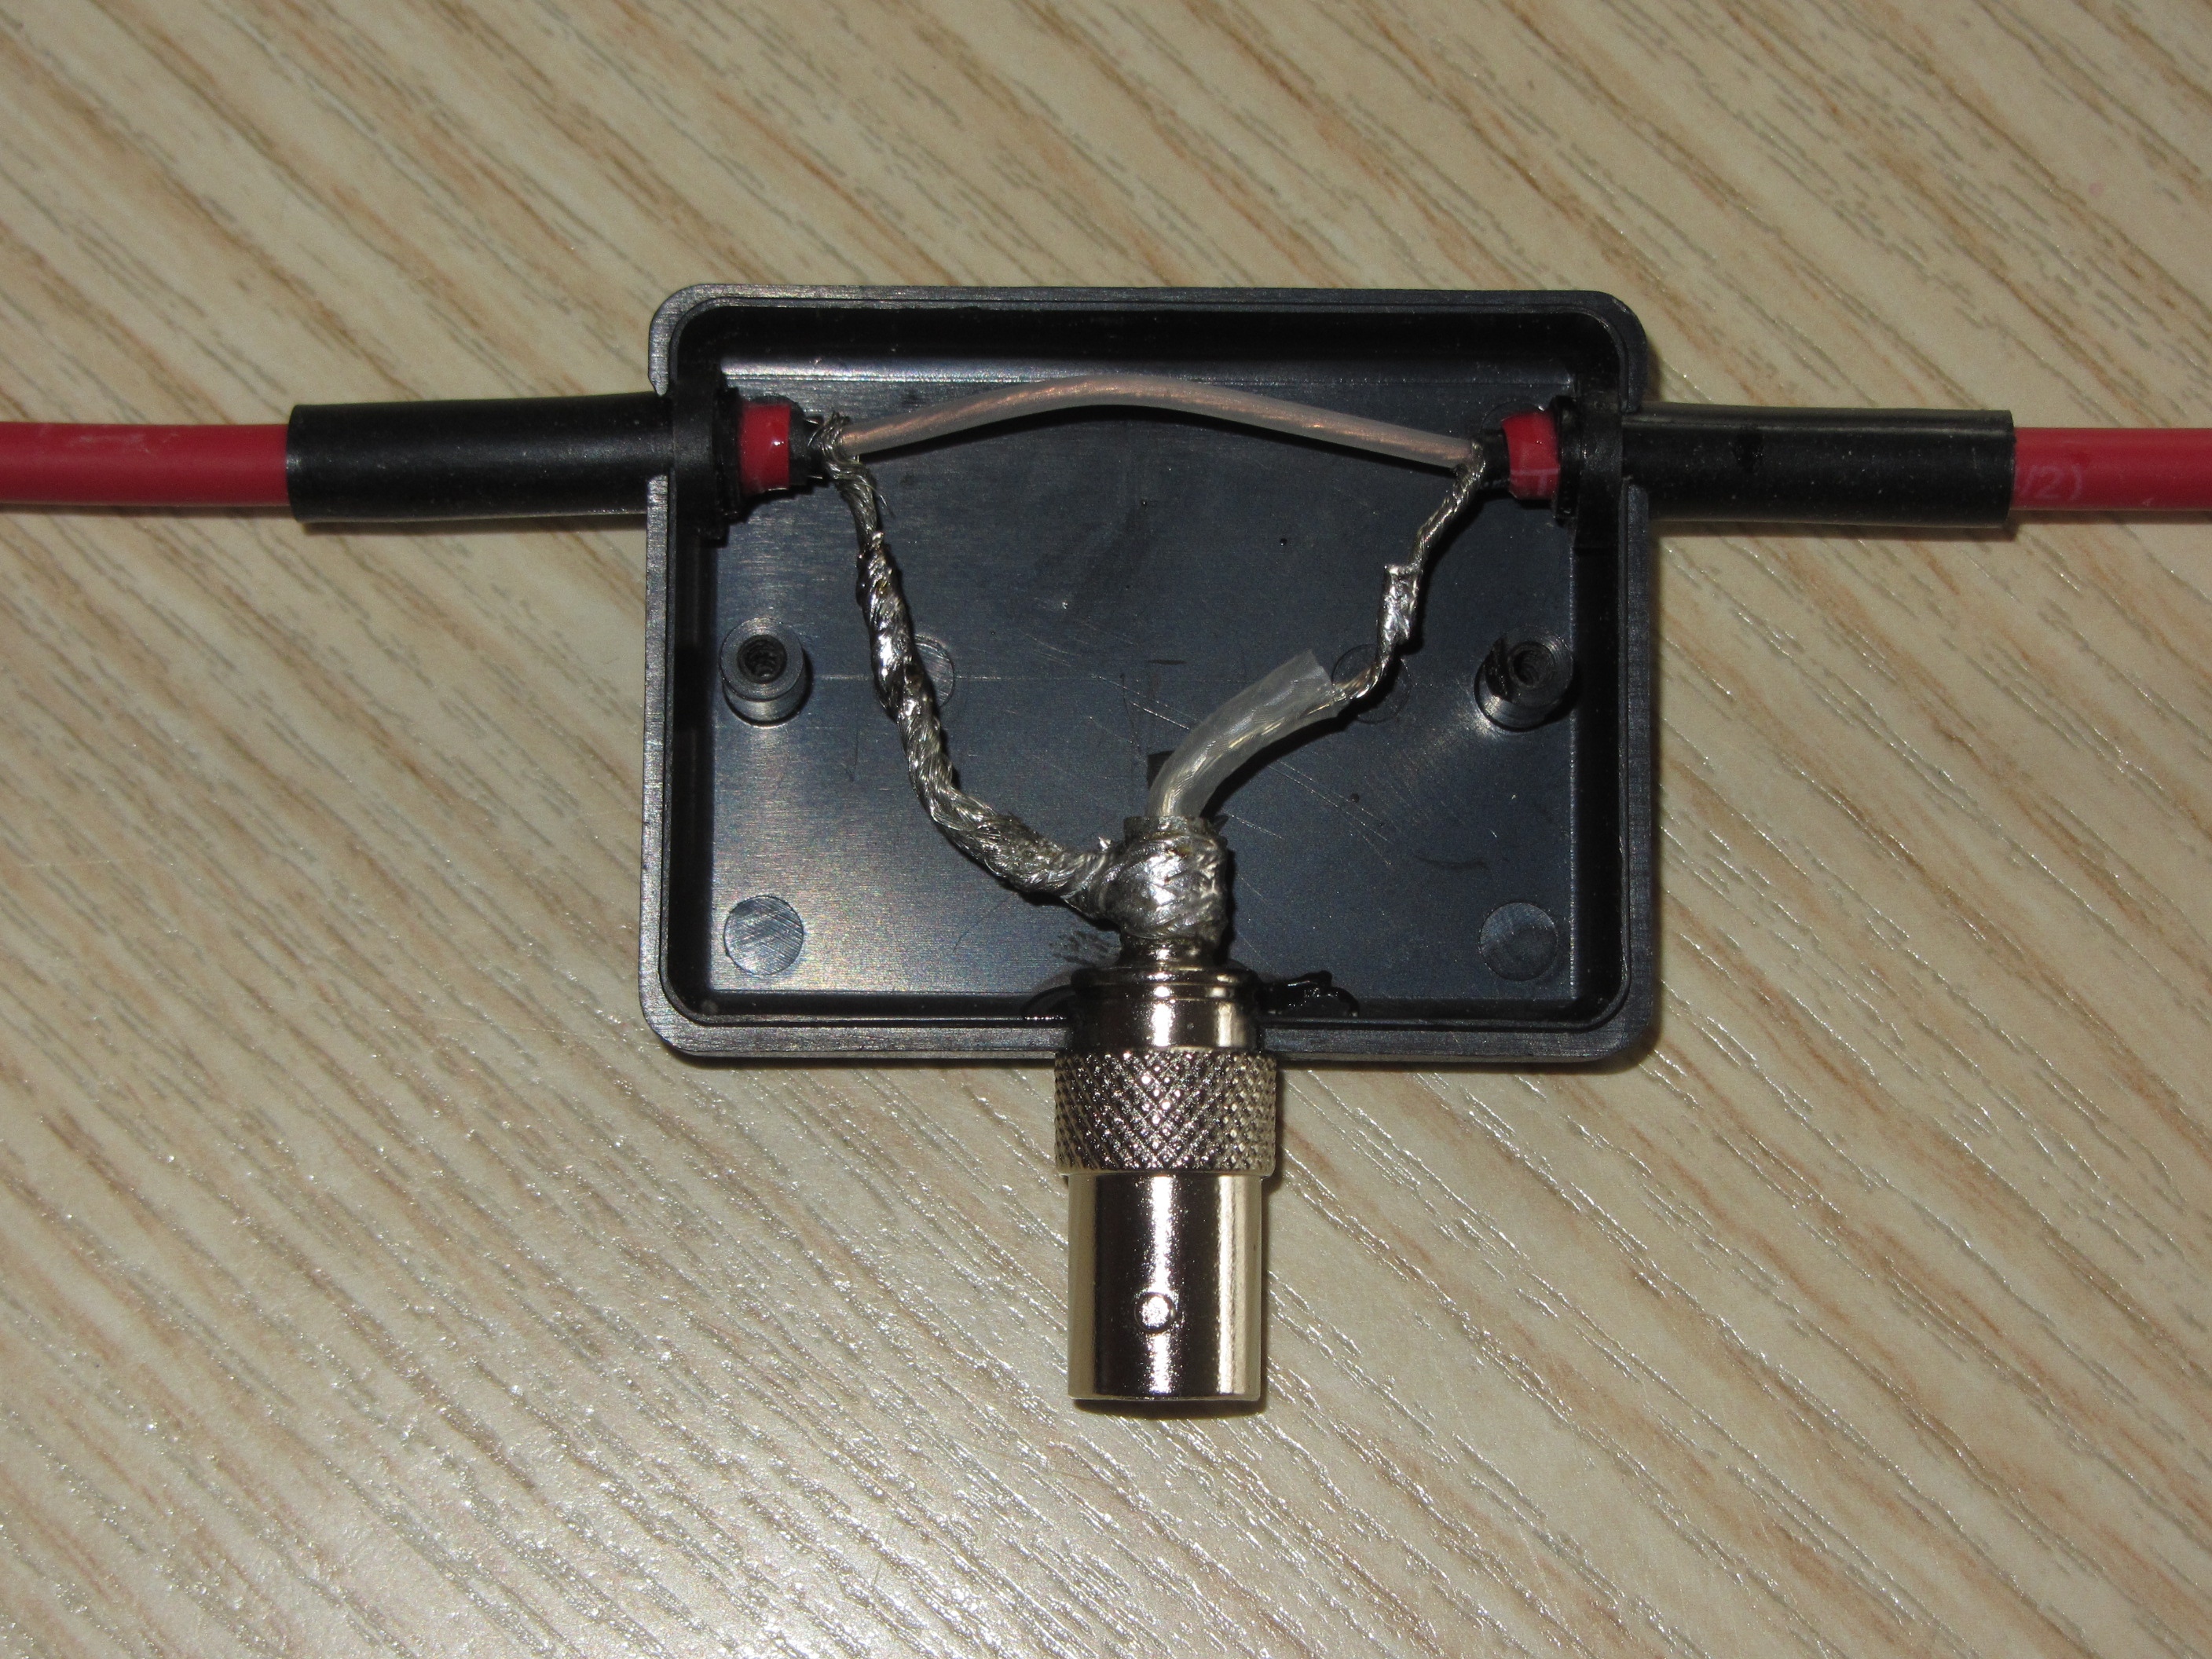
I had not known about double Bazookas before being educated by Herbert. It’s an efficient and quiet single band antenna based on 50 ohm coax cable, with the shield split at the center and feed line attache to it. It can be used in a flat top or inverted vee configuration – the latter more suitable for SOTA. To save on weight, Herbert made it out of RG174 with a BNC connector, and used a wire-winder to create a small and easy to manage package. The final antenna is around 310 g (~ 11 ounces) and about 25 cm x 8 cm (~ 9.5″ x 3″ ).
Here are some pictures taken during the building process (click onto the picture for a larger version and slideshow):
Building process: Slide-1
Building process: Slide-2
Building process: Slide-3
Building process = Slide-4
The final product
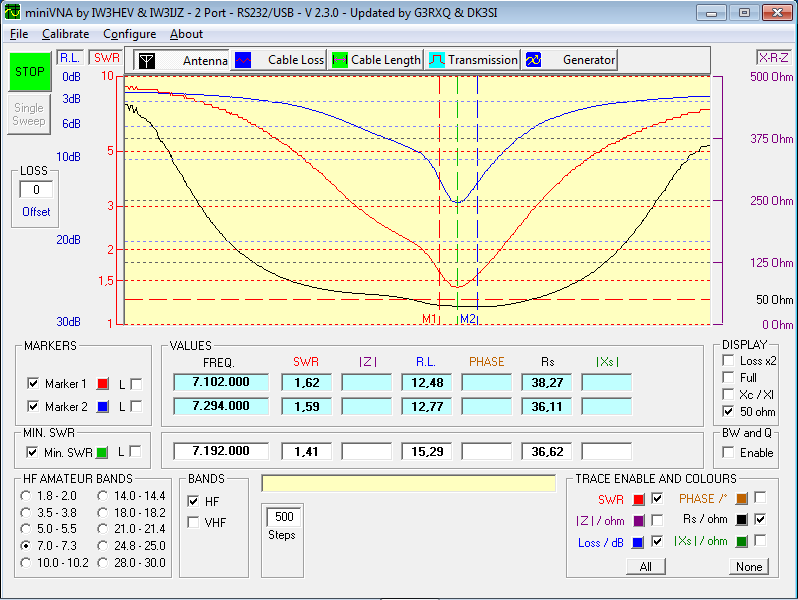
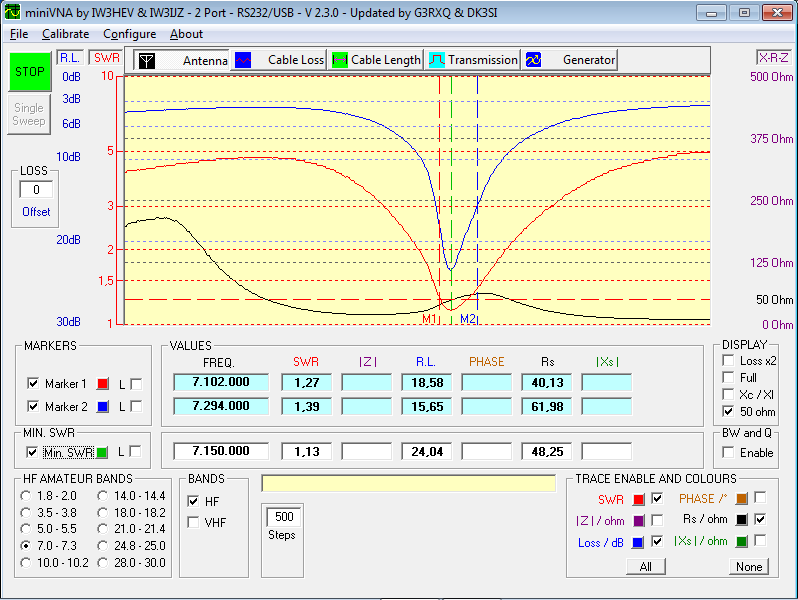
Tuning the antenna: Feed-point at 3m (9ft)
Tuning the antenna: Feedpoint at 6m (18 ft)
Can’t wait to try it out and see how it performs in action. The fresh snow (~45 cm or 1.5 ft) over the last three days cut me off from most SOTA summits right now. Stay tuned…
!! WARNING !! There are old mountaineers, and bold mountaineers… there are no old-bold mountaineers.
Hiking and mountain climbing are potentially hazardous activities particularly in Colorado with its extreme elevations. I am not accepting responsibility for any death or injury resulting from activations based on my trip reports. Proper training, experience, and personal capability assessment is required – enjoy!
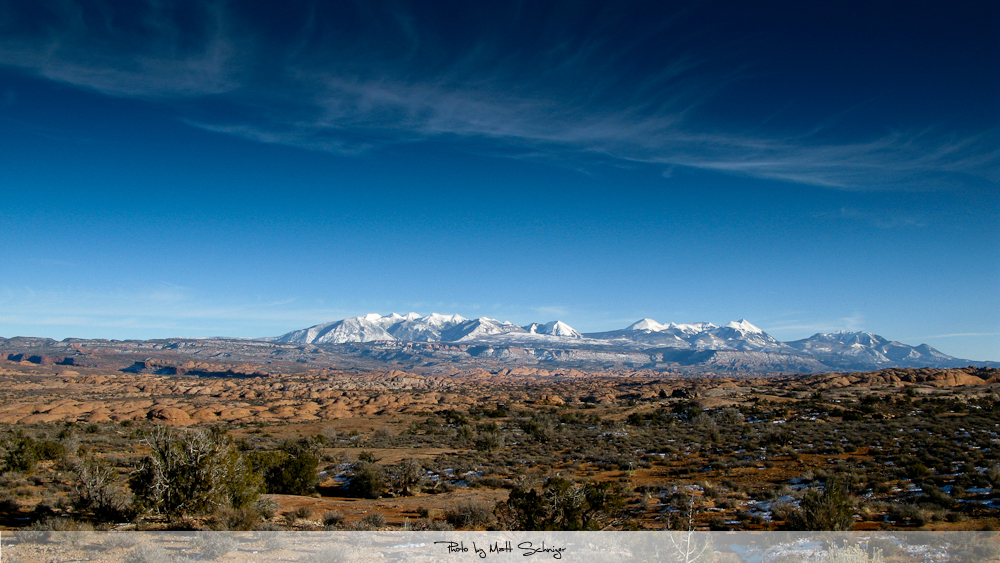
I have always been fond of the La Sal Mountain range. They provided a nice backdrop to many of my photos taken on visits to the Moab and Lake Powell area. It never occurred to me to climb them though… until I ‘met’ Mike/KØYO.
Mike commented on my trip report to Mount Werner, an area that he is very familiar with. We started to exchange e-mails about SOTA and summits in Utah where he now lives, and soon started to make plans for activating some of the summits in the La Sal Range for the upcoming season.
La Sals as seen from Delicate Arch
The La Sals can carry snow until August which can make an ascent of the rather steep slopes hard if not impossible. Luckily for us, it had been a very dry winter in Utah and most of the snow was already gone. With the weather forecast in our favor, we set a date and within 5 days I was on my ~550 mi (ca. 900 km) journey to Utah.
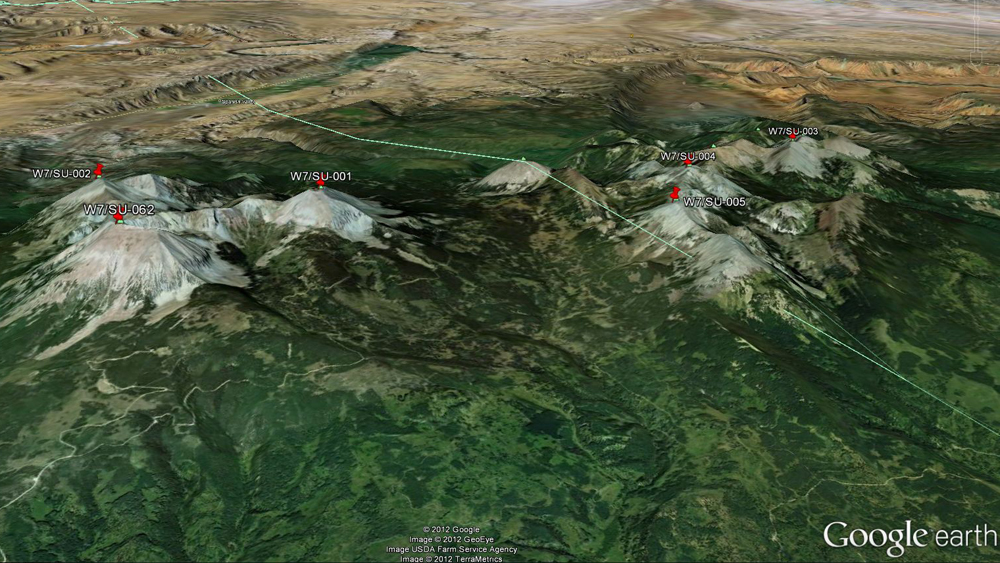
The mountain range contains of two clusters of peaks and rises high over the surrounding Colorado Plateau. It has several major peaks and six of them are currently SOTA peaks:
During the preparation we debated for a while where to set-up our base-camp to make the activations as efficient as possible. We went back and forth but finally settled on the Geyser Pass area because both clusters can be easily reached by foot from the pass. Since Mike was leaving earlier than me… that’s where we planned on meeting.
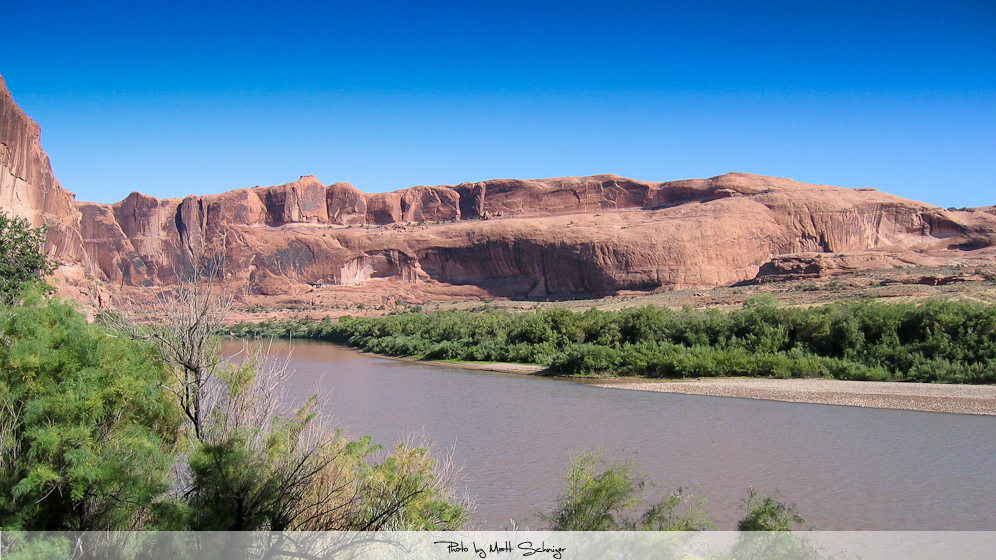
Along the Colorado River – Scenic Byway to Moab
I left my QTH early in the morning on May 29th , hoping to arrive around 5PM at our base-camp. Traffic was light on I25 as well as I70 and I made good time with just one pit stop to re-fuel the car and to get some caffeine in my system. I took the scenic byway to Moab along the Colorado river. Route 128 has always been a favorite of mine. From Moab it is another hour to get to Geyser Pass, mostly over dirt-roads. I was pleasantly surprised about the good condition of the dirt road in the Manti La Sal National Forest. Besides all the fallen trees along and over the road, my old Subaru Outback had no issues until Geyser Pass… then the ‘road’ condition changed and I was moving at a snails pace to navigate the holes and uneven track towards the base-camp. I received a phone call from Mike just a few hundred yards before reaching the pass. He was investigating possible routes to Mt. Mellenthin when he picked-up a cell signal. He gave me the crucial details on where to find his camp. Perfect timing – just 15 minutes later I discovered his truck in the trees, just
La Sals – I found Mike’s camp
below Mount Tomasaki. The final approach was tough for the old Outback but with spinning wheels I (barely) made it up the steep, dusty and bumpy ‘road’ to the camp.
La Sal Mountain Range: SOTA summits (click picture to enlarge)
Mike was still out exploring and since I had been sitting in the car for almost nine hours, I needed some exercise. I took my HT and hiked up towards Burros Pass to explore the ascent to Mount Manns and Mount Tomasaki. I continued uphills, making good progress towards Mt. Manns when Mike called me on 146.52 – he was back at the camp. I turned around and 45 minutes later, we finally met in person.
After dinner we discussed out plans for the coming day and turned to the sleeping bags early…
Video Impressions:
If you have not yet seen the trailer… here it is:
httpvh://www.youtube.com/watch?v=mlmn-0oBoVc
or move on to Part 2 of the trip. If you would like to leave questions or comments, please do so through Youtube.
!! WARNING !! There are old mountaineers, and bold mountaineers… there are no old-bold mountaineers.
Hiking and mountain climbing are potentially hazardous activities particularly in Colorado with its extreme elevations. I am not accepting responsibility for any death or injury resulting from activations based on my trip reports. Proper training, experience, and personal capability assessment is required – enjoy!
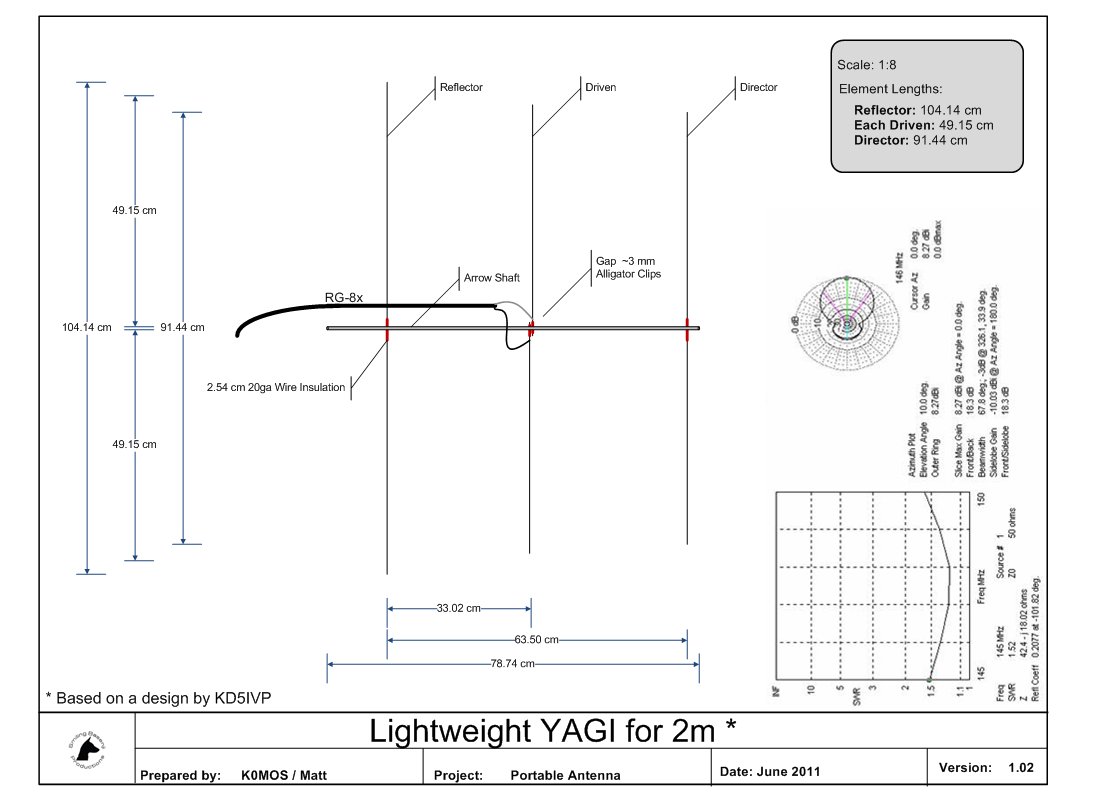
I am always carrying my HT (Yaesu VX-7R) as a backup on my SOTA activations. It saved my butt on two occasions when high winds prevented me from setting up my vertical Buddipole. Since high winds are not unusual at higher elevations I was looking for a better antenna compared to the stock rubber-ducky for future activations. I found an antenna I really liked on Youtube, created by David/KD7MNI who was inspired by a design by Paul/KD5IVP. Paul even shared his plans online. I based my own plans on the info provided by David and Paul and after a week-end it was ready to test. A lightweight arrow-shaft houses the piano-wire for elements nicely but I was not happy with the dangling RG-8x… even wrapping it around the arrow-shaft made it awkward to transport… so I never actually took it to a summit until last week, when I activated Mt. Herman (WØC/FR-Ø63) with Steve/wGØAT.
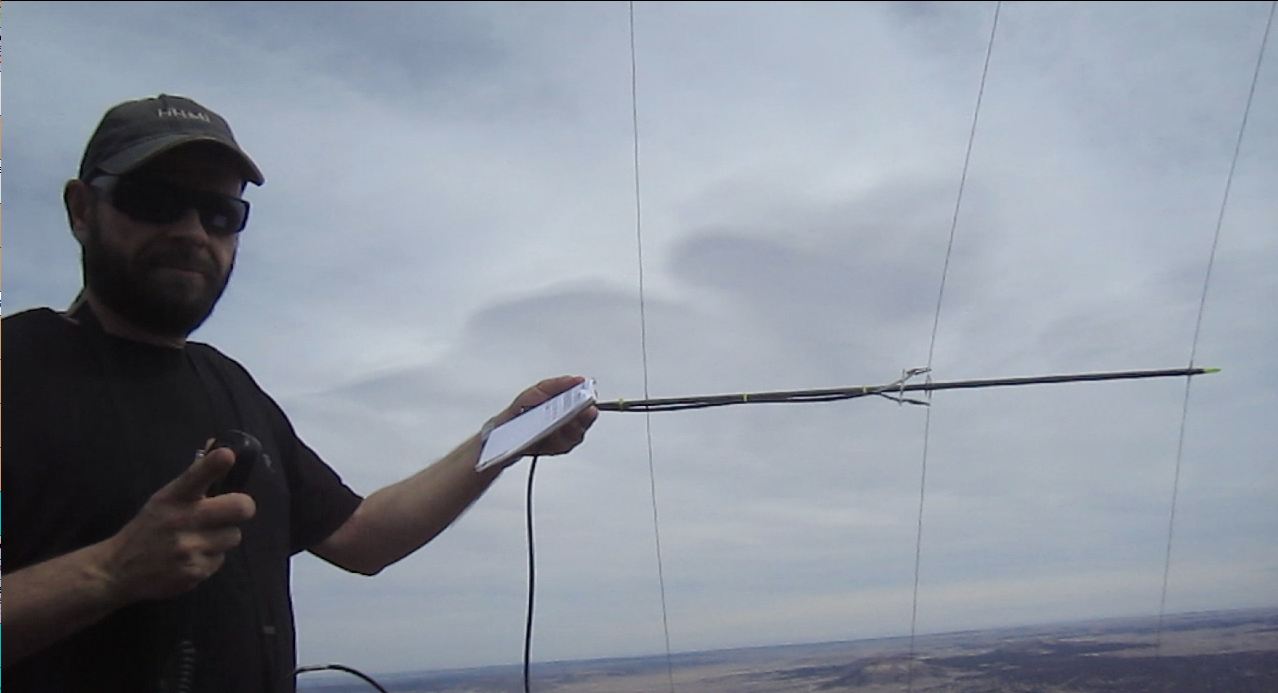
Yagi on Mt. Herman (photo by Steve/wGØAT)
On the summit I had a real problem with my Buddipole coax and had to rely on my 2m 3-element Yagi to be able to claim my points. So… did it work you ask? YES, it sure did… the furthest contact I made was with Ken/WB9QDL who was in Thornton in his car (~60 miles). Not that the distance is unusual for a 2m contact with 5W but we had the opportunity to compare the signal with Steve’s HT. According to Ken, my signal and audio quality was better than Steve’s HT with a 17″ flexible whip antenna.
Remains of a Yagi
Good enough for me. I decided to take the antenna on my double-activation of Lily Mtn. & Panorama Pk. to see what it is capable of. Unfortunately it never came to another test. The antenna was strapped to the outside of my backpack. The light-weight arrow-shaft broke apart during my ascent through the forested area to Lily Mountain without me noticing and I lost some of the piano-wires which were stored inside.
My Conclusion: It seems that the antenna was just too flimsy and not rugged enough for my purpose. Most trails around here start well below the treeline and there is always a part where I have to bush-whack through trees. The arrow shaft is too long to be stored in a backpack and thus needs to be strapped to the outside. Using another container to protect the antenna seems to defeat the purpose of having an ultra-light antenna. I guess it is time to try a tape-measure antenna next :)
Video of the antenna in action:
httpvh://www.youtube.com/watch?v=TeTrAPNo8tQ
If you would like to leave questions or comments, please do so through Youtube.
!! WARNING !! There are old mountaineers, and bold mountaineers… there are no old-bold mountaineers.
Hiking and mountain climbing are potentially hazardous activities particularly in Colorado with its extreme elevations. I am not accepting responsibility for any death or injury resulting from activations based on my trip reports. Proper training, experience, and personal capability assessment is required – enjoy!
 !! WARNING !! There are old mountaineers, and
bold mountaineers… there are no old-bold mountaineers.
Hiking and mountain climbing are potentially hazardous activities particularly in Colorado with its extreme elevations. I am not accepting responsibility for any death or injury resulting from activations based on my trip reports. Proper training, experience, and personal capability assessment is required – enjoy!
!! WARNING !! There are old mountaineers, and
bold mountaineers… there are no old-bold mountaineers.
Hiking and mountain climbing are potentially hazardous activities particularly in Colorado with its extreme elevations. I am not accepting responsibility for any death or injury resulting from activations based on my trip reports. Proper training, experience, and personal capability assessment is required – enjoy!