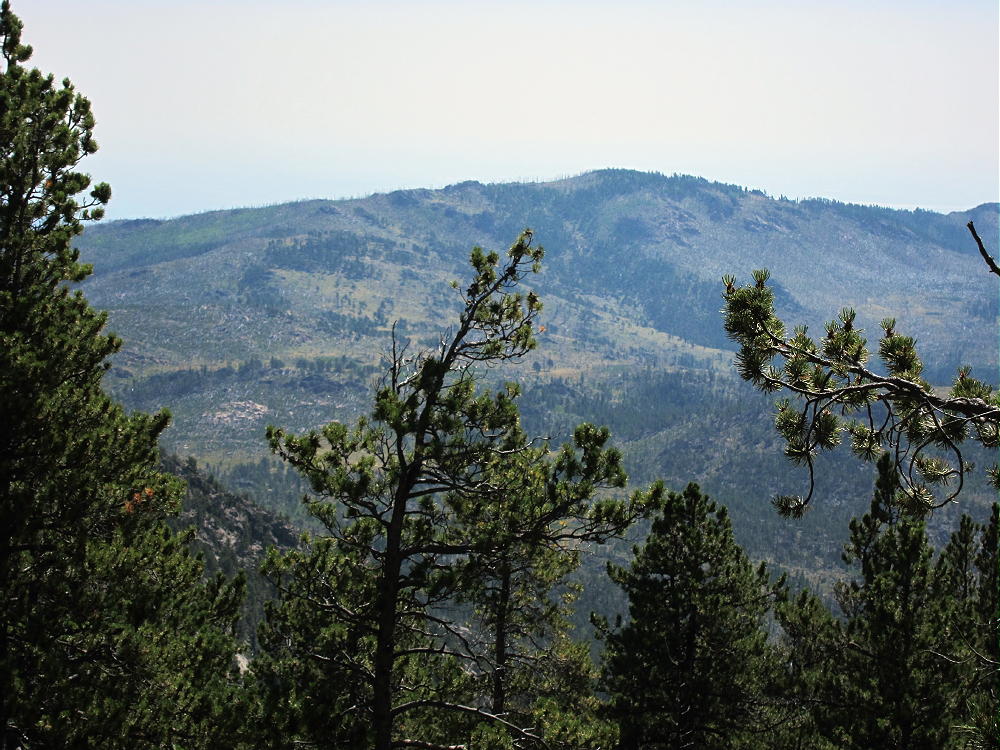
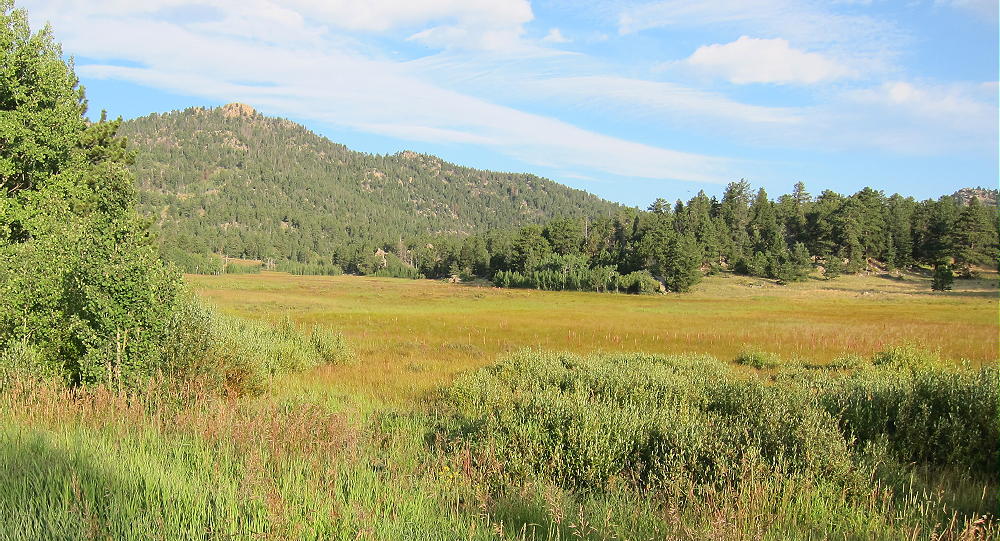
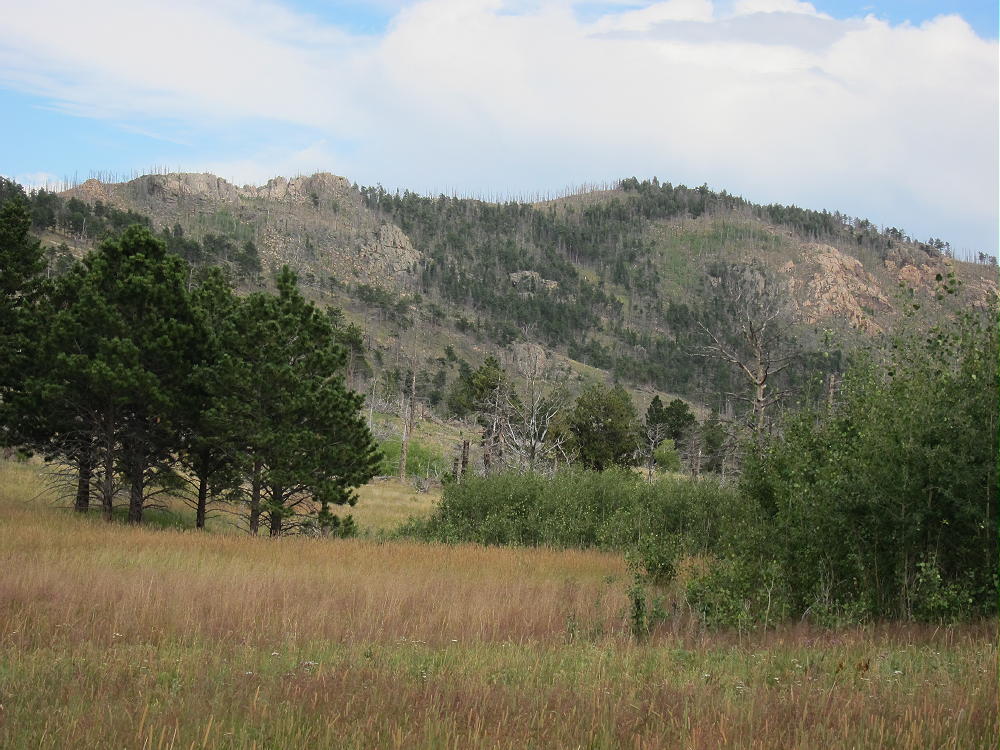
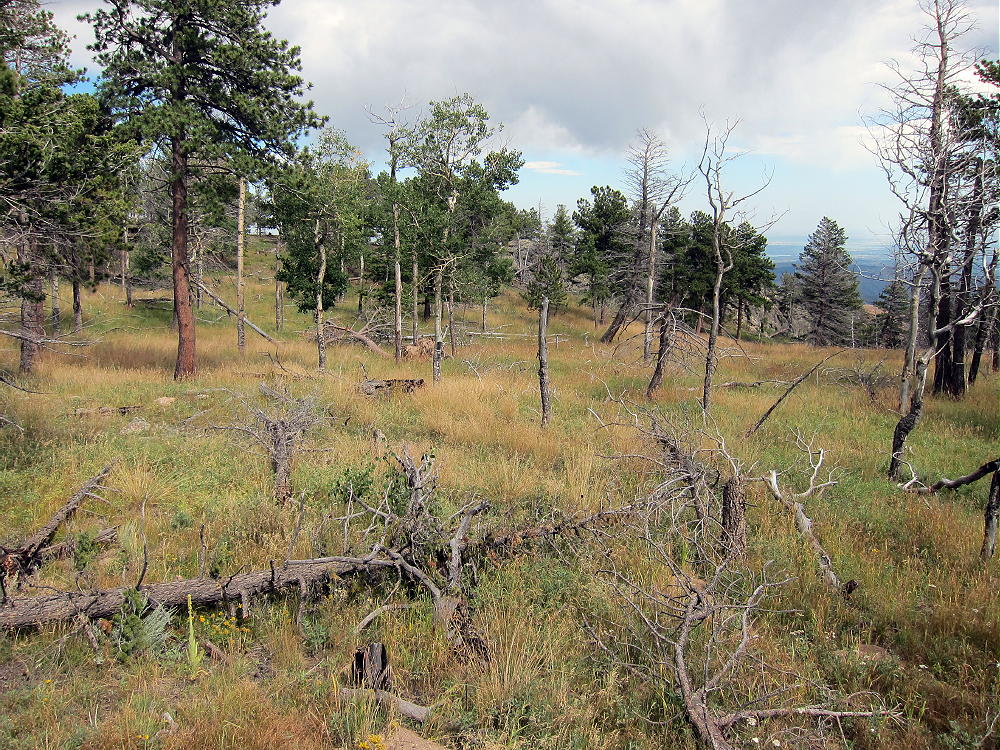
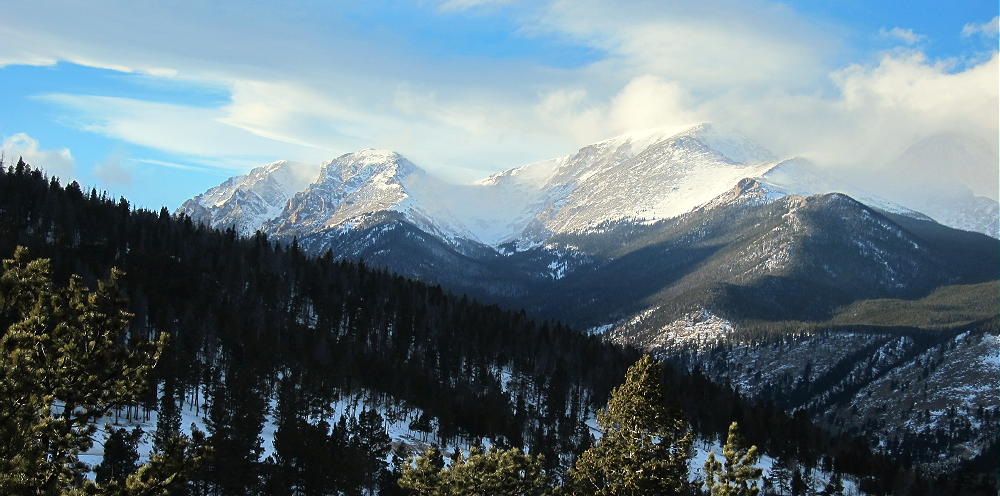
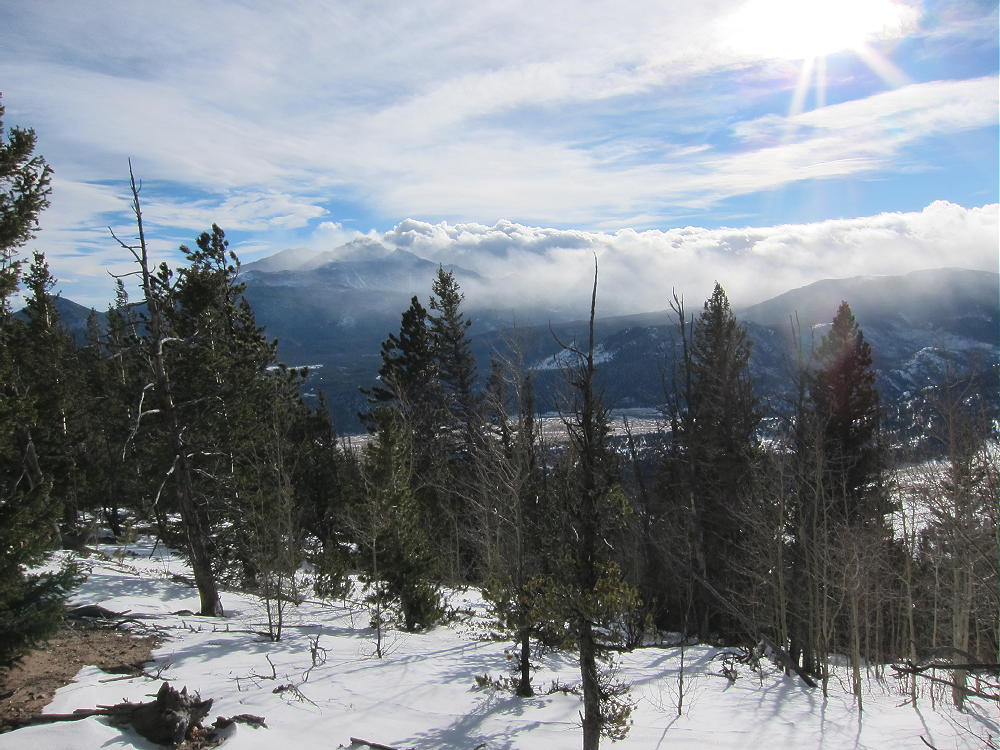
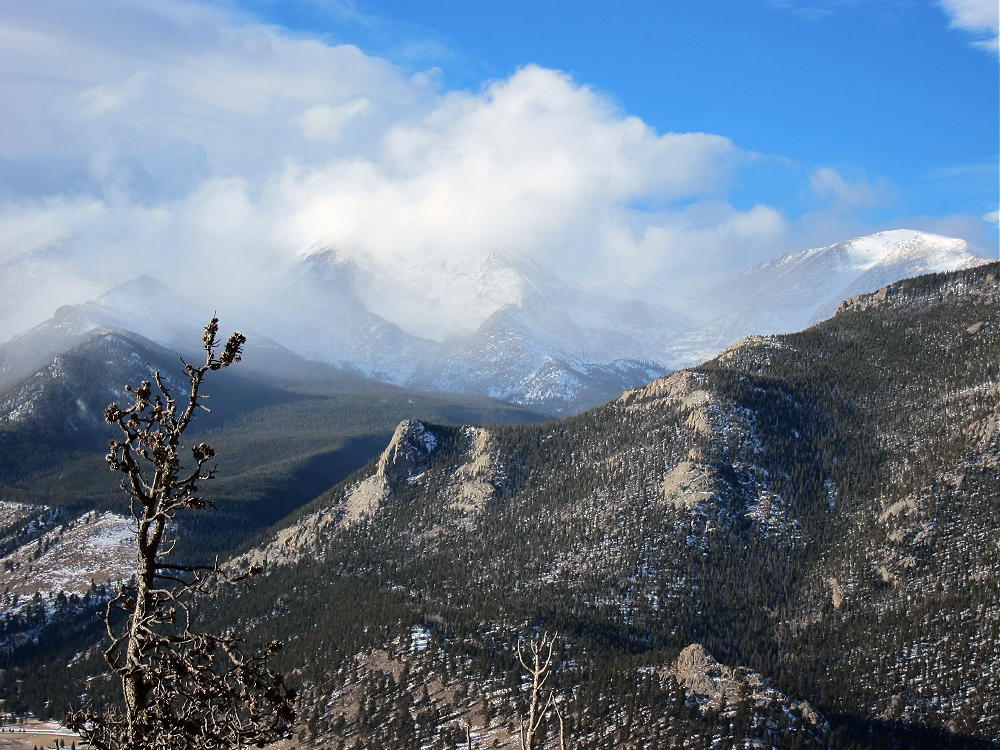
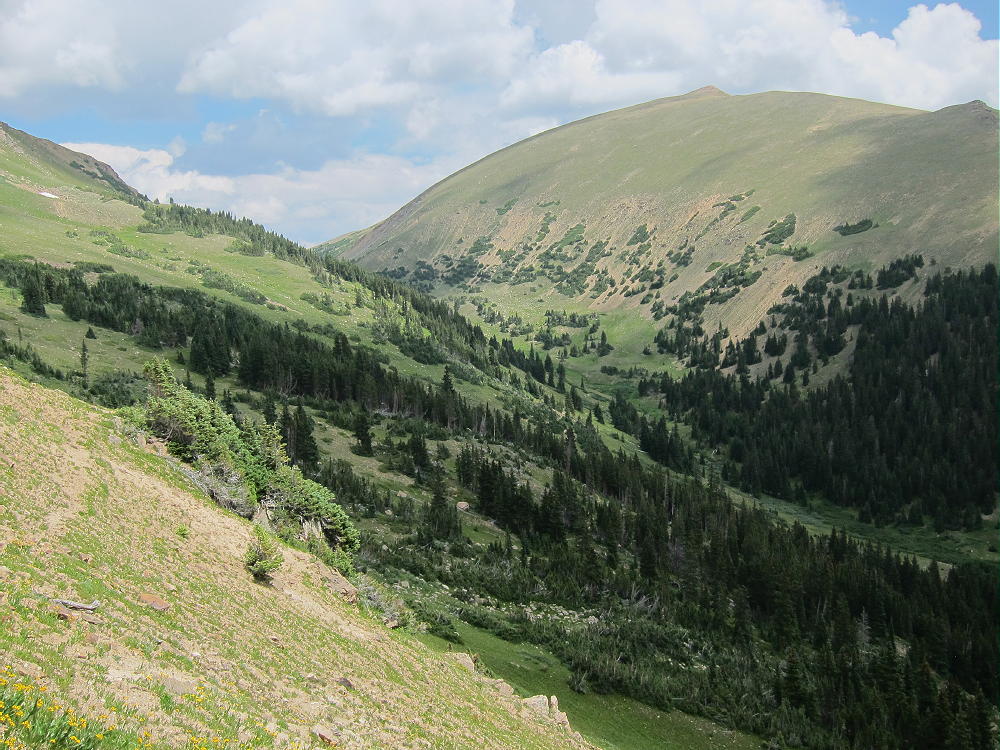
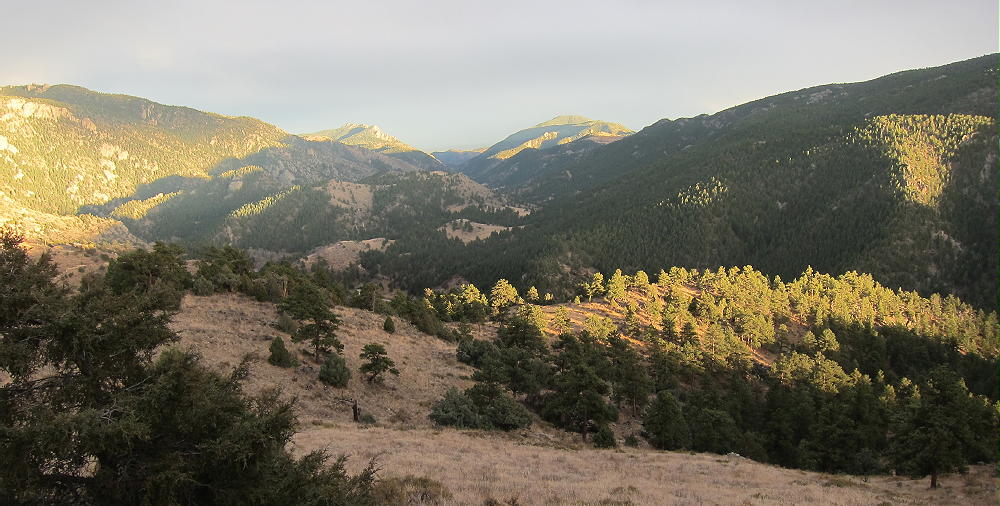
W0C/FR-185 (Centennial Cone)
2645 m / 8679 ft
30 Aug 2013
27 Feb 2014
by KX0R
Centennial Cone is a fun, challenging summit with good access from three directions.
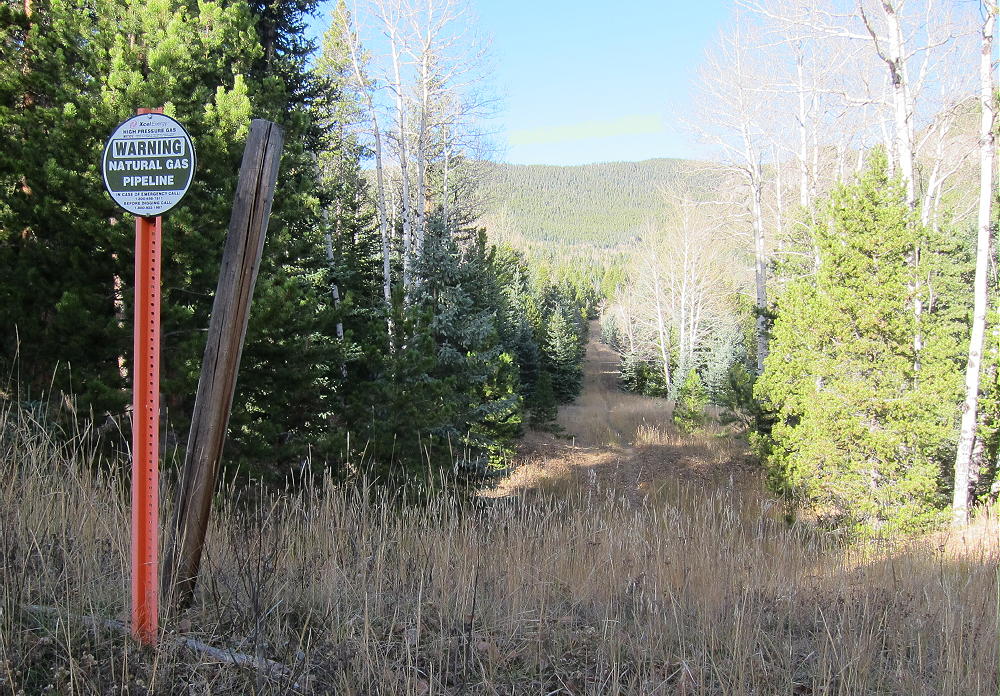
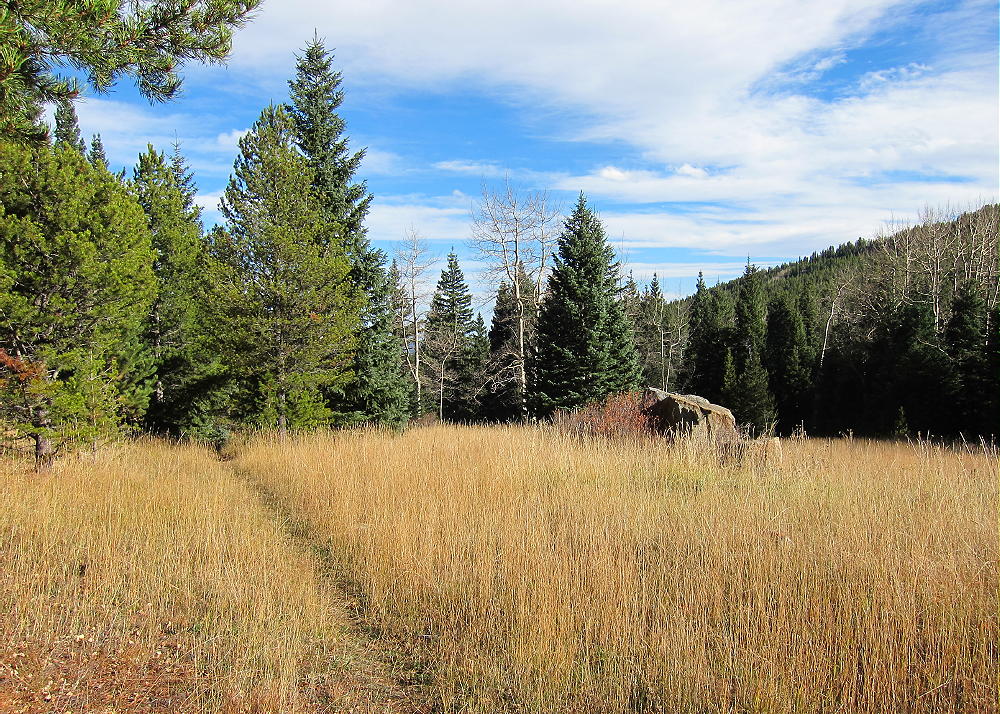
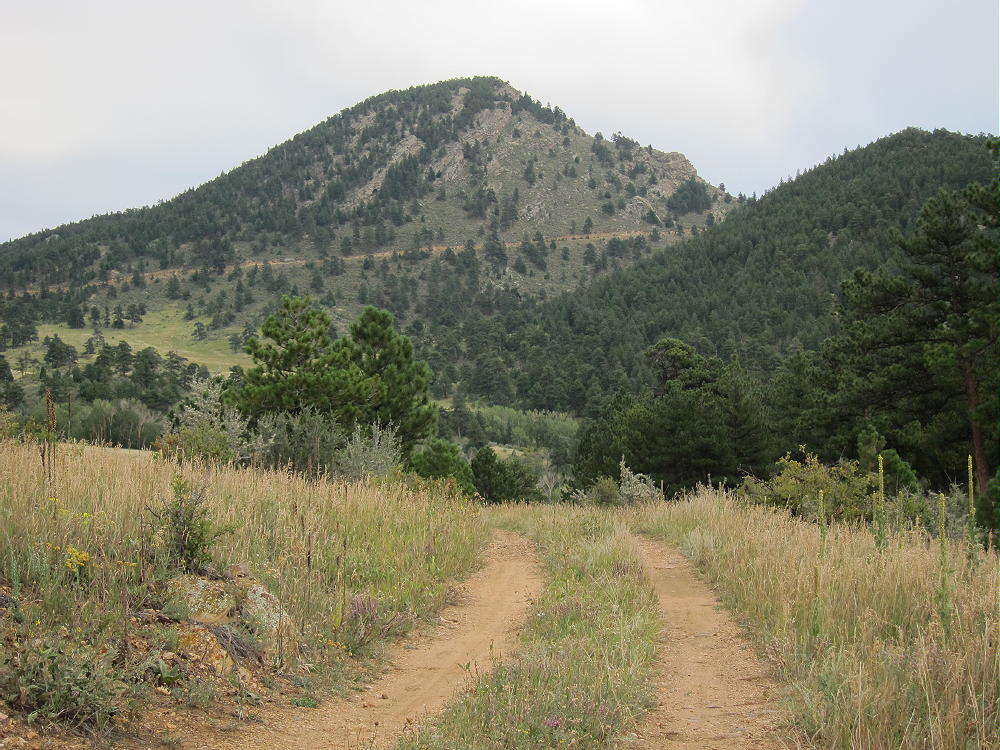
Centennial Cone Trail Near Western Trail-head
To reach the convenient western trailhead, drive west from Golden, CO, up Route 6 in Clear Creek Canyon – follow the signs toward Blackhawk and Central City. You are definitely going gambling, but not at the Casinos! Shortly after Road 119 splits from Route 6 and heads north toward Central City, take a well-marked right turn toward Centennial Cone Park. The steep road is paved all the way to the Park. The popular Park is free and has good parking, but note that hikers are allowed only on odd-numbered weekend dates; or ride a bike on an even-numbered weekend day; or go on a weekday. The Elk Range Trail to the peak may be closed during the winter and spring due to elk calving – check before you go!
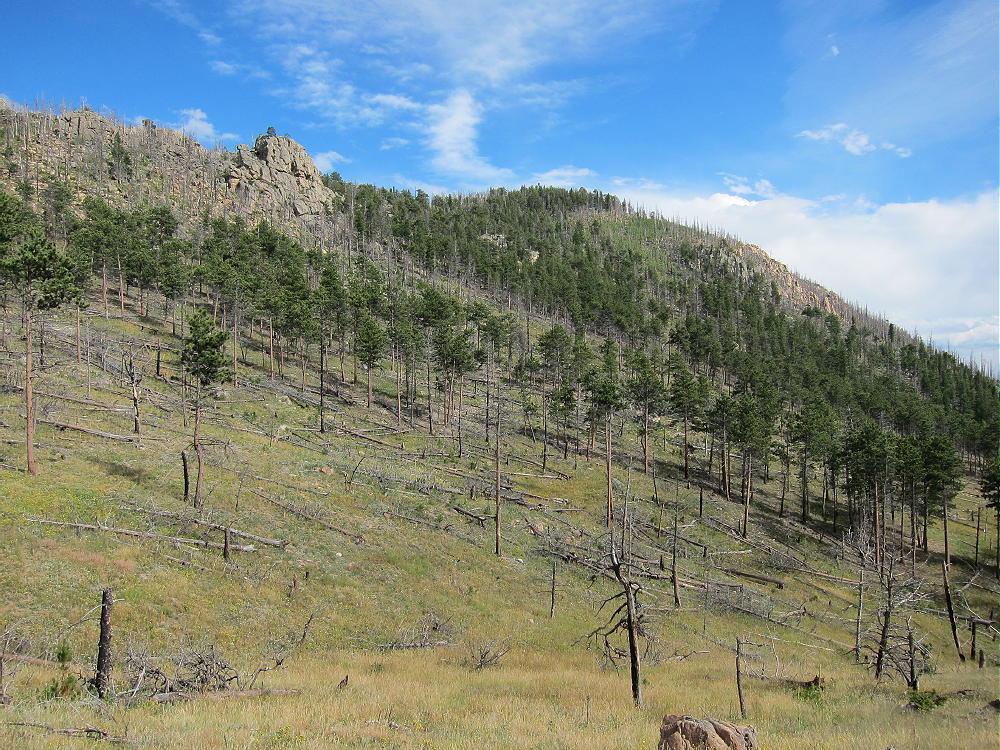
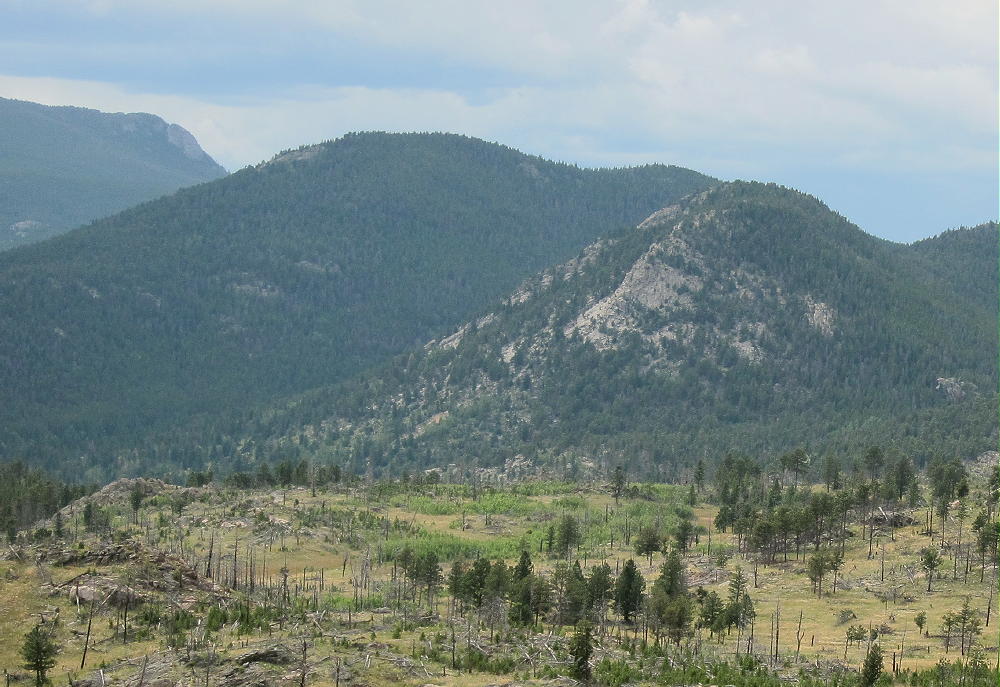
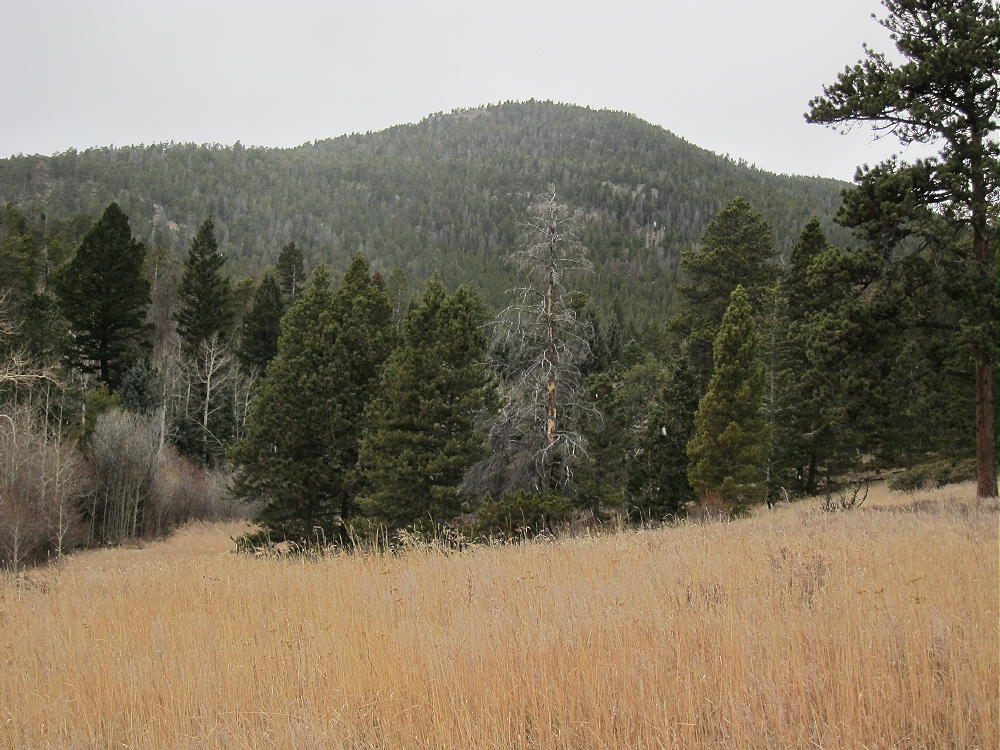
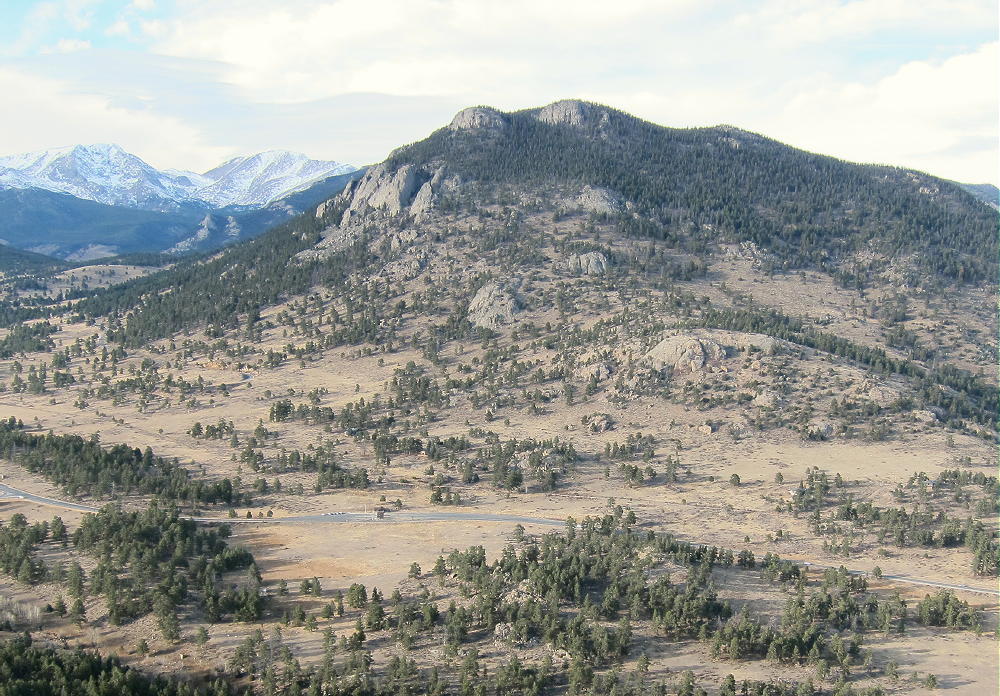
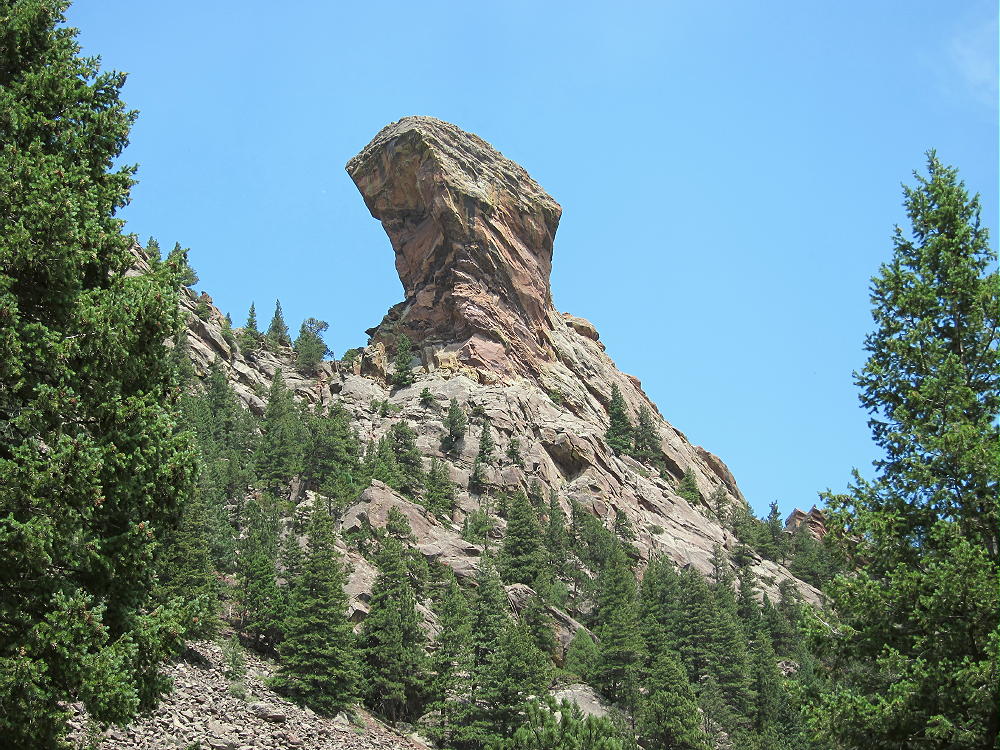
At the trailhead, you can see the well-named Cone 1-1/2 miles to the east.
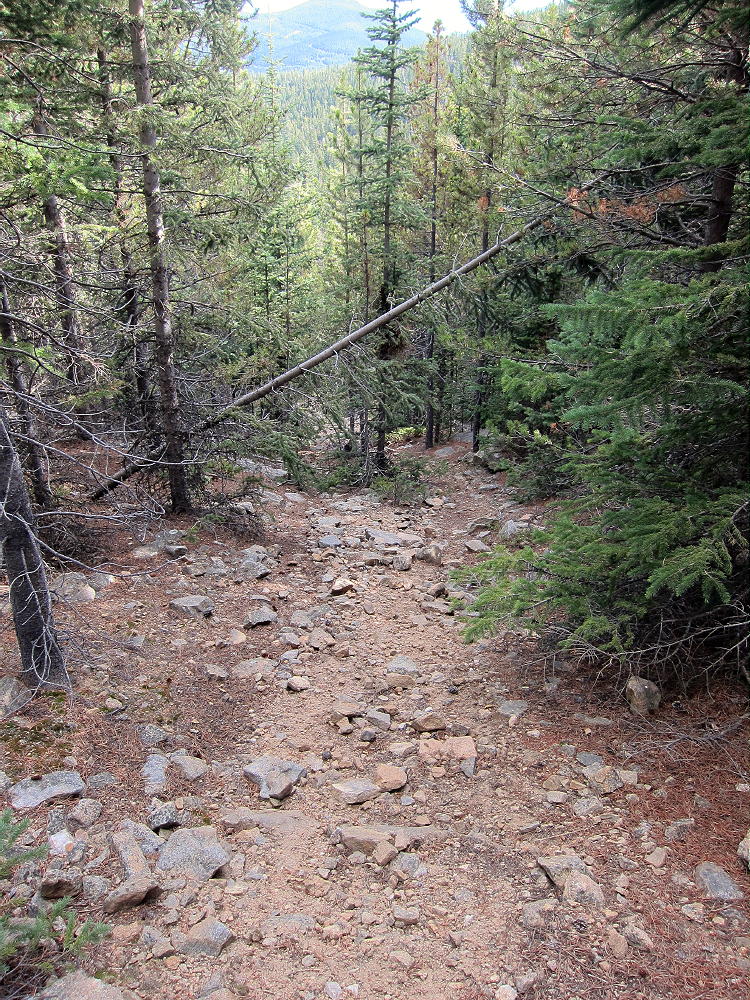
Centennial Cone West Side
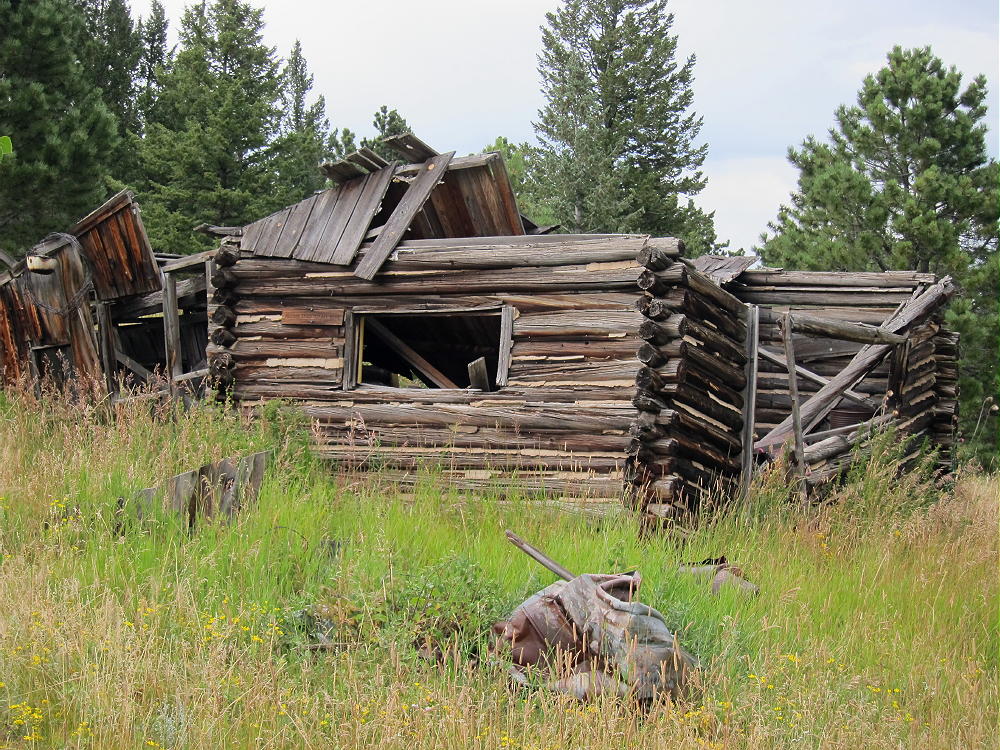
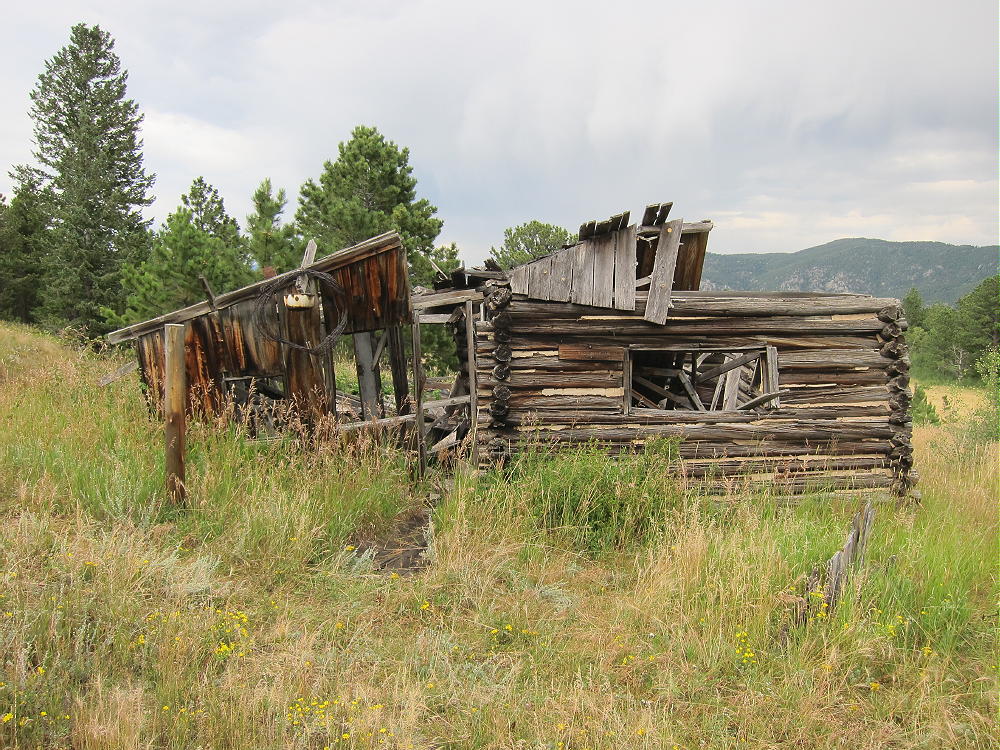
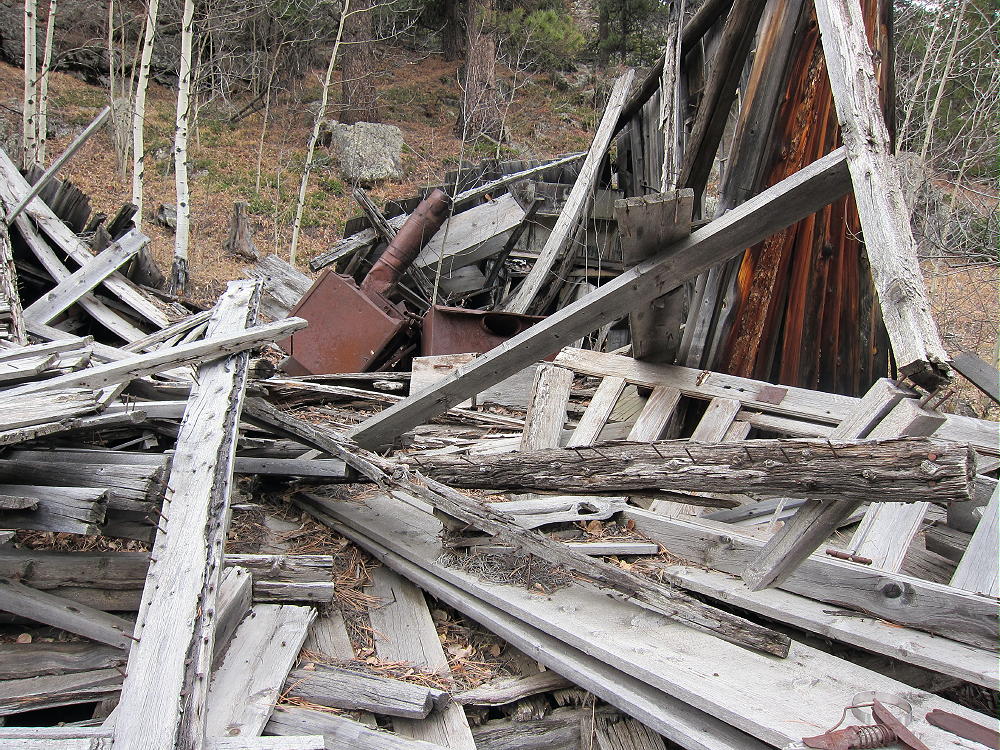
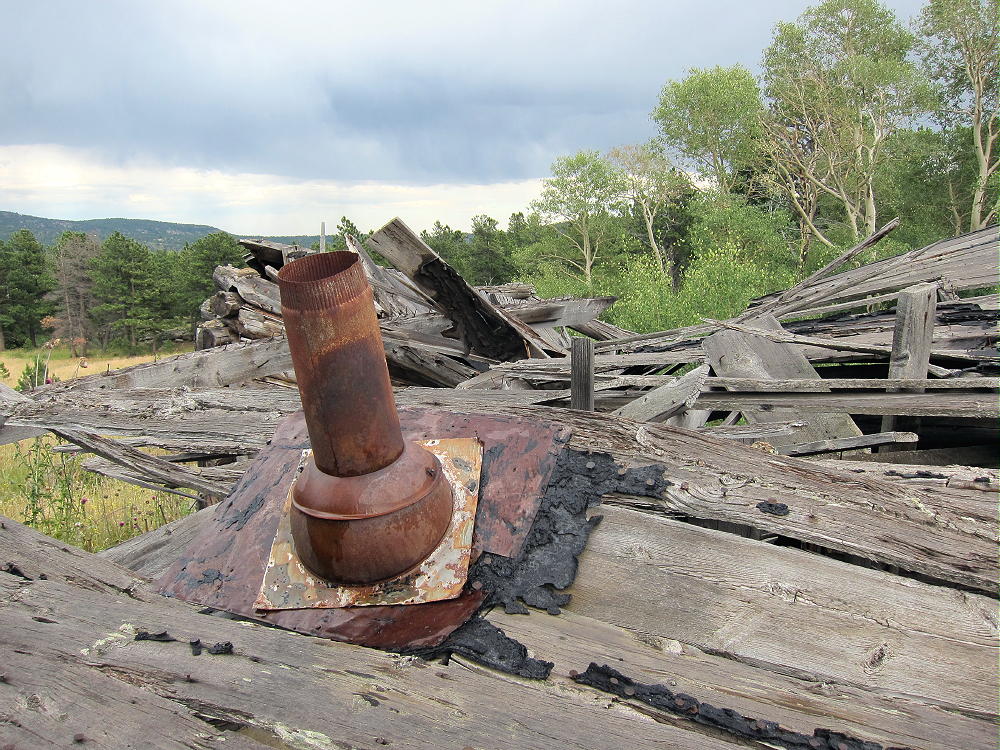
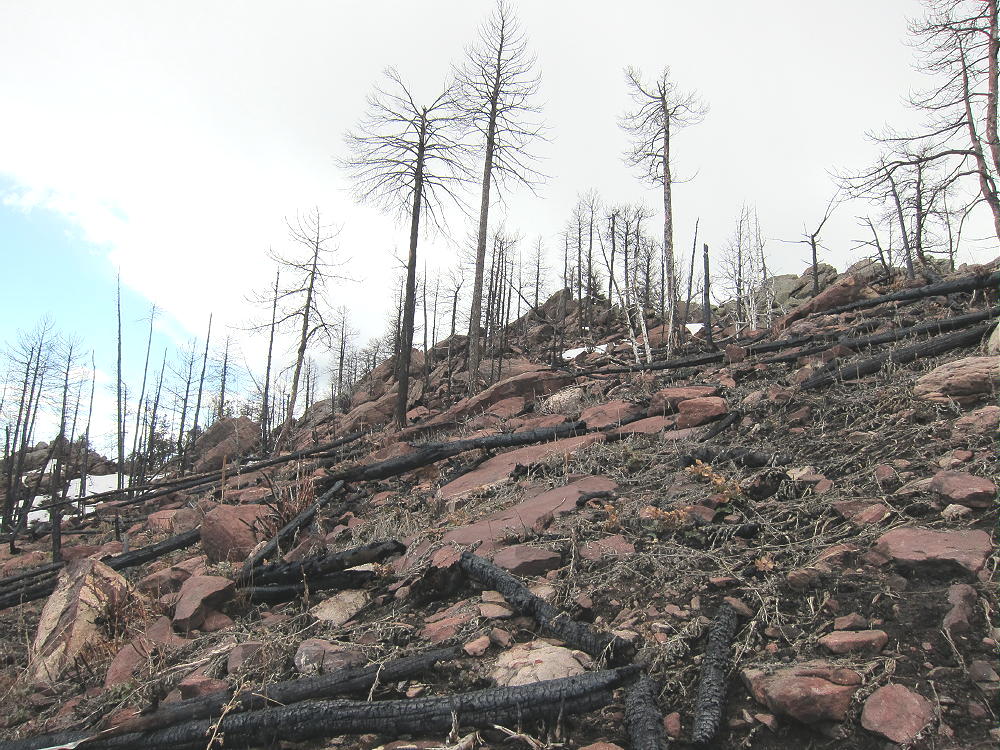
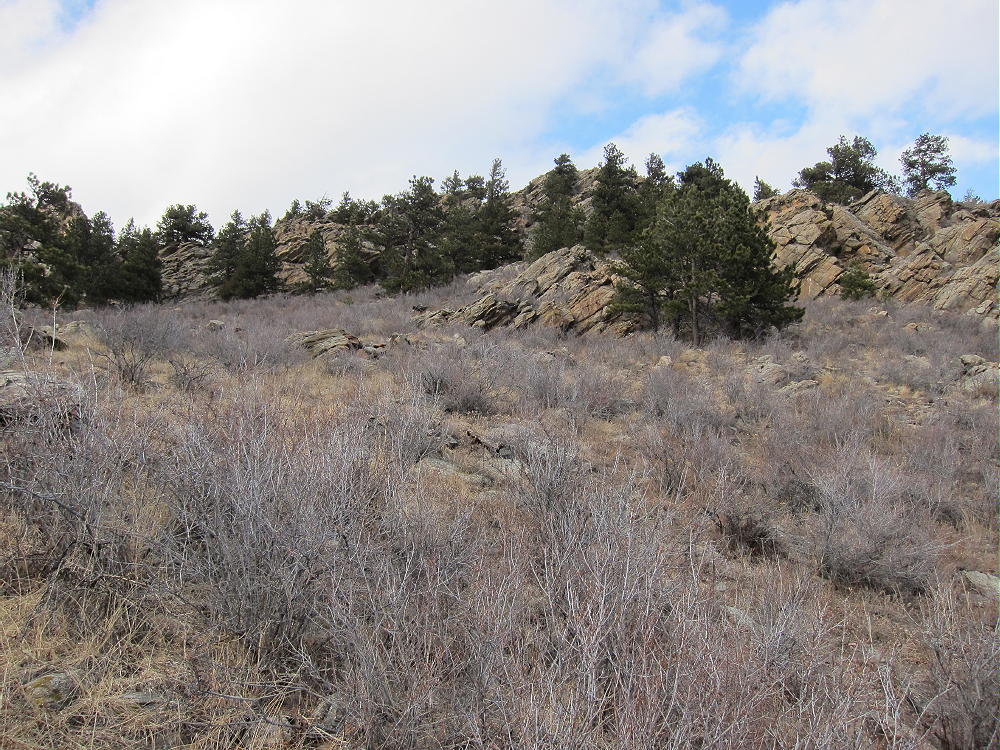
Walk northeast up the gentle Elk Range Trail about 1.4 miles; just before a saddle northwest of the Cone, leave the trail and head up southwest across a meadow, and aim for a little gulch going up into the forest. If you are lucky, you’ll find an old road leading to an abandoned pegmatite mine. Follow a faint path above the mine and continue up on game trails or whatever you can find, for about 500 vertical feet, until you reach the top. The map suggests that the northeast ridge might be a better but longer route from the saddle mentioned above – however, access may be closed below there.
The summit also can be accessed from the south side via a direct bushwhack hike.
Centennial Cone South Side Bushwhack Route
This route is slightly easier and longer than the northwest bushwhack route above the pegmatite mine. An obvious old road leads around the west side of the Cone from the Elk Range Trail.
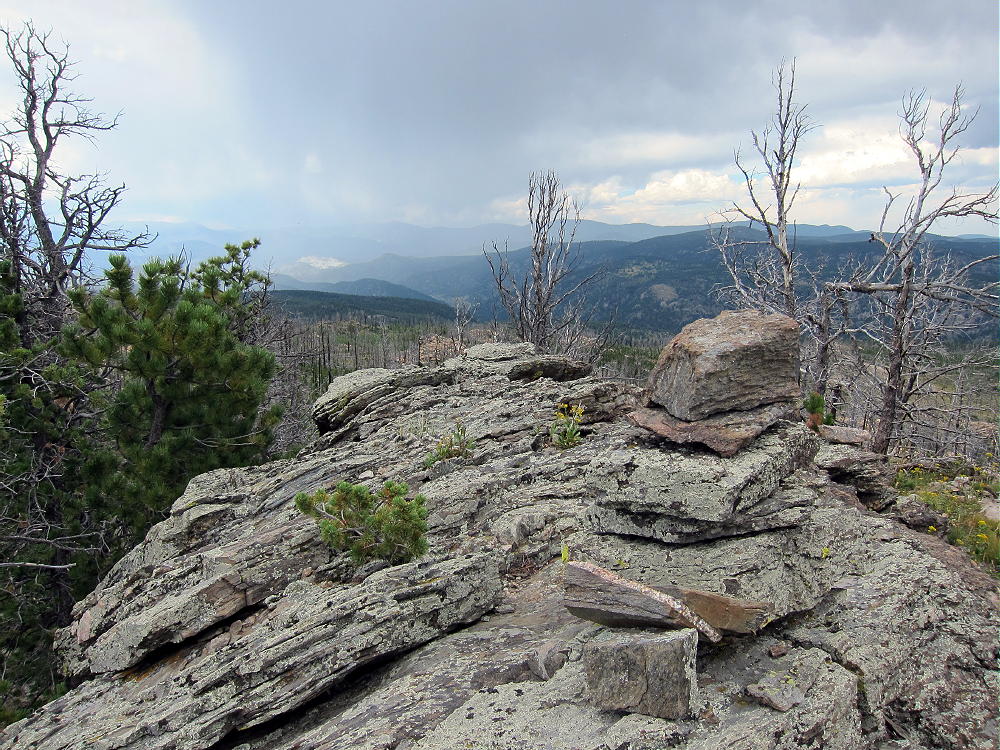
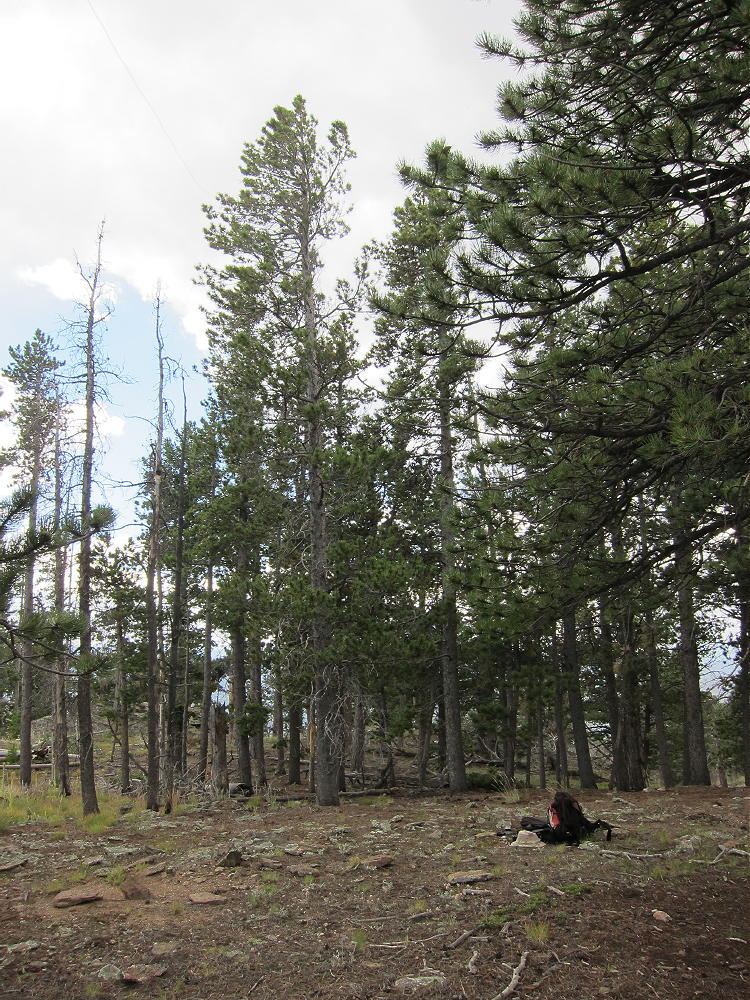
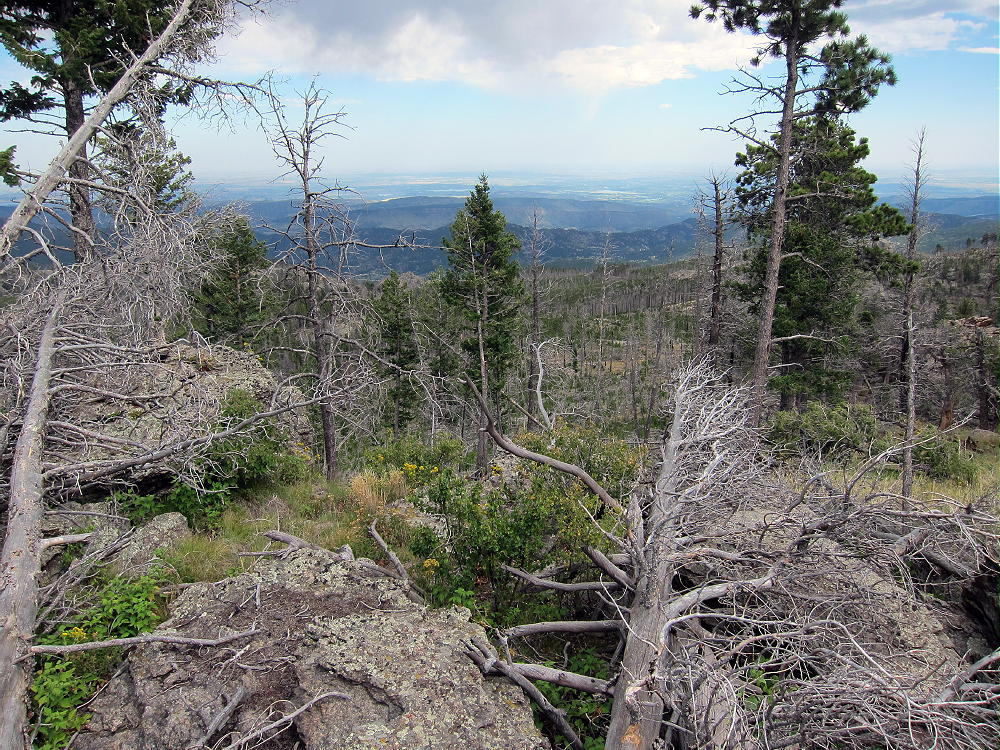
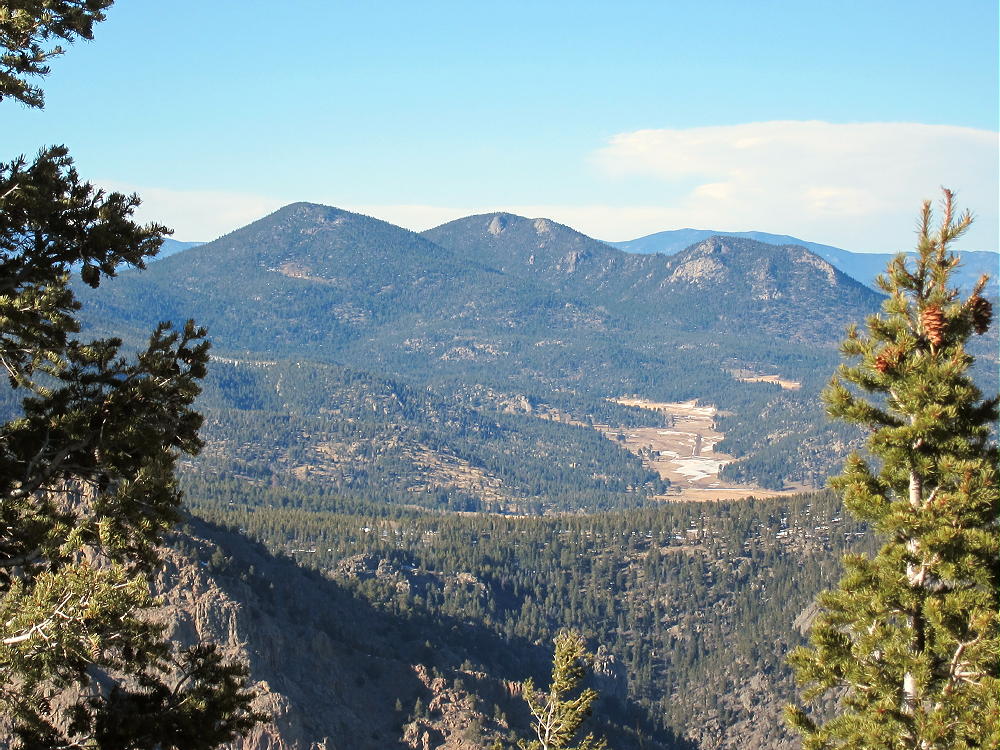
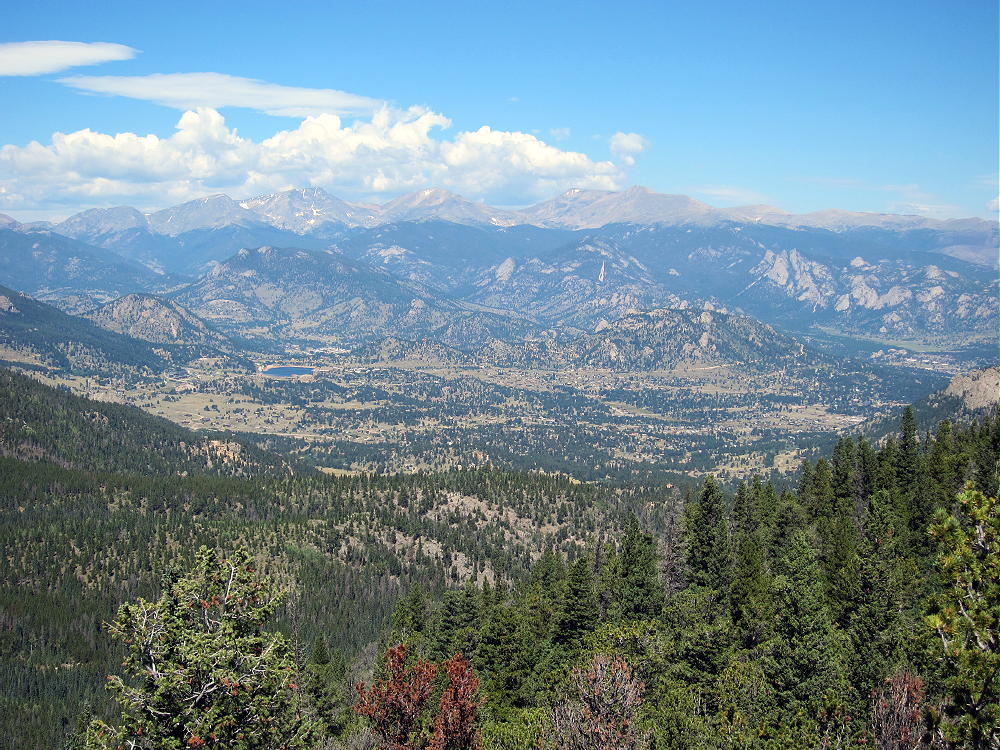
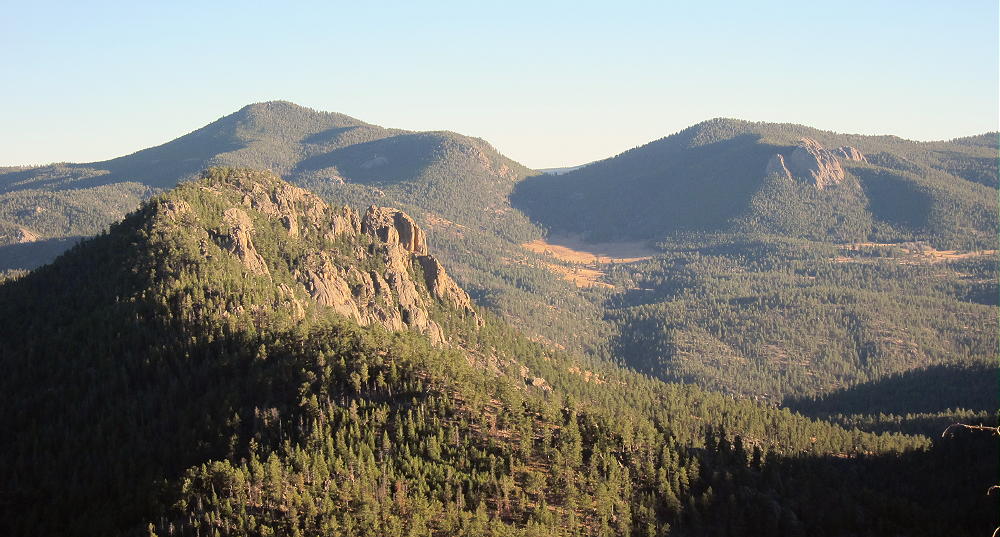
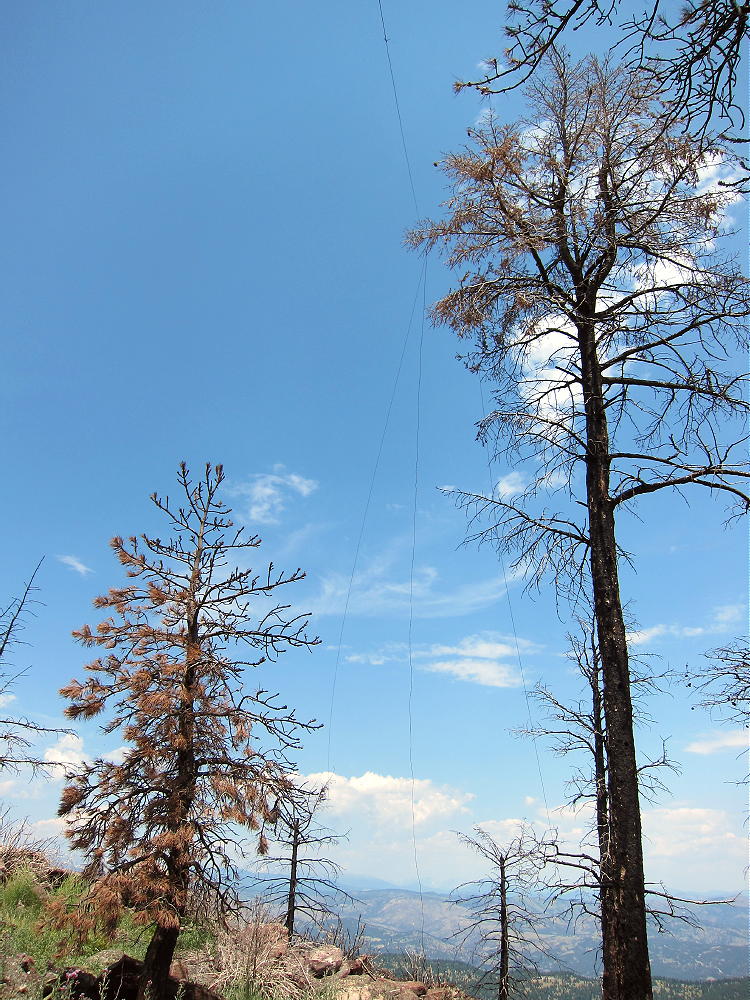
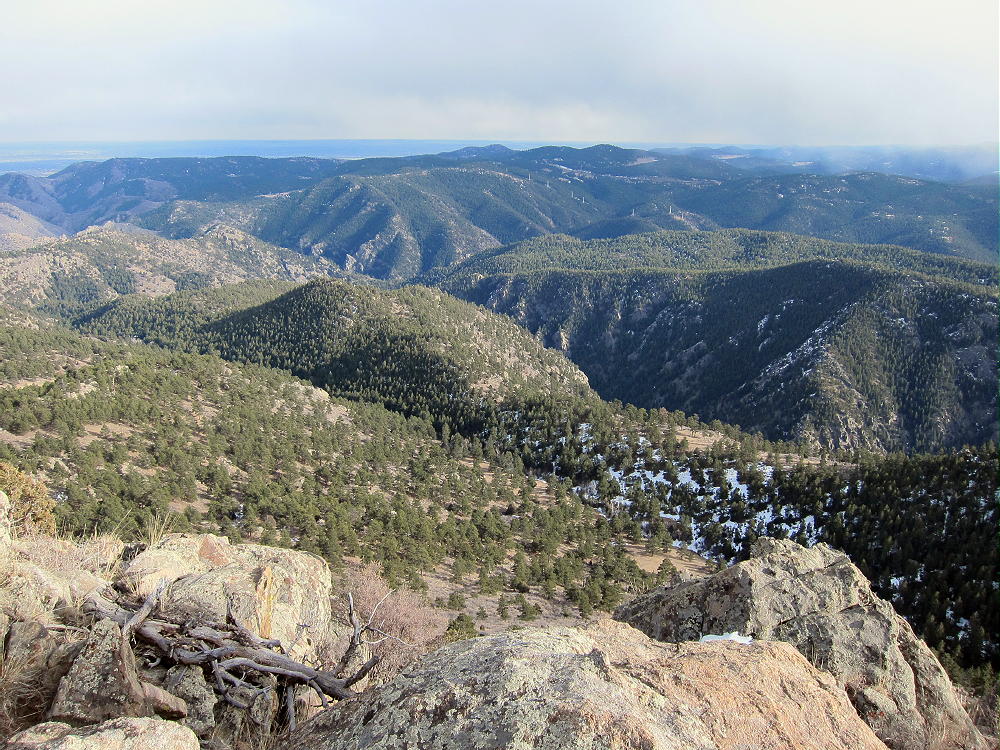
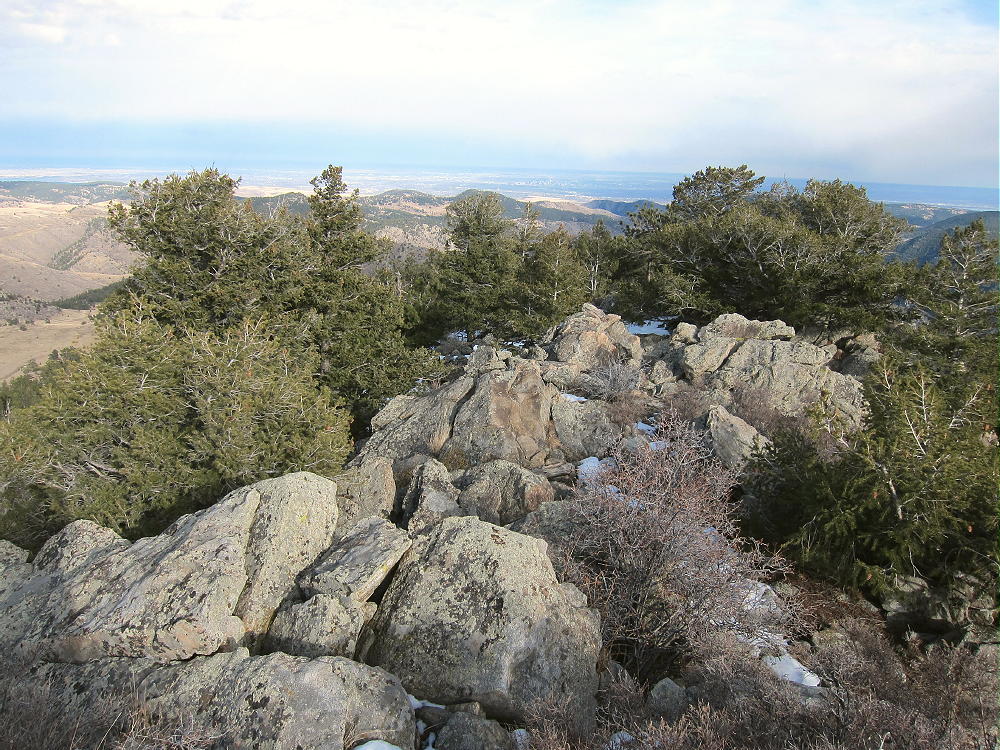
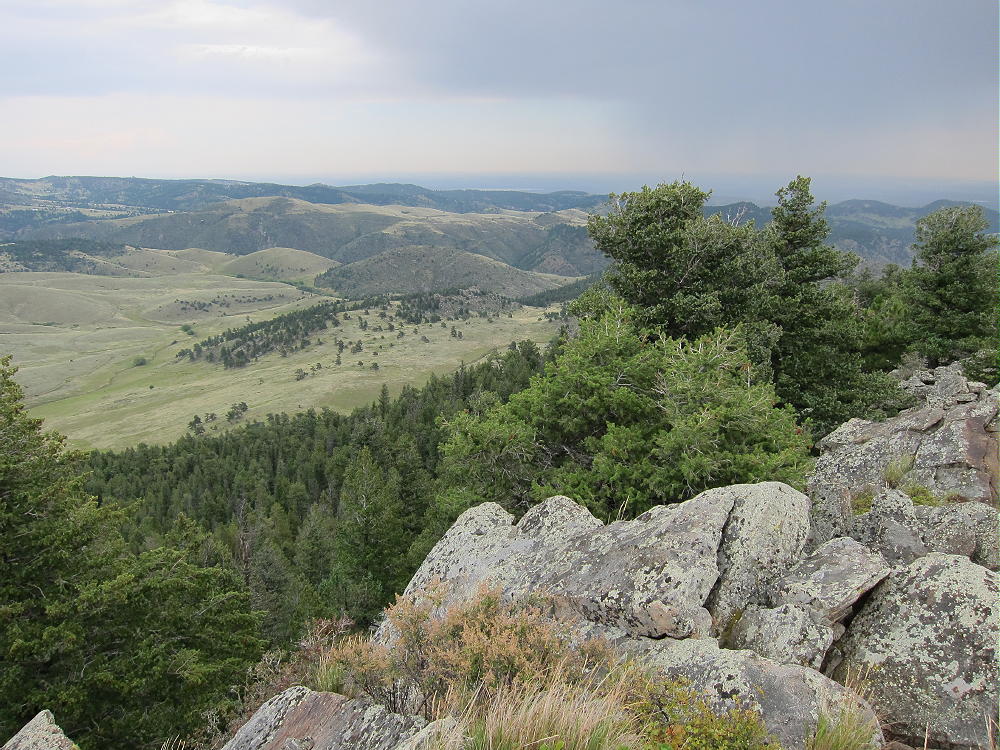
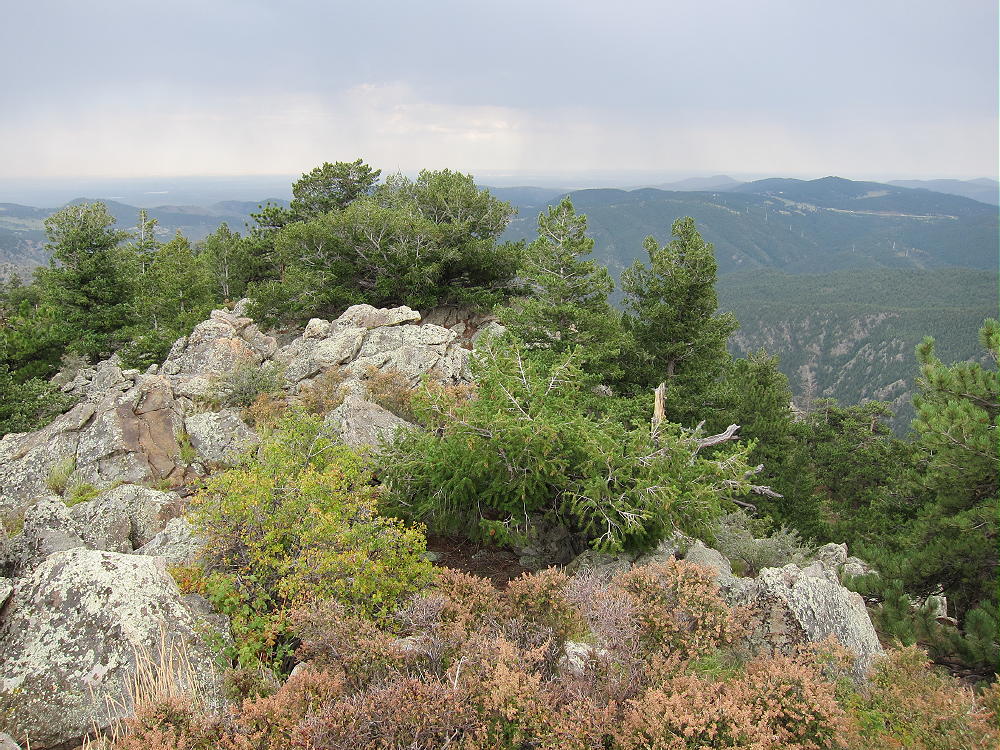
The peak sees few visitors, and it’s a fine, quiet radio site. The summit area is large and open, there are large trees available, and the 360-degree view shows you everything you miss from Route 6 in the canyon far below.
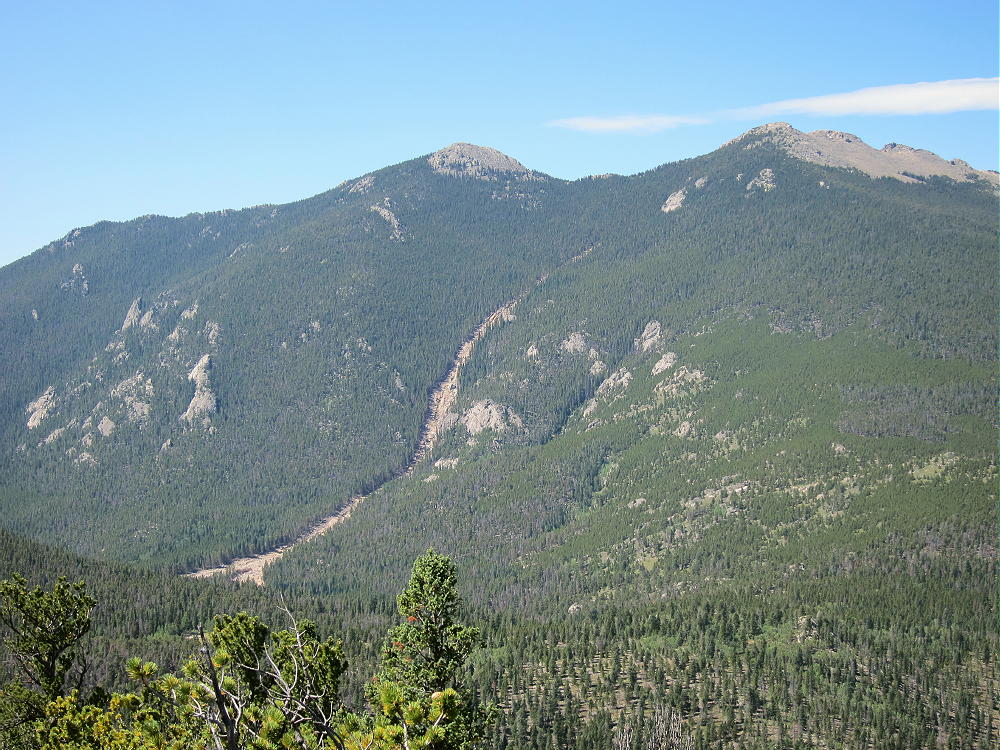
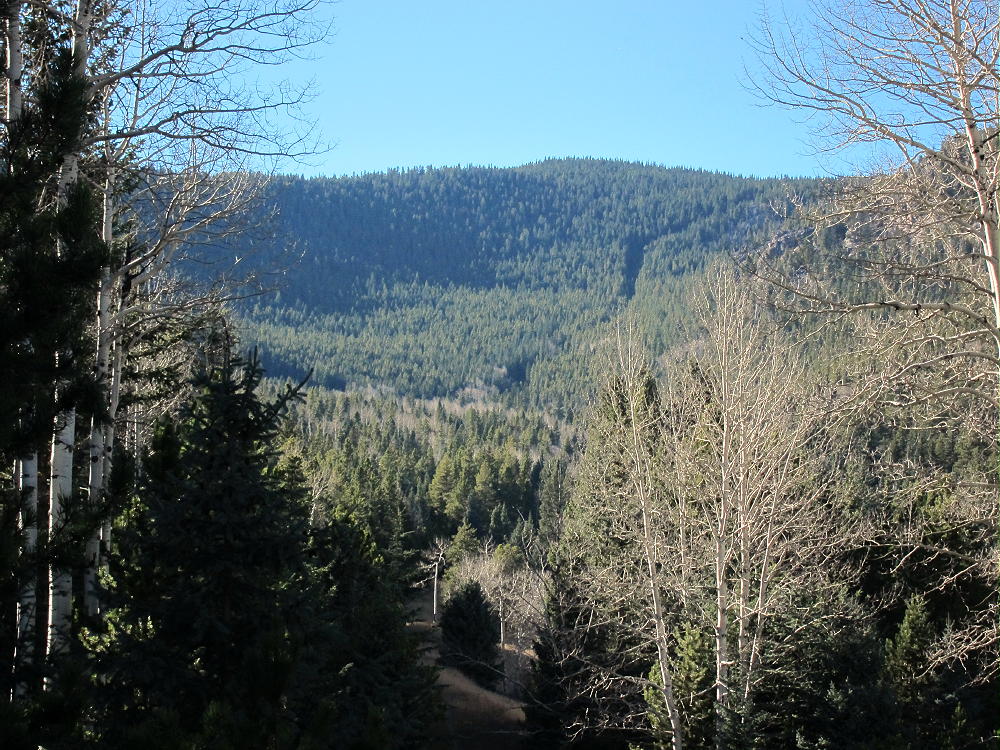
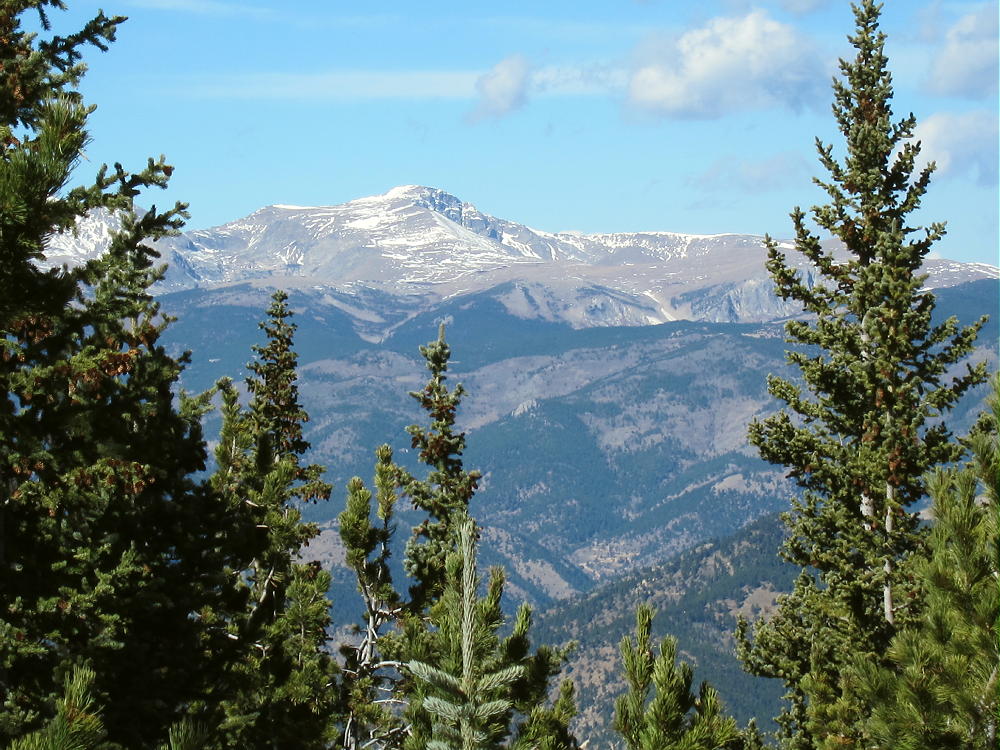
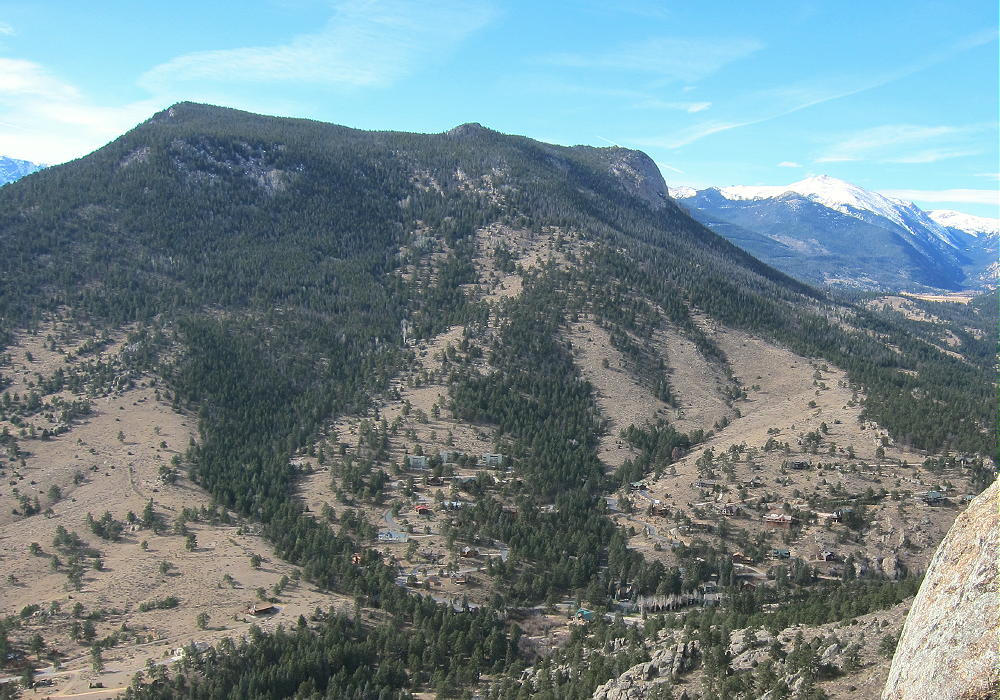
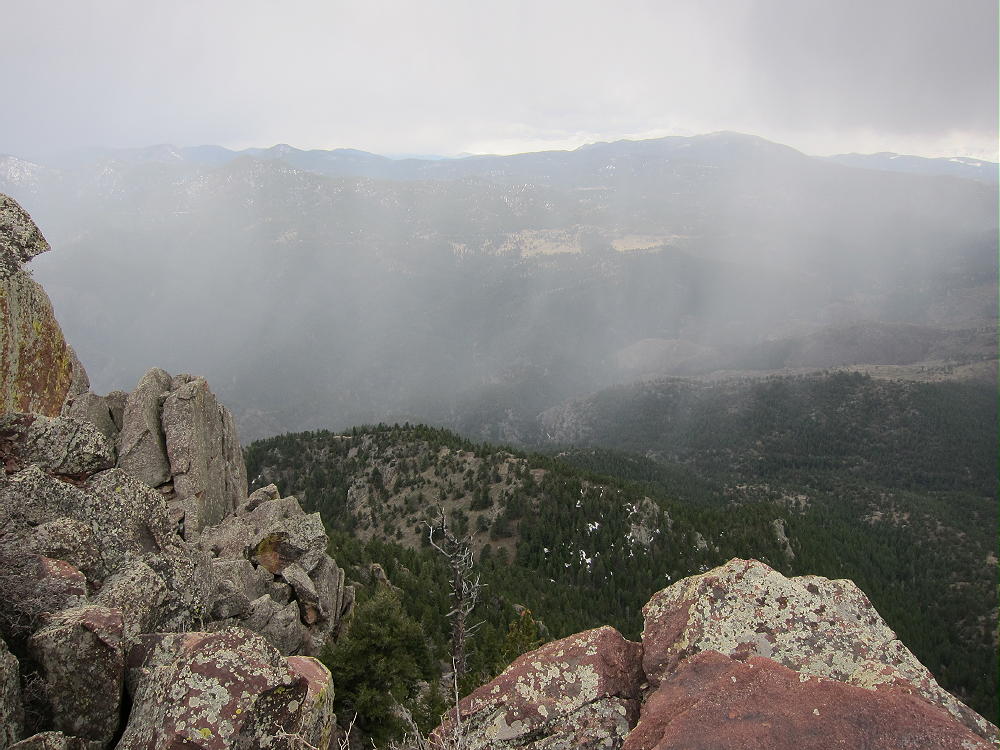
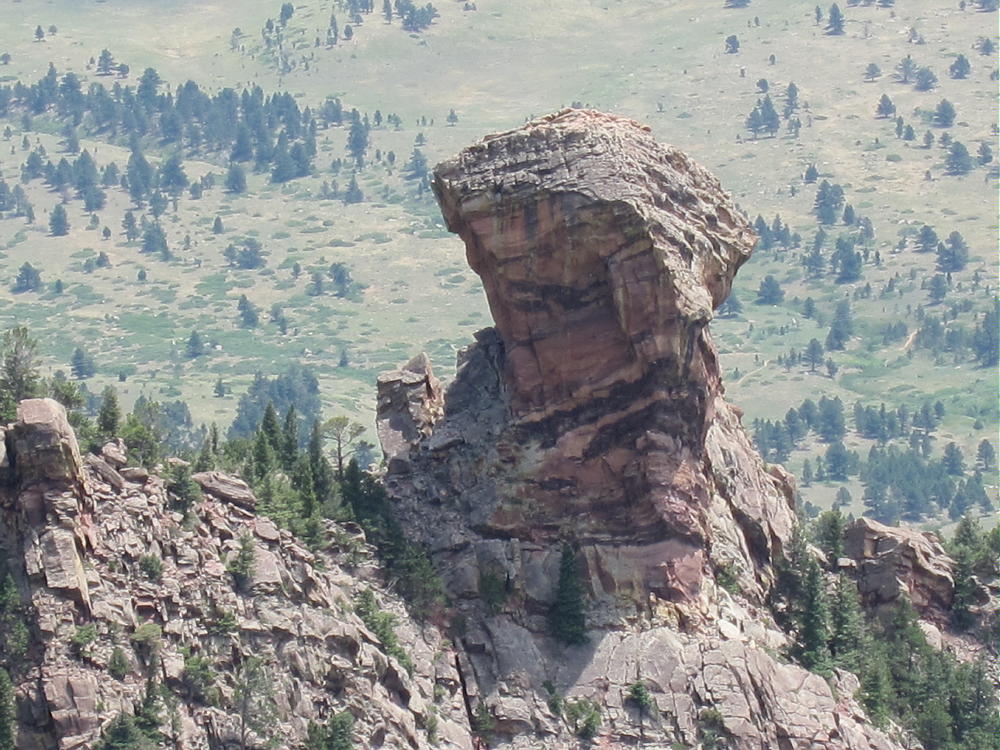
Centennial Cone View across Clear Creek Canyon to the Southeast
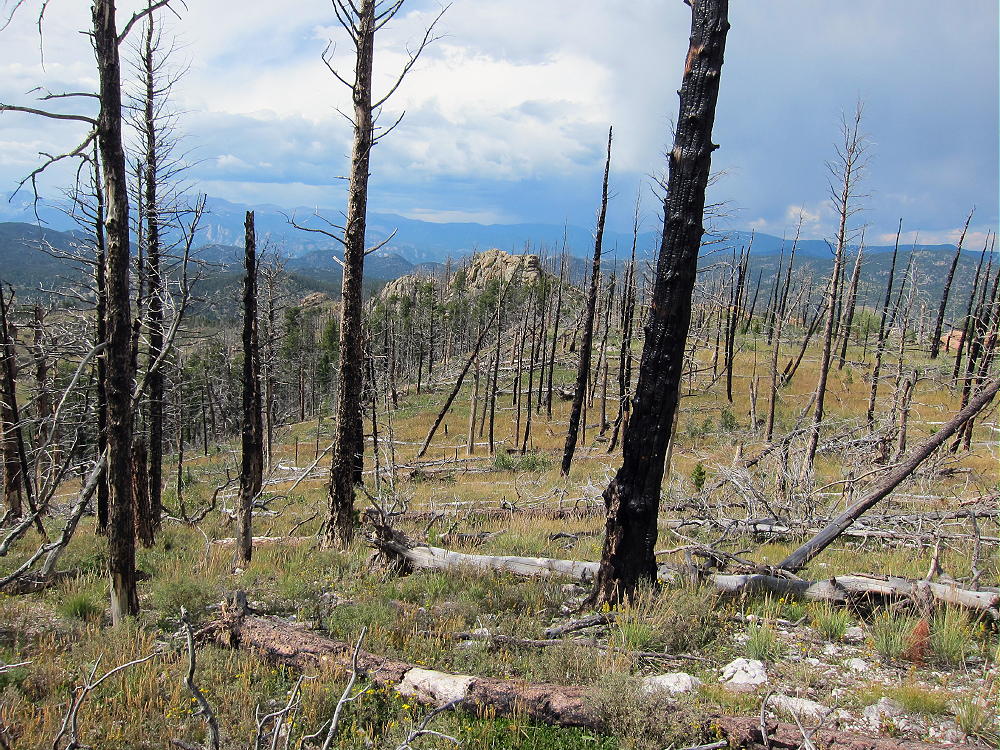
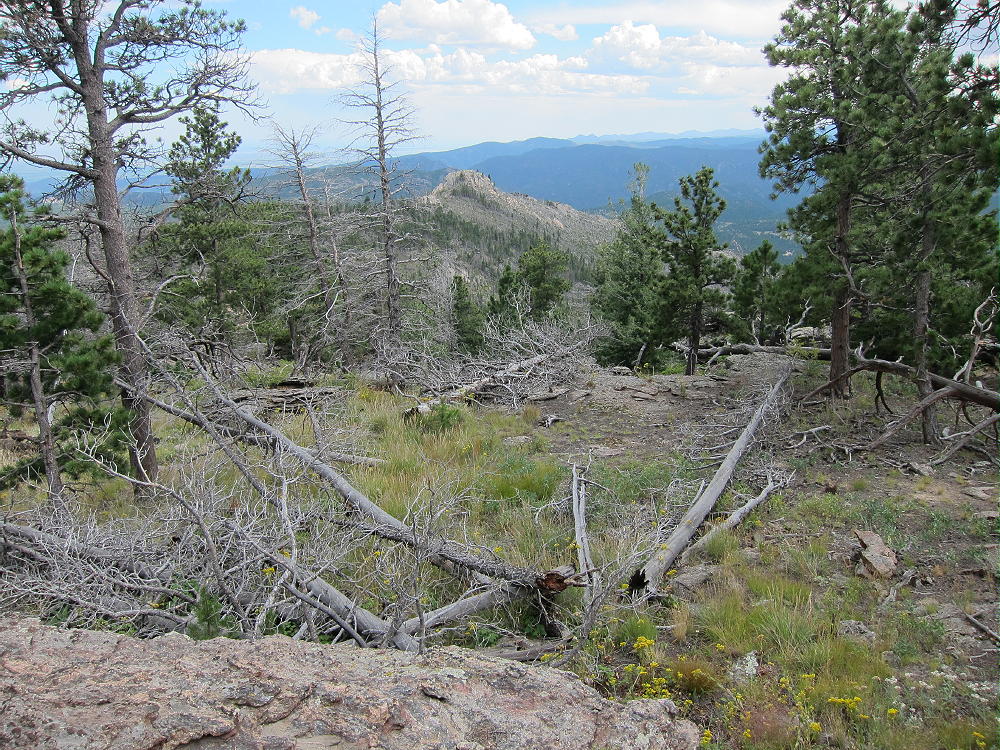
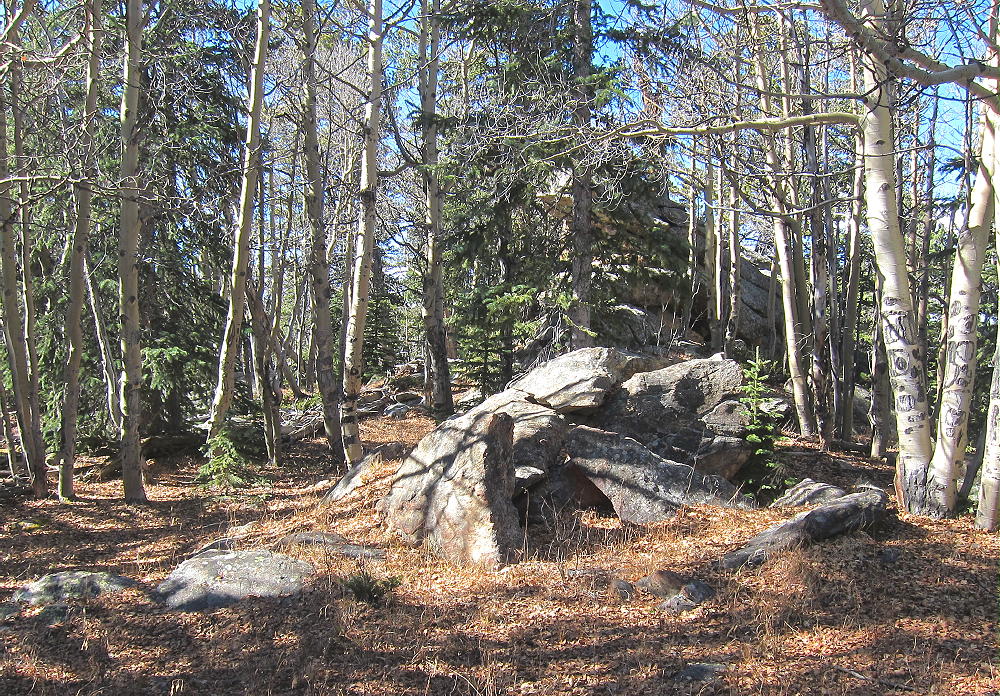
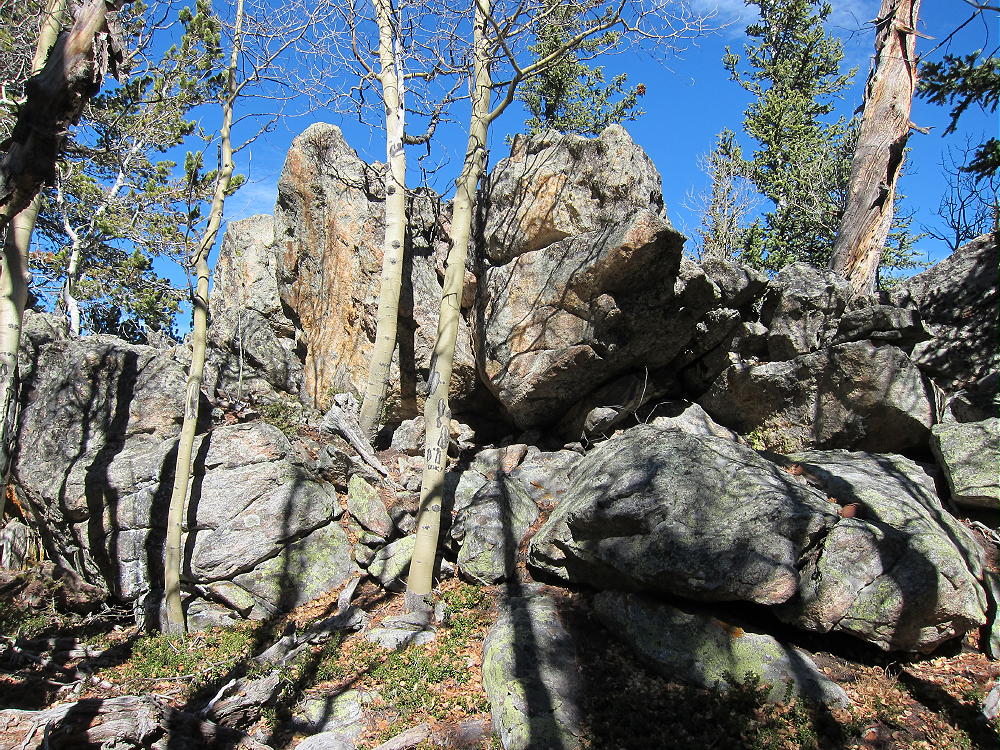
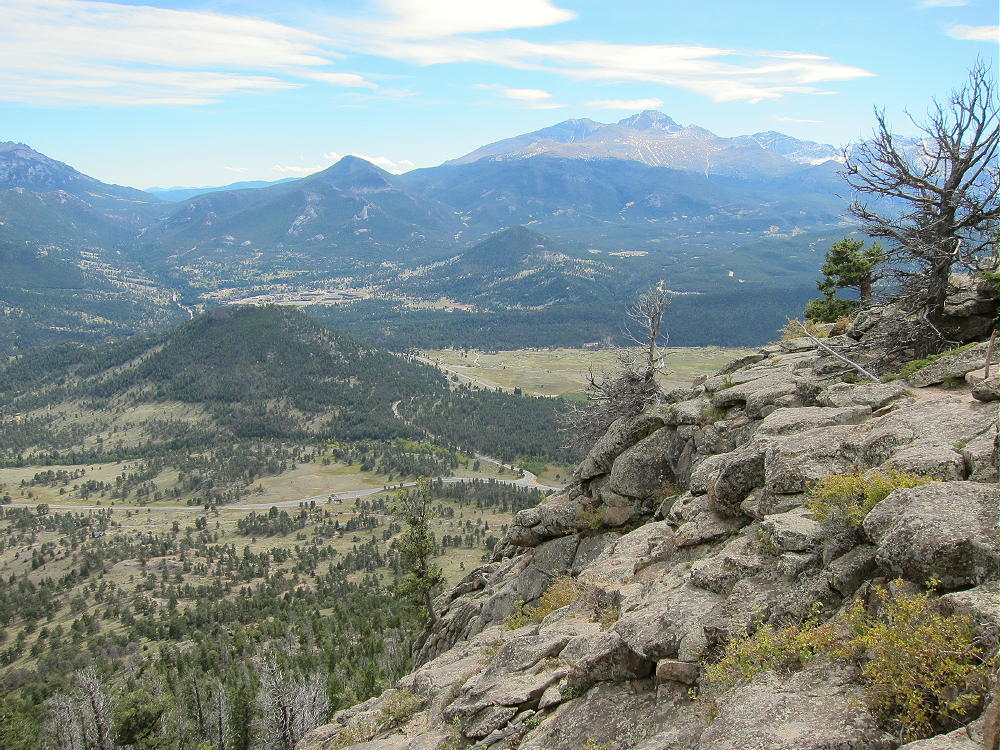
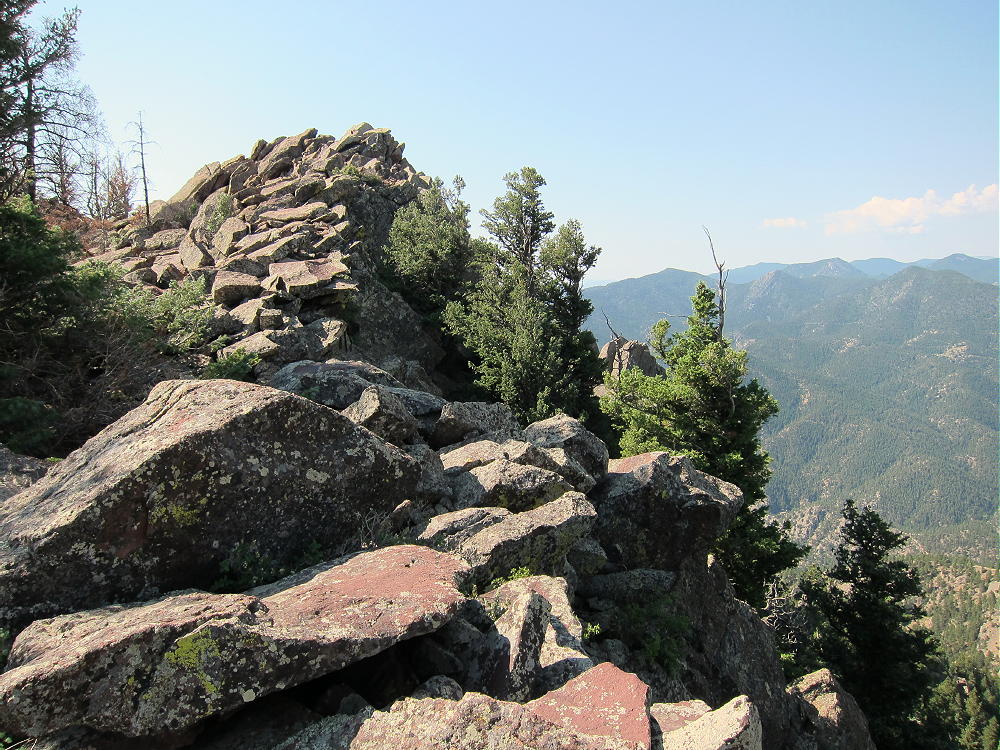
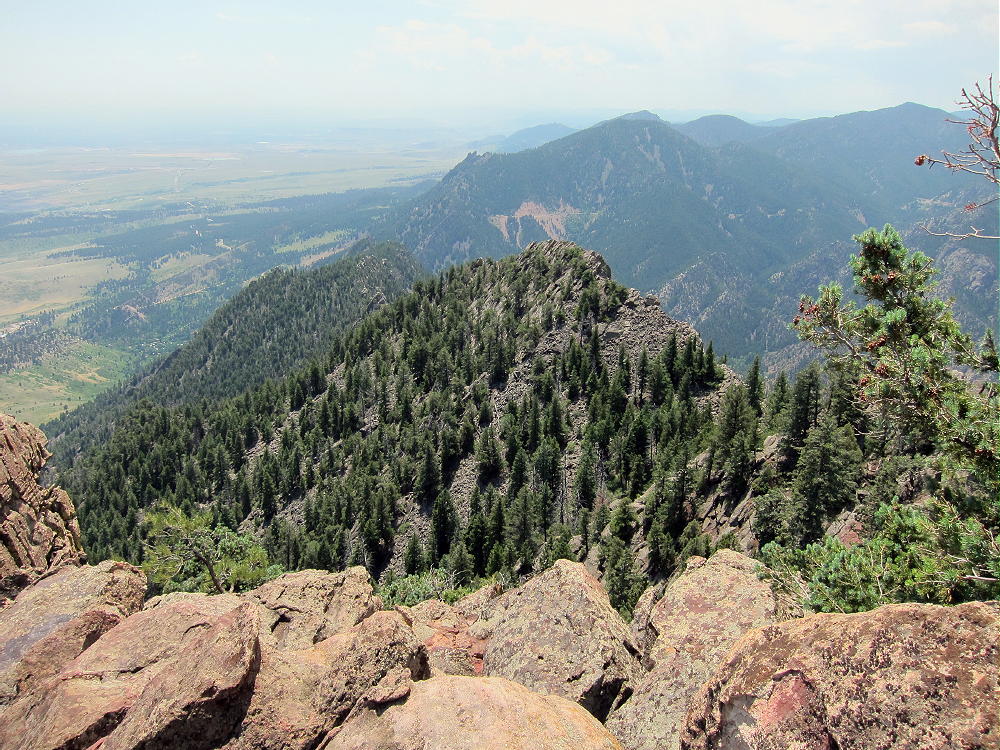
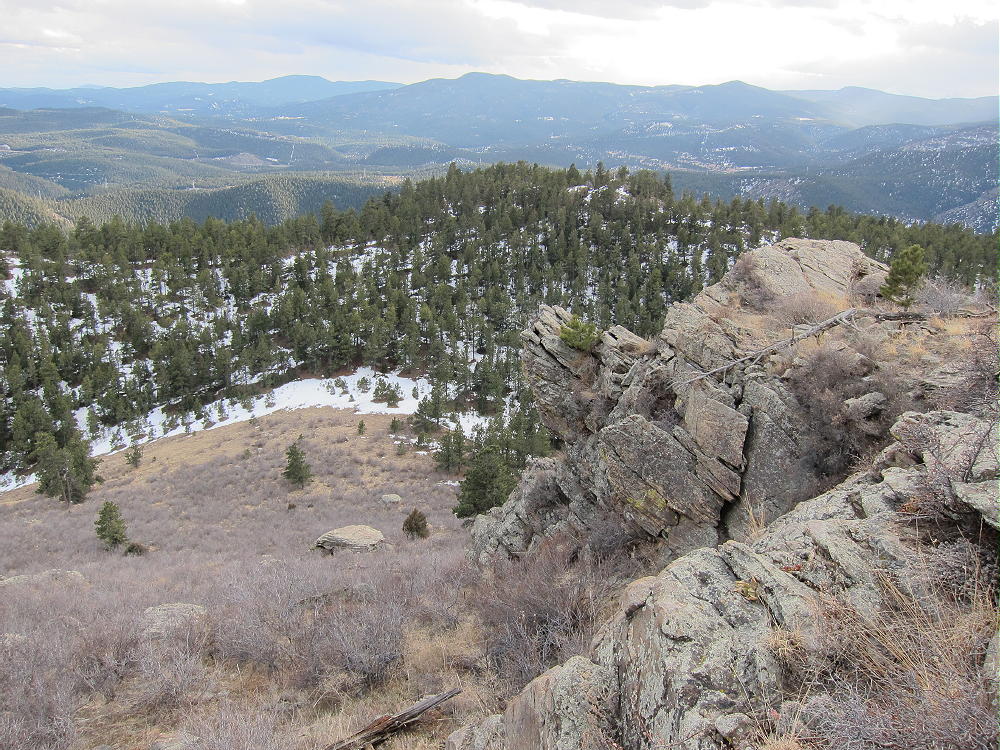
Centennial Cone Summit Ridge
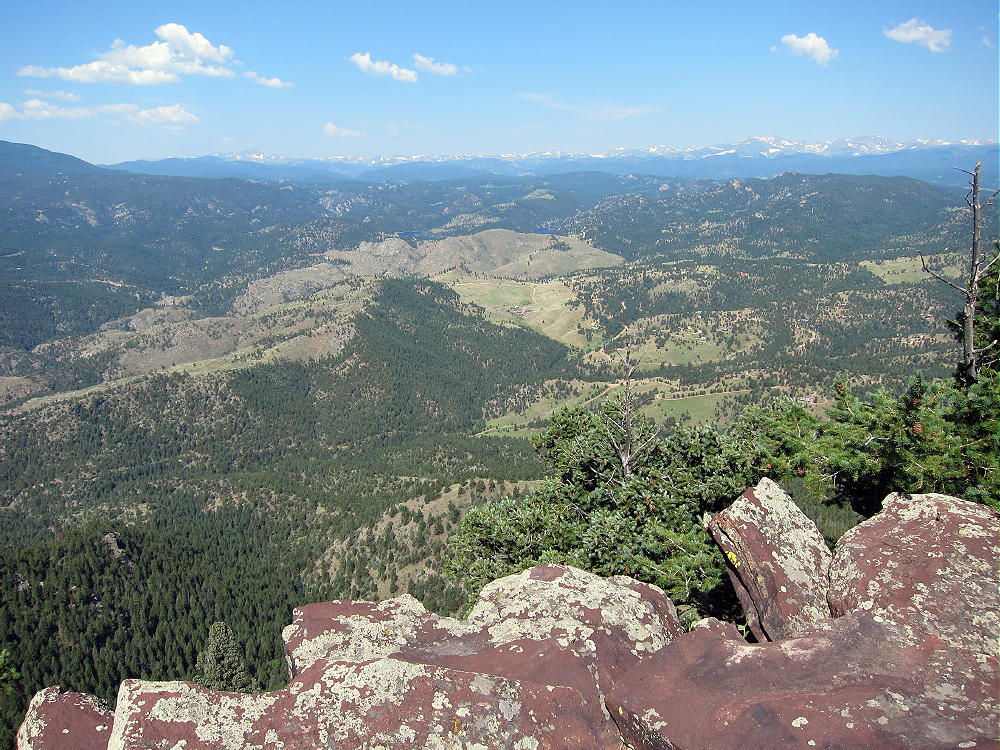
Centennial Cone View Northeast
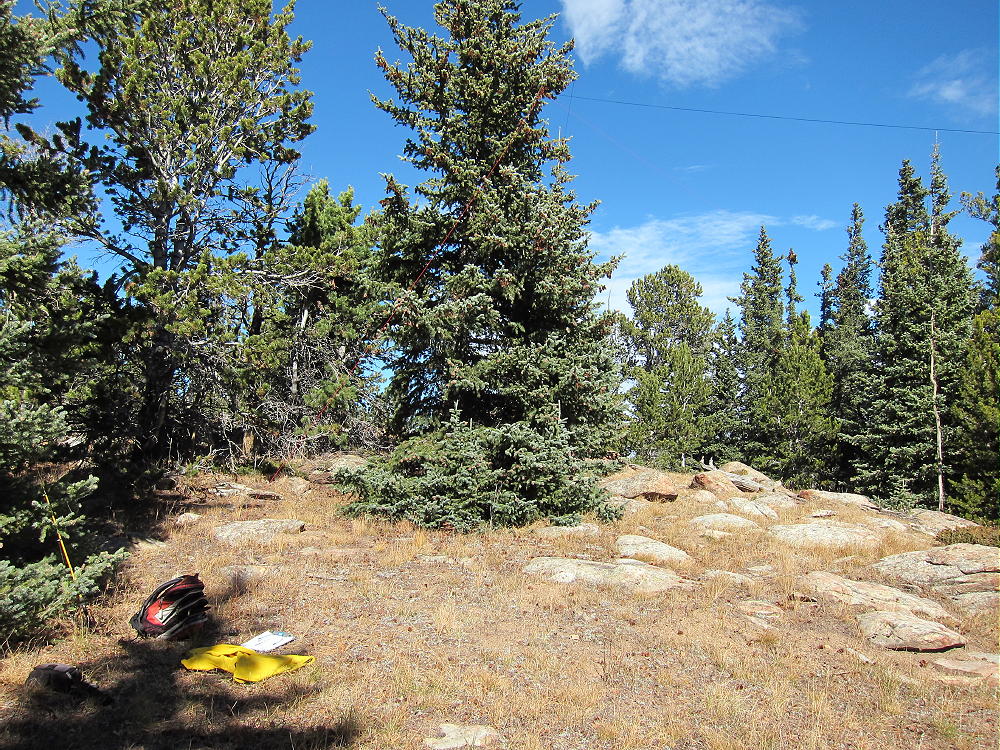
The site has pretty good VHF/UHF coverage of the plains to the east, as well as all directions for HF. There is some shelter from wind in the Activation Zone just east of the summit.
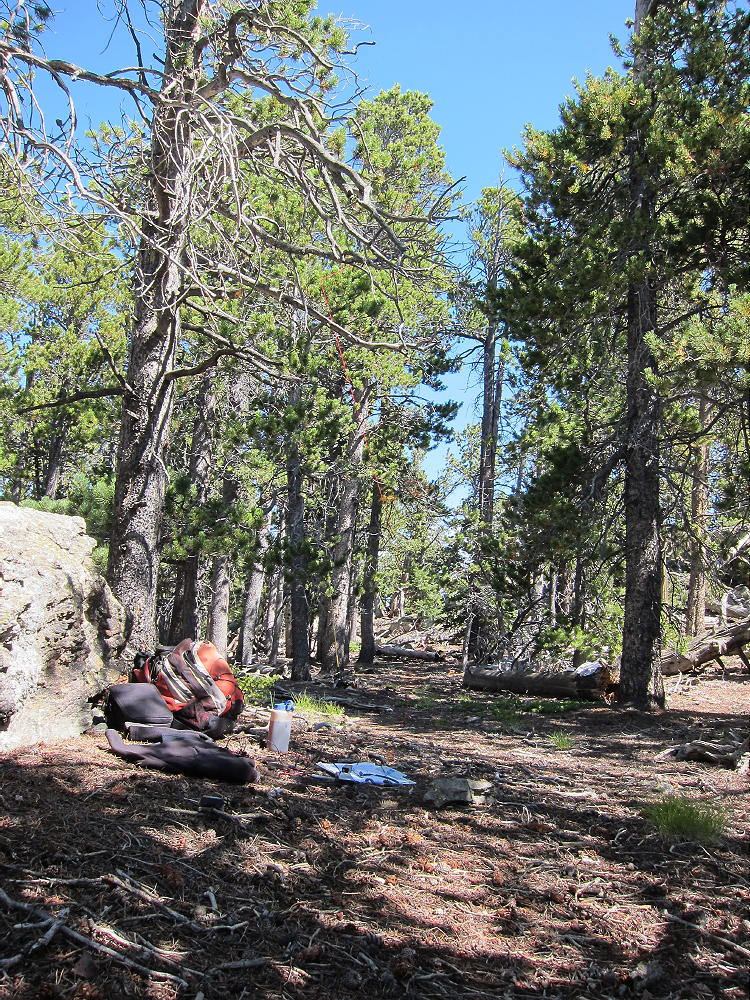
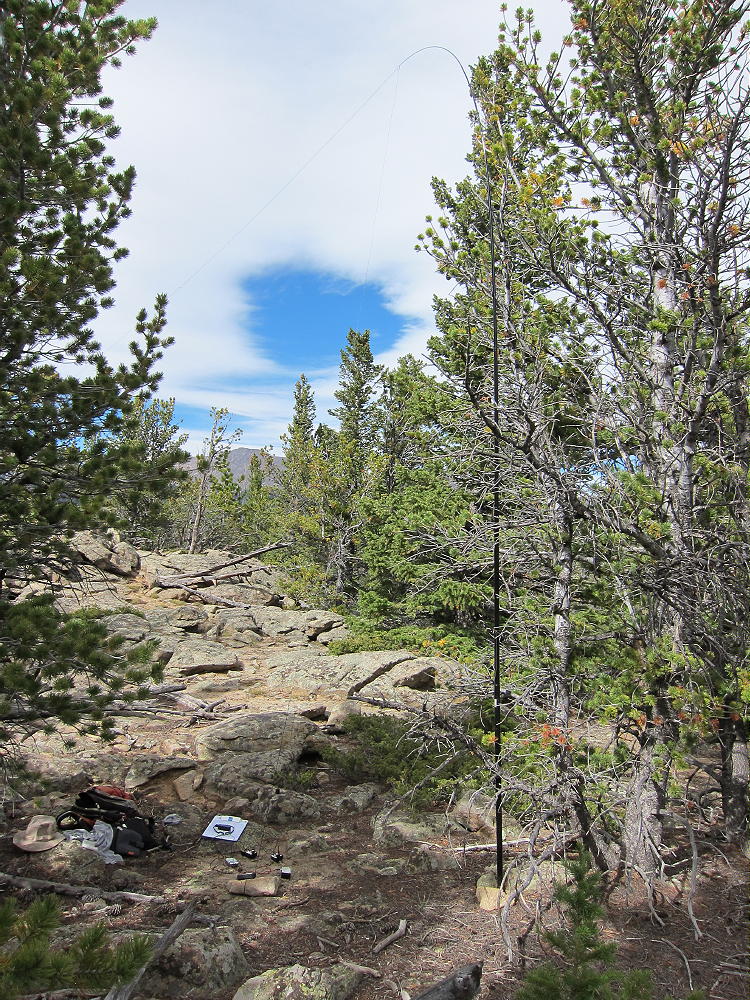
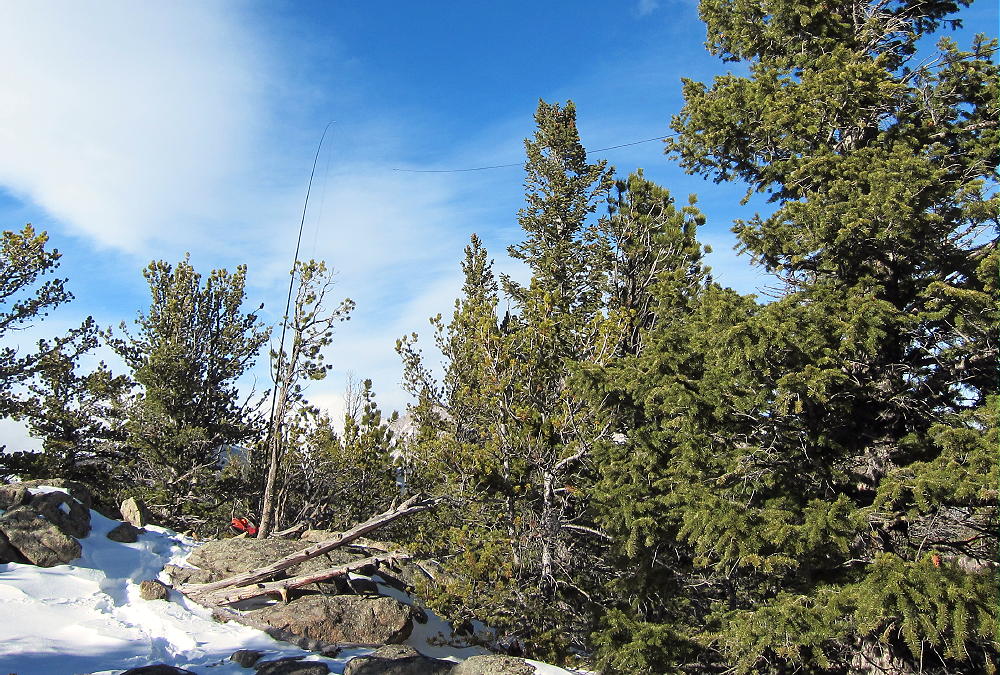
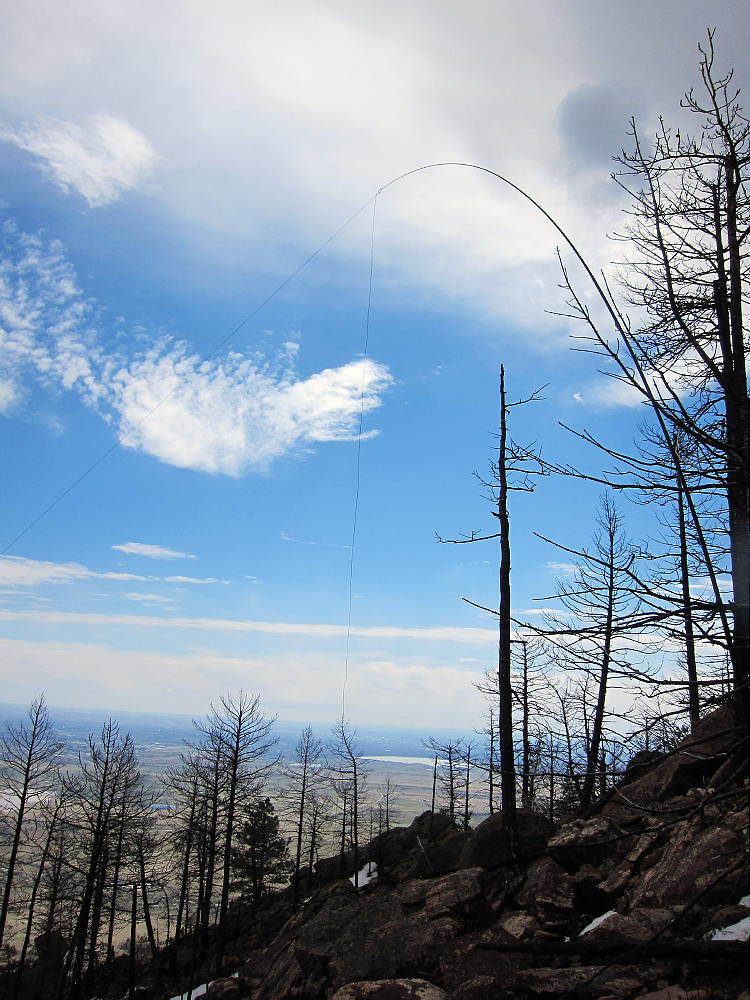
Centennial Cone Activation East of Summit
Fall access is possible if you pick the right day and perhaps a different route up, but check the website for extensive closures, as the park and/or trail are closed for most of the winter and spring to protect the elk.
73
George Carey Fuller
KX0R
Centennial Cone South-Side Route
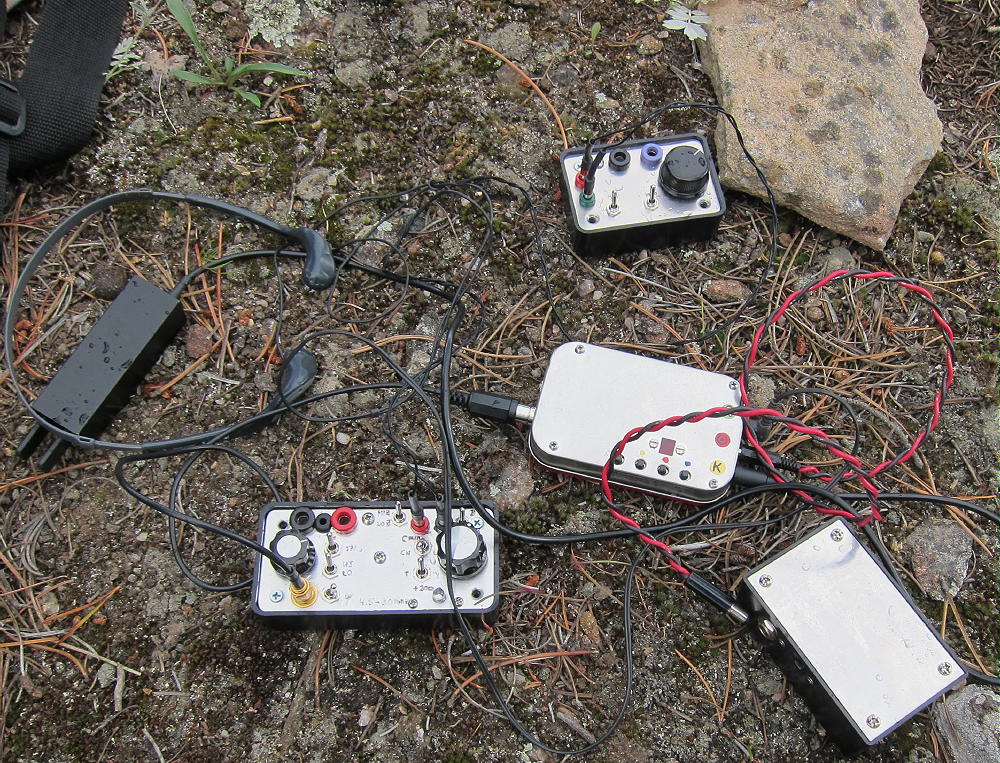
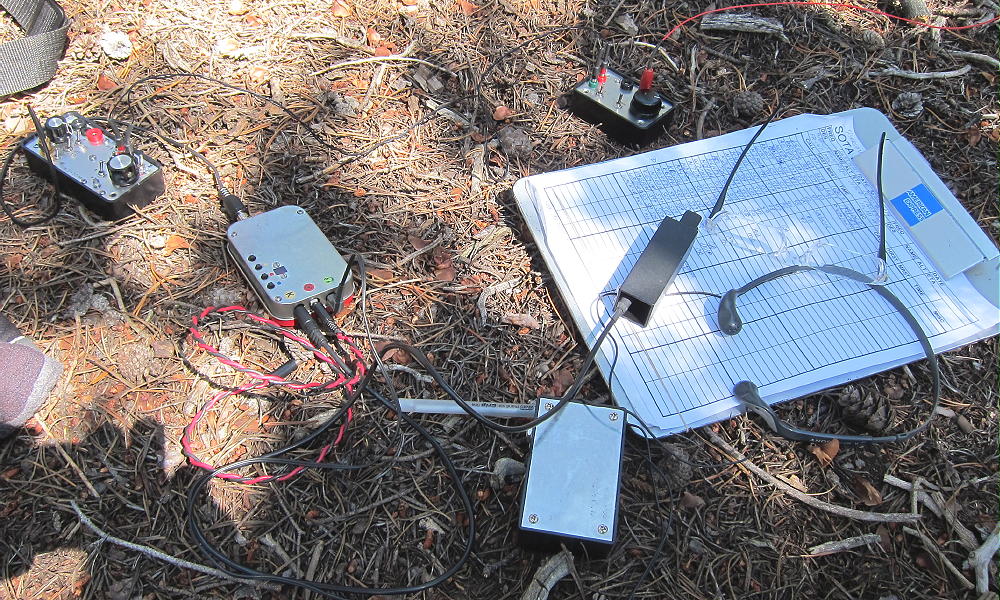
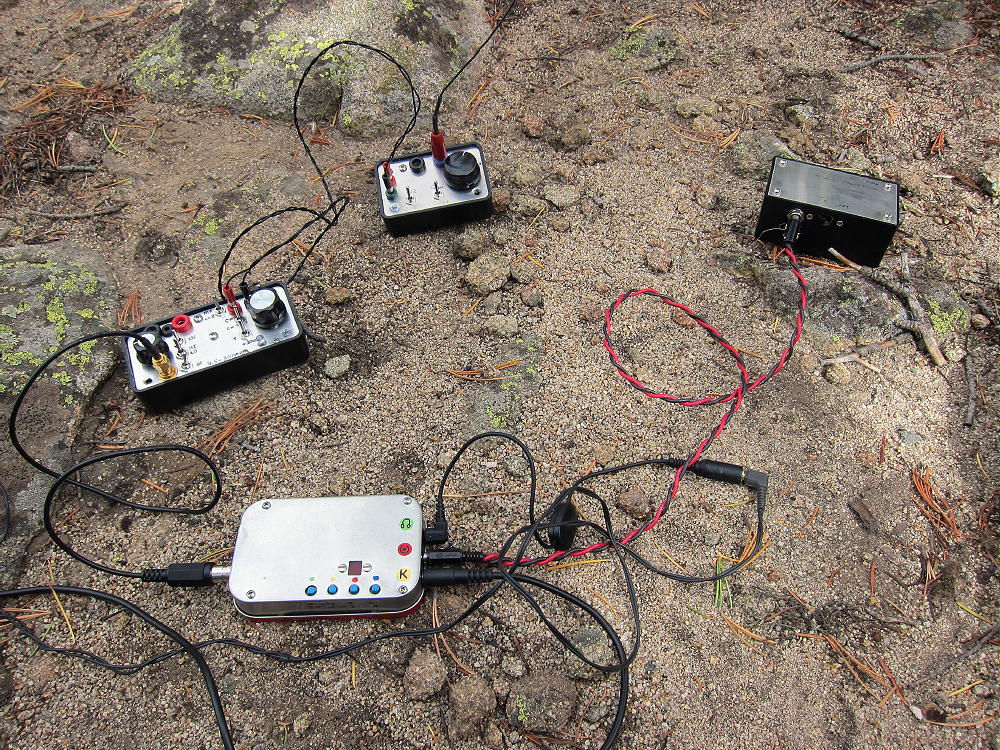
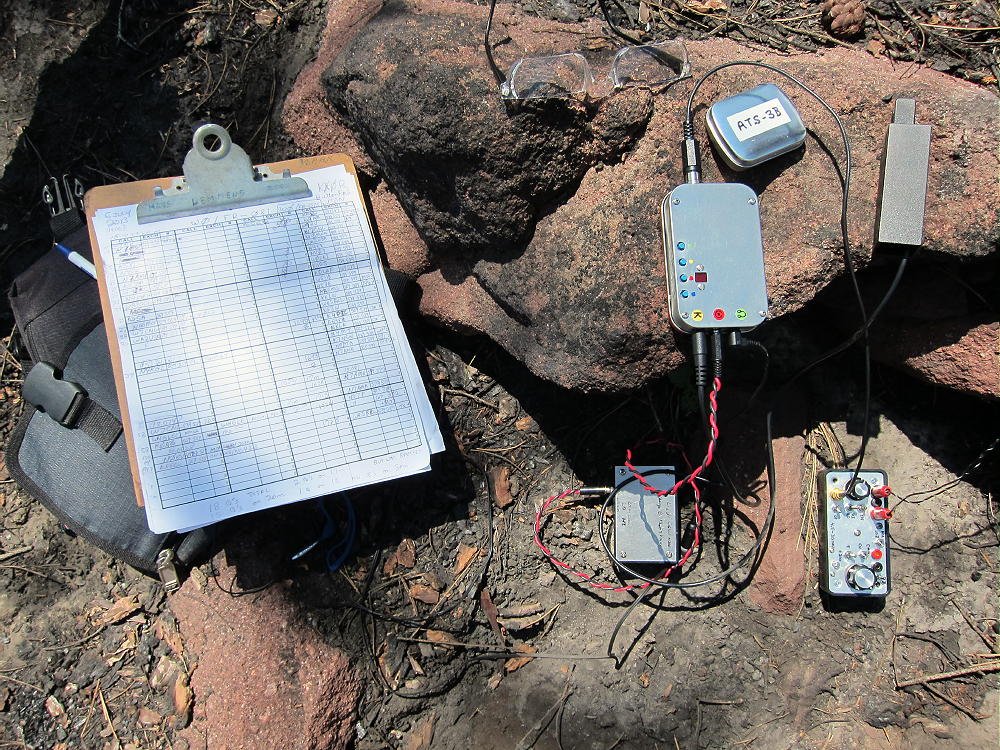
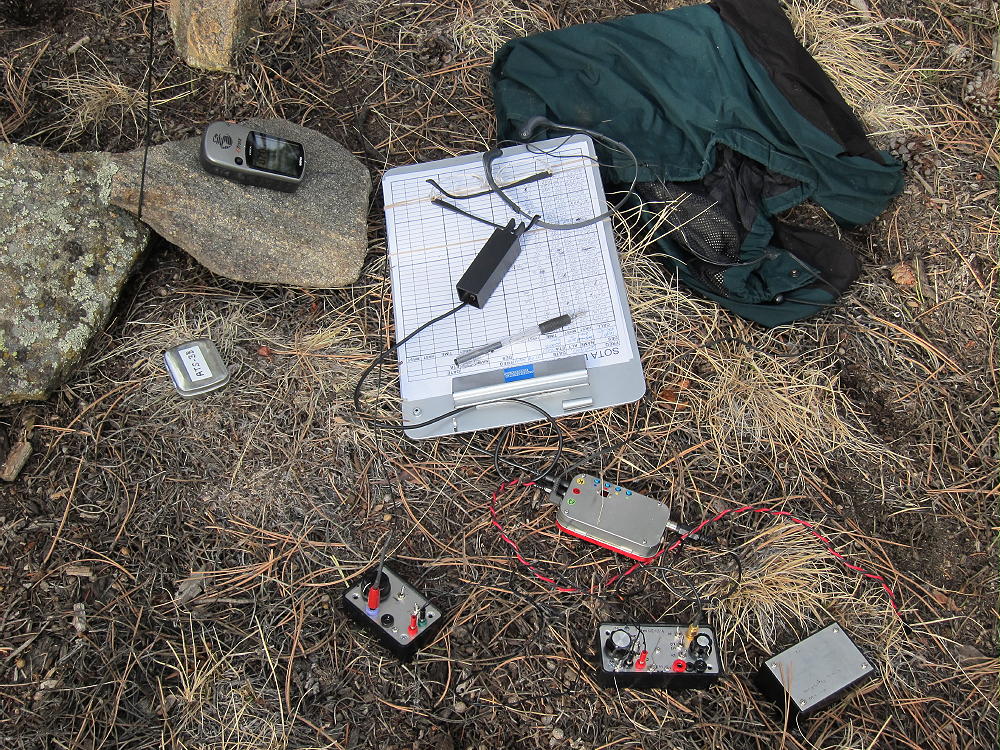
Centennial Cone Radio Gear
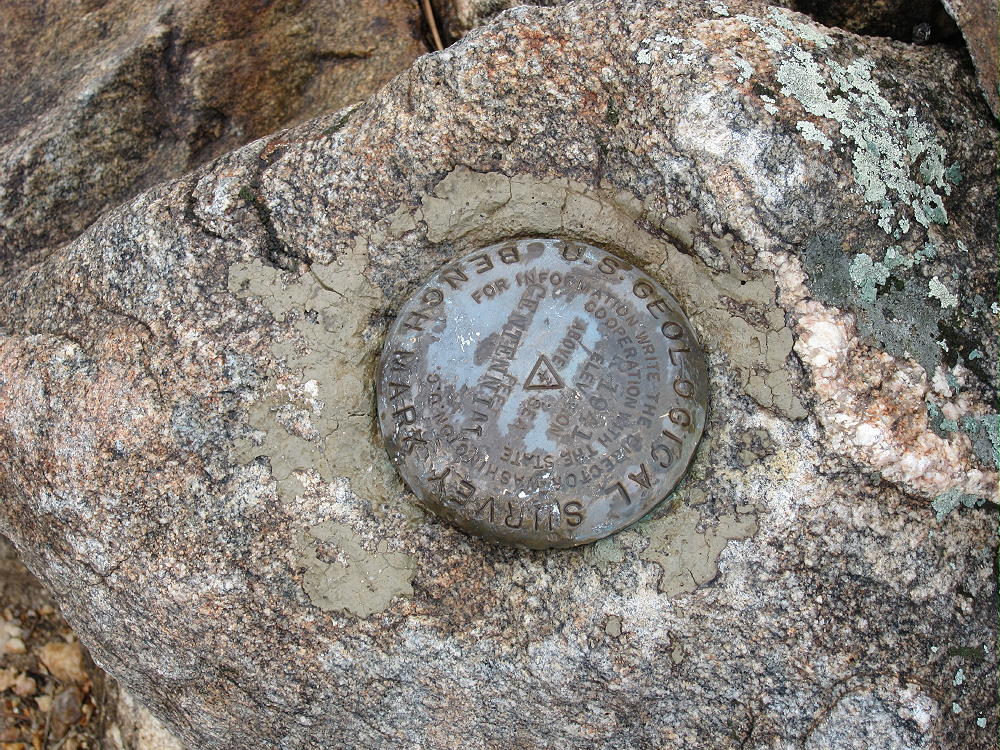
Centennial Cone Bench Mark
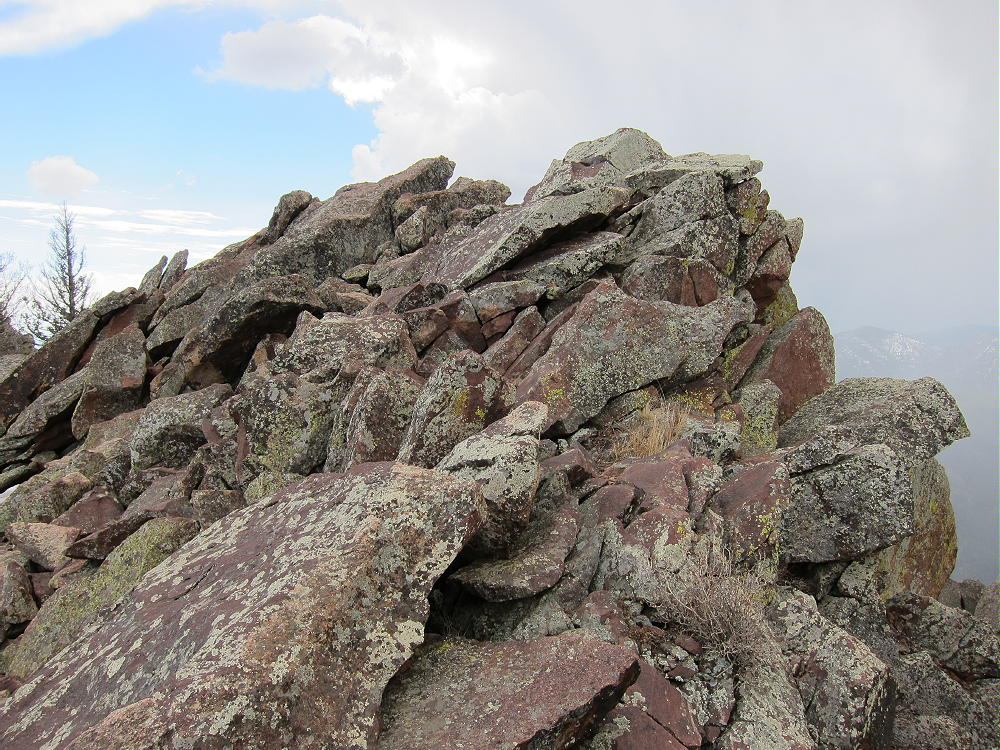
Centennial Cone Summit Ridge
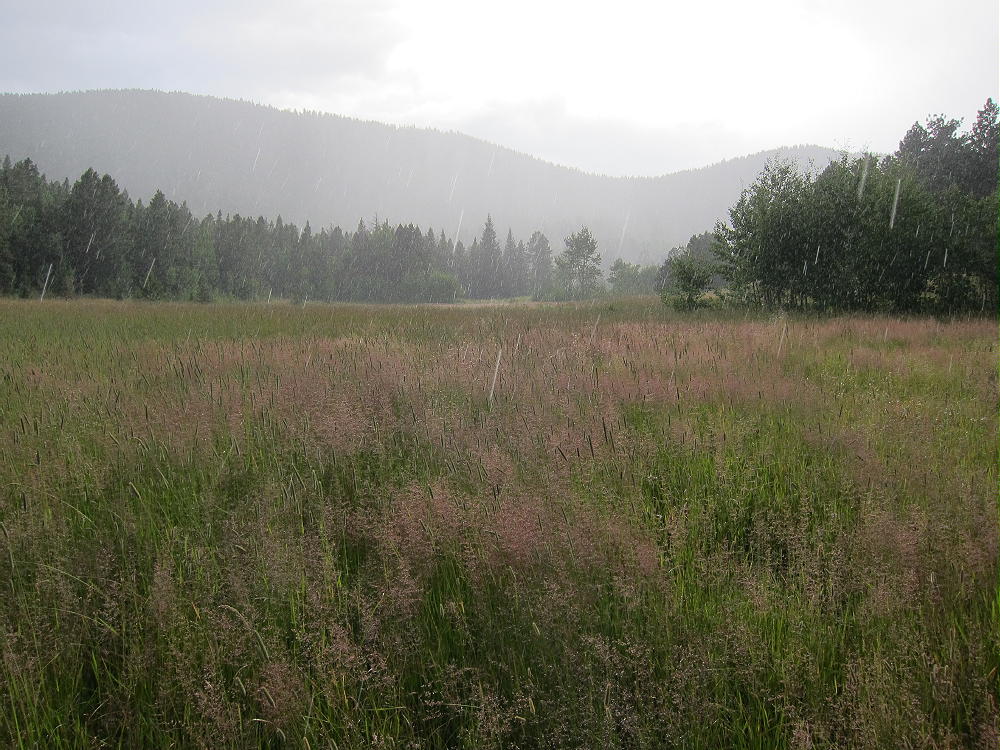
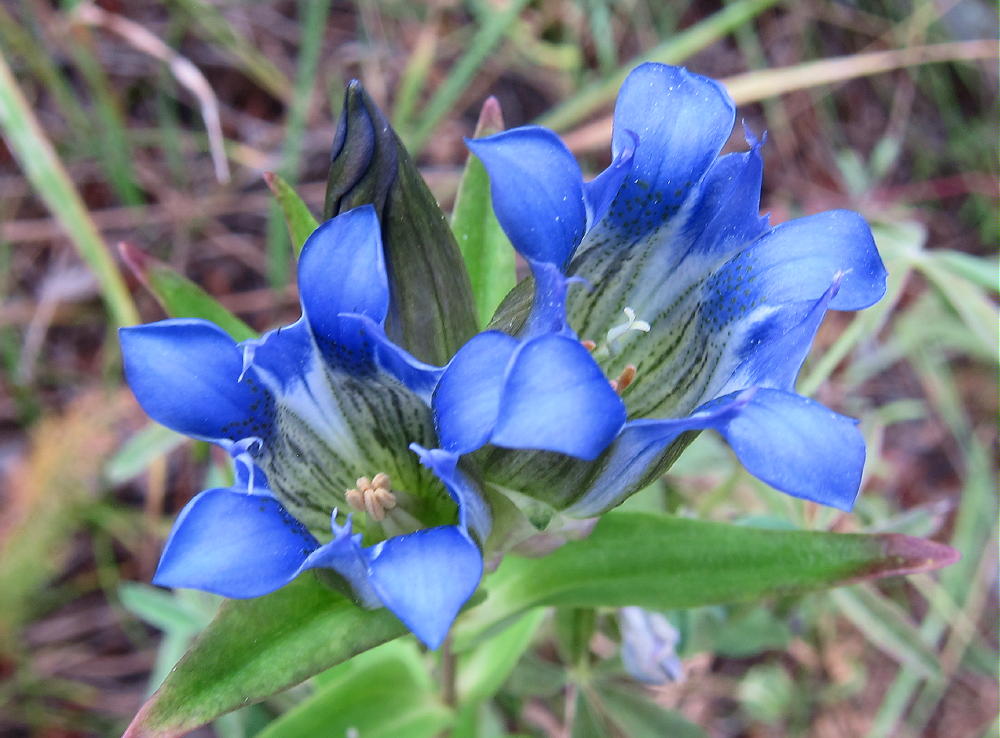
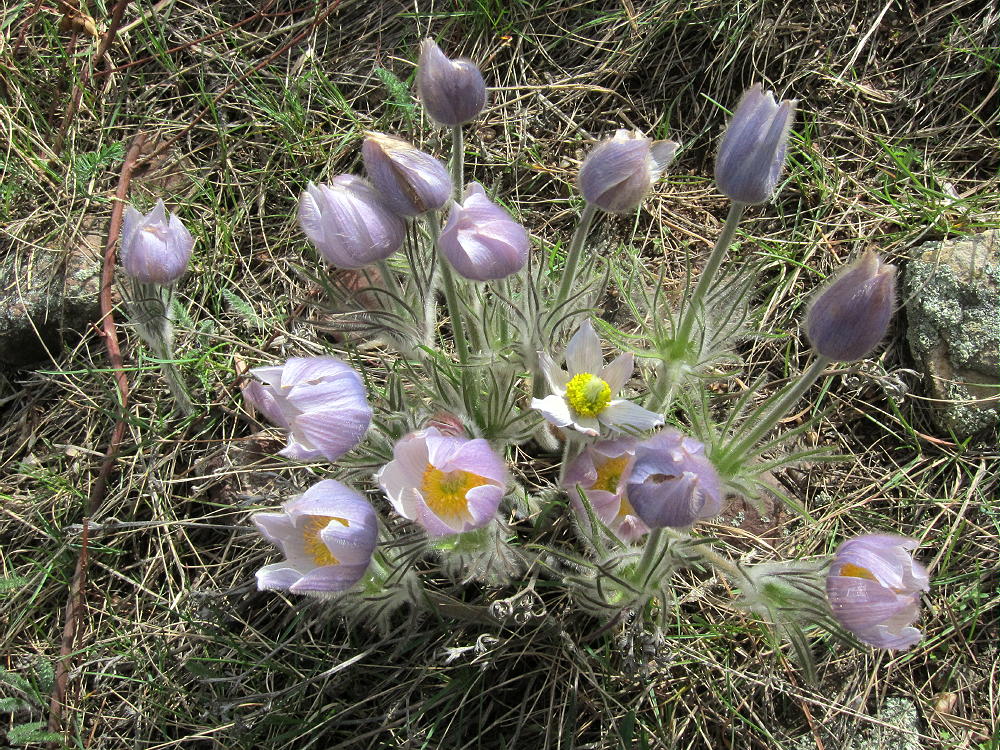
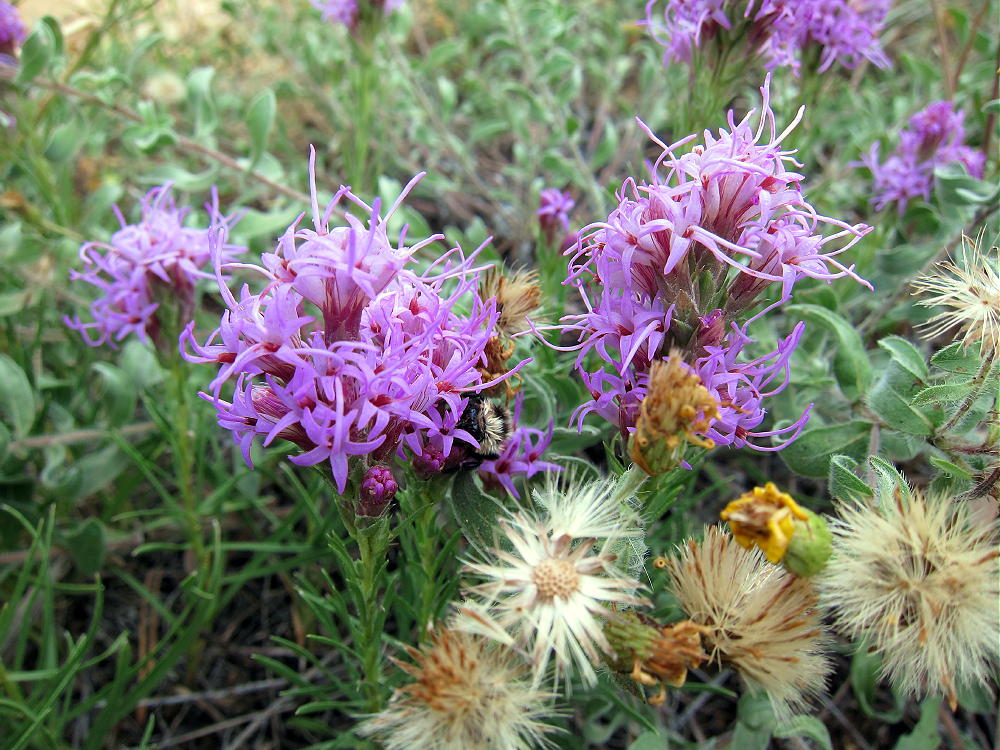
Centennial Cone Late Summer Flowers
!! WARNING !! There are old mountaineers, and
bold mountaineers… there are no old-bold mountaineers.
Hiking and mountain climbing are potentially hazardous activities particularly in Colorado with its extreme elevations. I am not accepting responsibility for any death or injury resulting from activations based on my trip reports. Proper training, experience, and personal capability assessment is required – enjoy!
W0C/FR-055
Kenny Mountain
2832 m / 9290 ft
Aug 30, 2014
by KX0R
Kenny Mountain is not an ordinary SOTA activation. At the time of this report, it’s difficult to access, and because it’s in the middle of a huge burned forest, it has its own challenges and rewards.
Kenny Mountain from Pierson
I avoided going near Kenny for a long time. When I planned my second activation of nearby Pierson Mountain W0C/FR-160, I decided to try Kenny if there was enough time. The weather was good, so climbing Kenny went well – but it was a long day by the time I returned to the trailhead in Hermit Park.
Meadows in Hermit Park at Southern Trailhead
The following section is the first part of the report for Pierson – it applies to Kenny as well. Either Pierson or Kenny can be done first during an all-day dual activation starting at Hermit Park.
This report covers my hike on Aug 30, 2014. I chose a route that begins in Hermit Park, a few miles south of Estes Park. There are several other ways to approach Pierson, which stands in an isolated part of the Roosevelt National Forest. The September 2013 floods did heavy damage to the region east of Longs Peak. The area around Pierson was affected by the flooding, and many roads and trails were officially closed after the floods. Most of the closed trails have been re-opened to foot travel, including the route described here, so getting to Pierson is not difficult.
The trailhead I used is at the southern gate of the main Hermit Park access road. To reach Hermit Park, drive from Lyons northwest on Route 36. Several miles north of Pinewood Springs, travel through a long ascending meadow area; just south of the top of the big hill that descends to Estes Park, turn left at the sign to Hermit Park. This is a Larimer County Open Space Park, and a fee is required for entry. Drive into the Park and follow the unpaved main road for several pleasant miles, all the way to the gated end, with a large parking area near a huge meadow. Google maps shows this road, but those maps don’t show most of the other key roads and trails used for this hike. Be sure you have a topo map before proceeding further; a GPS with detailed maps is useful also.
From Hermit Park follow the marked trail to Homestead Meadows. This route begins on a gated road along the meadow, and then it heads off into the woods as a trail up over a saddle. Next the trail descends to a gated jeep road that ascends again, and that leads all the way to the Homestead Meadows in the National Forest. There are several old historical buildings around the Meadows, and this area is a popular hiking destination.
Brown Homestead in Northern Homestead Meadows
Unfortunately the 2013 floods destroyed the popular trail up Lion Gulch, and that access route is currently closed. See the report on my Nov 15, 2013 activation. When the Lion Gulch Trail re-opens, it will provide a shorter access than the Hermit Park route.
The next part is specific to the hike Kenny. This is how you would hike if you’re going to activate Kenny first or by itself:
Follow the Homestead Meadow road southeast past Lion Head and Lion Gulch, and continue southeast of Lion Head ridge on the jeep road. At first follow signs to the Engert Homestead and the Hill Homestead. Before those destinations, the road climbs a low ridge up to 8600 feet. Near the ridge-top, turn left and head southeast on an old jeep road toward Kenny, which is visible more than a mile to the east. This mostly flat road will take you quickly more than half way to Kenny. Follow the road to a large meadow at about 8700 feet.
Engert Homestead Site – House was Burned Up!
Leave the road and head east along the gentle ridge toward the north end of Kenny. The goal is to ascend via the prominent north ridge of Kenny.
Kenny Mountain Northwest Ridge – View from the West
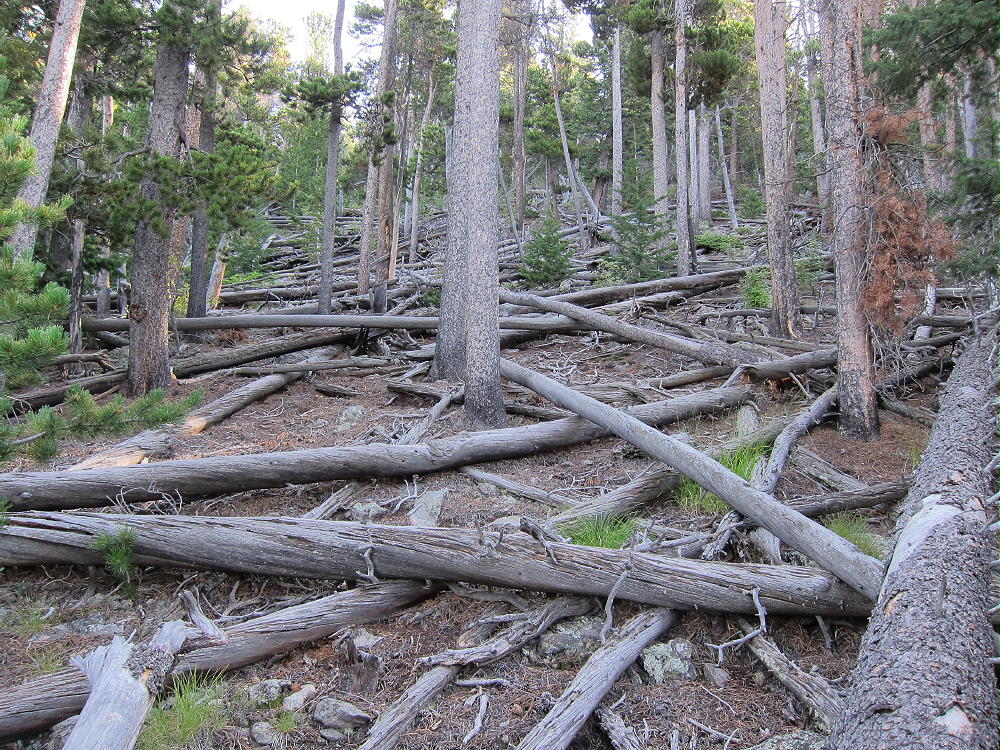
This is a classic bushwhack trip. There are some parts with useful game trails or other obvious routes, and there are other parts where you just pick the best route you can see. Some of the ridge-top is too craggy, so bypass those problems on the west side. Avoid the steep west slopes of Kenny. The best route is near the ridge-top most of the way. There are many burned, fallen trees in a few areas, so choose your line to avoid the worst of the devastated forest.
Bushwhacking through these burned areas is not as hard as it might seem. Visibility is good, so route-finding is much easier than in a thick, live forest.
Kenny Mountain Hike – Typical Terrain
There are many fallen trees, and they slow the pace, but where there’s a will, there’s a way. Travel light and be careful. I was on top of Kenny with much less effort than I expected.
Kenny Mountain Northwest Ridge and Approximate Route to Summit
Kenny Mountain Northwest Ridge, Looking Northwest
The summit is a high exposed rock, and the Activation Zone is large and open.
Kenny Mountain Summit
I found a pleasant grassy area south of the summit, with many live trees, and I put my wire up over a branch with a fishing pole.
Kenny Activation Just South of Summit
Kenny Mountain Activation Gear
Kenny Summit Area and View South
There was a brief rain shower, but the activation went well, and Kenny was very enjoyable. There are views all around, and very few people go up there.
This is a great HF site, with no development close by, and there is little RF noise. HF propagation at low angles is possible in all directions. Kenny has a good view east out to the Plains, so it may be a good VHF/UHF site as well.
View East from Kenny Mountain
The return hike to Hermit Park was long, but it went fast, and I was back to the car well before sunset. The Homestead Meadows are wonderful in the late summer afternoon. Nevertheless, if you hike south to Kenny Mountain from Hermit Park, start early, and try to pick a dry day. Take plenty of water!
The round-trip hike from Hermit Park to Kenny Mountain measures 12.1 miles. The total vertical ascent is well over 1000 feet, but it’s spread over small hills and valleys; most of the gain is on the northwest side of Kenny. Much of the hike is on closed roads, and these are fast and fun; these roads are now re-opened to bicycles. There is some road-damage from the September 2013 floods, but it’s minimal in the Homestead Meadows, as well as on the slopes of Kenny Mountain.
An activation of Kenny Mountain is a big hike through wonderful scenic meadows full of history – the activation provides a nice rest-break, up high, with fine views out across the burned forest.
View West from Kenny Mountain Summit
Weather and time permitting, a dual activation of nearby Pierson Mountain is practical. Depending on the exact route, this trip will require between 15 and 17 total miles to complete. It’s possible to short-cut across Lions Head Ridge between the Meadows and Pierson, but it’s a rough bushwhack trip, and I doubt that it saves any time or effort, even though it looks OK on the topo map!
Pierson Mountain and Lion Head South Ridge from Kenny Mountain
After some thought, I rate the dual activation as a SOTA Classic – but only on a good day! I really like Pierson Mountain, the valley behind Lions Head, the Hill Homestead, and the journey through the Homestead Meadows.
An advantage of hiking in from Hermit Park, aside from the wonderful scenic tour of the whole region, is that Kenny Mountain can be activated during the same hike with Pierson Mountain, with only a few additional miles added to the loop. The additional vertical ascent is minimized. With the Lion Gulch Trail currently closed, getting to Kenny is not easy, so it’s worth planning an all-day trip to make the most of the long hike.
Pierson – and Kenny – can also be accessed more directly from the East Fork of Fish Creek, northwest of Pierson and Lion Head. I have not hiked that area, but I believe there is a practical route over there.
73
George Carey Fuller
KX0R
!! WARNING !! There are old mountaineers, and
bold mountaineers… there are no old-bold mountaineers.
Hiking and mountain climbing are potentially hazardous activities particularly in Colorado with its extreme elevations. I am not accepting responsibility for any death or injury resulting from activations based on my trip reports. Proper training, experience, and personal capability assessment is required – enjoy!
W0C/FR-160
Pierson Mountain
2988 m / 9803 ft
Nov 15, 2013
Aug 30, 2014
by KX0R
Pierson Mountain is a moderate, pleasant summit to climb, and it offers a fun SOTA activation on the right day. My hikes to the summit were long, interesting trips through a beautiful area rich in history. This report covers my hike on Aug 30, 2014.
Pierson Mountain and Lion Head from Taylor Mountain
I chose a route that begins in Hermit Park, a few miles south of Estes Park. There are several other ways to approach Pierson, which stands in an isolated part of the Roosevelt National Forest. The September 2013 floods did heavy damage to the region east of Longs Peak. The area around Pierson was affected by the flooding, and many roads and trails were officially closed after the floods. Most of the closed trails have been re-opened to foot travel, including the route described here, so getting to Pierson is not difficult.
The trailhead I used is at the southern gate of the main Hermit Park access road. To reach Hermit Park, drive from Lyons northwest on Route 36. Several miles north of Pinewood Springs, travel through a long ascending meadow area; just south of the top of the big hill that descends to Estes Park, turn left at the sign to Hermit Park. This is a Larimer County Open Space Park, and a fee is required for entry. Drive into the Park and follow the unpaved main road for several pleasant miles, all the way to the gated end, with a large parking area near a huge meadow. Click this link for a map!
Meadow in Hermit Park at Southern Trailhead
Google maps show this road, but those maps don’t show most of the other key roads and trails used for this hike. Be sure you have a topo map before proceeding further; a GPS with detailed maps is useful also.
From Hermit Park follow the marked trail to Homestead Meadows. This route begins on a gated road along the meadow, and then it heads off into the woods as a trail up over a saddle. Next the trail descends to a gated jeep road that ascends again, and that leads all the way to the Homestead Meadows in the National Forest. There are several old historical buildings around the Meadows, and this area is a popular hiking destination.
Brown Homestead in North Part of Homestead Meadows
Unfortunately the 2013 floods destroyed the popular trail up Lion Gulch, and that access route is currently closed. See my report on my Nov 15, 2013 activation. When the Lion Gulch Trail re-opens, it will provide a shorter access than the Hermit Park route.
Follow the Homestead Meadow road southeast past Lion Head on the west and Lion Gulch to the east, and circle all the way around the southeast end of the Lion Head ridge. Follow signs to the Engert Homestead, the Hill Homestead, and Pierson Park. Continue up over a low ridge, and then down about ½ mile to the southwest on an eroded jeep road. There is a sign on the west side of the road marking the trail to the Hill Homestead, up in the valley that ascends between Pierson and Lion Head – follow this path. The trail gets better as it ascends – eventually the old Hill Homestead ruins appear on the east side of the trail, along with other artifacts from about 100 years ago. This is a nice spot for a break and photos. There may be creek water available here, if you have a pump-filter.
Hill Homestead Ruins
It’s about one mile and 1000 vertical feet up to the saddle between Lion Head and Pierson, from where the path leaves the jeep road. Head southwest from this saddle, follow a game trail through the woods, and ascend the ridge to Pierson. This path leads up the slopes just east of the ridge-top. Go over or around a false summit, and continue south along the ridge for about 1000 feet to the actual summit.
The pleasant forested area of the peak is ideal for setting up and activating. There are large pine trees available for antennas – no pole is required.
Aug 30, 2014 Activation Site near Pierson Mountain Summit
Pierson Mountain Radio Gear
The amazing view west reveals a huge recent mudflow on the east side of Twin Sisters Mountain. From Pierson you can see most of the National Forest between the Peak-to-Peak Highway and Route 36. Very few people live up there, and it’s near-wilderness, especially after the 2013 flood.
Twin Sisters Mountain and 2013 Mudslide from Pierson Mountain
It’s possible to take a short-cut from Homestead Meadows up across the Lion Head ridge and access the saddle between Lion Head and Pierson by a more direct, steeper route. This is a bushwhack trip, and some posted private land must be avoided.
East Side of Lion Head Bushwhack Route
The longer route described above is actually more reasonable, because it’s relatively flat, the hike is fast, and it’s very safe. With a little extra time, you can visit several of the homesteads to see what life was like for the early settlers in this isolated, beautiful area.
Brown Homestead on Return Trip to Hermit Park
Brown Homestead Details
Pierson can also be accessed more directly from the East Fork of Fish Creek northwest of Pierson and Lion Head. I have not hiked that area, but I believe there is a practical route over there; in particular, there is a trail up the west side of the Pierson-Lion Head saddle. There is private land that must be avoided – a large ranch is visible below Pierson on the west side.
One advantage of hiking from Hermit Park, aside from the wonderful scenic tour of the Homestead Meadows, is that Kenny Mountain can be activated during the same expedition, with only a few additional miles added to the loop. With the Lion Gulch Trail currently closed, getting to Kenny is not easy, so it may be worth planning an all-day SOTA dual-activation trip to make the most of this long hike.
Kenny Mountain from Pierson
See my report on Kenny Mountain W0C/FR-055.
View north To Estes Park and the Mummy Range in Rocky Mountain National Park
Rain Shower in Homestead Meadows on Return Trip to Hermit Park
Gentians in Homestead Meadows
Pierson Mountain and Lion Head South Ridge from Kenny Mountain
73
George Carey Fuller
KX0R
!! WARNING !! There are old mountaineers, and
bold mountaineers… there are no old-bold mountaineers.
Hiking and mountain climbing are potentially hazardous activities particularly in Colorado with its extreme elevations. I am not accepting responsibility for any death or injury resulting from activations based on my trip reports. Proper training, experience, and personal capability assessment is required – enjoy!
W0C/FR-160
Pierson Mountain
2988 m / 9803 ft
Nov 15, 2013
by KX0R
My first trip up Pierson Mountain was one of my most challenging SOTA activations. It was especially difficult with the short day and tricky weather on Nov 15, 2013.
Pierson Mountain from Hill Creek Trail on Nov 15, 2013
Highway 36 northwest of Lyons was partly destroyed and closed by the September Floods, but it was re-opened in early November; I had seen cars parked at Lion Gulch a week before my hike, so I assumed the trail was useable. I Checked the USFS website, and there was no mention of the popular trail being closed. It was very windy on Highway 36, so my SOTA activation seemed uncertain. I drove to Lion Gulch with my gear; I arrived before 9 AM. There were no warning signs at the trailhead, but with all the destruction along Highway 36 near Lyons, I had a feeling there might be some problems down in the canyon. I saw a group of hunters with rifles start down the trail, only to return a few minutes later.
At Lion Gulch the wind was not strong, so I decided to start the hike. When I descended down to the creek, I saw the extent of the 500-year flood’s destruction. The old bridge was still there, but it was useless. Because the water-flow was minimal, I had no problem crossing the icy creek – and so I headed toward the Gulch. I found the remains of the trail on the north side of Lion Gulch Creek and headed west up the Gulch. In the canyon there was massive, continuous flood destruction.
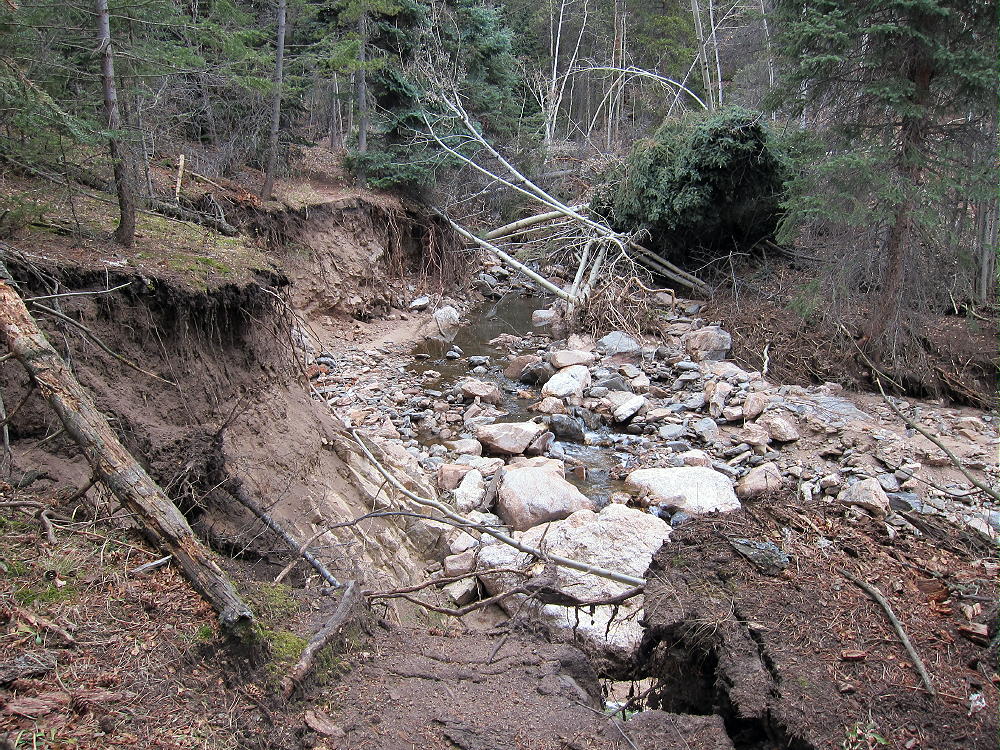
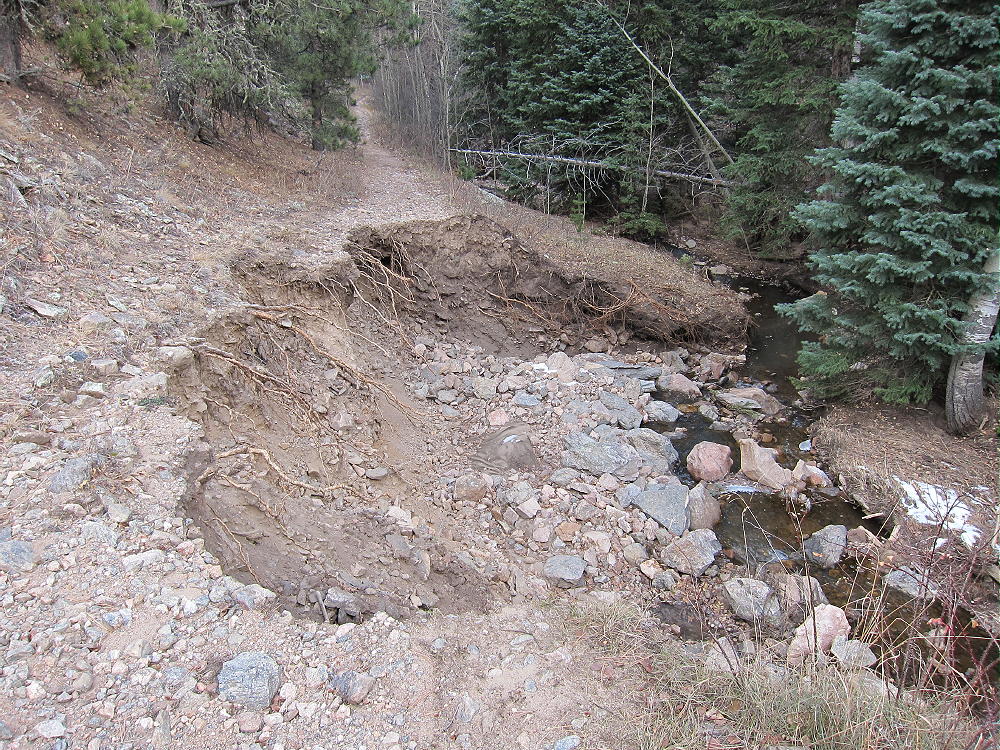
Lion Gulch Flood Damage and Washed-Out Trail at Left
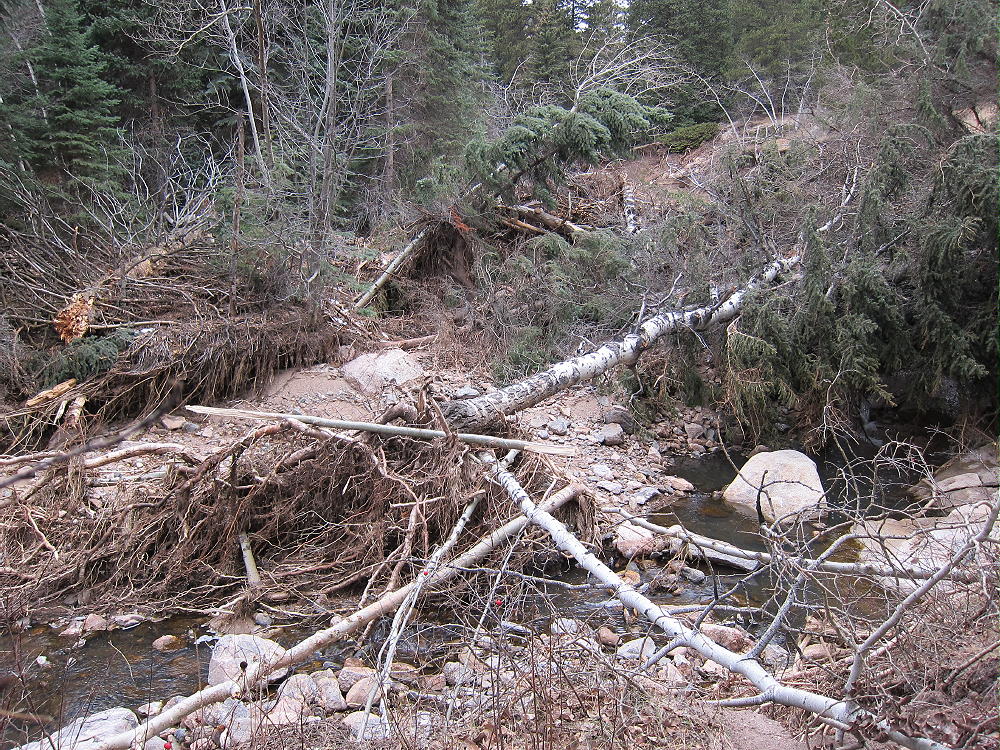
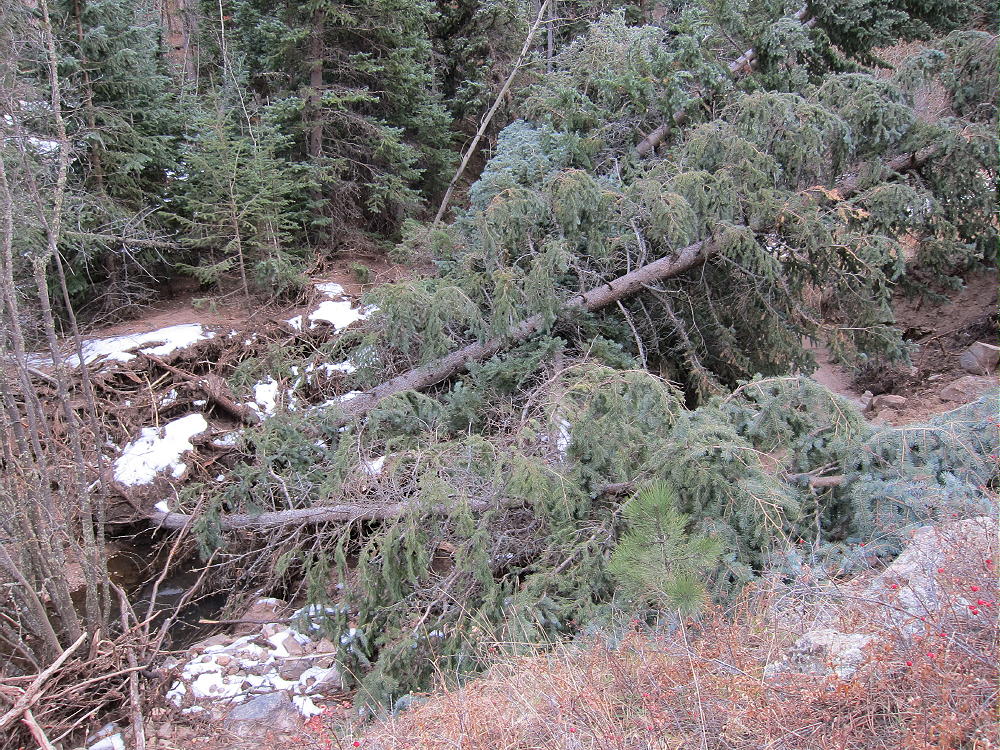
There were numerous washouts, huge live fallen trees stacked up, enormous boulders, and new creek paths cut deep. The raging creek had filled the width of the canyon. At first I was able to follow the trail, but farther west, I found a long difficult section, where much of the trail was washed out, covered by fallen trees, or severely damaged.
Lion Gulch Destruction
Lion Gulch Tree Pile
This was no ordinary bushwhack trip – this was Mother Nature’s obstacle course! I questioned the reality of what I saw many times – the old, sweet, familiar trail up Lion Gulch was gone, and there I was, working to connect the dots! Repeatedly I found detours created by others, followed the new “trail”, and passed around numerous blockades. The worst obstacles required creek crossings and climbing over piles of logs and trees. The creek was low, so the crossings were easy. There was ice along the creek; it’s dark and cold in the canyon in mid-November. At times I thought of going home, because there was no reason to believe that I could make it up the canyon far enough to get past the flood damage. It was a test of will.
Lion Gulch Alterations after the Flood
The main worry was not the incredibly ravaged Canyon, or the lack of a distinct trail, but the realization that returning through the Canyon after dark would be almost impossible, even with a light…this was no ordinary SOTA activation.
At about 2 miles from the trailhead, the gradient of the Gulch moderates, and I could travel the original trail, for the most part. There were several places where the trail was severely slumped across or totally washed out, but the detours were easy.
Lion Gulch Trail Slump
Closer to the Homestead Meadows, the trail was pretty good, and I managed to make time. I decided to go for the summit for sure. It was sunny, the wind was no problem, and the sky was blue! I found the old signs and trail to the southern Homesteads and headed south.
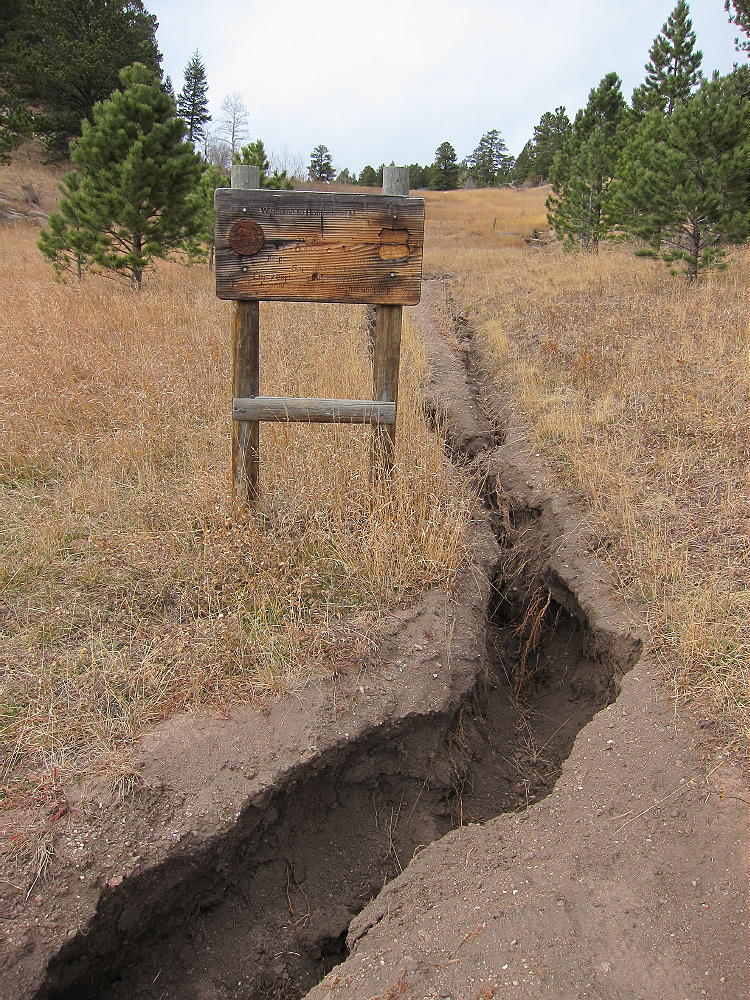
Eroded Trail at Homestead Meadows
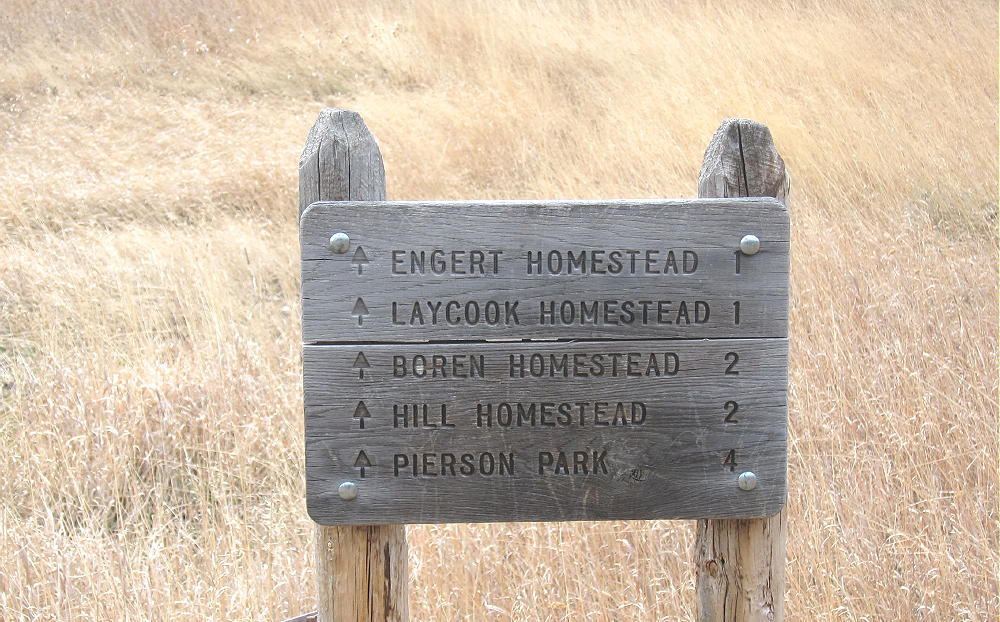
Sign at Homestead Meadows
There’s a short-cut path called Cat’s Paw, followed by a series of old dirt tracks – mainly FR 120 – that head south and southwest. That road eventually leads to Pierson Park – 4 miles from the first sign at Lion Gulch. This is also the way to Hill Homestead and Pierson Mountain. The road goes southwest up over a hill, and then down 300 vertical feet in about ½ mile to the southwest and west. The road has severe gullies from the floods. Even the meadows show erosion from four days of heavy rain!
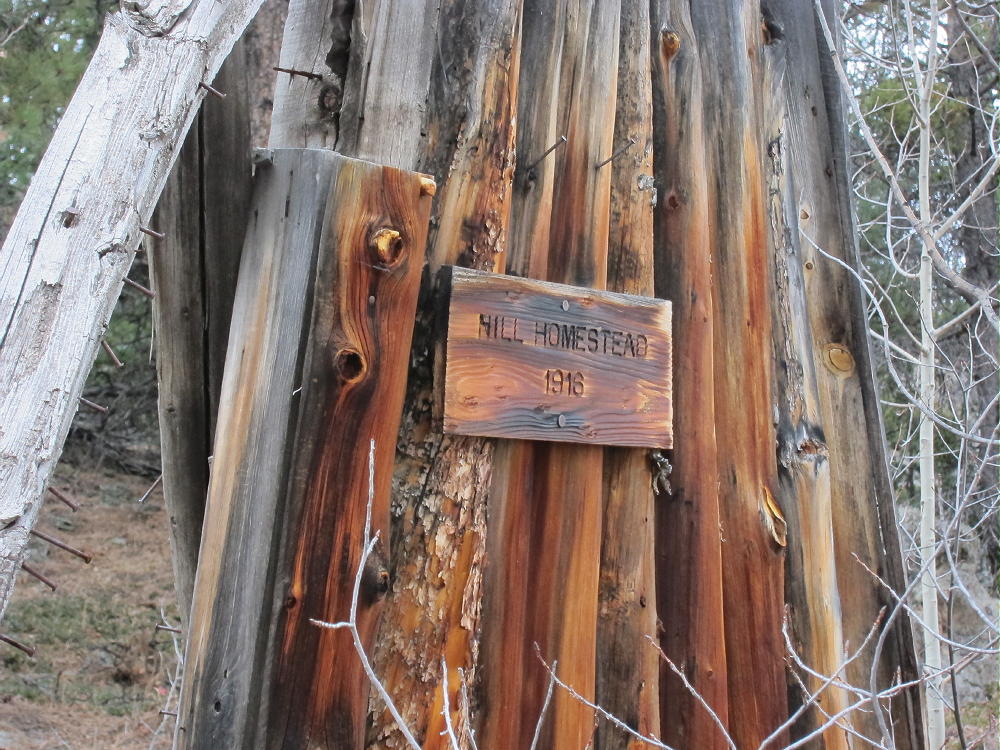
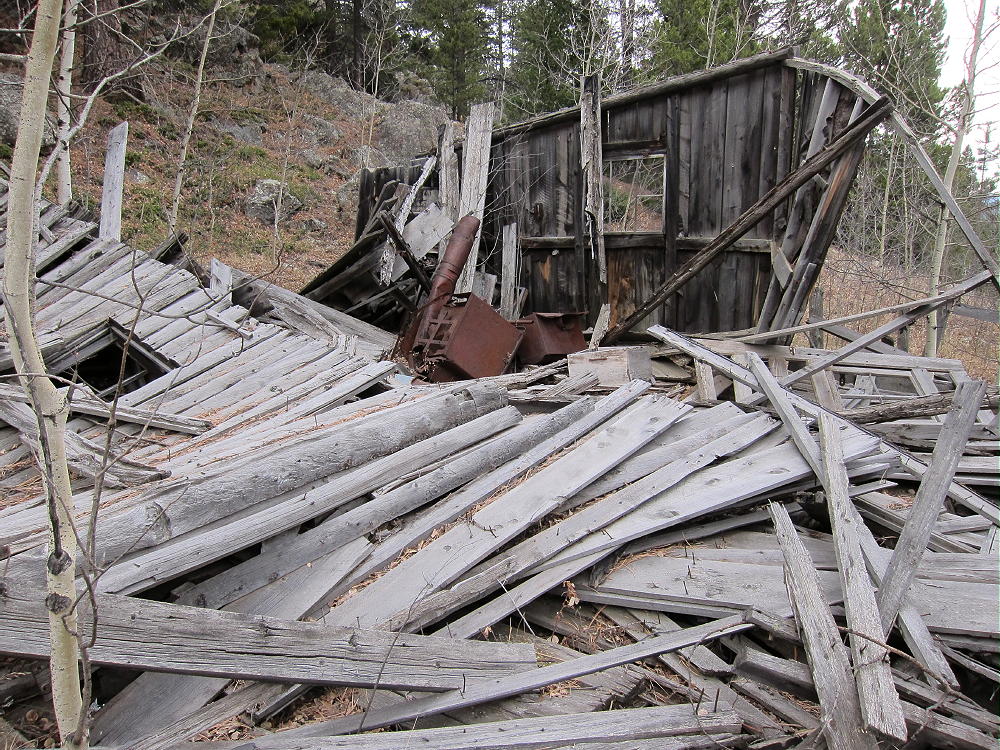
After passing the Hancock Homestead down the hill, there’s a marked junction where a path leads right, northwest, up to the old Hill Homestead. Initially the route is a single track that has been washed too deep to walk in. The path leads through the meadows, with Lion Head looming up to the north. Soon the remains of Hill Homestead appear – the house has fallen in, but the stove and bed are there. It was built in 1916.
Hill Homestead Sign
Remains of Hill Homestead
An outhouse and other wooden structures stand around the Homestead. The meadows are beautiful – the floods did little real damage up there – just extra erosion on the path and in the small creek. This is a special place with the acres of open forest and fields.
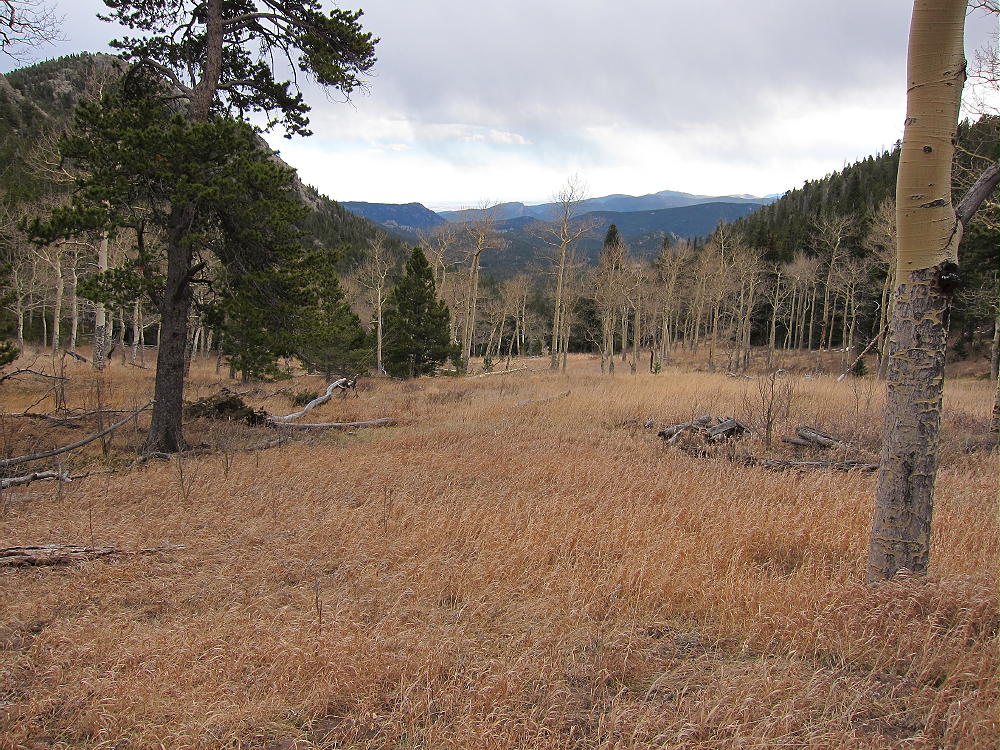
HIgh Meadows near Lion Head above Hill Homestead
The trail leads on up through the high meadows, progressively steeper, all the way to the forested saddle. There’s an old lean-to and a few artifacts from a campsite at the saddle.
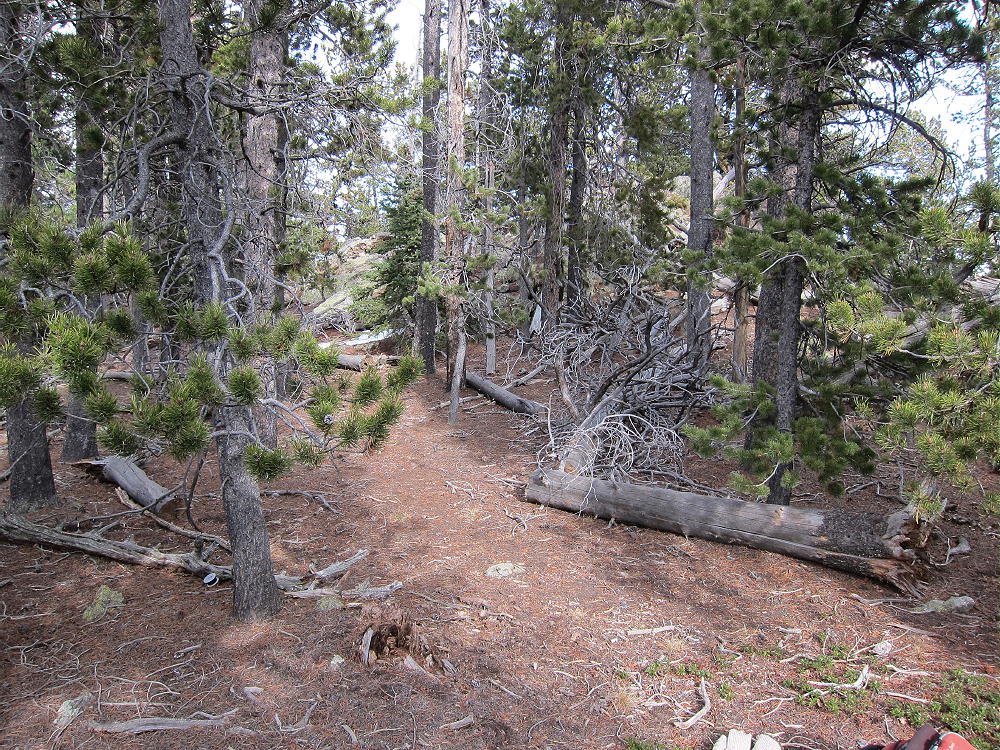
I headed southwest into the woods and picked up a game trail that generally follows the left side of the ridge up to Pierson. It’s about 9450 feet elevation at the saddle and almost 9800 feet at the first (false) summit. The real summit is about 300 yards south, but the route is easy through aspens along the ridge. The summit is a forested rocky top with a limited view. There is a notebook in a jar on the top – I signed. I reached the real summit at about 12:15 MST, which was amazing!
Pierson Activation Zone and Summit behind the Trees
There is a nice view of Twin Sisters Mountain from the south point of the real summit. I was stunned to see the huge new mudslide on the east side of the Mountain.
View from Pierson Mountain to Twin Sisters, with New 2013 Mudslide on East Side of the Mountain
A large rock and a flat spot nearby provide a good windbreak and radio-operating spot. With limited time available, I used a small fishing pole to get a Dacron line and then my 66 foot wire over a dead tree limb 35 feet up. The wire actually had to go over the branch and then about 10 feet farther – the line was over a second tree. Most of the wire was sloping down at about 35 degrees to the operating point. I loaded up on 15M at about 12:30 MST, and it worked great. I made 21 contacts on 15M CW. Signals were very strong with the solar flux about 175. I could hear echoes on several strong stations. We traded nice reports. There was very little noise – what a classic site! The East Coast and southeast signals were strong, and so were the CA and OR guys, as well as big signals from TX and AZ. The 66 foot wire worked well, never mind what the pattern was. The Reversed Beacon Network spotted me at 27 db at K3LR.
I had planned also to operate on 20M and 40M, but clouds moved in, the temperature went down to about 40, and a few flakes of snow came down. At 12:50, fearing that much more snow might move in, I packed up and got off the summit. On the way down there was more snow flying – but it eventually blew by, and the weather improved slightly. The trip out was as fast as I could sustain – I was worried about going through the devastated Gulch in the dark, with sunset at 4:45. Although I was tired, the tricky trip down through Lion Gulch was OK – I remembered most of the key detours and crossings. I didn’t see anyone in there the whole day!
When I got to the Lion Gulch Trailhead at 4:04 PM, I found that the USFS had closed the trail that day, unknown to me! It was not closed when I started my hike. Another man I met at the Trailhead told me he had also hiked the entire Gulch, and he had made it to the Homestead Meadows OK. The Lion Gulch Trail will be closed a long time.
At the time of this report in March 2015, the Lion Gulch Trail is still closed, but the scenic back routes to Homestead Meadows are open to hikers. Please see my report on how to reach Pearson Mountain via the trailhead in Hermit Park.
The Lion Gulch round-trip to Pierson Mountain and back was 12.5 miles, with a total vertical gain of 2750 feet – this includes 350 feet of ascent on the return trip. The total time was 7 hours, including about 45 minutes on the summit.
George Carey Fuller
KX0R
Sign at East Side of Homestead Meadows
!! WARNING !! There are old mountaineers, and
bold mountaineers… there are no old-bold mountaineers.
Hiking and mountain climbing are potentially hazardous activities particularly in Colorado with its extreme elevations. I am not accepting responsibility for any death or injury resulting from activations based on my trip reports. Proper training, experience, and personal capability assessment is required – enjoy!
W0C/FR-042
Santa Fe Mountain
3212 m / 10537 ft
Oct 26, 2014
By KX0R
When Walt W0CP posted the first SOTA activation of Santa Fe Mountain on Oct 18, 2014, I was surprised! I believed that the prominent mountain was private land. It actually is public, and it’s a nice place to activate, but access takes some work. Read Walt’s directions, and perhaps try the steep jeep trail up from Idaho Springs, if you have a 4WD vehicle. Otherwise, here’s how to hike up from the east side – thank you for the suggestion Walt!
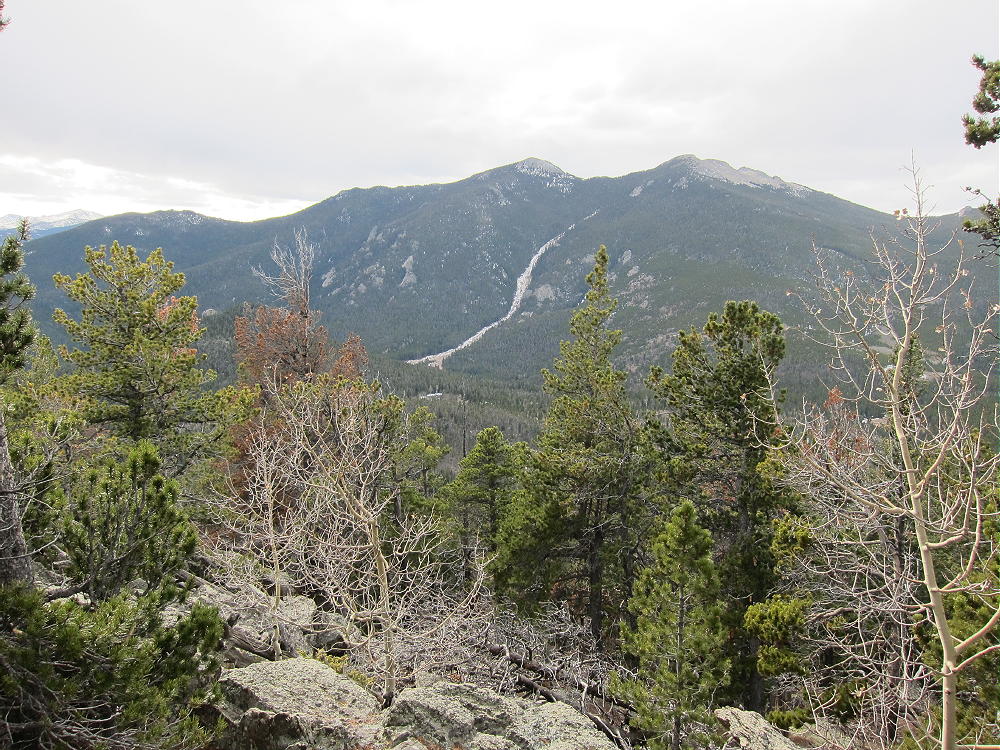
Santa Fe Mountain from Squaw Mountain Road
Drive to Exit 247 on I-70 west of Denver. This is just before the highway drops down into Clear Creek Canyon. It’s also possible to reach this point by coming up the connecting road from Highway 6. Head south from the exit and immediately go left, southeast, on paved Road 181. 181 soon splits, and 182 leads down into Beaver Brook Canyon – this is where you need to go. Once in the narrow canyon, the road becomes unpaved and steep in spots – but most cars should have no problem in good weather. After about 2 miles, look for a marked parking spot on the north side of the road – if you come to Pat Creek Road, turn around and go back to the designated Open Space parking. There is no legal parking on Pat Creek Road.
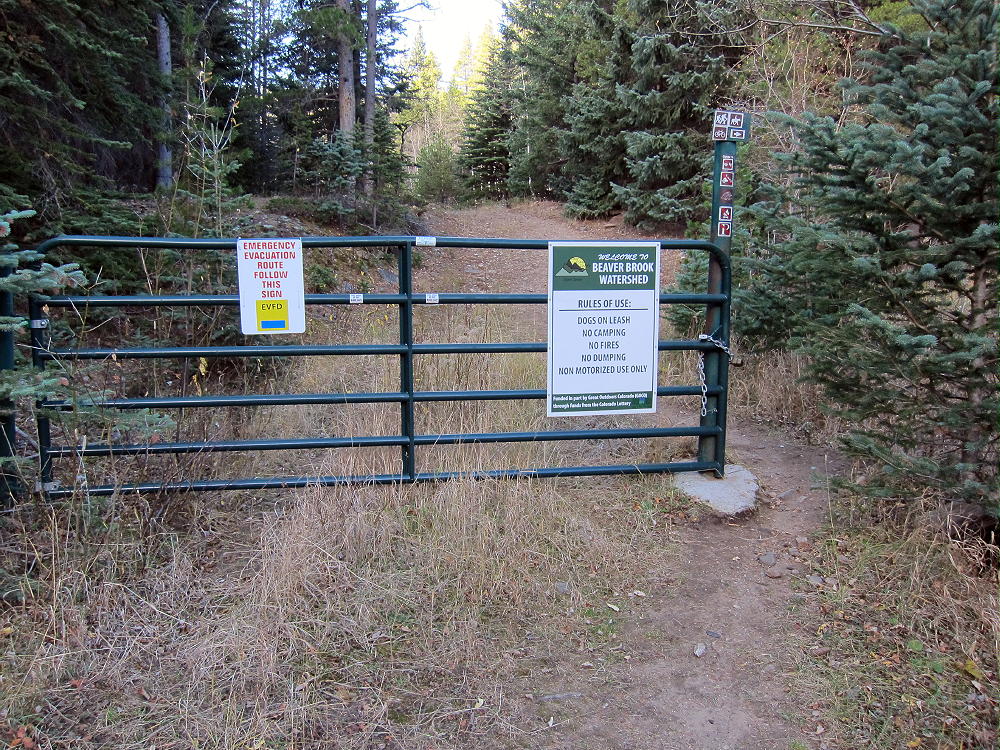
From the parking spot, hike up the main road a short distance, turn left (south) on Pat Creek road next to the creek, continue past several houses on the marked trail, and pass around a gate with a sign designating the Beaver Brook Watershed. The rules are posted: dogs on leash, no camping, no fires, no dumping, and no motorized use. Hiking, horses, bicycles, and legal hunting are allowed.
Gate into Beaverbrook Watershed leading to Santa Fe Mountain
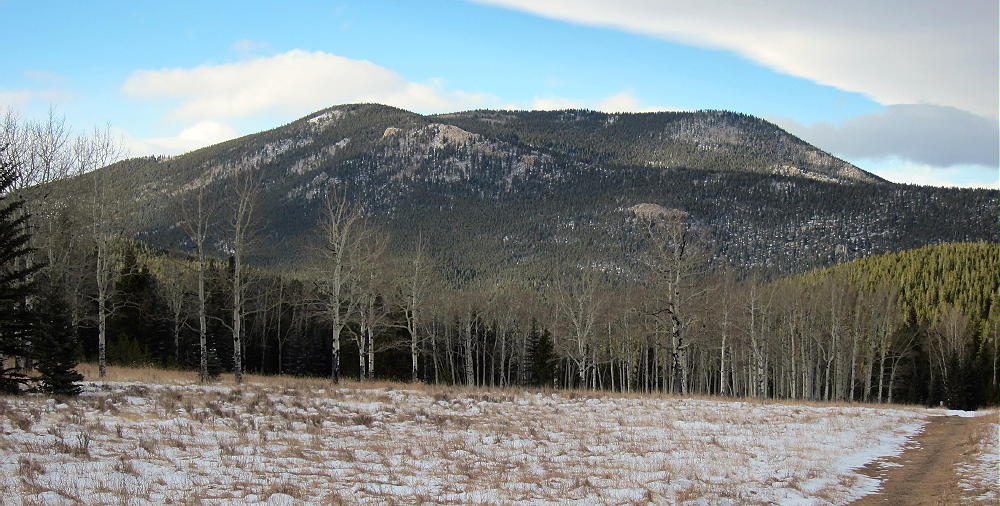
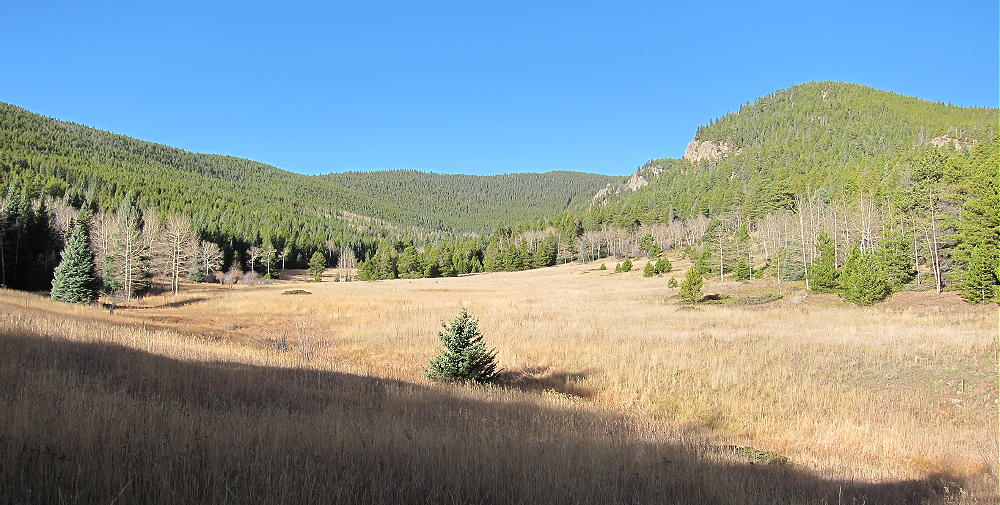
Just past the gate, the road enters a huge meadow area, and that’s when it becomes clear what a special place this Watershed is, as you look up the long valley to the top of Santa Fe. Please respect the access we enjoy – this is a large tract of wild land, perhaps several square miles, with aspen groves, elk and deer, and a fine SOTA peak!
Beaverbrook Watershed Meadows leading to Santa Fe Mountain
Head up the road to the south, and at the first obvious junction, head right, west, along a path that goes up the south side of the valley toward the summit. This is actually the route of a large, high-pressure, underground Xcel gas line, and that’s why the route shown on Google Maps exists.
Santa Fe Pipeline and Hiking Route in the Watershed
The gas line goes right up the steep east drainage of Santa Fe and through the saddle south of the peak. Signs mark the pipeline most of the way up the valley. It’s easy to follow until about 9200-9400 feet. There are multiple old logging roads in that area, and the gas line disappears into the thickets!
Gas Pipeline Route up East Side of Santa Fe Mountain
Google Maps shows this as a jeep trail, but it is not – at least not all of it. Parts of this route are obscure. The steepest part of the pipeline still has steel cables left from the construction, and it’s too steep for most 4WD vehicles. When I climbed the mountain, with my GPS running, I lost the pipeline route, so I just followed some good old logging roads up the slope, slightly north of the pipeline route, and eventually I headed up through aspen and pine forests to the summit. This climb was never difficult. When I came back down, I followed the pipeline steeply down the rocky slope, and then I saw why the route is so tricky. There is a long section of the pipeline that is completely overgrown with thousands of lodgepole pines, and they are so close together that they’re impenetrable. The place where this overgrowth exists is right in the valley bottom, along the small creek, so the trees have had plenty of water over the years. Following the pipeline through this section is possible, but it’s not worth the hassle!
Use your creativity and choose a reasonably open line that heads up toward the saddle, or toward the summit. Use the old roads as long as they head where you need to go. Avoid any steep outcrops – go south around them. If you go too far north near the top, you’ll end up on the east ridge of Santa Fe, which is a gentle, viable route to the summit. I recommend using GPS for this hike. The steep bushwhacking part is actually not long, and the route gets easier toward the top. It’s about three miles from the parking spot to the summit, with a gain of about 2000 vertical feet – figure on a couple of hours – maybe more.
The broad summit area is forested, with limited views, and few people go there. There is a nice sheltered meadow spot north of the summit rocks; I set up my end-fed wire there using a small fishing pole to cast lines into two trees. This is an ideal HF site, and a good VHF/UHF site. Despite the trees, the radio view east is mostly open.
Santa Fe Mountain Summit Area
Santa Fe Mountain Summit
SOTA Activation near Santa Fe Summit
From this almost secret spot you can have a private activation, deep in wilderness, except for the roar of motorcycles on the Squaw Pass Road to the south. The south slope of the peak is covered with old prospect holes, suggesting a previous flurry of mining activity long before the pipeline was put in.
James Peak from Santa Fe Mountain
Santa Fe Mountain combines near–wilderness, scenic open space, a gas pipeline through the mountains, and a pleasant SOTA peak waiting to be activated, close to Denver – thank you Walt W0CP!
73
George Carey Fuller
KX0R
Meadow along the Pipeline Route
!! WARNING !! There are old mountaineers, and
bold mountaineers… there are no old-bold mountaineers.
Hiking and mountain climbing are potentially hazardous activities particularly in Colorado with its extreme elevations. I am not accepting responsibility for any death or injury resulting from activations based on my trip reports. Proper training, experience, and personal capability assessment is required – enjoy!
W0C/FR-155
Deer Mountain
3052 m / 10013 ft
30 Sep 2013
11 Jan 2014
By KX0R
Deer Mountain is a popular, accessible SOTA peak near Estes Park in Rocky Mountain National Park. A maintained trail leads all the way to the summit. The one-way distance is about 2.8 miles, and the vertical gain is about 1100 vertical feet.
East Side of Deer Mountain from Castle Mountain
To reach the trail-head, get up early, drive to Estes Park, continue to the Beaver Meadows Entrance of the National Park, and either pay the fee, or show your pass. Deer Mountain is the prominent feature north of the Entrance Station. Drive west on Highway 36, beneath the massive, rocky south side of Deer Mountain, and ascend to Deer Ridge Junction just west of the Mountain. Park east of the Junction along the highway.
South Side of Deer Mountain from Eagle Cliff Mountain
The Deer Mountain Trail starts out easy as it heads up the northwest slope of the Mountain. At 9200 feet it switches back north and then climbs up the slope with a series of switchbacks. There are nice views from the trail. At about 9800 feet the grade eases, and the trail climbs southeast up to a gentle saddle. The route continues southeast and descends slightly across the broad mountain. Then the trail climbs gradually, generally south to the rocky summit. The peak is a natural overlook with impressive views.
View South to Longs Peak from Deer Mountain Summit
The Deer Mountain Trail is popular, and there are often hikers on the trail near the summit. It may be practical to set up and activate near the top, but the activation zone extends into the woods to the north, so it’s easy to set up a short distance away from the busy overlook. The forest offers shelter from the strong winds that often sweep across the mountain.
There are plenty of trees available for an antenna – or bring a pole. Deer Mountain is an excellent HF site, but VHF/UHF coverage is somewhat limited by higher peaks.
Deer Mountain Activation 30 Sep 2013
Deer Mountain Radio Gear 30 Sep 2013
Deer Mountain Activation 11 Jan 2014
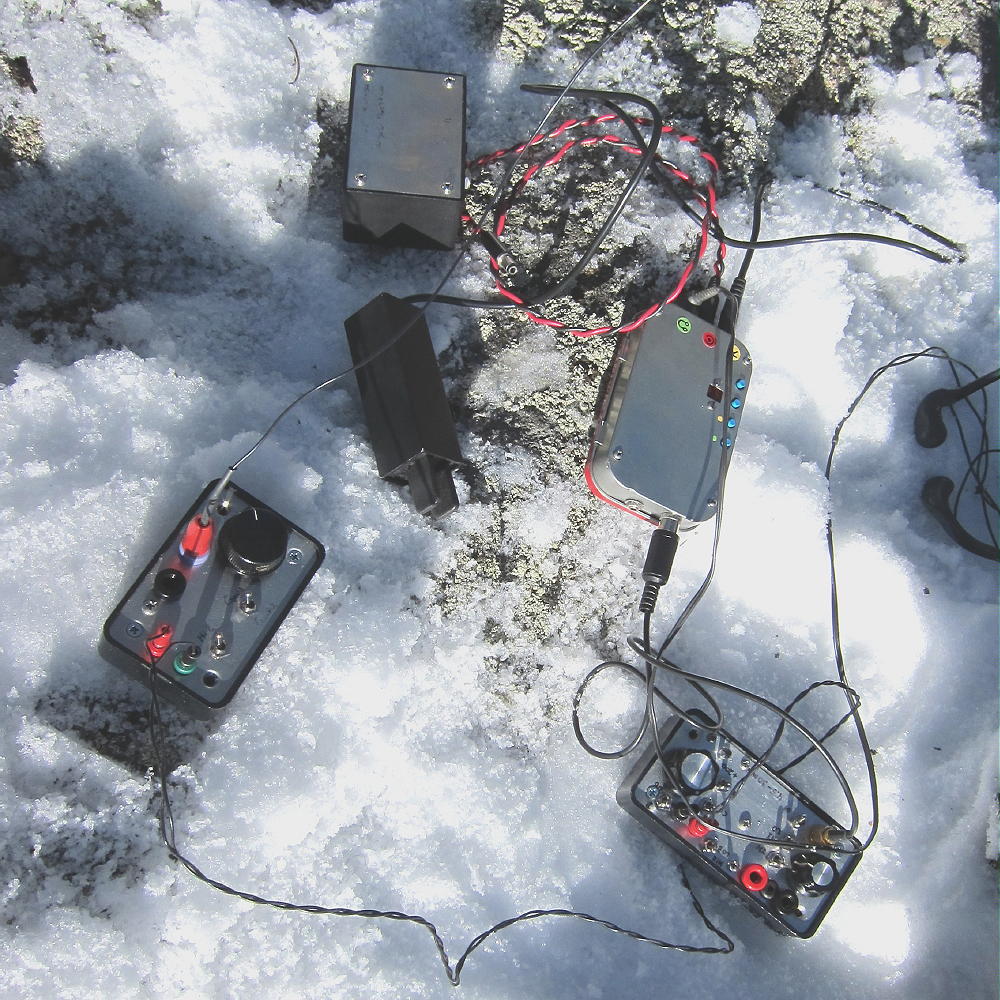
Deer Mountain Activation Gear 2014
The trailhead is accessible all year, so a winter activation of Deer Mountain is practical. This is a good snowshoe trip. Don’t be fooled by easy trail conditions near the highway. There usually is much more snow on the upper parts of the trail, as well as the broad plateau above, where much snow falls and accumulates.
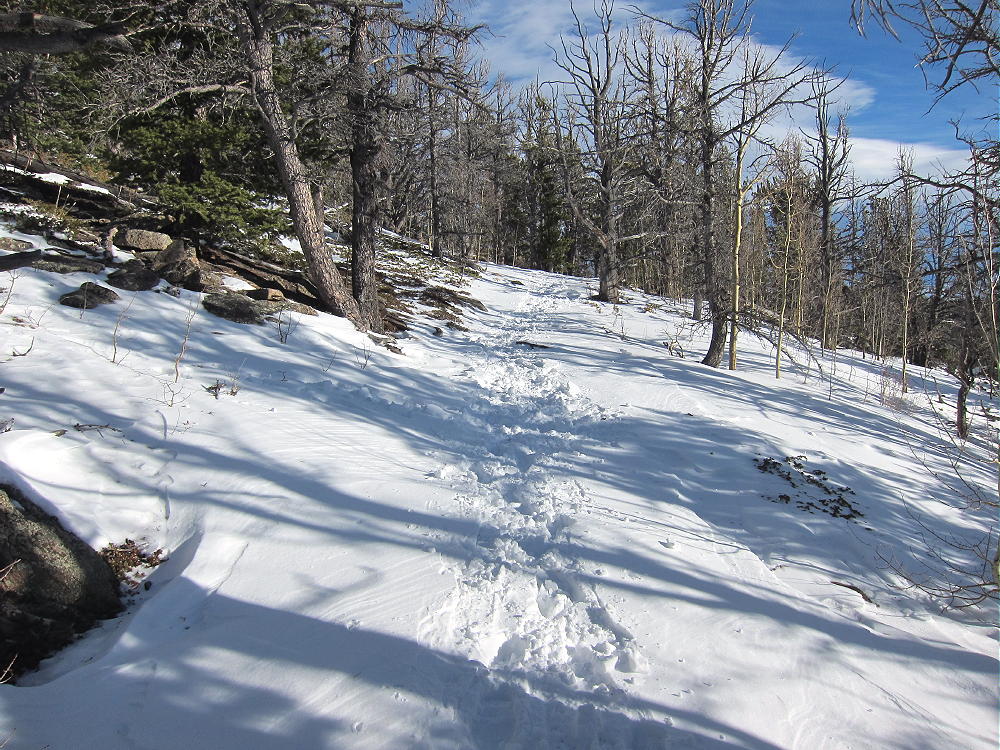
Deer Mountain Trail up High, 11 Jan 2014
An activation of Deer Mountain may be combined with one of several SOTA summits nearby, for a dual activation. Deer Mountain offers a fine SOTA experience for a visiting activator not familiar with the Estes Park area. The hike is a good introduction to local conditions, without the additional challenges of climbing an alpine summit.
73
George Carey Fuller
KX0R
Chiquita Mountain from Deer Mountain
High Winds on the Divide from Deer Mountain
Ypsilon and Fairchild from Deer Mountain
!! WARNING !! There are old mountaineers, and
bold mountaineers… there are no old-bold mountaineers.
Hiking and mountain climbing are potentially hazardous activities particularly in Colorado with its extreme elevations. I am not accepting responsibility for any death or injury resulting from activations based on my trip reports. Proper training, experience, and personal capability assessment is required – enjoy!
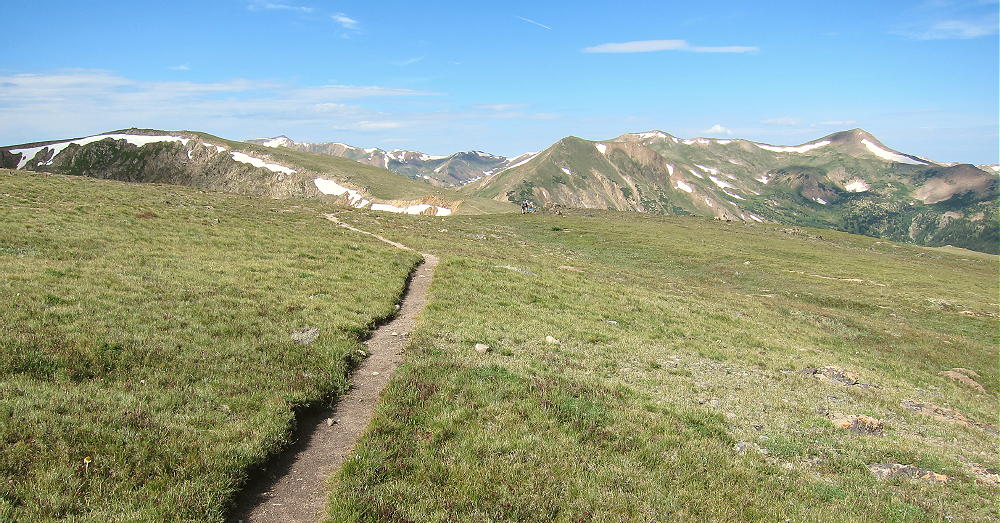
There are two routes along the Continental Divide Trail (CDT) to Stanley. The easiest route starts at the Berthoud Pass Trailhead at 11,307 feet elevation. To reach Berthoud Pass, drive west of Denver on I-70 and exit northwest toward Winter Park on US 40. Park on the east side of the highway at the Pass; there are facilities there.
Cross the highway and find the marked CDT Trail leading up the hill to the west. Follow this trail up for about 1-1/2 miles, and ascend multiple switchbacks to a high, vast area of alpine tundra at about 12,400 feet. The rest of the hike follows a relatively flat trail for more than 2 miles southwest along the Divide to Stanley Mountain.
Stanley Mountain Hike on Divide
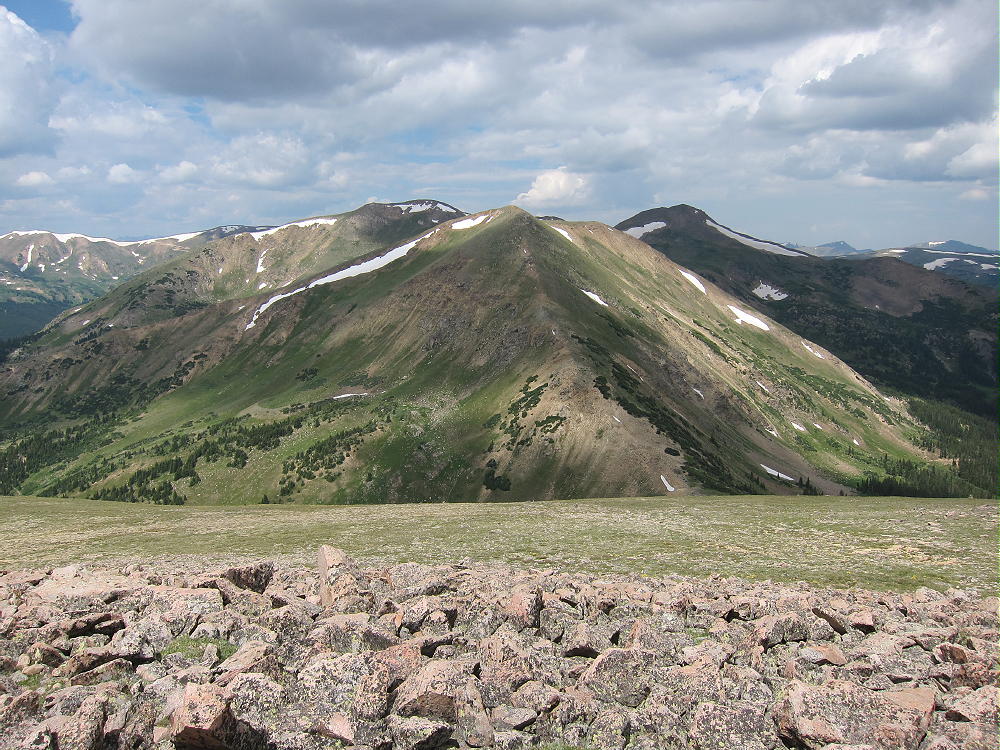
Don’t be fooled by the false summits along the way – the actual peak is about 800 feet above Vasquez Pass, visible down a steep slope to the west. Stanley is the last high point along the trail on the Divide ridge; after the real summit, the CDT descends steeply to the southwest.
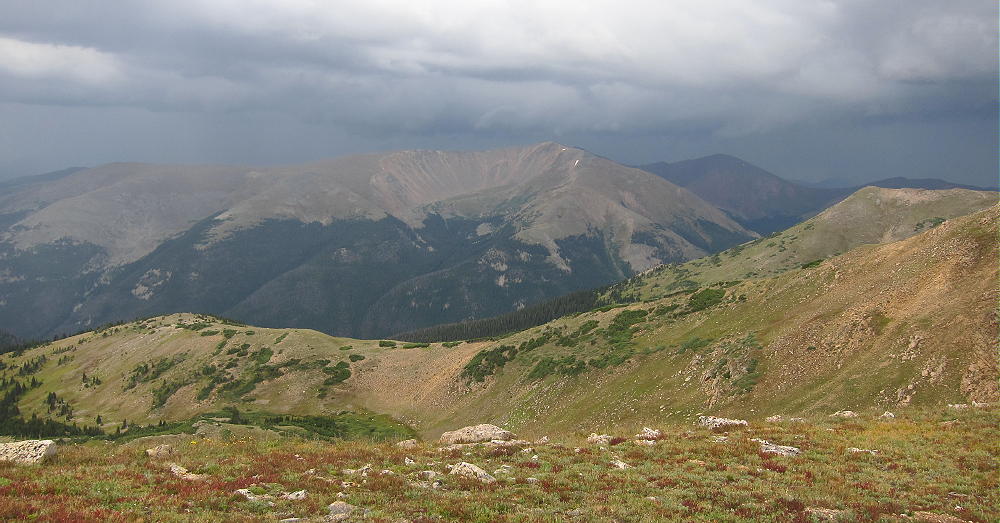
View West from Stanley Mountain to Vasquez Pass and Peak
The hike from Berthoud Pass to Stanley is 7.5 miles round-trip; the vertical ascent is about 1300 vertical feet. It takes 1-1/2 hours or more to hike from Berthoud Pass to Stanley.
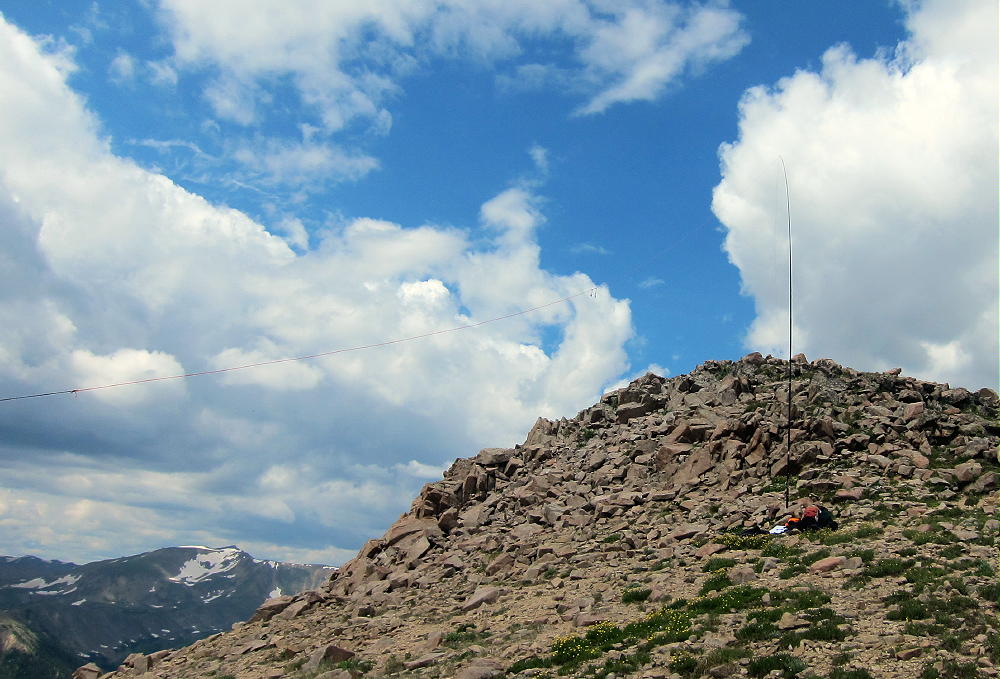
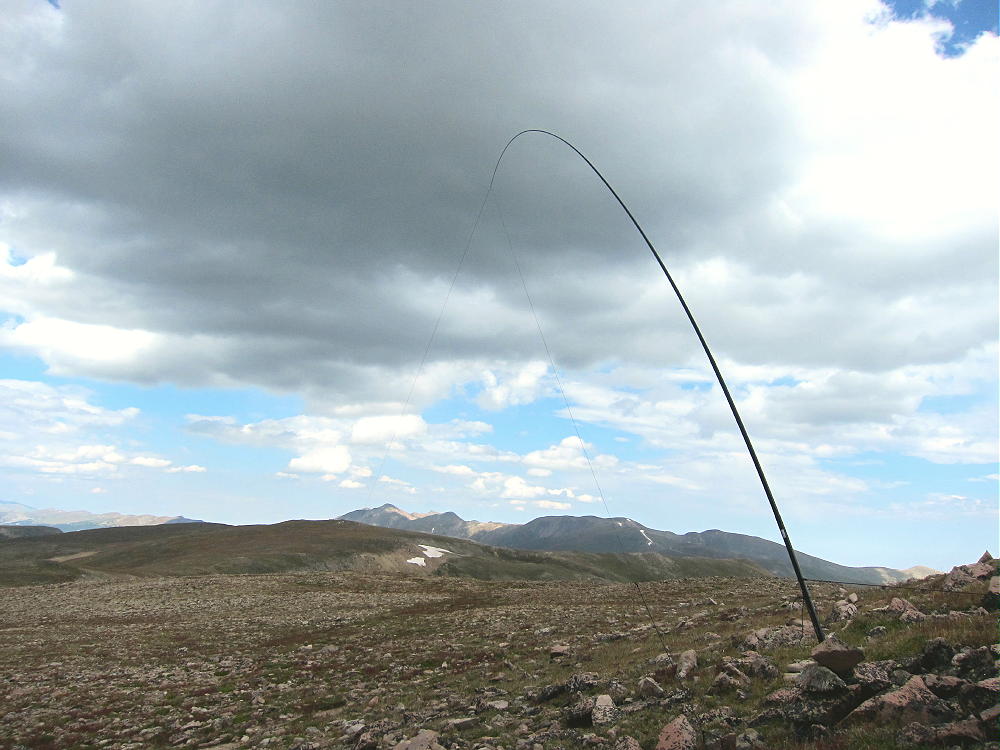
The summit is a small rocky hill on the south side of the trail. Since it’s far above tree-line, be sure to bring a pole for an HF antenna. I found a convenient spot out of the wind, in the activation zone on the east side of the mountain.
Stanley Mountain 2014 Activation with 67 Foot EF Wire
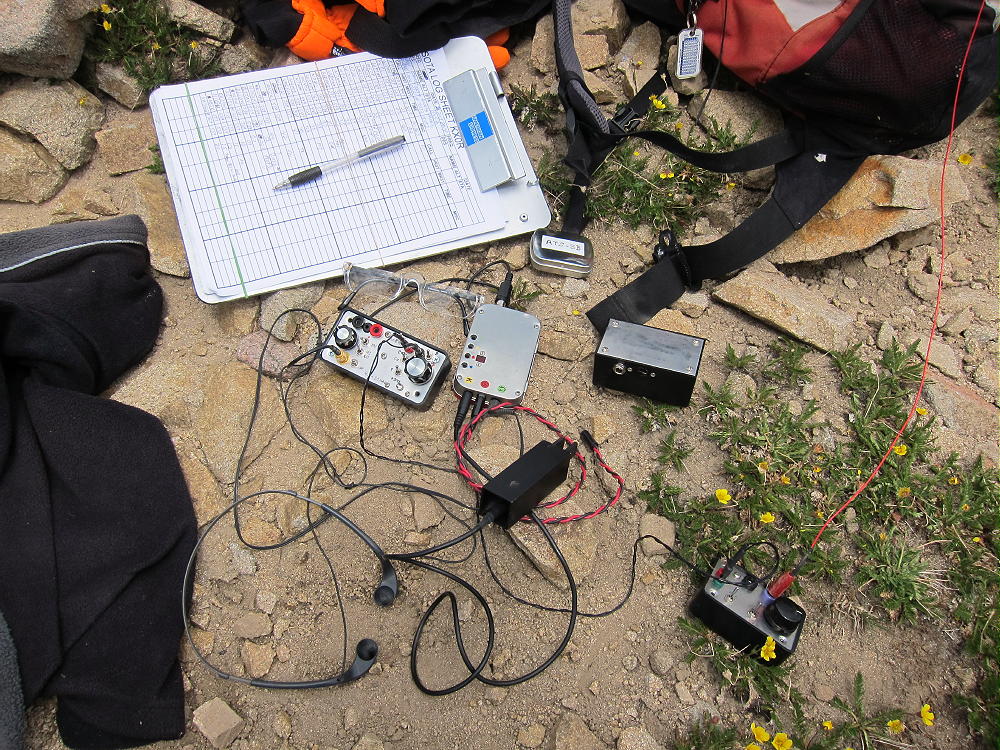
Stanley Mountain Radio Gear
Stanley Mountain 2013 Activation and View Northeast
The view is vast and superb; if the weather is OK, Stanley is an easy peak to activate. It’s probably a better site for HF than for VHF/UHF, because of higher mountains around the area.
A marked trail starts on the north side of the road and climbs up the slope via switchbacks to a junction with the CDT. This is the trail I used to access Vasquez Peak W0C/SR-040, and that route is described in my report for Vasquez. From the junction with the CDT at 11,300 feet elevation, climb up the CDT about 2 miles and 1200 vertical feet northeast to Stanley Mountain. The total vertical distance from the valley trailhead to the mountain is about 2100 vertical feet, and the horizontal distance is comparable to the 3.7 mile route from Berthoud Pass.
There are two points that make the Jones Pass Trailhead worth considering for a hike to Stanley:
1) If the weather turns bad, the trail to the valley is much less exposed than the high route along the Divide.
2) On a good day it might be possible to activate both Stanley and Vasquez by using the valley trail up from the Jones Pass Road. Climb and activate Stanley first, hike back down the CDT from Stanley to 11,400 ft, and then climb the ridge route described in the report on Vasquez; or reverse the order of the summits. Note that I have not done this challenging dual activation!
There are two points that suggest using the Berthoud Pass trailhead for Stanley:
1) It is possible to do a dual activation of both Mount Flora and Stanley Mountain from the Berthoud Pass trailhead. I have done this – it was a long day, but it worked well.
2) The route to Stanley is scenic and pleasant on a good day. The trail up from the Jones Pass Road is not as scenic, and it takes more work.
Any way you climb them, there are some fine SOTA peaks near Berthoud Pass. Stanley Mountain is not difficult to climb and activate, and it offers a nice alpine experience. On a nice day, the Continental Divide is a wonderful place to go for a SOTA activation.
Always check the forecast, respect the mountain weather, and be careful above tree-line. The mountains don’t care.
View of Approaching Storm South of Stanley
Click this picture!
73
George Carey Fuller
KX0R
!! WARNING !! There are old mountaineers, and
bold mountaineers… there are no old-bold mountaineers.
Hiking and mountain climbing are potentially hazardous activities particularly in Colorado with its extreme elevations. I am not accepting responsibility for any death or injury resulting from activations based on my trip reports. Proper training, experience, and personal capability assessment is required – enjoy!
Triangle Mountain is a small, fun SOTA summit located less than a mile north of the flood-ravaged town of Glen Haven, about 6 miles northeast of Estes Park.
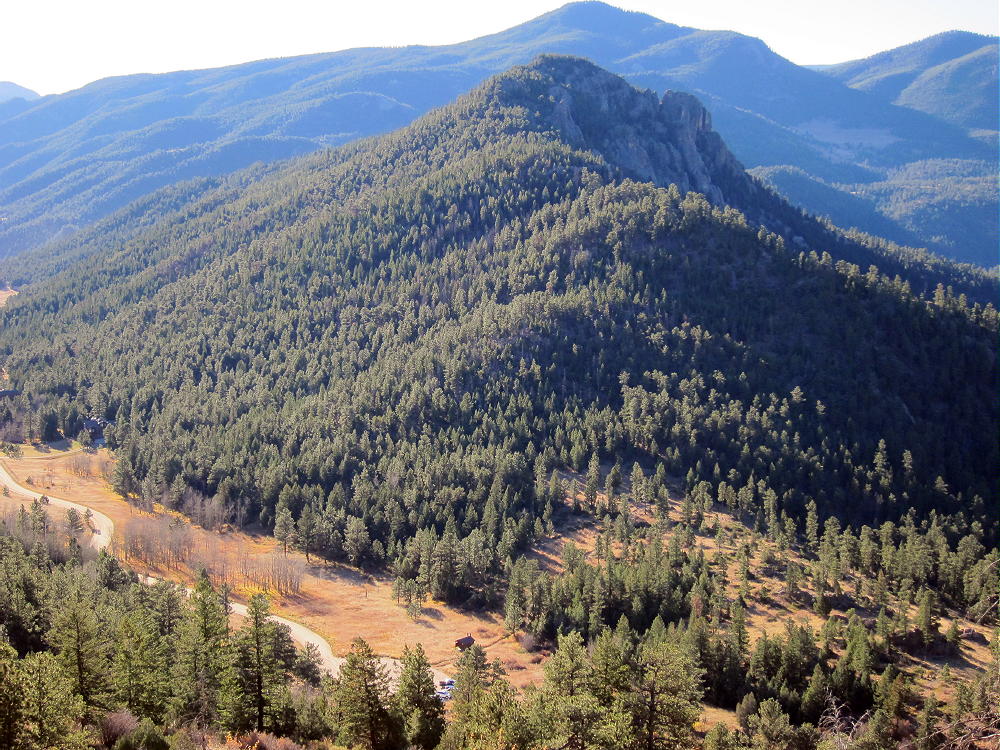
Triangle Mountain, Crosier Mountain, Piper Meadows, and West Crosier Mountain from Signal Mountain Trail
In September of 2013, sustained heavy rains flooded the mountains and canyons of northeast Colorado, and Glen Haven suffered extreme damage.
To reach the trail-head, first drive to Estes Park, and follow Devil’s Gulch Road 43 to Glen Haven; or drive up Highway 34, Big Thompson Canyon, from the Loveland area. The roads near Glen Haven were not re-paved in November 2014, but they were passable.
Now in March 2015 Matt K0MOS says there is heavy construction in the area, and parking is not possible. Long delays are required due to repair work.
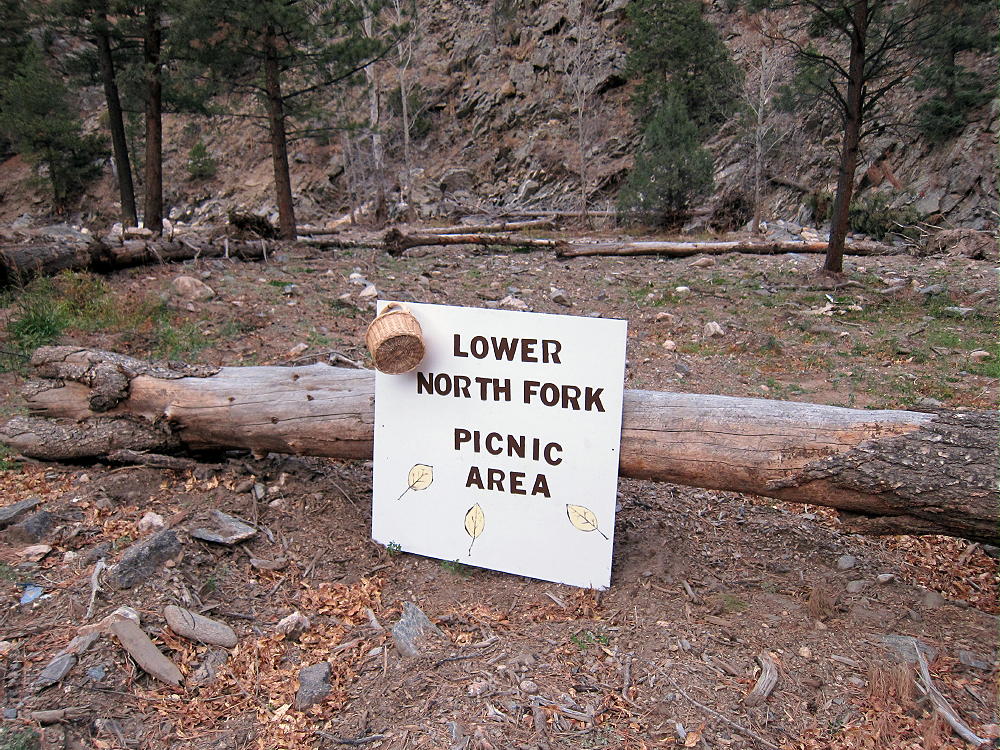
While it might seem logical to try to climb Triangle from near Glen Haven, the land there seems to be mostly private. Drive about 1 mile down the canyon east of Glen Haven, and find what remains of the Lower North Fork Picnic Area. The day I was there, a large sign designated the spot, which was destroyed during the September 2013 floods.
Triangle Mountain Trailhead at Lower North Fork Picnic Area
This is USFS property, even though it’s no longer a nice place for a picnic.
3/4/2015: Parking may not be possible until this area is re-built.
Cross the road, go slightly east a short distance, and look carefully for a small, steep path heading up the rough slope. If you find this path, you’ll be all set for the rest of your hike. Climb the steep ridge – this is the hardest part. On the ridge crest, the path firms up, and it leads most of the way to the summit. This social trail runs right along the ridge-top, and finding it is the key to climbing Triangle. No bushwhacking is required, as long as you stick with the path.
Part way up the route, I came to a large insulated power line lying on the ground, and a phone line hanging in the pine trees. These are probably essential services temporarily routed across the mountain to Glen Haven, because the floods destroyed almost everything in the Canyons. Needless to say, don’t touch any utilities you find up there. Follow the path along the open ridge, and when it becomes faint, stay on the ridge – including going across or slightly around a couple of rocky knobs. Eventually the path steepens, and the route leads through forested meadows, right up to the summit. The views get better as you climb. The total climb is 1.5 miles each way, with about 1400 vertical feet of gain.
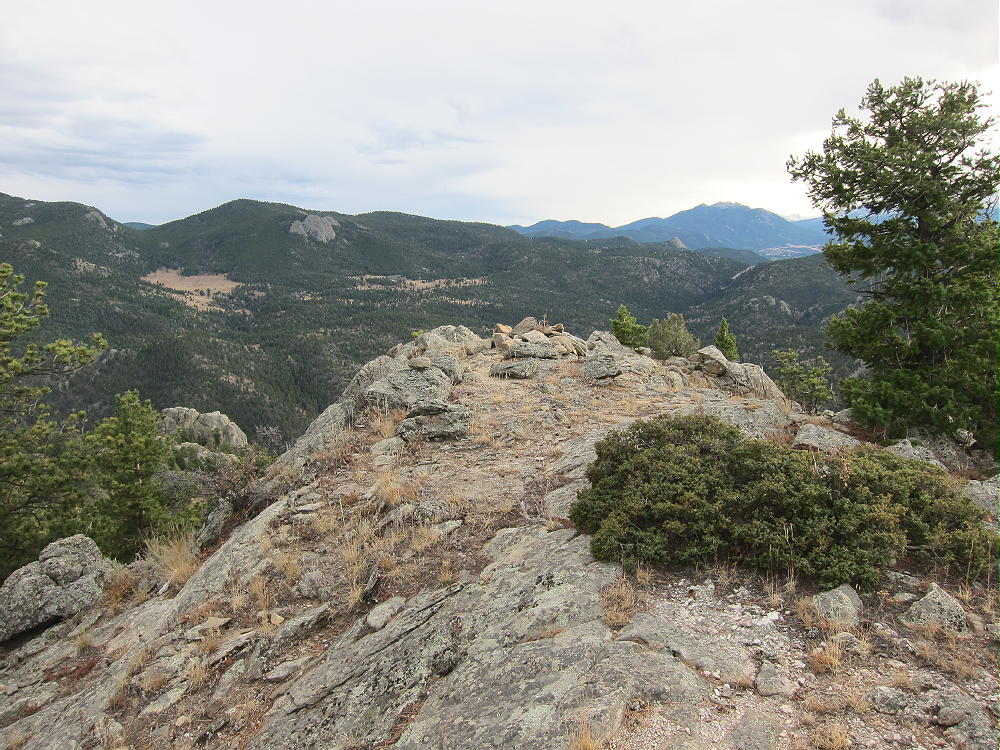
The summit has a classic exposed viewpoint to the west, as well as a sheltered area near the top, with several good spots to set up and activate.
Triangle Mountain Summit Cairn
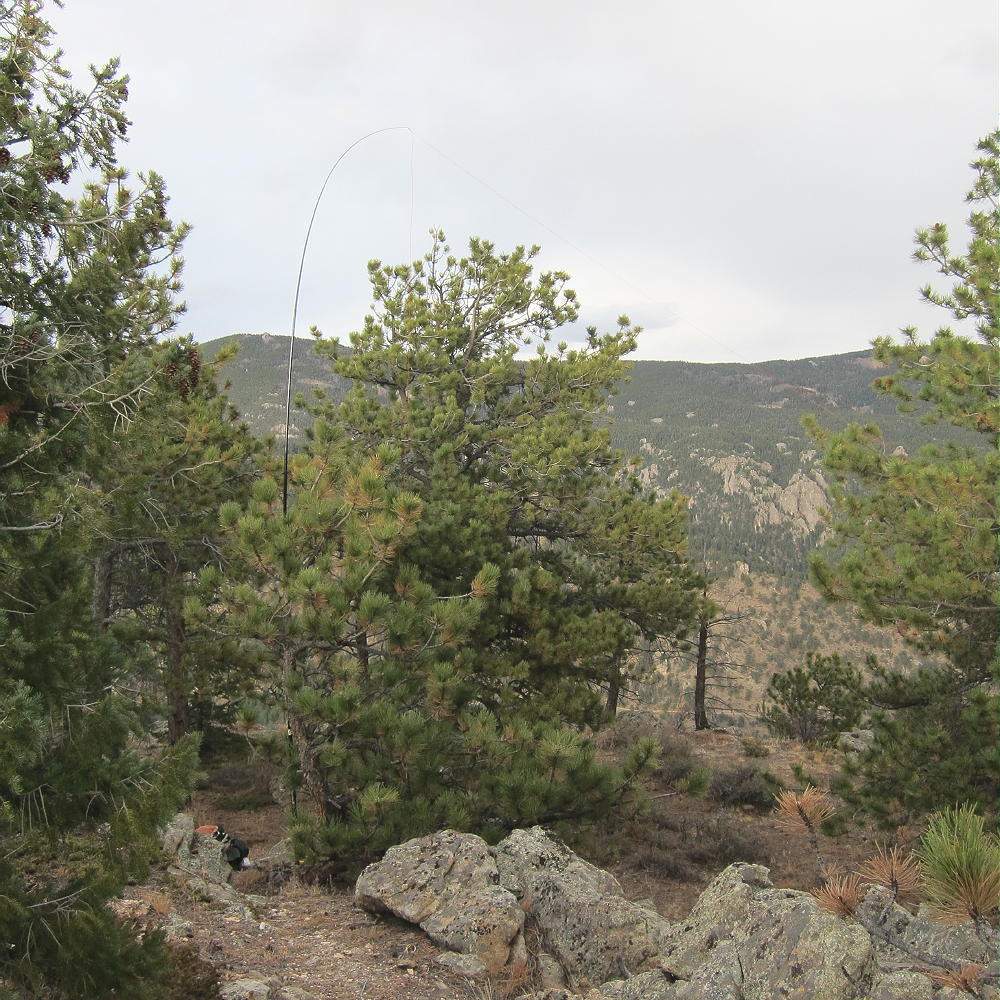
Triangle Mountain Activation
There are some good trees available, so creative activations are possible with and without a pole. The view is larger and wider than I expected. Several valleys join right below at Glen Haven – this increased the volume of the flood waters – no wonder the secluded, peaceful canyon was washed out!
Triangle is a fine HF site, but its VHF-UHF coverage is probably limited by the higher terrain nearby. It looks like it could be activated in winter, since the route is mostly in the sun, but there are no bonus points on this 2-pointer.
I first tried to access Triangle from the Dunraven Trailhead, northwest of the summit, on Dunraven Glade Road 51B.
Triangle Mountain North Ridge and Dunraven Glade Trailhead
This is a logical approach, but when I headed up the NW ridge toward the summit, I found multiple “No Trespassing” signs posted on the trees. The north part of the Mountain is private, as well as the east and west sides. Follow the South Ridge route detailed above to avoid problems.
On the descent be sure to follow your original ascent route to avoid descending into the wrong area. Matt’s comments are appropriate!
Triangle can be combined with other accessible summits in the Estes Park area for a double activation.
73
George Carey Fuller
KX0R
Sunset from Triangle Mountain Trail
!! WARNING !! There are old mountaineers, and
bold mountaineers… there are no old-bold mountaineers.
Hiking and mountain climbing are potentially hazardous activities particularly in Colorado with its extreme elevations. I am not accepting responsibility for any death or injury resulting from activations based on my trip reports. Proper training, experience, and personal capability assessment is required – enjoy!
Get up really early, drive to Estes Park, continue to the Beaver Meadows Entrance of the National Park, and then take the winding Bear Lake Road up to Bear Lake. An early start is necessary in summer, partly to beat the thunderstorms, but also because the large parking lot may fill before 8:30 AM. Hike around the east side of Bear Lake and climb the marked Flattop Mountain Trail all the way up to the Divide. This popular, scenic trail has a steady, efficient grade. The upper part of the trail is high above tree-line and wide open.
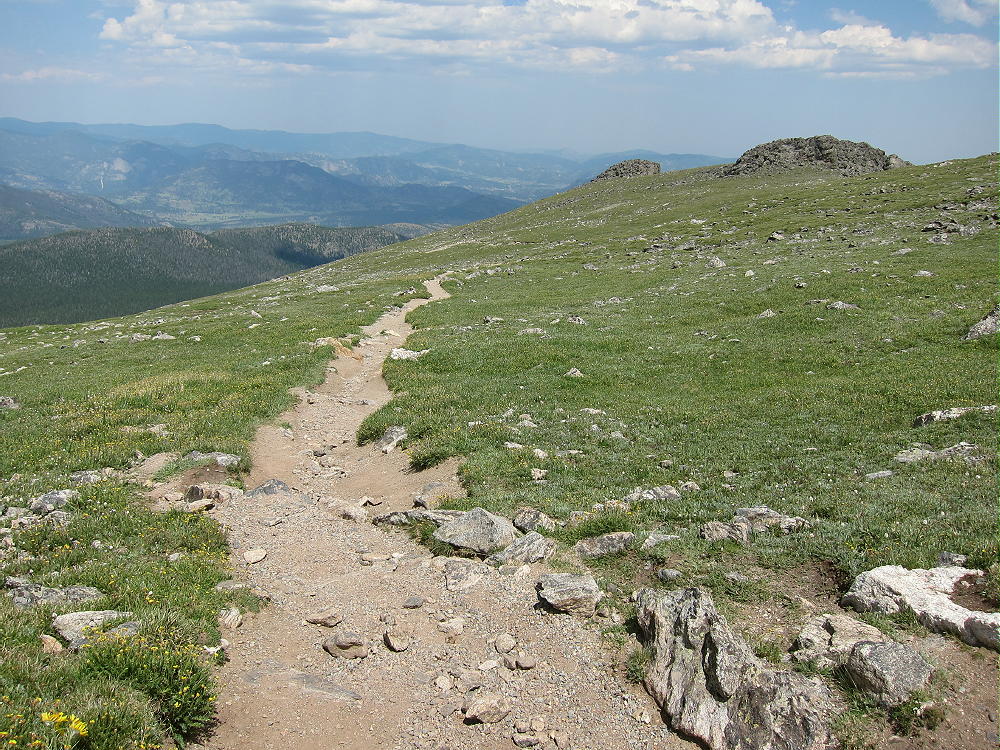
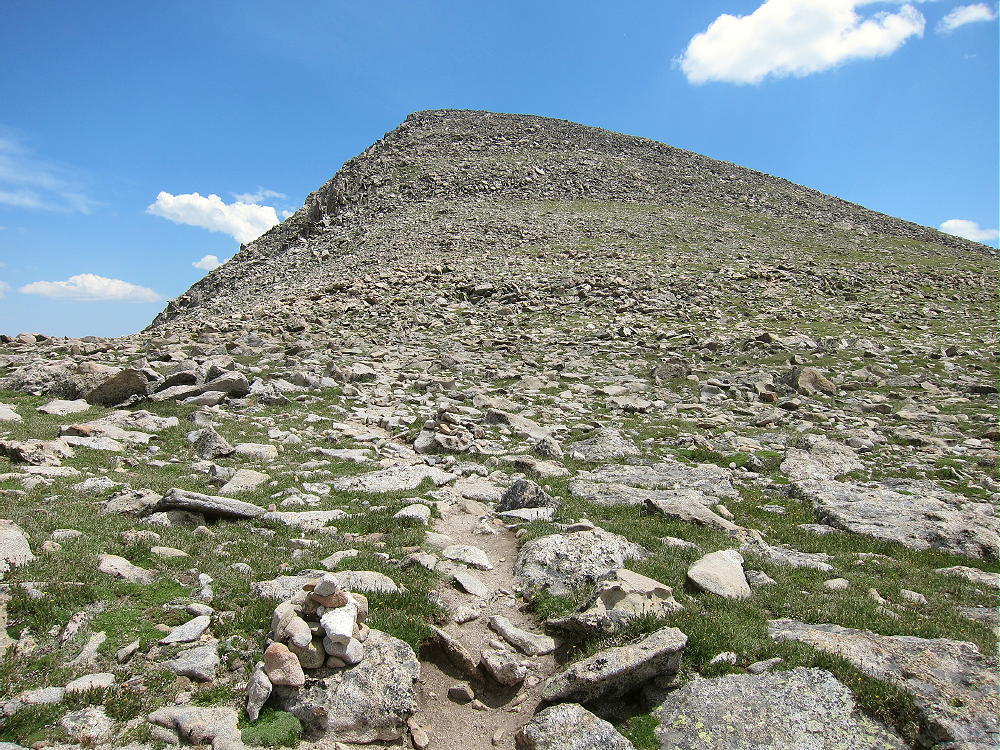
Flattop Mountain Trail in Alpine Zone
There may be an easy snowfield to cross, just before the trail reaches the Divide. The main trail splits, and both forks lead to West Slope destinations, but a small side trail heads left near Flattop Mountain; it leads south and then east, up through the rocks, for about 0.6 miles to Hallett Peak. The vertical ascent on this last leg is 500 feet.
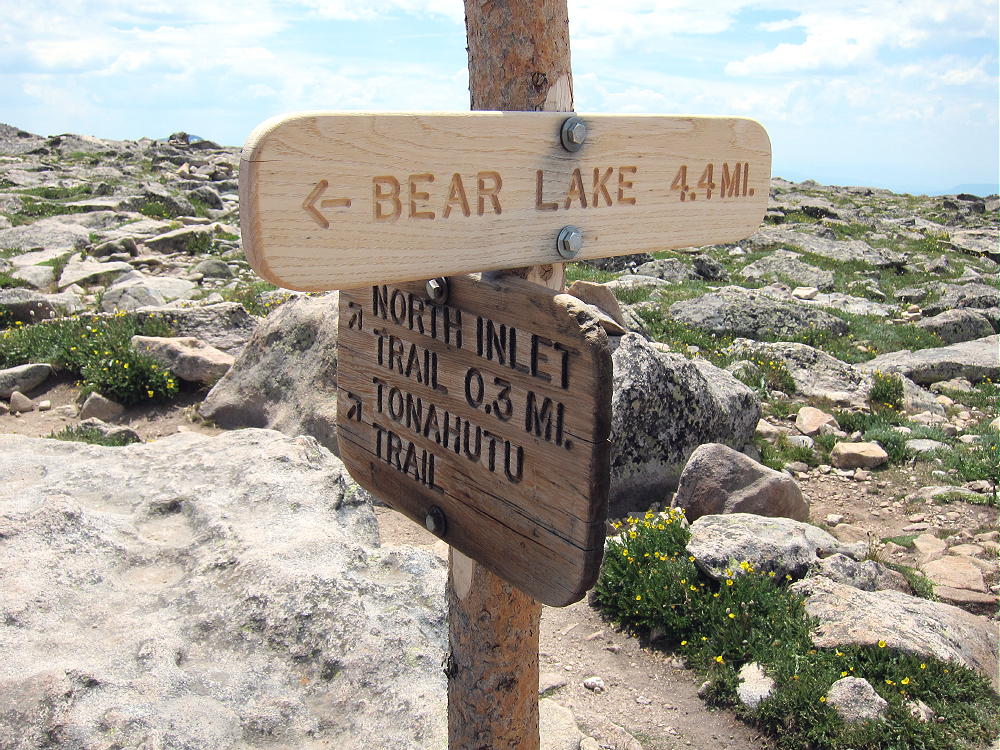
Flattop Mountain Trail Sign
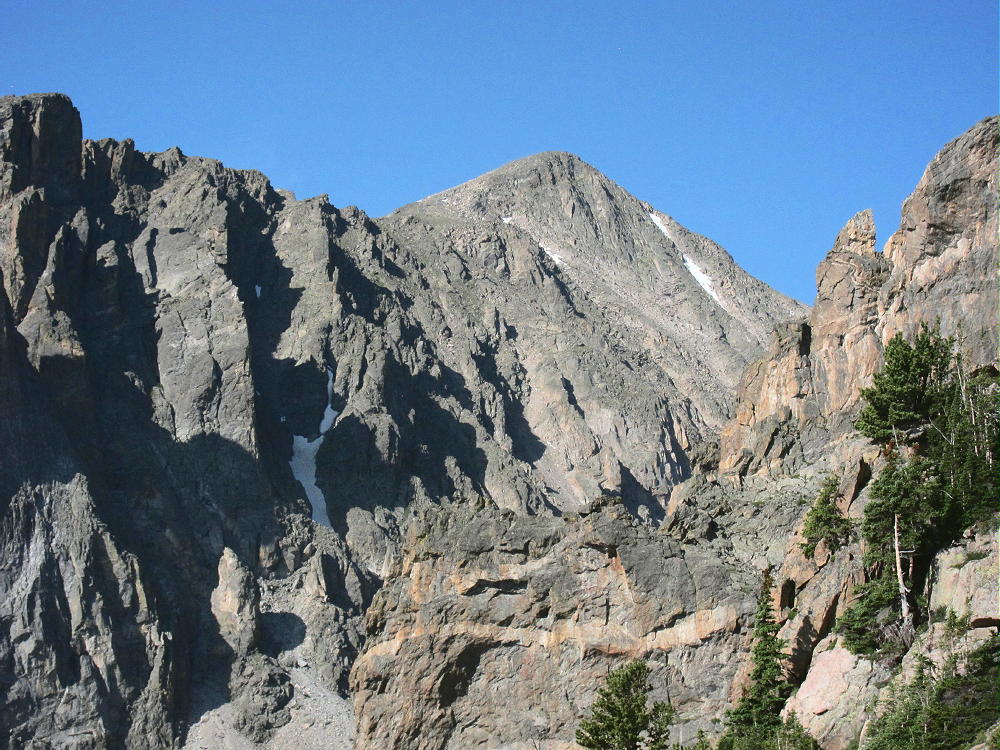
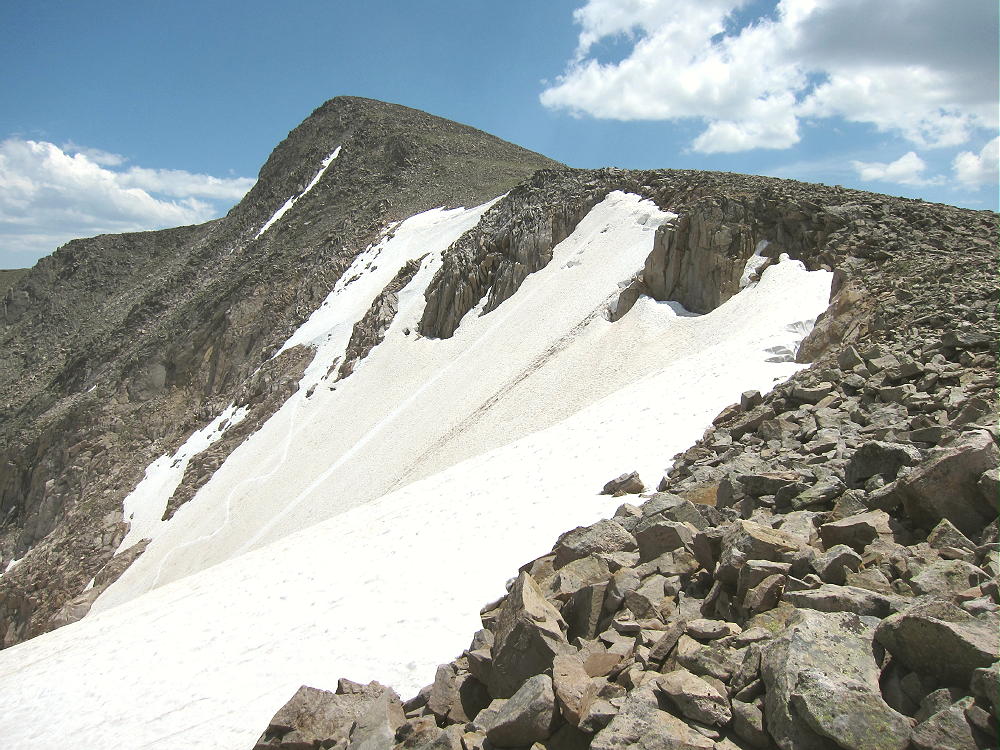
Hallett Peak and Tyndall Glacier
Hallett Peak and Trail to the Top
Click here for a useful map of Rocky Mountain National Park. This shows the Flattop Mountain Trail, Hallett Peak, the Bear Lake Road, etc. Take a good topo map on the trail.
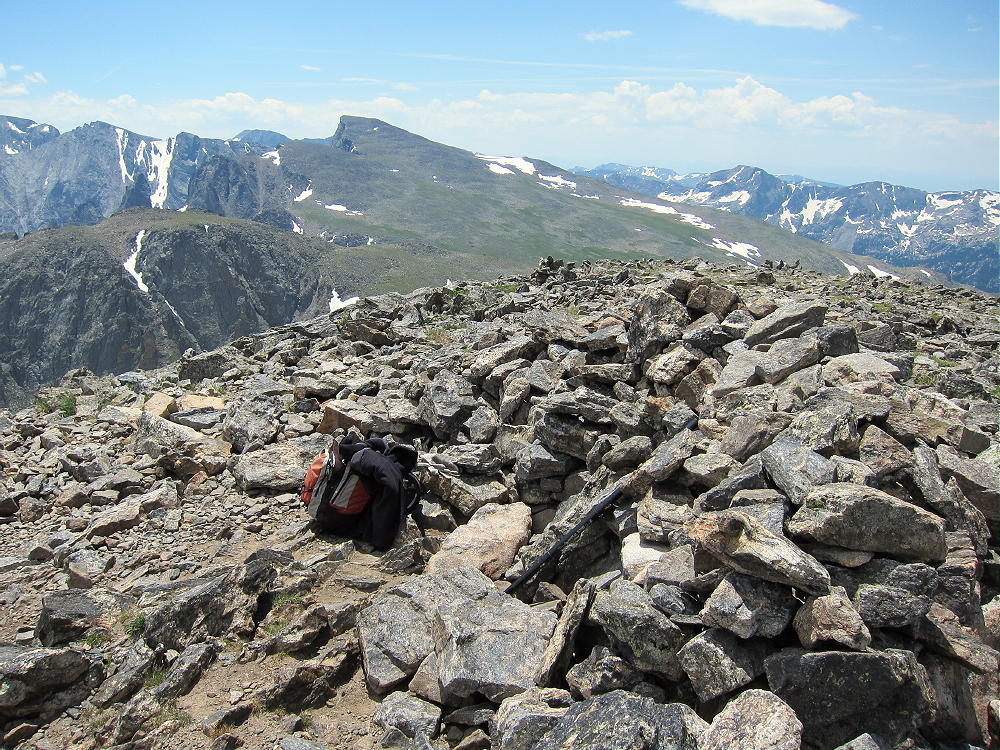
If the weather is nice, there usually are people at the summit. The activation zone is large enough that it’s possible to move off the top and set up out of the wind. When I climbed Hallett on July 20, 2014, the wind was so cold and strong that many hikers turned around – they were not prepared for such harsh conditions. The summit was downright rough, with the gusts roaring over the rocks.
Hallett Peak Summit Shelter and View South along Divide
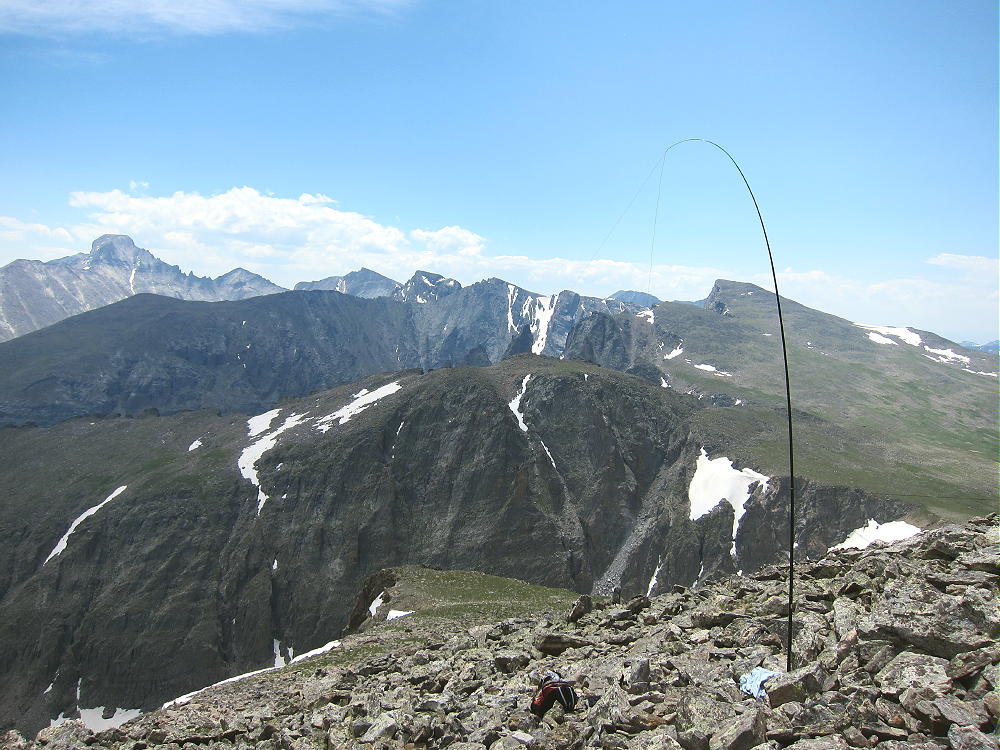
I went down the southeast slope and found a calm spot among the rocks, away from the people and the cold. Perhaps I lost a few db of signal to the northwest, but I had a fun time, with little stress, and my pole stayed up – signals were strong, and I couldn’t tell that I wasn’t on the peak! This is a fine HF site, and OK for VHF/UHF as well.
KX0R SOTA HF Activation of Hallett Peak with 67-Foot EF Wire
In my opinion, it’s almost never worth setting up on a summit in high winds for a SOTA activation. Most summits have a “wind shadow” within the activation zone, so it’s possible to escape most of the wind and enjoy the experience. At high altitude it’s essential to avoid hypothermia and reduce stress!
Hallett Peak is a dangerous summit in bad weather. The northern Front Range is particularly windy and prone to thunderstorms; snow and serious hail are possible any month. Always check the weather forecast and watch for changing conditions up there!
Make sure to return to Bear Lake via the Flattop Mountain Trail! Unless you know the area, any other descent route east will probably be more challenging than you can deal with.
Tonohutu Creek Trail Leading Northwest Across Divide
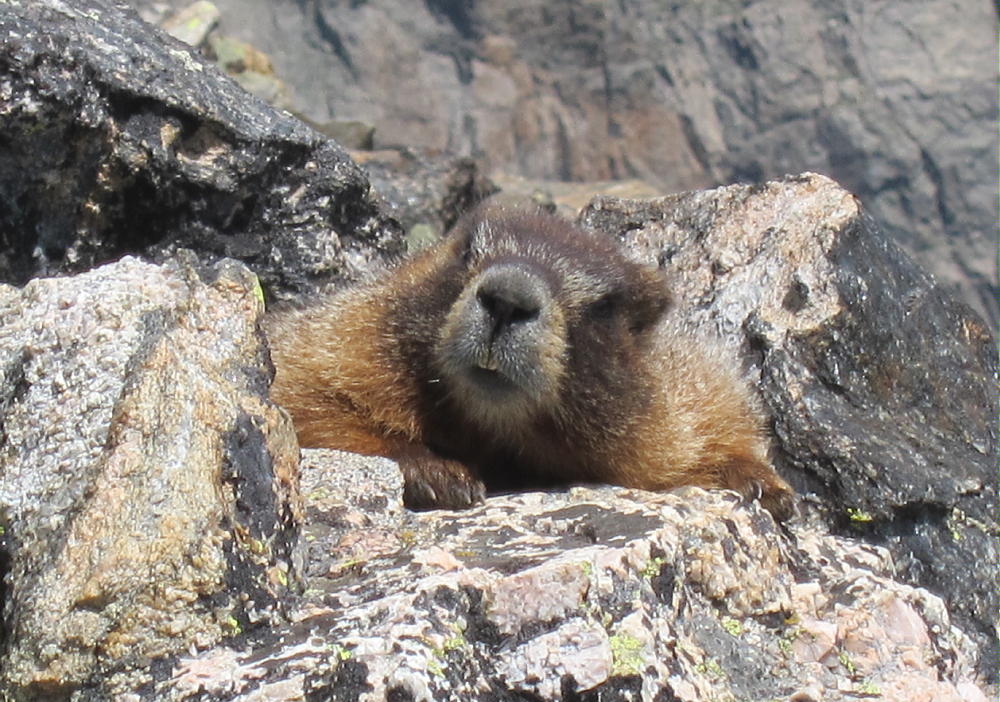
Yellow-Bellied Marmot – Enemy of Alpine SOTA Activators
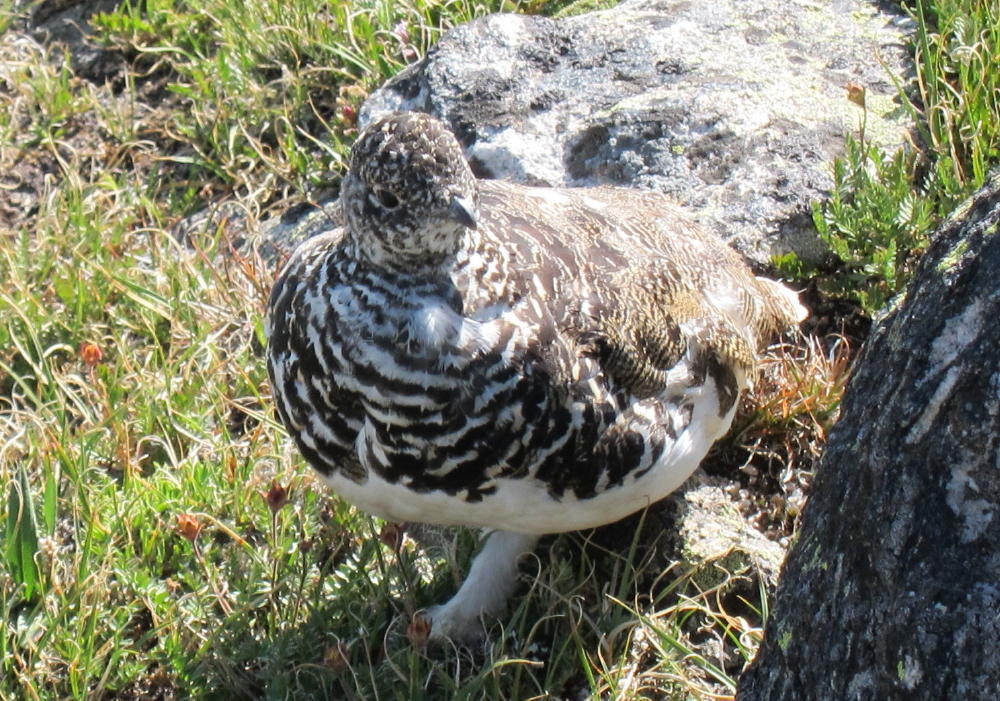
Ptarmigan near Flattop Mountain Trail
!! WARNING !! There are old mountaineers, and
bold mountaineers… there are no old-bold mountaineers.
Hiking and mountain climbing are potentially hazardous activities particularly in Colorado with its extreme elevations. I am not accepting responsibility for any death or injury resulting from activations based on my trip reports. Proper training, experience, and personal capability assessment is required – enjoy!
W0C/FR-075
South Boulder Peak
2606 M / 8549 ft
11 July 2013, First Activation
20 April 2014 Second Activation
My First Activation of South Boulder Peak was my second SOTA activation, mostly because the mountain is only a couple of miles from where I live. This prominent summit is close to the Denver-Boulder Metro Area, but it’s not a popular SOTA peak, and it’s somewhat challenging.
South Boulder and nearby Bear Peak are twins, because the sedimentary rocks within these mountains have the same sequence. This is the result of a fault that runs between them – the fault has shifted the rocks so that the sequence of layers repeats. Both mountains have resistant sedimentary summits, with older igneous rock west of each peak. Unfortunately Bear Peak is not a SOTA peak.
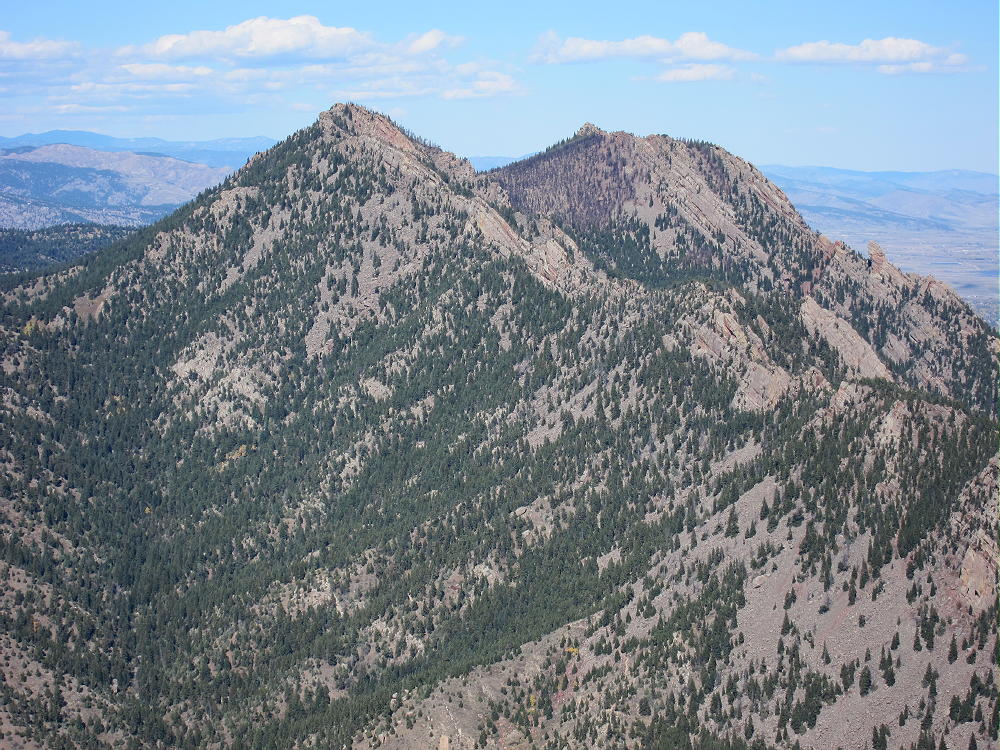
South Boulder and Bear Peaks from Eldorado Mountain
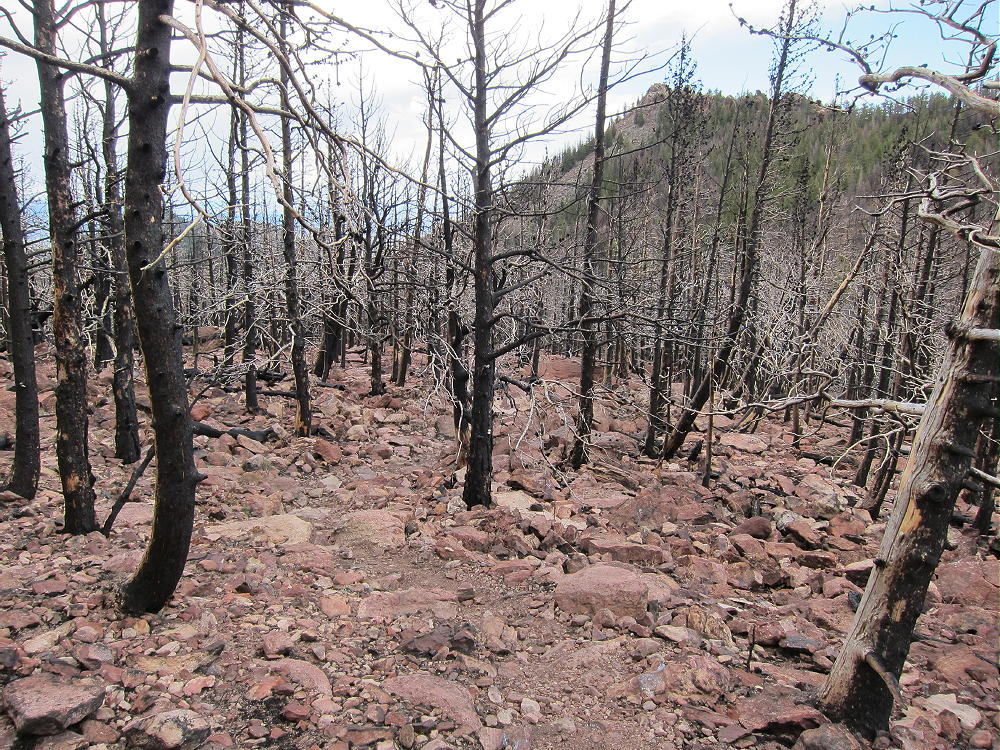
South Boulder and Bear Peaks have been ravaged by two recent natural disasters. In June of 2012 the lightning-caused Flagstaff Fire raced up the west side of the peaks and threatened to come across and ignite the forests of the Boulder Mountain Park. Fire-fighters stopped the fast-moving fire, but most of the trees near the summit of South Boulder Peak were killed in the intense blaze. The dead trees are mostly still standing, and much of the soil was burned as well.
Burned Forest near Bear-South Boulder Saddle
In September of 2013 a period of sustained, heavy rain occurred, and flooding occurred in most of Boulder County. The floods were severe in the mountains and in the nearby canyons. Because of the fire, the slopes of South Boulder Peak were unprotected by vegetation, and the heavy rains caused severe erosion over the entire area. In particular, the trails up Bear and South Boulder Peaks were flooded and badly damaged. These trails have been partly restored.
Flood Damage in Shadow Canyon
There are several routes up South Boulder Peak. My favorite trail starts at the South Mesa Trailhead on Eldorado Springs Drive and runs up Shadow Canyon, between Bear and South Boulder Peak.
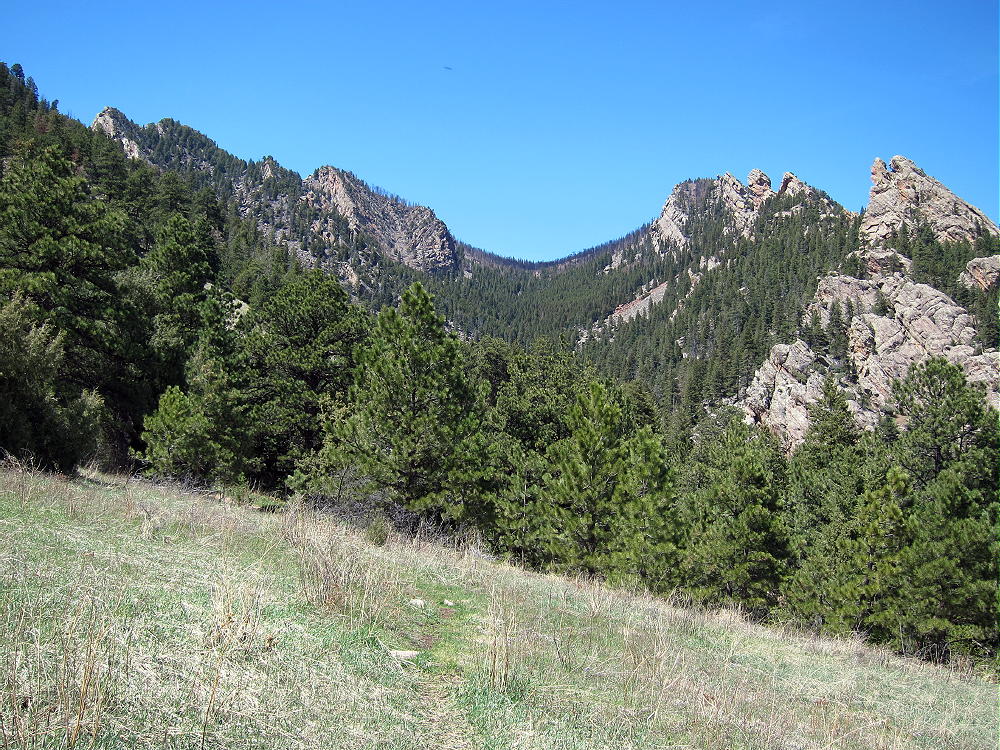
Shadow Canyon between South Boulder and Bear Peaks
The efficient Shadow Canyon Trail runs behind the huge Devils Thumb formation, and it’s an interesting hike up to the saddle between the twin peaks. The total round-trip distance from the trail-head to the top of South Boulder Peak is about 8 miles , with about 3000 vertical feet of gain.
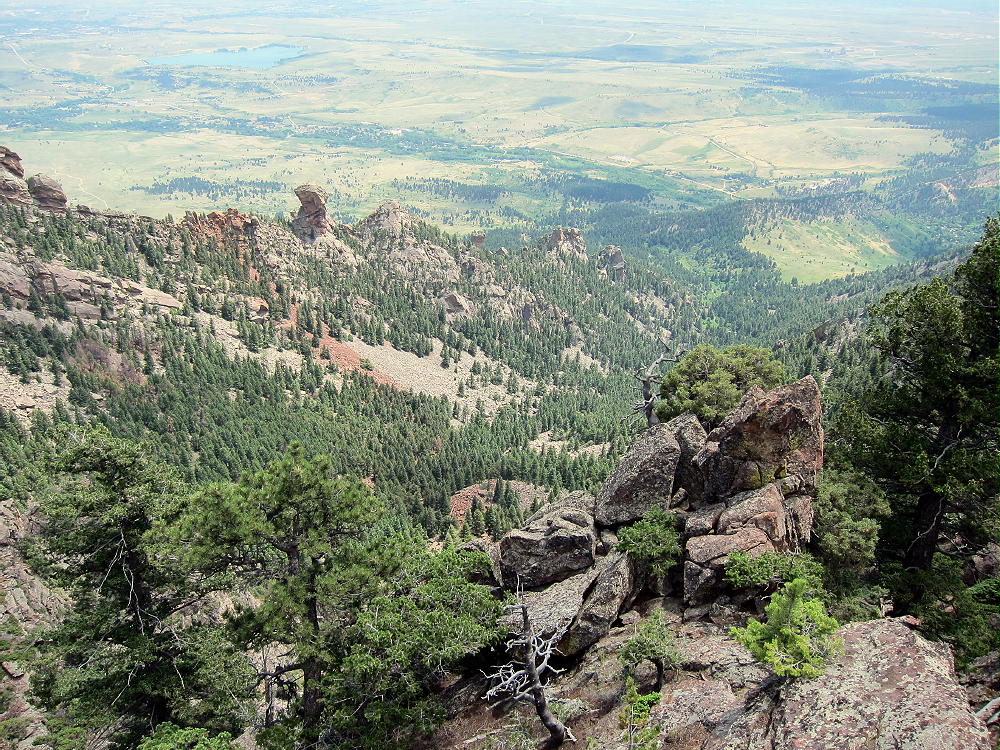
Shadow Canyon from South Boulder Peak
Drive to Boulder and take Highway 93 south. About 1 mile south of the city limits, turn west on Highway 170, Eldorado Springs Drive. Continue west for about 2 miles to the South Mesa Trailhead on the north side of the road. Park at the trailhead or across the highway; parking is limited, so get there early. A fee is charged for cars not registered in Boulder County.
Hike northeast up the Mesa Trail, a dirt road in this part of the Park, and follow it to the Shadow Canyon Trail, also a dirt road. Stay on the road for about a mile, and just past the second of two old cabins, cross the creek, and enter the narrow part of the Canyon. The trail becomes a path and then gets steeper. Here’s a good map of the trails.
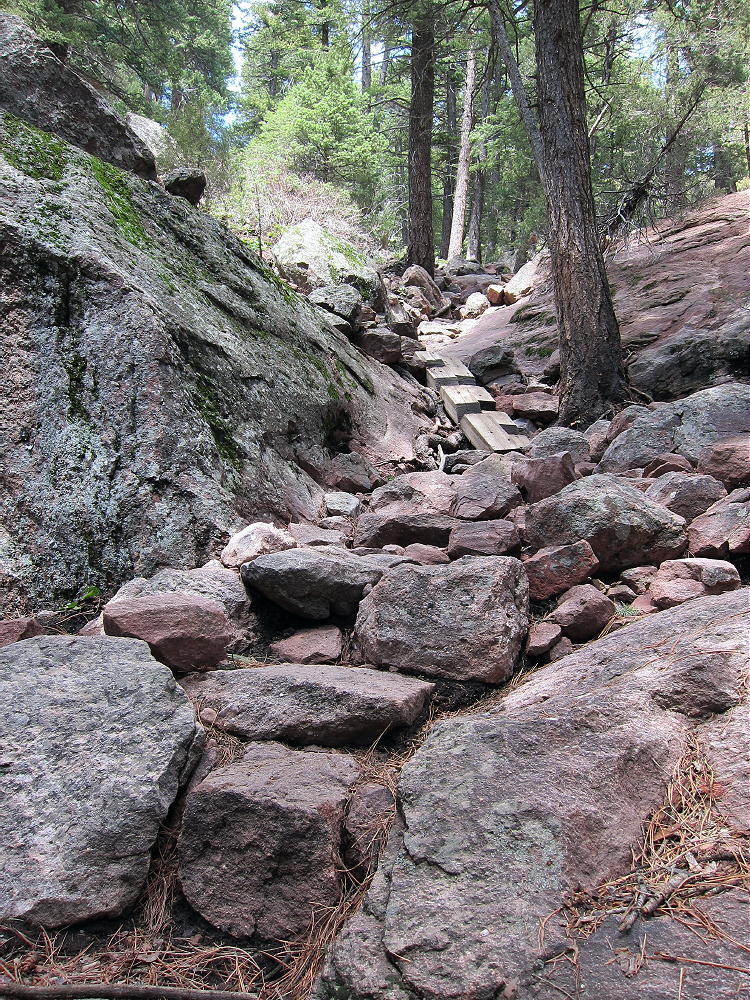
The route up Shadow Canyon is lush and shady at first; in the morning it’s cool and pleasant. The Canyon lives up to its name if you’re there early or late in the day. The trail gains altitude rapidly, and some sections are steep and rocky.
Shadow Canyon Trail with Rock Steps
There is flood damage, but the route is not hard to follow; the path stays near the center of the canyon all the way up. Soon the Devils Thumb looms high above.
Devils Thumb from Shadow Canyon
Gradually the trail ascends above the Thumb, and there are a few short switchbacks to ease the grade. Burned trees and more flood damage appear in the upper part of the Canyon. Eventually the trail comes to a T-intersection at the burned-up saddle between Bear and South Boulder Peaks.
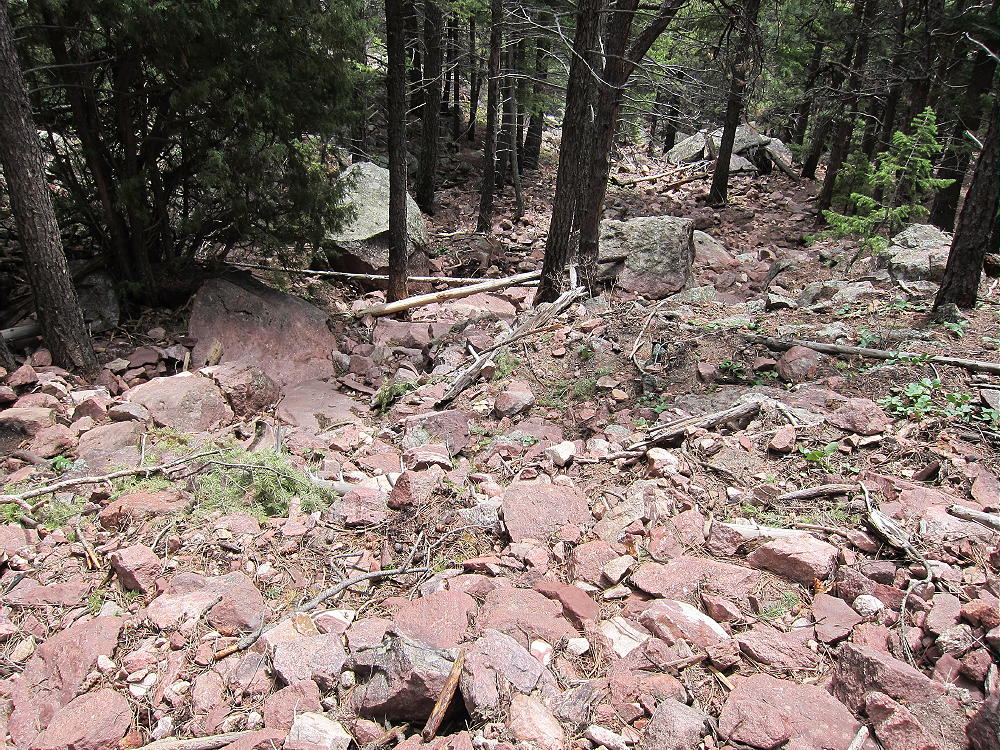
All the trees are dead, and a stark black ghost forest stands on the rocky slopes. Take the marked left fork and head west toward South Boulder Peak. The trail leads up through large rocks, and it’s hard to follow in spots, because much of the soil is gone. The path climbs more steeply and approaches the summit ridge, and the Peak is a short distance south over the rocks.
Burned Area Below South Boulder Peak
This was once a very beautiful spot, and there is a sense of tragedy about the place now. Some new growth has started, and in a few decades perhaps it will be nice again. I still have memories of picking blackberries up here – years ago – with one of my sons.
North Summit Ridge of South Boulder Peak
The activation zone is large, and it’s easy to set up east or north of the summit. Weather is very tricky on Bear and South Boulder Peak – these prominent summits create their own cumulus clouds and generate lightning storms! In April 2014, with clouds building, I set up about 60 feet below the summit, well down the slope, and I still had a fine activation, with just a 20-foot pole and an end-fed 67 foot wire running down the slope to the east! In July 2013 I set up north of the summit, out near the end of the ridge; I hung a 20M dipole from a dead tree and had a great first activation!
South Boulder Peak Summit
South Boulder Peak First Activation
South Boulder Peak First Activation Gear
South Boulder Peak Antenna Below Summit
There are enough visitors on South Boulder that setting up away from the popular summit is a good idea. People and dogs don’t mix well with HF antennas. This peak is so prominent that you’ll have a fun time anywhere in the activation zone. VHF/UHF coverage is impressive as well, although Bear Peak blocks the path northeast.
RED TAPE:
Please be aware that there are special rules that apply in the Boulder Mountain Park. The land west of the Bear Peak – South Boulder Peak ridge-line is part of a Habitat Conservation Area (HCA). These places are “off limits”, unless you get a special permit online. If you plan to hike in the HCA, get a permit. It is not necessary to enter the HCA to activate South Boulder Peak.
In my opinion the HCA rules are excessive and unnecessary. With South Boulder and Bear Peaks so heavily damaged by fire and floods, it’s apparent that the real enemies of the Habitat are Mother Nature Herself, not hikers and other visitors. The severe environmental damage caused by recent natural disasters is millions of times more severe than all the visitor impacts since men began to climb these mountains. I’ve been here long enough to see the whole cycle, and I think it’s incredible that we have these excessive regulations, created by well-meaning people who seek to minimize the relatively minor impact of hikers. The fires and floods have overturned their logic.
There are other interesting trails up South Boulder Peak:
1) The Fern Canyon Trail climbs the east side of Bear Peak – there is a connecting trail from Bear Peak to South Boulder Peak. A trailhead at the top of Lehigh Drive in the Table Mesa neighborhood of Boulder provides access to the Shanahan Ridge Trail, which leads west to Fern Canyon; or start at the NCAR parking area.
2) The Bear Peak West Ridge Trail climbs Bear Peak’s back side. This trail connects to the Bear Canyon Trail. Start at the NCAR parking area, or at the top of Lehigh Drive to access Bear Canyon.
3) A nice loop hike connects the Fern Canyon climb of Bear and South Boulder with the Shadow Canyon Trail. After climbing South Boulder, descend most of Shadow Canyon; at the upper cabin in Shadow Canyon, follow the Shadow Canyon North trail east, across a low ridge. This short-cut connects to the popular Mesa Trail, which leads back toward the Lehigh and NCAR trailheads.
4) It’s possible to do a dual activation of Green Mountain and South Boulder Peak, starting at the Green Mountain – West Ridge Trailhead near the high point of Flagstaff Road. There are good connecting trails all the way. The total distance is around 10-12 miles, and the vertical gain is about 2800 feet. The low point is at 7200 feet in upper Bear Canyon. This would take most of a good day, as well as plenty of water.
However you climb it, South Boulder Peak is an exciting, prominent SOTA peak with good access. It should have a long list of activations!
73
George Carey Fuller
KX0R
Rain Shower West of South Boulder Peak
View South from South Boulder Peak
Devils Thumb from South Boulder Peak
View of Continental Divide West of South Boulder Peak
Pasque Flowers near Shadow Canyon Trail in April
!! WARNING !! There are old mountaineers, and
bold mountaineers… there are no old-bold mountaineers.
Hiking and mountain climbing are potentially hazardous activities particularly in Colorado with its extreme elevations. I am not accepting responsibility for any death or injury resulting from activations based on my trip reports. Proper training, experience, and personal capability assessment is required – enjoy!


 !! WARNING !! There are old mountaineers, and
bold mountaineers… there are no old-bold mountaineers.
Hiking and mountain climbing are potentially hazardous activities particularly in Colorado with its extreme elevations. I am not accepting responsibility for any death or injury resulting from activations based on my trip reports. Proper training, experience, and personal capability assessment is required – enjoy!
!! WARNING !! There are old mountaineers, and
bold mountaineers… there are no old-bold mountaineers.
Hiking and mountain climbing are potentially hazardous activities particularly in Colorado with its extreme elevations. I am not accepting responsibility for any death or injury resulting from activations based on my trip reports. Proper training, experience, and personal capability assessment is required – enjoy!