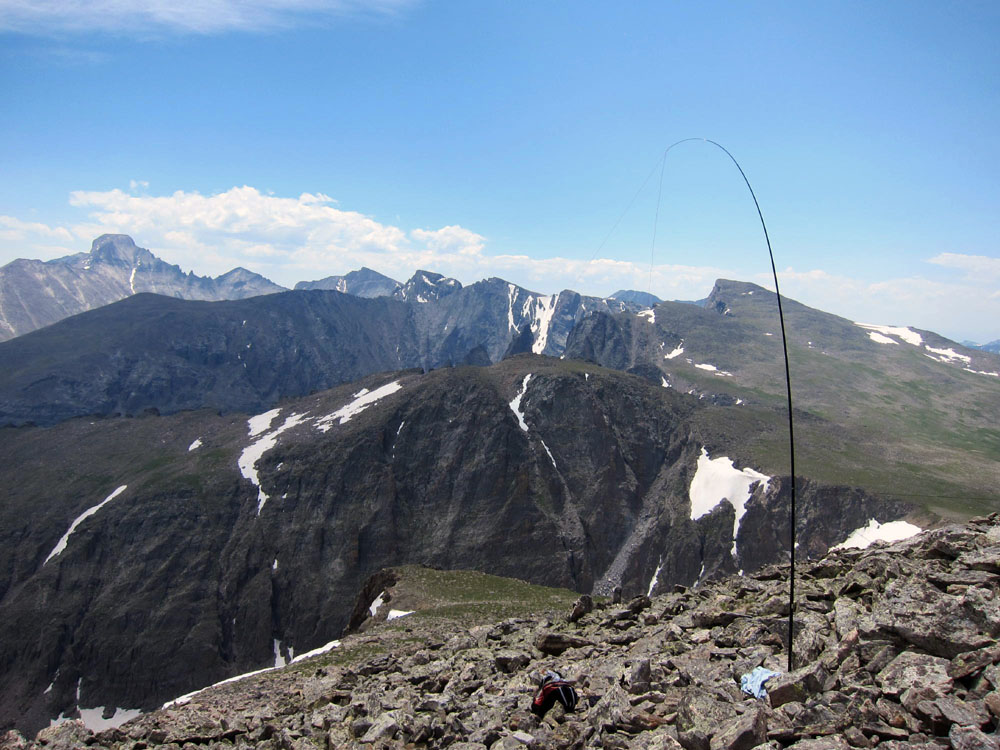
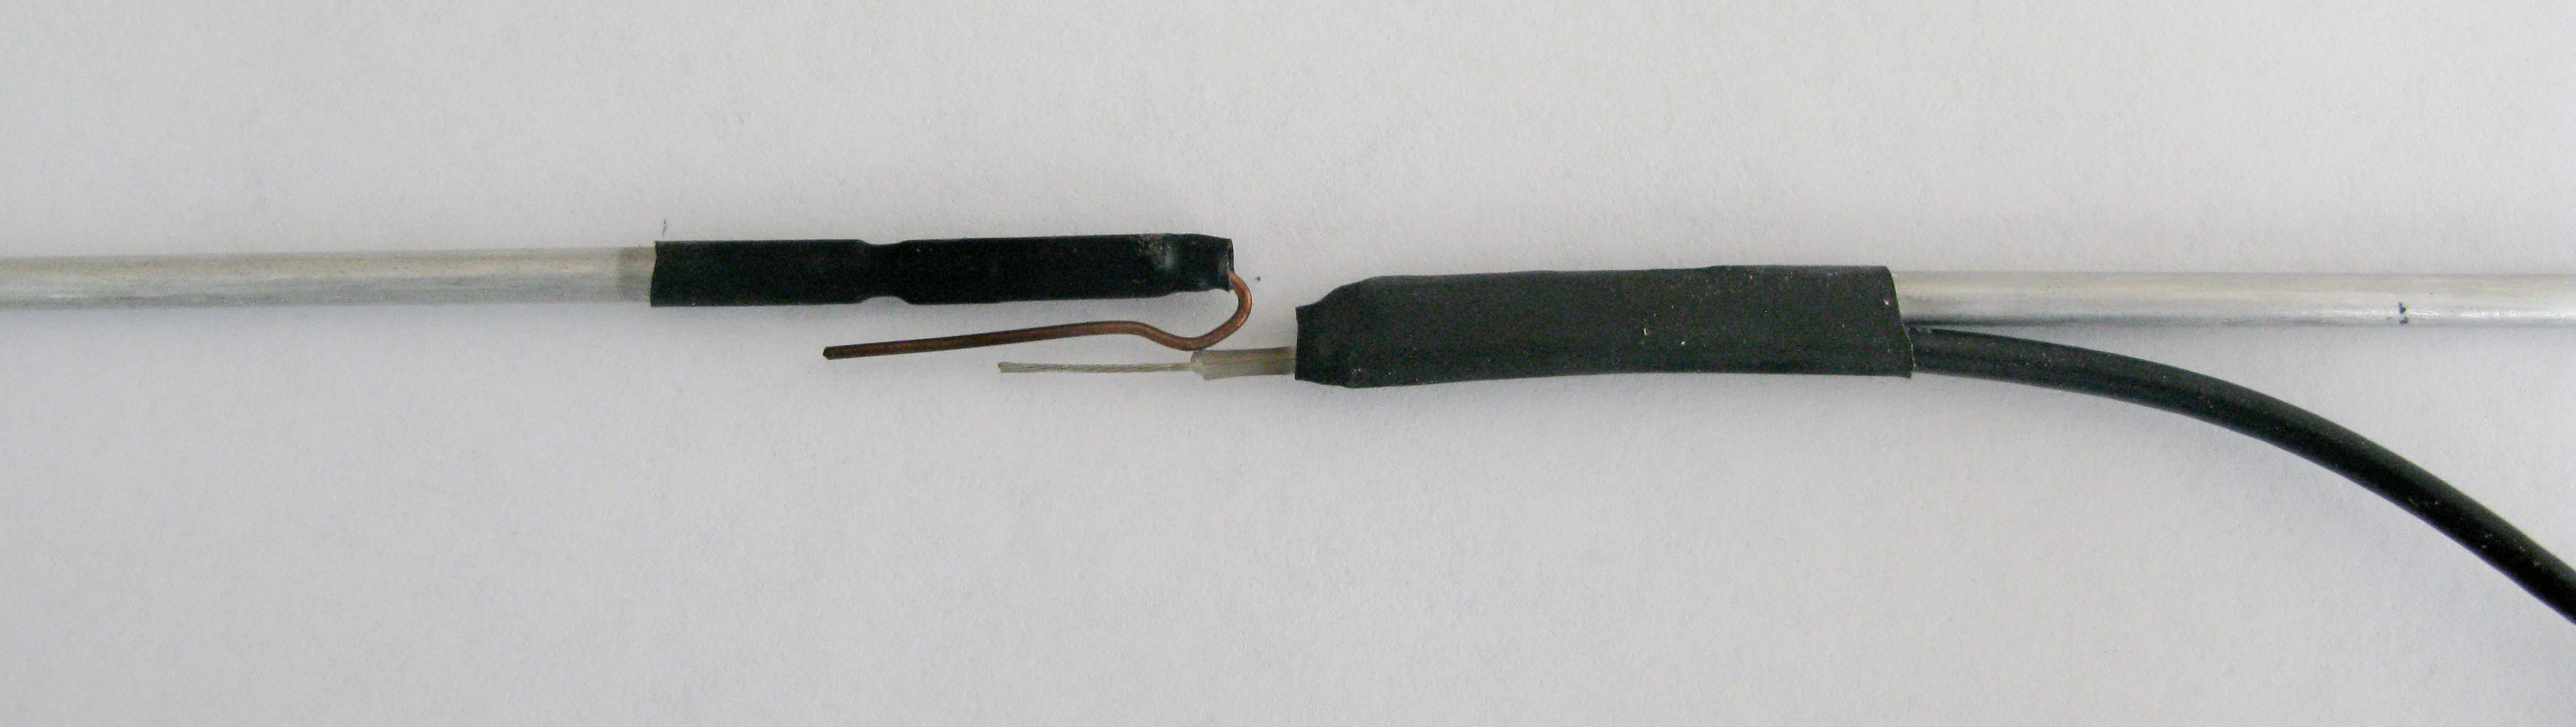
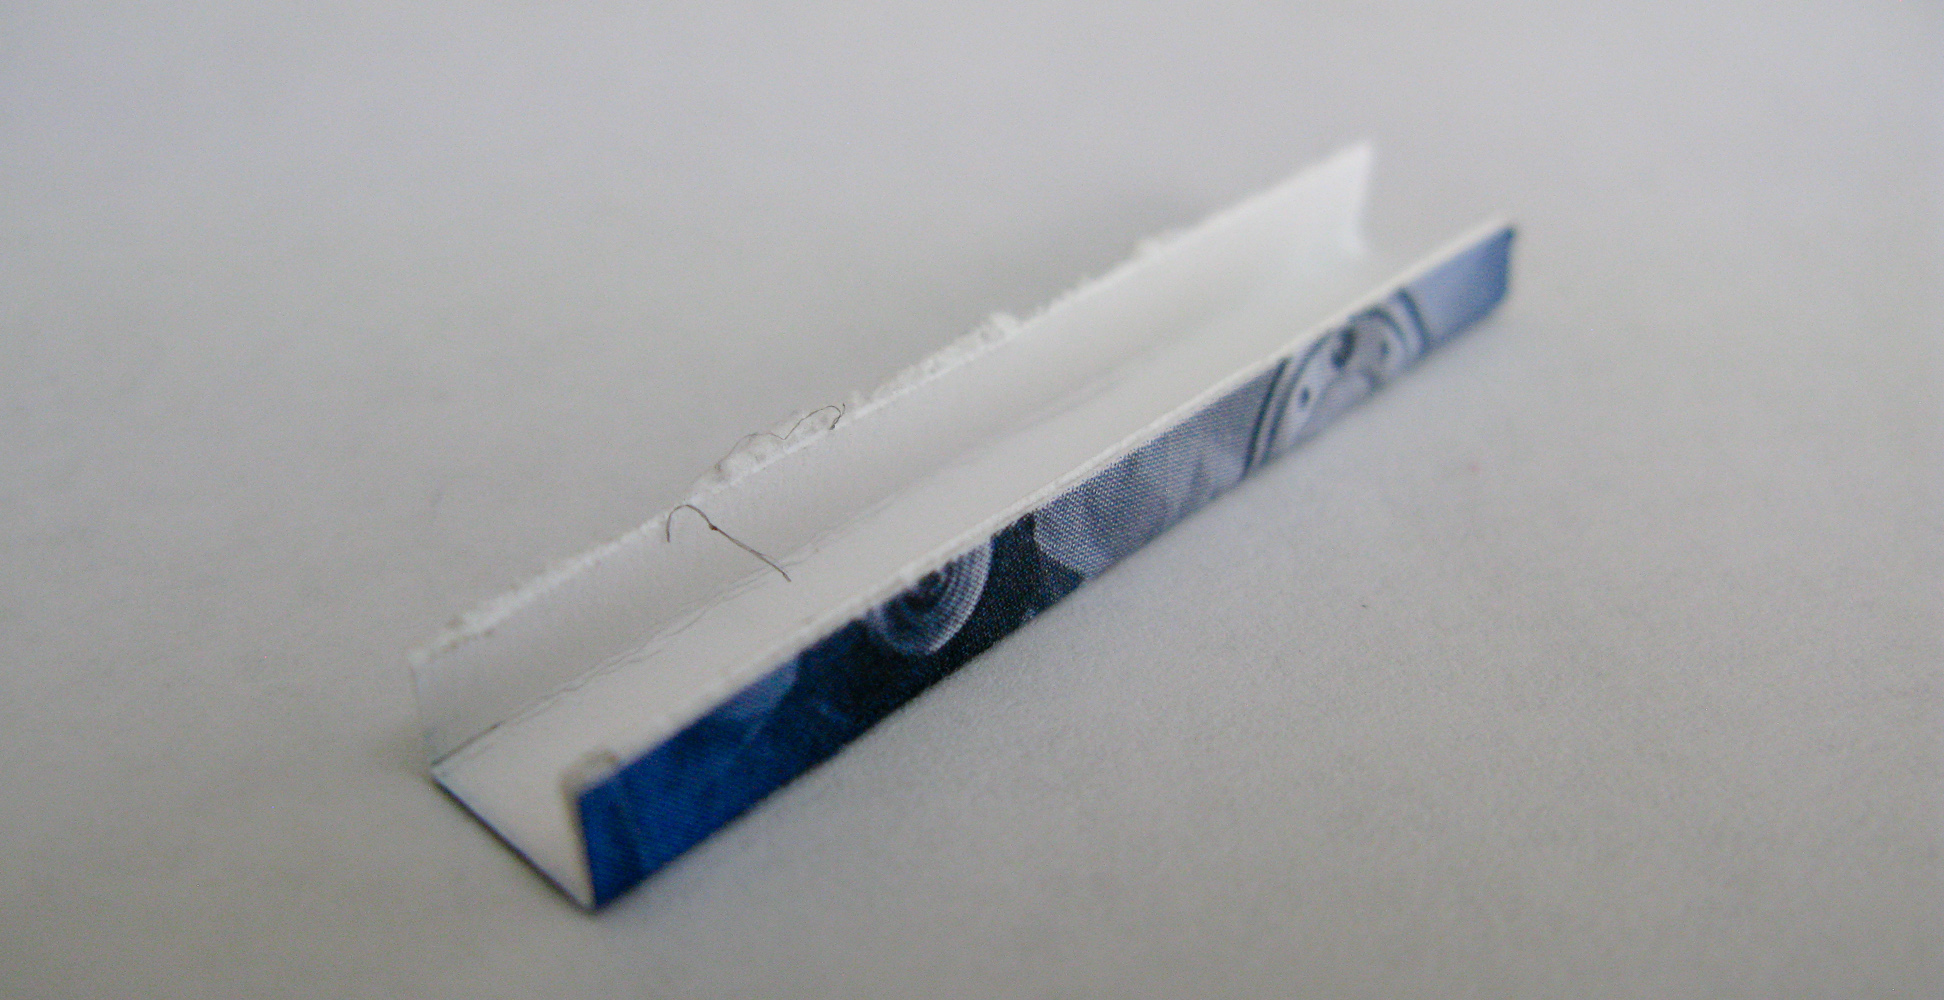
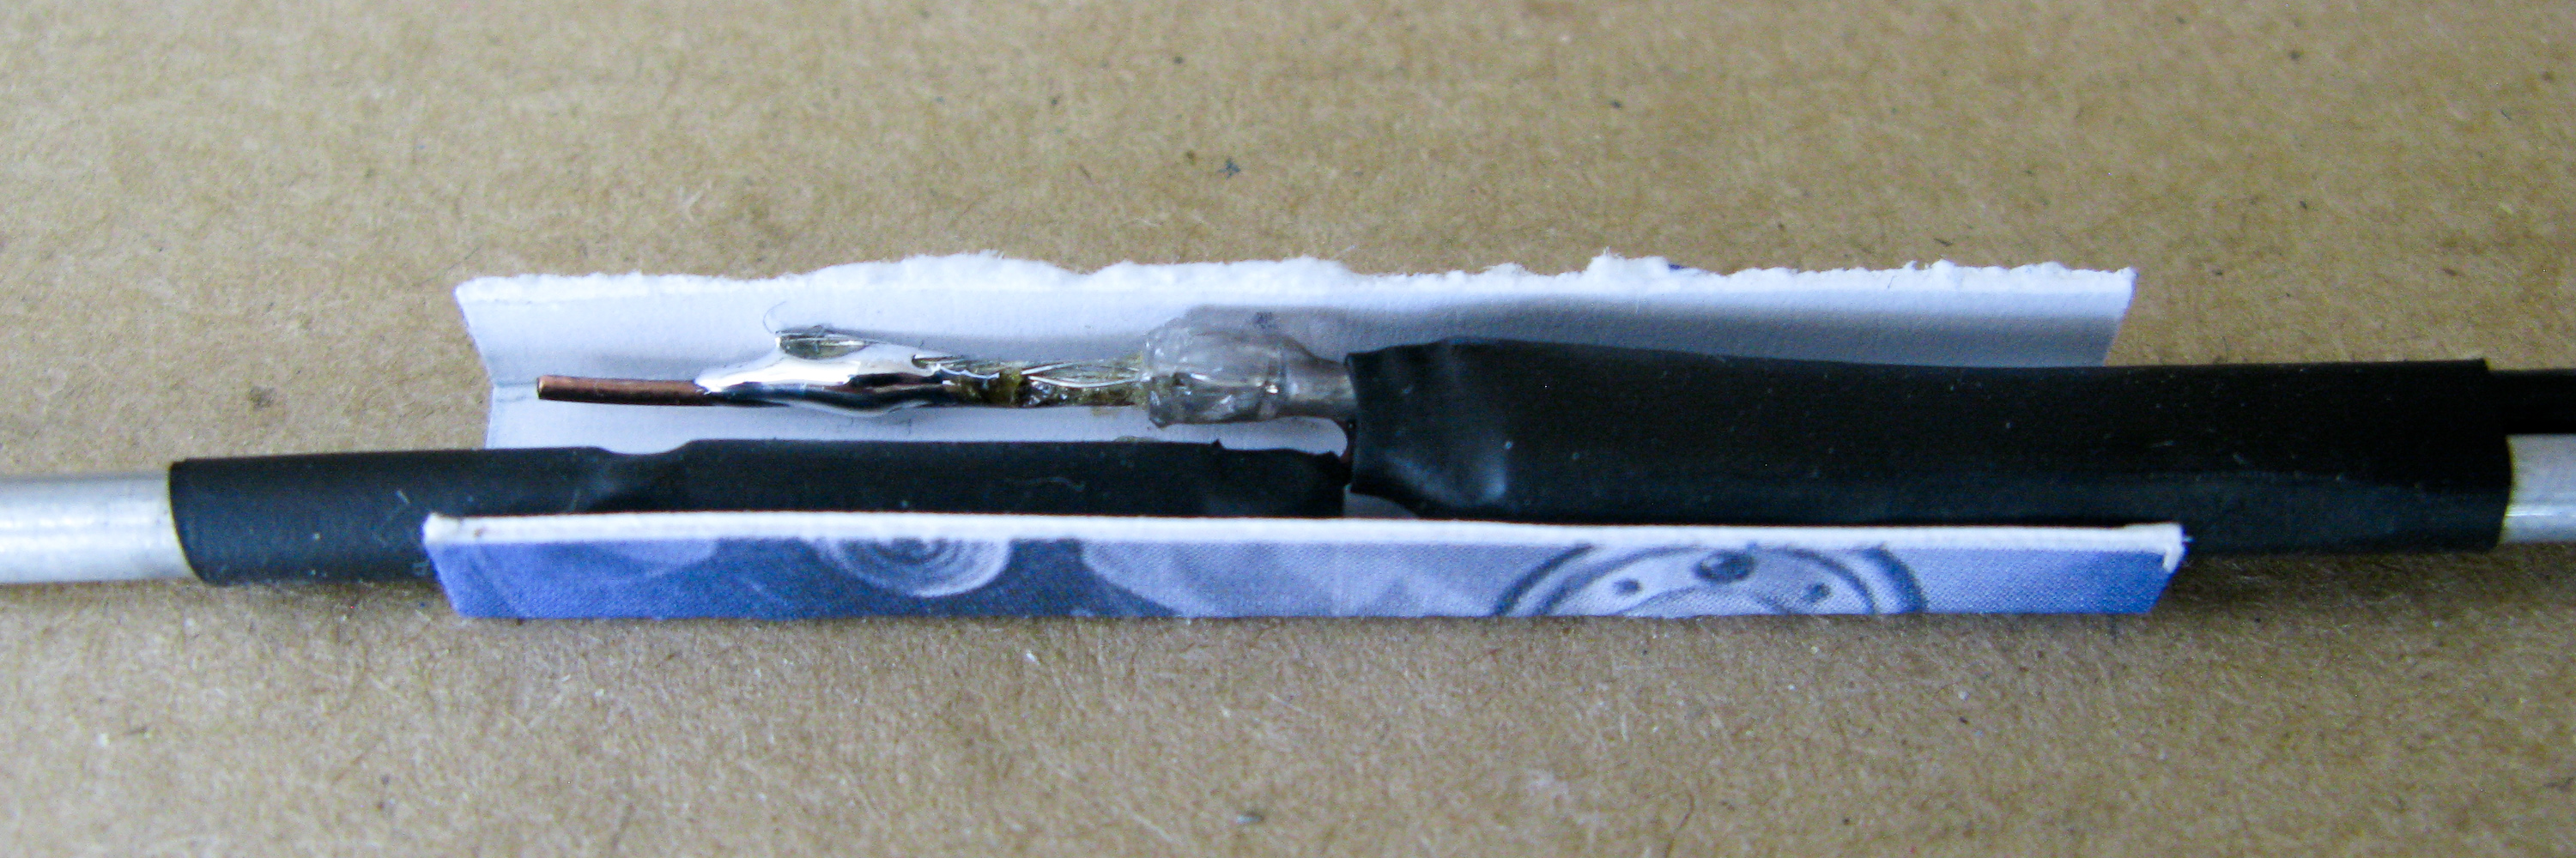
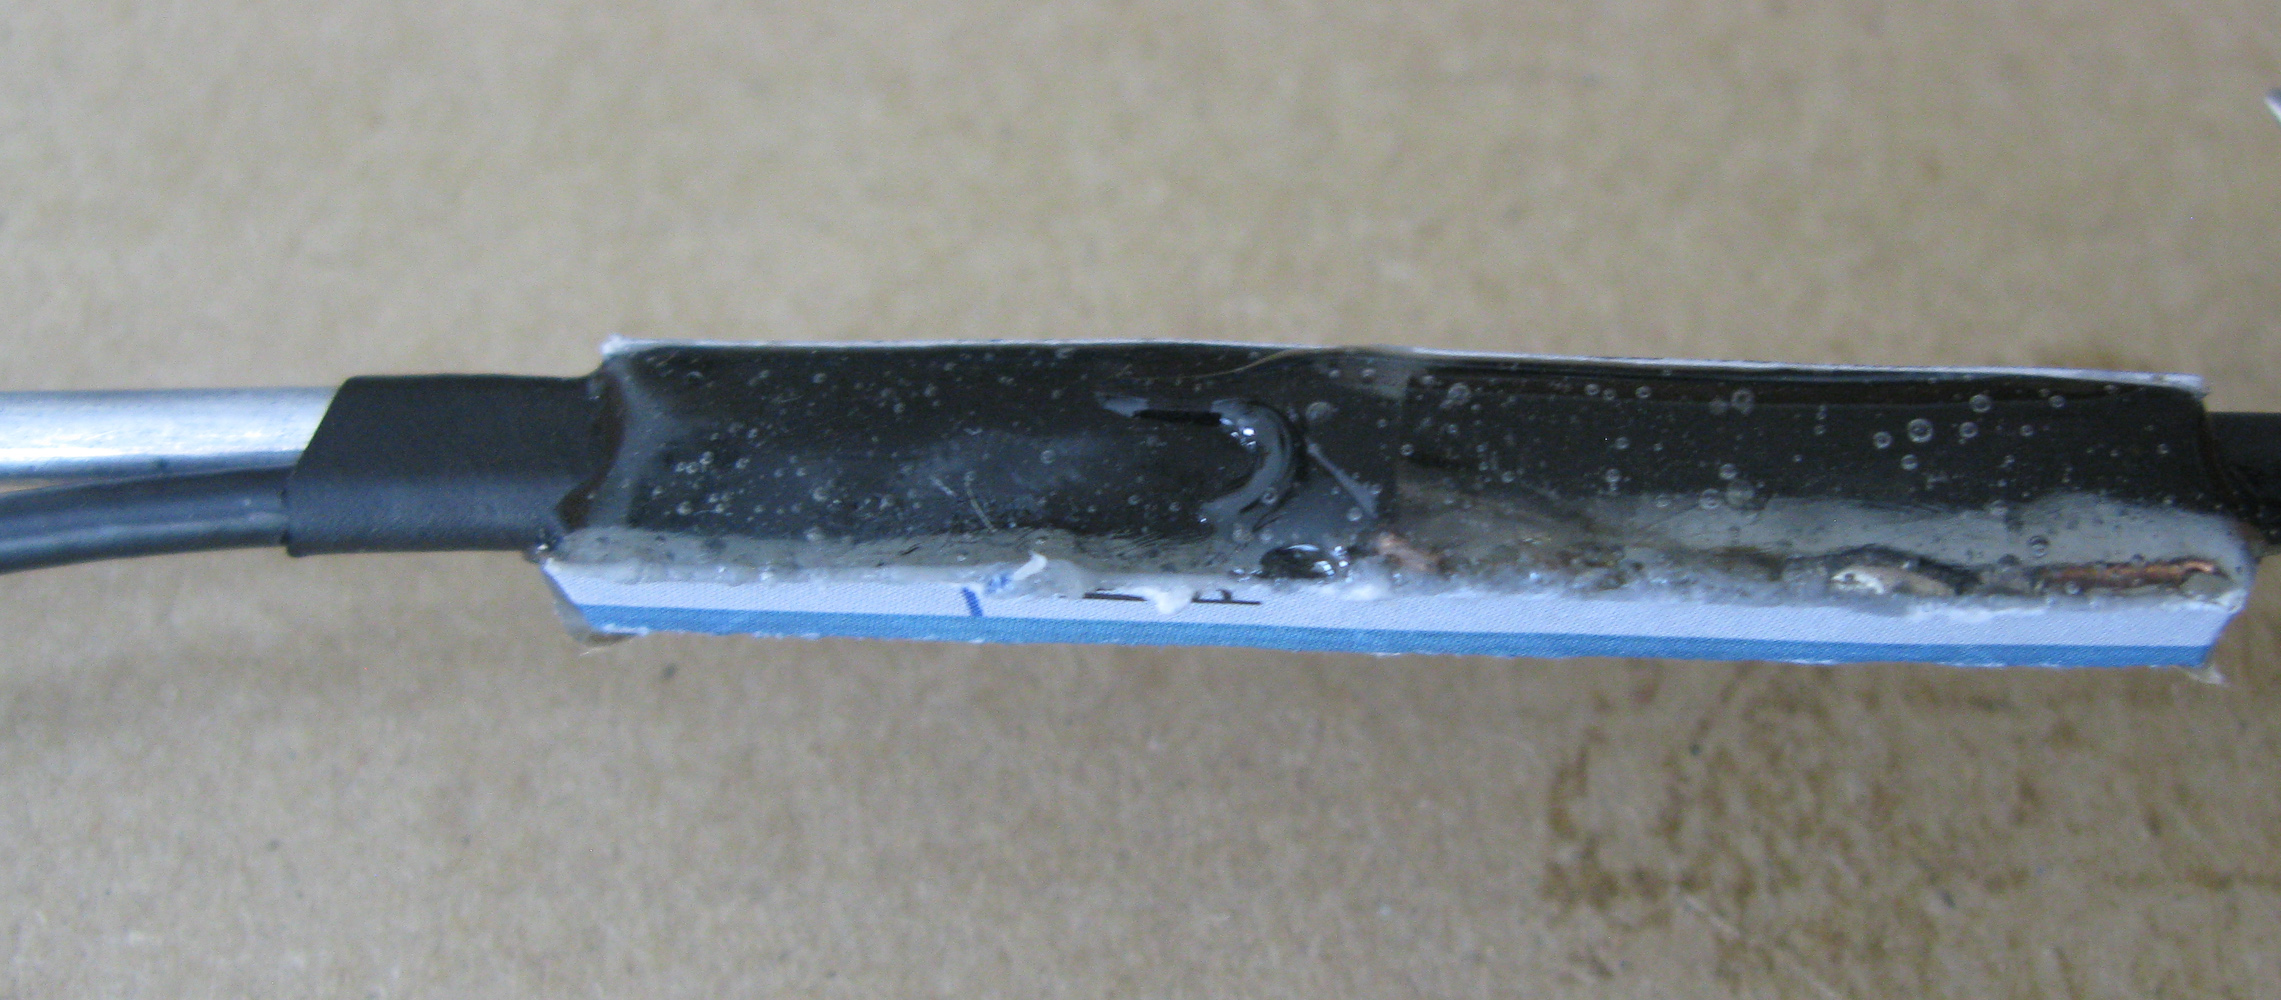
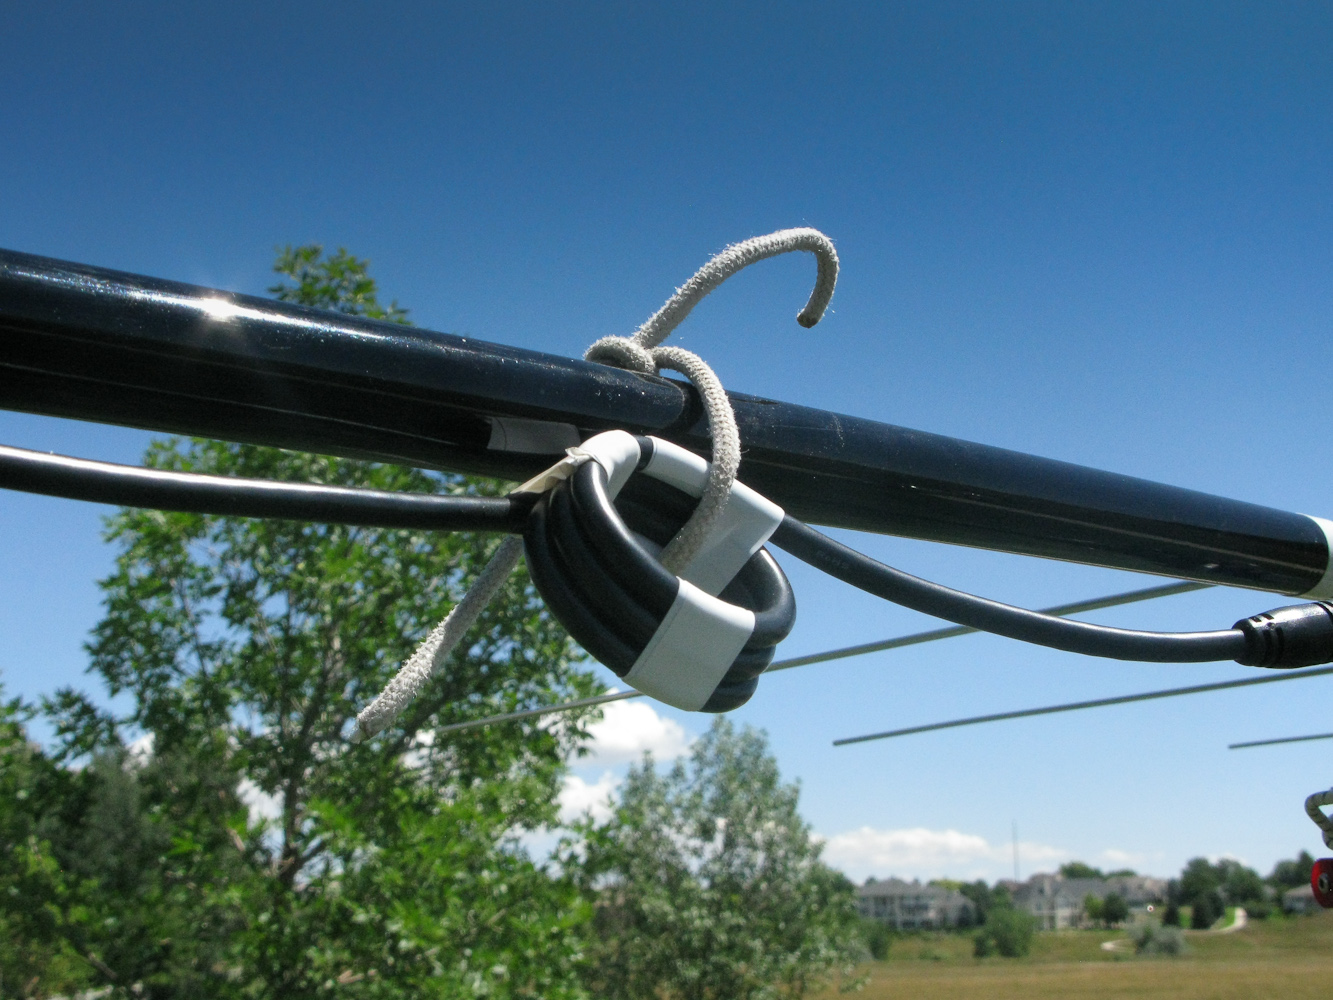
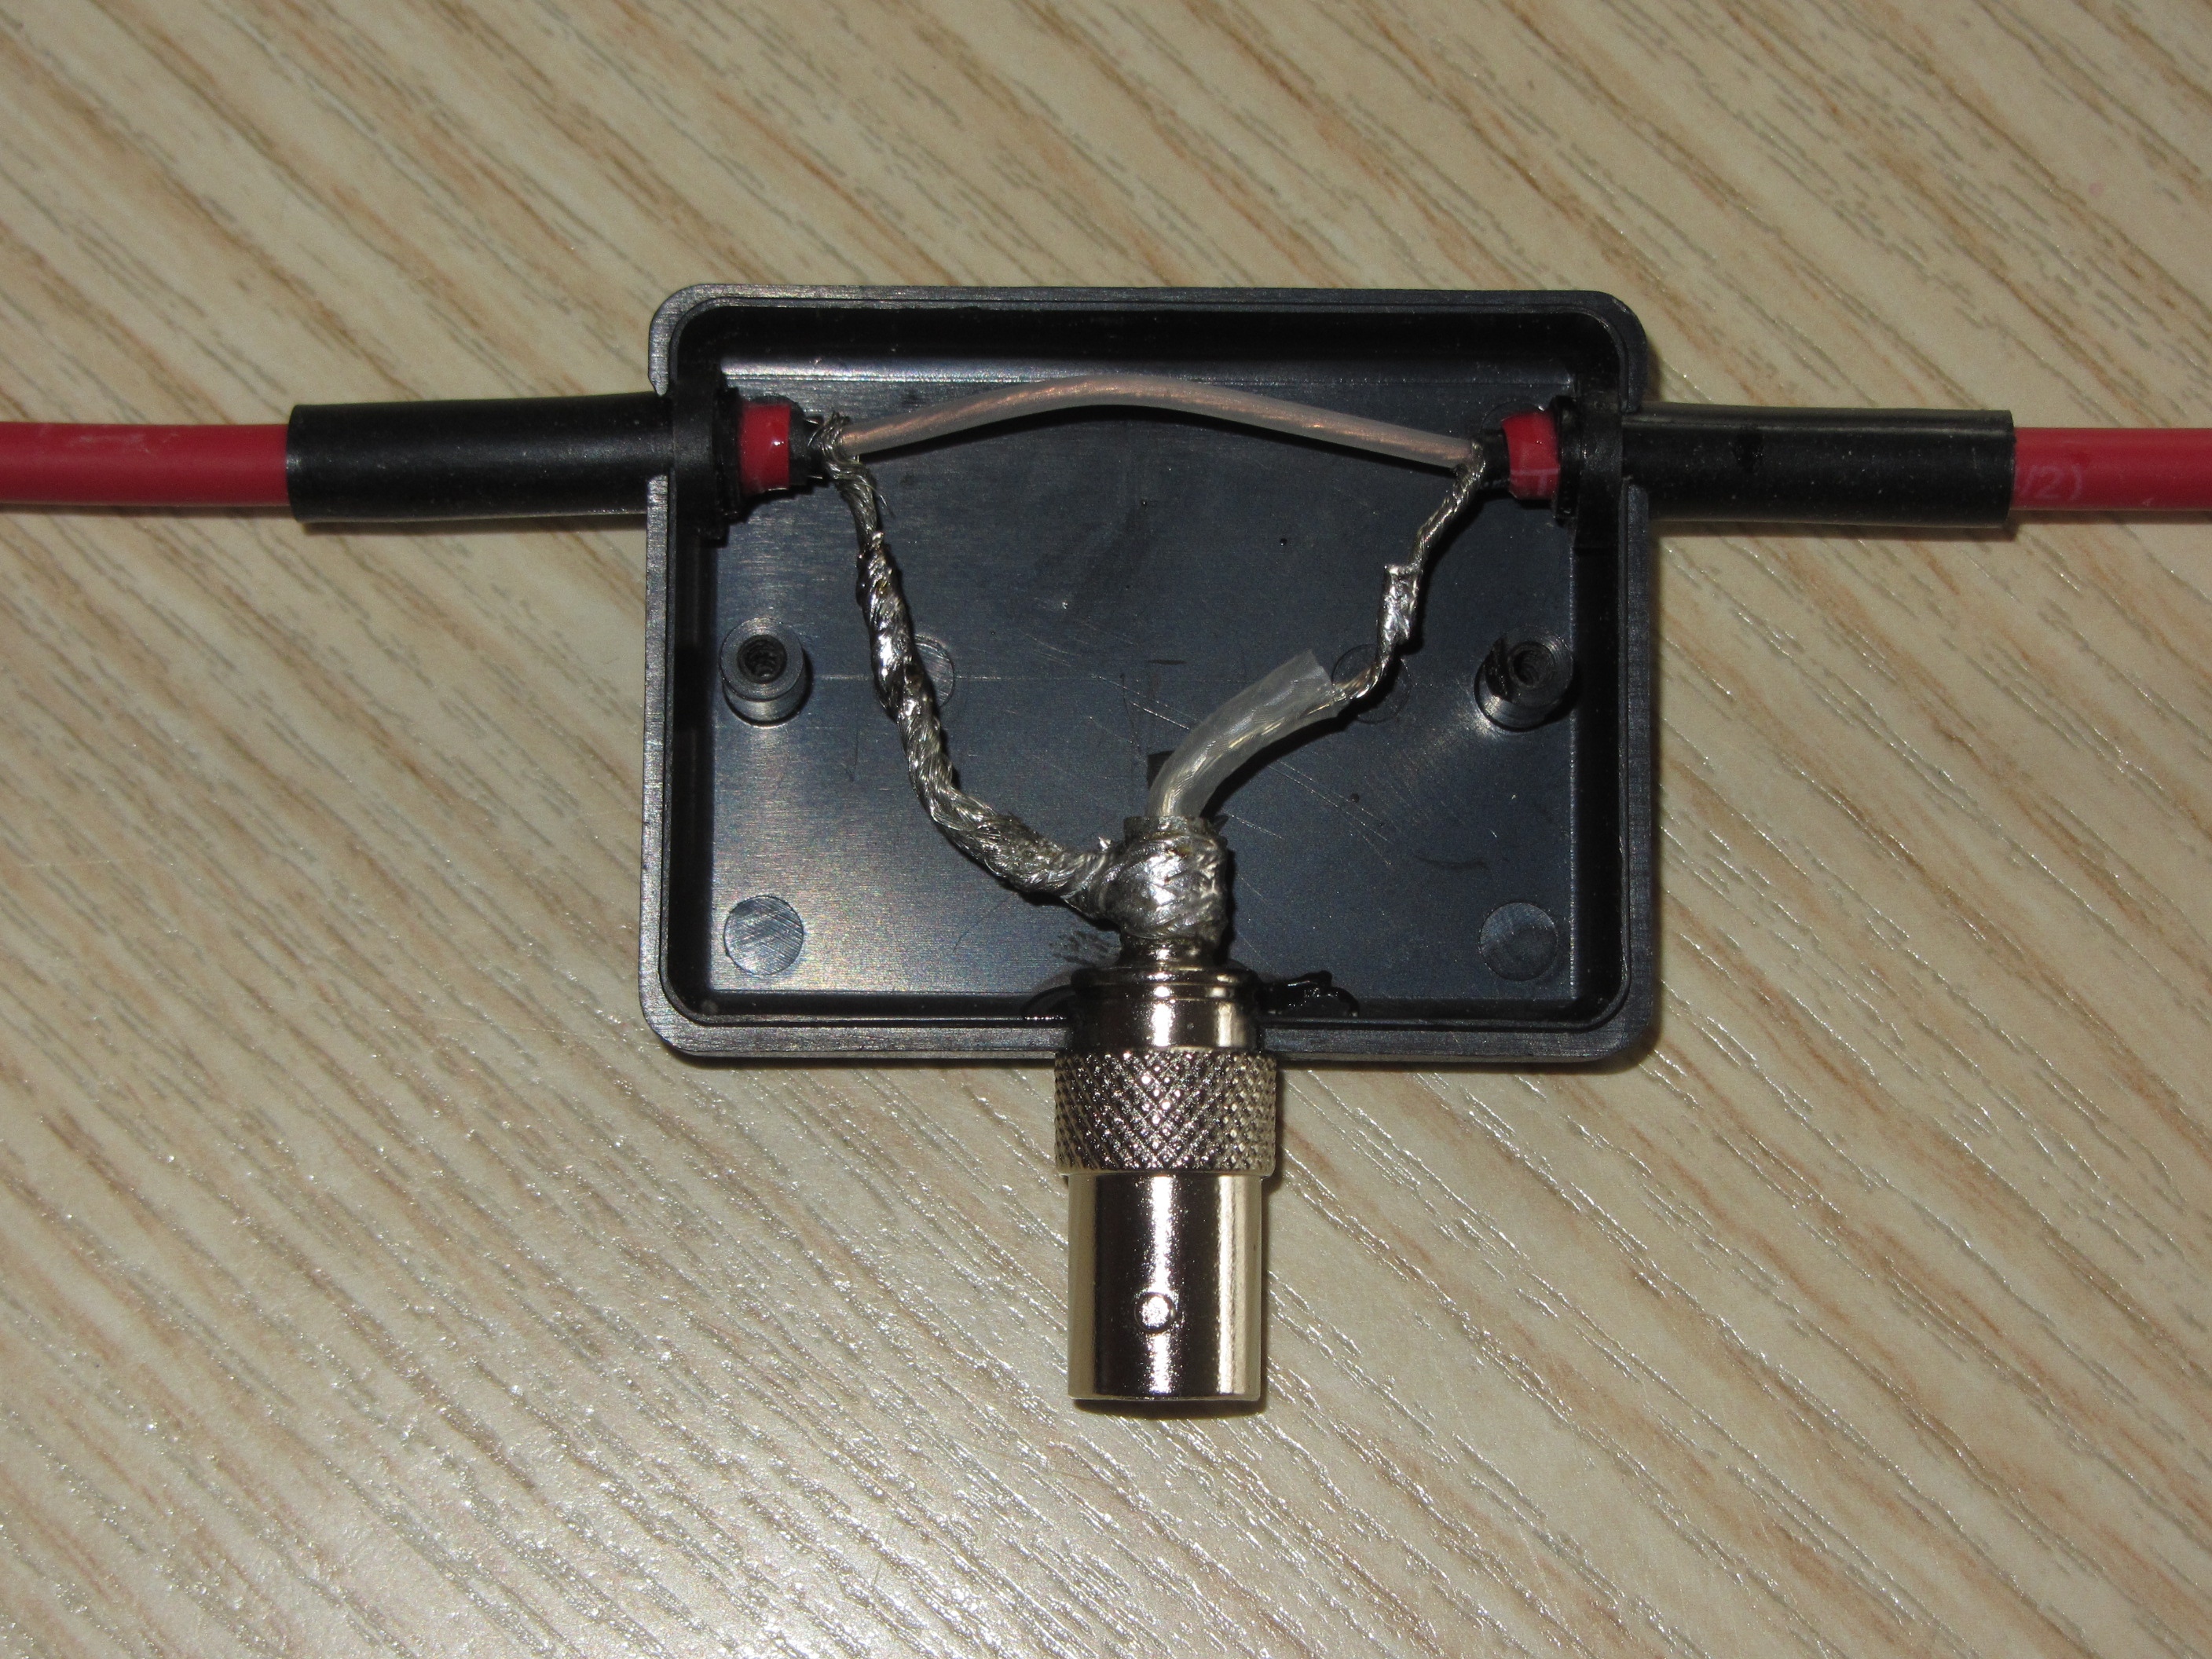
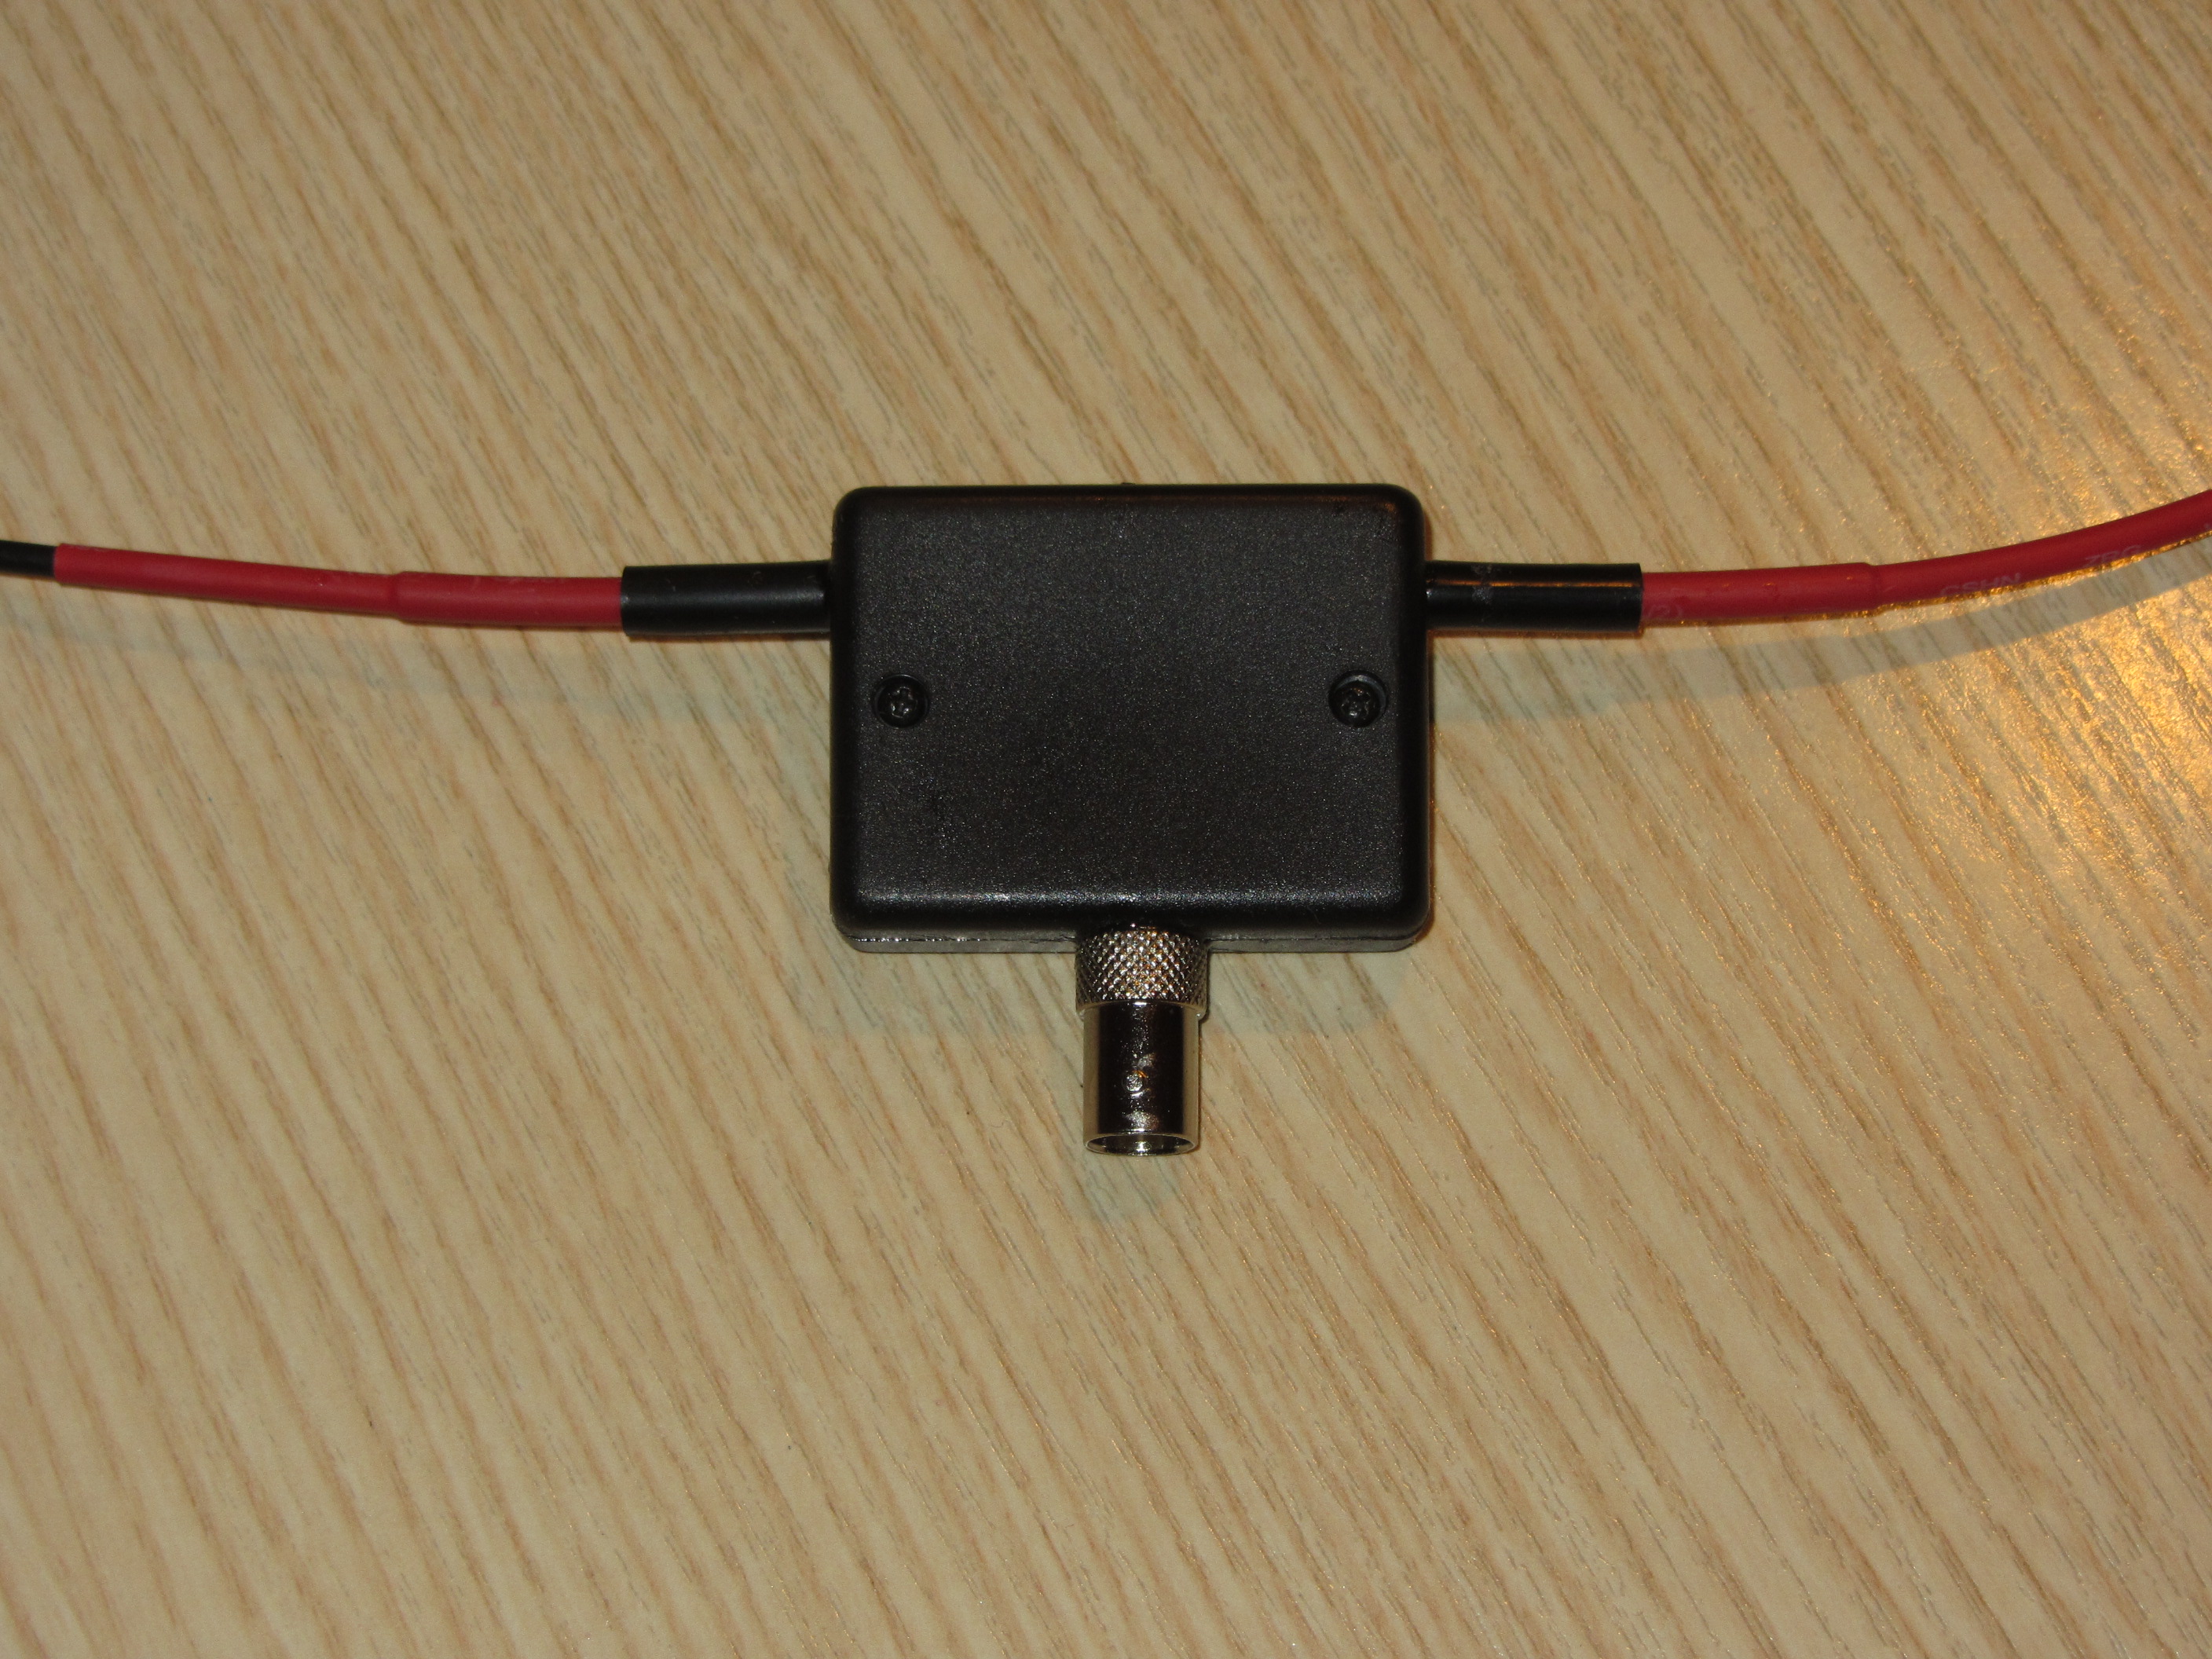
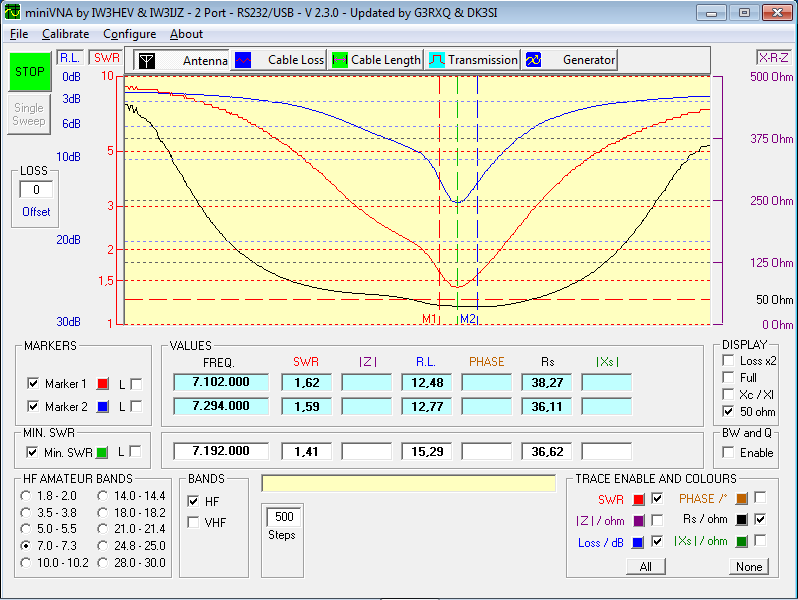
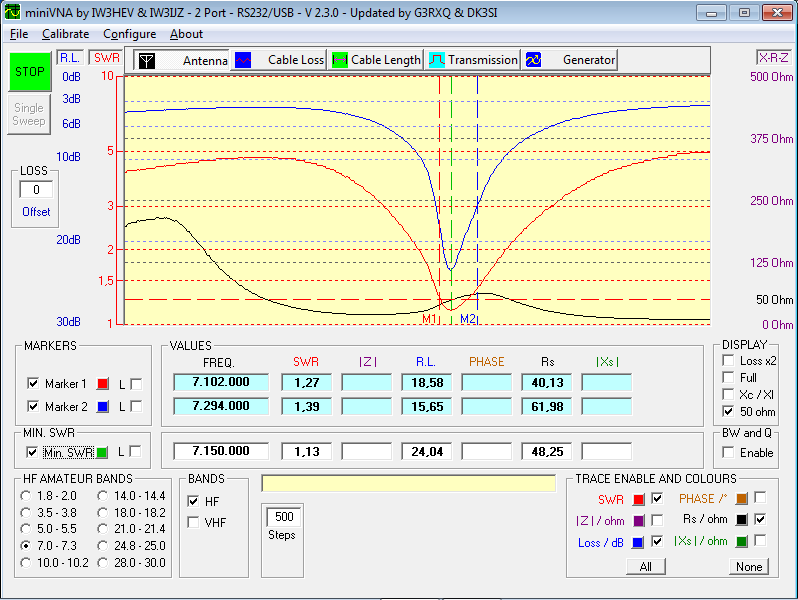
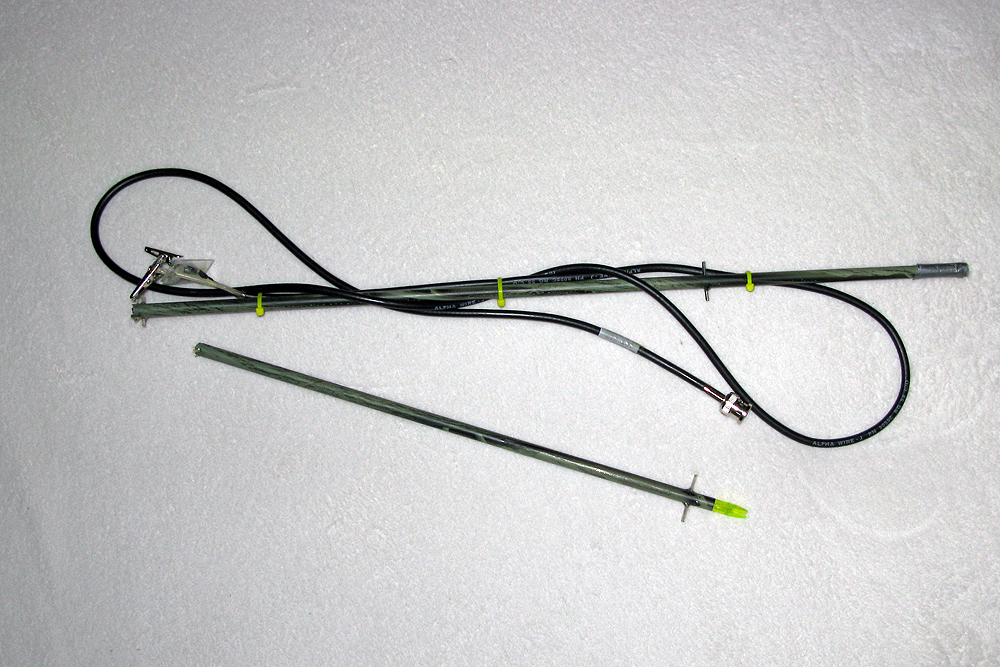
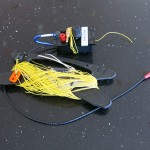
Homebrewed linked EFHW (10-20m), SOTAbeam tuner, 18ft fiberglass fishing rod
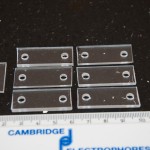
Acrylic Insulators
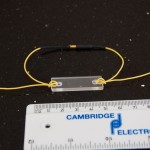
links with mini bullet connectors
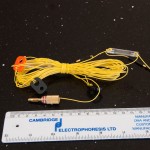
antenna on a kite winder with tuner
deployed linked EFHW
!! WARNING !! There are old mountaineers, and
bold mountaineers… there are no old-bold mountaineers.
Hiking and mountain climbing are potentially hazardous activities particularly in Colorado with its extreme elevations. I am not accepting responsibility for any death or injury resulting from activations based on my trip reports. Proper training, experience, and personal capability assessment is required – enjoy!
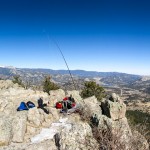
For activating summits without trees, we usually need to bring a support for an HF antenna. The most common tool is a collapsible fiberglass pole. There are many types of poles available, and they have their pros and cons.
Black Widow Pole Guyed on Hallett Peak
1) Tall, strong poles are available, but they are heavy and impractical in high winds
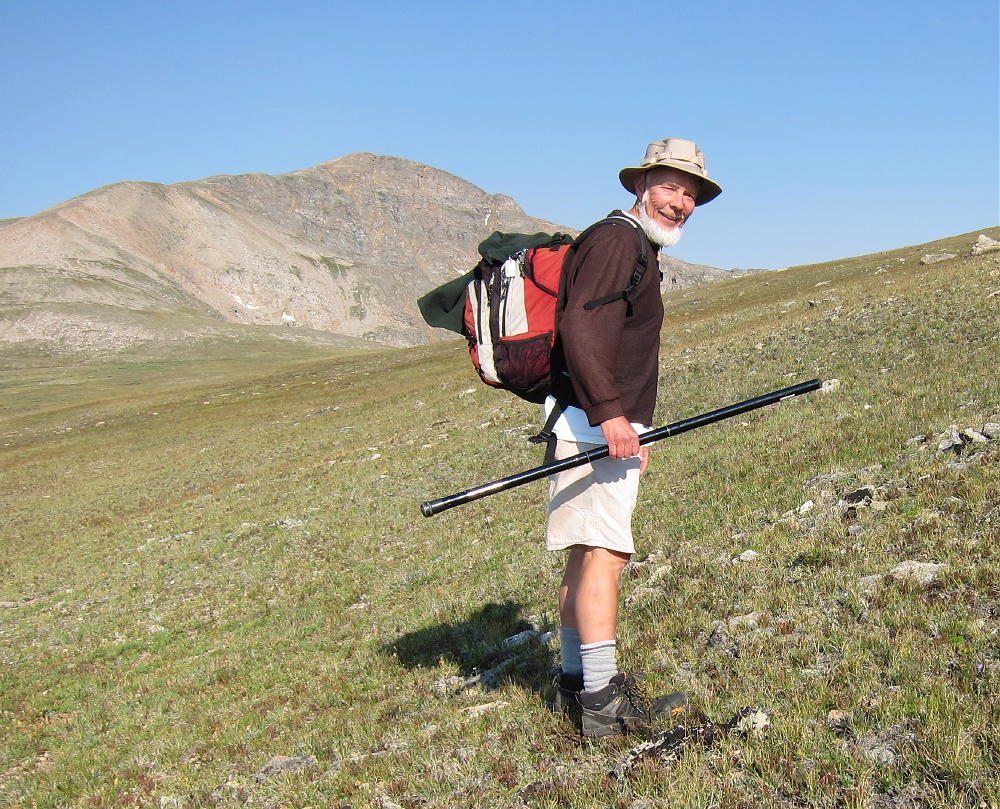
2) Inexpensive large fishing poles and banner poles are practical, but they are long when collapsed and may be awkward to carry in difficult terrain
KX0R Hiking up James Peak
3) Carbon-fiber (graphite) poles are shorter when collapsed and easy to carry in rough country; but they are expensive and easily damaged, and they work best with very thin wire
There are many ways to support an antenna pole. The tips here will work on most high summits.
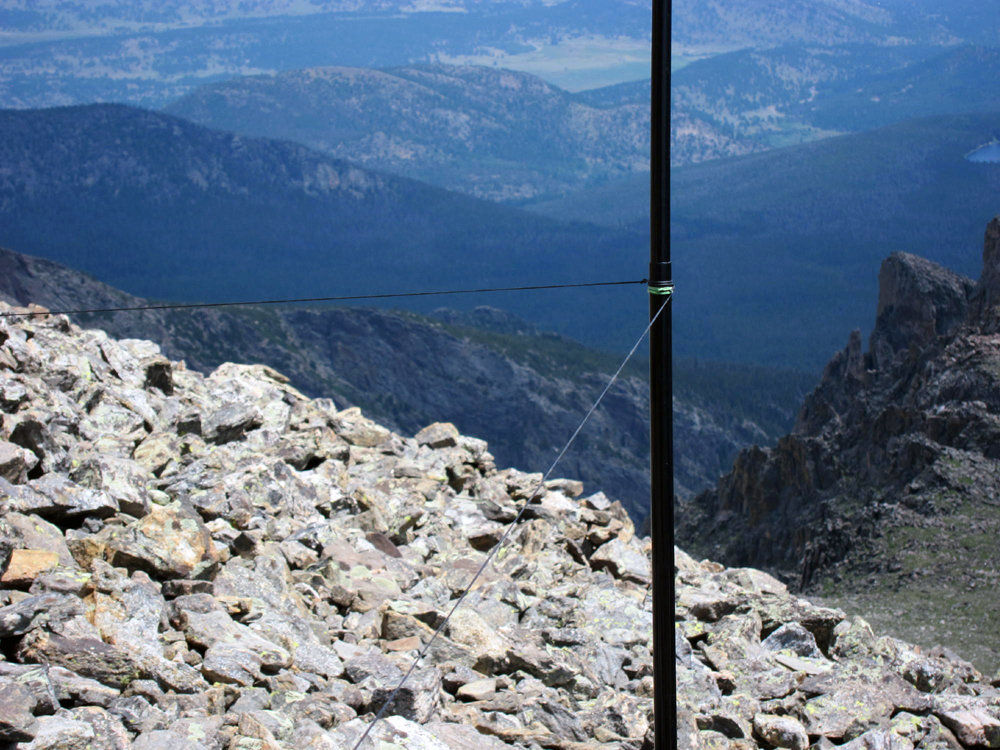
My simple guying “system” started when I did summits like Green Mountain south of
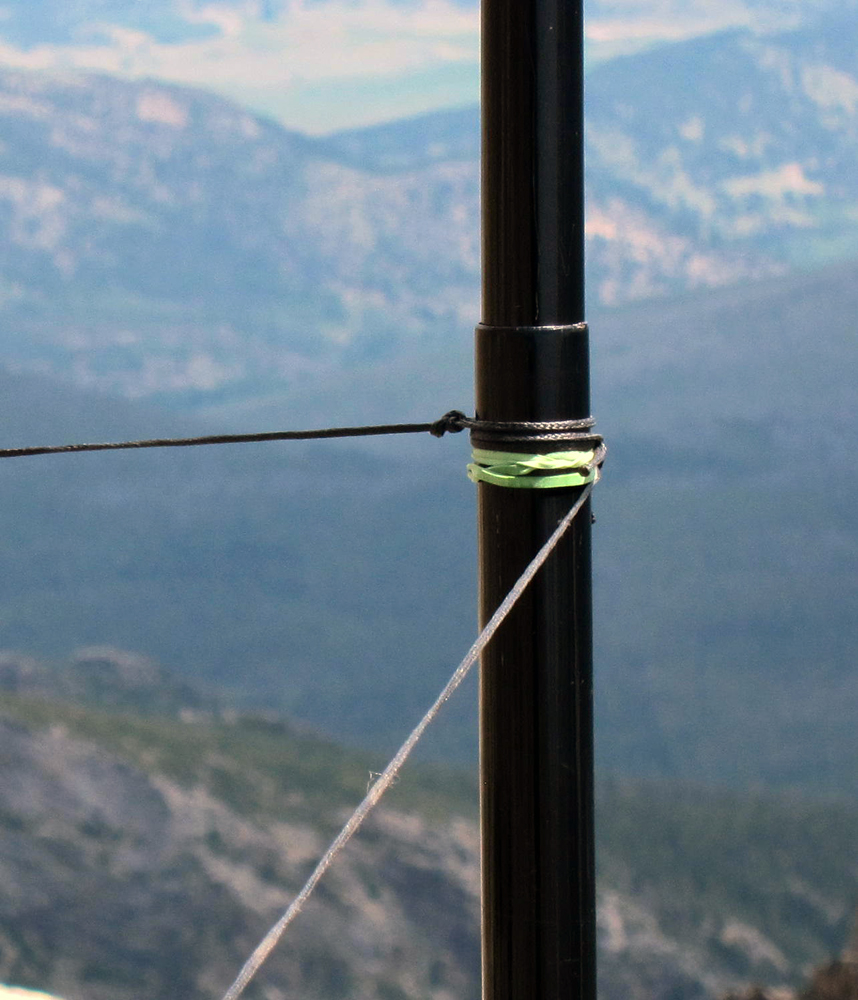
Golden, and various high alpine peaks, where there may not be big rocks to lean a pole against. Small ropes don’t hold the slick pole well, unless they’re at a
right angle to the pole…which is not always possible.
A tight rubber band or two are put on below the first or second pole joint, so that the lines can hold the pole, even when they come down at an acute angle to the pole.
Each time I try this set-up I learn a little more.
Closeup – 1
Closeup – 2
It is essential that the bottom of the pole be in a hole, or surrounded by
rocks, so that it cannot flip up when the pole is under stress from wind and
the wire. The wire at the top tries to pull the bottom of the pole up. The
two guy lines are the fulcrum of a lever – the top of the pole tries to
pivot around the attachment point and flip up at the bottom, if the tension on the top
of the pole is high.
Make sure the bottom of the pole is sufficiently secure. It must be in a depression, or confined by rocks. The tension on the pole must not be excessive.
The beautiful part is that when the pole is up, it can be taken down in
seconds just by lifting it a couple of inches, so the bottom comes up,
rotating the entire pole around the fixed point where the two guy ropes are
tied, and then laying it on the ground. The top lies in the direction of
the far end of the wire.
Now here’s the real secret: If the pole can be taken down in seconds, it
can be raised in seconds just the same way. Here’s how to set it up:
1) The guy ropes are located first. A good spot for the bottom of the pole
is chosen, and rocks for tying the guy ropes are selected.
2) The collapsed pole is placed sideways, the rubber bands are put on below the first or second joint, and the two guy lines are tied on. The attachment point for the lines is located above the spot where the pole bottom will be.
3) The lines are pre-adjusted so they will be tight at the right spot
horizontally when the pole is raised; it is possible to get them almost right.
4) The pole is extended horizontally. The antenna wire is attached to the tip of the pole. It helps if the top of the pole points away from the guy lines – so the wire
lies on the ground, below where it will eventually fly.
5) If the antenna wire has a loop tied at the apex point, there’s no
fooling with the length.
6) If the wire is going to slide freely through the top of the pole, the
bottom if the wire (the feedpoint) needs to be tied to something so it
doesn’t fly up into the air when the pole is raised. If the wire is fixed
to the top of the pole, which I usually do, it can be tied off later.
7) The pole is raised, and the bottom is fixed in place so it won’t move
around or flip out.
8) While holding the pole up, I grab the far end of the wire, put some
tension on the pole – it curves – and let go of it while I walk away,
keeping it curving under tension from the wire.
9) I walk to the end of the wire, which has about 50 feet of small line
attached, and continue out until I come to something to
tie to. Once the line is tied off, the system is usually stable.
10) Minor changes are made with the pole up. The guys can be adjusted,
the bottom of the pole can be shifted, or the direction of the wire can be adjusted somewhat.
11) Just by lifting the base of the pole, the pole can be tipped over toward the far end of the wire, with the guys acting as a fulcrum, and the wire will drop. A link in the wire can be connected or opened, and then the system can be raised back to normal height in seconds.
12) My 33 foot wire is really easy to get up, since about half of it is
vertical. There’s not much wire and line lying around to get caught in the
rocks. It’s fast and easy.
13) A 67 foot wire with the long dacron line is more tricky – it gets caught
on rocks, trees, or bushes, so stringing it out can take a few tries,
and it covers much more space on the mountain. The higher the far end the
better – often I use standing trees, dead tree trunks as poles, or large rocks to raise the far end. I have used a 6-foot fishing pole for a far-end support. I have run the wire up at a high angle with good results, or down the slope with OK results. Small wire is preferred, because it flies higher without bending the pole too much.
14) I use small spools for the wire. A variety of options are available.
15) Twisted wire can be prevented by winding the wire onto the spool in an alternating manner – 10 turns one way, 10 turns the other way, etc. Wire must not be unspoiled off the end of the spool, unless it was originally wound onto the spool in the reverse manner. Twisted wire causes kinks, and kinks are not acceptable.
16) Sometimes an antenna pole can be just wedged in the rocks, but a gust of wind
can take it down. A guyed system is more robust.
17) On summits with trees, I usually tie the pole to a limb. A tree several feet high is often enough to support the system. If the base of the pole is secured by a rock or a branch, just one quick tie about 4 feet up will hold it. Otherwise use two well-spaced ties to the tree. If winds are strong, guys may be needed even with a tree or rock support.
73
KX0R
!! WARNING !! There are old mountaineers, and
bold mountaineers… there are no old-bold mountaineers.
Hiking and mountain climbing are potentially hazardous activities particularly in Colorado with its extreme elevations. I am not accepting responsibility for any death or injury resulting from activations based on my trip reports. Proper training, experience, and personal capability assessment is required – enjoy!
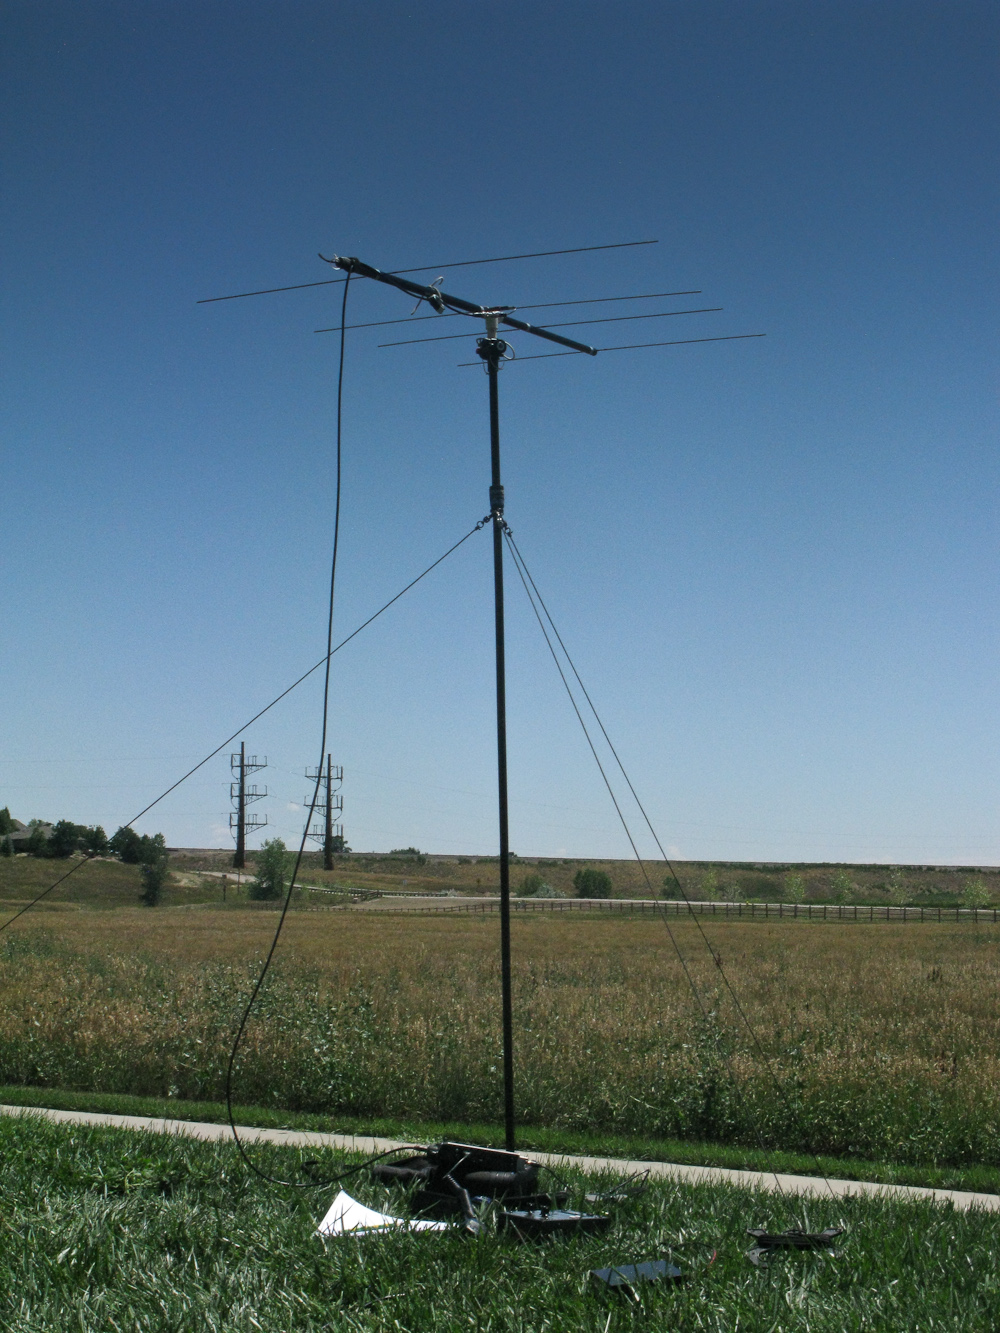
No, this is not the name of another royal baby… it’s about my third attempt to build a 2m antenna for my SOTA activations. In my earlier iterations I was unable to strike the balance between size/weight and usability.
What happened so far:
click for larger image
My first attempt to build a Yagi-Uda antenna was based on a design by Paul/KD5IVP. It worked, but had some crucial flaws for my endeavors. It was a 3-element antenna made out of piano wire and a carbon fiber arrow as a boom. Very small and lightweight indeed but in high winds/gusts the elements were flapping like a seagull during take-off. It’s demise came on it’s second outing… the arrow broke in half while bushwhacking up a mountain and I lost some of the piano wires in the woods. To read more about it and to see it in action check out this post.
Tape measure Yagi-Uda folded for transportation
I then moved on to a tape measure 3-element antenna based on a design by Joe/WB2HOL. It worked well and accompanied me on several activations – even a few 14ers (Summits higher than 14’000 ft / 4267m). My main gripe with this antenna is that it is delicate to transport as well. The steel tape gets kinked easily since the antenna is strapped to the outside of my backpack. It’s rather easy to replace the director and reflector, but soldering the coax to the steel radiator is another story. It turned out that this design is also vulnerable to high winds and your arms start to feel the weight after a few minutes without support. You can see the antenna in action in this video, around 3:30 into the clip.
The one?
I continued my research for a suitable 2m Yagi-Uda which would fit my requirements:
Lightweight (but sturdy enough to withstand high winds)
Easy and save to transport
Easy to build (even for me)
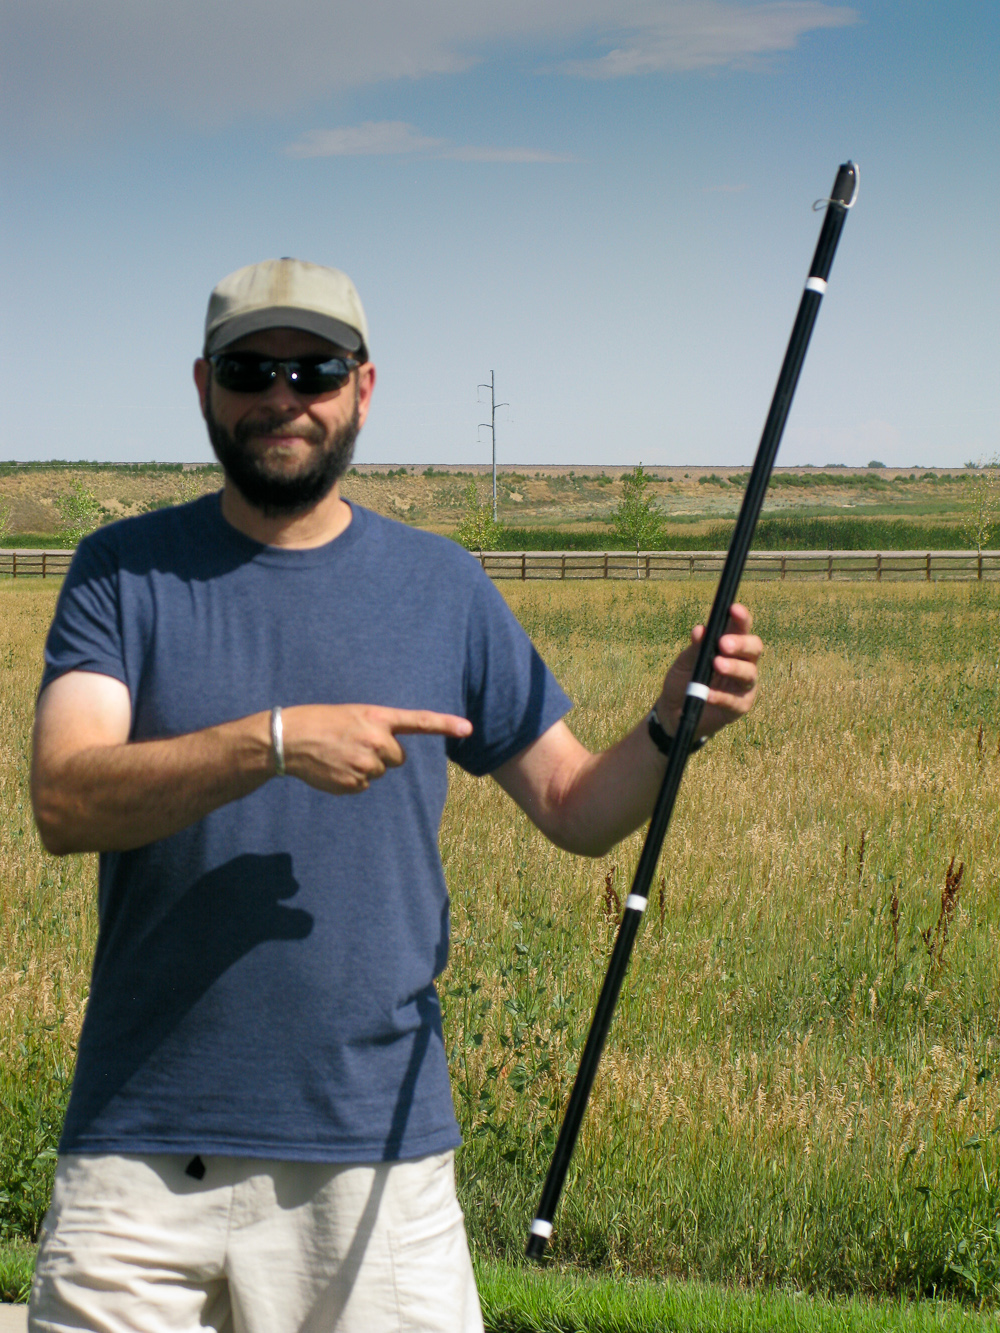
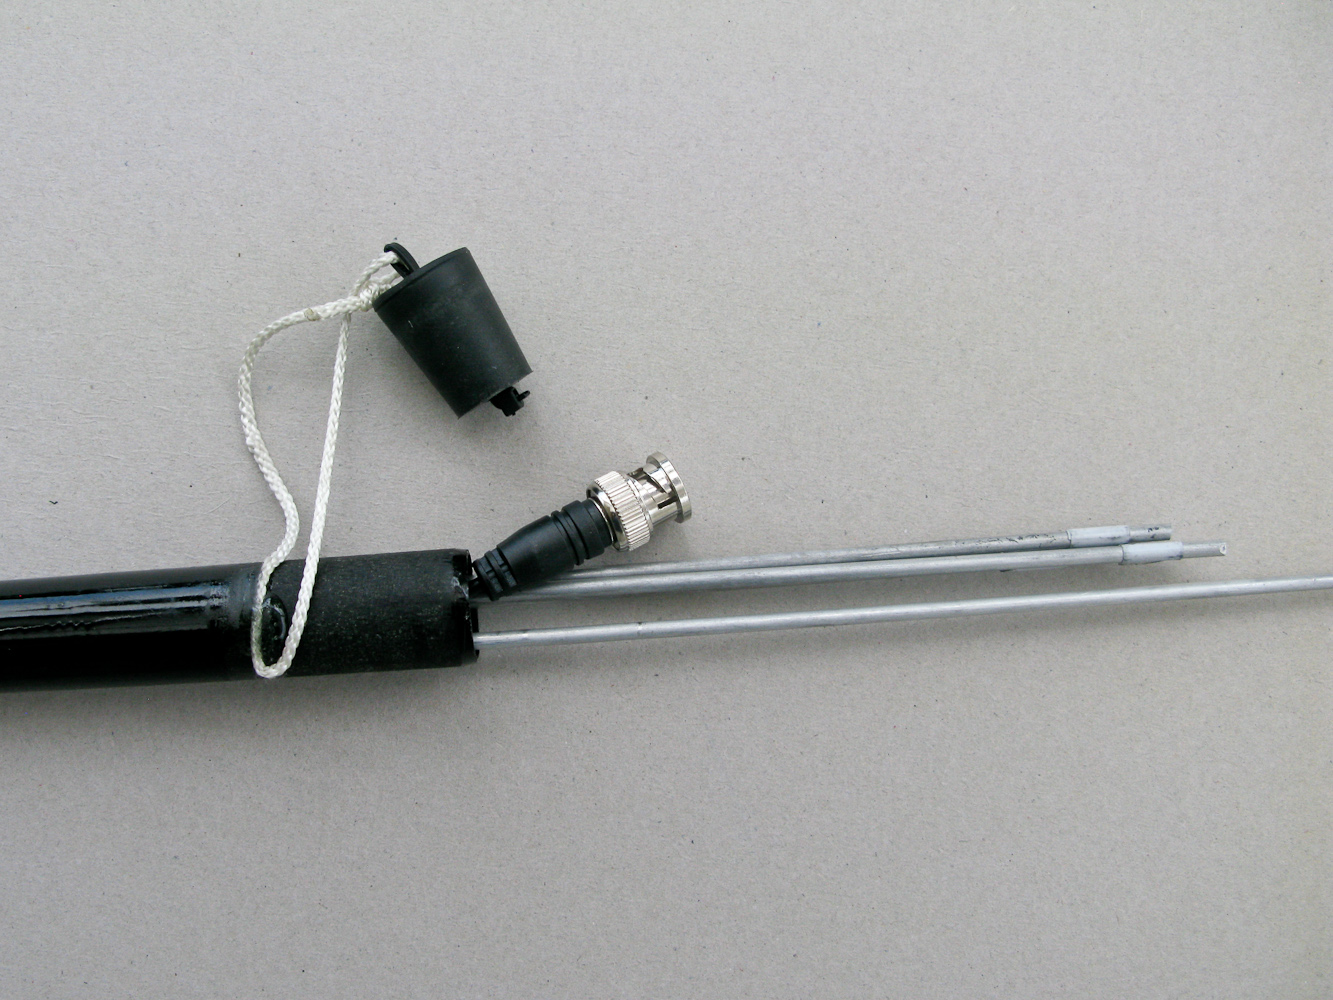
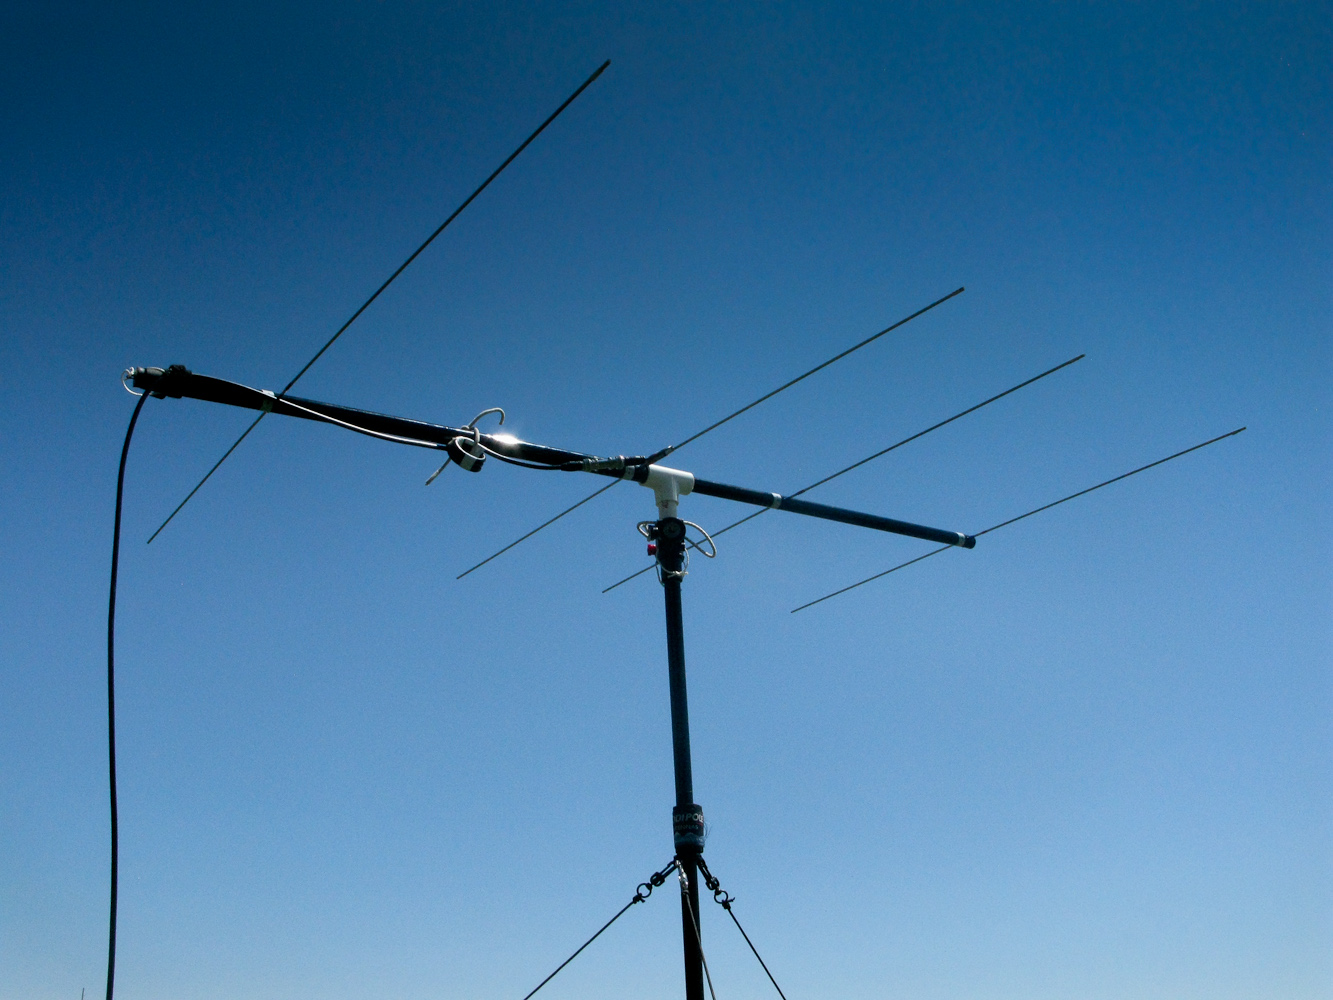
I eventually stumbled onto IZ2UUF’s Website – an Italian radio amateur who enjoys hiking and playing with radios as well. He designed an 4-element Yagi-Uda weighing only 80 grams (~2.9 ounces)!! All elements fit into the carbon fiberglass boom (fishing rod) for easy transport with no matching network necessary. The description to build the antenna focused on the critical parts with excellent pictures to support the instructions.
Davide/IZ2UUF modeled the antenna with 4NEC2, a free antenna modeling software package. Since he shared his input file with me, I took the opportunity to download the free SW and to learn more about antenna modelling. After a few more e-mail exchanges with him I was convinced by his design and started to source all the parts.
The final product
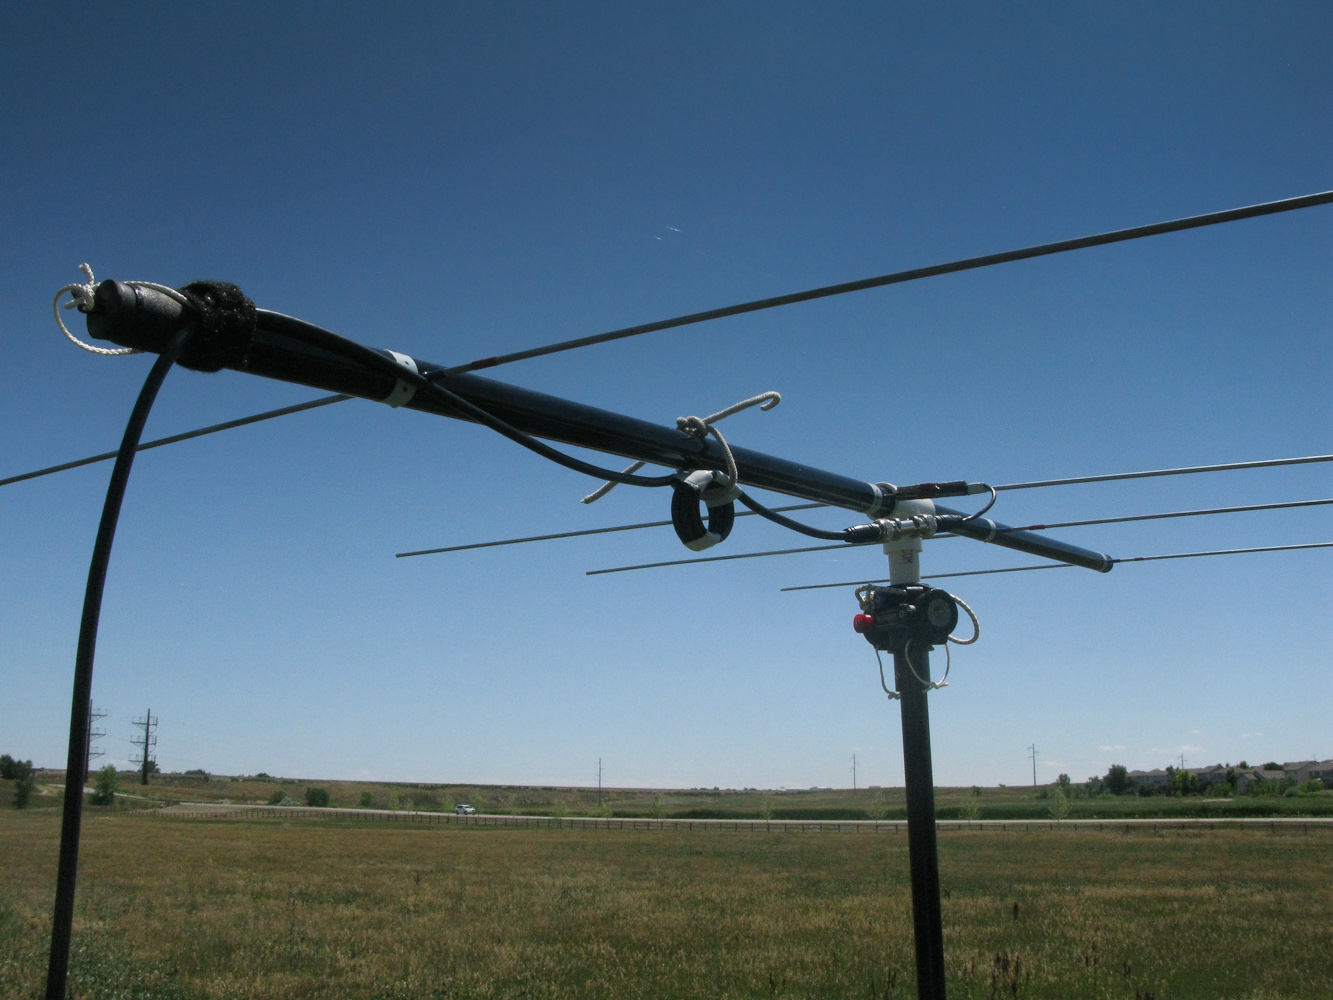
I did not have a fiberglass fishing pole available and opted to use a plastic one I had lying around. Davide is using aluminum welding rods for his elements which I could not find at the desired length/diameter here in the US. I therefore ordered aluminum alloy 6061 rods instead (1/8″ x 6′ ) from a supplier in IL (for details see the resource section below). My build also differs in the connector (BNC instead SMA). All these changes resulted in a slightly heavier (194 g / 6.8 ounces) first version compared to Davide’s antenna. My boom alone is heavier than Davide’s complete antenna (96 g / 3.4 oz). However, I am planning to improve/reduce the weight in version two.
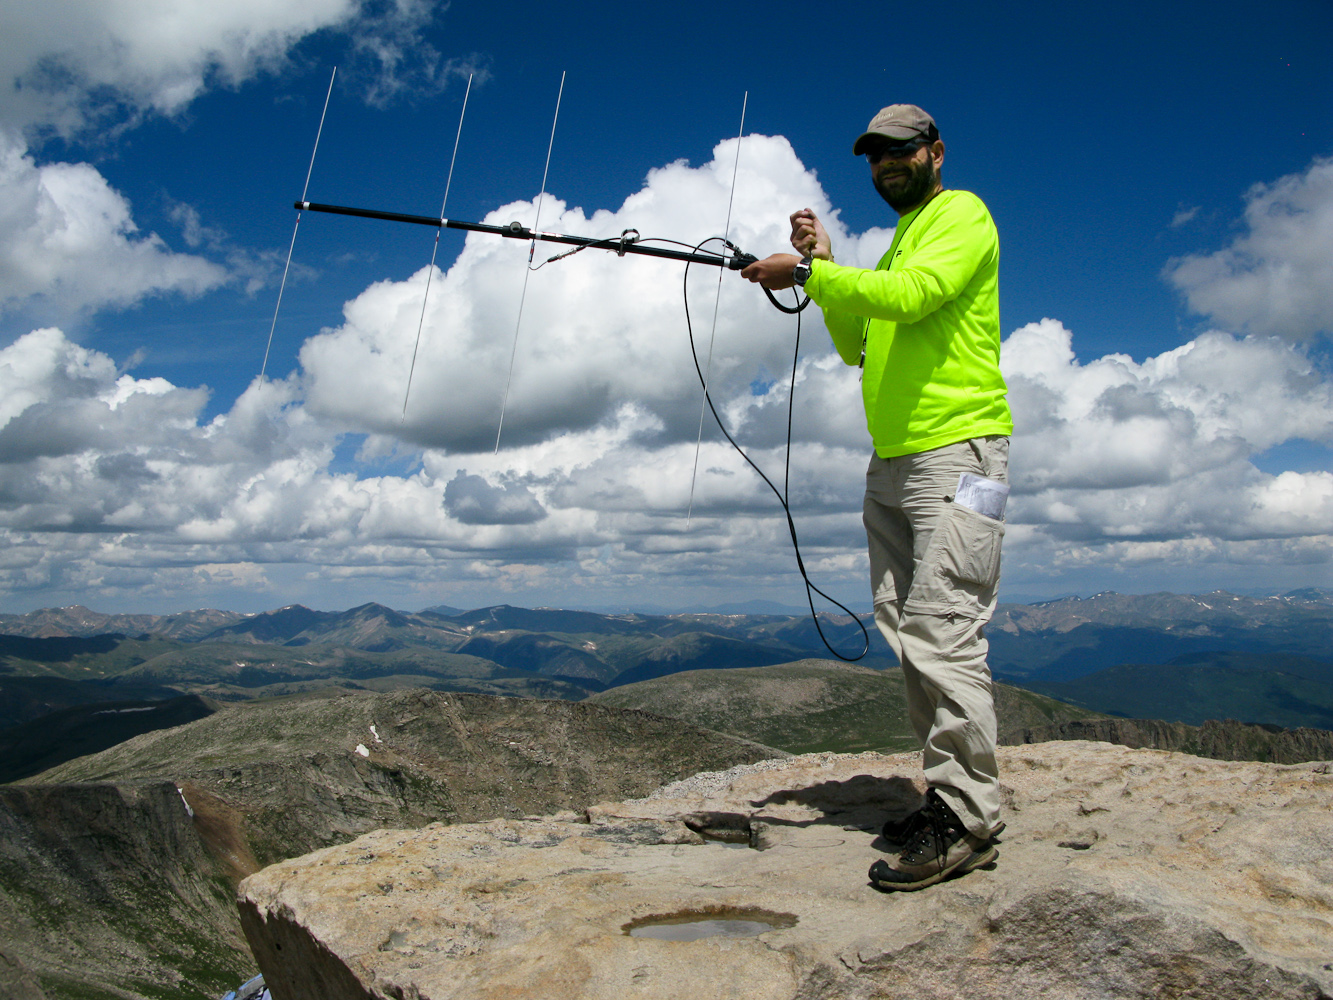
I had a chance to use the antenna over the week-end during the CO-14er event. All I can say so far is that it worked well and that the weight is not an issue at all… huge improvement to the tape-measure version.
Mount Evans 4339 m/14264 ft – SOTA Ref#: WØC/FR-ØØ3
Radiator in the mold, ready for sealing with Epoxy
Encased in Expoxy
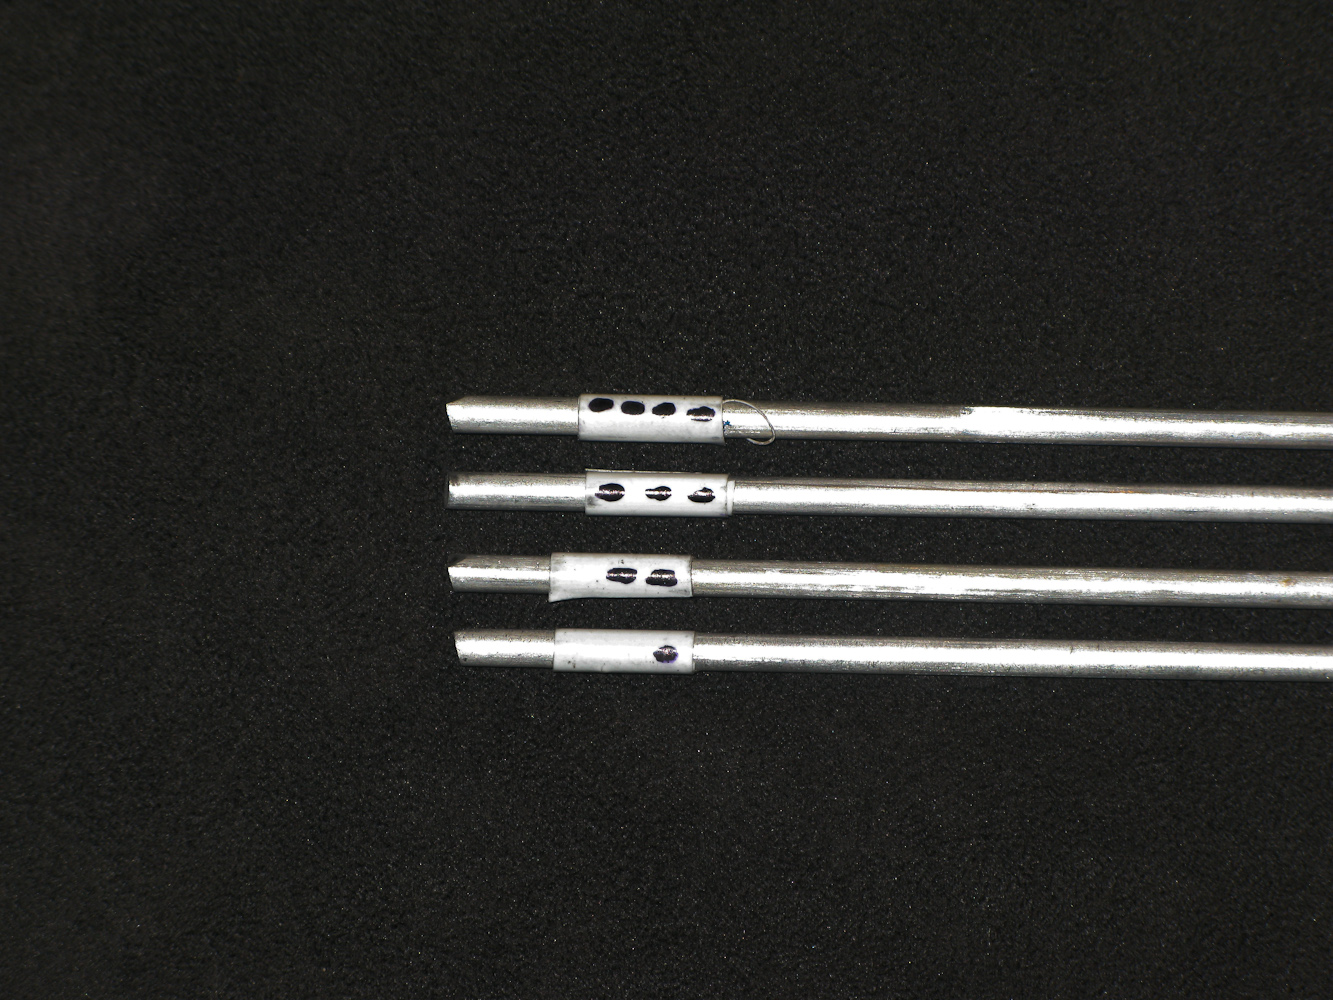
Encoded elements
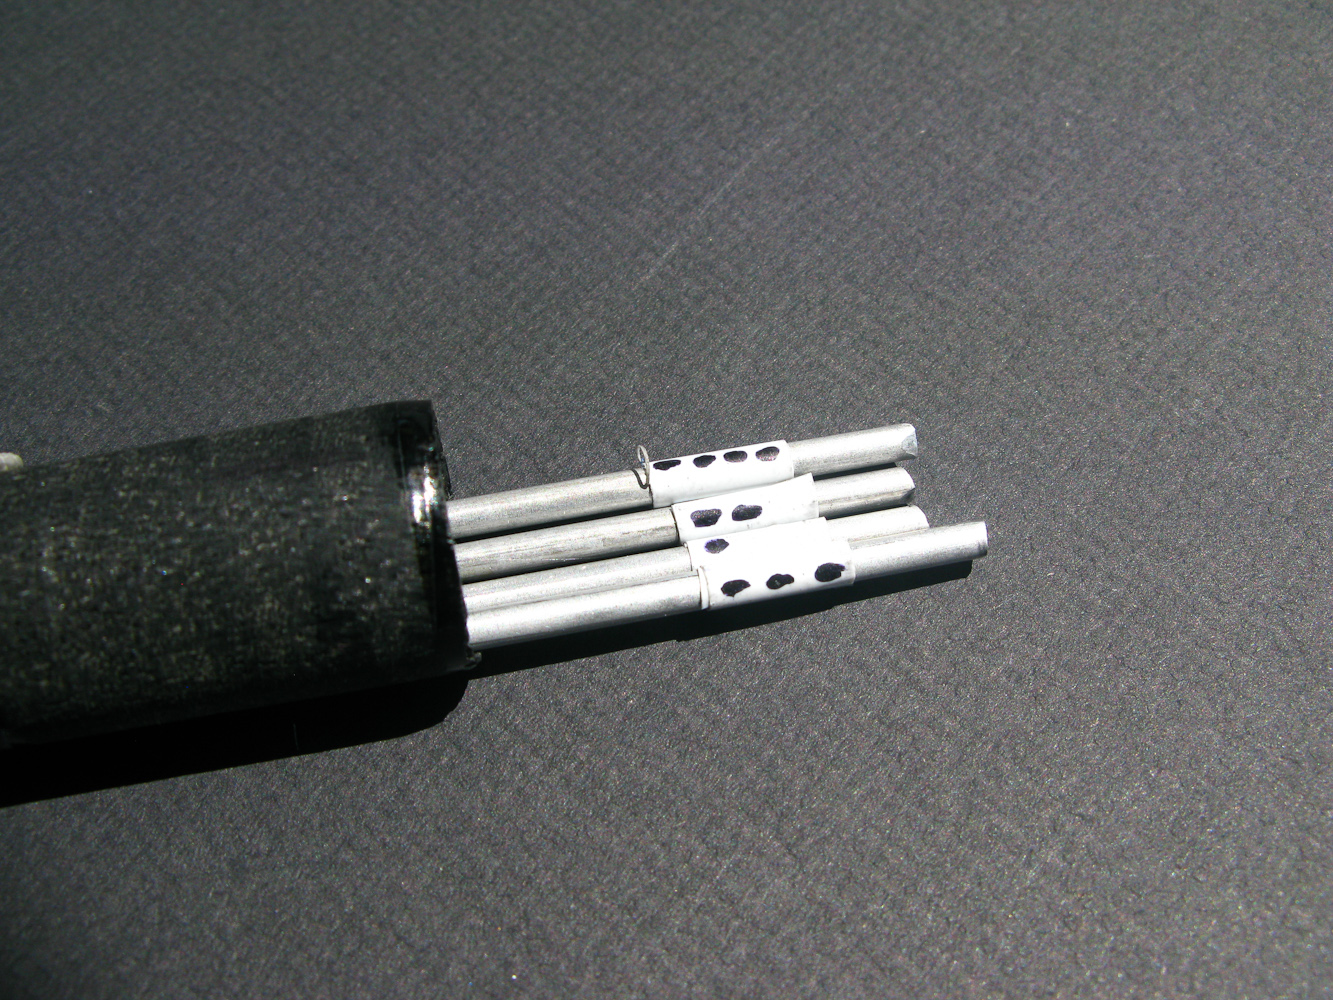
Elements fit into boom
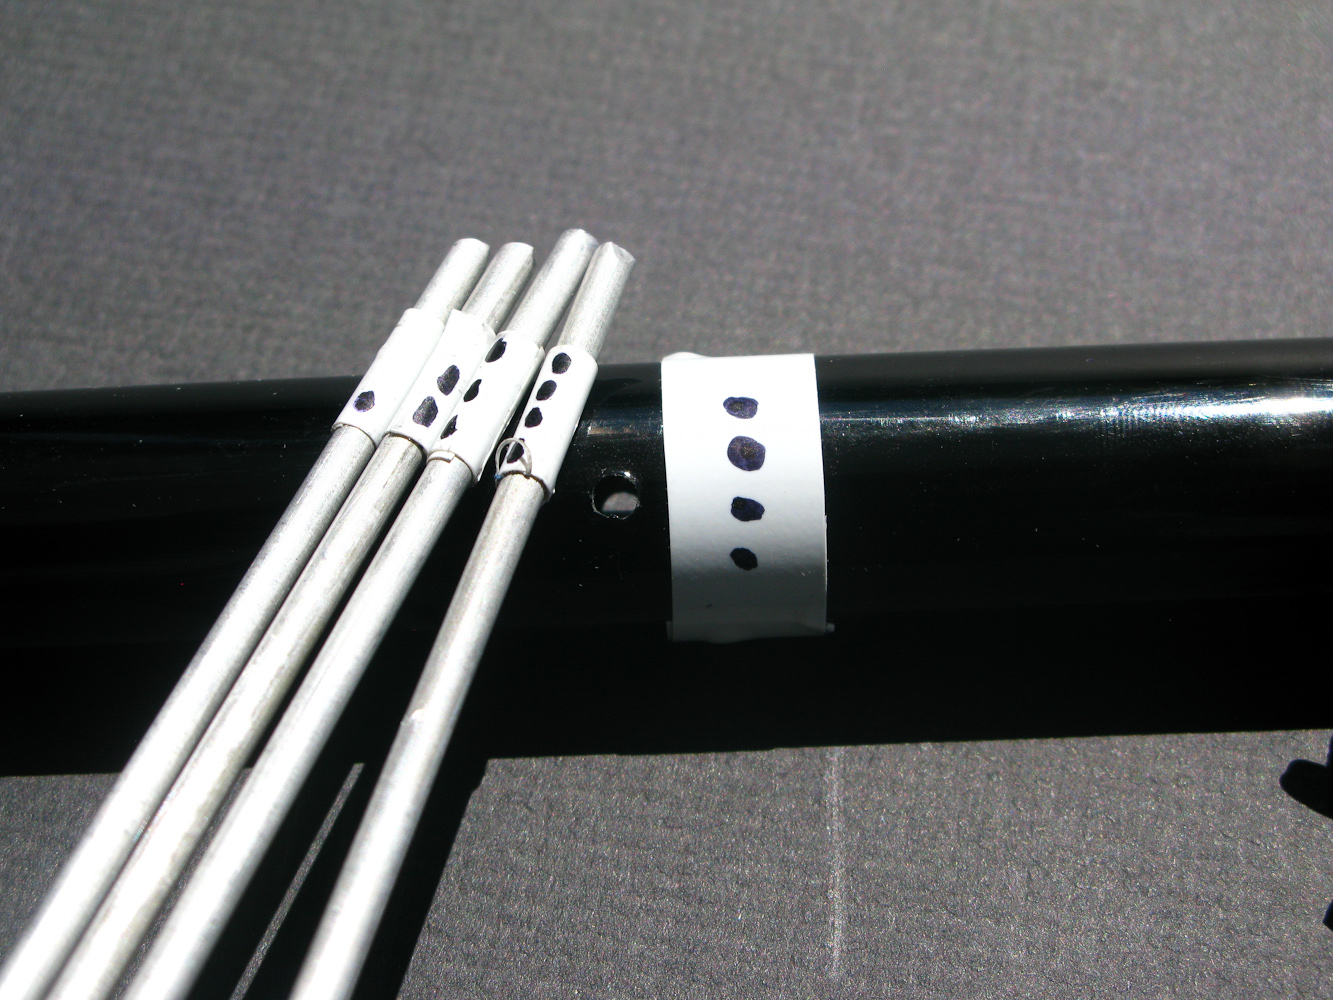
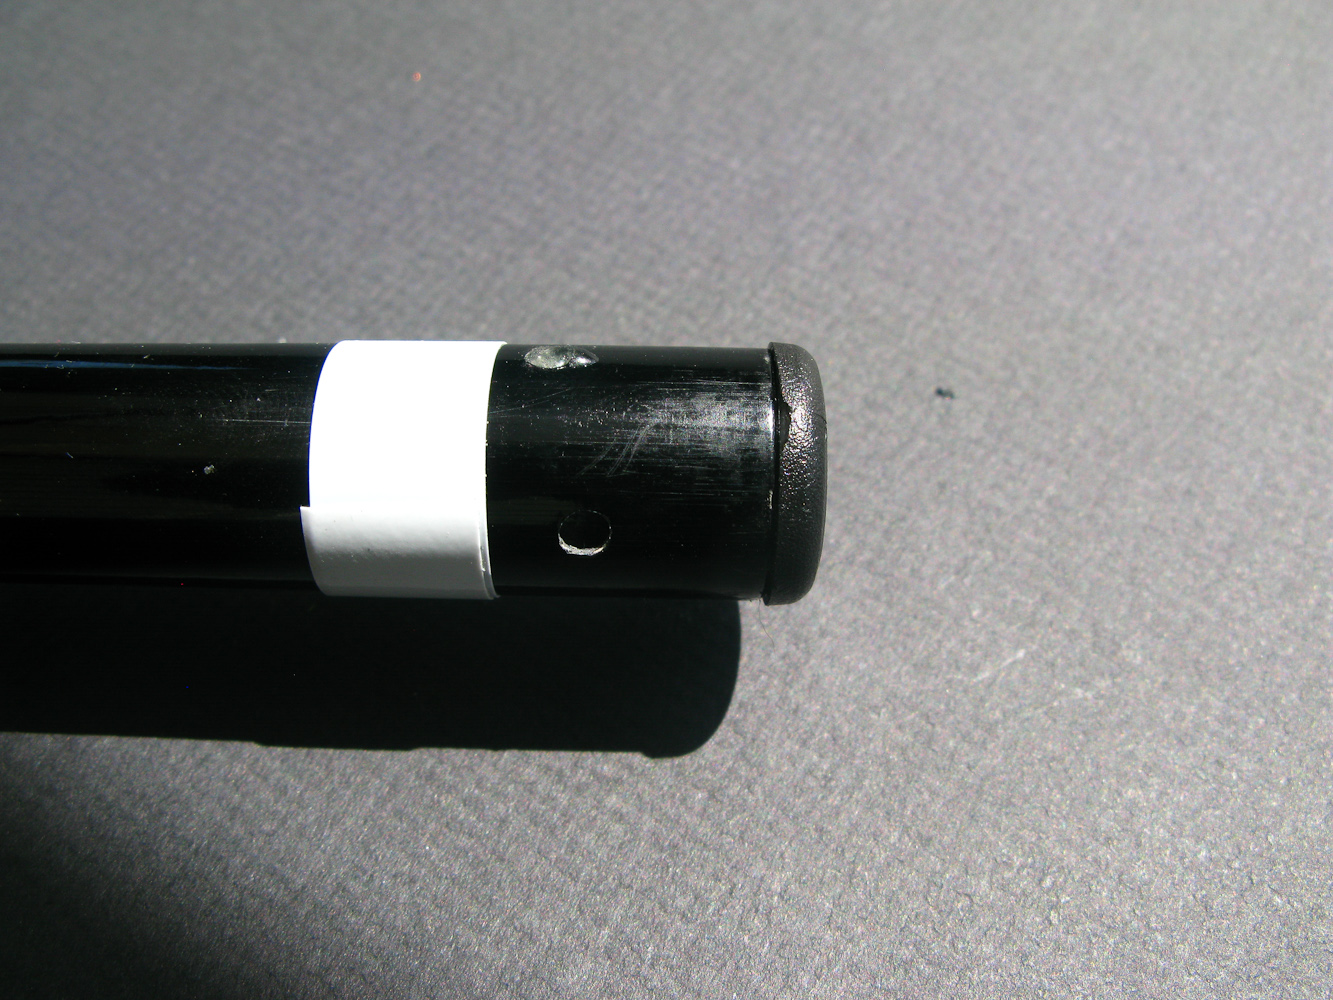
Encoded elements/holes
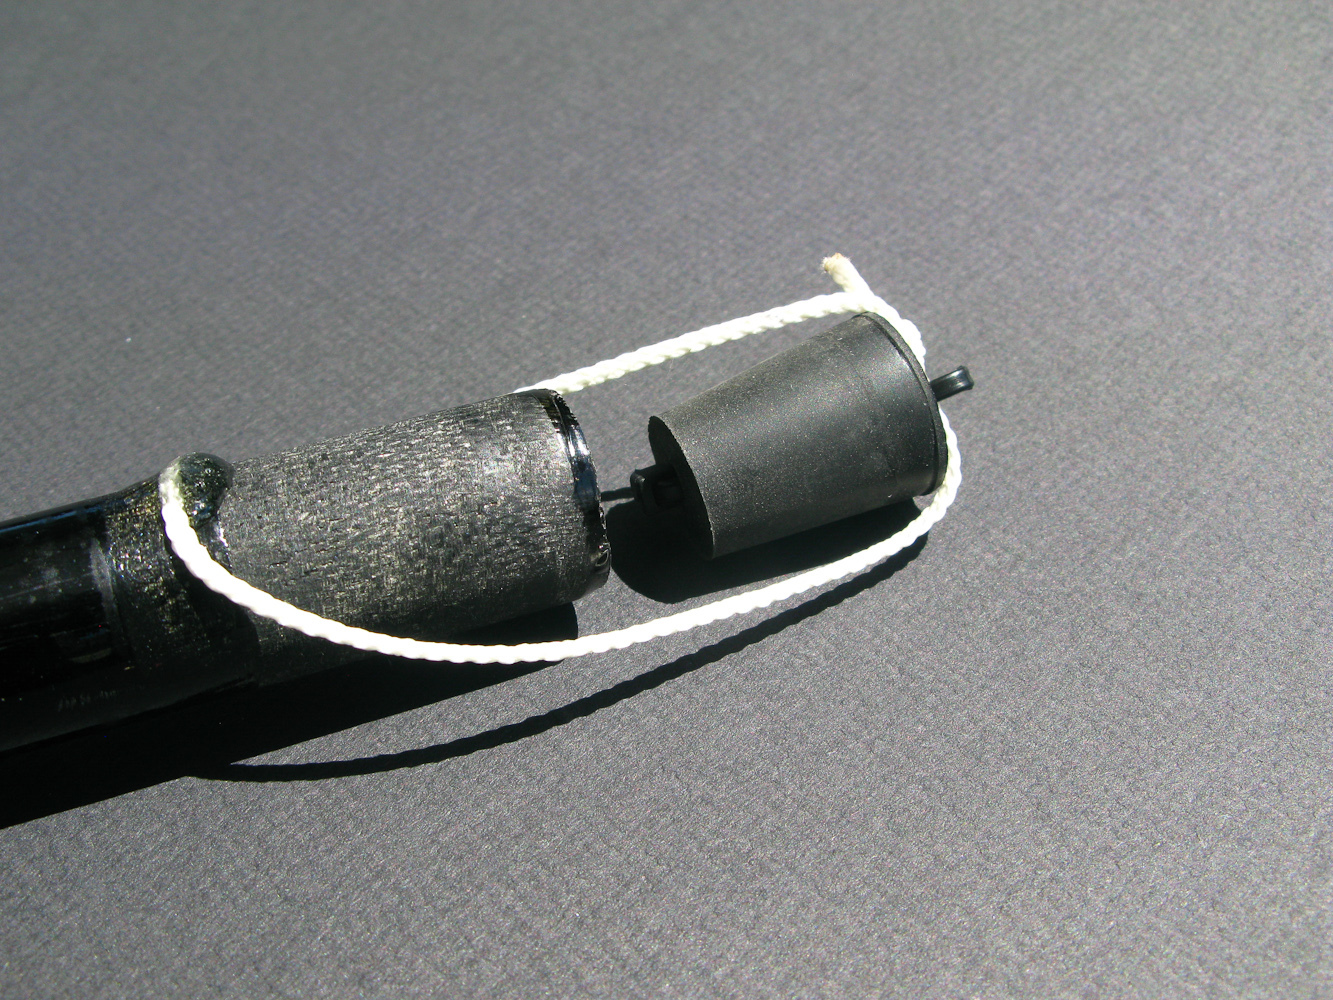
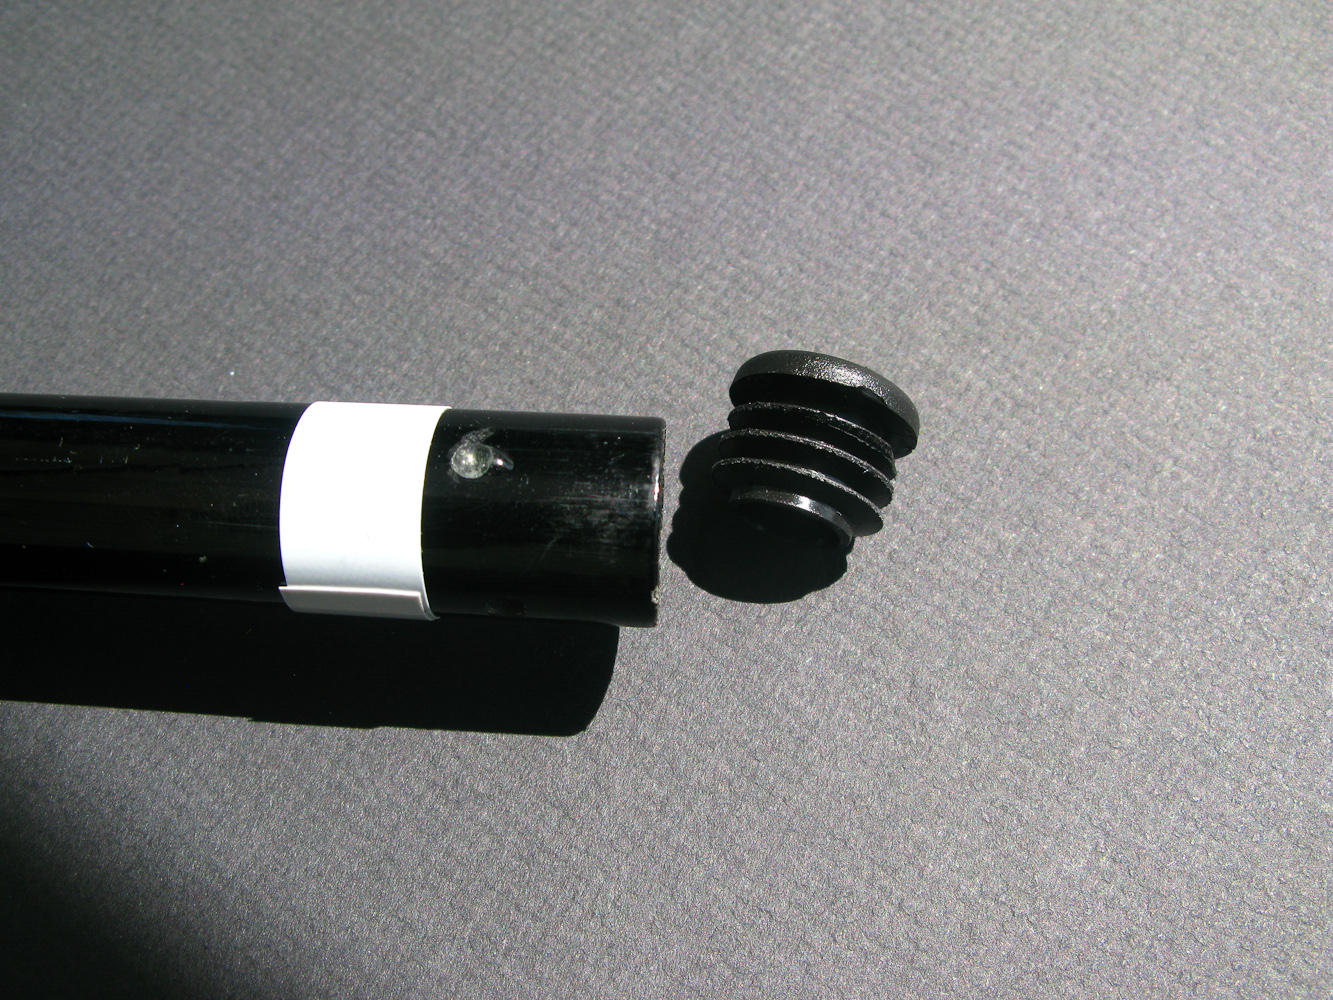
Closing up the end with a rubber ‘cork’ from local HW store
Elements fit into boom
Plastic end from local HW store
The top is closed up
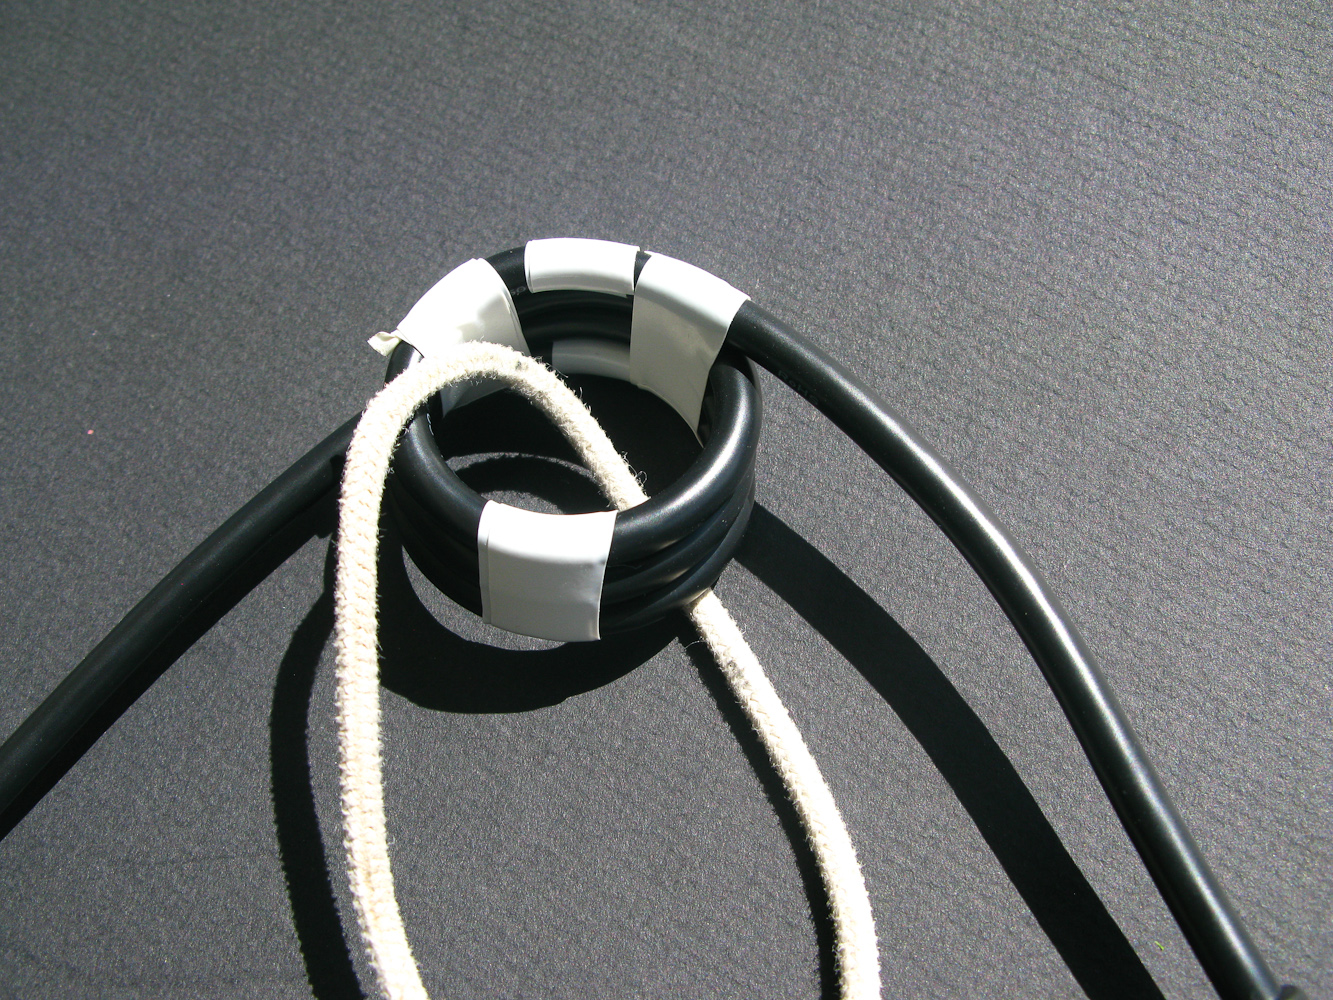
Choke (3 turns over 33 cm of RG-58)
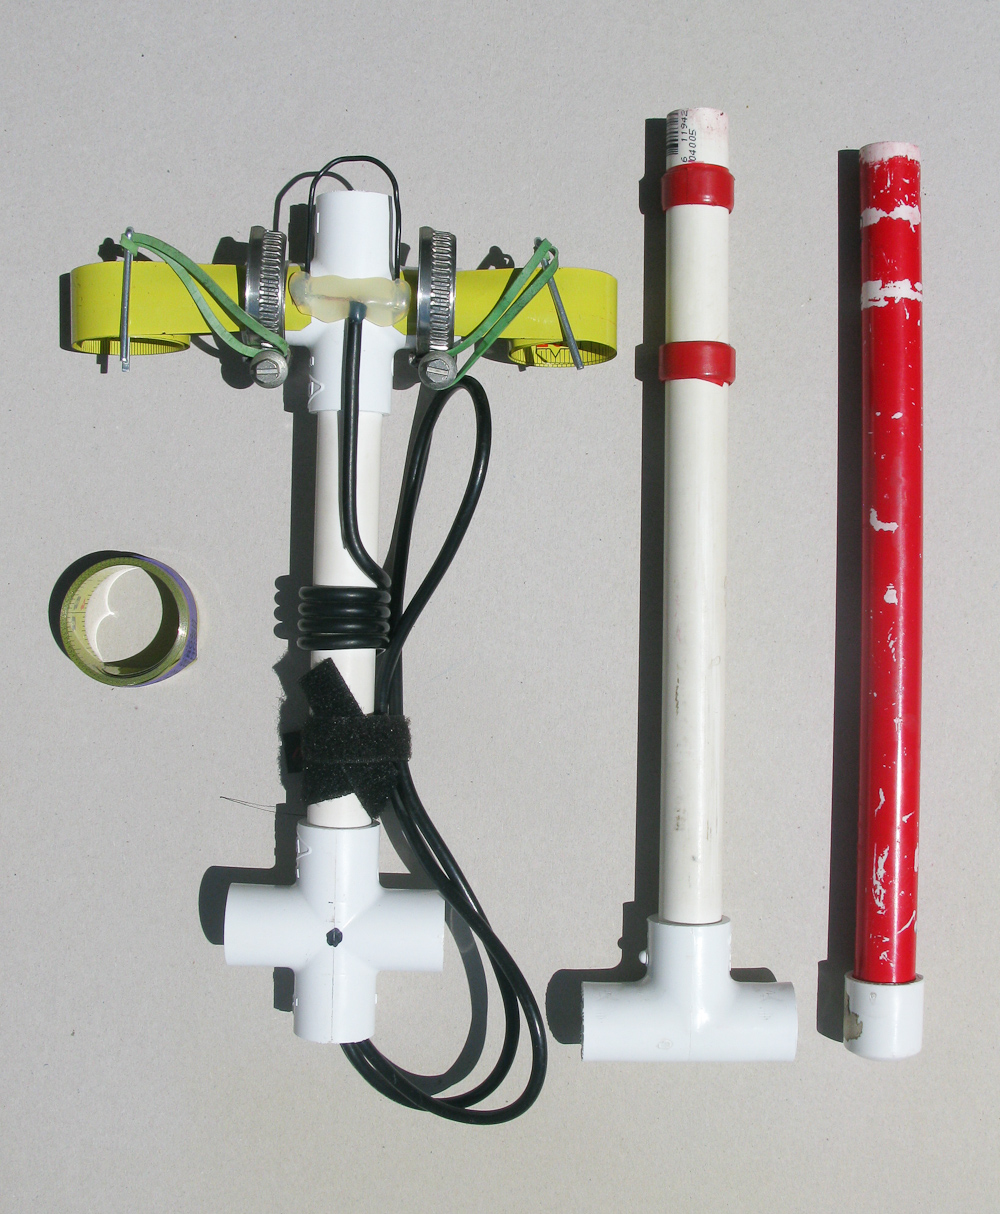
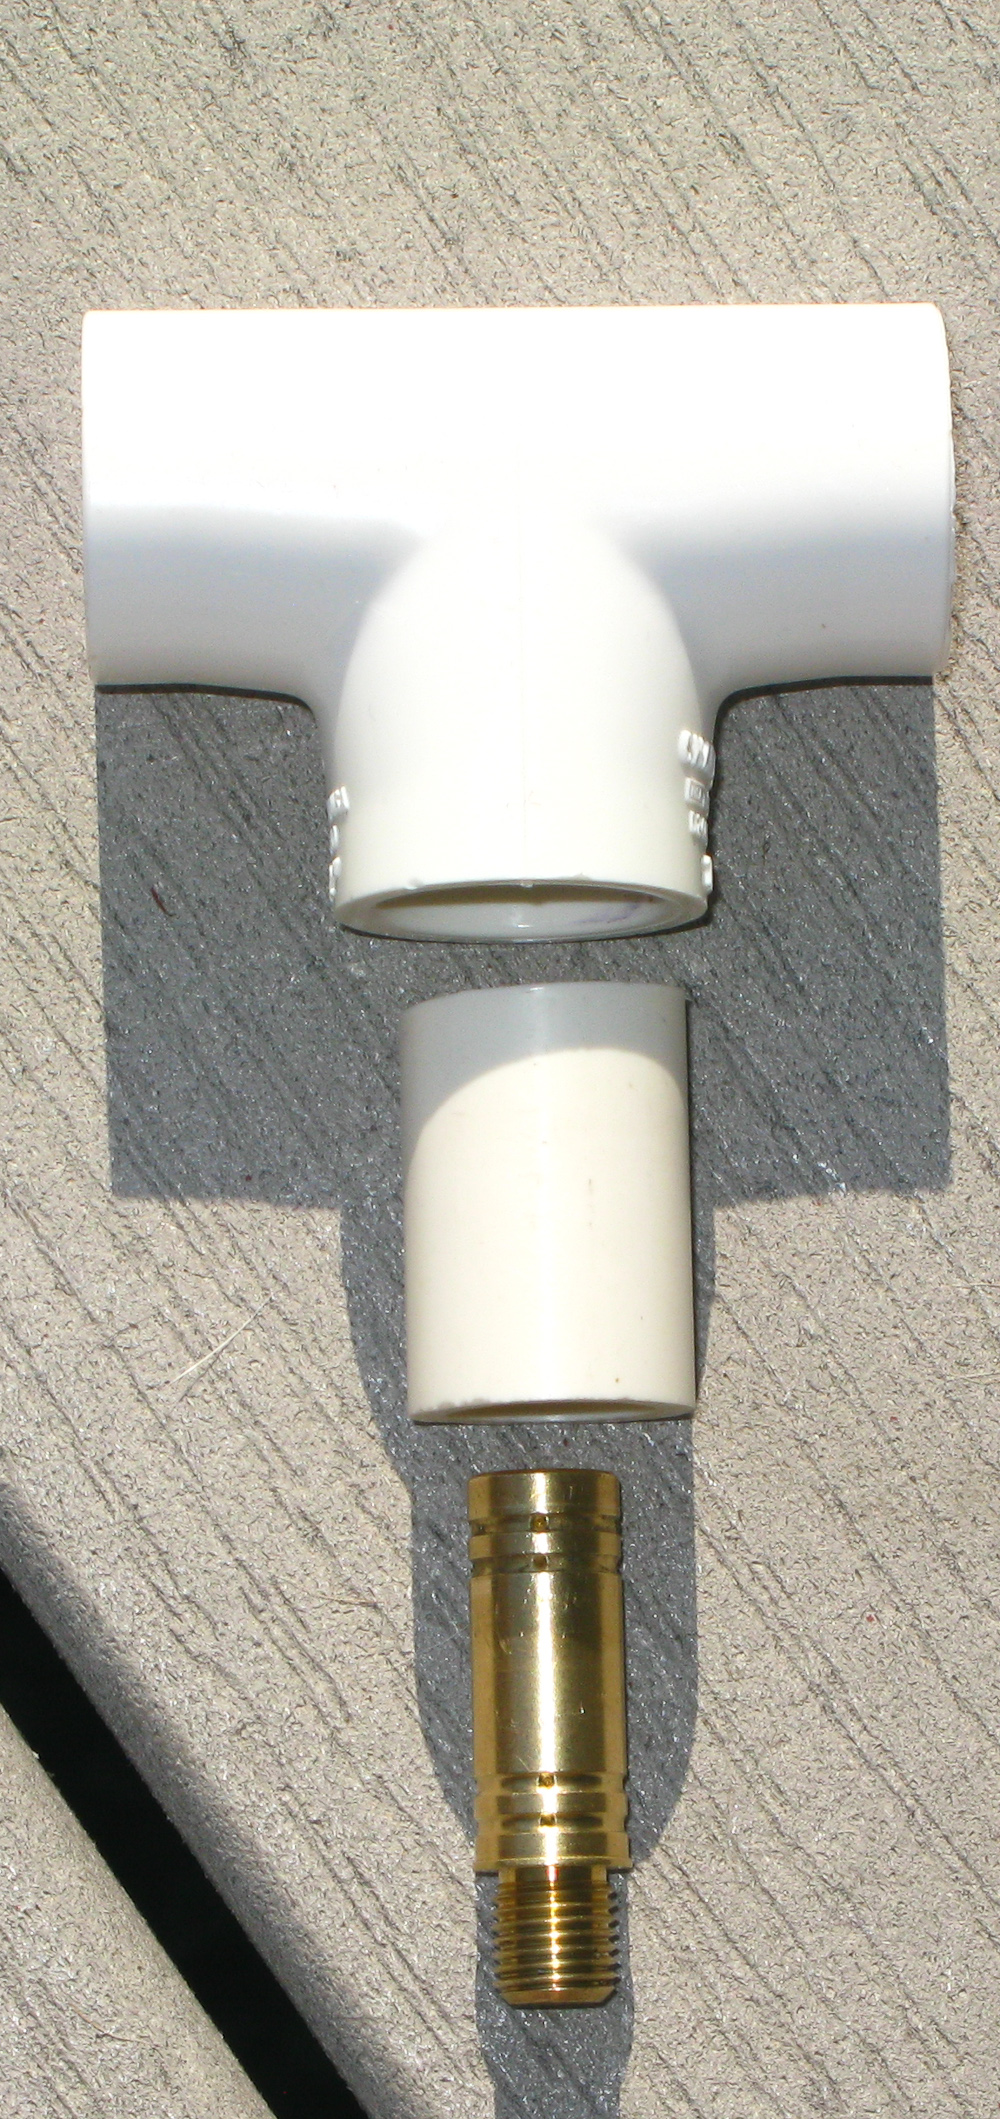
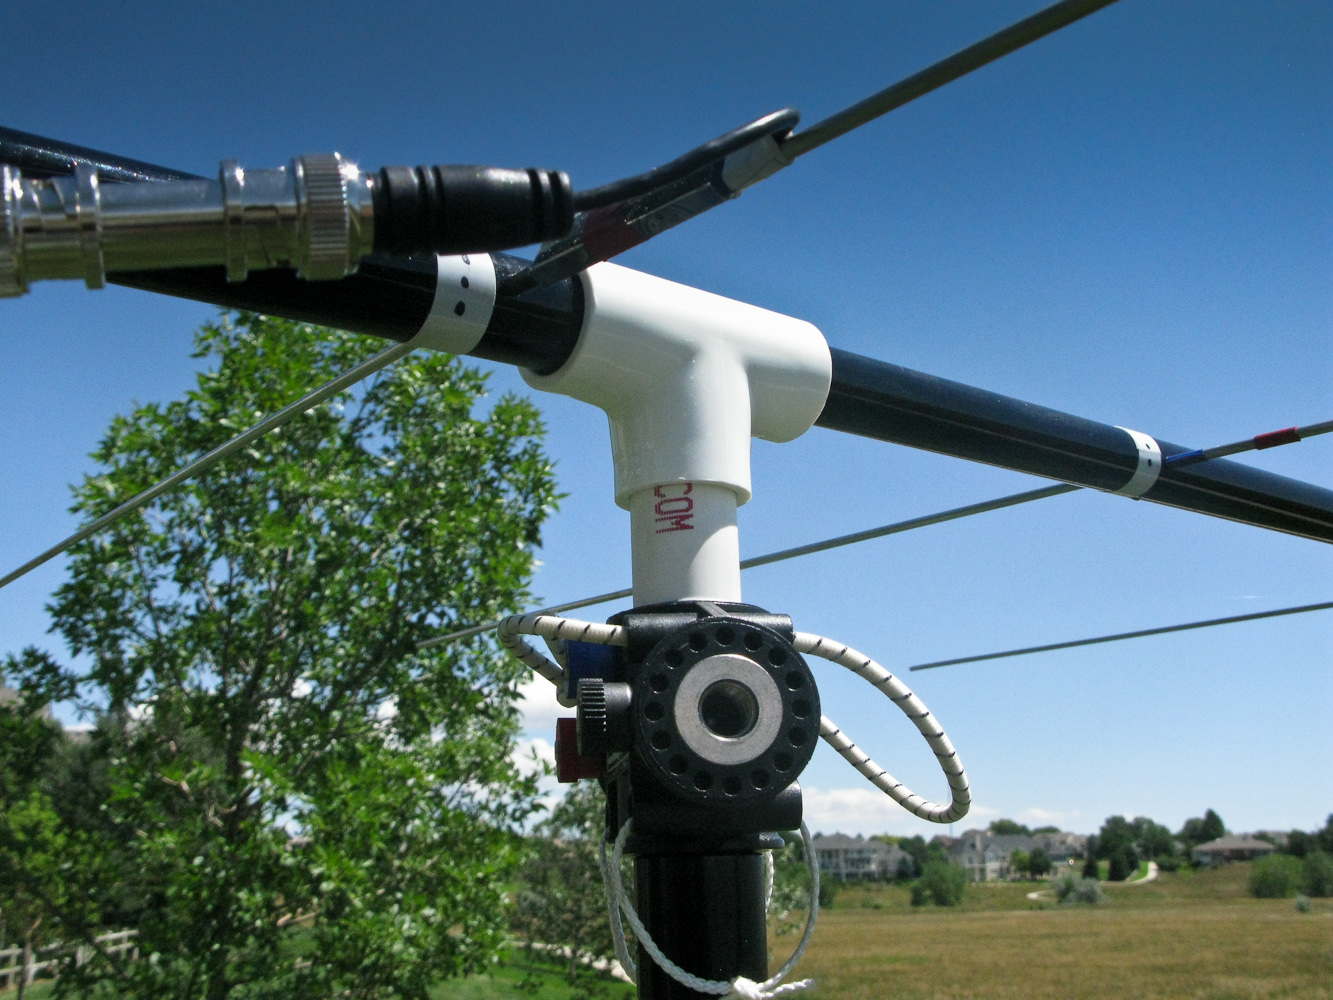
Creating an adapter for a Buddipole mast (PVC + part of a broken whip)
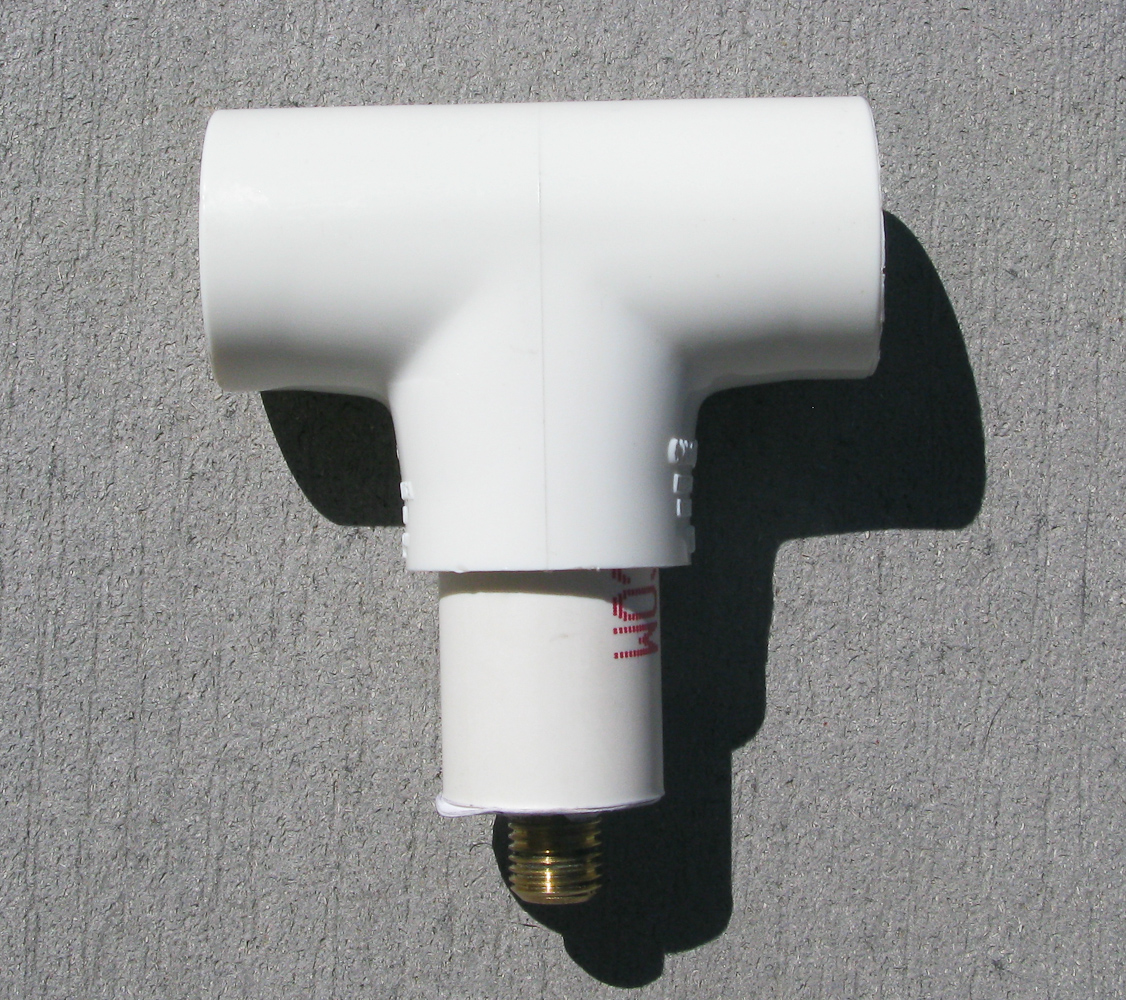
The final adapter
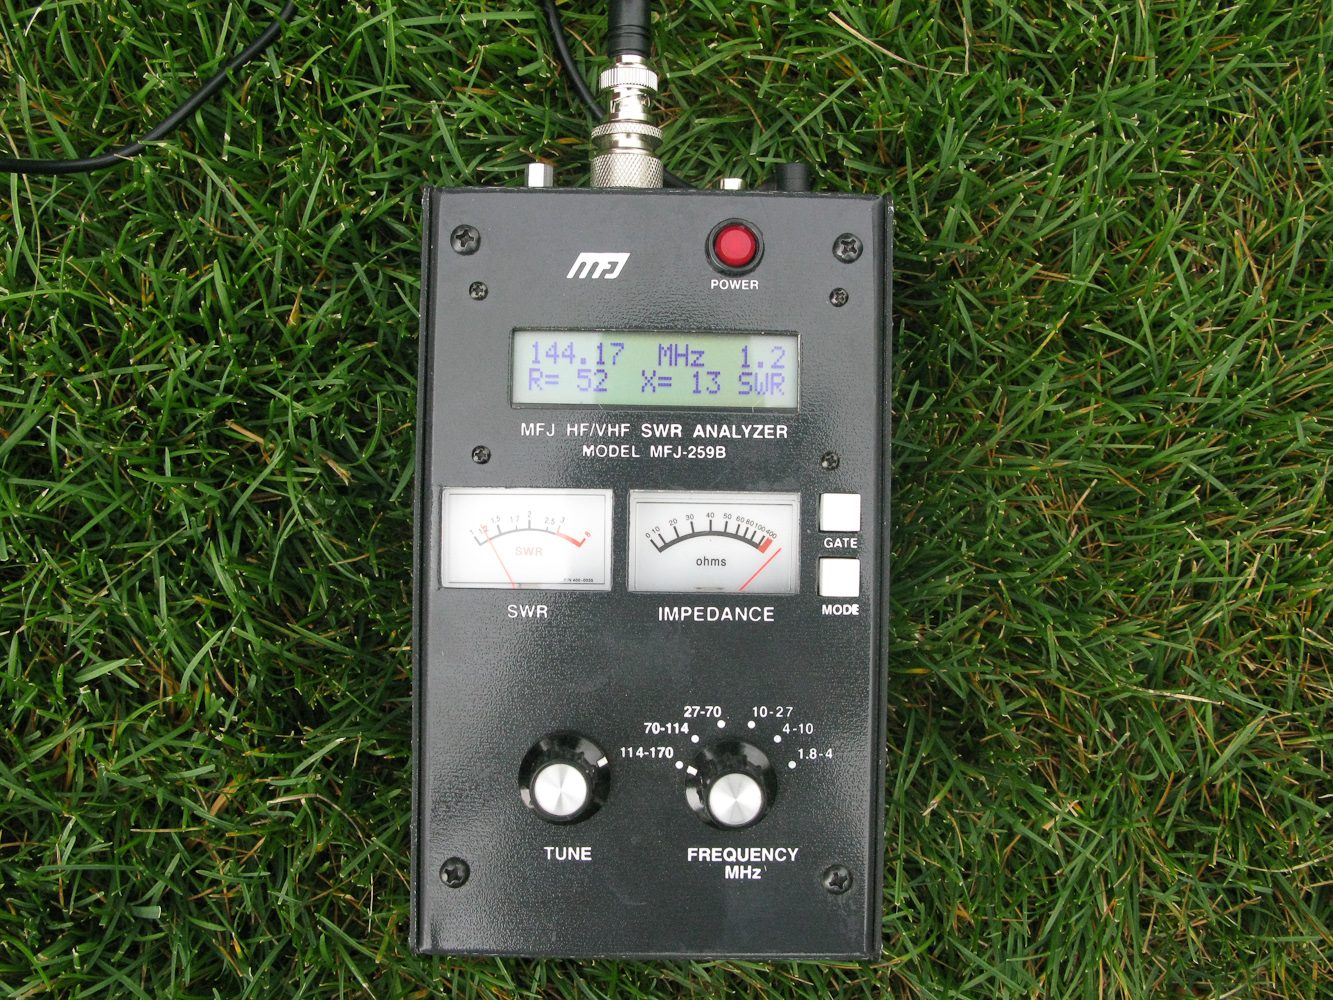
SWR measurements
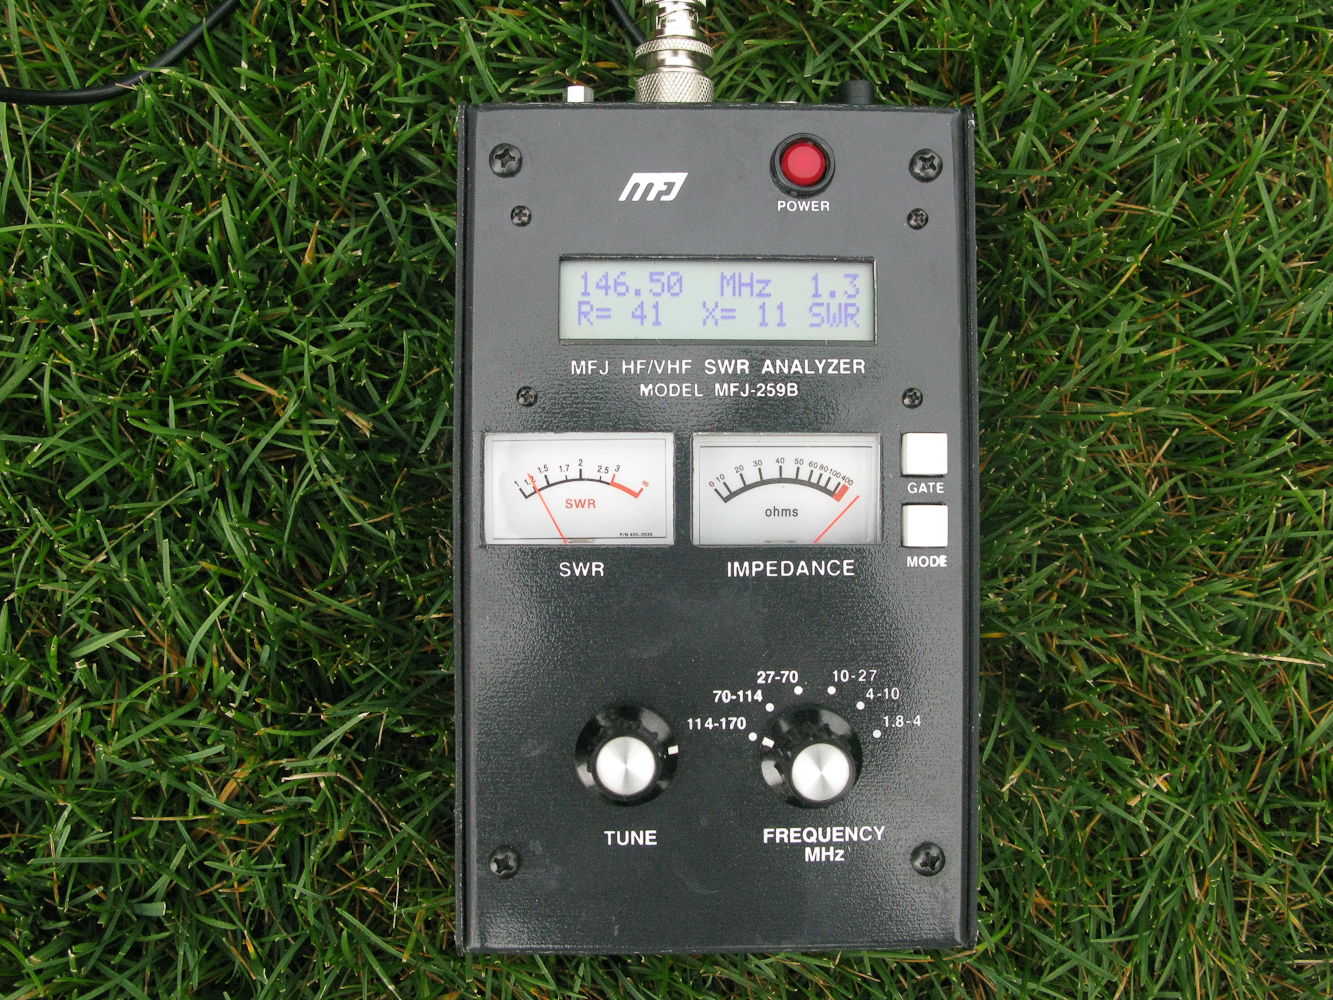
SWR measurements
The antenna on the BP mast
Close-up
Feedline with choke
Close-up of adapter
Close-up of choke
Acknowledgements: My thanks go to Davide/IZ2UUF for the design and follow-up communication as well as to Bryan/NØBCB for letting me borrow his antenna analyzer.
Feel free to add your questions and/or comments
73, Matt/KØMOS
!! WARNING !! There are old mountaineers, and
bold mountaineers… there are no old-bold mountaineers.
Hiking and mountain climbing are potentially hazardous activities particularly in Colorado with its extreme elevations. I am not accepting responsibility for any death or injury resulting from activations based on my trip reports. Proper training, experience, and personal capability assessment is required – enjoy!
Using a Buddipole antenna (BP) for my SOTA activations leaves me high and dry when it comes to the 40 m band. I was never able to build an efficient BP for these frequencies and received many ‘complaints’ that I never activate on 40m, thereby leaving out the ‘local’ chasers. This is going to change now…
RG174 based double Bazooka
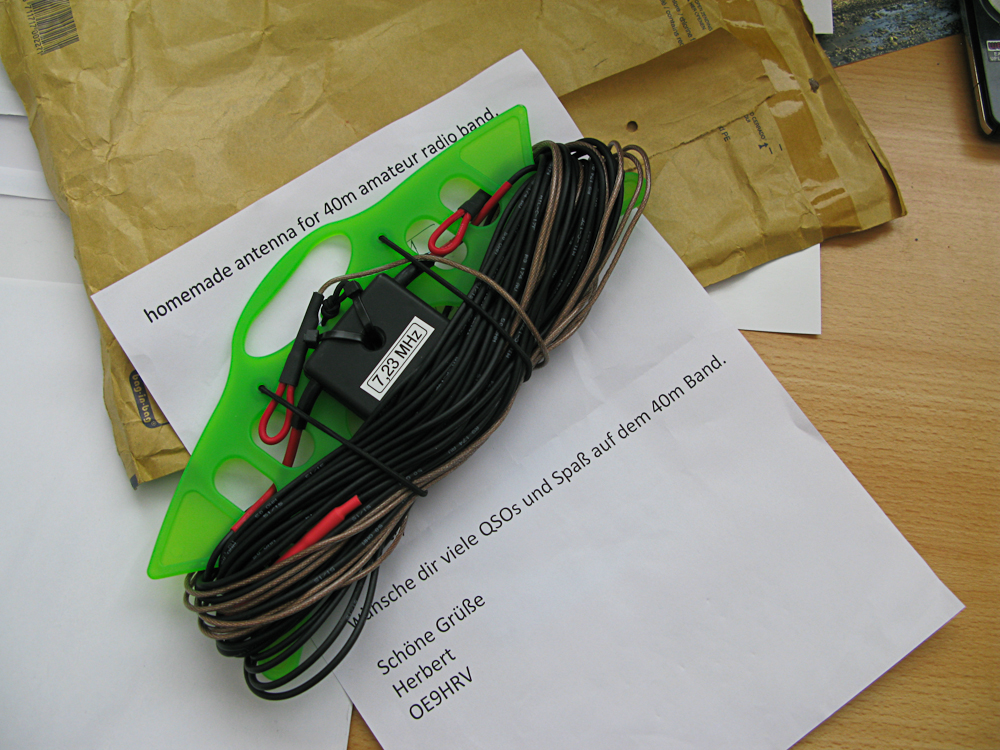
Yesterday I received a package from my buddy and SOTA Mountain Goat Herbert/OE9HRV, containing a home brew double Bazooka for 7 MHz based on RG174 coax. Herbert is my go-to guy when it comes to antennas. On our joint SOTA activations in OE he always carries an impressive assortment of home brew antennas to the summits, and due to this weight I would NOT want to carry his backpack – seriously. To see some examples of his creations, check out his FLICKR stream and/or QRZ page.
I had not known about double Bazookas before being educated by Herbert. It’s an efficient and quiet single band antenna based on 50 ohm coax cable, with the shield split at the center and feed line attache to it. It can be used in a flat top or inverted vee configuration – the latter more suitable for SOTA. To save on weight, Herbert made it out of RG174 with a BNC connector, and used a wire-winder to create a small and easy to manage package. The final antenna is around 310 g (~ 11 ounces) and about 25 cm x 8 cm (~ 9.5″ x 3″ ).
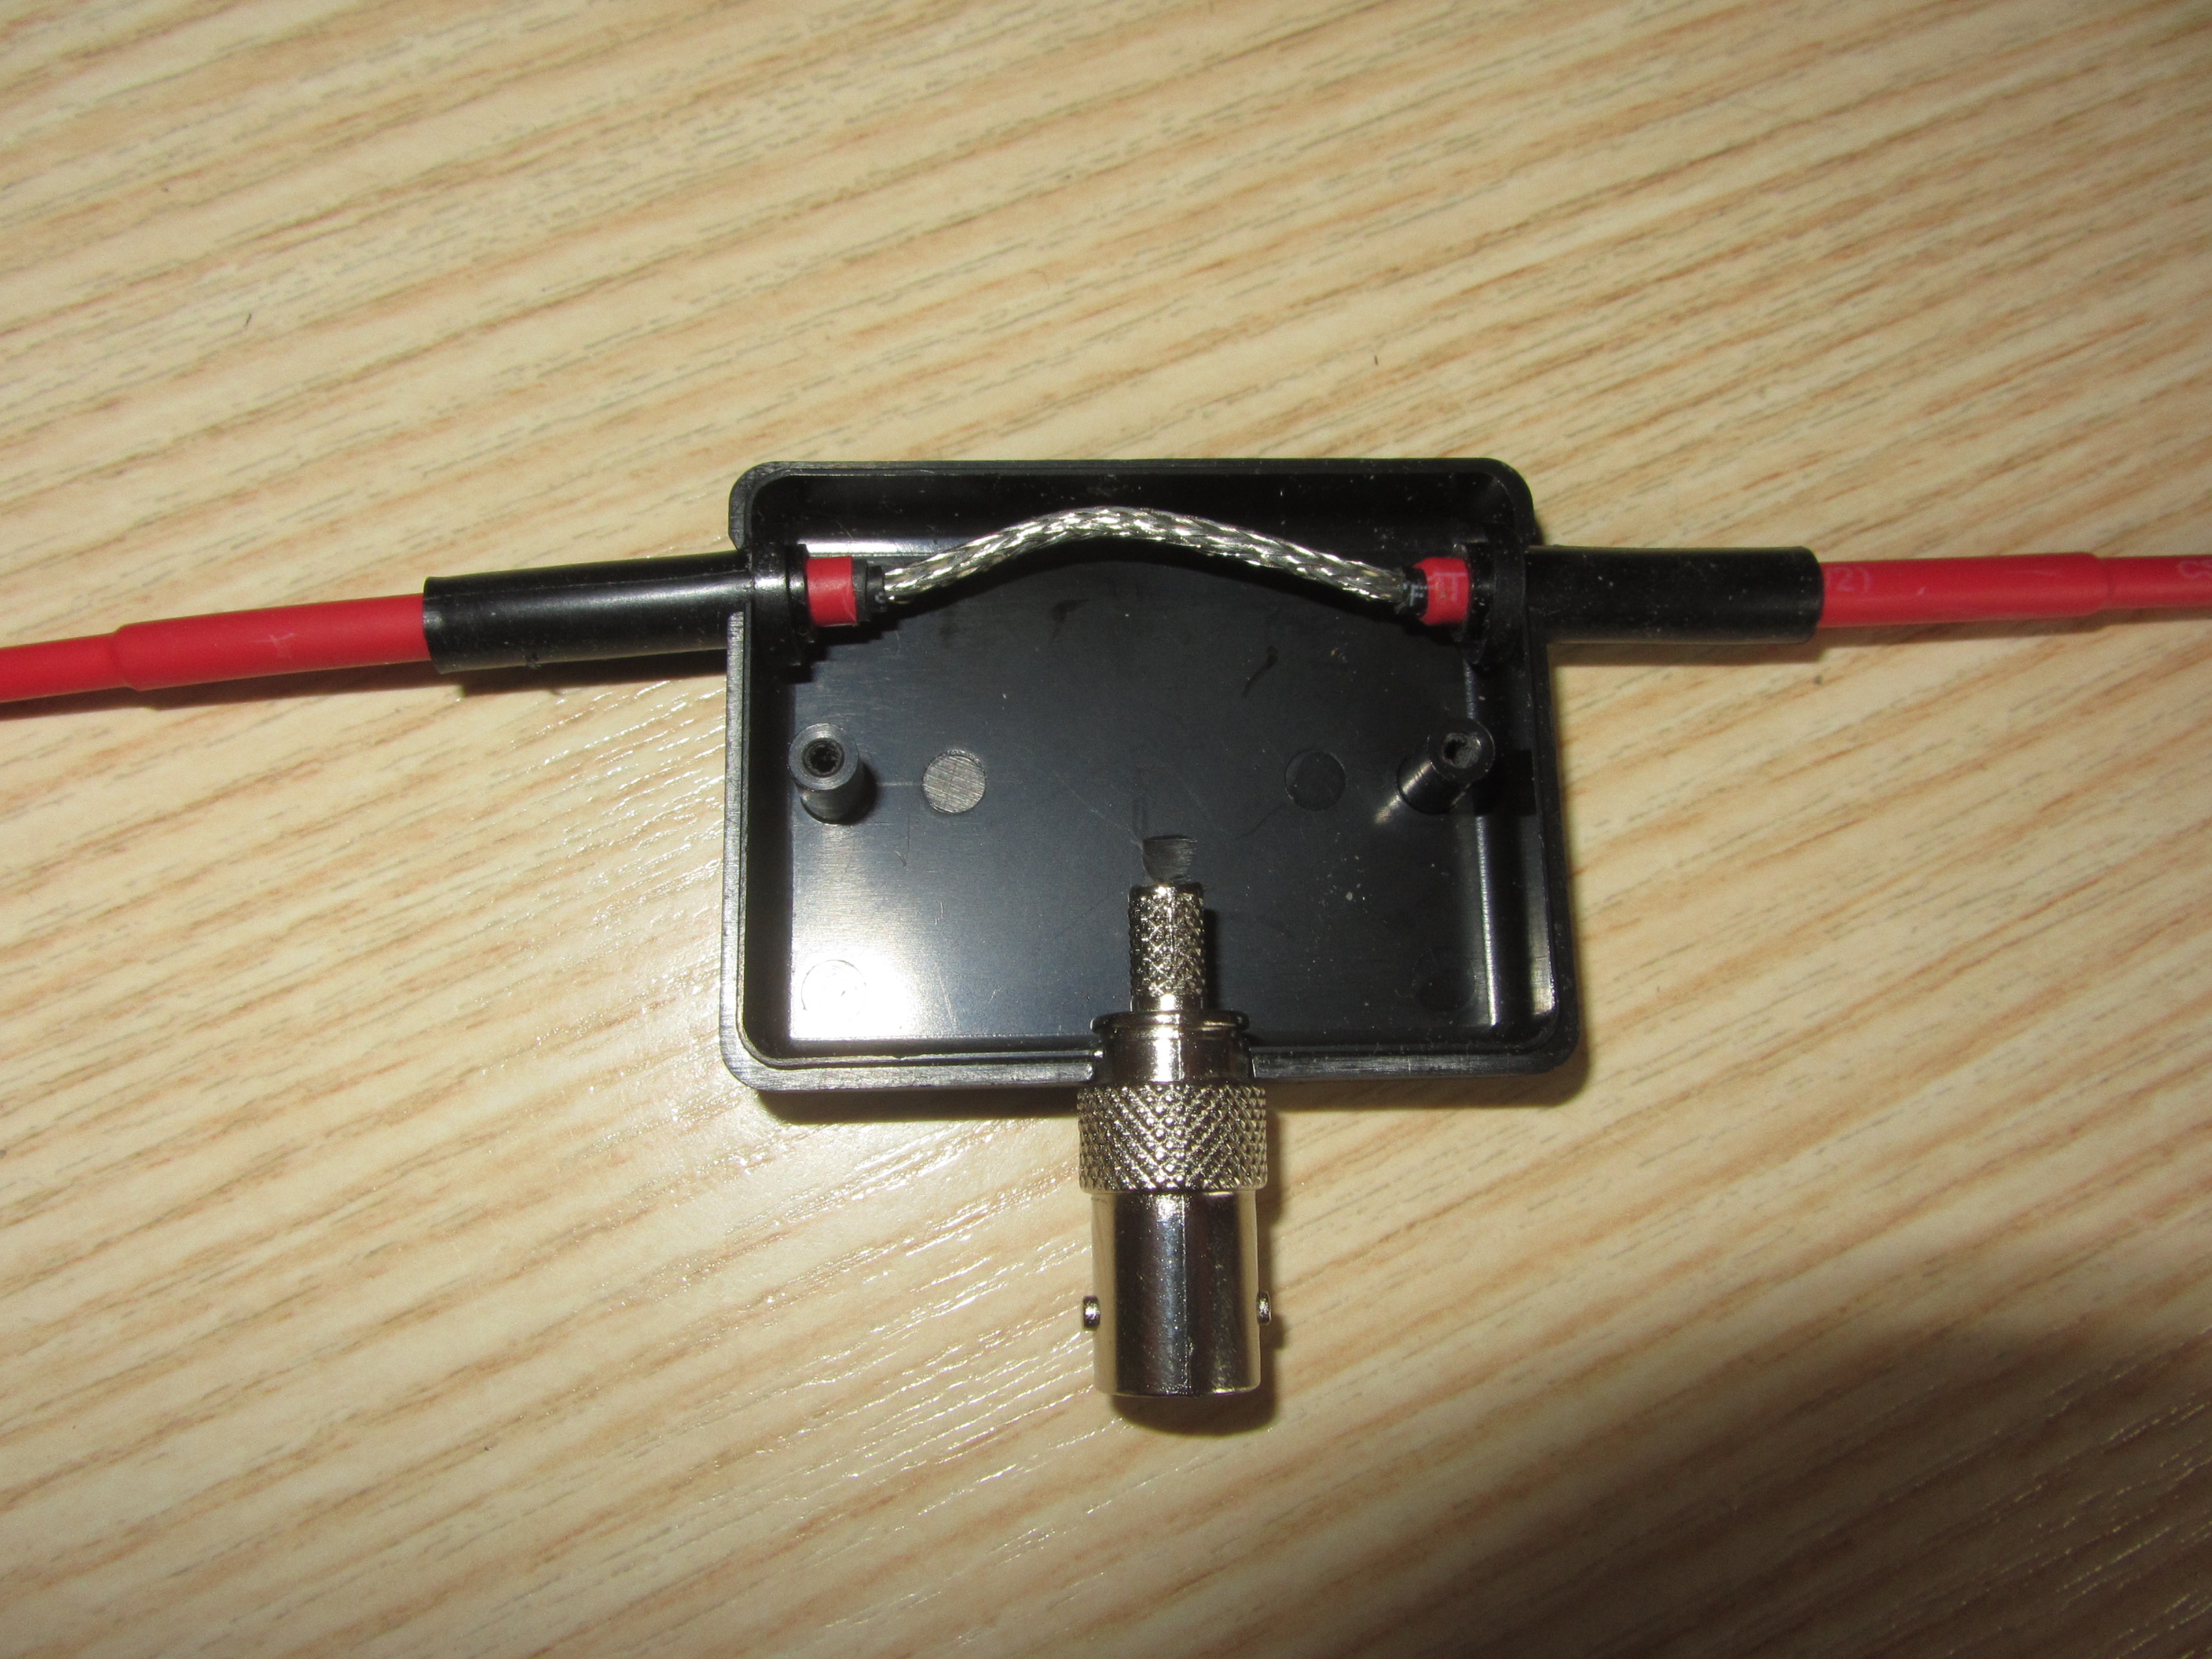
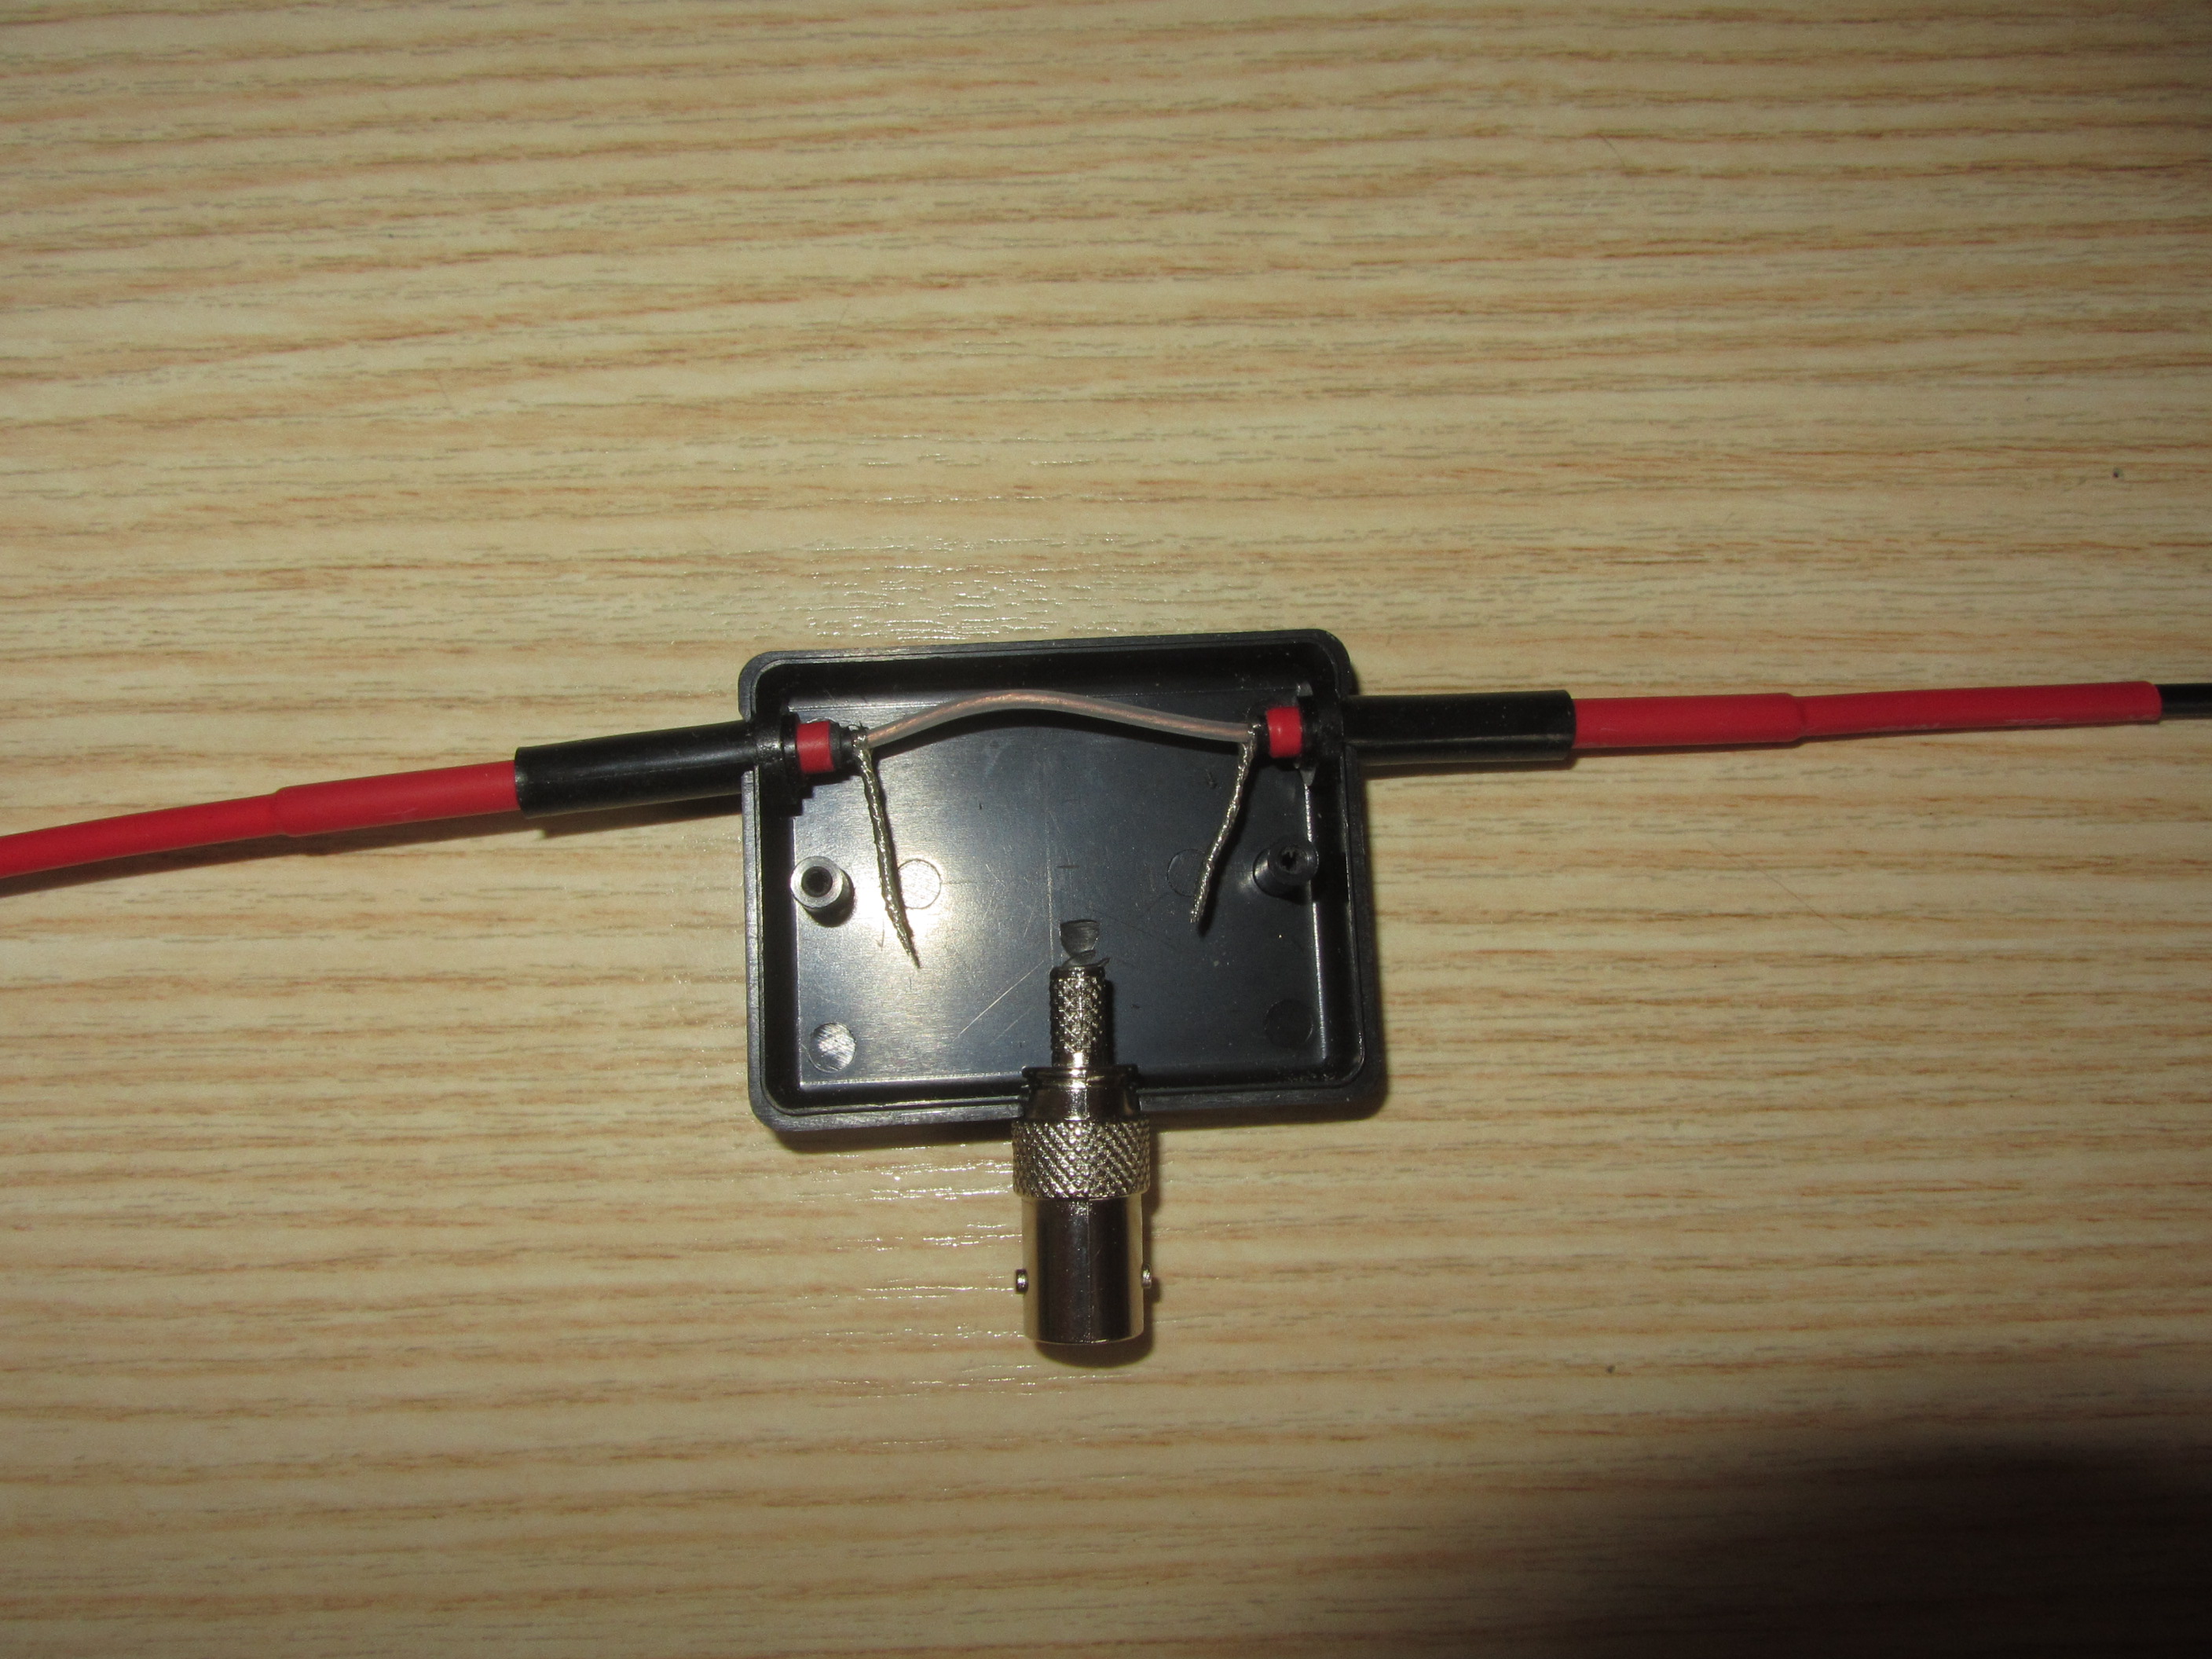
Here are some pictures taken during the building process (click onto the picture for a larger version and slideshow):
Building process: Slide-1
Building process: Slide-2
Building process: Slide-3
Building process = Slide-4The final productTuning the antenna: Feed-point at 3m (9ft)Tuning the antenna: Feedpoint at 6m (18 ft)
Can’t wait to try it out and see how it performs in action. The fresh snow (~45 cm or 1.5 ft) over the last three days cut me off from most SOTA summits right now. Stay tuned…
!! WARNING !! There are old mountaineers, and
bold mountaineers… there are no old-bold mountaineers.
Hiking and mountain climbing are potentially hazardous activities particularly in Colorado with its extreme elevations. I am not accepting responsibility for any death or injury resulting from activations based on my trip reports. Proper training, experience, and personal capability assessment is required – enjoy!
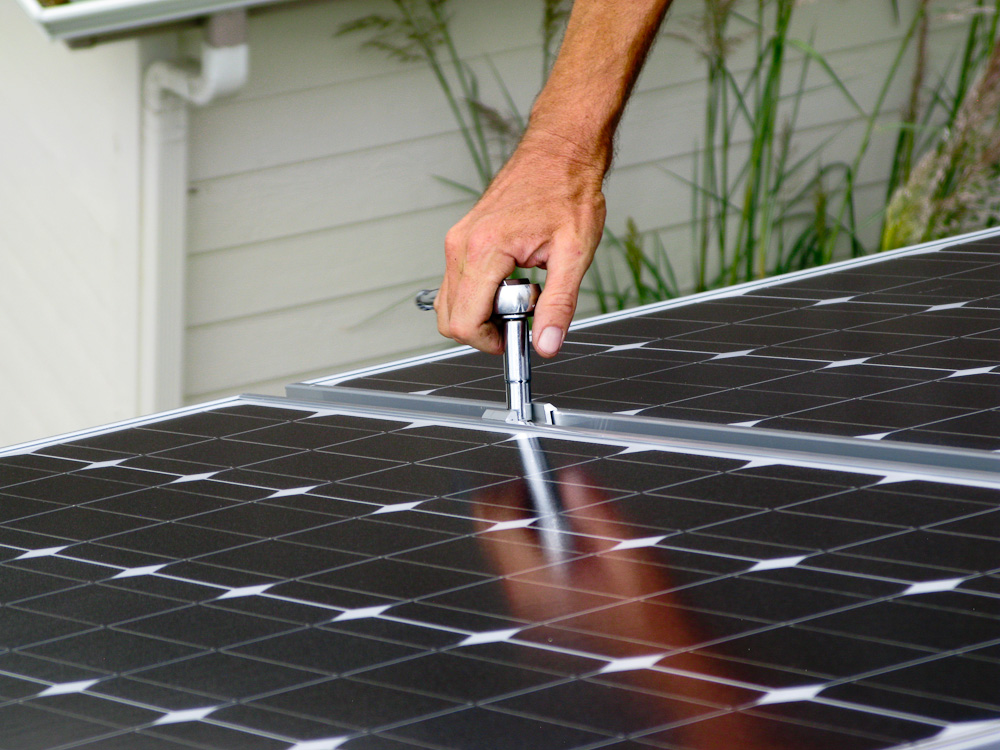
Finally everything fell in place… my shack is running on solar power only. An idea/project I have been pursuing for years but the circumstances were never perfect… until this July. Last fall, a hailstorm took care of the roof and I had to replace it. In July I was able to secure a large chunk of money from our City which is offering a (very) limited number of rebates for Photovoltaic (PV) installations. Together with the federal tax credits it will put the ROI within my life expectancy. Good enough for me.
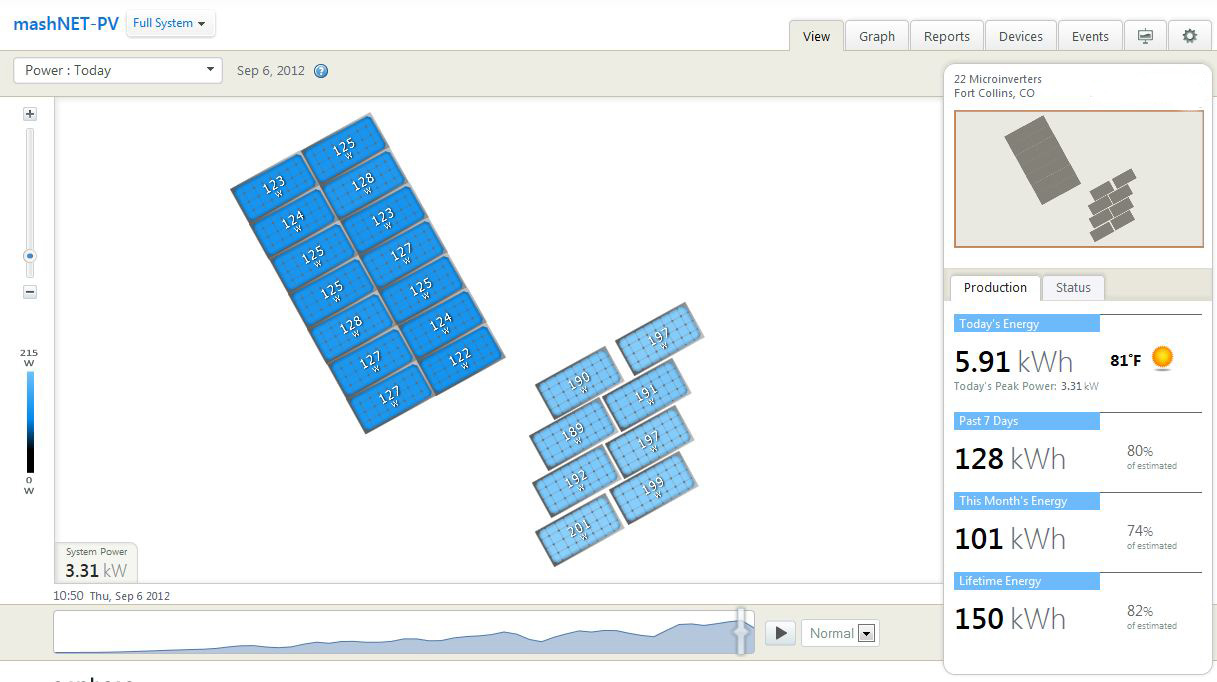
PV: Panel Monitor
The complete system is a grid tied, 5.5 kW system – 22 panels organized in two arrays (one south and one west facing). Each panel has a microinverter to optimize production and to add some ‘intelligence’ to the system. Monitoring and trouble shooting is a breeze. I can literally see when a bird poops on a panel and degrades my production :)
Since my shack consists only of a Yaesu FT-817, I am using the excess energy in the rest of the house. It should produce over 100% of our typical electricity usage per year if everything goes according to plan – I guess time will tell.
Here a short clip of the installation:
httpvh://www.youtube.com/watch?v=fjCg–4V1-Q
Please add your questions and comments through Youtube.
!! WARNING !! There are old mountaineers, and
bold mountaineers… there are no old-bold mountaineers.
Hiking and mountain climbing are potentially hazardous activities particularly in Colorado with its extreme elevations. I am not accepting responsibility for any death or injury resulting from activations based on my trip reports. Proper training, experience, and personal capability assessment is required – enjoy!
After reading KDØBIK’s blog post comparing the new KX3 with the FT-817 under the aspect of using it for Summits on The Air (SOTA), I felt I have to defend ‘my’ little radio a bit. No doubt, the KX3 is a great rig and has tons of new features and advantages compared to the FT-817. I also freely admit that I am not an experienced ham, nor did I ever have the opportunity to see and/or touch a KX3 in real life. My stated opinion is based on the KX3 manual, pictures, videos as well as my personal experience with the FT-817 and a few activations for SOTA. I am offering my view on the categories Jerry created in his article.
Weight – Advantage KX3:
Based on the numbers Jerry provided, the KX3 is indeed 20% lighter compared to the FT-817. Not sure whether this includes the optional 2m module (I doubt it, since it is not yet available). For a fair comparison however, we have to add the additional weight for the optional module, since the FT-817 has the 2m capability. As a result, the difference is a little less. In real numbers this boils down to an advantage for the KX3 of less than 0.5 pounds (< 226 g). Don’t get me wrong, carrying 0.5 pounds less to a remote summit is great, in my case however this can achieved with a few days of dieting :)
Size – Advantage KX3:
Based on the numbers provided in the article, the KX3 indeed has a huge advantage compared to the Yaesu. If my math is correct it takes up nearly 50% less space! That’s a lot… space in a backpack is always an issue and cannot be mitigated with a diet. What is unclear to me is whether the provided measurements are just for the case of the radio or if it includes the protruding knobs/buttons/dials etc. So maybe it’s not that big of an advantage after all… we will have to wait for an update on this issue.
Durability and Ruggedness – Advantage 817: I completely agree with Jerry on this point. What bothered me the most on the KX3 when I did my research were the buttons/knobs/dials/paddle, especially under the aspect of taking the rig to a summit. I am curious to see how fragile/problematic these protrusions are. Being extra careful might just not cut it… a backpack can be a crowded place on a longer hike.
LCD Display and Control Panel– Advantage KX3: No kidding – the huge display and the control panel are certainly a huge advantage on the KX3. Even though I do not need glasses, seeing all the necessary info on the tiny display of the FT-817 can be a pain in the rear – and so is the fact that you have to push buttons and dial through endless menus to make adjustments.
Portability and SOTA Readiness – Advantage KX3: I strongly disagree with Jerry on this point (keep in mind I never touched a KX3). The lack of a feature (2m module) cannot make it an advantage for SOTA! Specifically if you substitute the missing feature with an additional radio, which adds weight and volume to your pack (eliminating the stated advantages above). At best it is a draw… in my opinion, the FT-817 has a clear advantage in this category mainly because of the protruding knobs/dials of the KX3 on the one hand, and the acknowledged ruggedness of the FT-817 on the other hand.
Speaker Audio Output – Advantage 817: Can’t really judge this point but I am sure Jerry is right on the mark with this. Personally I am always carrying ear-buds to an activation (but I hate to wear them), just in case I have company on a summit – so far I was lucky and never encountered a soul.
Other Features and Functionality – Advantage KX3:
An increase of your output to 10W might be nice under certain conditions. It will increase your signal slightly but you have to carry extra power sources to the summit – again, eliminating certain advantages mentioned above (weight/volume) – I would say it’s a draw.
The huge VFO knob, certainly an advantage during operation, represents a drawback in terms of ruggedness (needs to be seen) and ability to pack the rig.
The ability of the KX3 to decode PSK/RTTY and CW is certainly a great feature – how useful this is for a SOTA rig I am not sure – time will tell.
A missing piece in this comparison is the price tag. Configuring the KX3 with a microphone and a charger, as well as with the 2m option will run you approx. twice the price of an FT-817. If you can justify this for your SOTA rig – go for it.
Where the KX3 will shine are areas of less importance to SOTA activators. SDR and data mode features are great but have limited value if you are looking for just a SOTA rig. The wide open front end of the FT-817? Certainly better on the KX3. For me, the KX3 does just not have enough advantages to say good-by to my FT-817 – but I am using the radio only for SOTA.
I am looking forward to KDØBIK’s updates on the SOTA readiness of the KX3 and his real-life experiences. It might just be the perfect rig after all.
73, Matt / KØMOS
!! WARNING !! There are old mountaineers, and
bold mountaineers… there are no old-bold mountaineers.
Hiking and mountain climbing are potentially hazardous activities particularly in Colorado with its extreme elevations. I am not accepting responsibility for any death or injury resulting from activations based on my trip reports. Proper training, experience, and personal capability assessment is required – enjoy!
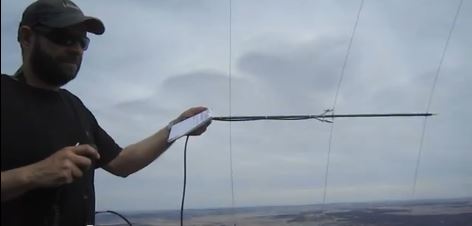
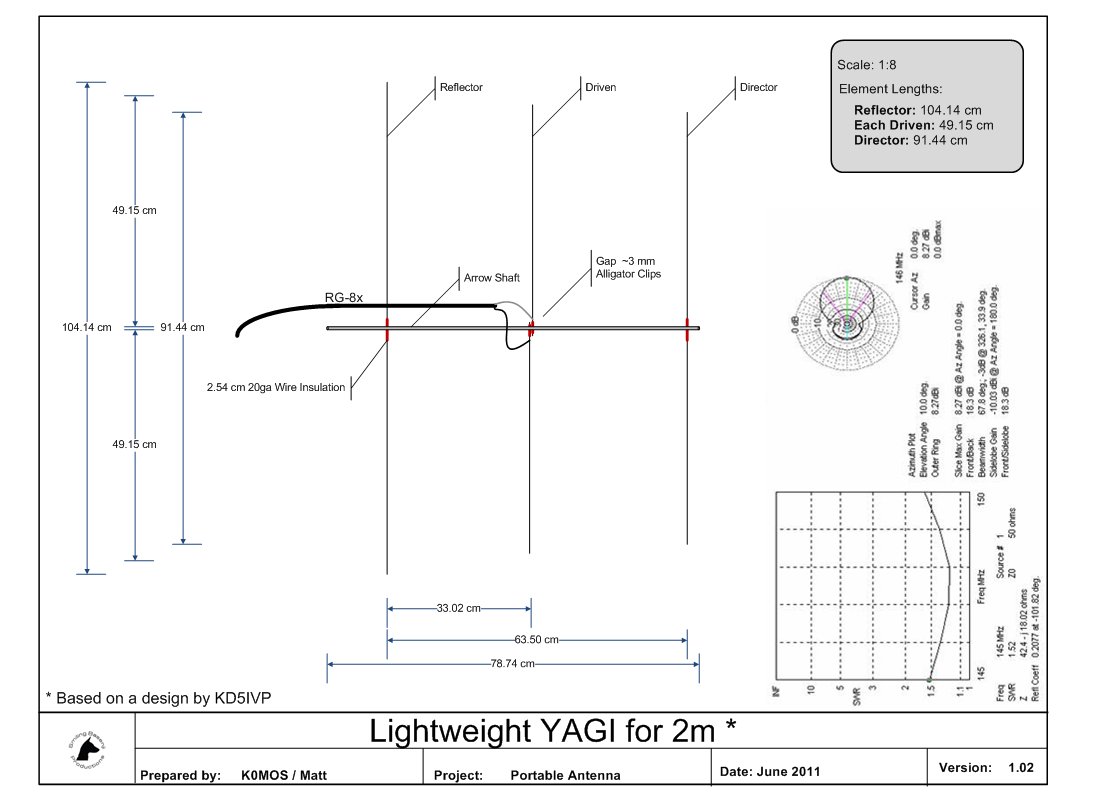
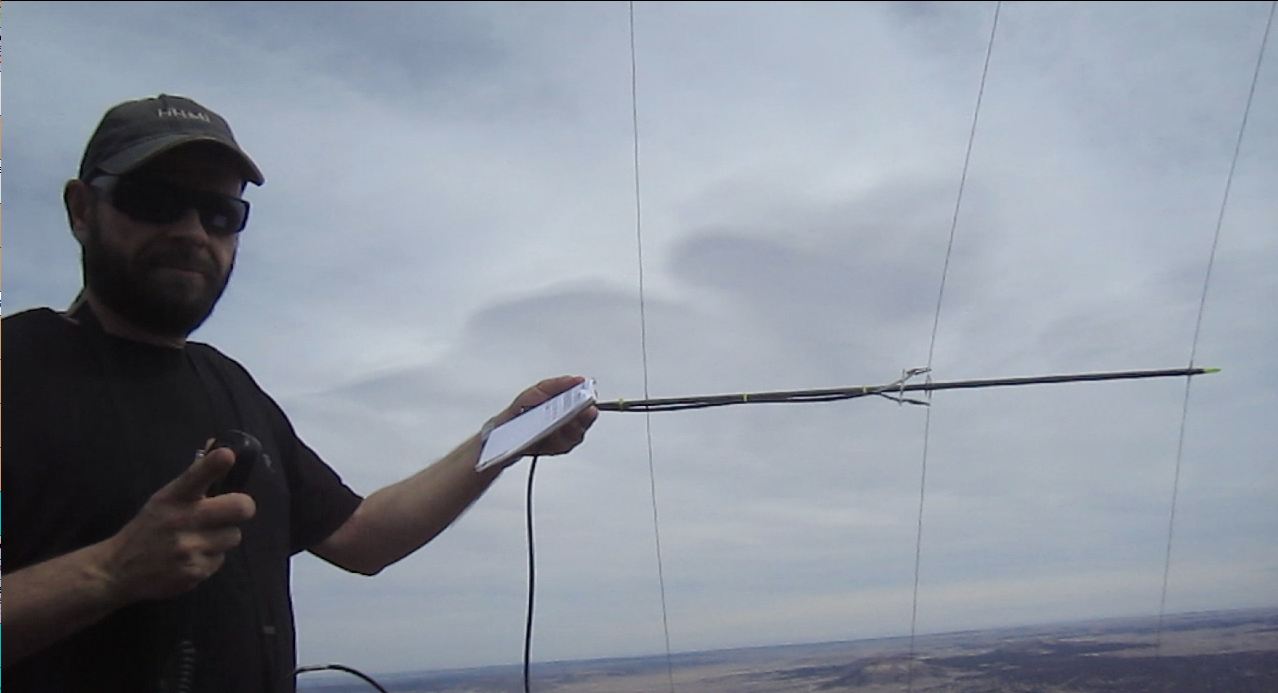
I am always carrying my HT (Yaesu VX-7R) as a backup on my SOTA activations. It saved my butt on two occasions when high winds prevented me from setting up my vertical Buddipole. Since high winds are not unusual at higher elevations I was looking for a better antenna compared to the stock rubber-ducky for future activations. I found an antenna I really liked on Youtube, created by David/KD7MNI who was inspired by a design by Paul/KD5IVP. Paul even shared his plans online. I based my own plans on the info provided by David and Paul and after a week-end it was ready to test. A lightweight arrow-shaft houses the piano-wire for elements nicely but I was not happy with the dangling RG-8x… even wrapping it around the arrow-shaft made it awkward to transport… so I never actually took it to a summit until last week, when I activated Mt. Herman (WØC/FR-Ø63) with Steve/wGØAT.
Yagi on Mt. Herman (photo by Steve/wGØAT)
On the summit I had a real problem with my Buddipole coax and had to rely on my 2m 3-element Yagi to be able to claim my points. So… did it work you ask? YES, it sure did… the furthest contact I made was with Ken/WB9QDL who was in Thornton in his car (~60 miles). Not that the distance is unusual for a 2m contact with 5W but we had the opportunity to compare the signal with Steve’s HT. According to Ken, my signal and audio quality was better than Steve’s HT with a 17″ flexible whip antenna.
Remains of a Yagi
Good enough for me. I decided to take the antenna on my double-activation of Lily Mtn. & Panorama Pk. to see what it is capable of. Unfortunately it never came to another test. The antenna was strapped to the outside of my backpack. The light-weight arrow-shaft broke apart during my ascent through the forested area to Lily Mountain without me noticing and I lost some of the piano-wires which were stored inside.
My Conclusion: It seems that the antenna was just too flimsy and not rugged enough for my purpose. Most trails around here start well below the treeline and there is always a part where I have to bush-whack through trees. The arrow shaft is too long to be stored in a backpack and thus needs to be strapped to the outside. Using another container to protect the antenna seems to defeat the purpose of having an ultra-light antenna. I guess it is time to try a tape-measure antenna next :)
Video of the antenna in action:
httpvh://www.youtube.com/watch?v=TeTrAPNo8tQ
If you would like to leave questions or comments, please do so through Youtube.
!! WARNING !! There are old mountaineers, and
bold mountaineers… there are no old-bold mountaineers.
Hiking and mountain climbing are potentially hazardous activities particularly in Colorado with its extreme elevations. I am not accepting responsibility for any death or injury resulting from activations based on my trip reports. Proper training, experience, and personal capability assessment is required – enjoy!
I received quite a few inquiries regarding the solar setup I am using for my SOTA activations. I hope I answered all of them in this short video. If not, please fell free to add questions/comments via Youtube
httpvh://www.youtube.com/watch?v=IsvPOyn0LeQ
!! WARNING !! There are old mountaineers, and
bold mountaineers… there are no old-bold mountaineers.
Hiking and mountain climbing are potentially hazardous activities particularly in Colorado with its extreme elevations. I am not accepting responsibility for any death or injury resulting from activations based on my trip reports. Proper training, experience, and personal capability assessment is required – enjoy!
Video (answers to inquiries I received):
httpvh://www.youtube.com/watch?v=IsvPOyn0LeQ
If you would like to leave questions or comments, please do so through Youtube.
!! WARNING !! There are old mountaineers, and
bold mountaineers… there are no old-bold mountaineers.
Hiking and mountain climbing are potentially hazardous activities particularly in Colorado with its extreme elevations. I am not accepting responsibility for any death or injury resulting from activations based on my trip reports. Proper training, experience, and personal capability assessment is required – enjoy!
 !! WARNING !! There are old mountaineers, and
bold mountaineers… there are no old-bold mountaineers.
Hiking and mountain climbing are potentially hazardous activities particularly in Colorado with its extreme elevations. I am not accepting responsibility for any death or injury resulting from activations based on my trip reports. Proper training, experience, and personal capability assessment is required – enjoy!
!! WARNING !! There are old mountaineers, and
bold mountaineers… there are no old-bold mountaineers.
Hiking and mountain climbing are potentially hazardous activities particularly in Colorado with its extreme elevations. I am not accepting responsibility for any death or injury resulting from activations based on my trip reports. Proper training, experience, and personal capability assessment is required – enjoy!