W0C/PR-020
Gray Wolf Mountain
4146 m / 13602 ft
Aug 16, 2014
By KX0R
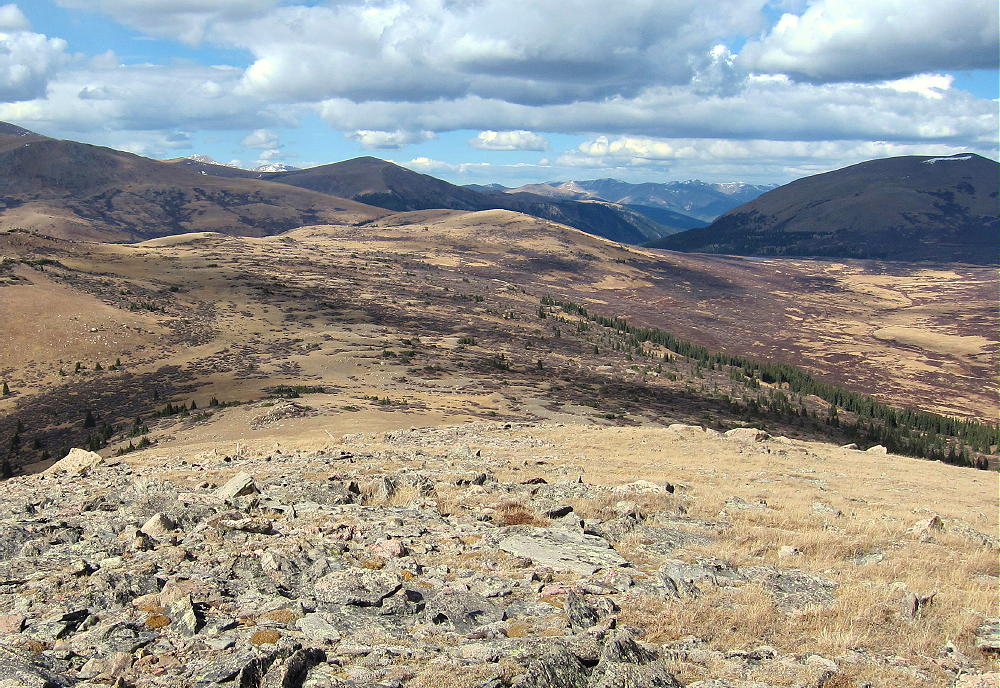
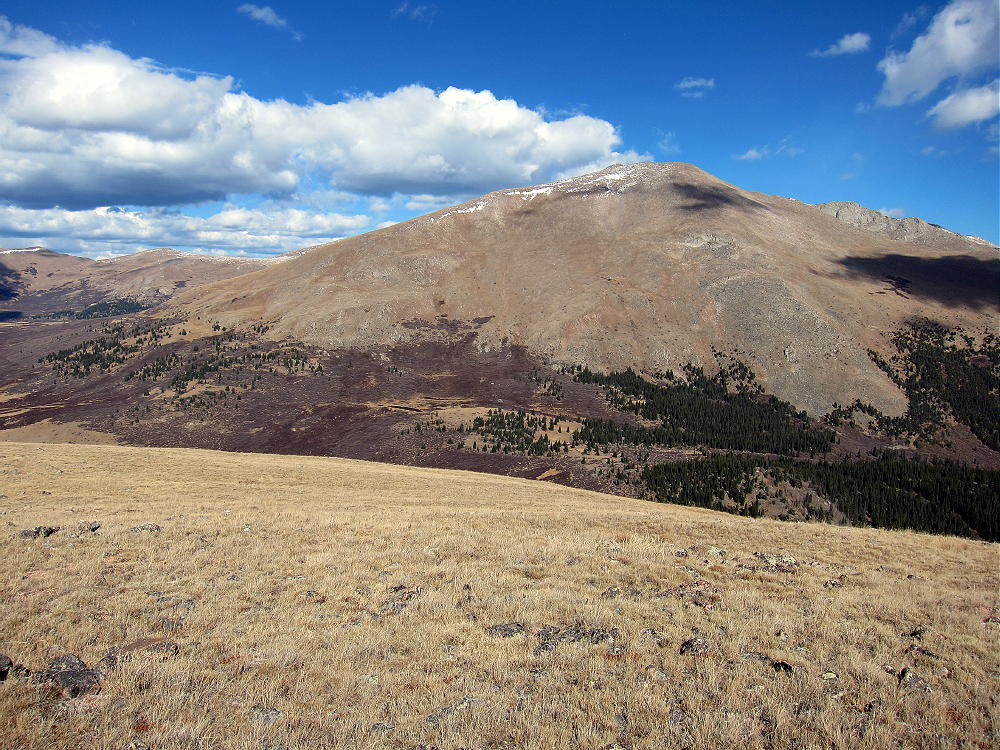
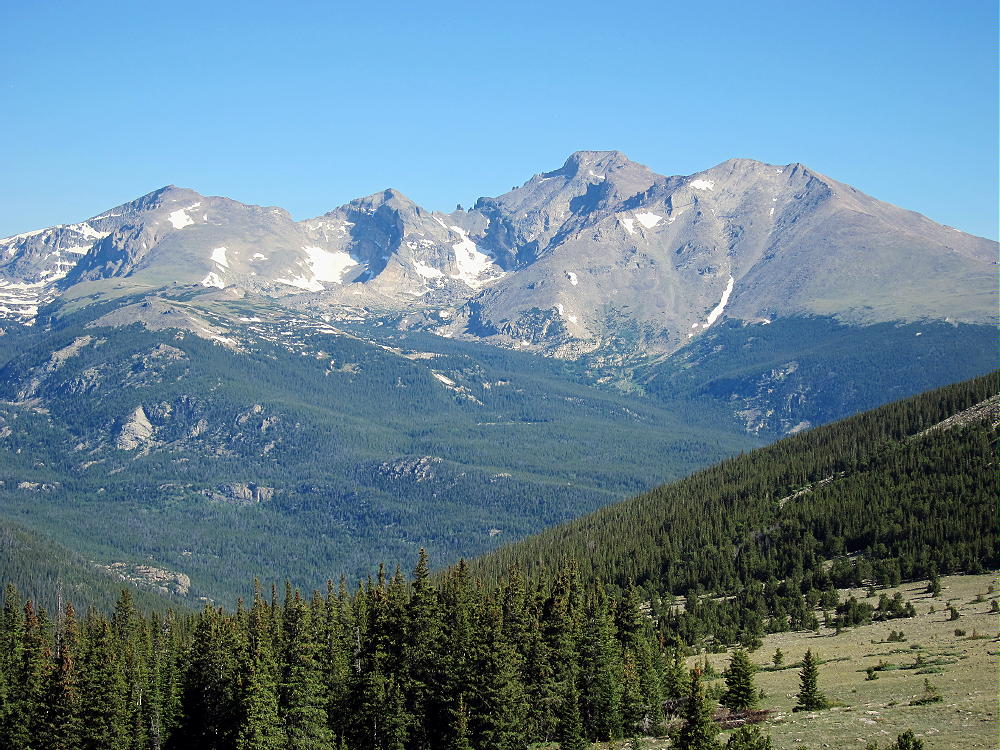
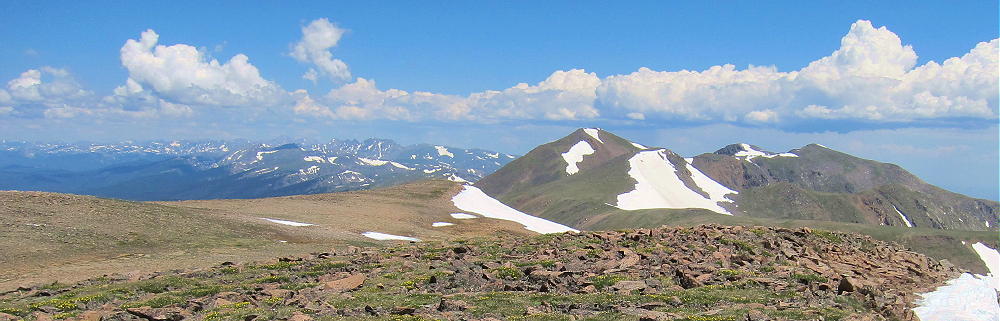
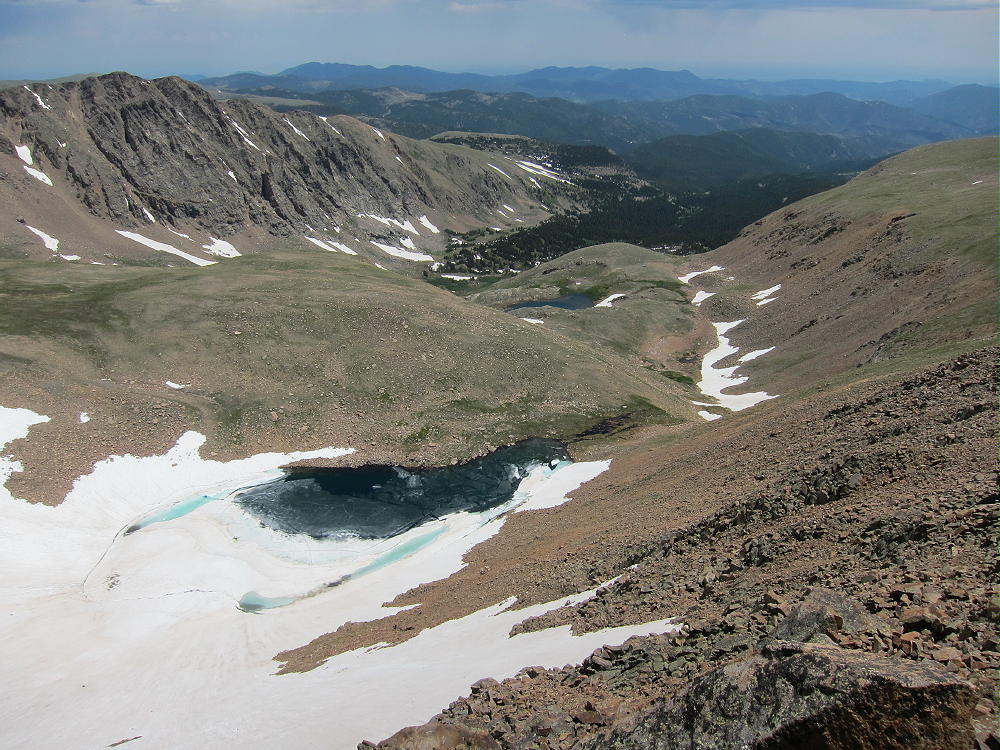
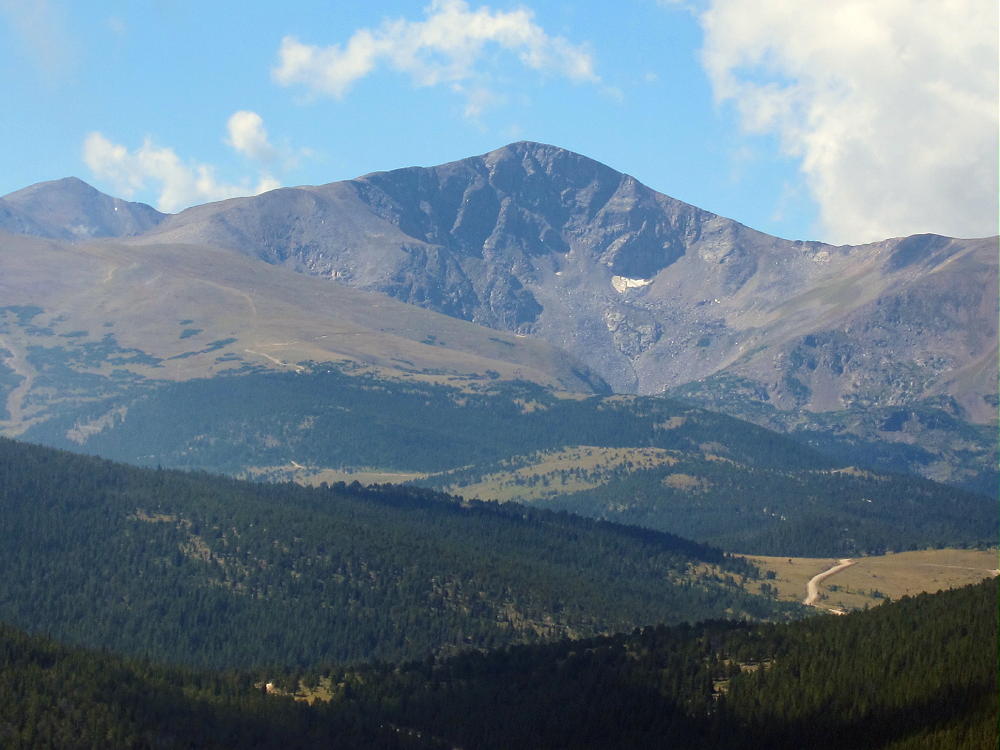
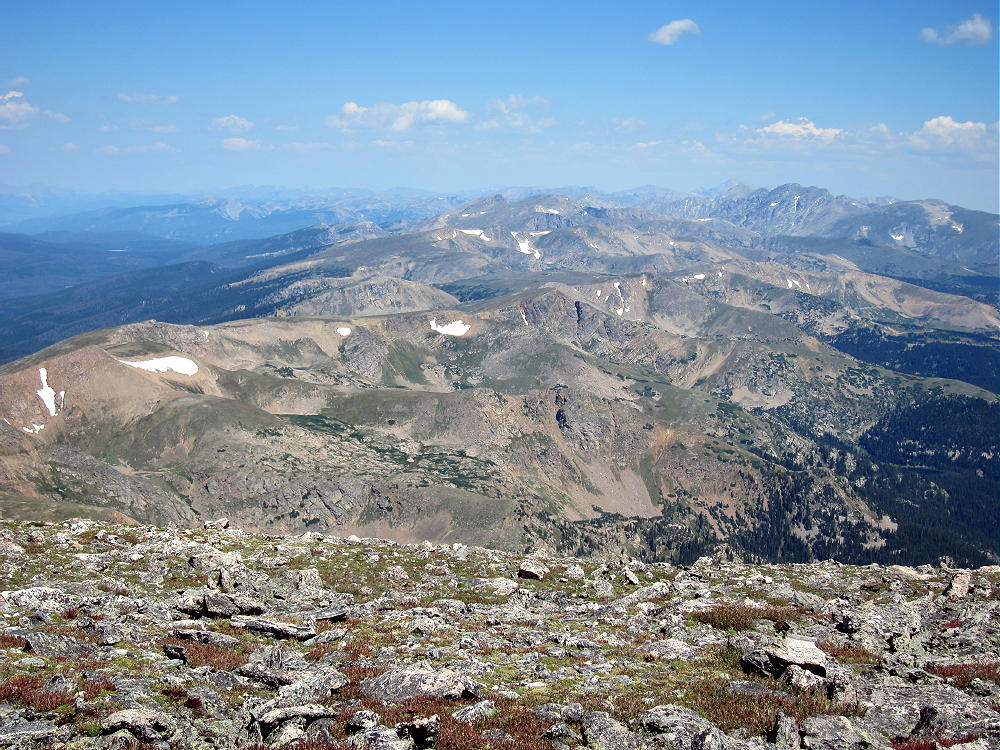
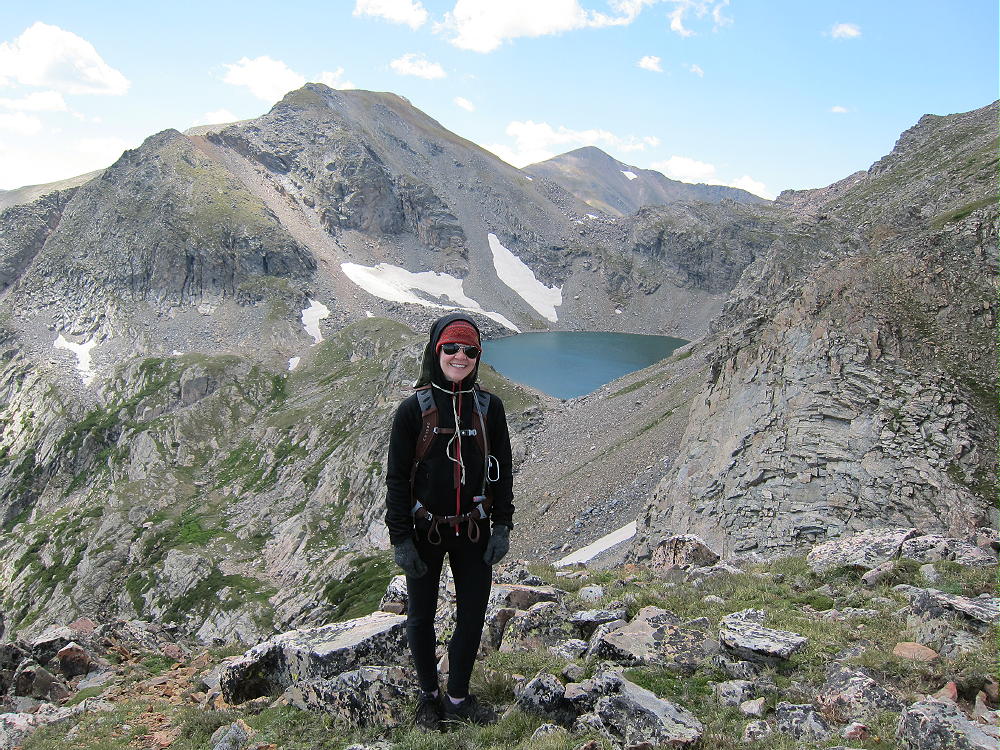
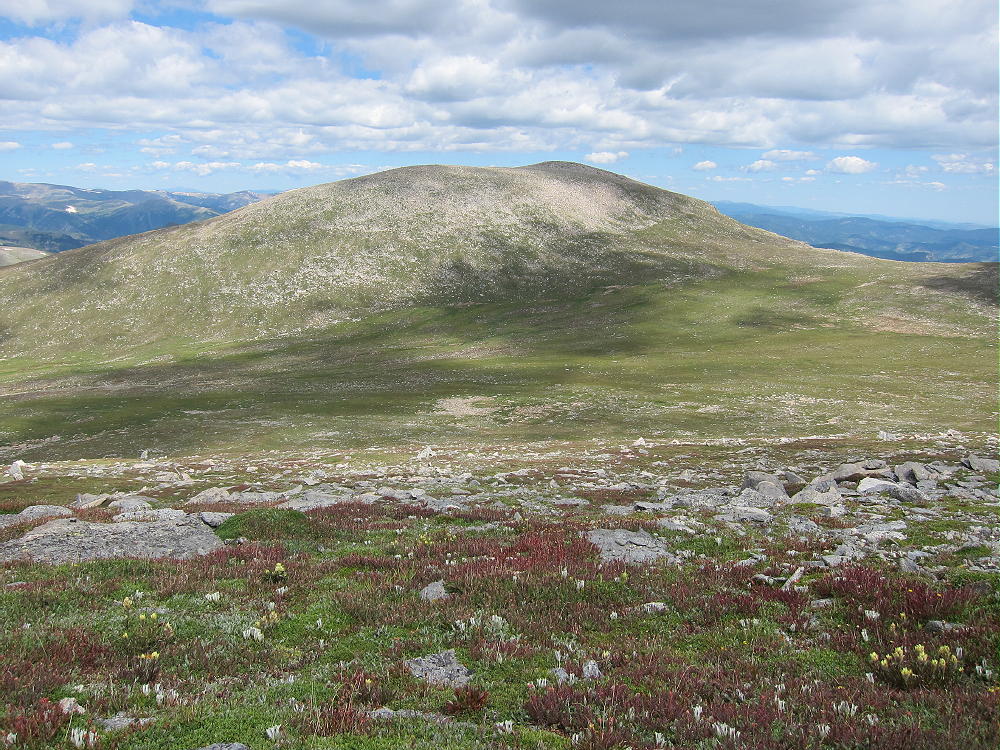
Gray Wolf Mountain is a high alpine summit located about 2-1/2 miles northeast of Mount Evans. On a nice summer day it’s a pleasant retreat into the wilderness, and it’s also a fine SOTA peak.
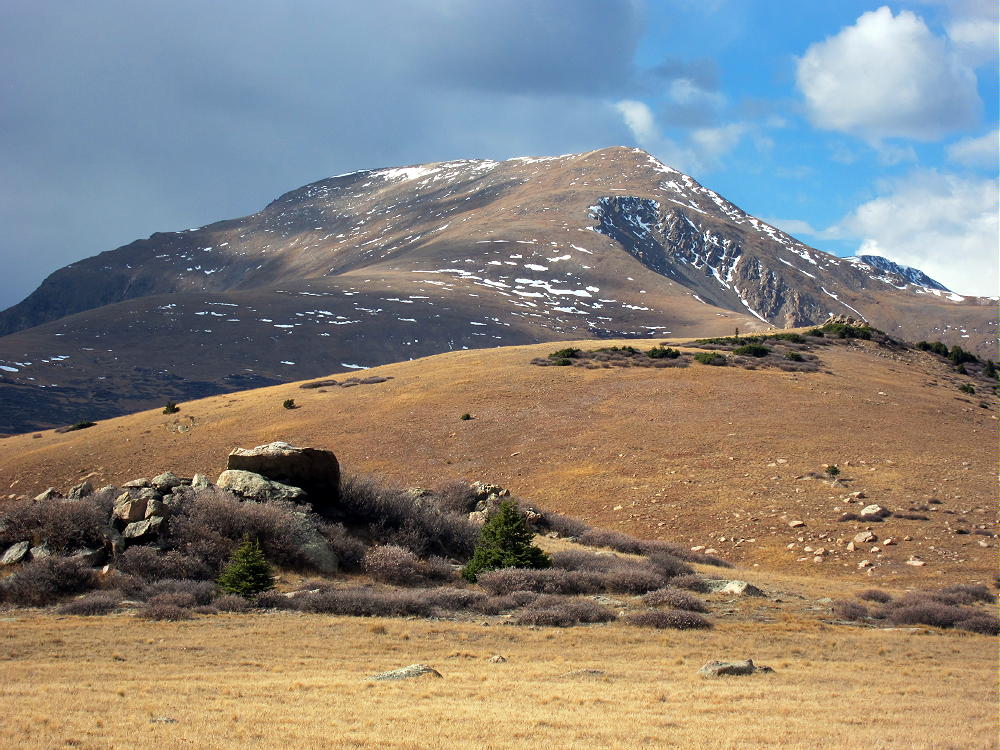
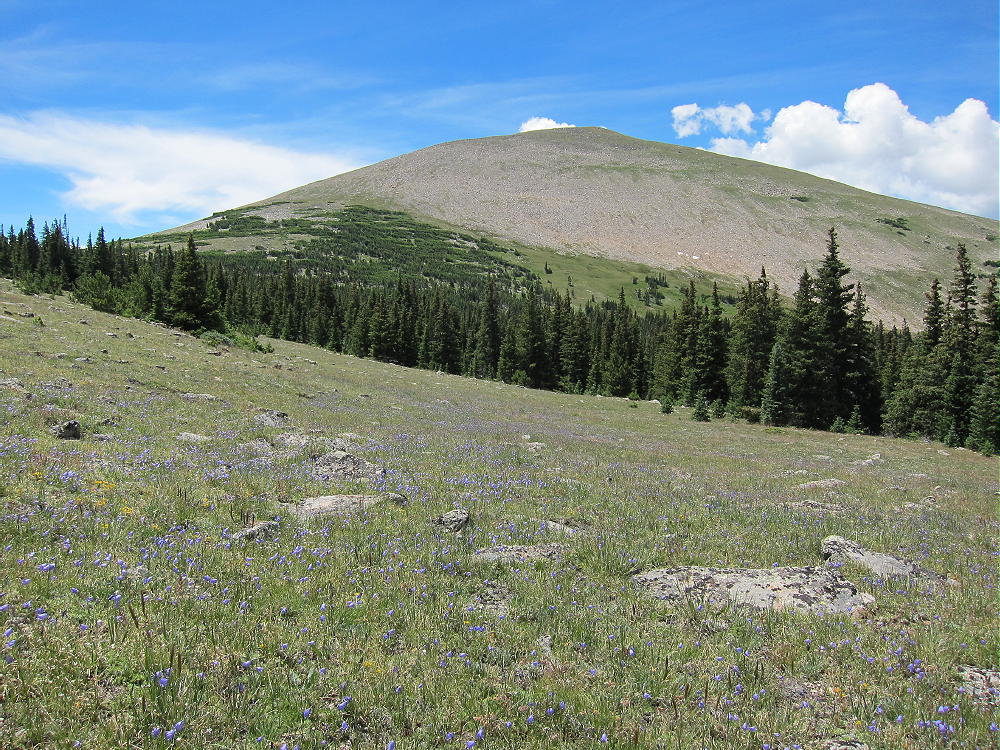
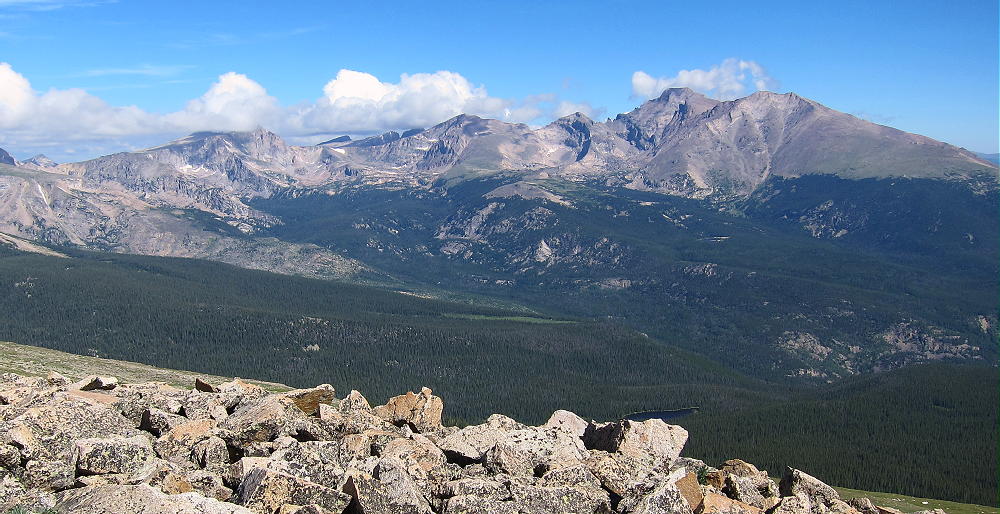
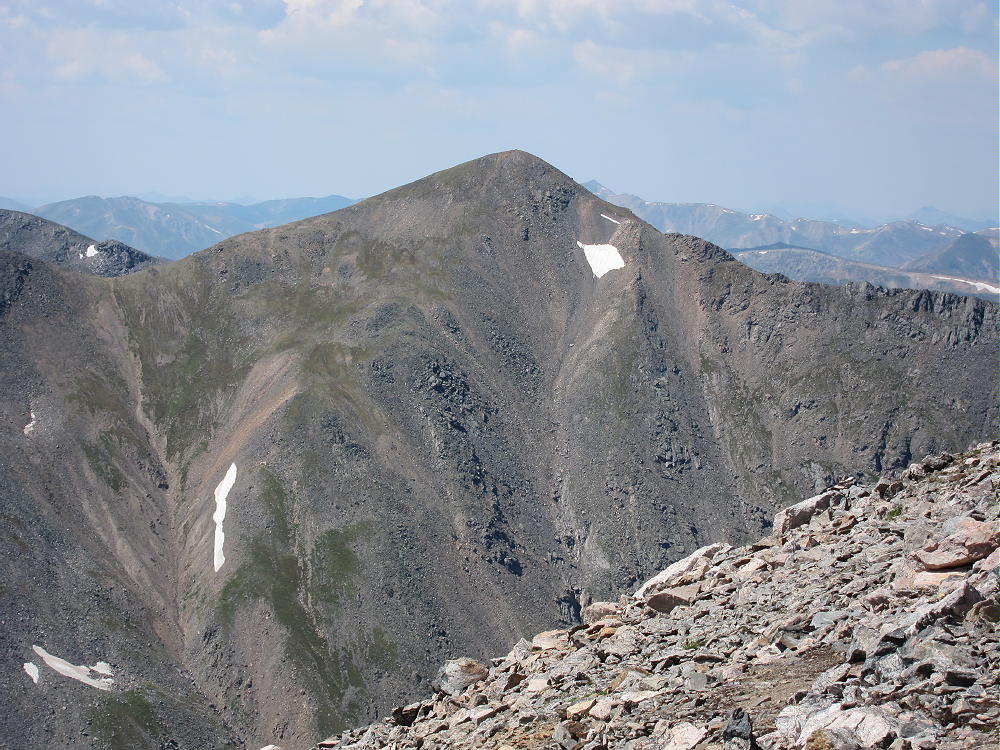
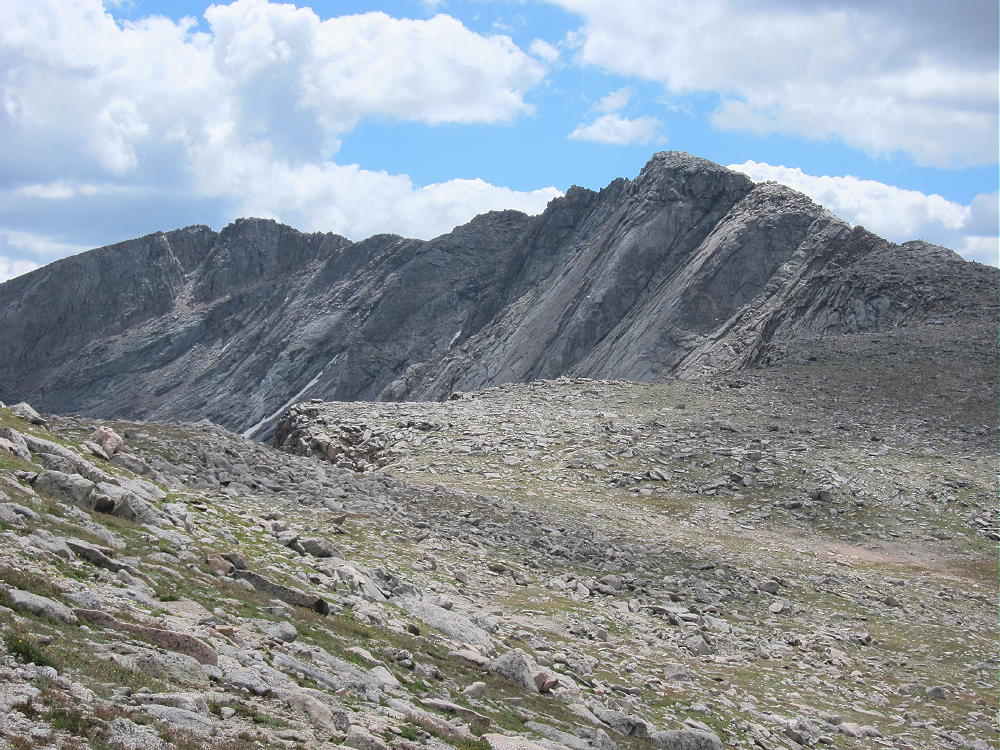
Gray Wolf Mountain from Mount Spalding
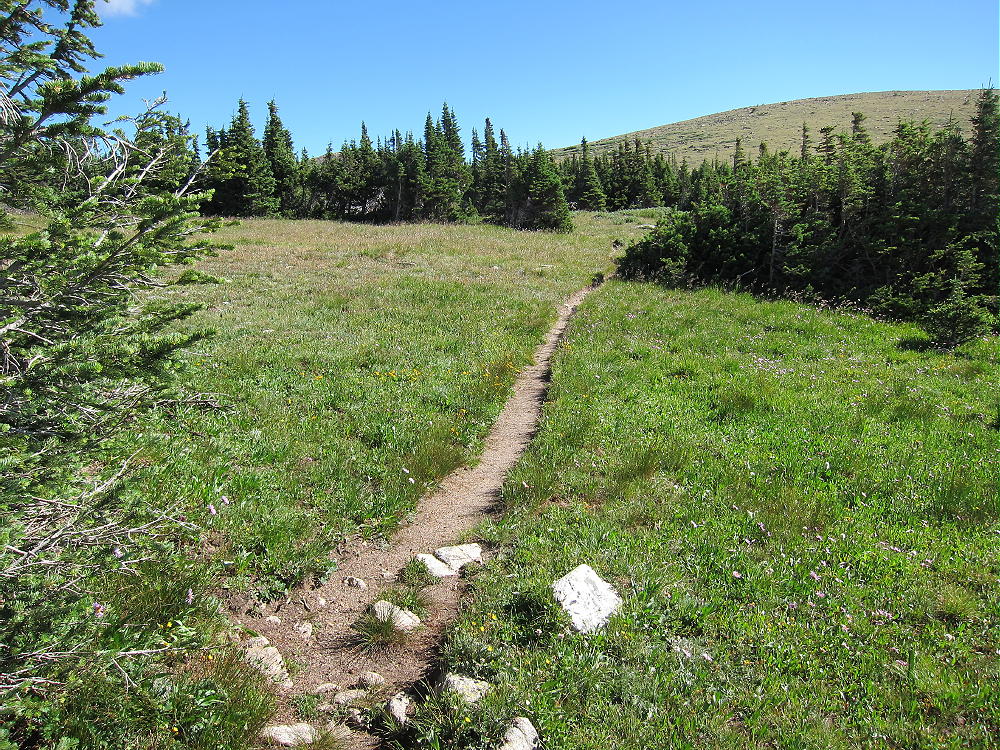
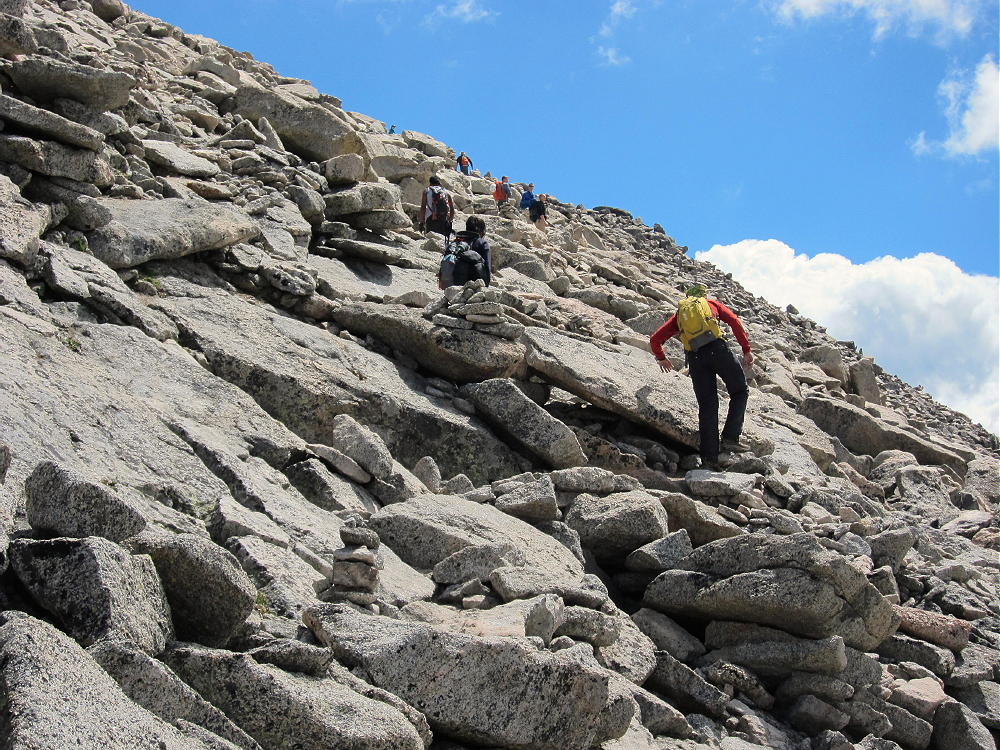
To climb Gray Wolf, first drive up Mount Evans. Traverse the long rocky West Ridge of Evans – a trail leads through the rocks around the south side of this ridge, and it’s heavily used by hikers on nice days. Follow this trail down to the Evans – Spalding saddle.
West Ridge Trail of Mount Evans
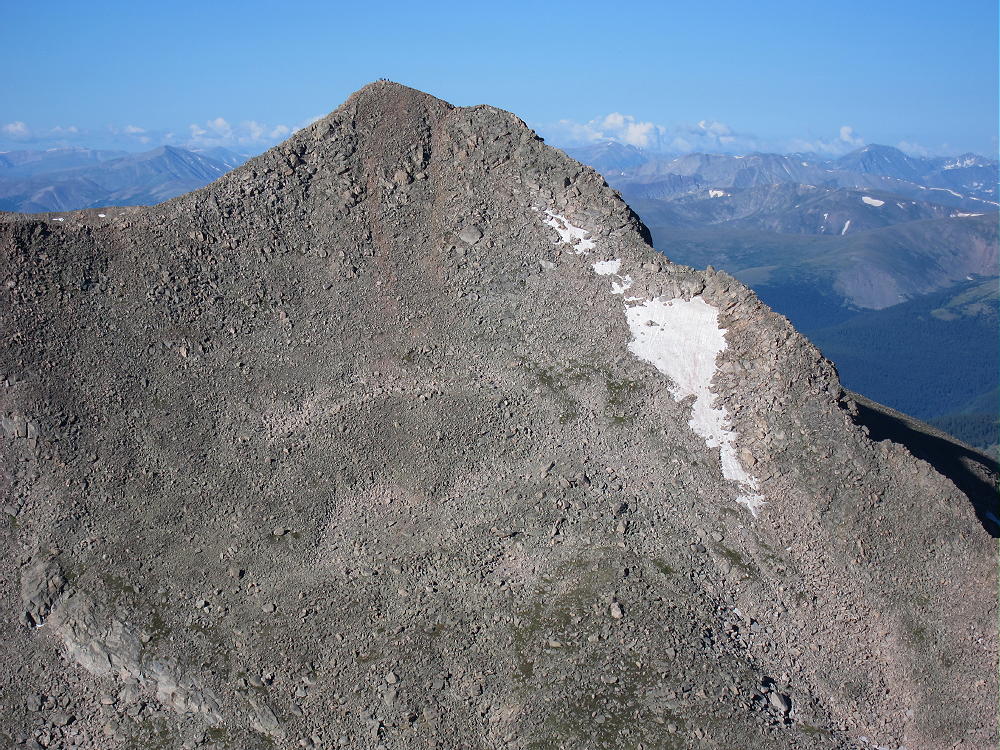
Mount Bierstadt from Evans
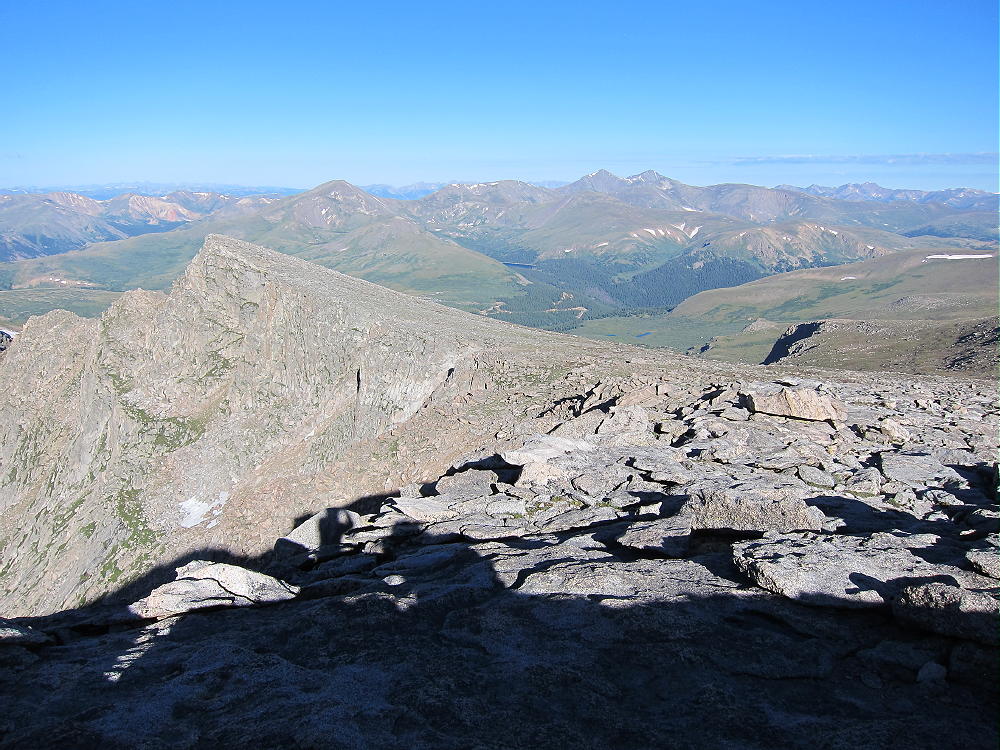
West Ridge Area of Evans
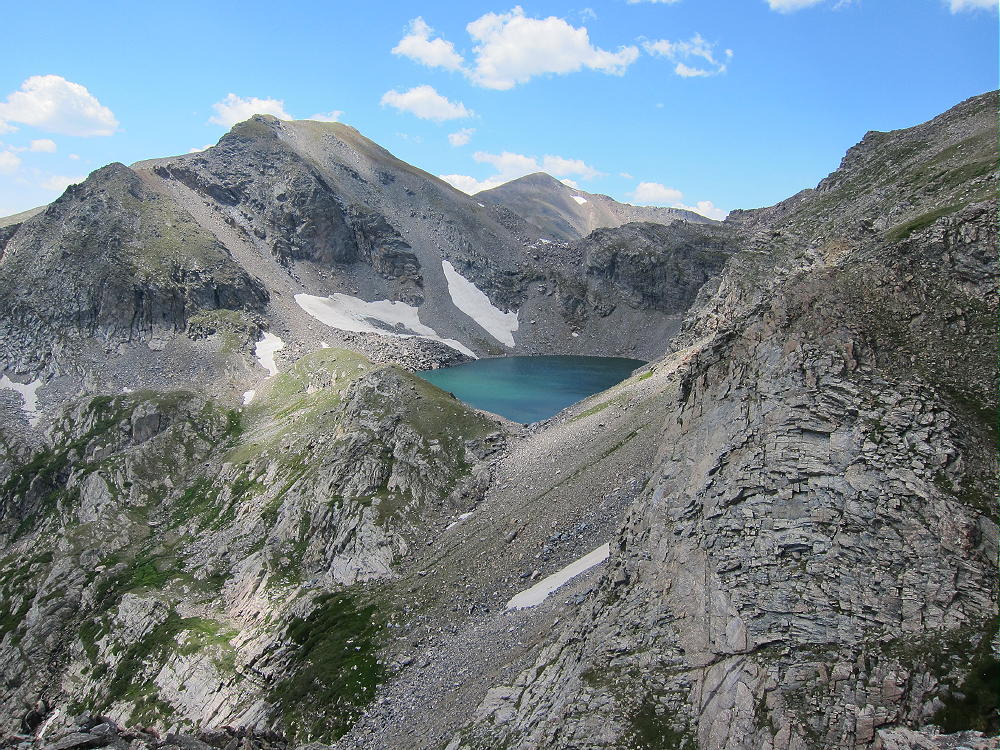
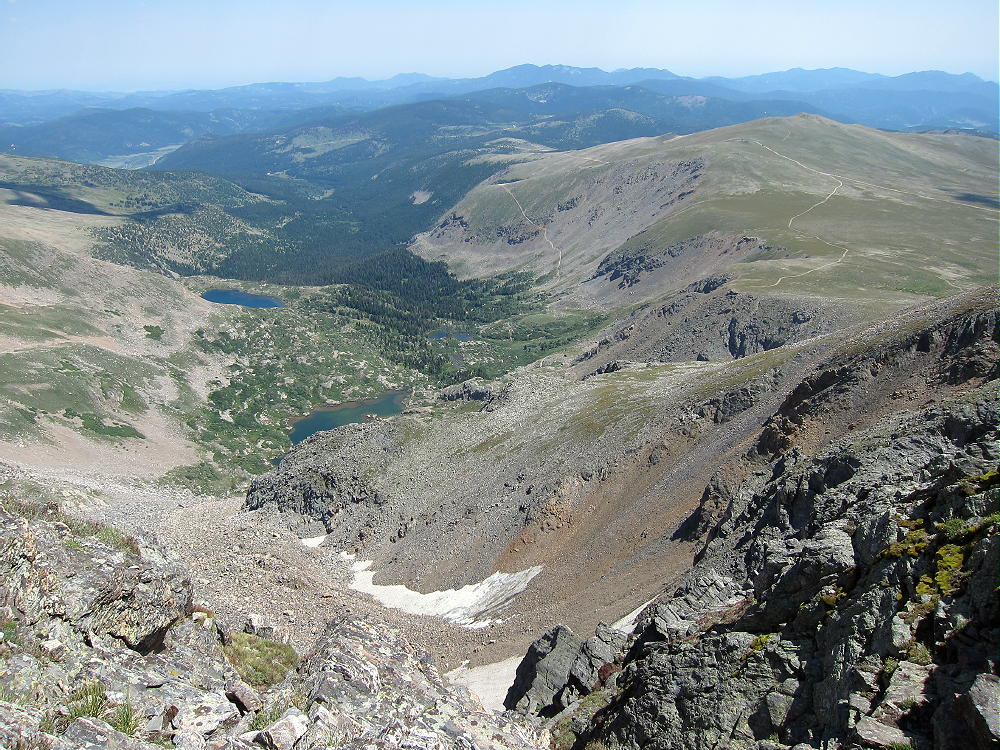
From this saddle you can either follow the trail north over Mount Spalding, or contour around the west side of Spalding. The trail eventually goes down a craggy ridge to Summit Lake, and it’s a popular route for climbing Spalding and Evans.
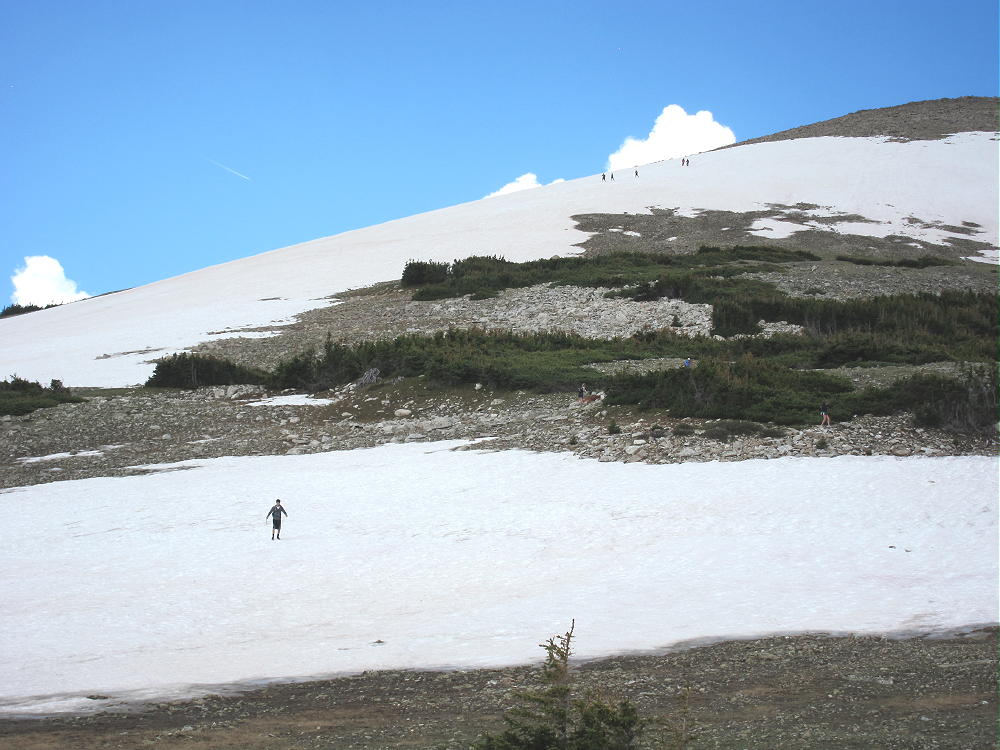
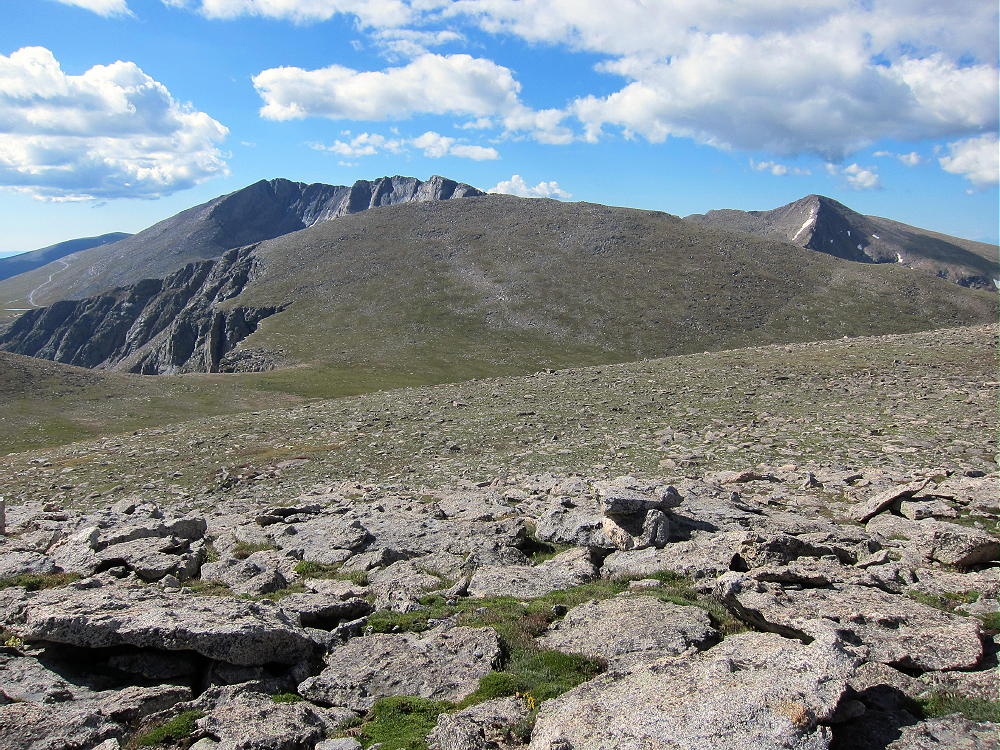
Mount Evans from Spalding Slopes
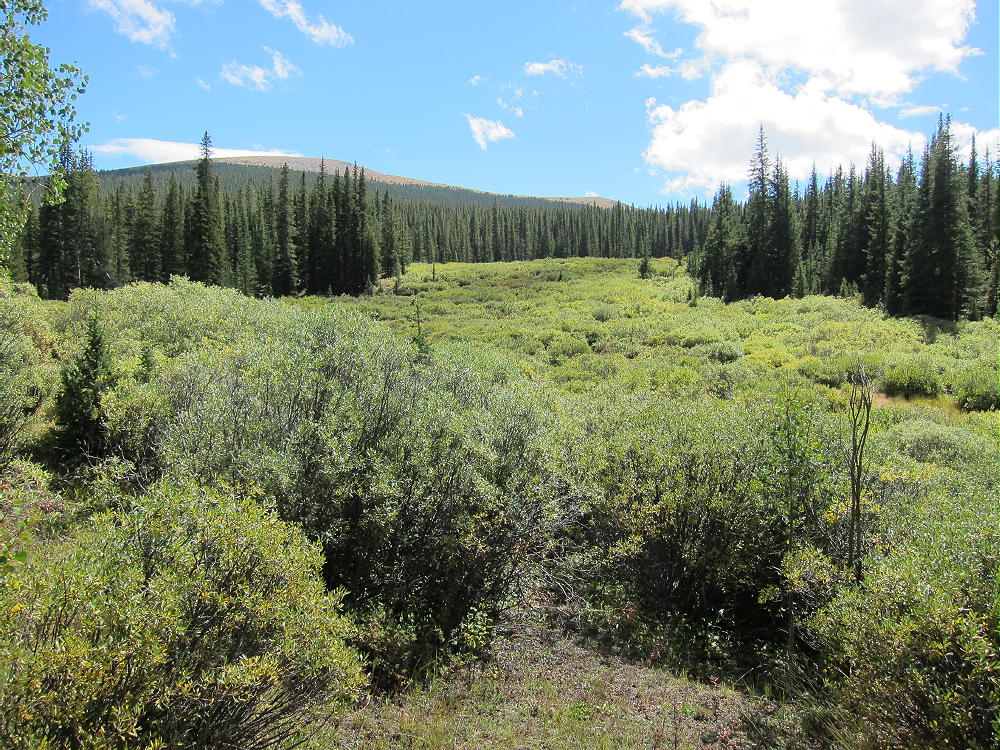
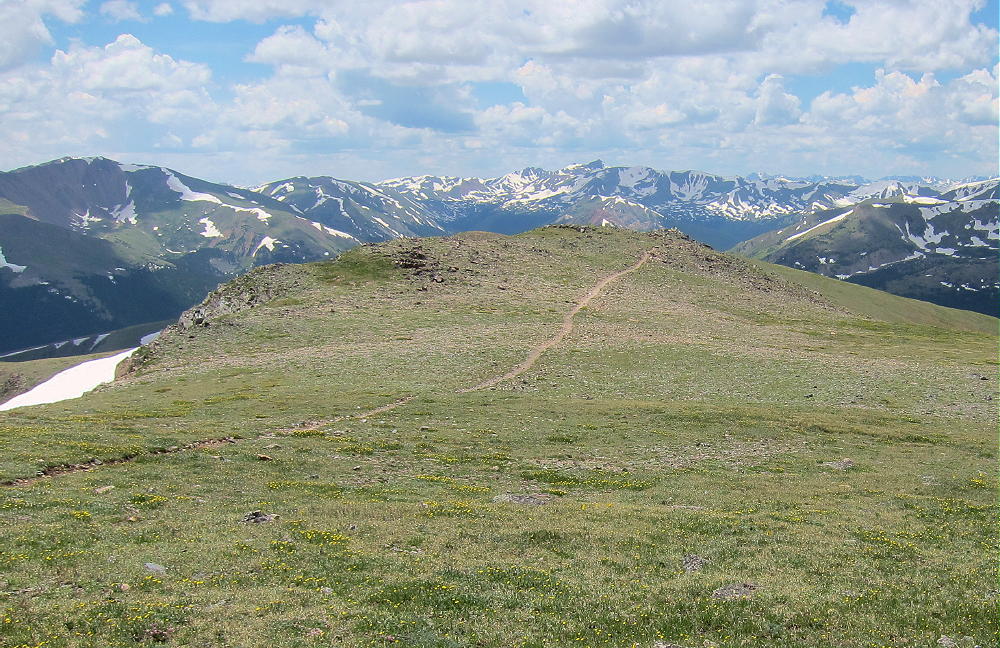
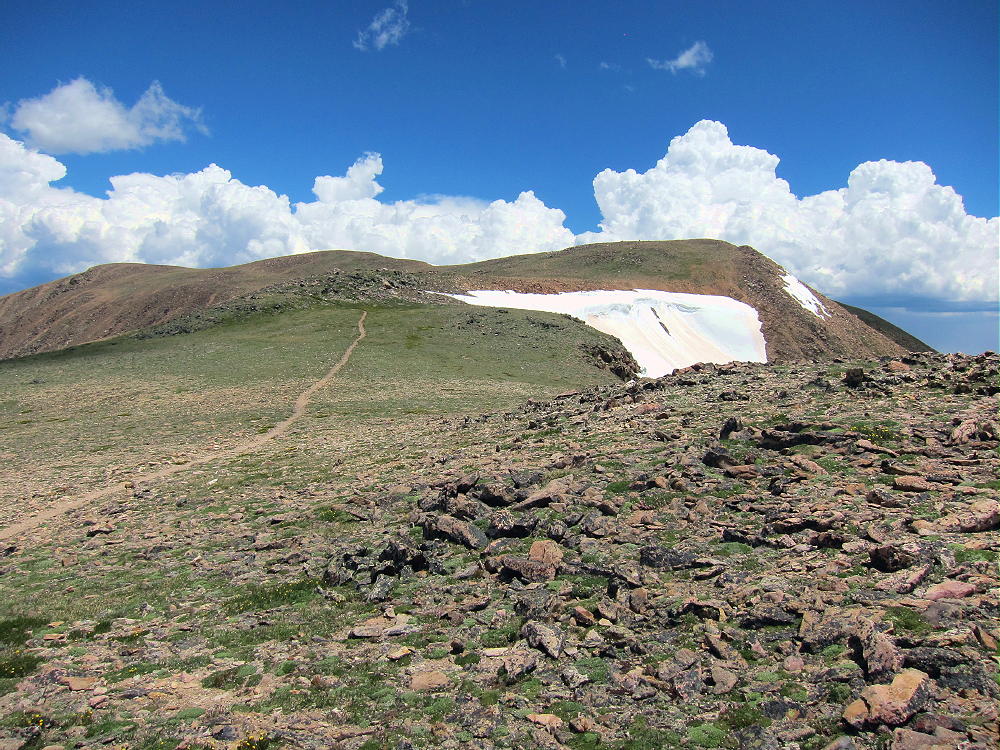
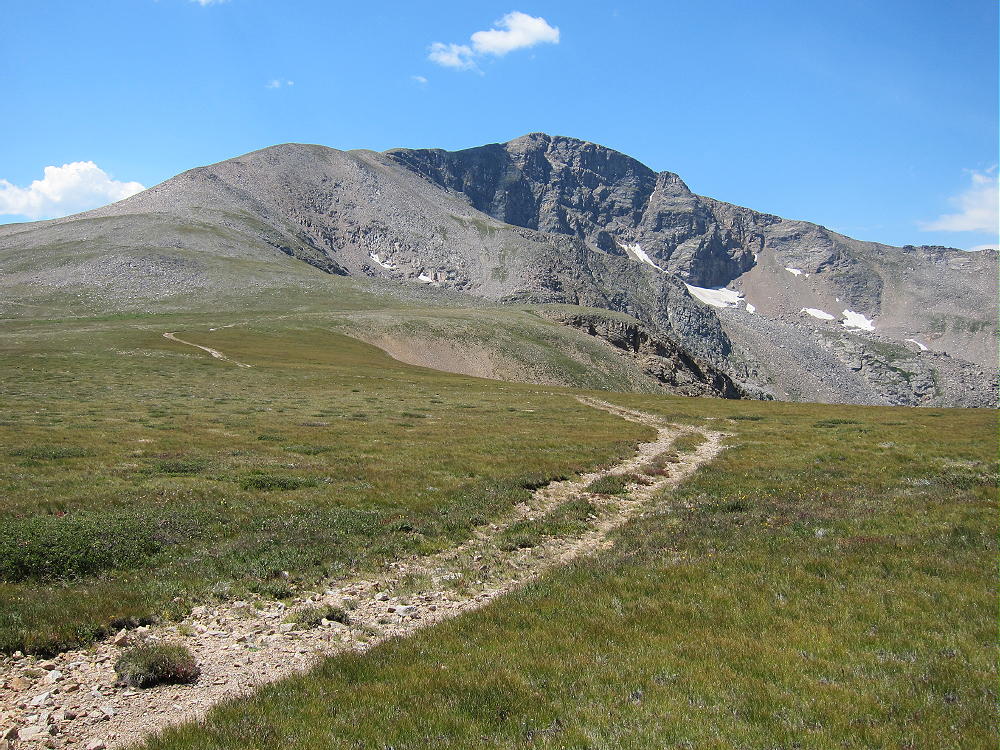
Leave the trail and descend about 750 vertical feet north to the Spalding – Gray Wolf saddle at about 13030 feet. The broad saddle area is marshy, so try to pick a dry route. From the saddle, hike north across the tundra, and then climb the easy southeast ridge of Gray Wolf.
West of Evans North to Spaulding
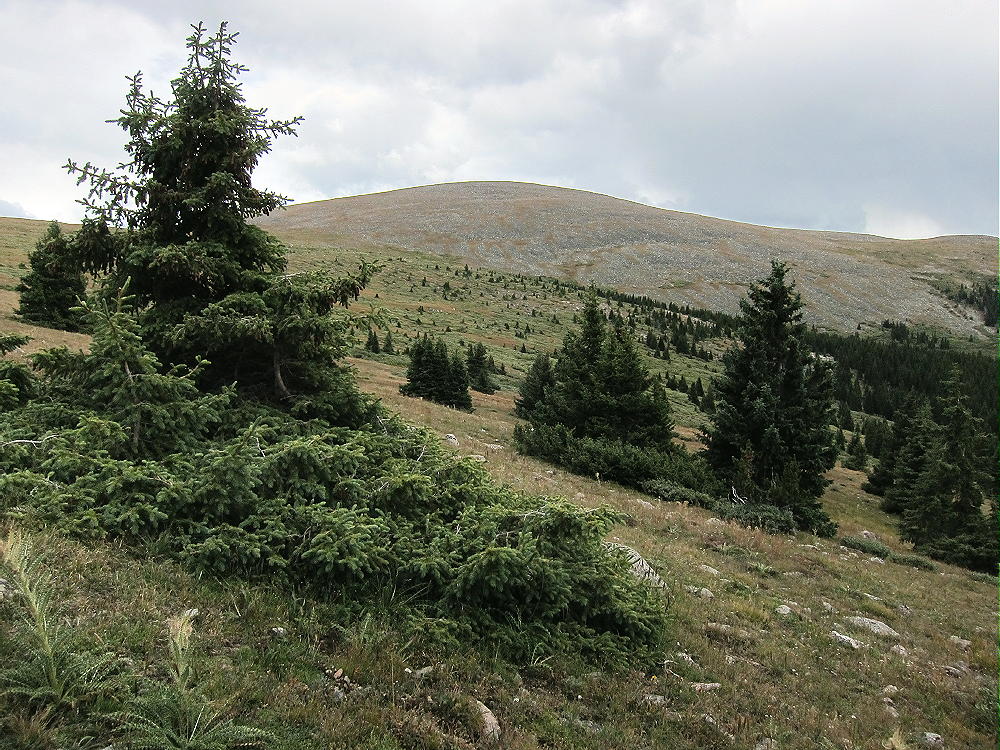
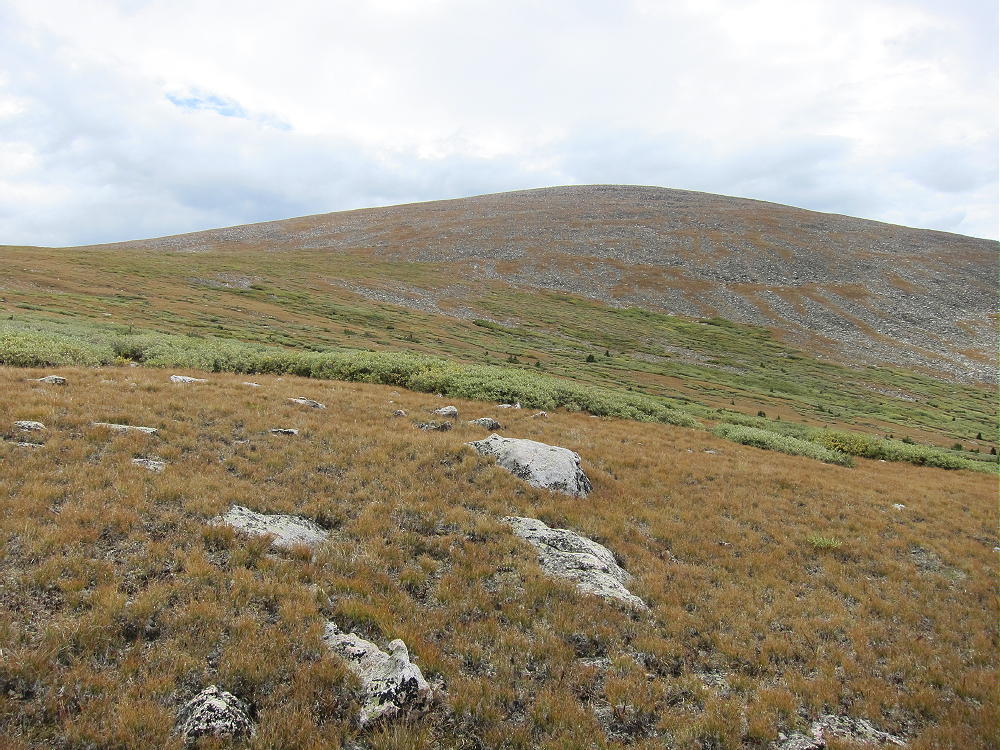
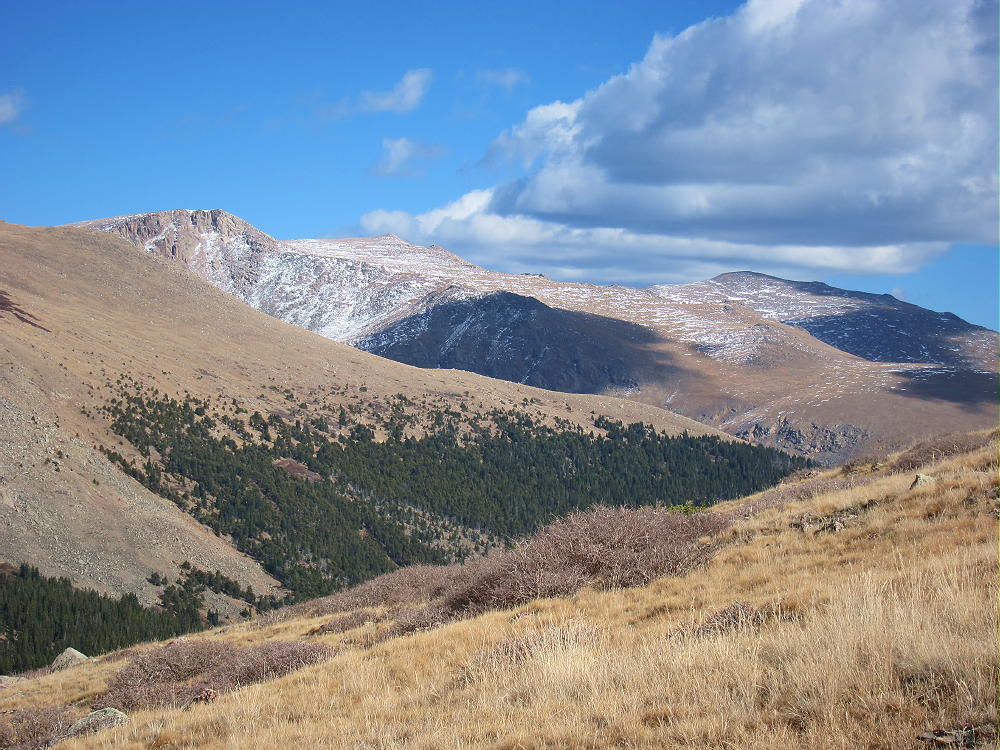
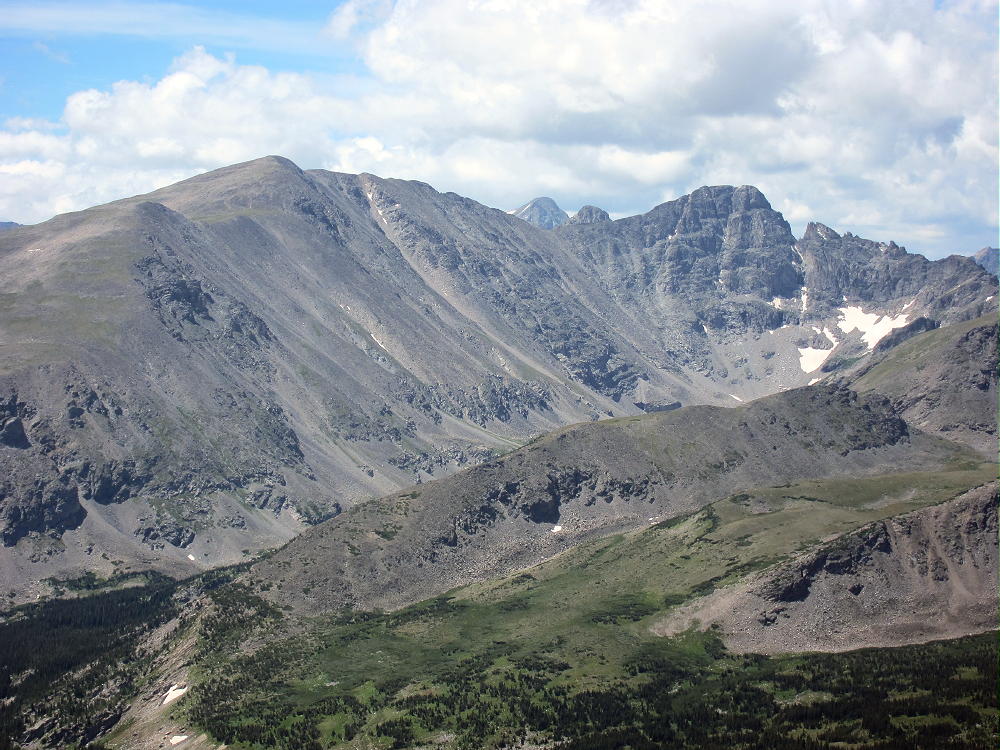
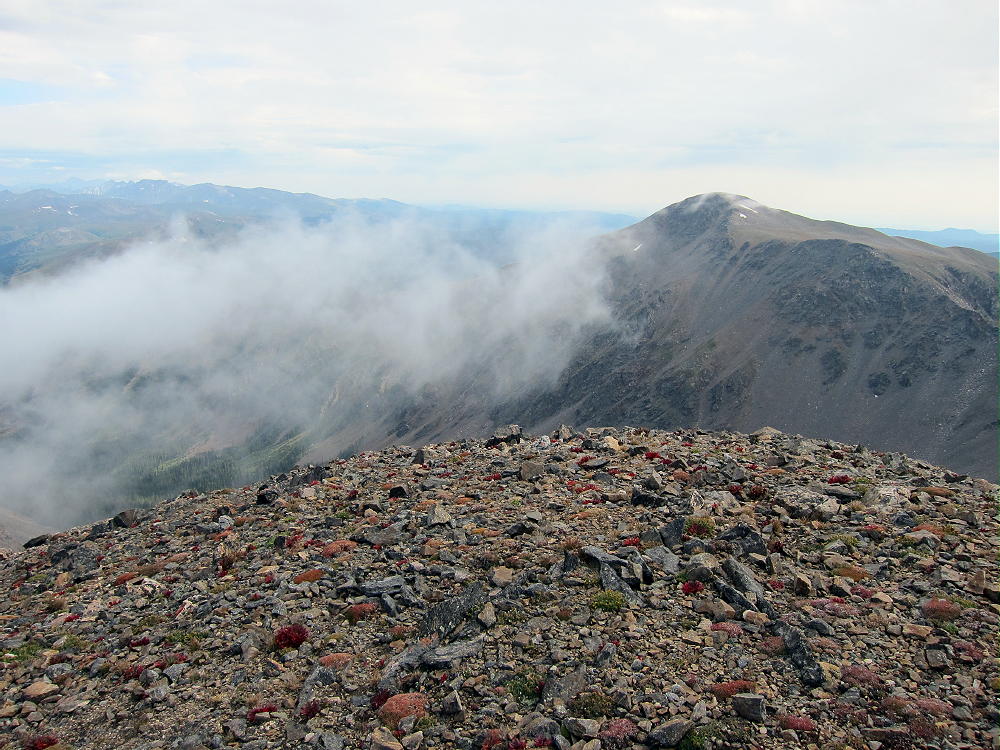
Mount Spalding, Saddle, and Gray Wolf
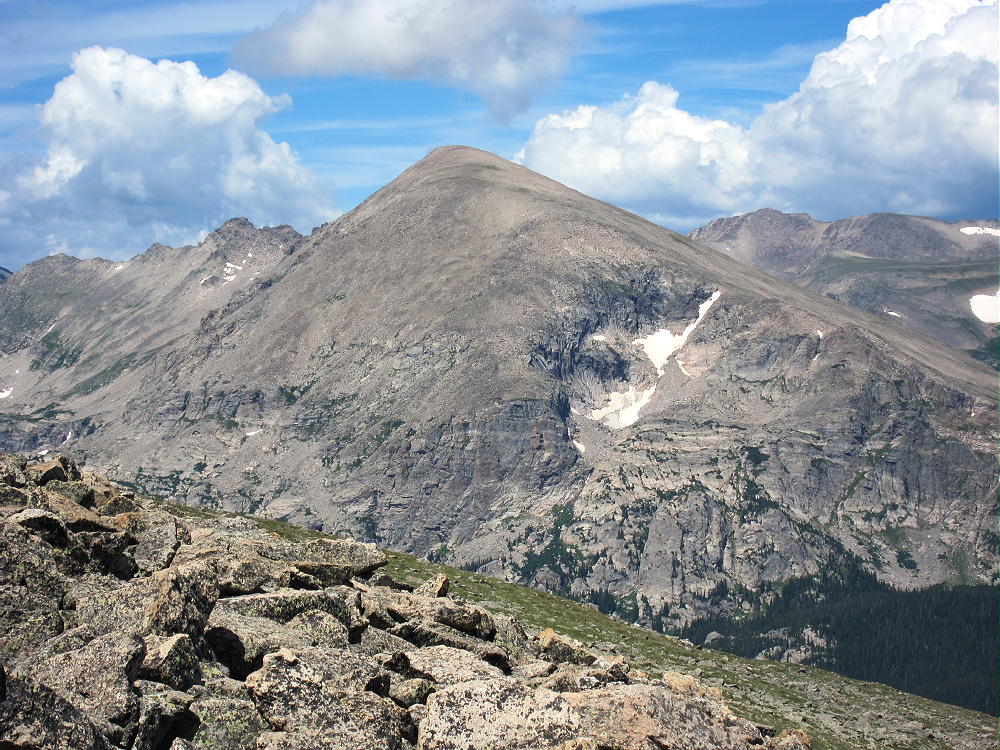
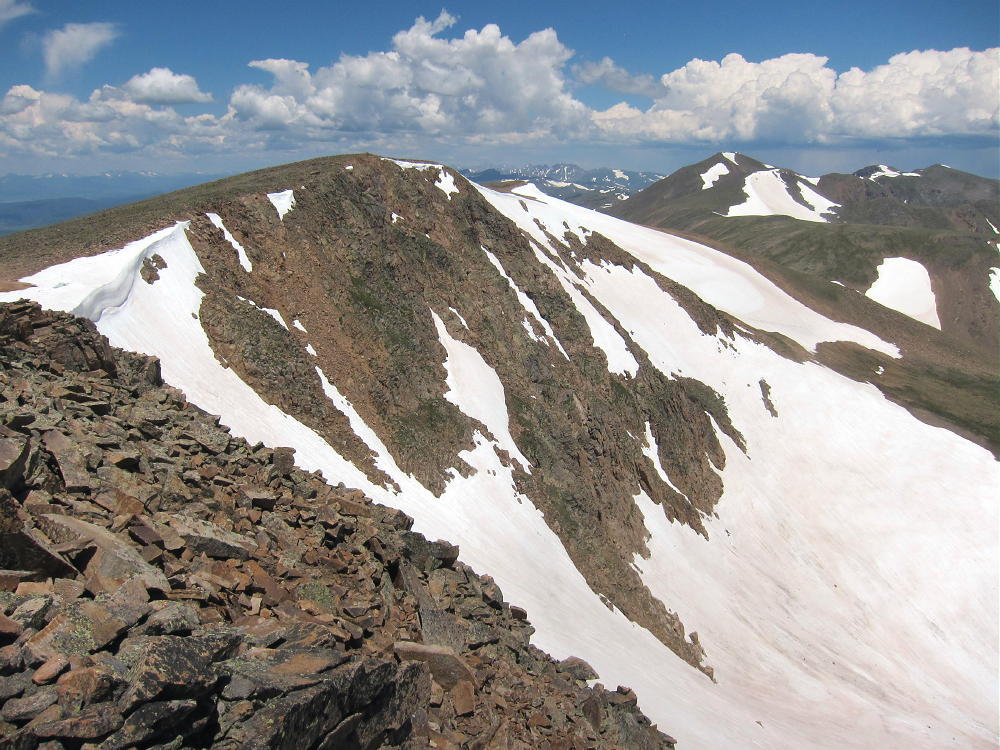
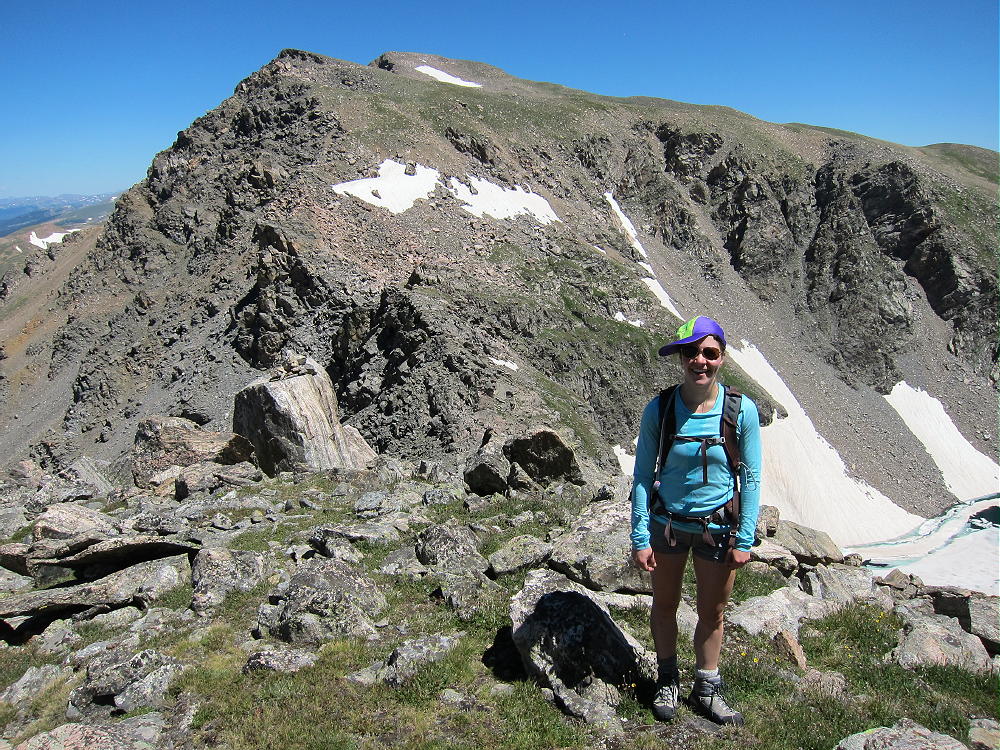
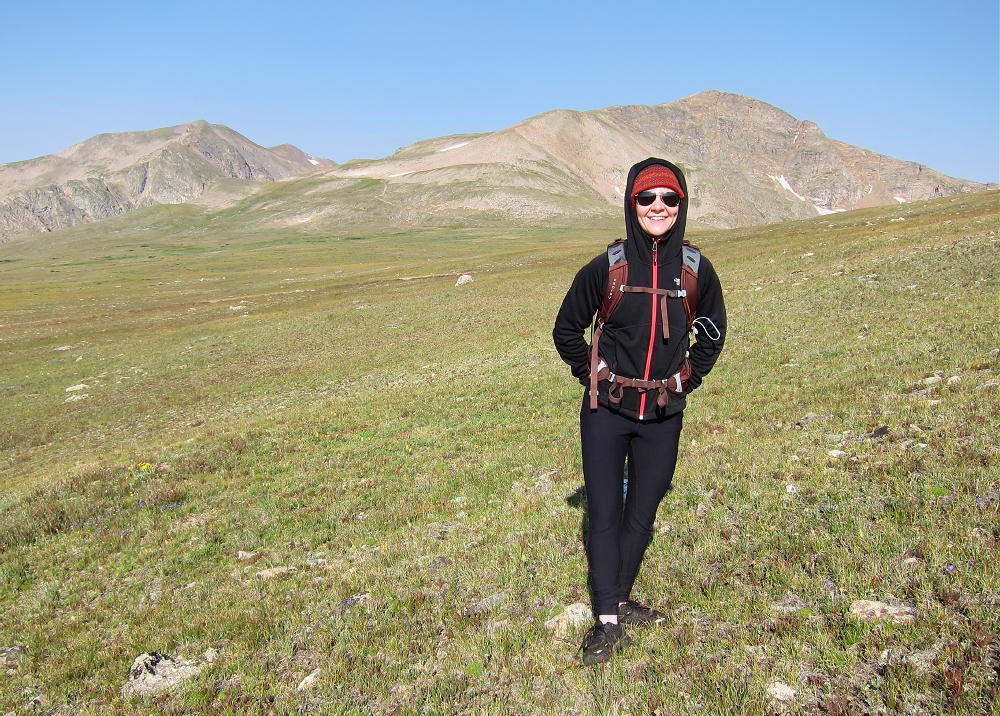
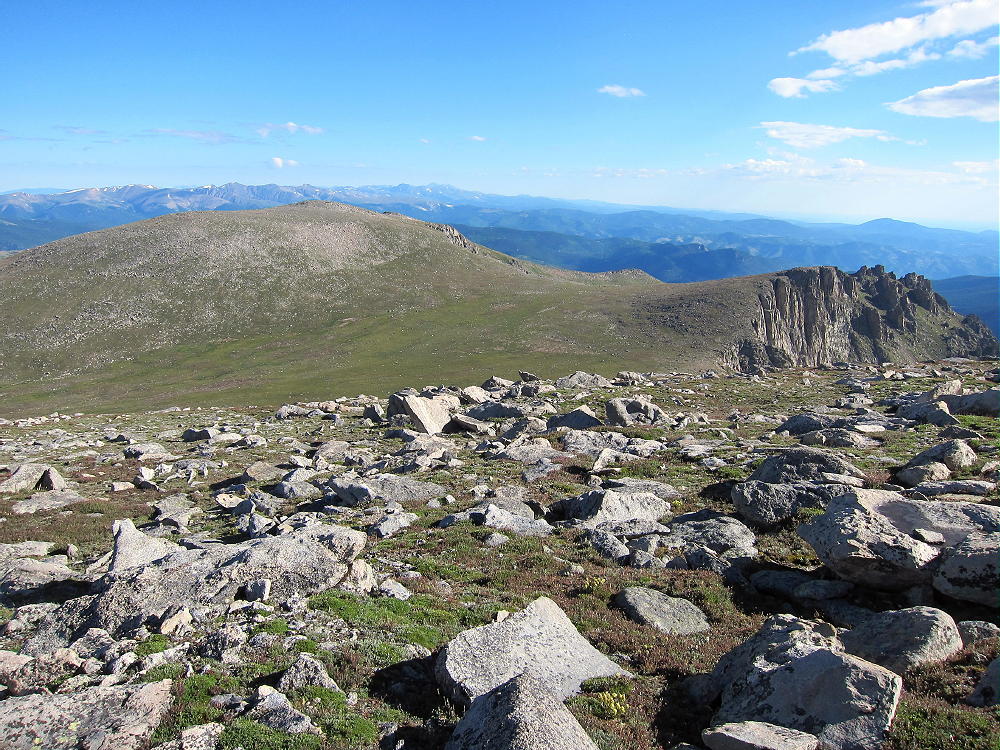
Gray Wolf Looking Back at Spalding and Evans
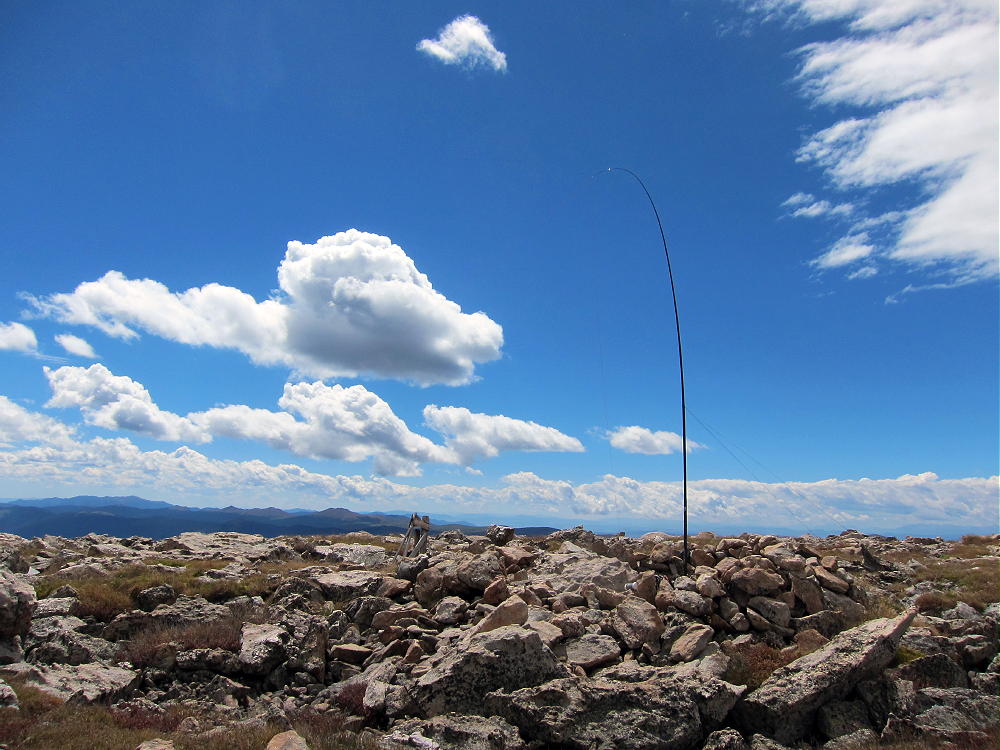
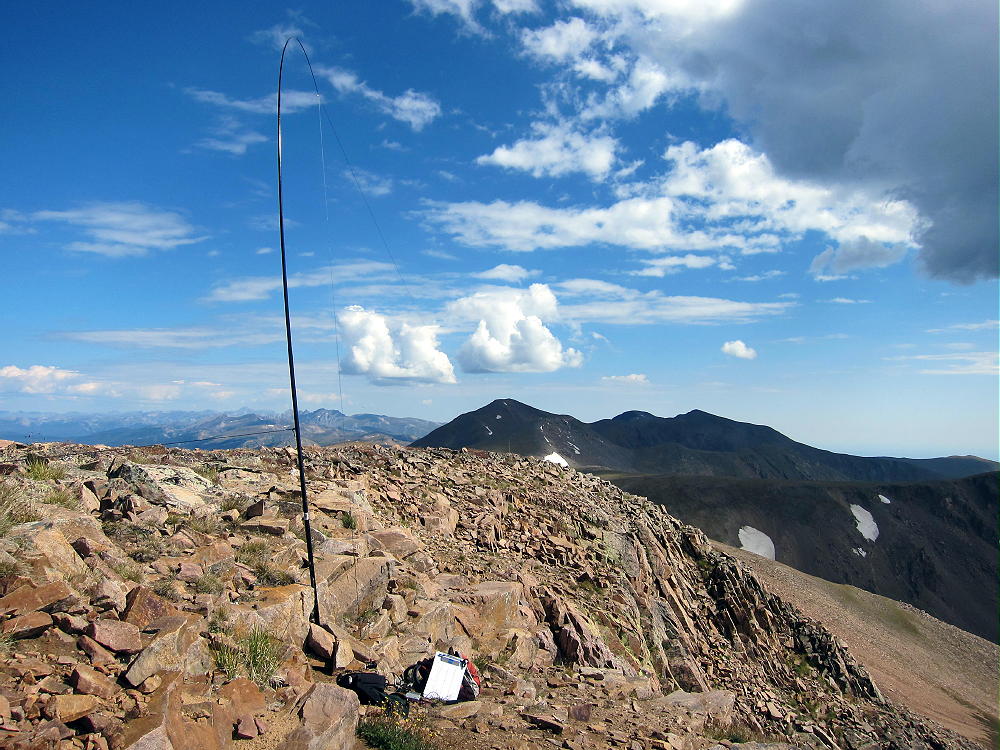
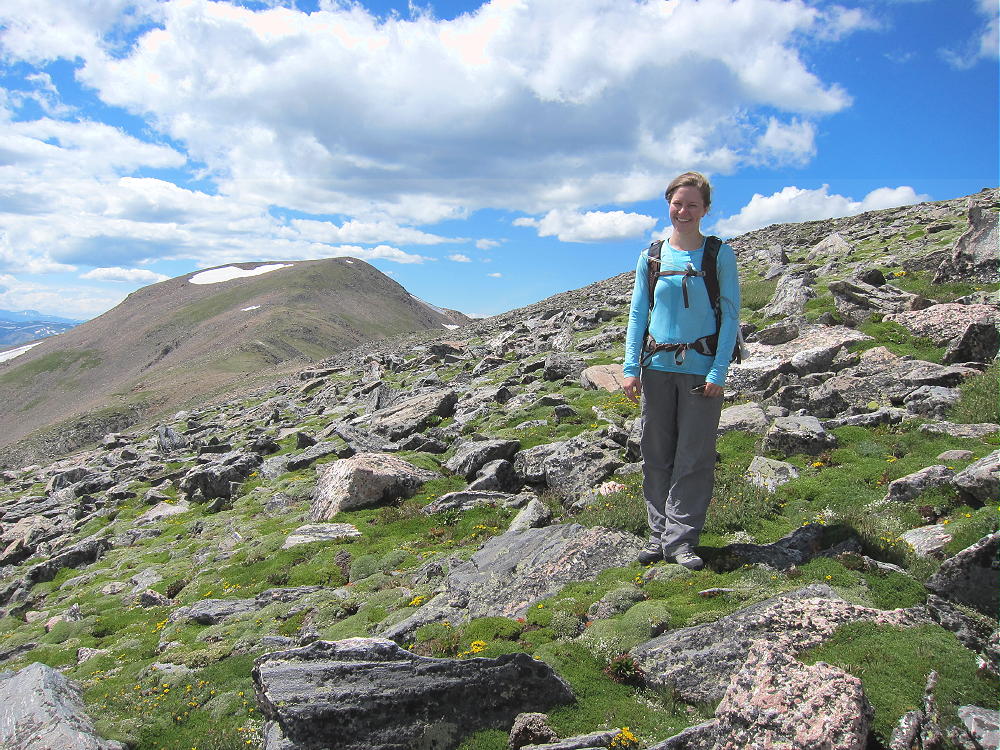
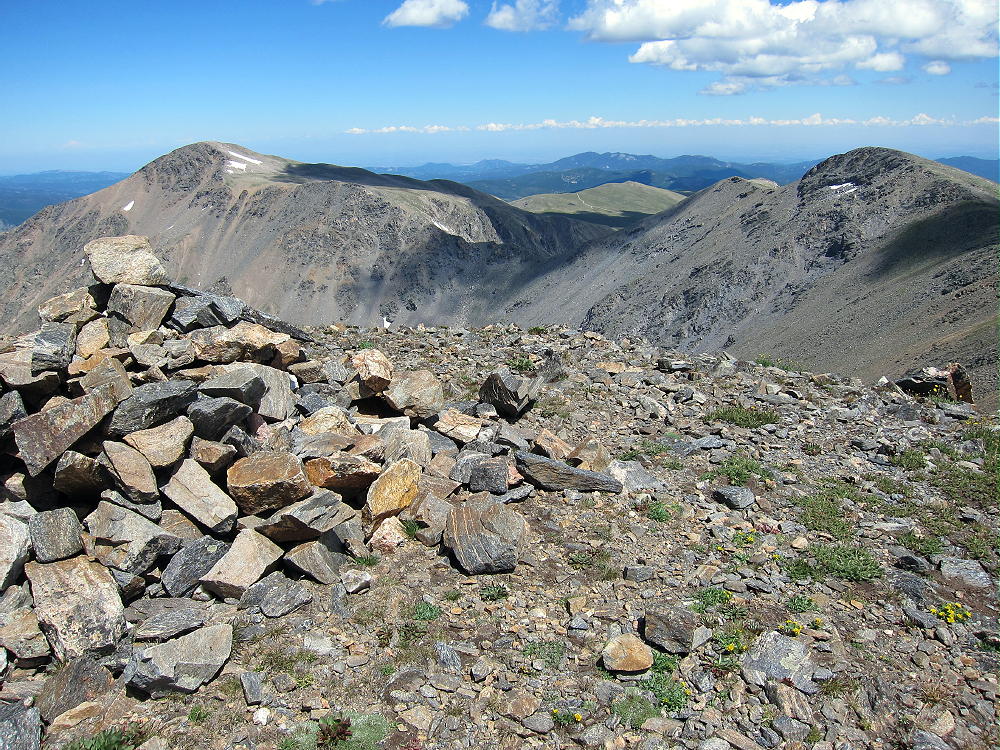
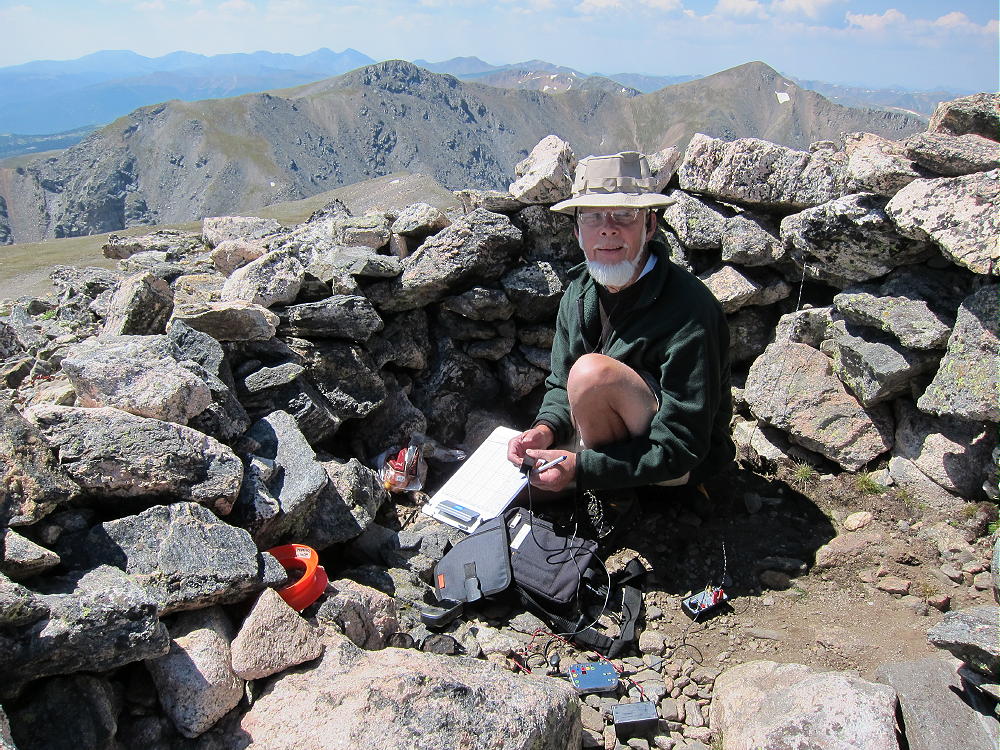
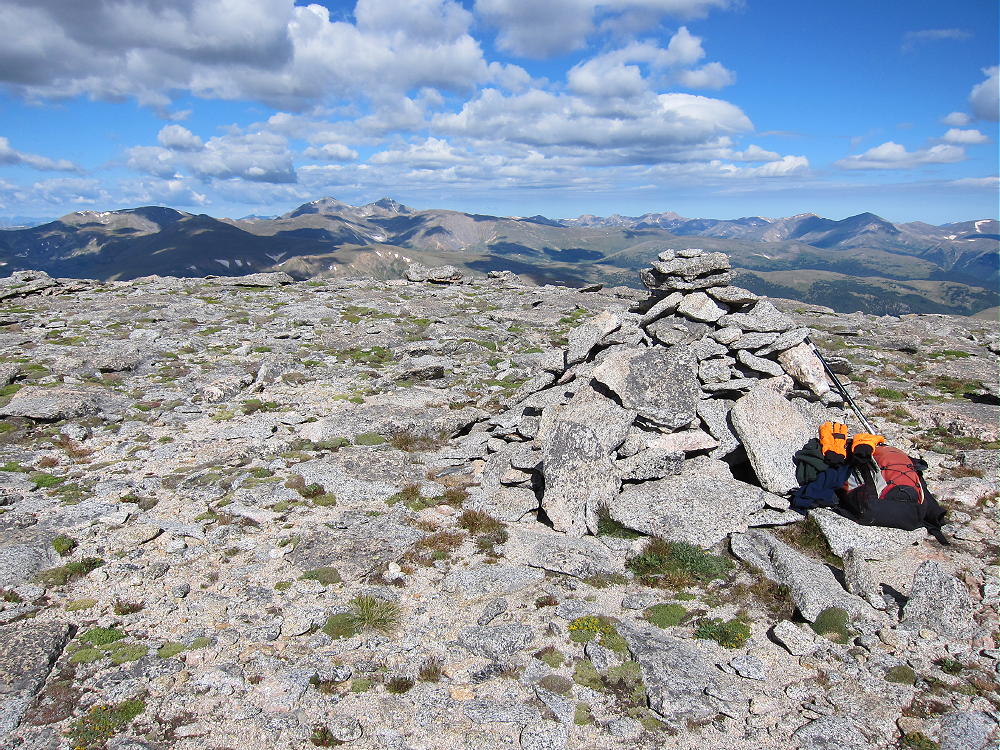
The summit is broad, rocky, and pleasant; the activation zone is large. Rocks southwest of the top provide shelter from the west wind.
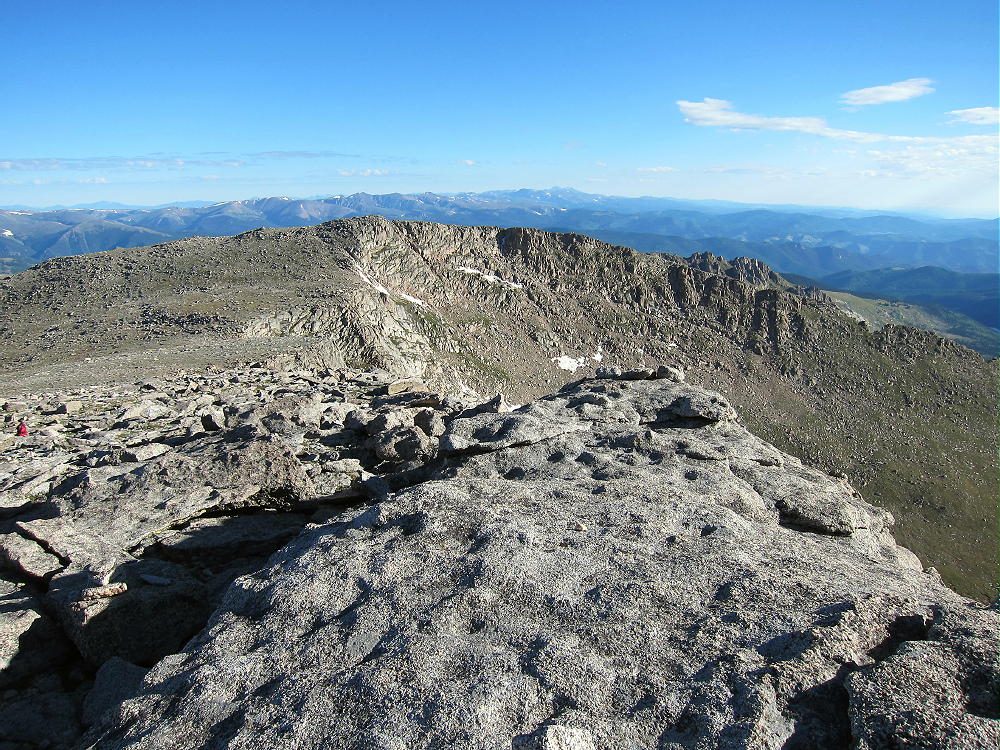
Gray Wolf Summit
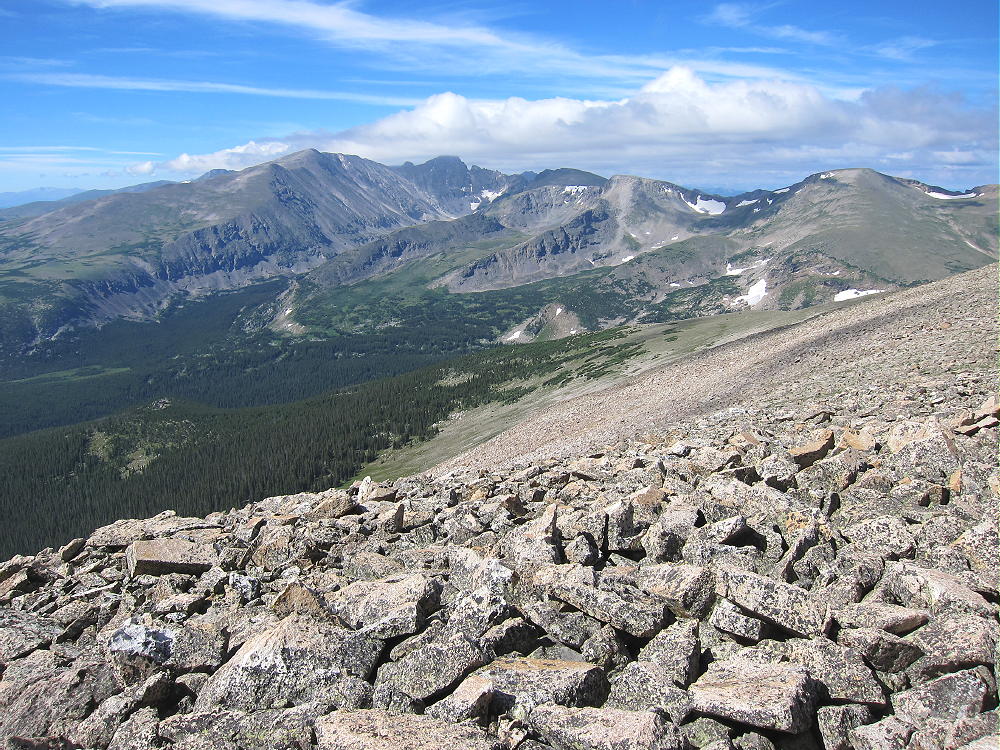
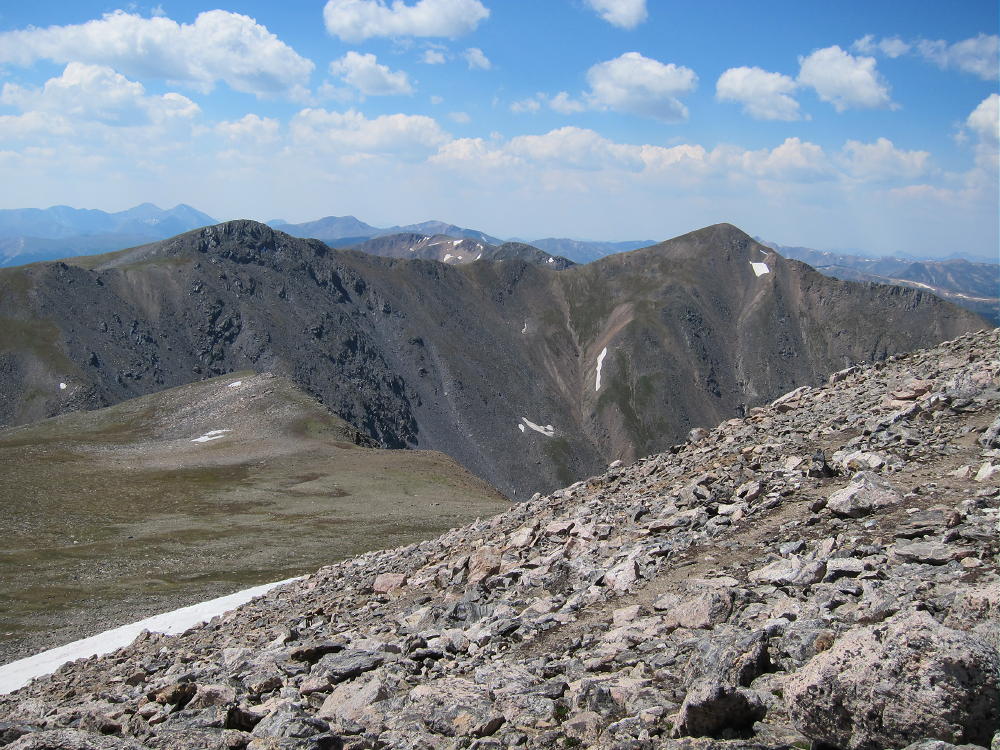
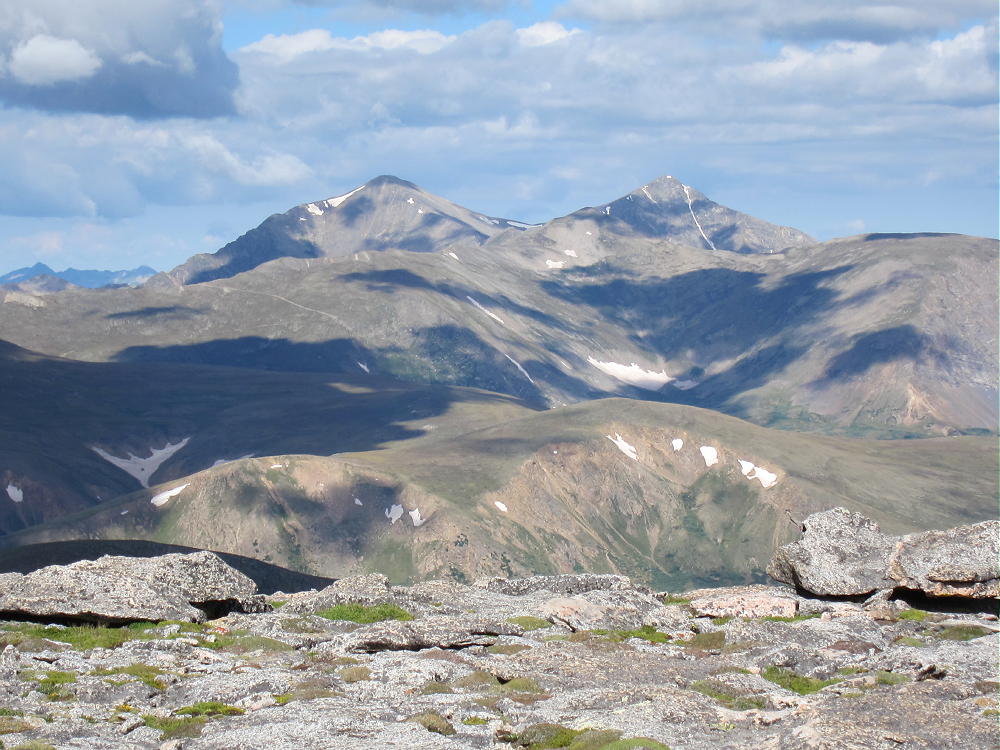
Grays and Torreys from Gray Wolf
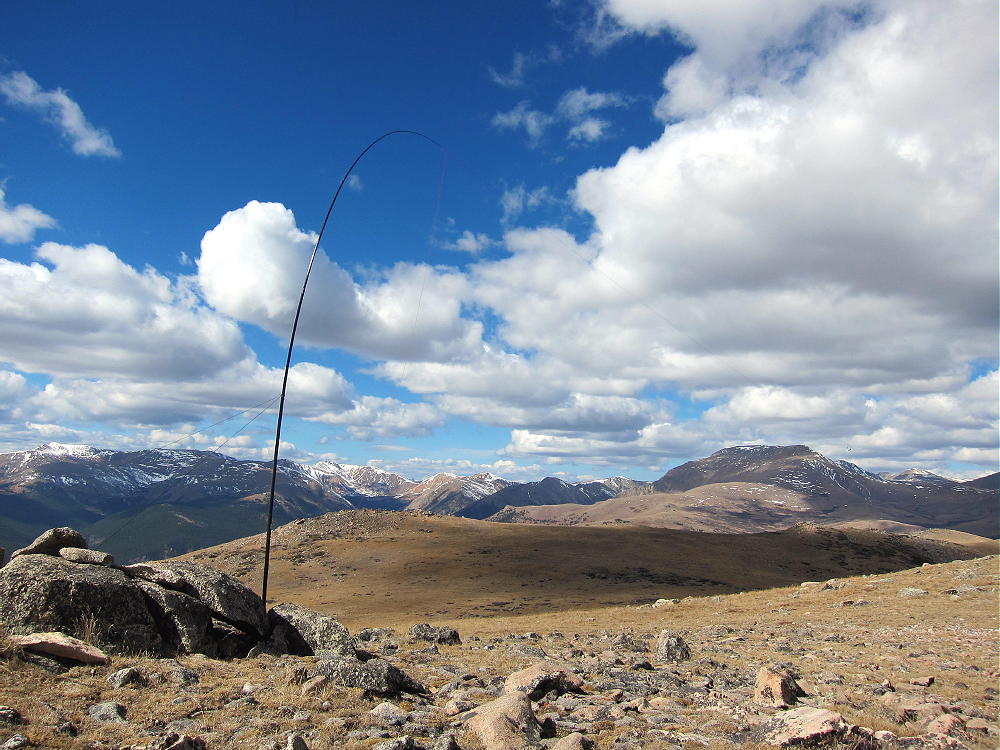
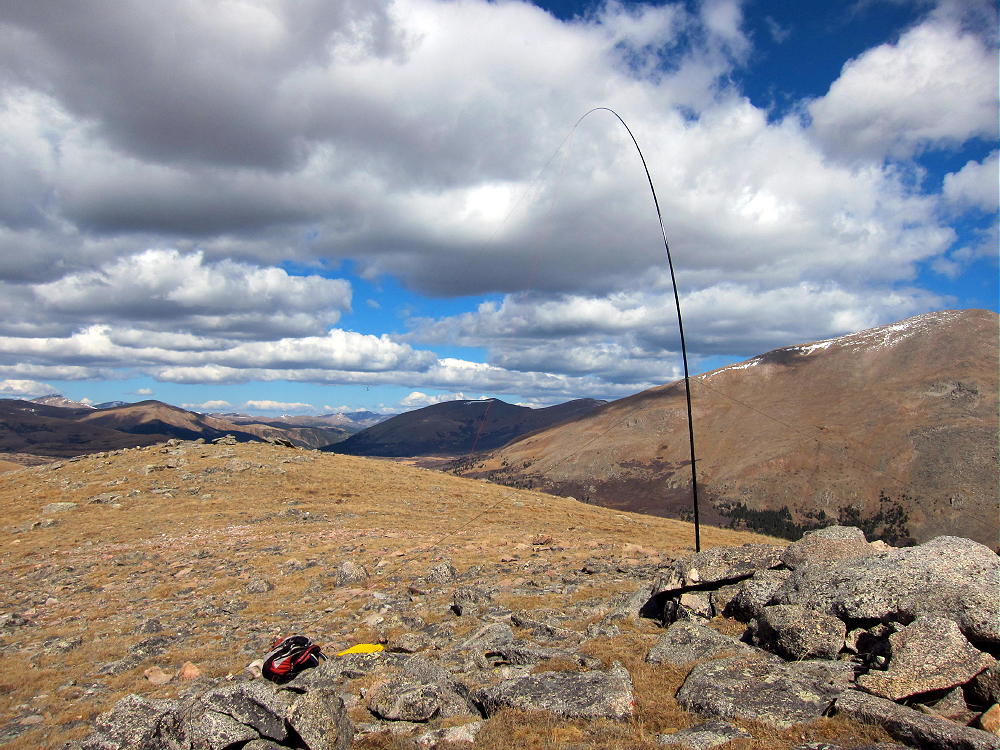
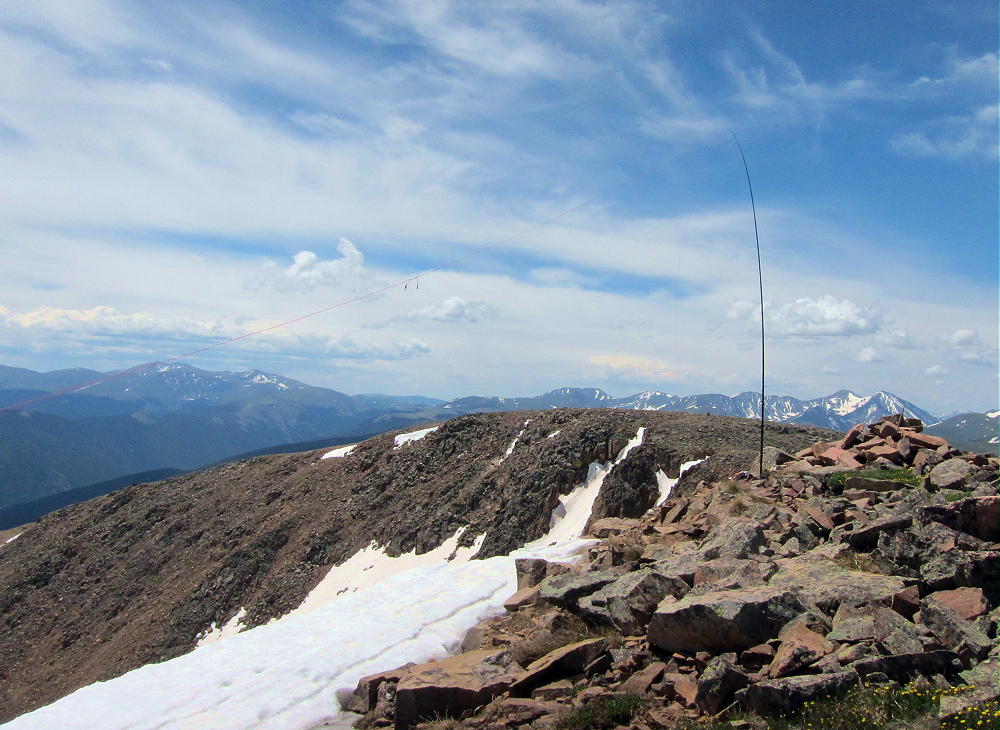
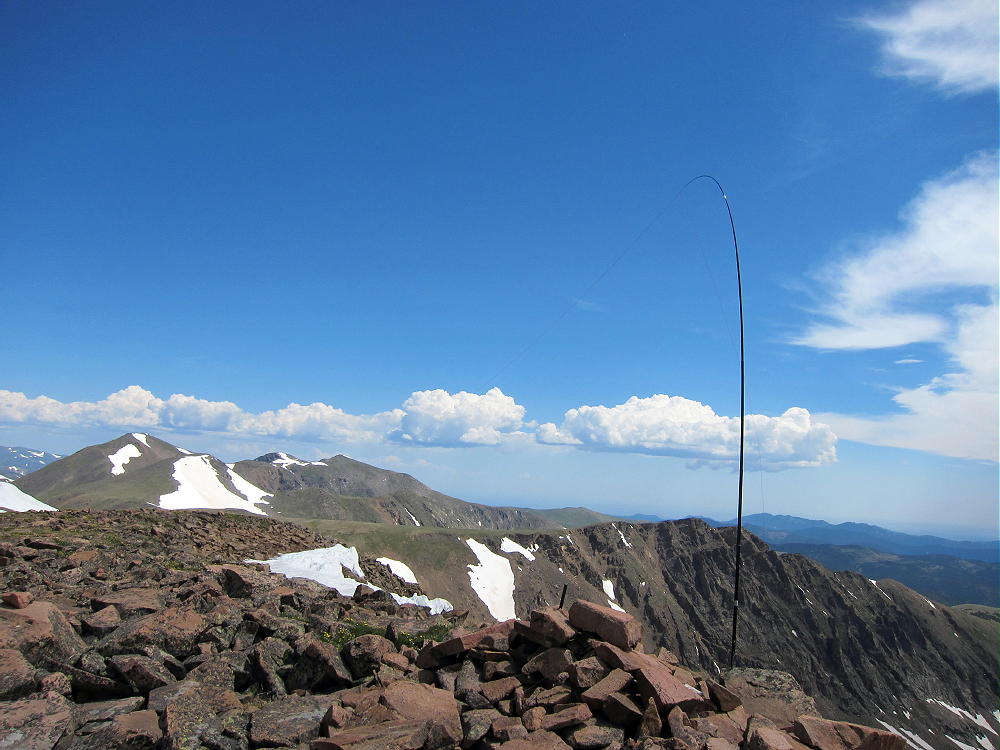
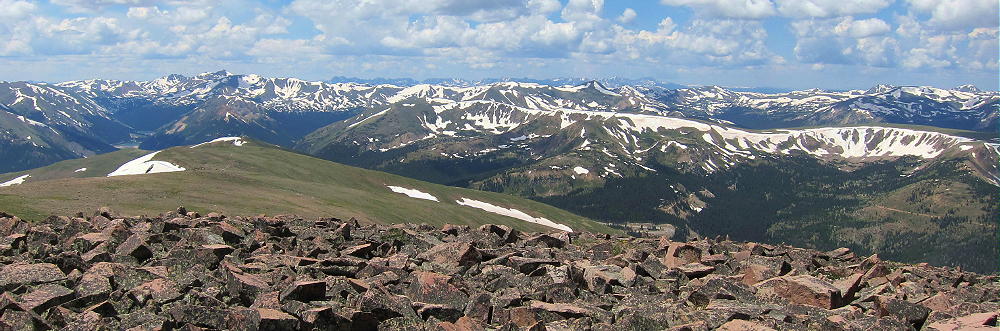
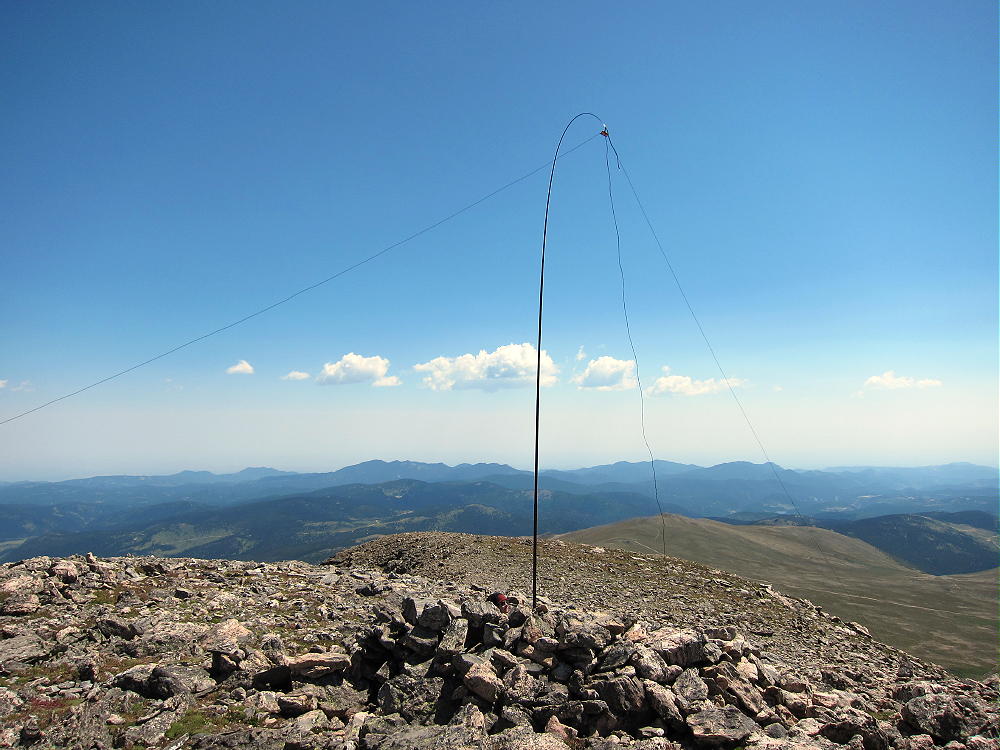
Gray Wolf is a great radio site – it’s far from man-made sources of RF noise, and it has an open view across the Denver Area, the Plains, and the mountains. Few people visit this summit.
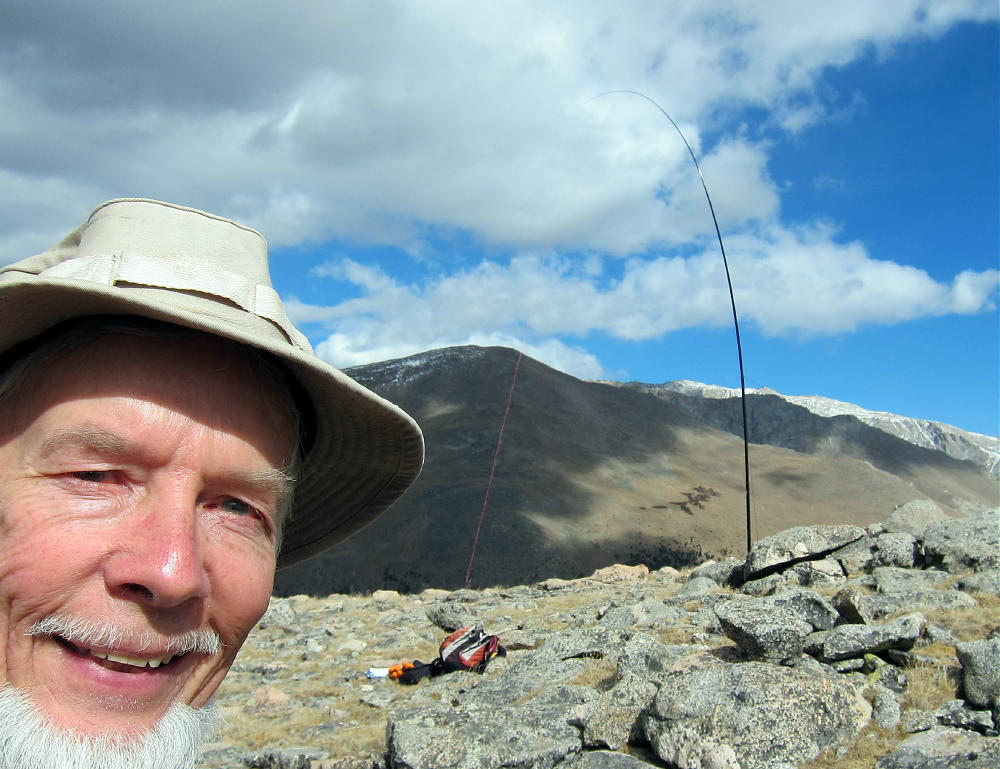
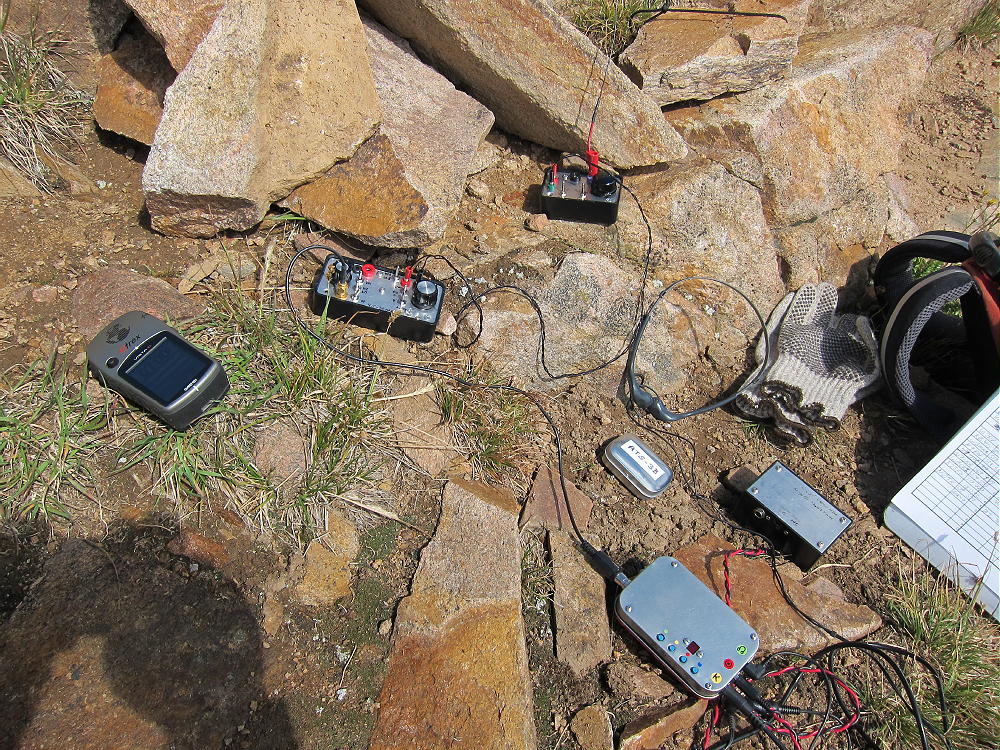
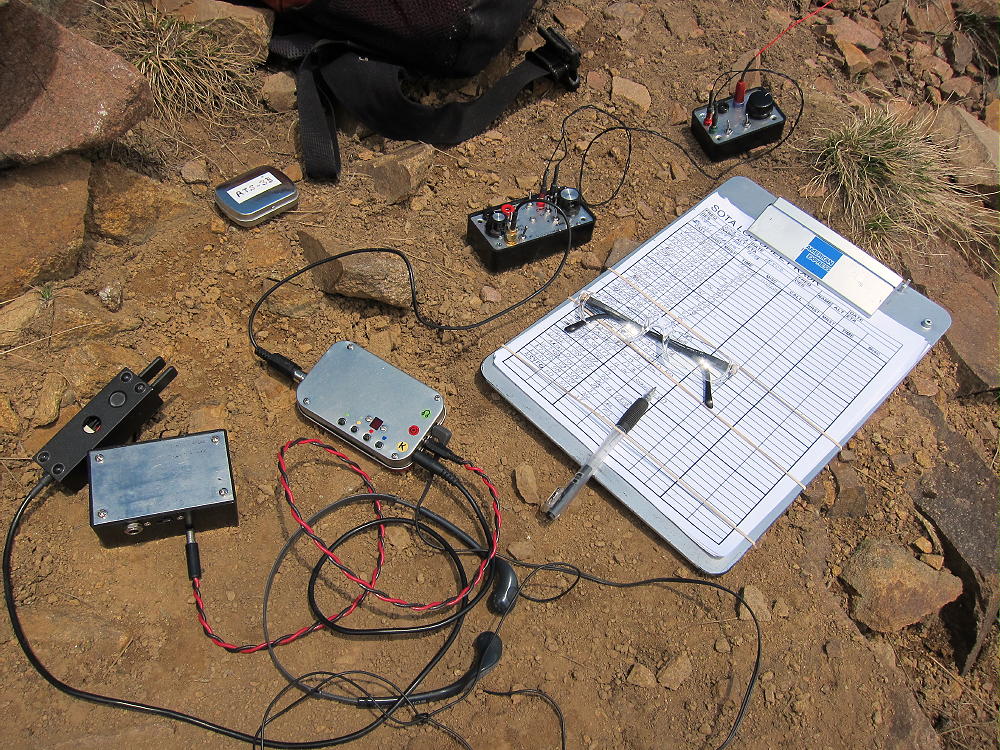
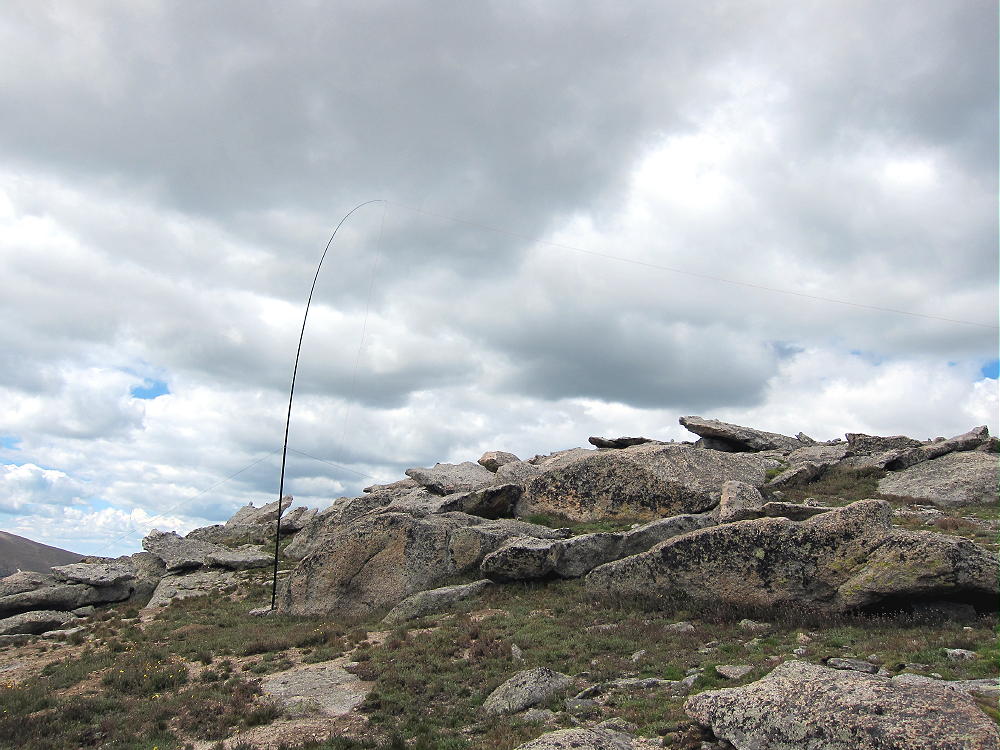
Gray Wolf Activation
Even though this hike looks like an easy stroll across the tundra, it requires about 6 total miles of hiking. Most of the route is rough trail or off-trail. The total vertical ascent is about 2000 feet, and the entire trip is above 13,000 feet. Pick a good day for this interesting activation, and start early!
It looks like the route to Gray Wolf can be shortened by starting at Summit Lake. Hike up the ridge trail northwest of the Lake, climb to the north slope of Spalding, and then leave the trail and head north to Gray Wolf. The total hiking distance is reduced, but the total vertical ascent is still about 2000 vertical feet. I have not climbed up the ridge above Summit Lake, but it looks like an efficient route.
73
George Carey Fuller
KX0R
!! WARNING !! There are old mountaineers, and
bold mountaineers… there are no old-bold mountaineers.
Hiking and mountain climbing are potentially hazardous activities particularly in Colorado with its extreme elevations. I am not accepting responsibility for any death or injury resulting from activations based on my trip reports. Proper training, experience, and personal capability assessment is required – enjoy!
W0C/FR-047
Mount Judge
3140 m / 10301 ft
Dec 20, 2014
By KX0R
Thanks to AG5CQ for his first activation of Mount Judge on August 9, 2014!
Mount Judge is an easily-overlooked summit about 2 miles southeast of Squaw Mountain and about 7 miles northwest of Evergreen. This seldom-visited mountain has no marked routes, and climbing it requires navigating up through a thick forest on the north side of the mountain. The ascent is about 1100 vertical feet, and about 1.2 miles. It takes about an hour to climb.
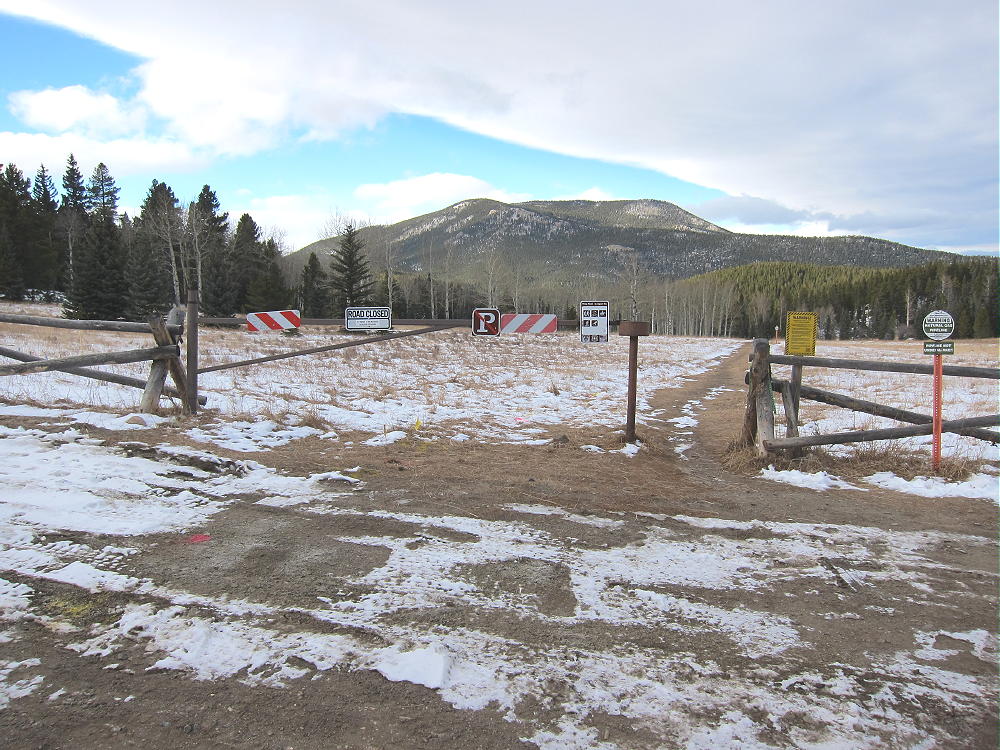
Drive up I-70 west of Denver, take exit 252 onto Evergreen Parkway, route 74, and drive several miles west to Bergen park. Turn right, northwest, on marked route 66, the Squaw Pass Road, and climb this paved road for several winding miles. At a pass and intersection where Road 475 forks off down to the south, a convenient trailhead is located on the north side of the road. There is a large gate with a closed USFS road leading north across a huge meadow; Santa Fe Mountain dominates the view 2 miles to the north. The forested slopes of Mount Judge beckon above to the southwest, but there is no trail.
Trailhead along Squaw Pass Road
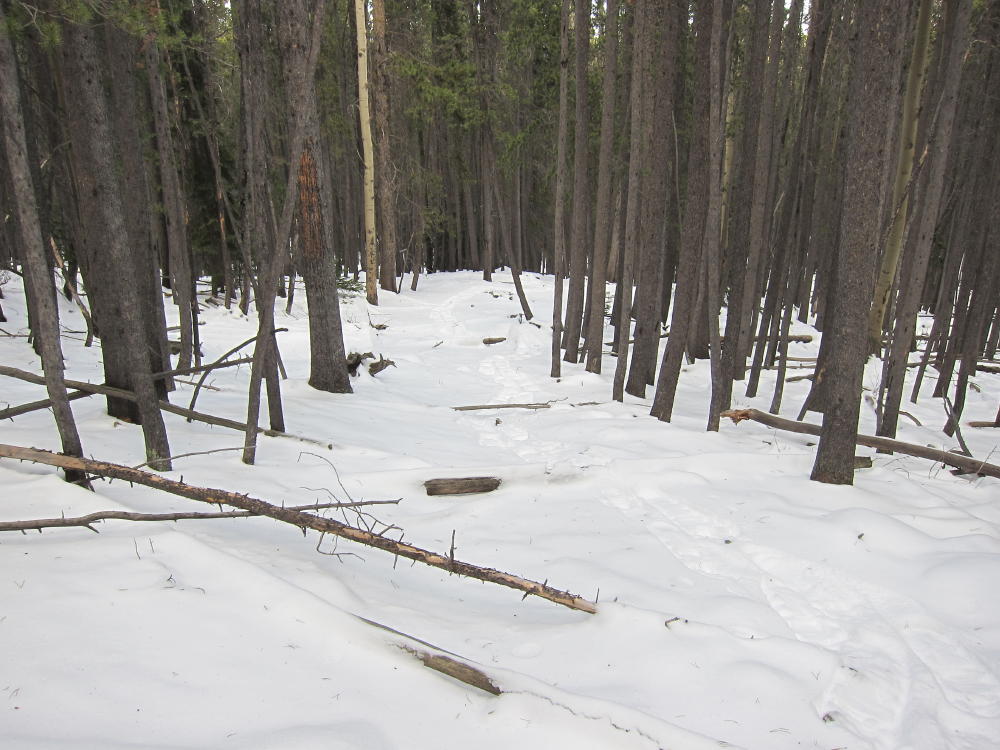
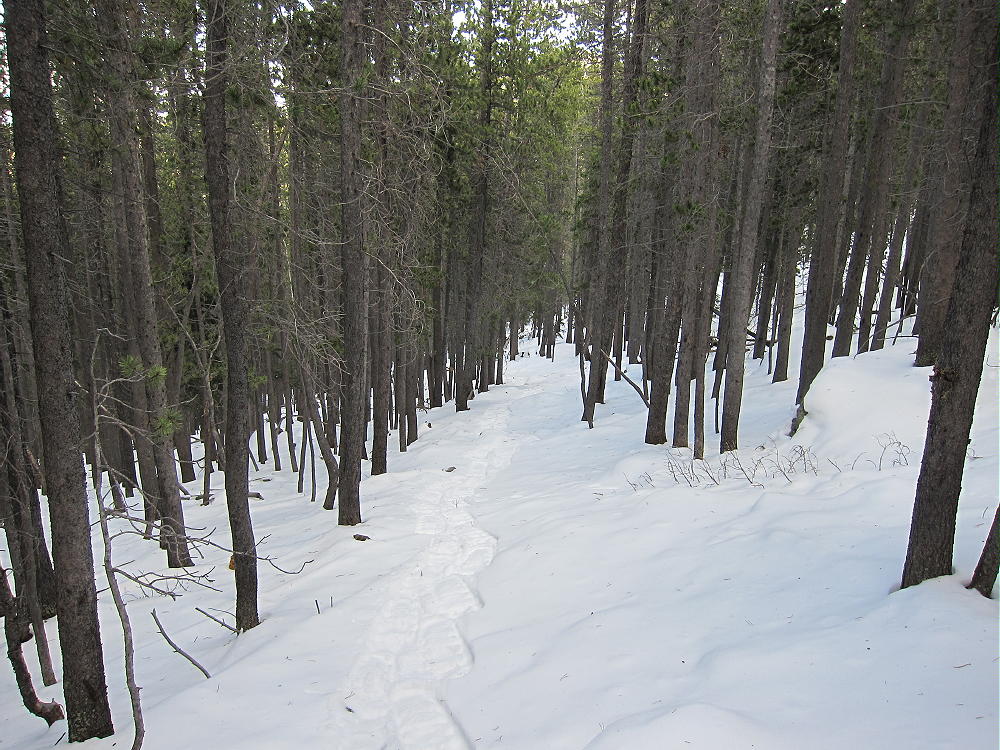
Cross the highway and walk up along the paved road for about 500 feet. Note the position of Mount Judge, head up into the forest at any convenient place, and climb southwest toward the summit. Try not to head too far to the east. Except for an unreadable sign at an old closed road down near Road 475, there are no signs along this section of Squaw Pass Road, or on the forest route I used for the climb. Several hundred feet up into the woods I found an old abandoned logging trail, and I was able to follow it to an elevation exceeding 9800 feet.
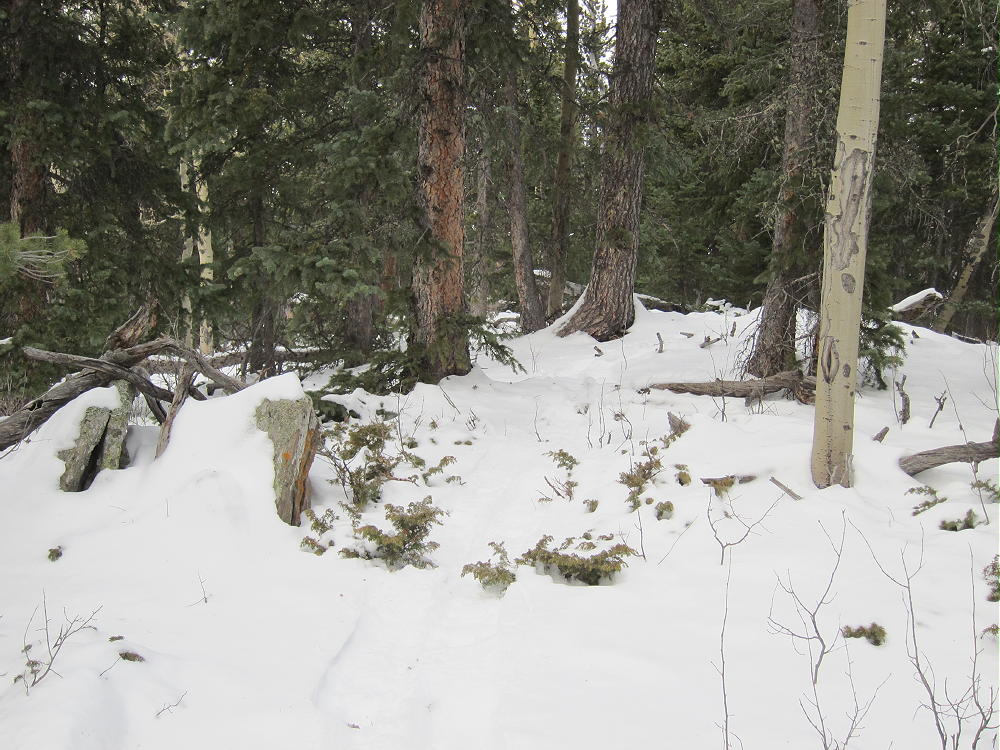
Mount Judge Hidden Logging Road
Mount Judge Secret Route
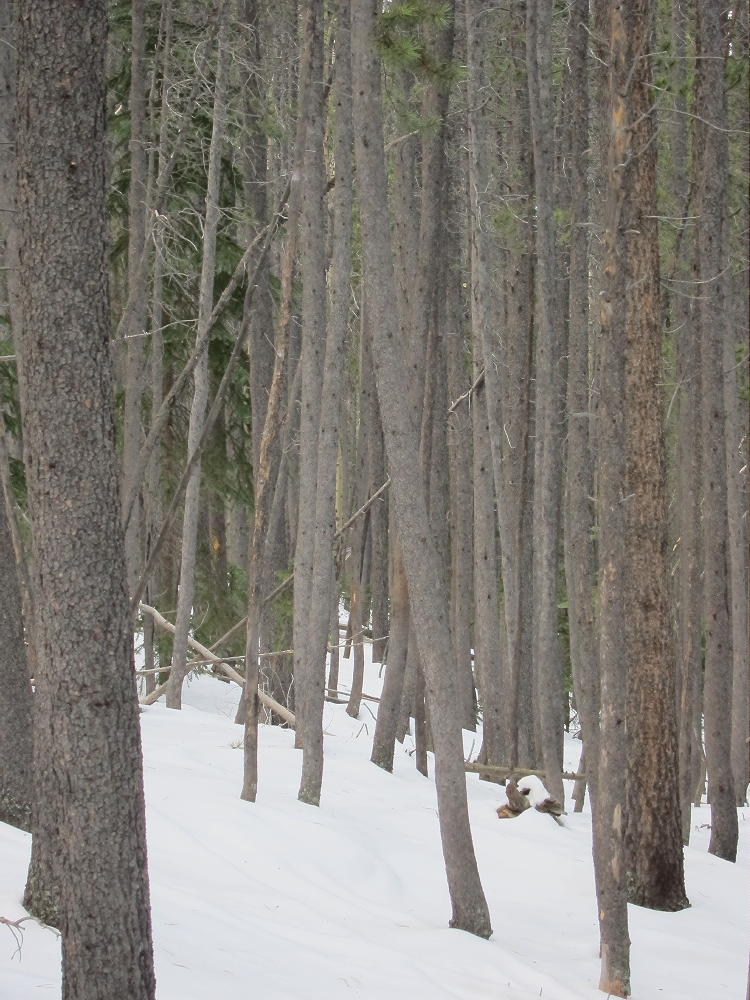
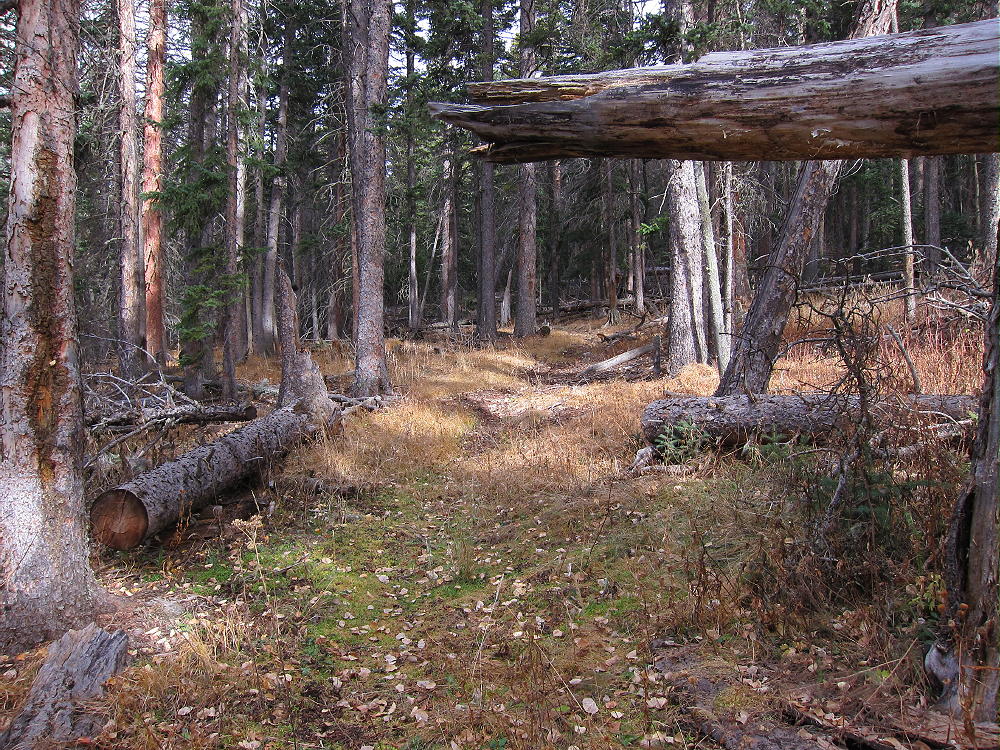
If you don’t find this or another logging road, the route is through a thick lodge-pole pine forest. There are numerous fallen trees and old logs, and it gets worse as you go up the steep section about half way to the top. I was on snowshoes in about 5-6” of snow the day I ascended, and the logging trail was pure joy compared to the alternatives I saw.
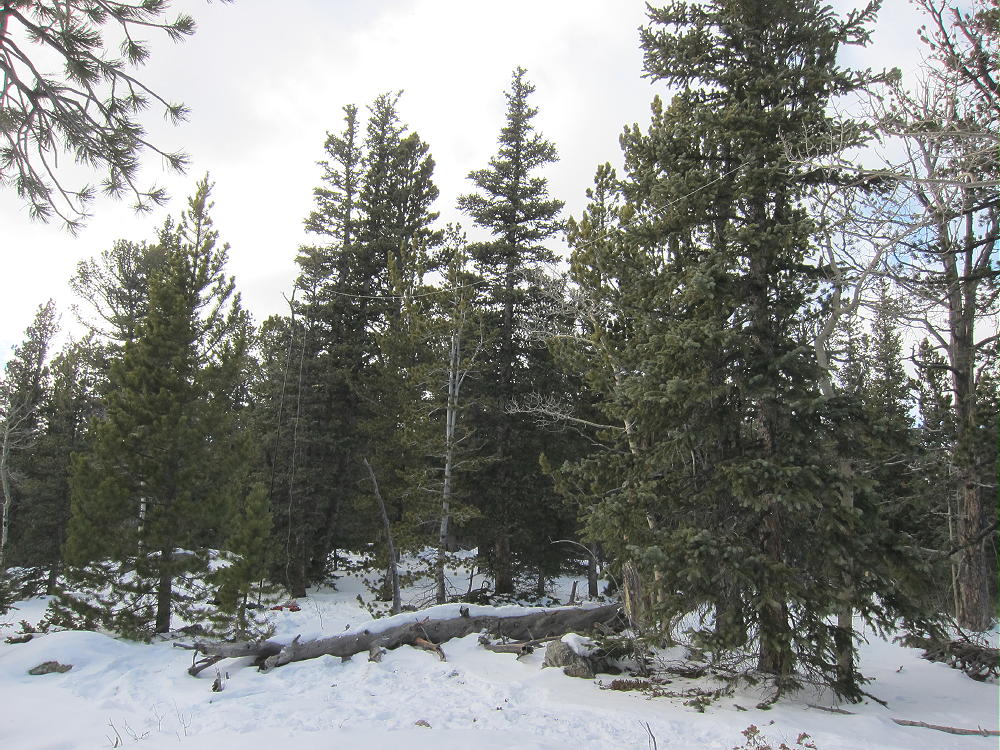
Mount Judge Lodgepole Forest
Be sure to take a map and compass. I used GPS for primary navigation, and it was very helpful. The summit is not visible from the route in the forest. At about 10000 feet, the position of the peak can be inferred, although it isn’t visible. The last 300 vertical feet is a bushwhack hike, a bit tricky on snowshoes, with fallen trees, rocks, and other obstacles. There may be a better, more gentle route west of where I went up. I came up at the east summit, which is a large rock with a couple of stones placed on top. This is a false summit – the actual peak is a hump in the woods about 300 feet to the west – the real summit is about 10 feet higher.
Mount Judge Summit
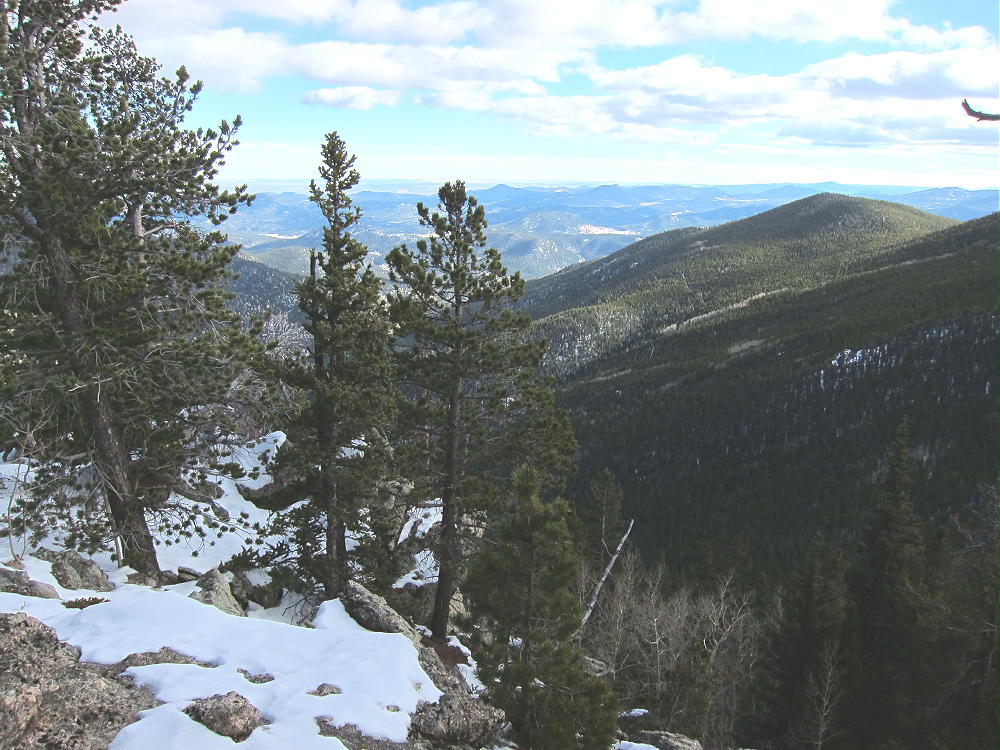
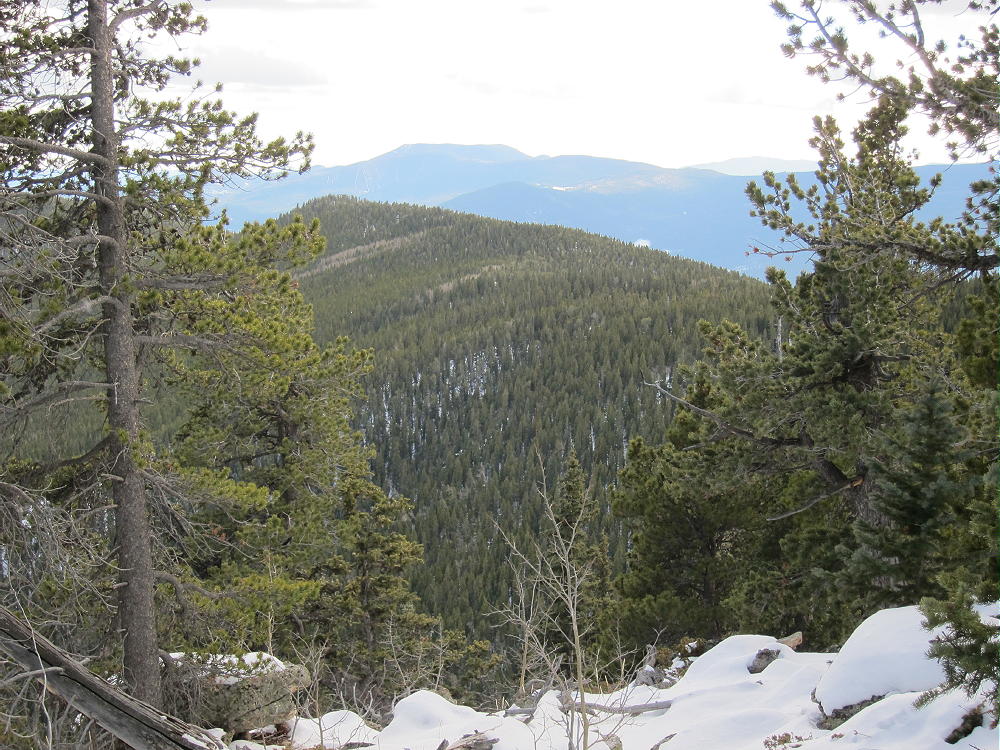
The top part of the mountain is flat and is forested with medium and large trees; the activation zone is large and convenient. There are a couple of viewpoints off the south and east sides. The views are impressive – the vertical relief down to Bear Creek below is about 2700 vertical feet.
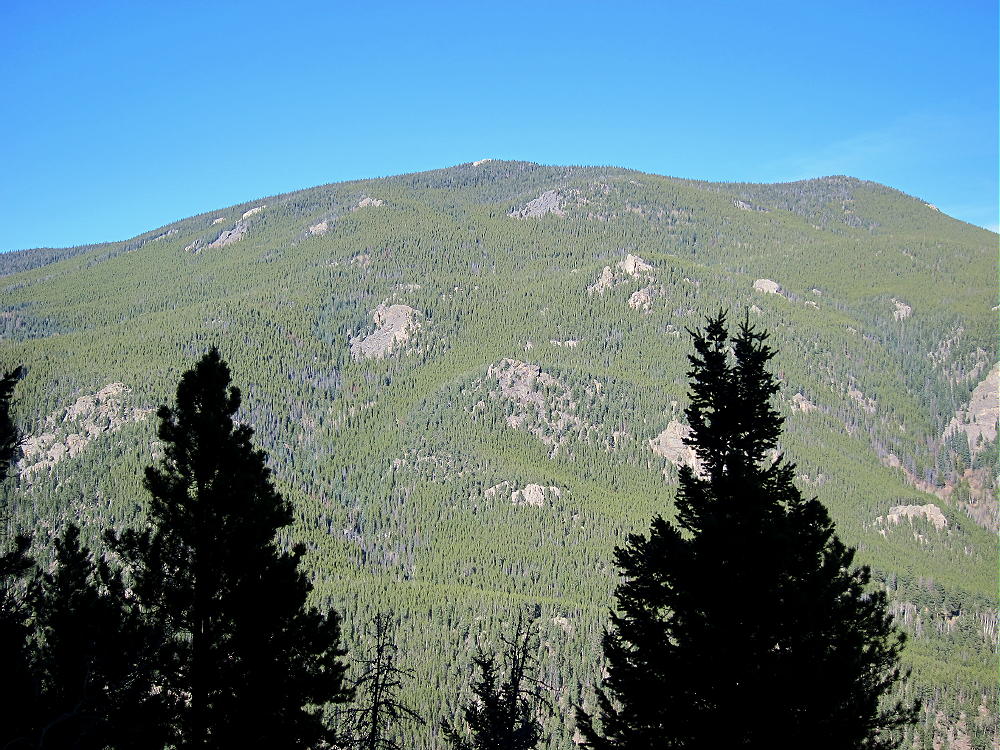
Mount Judge View to the Southeast
Mount Judge Southeast Ridge
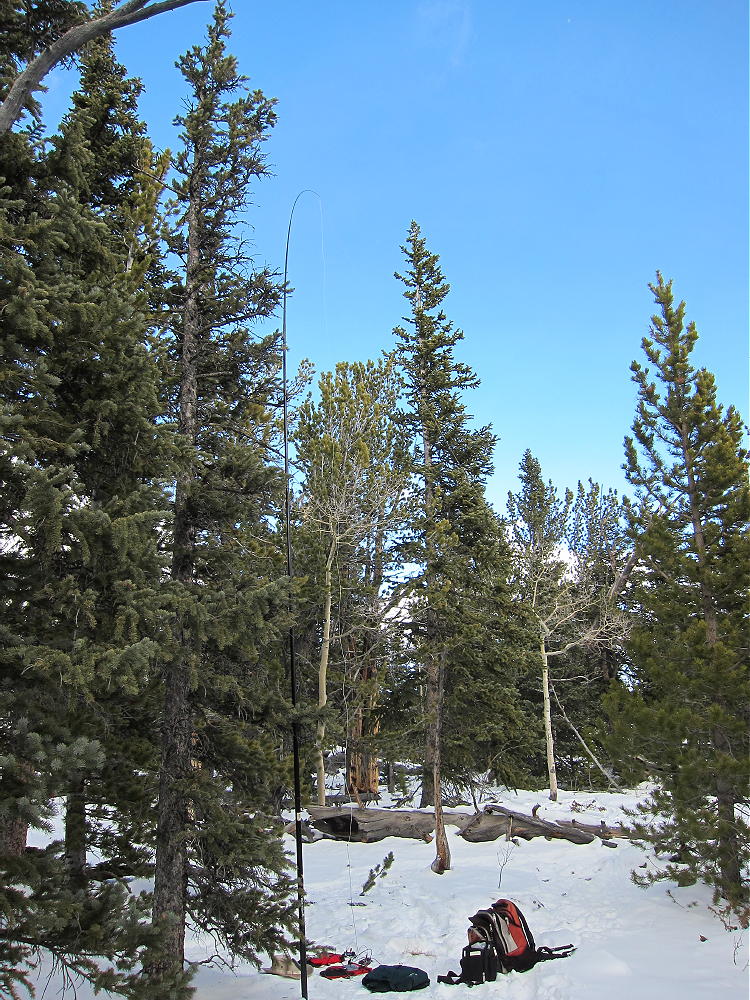
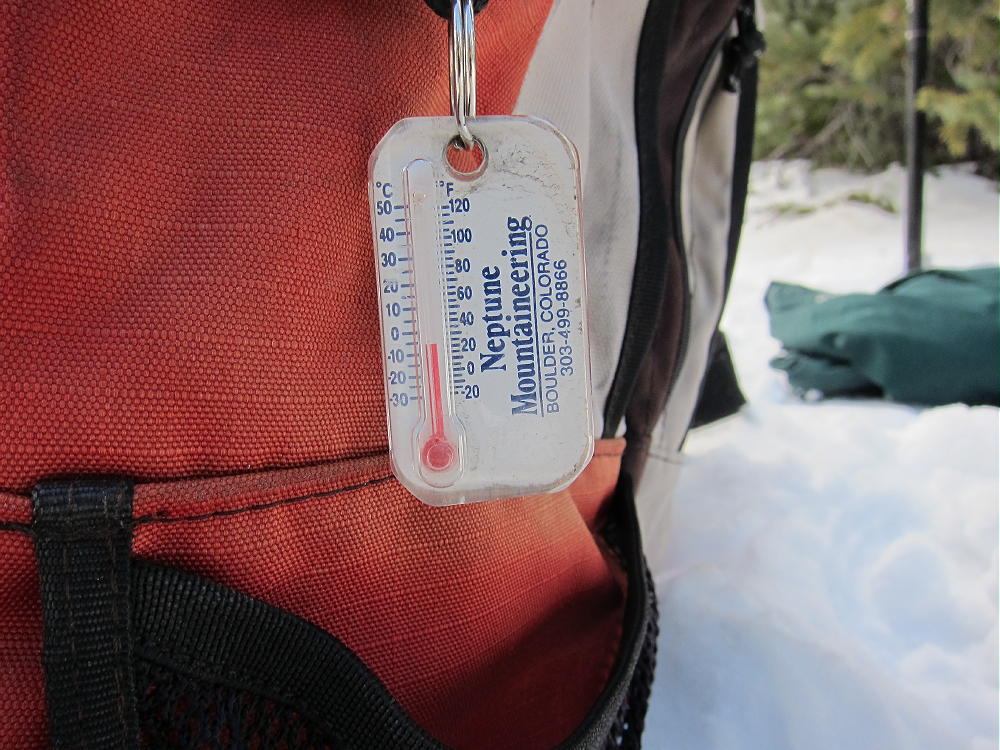
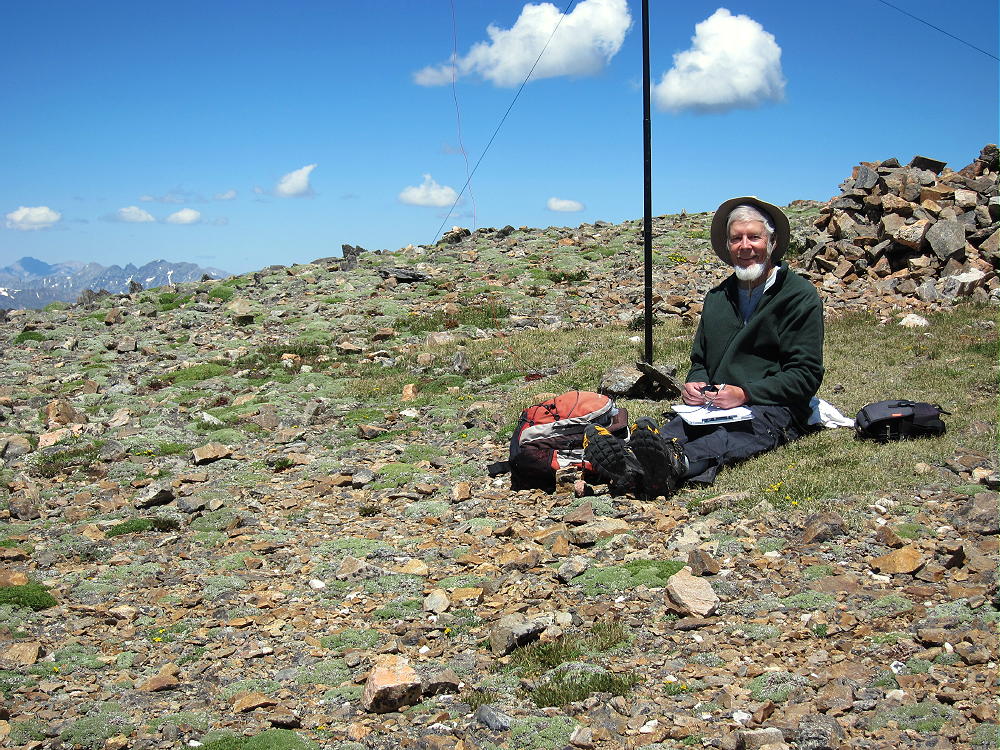
This is an excellent, quiet HF site, as well as a good VHF and UHF site, with good coverage of much of the Denver area. I had a fine activation up there, despite the temperature in the mid-20’s at 1 PM, and it was well worth the climb up through the forest.
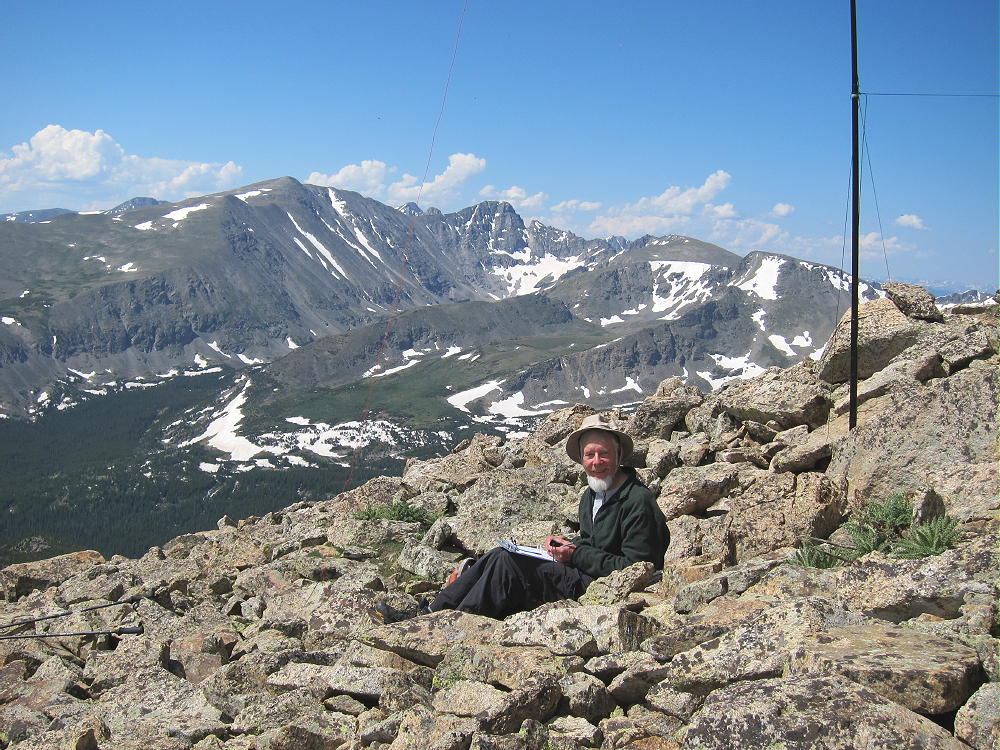
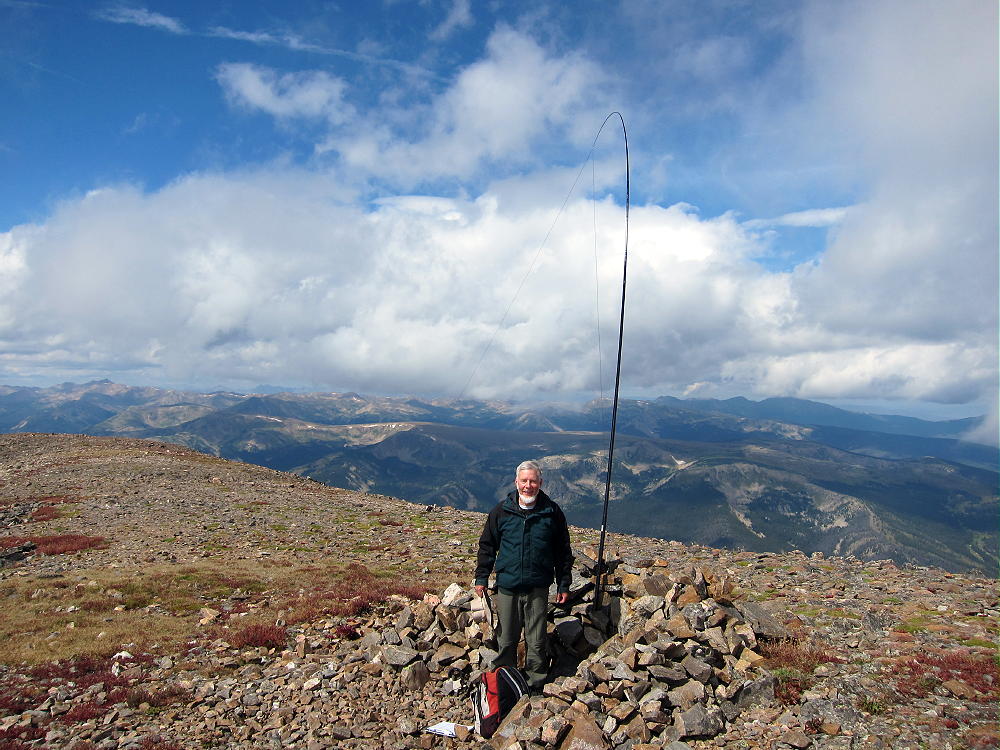
Mount Judge Activation near Summit
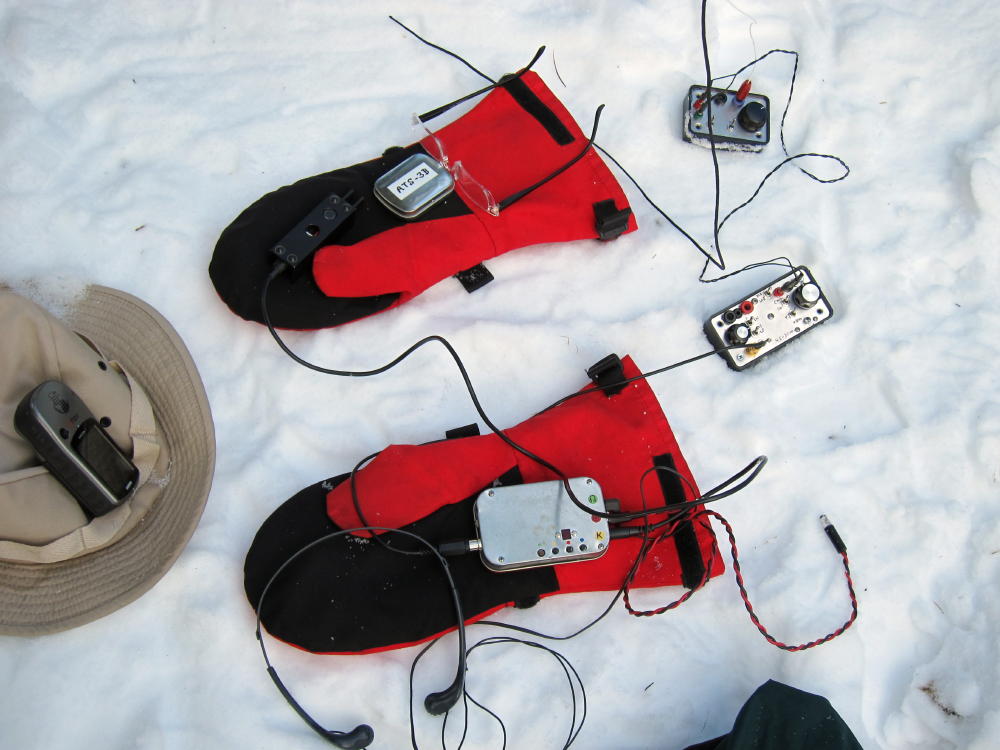
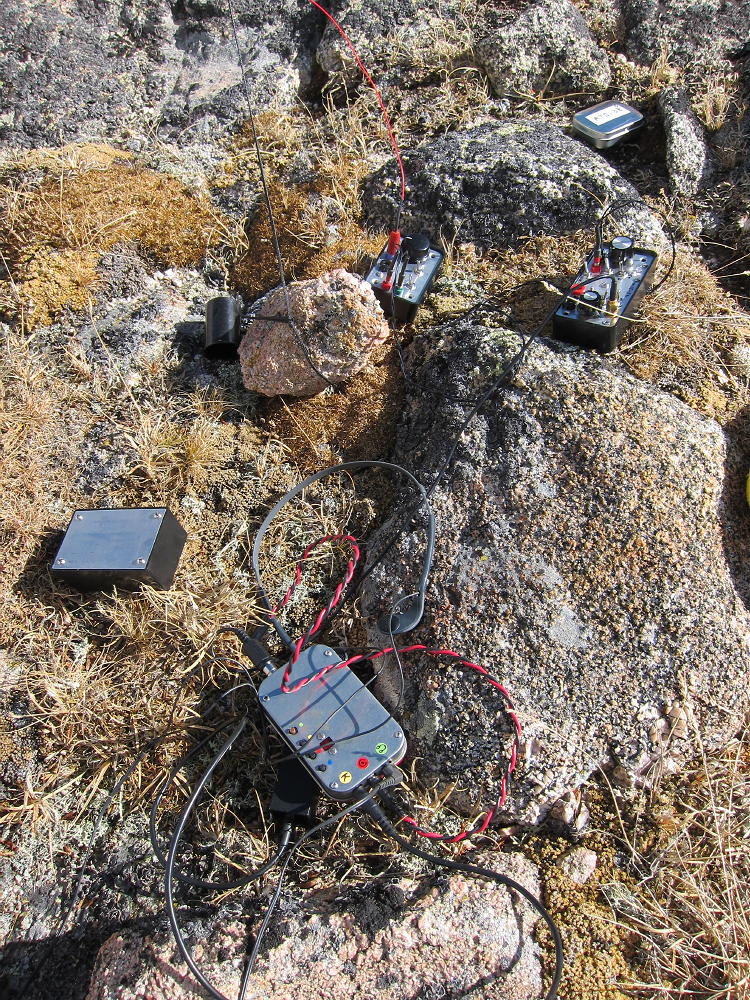
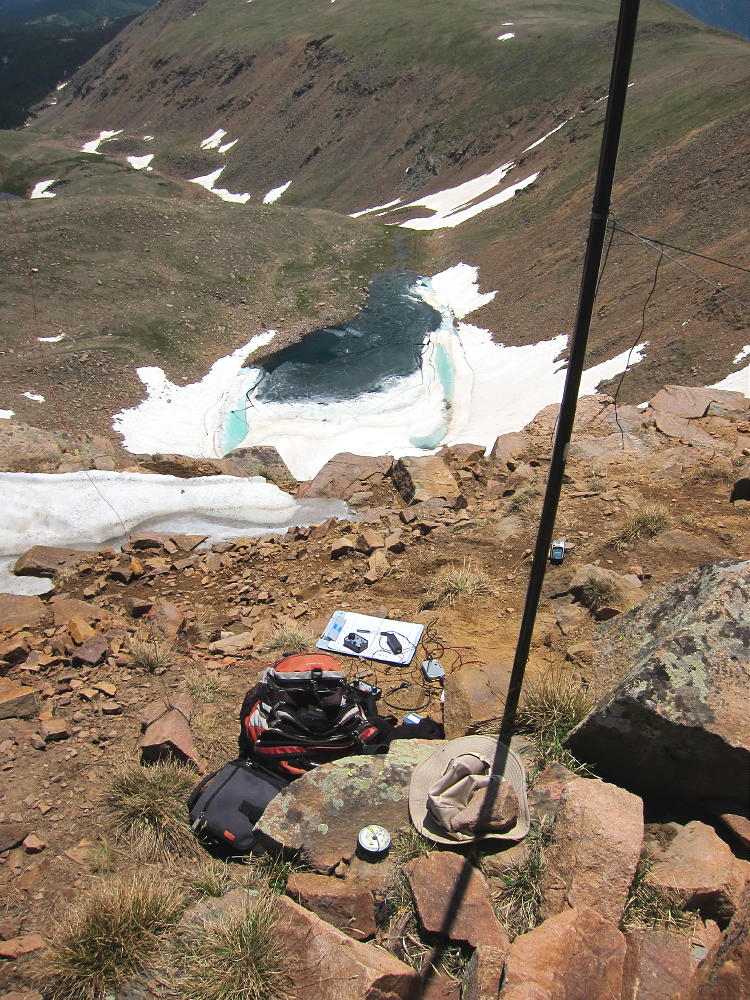
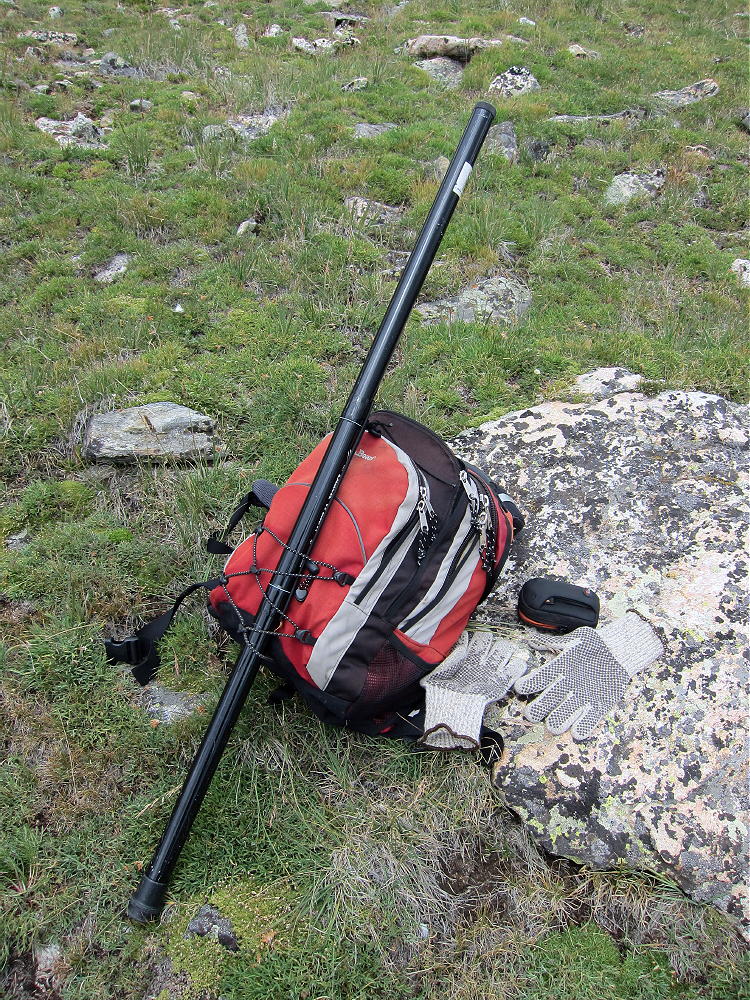
Mount Judge Activation Gear
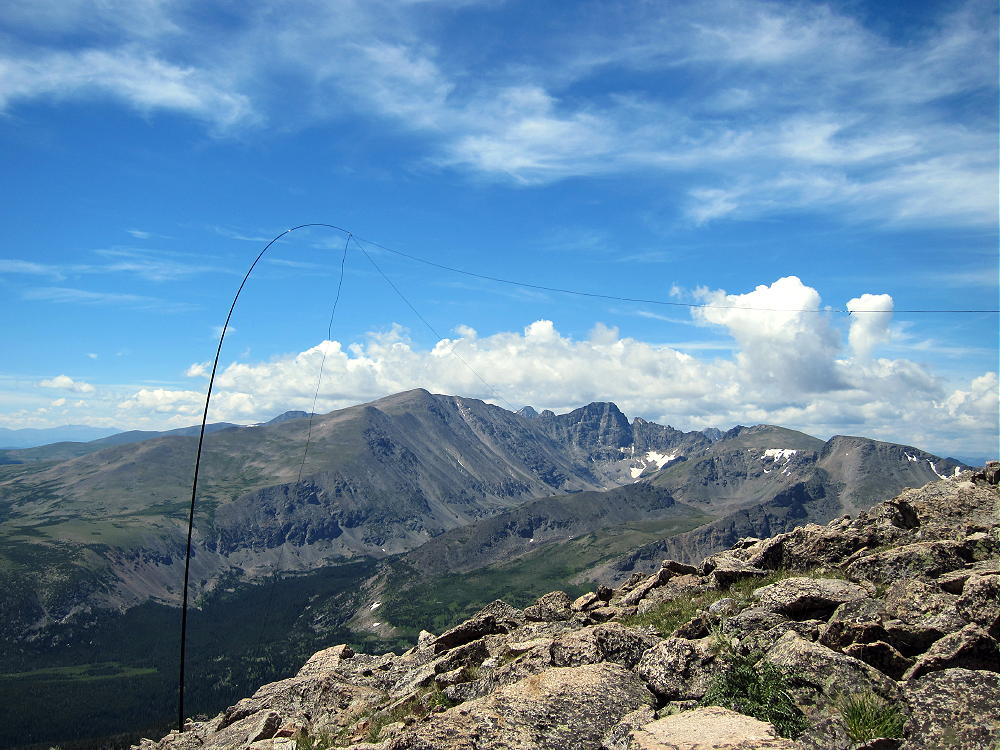
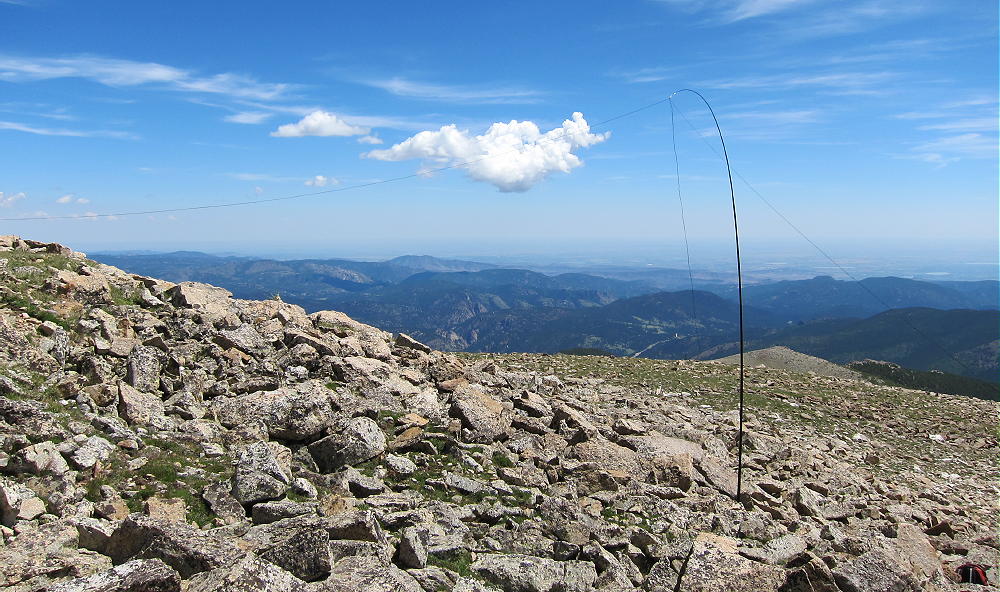
Mount Judge Activation Antenna
There are other routes to the summit, and at least one other trip report is available online. The natural NW ridge route from Squaw Pass appears to cross private land SE of Squaw Pass. There is an old closed road that contours around the east side of Mount Judge following the 9200 foot contour – this might provide access via a steep slope up to the long south ridge – but I have not attempted this route. The route I used appears to have no access problems, and it’s the most direct route from the trailhead. In summer it should be a shady, cool route to the top. Since the road is usually plowed in winter, Mount Judge provides a practical 4-point summit close to Denver, with snowshoe access and a 3-point seasonal bonus. I don’t recommend doing the north-side route in deep snow, unless someone has broken trail.
Please be careful on Mount Judge – and tell someone where you’re going and when you expect to return.
73
George Carey Fuller
KX0R
Mount Judge Activation Temperature
!! WARNING !! There are old mountaineers, and
bold mountaineers… there are no old-bold mountaineers.
Hiking and mountain climbing are potentially hazardous activities particularly in Colorado with its extreme elevations. I am not accepting responsibility for any death or injury resulting from activations based on my trip reports. Proper training, experience, and personal capability assessment is required – enjoy!
W0C/FR-137
10720
3261 m / 10720 ft
First Activation
Nov 1, 2014
by KX0R
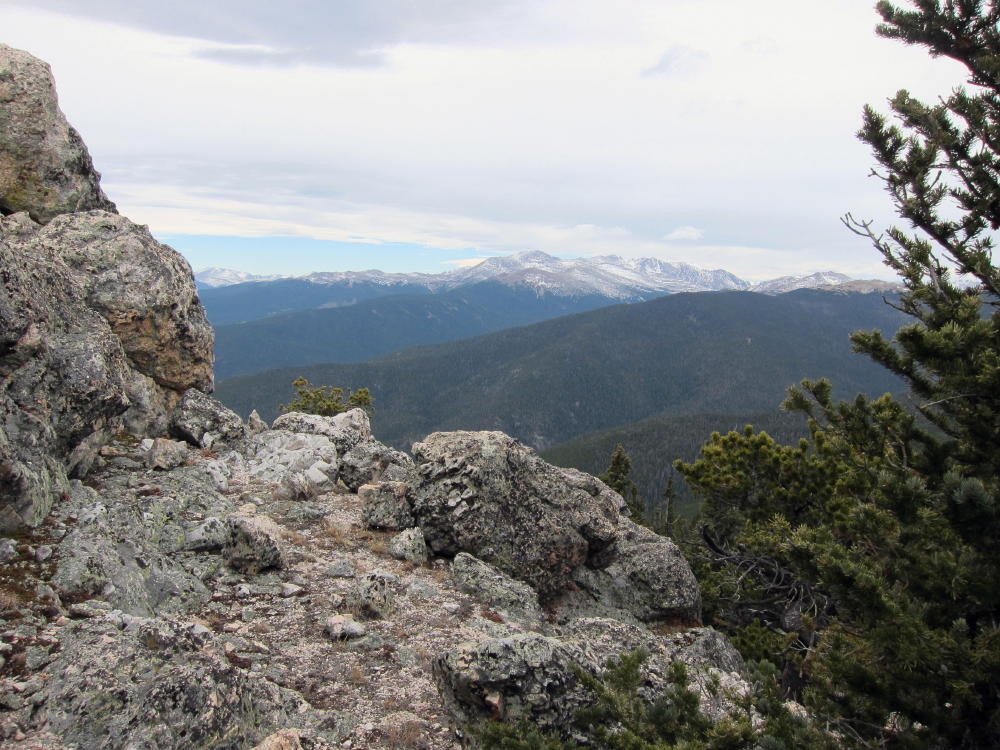
10720 is a seldom-visited summit located in the Roosevelt National Forest, several miles north of the flood-ravaged town of Glen Haven. Activating this peak requires a long, strong hike, culminating in a one-mile off-trail trip through the woods along the summit ridge. The summit itself is a prominent block with dramatic views of the mountains and plains of Northern Colorado and Southern Wyoming. This hike is a natural follow-up to activating Signal Mountain.
10720 Summit from Indian Trail
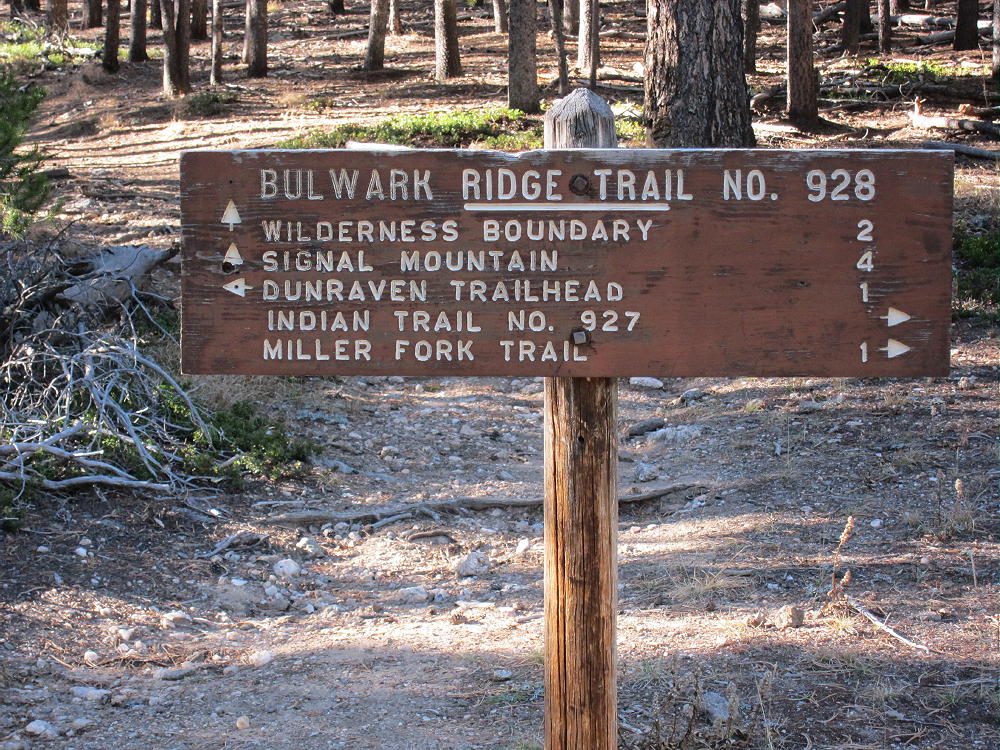
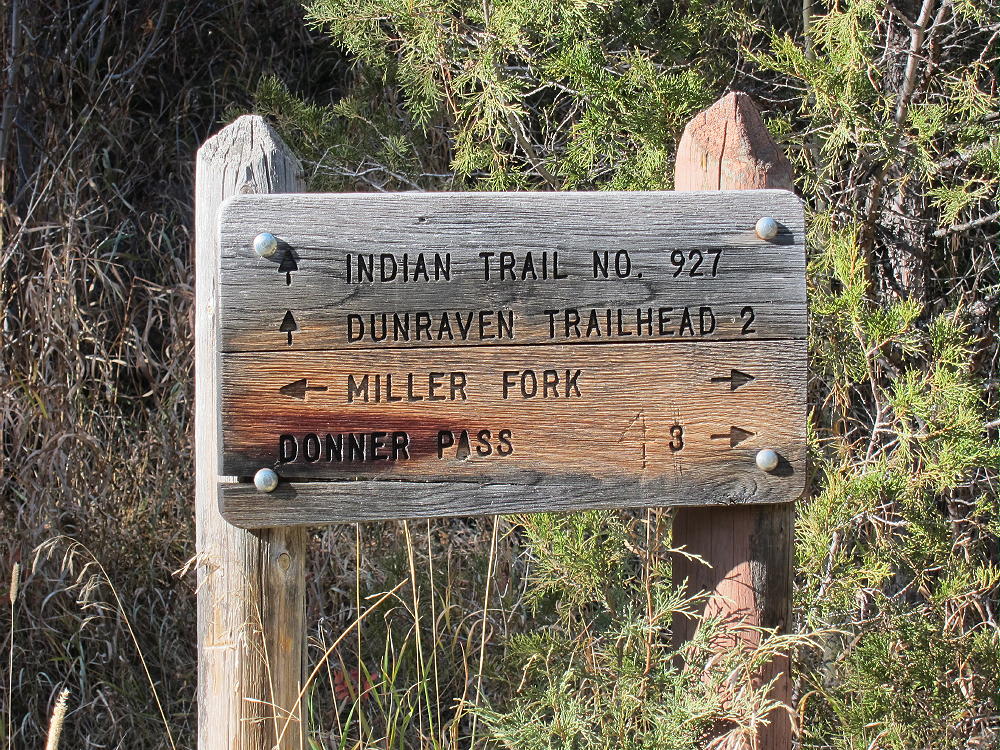
Drive toward Glen Haven from Estes Park on Road 43, or up from Highway 34 to Drake; find Dunraven Glade Road 51B; drive up this road almost 3 miles; and park at the convenient Dunraven Trail-head. This is the same trail-head as for Signal Mountain. Hike up the steep gated dirt road NW of the trailhead, and find the marked Bulwark Ridge Trail at the saddle at the high point of the road. Ascend the steep trail to about 8700 feet, and come to a signed junction with the Indian Trail.
Bulwark Ridge Junction with Indian Trail
If the hike seems really hard so far, I recommend you not follow the Indian Trail as it descends 1000 vertical feet down to Miller Fork. You will have to come back up this trail near the end of the hike, and it’s steeper than the Bulwark Ridge trail’s first section. The Indian Trail is a built trail, with many switchbacks, and it exists to get past the private land that blocks hiker-access to the Miller Fork drainage.
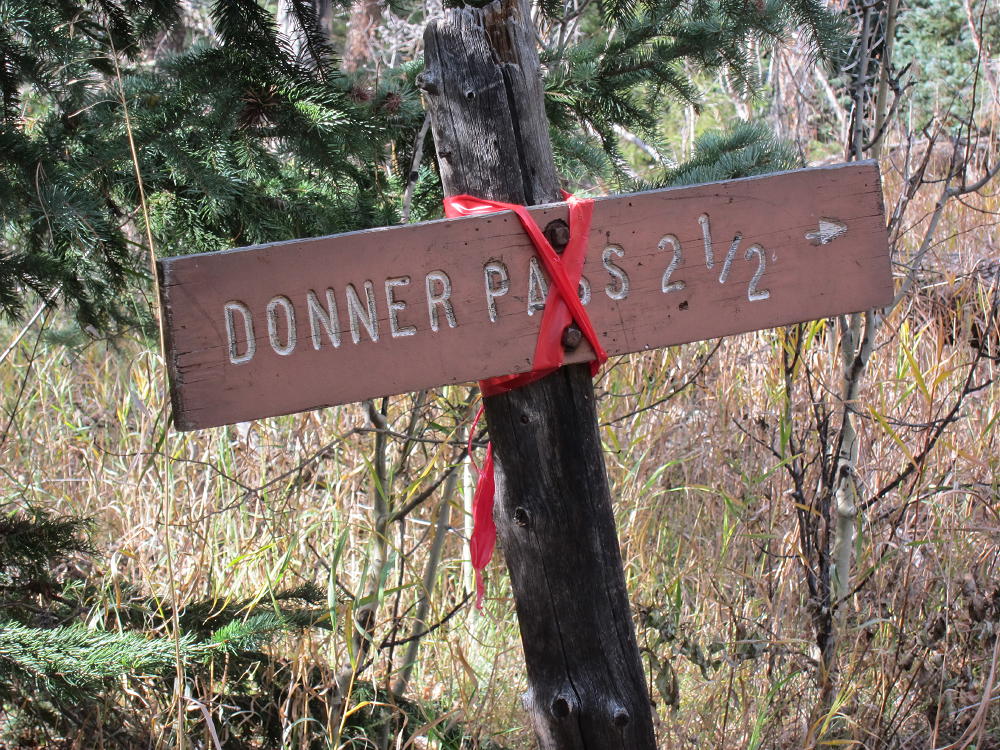
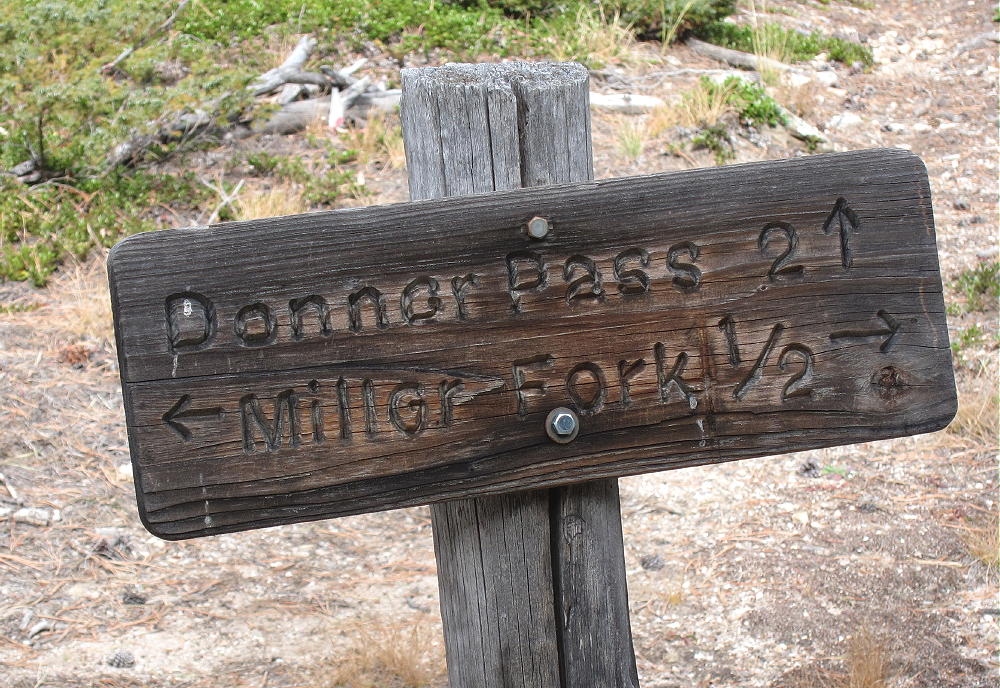
Once you drop down the Indian Trail, you can hike either up or down Miller Fork on a decent, scenic trail, as both routes connect eventually and go up to Donner Pass. Follow the signs to Donner Pass and stay on the trail.
Donner Pass Sign near Miller Fork
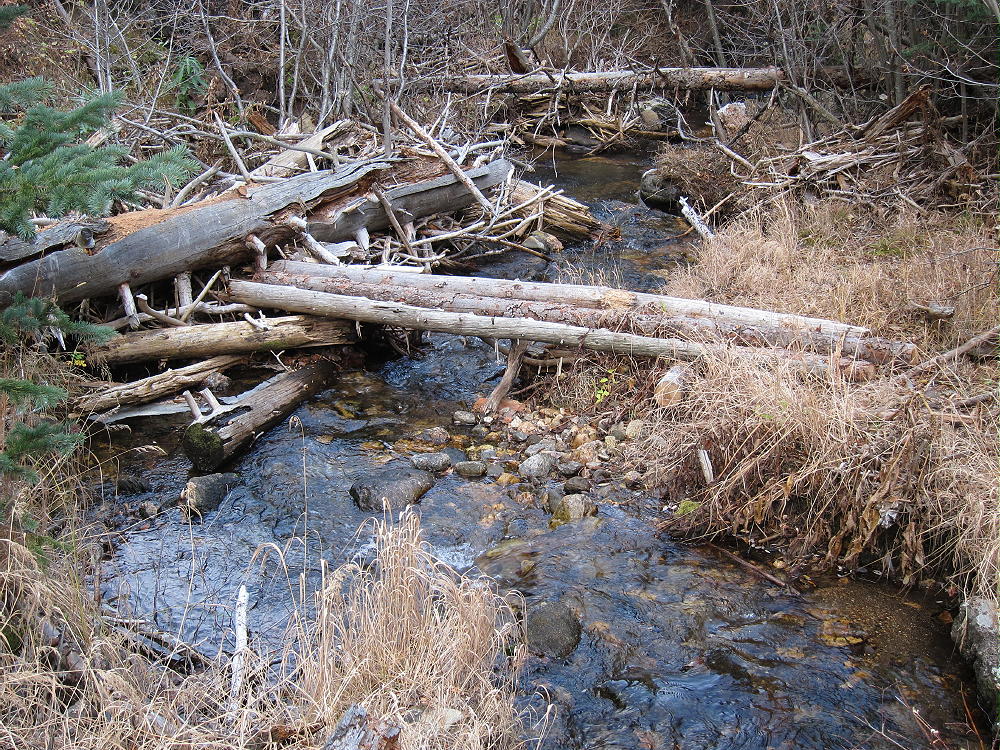
Miller Fork Creek Crossing
Donner Pass Trail Sign
I traveled upstream less than a mile, where there is a marked fork to the right; there the trail crosses a tributary to Miller Fork and then heads up gently to the southeast, which is not intuitive. This is actually a very practical route. Don’t be fooled by the incorrect trail and other errors on Google Maps! Google Maps does not even show the Indian Trail descending to Miller Fork, or the Miller Fork Trail, or much of the well-built Donner Pass Trail. Instead Google shows an old abandoned trail – called Indian Trail – leading up a steep gulch; this is probably not a viable route now, due to floods and fallen trees.
Follow the Donner Pass Trail – it crosses some steep old logging roads, but don’t be tempted to short-cut up or down these. Stay on the trail and march a few miles, and you’ll be up the sub-alpine zone before you know it. There are a couple of nice viewpoints along the route. The entire Donner Pass approach is never very steep – but it is long. The trail climbs about 2500 vertical feet from Miller Fork to near Donner Pass, and then there are 520 additional feet along the one-mile summit ridge to 10720, for a total of about 3000 vertical feet.
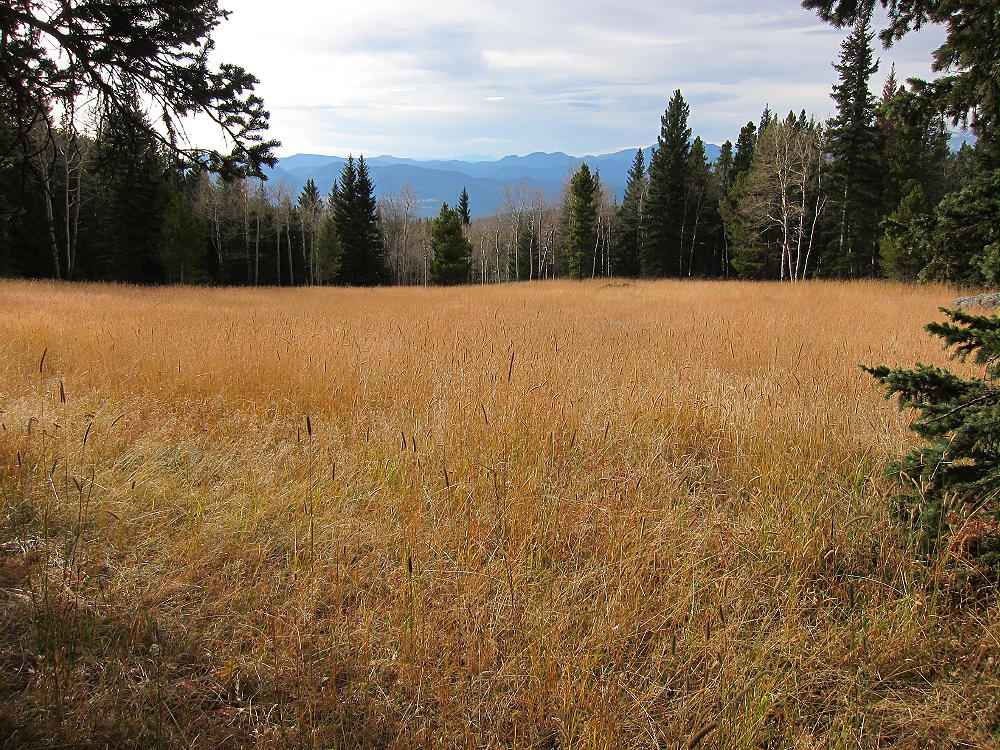
As the route approaches Donner Pass, it passes by a beautiful meadow, and then the grade becomes very gentle – the only problem is fallen trees.
Meadow along Donner Pass Trail
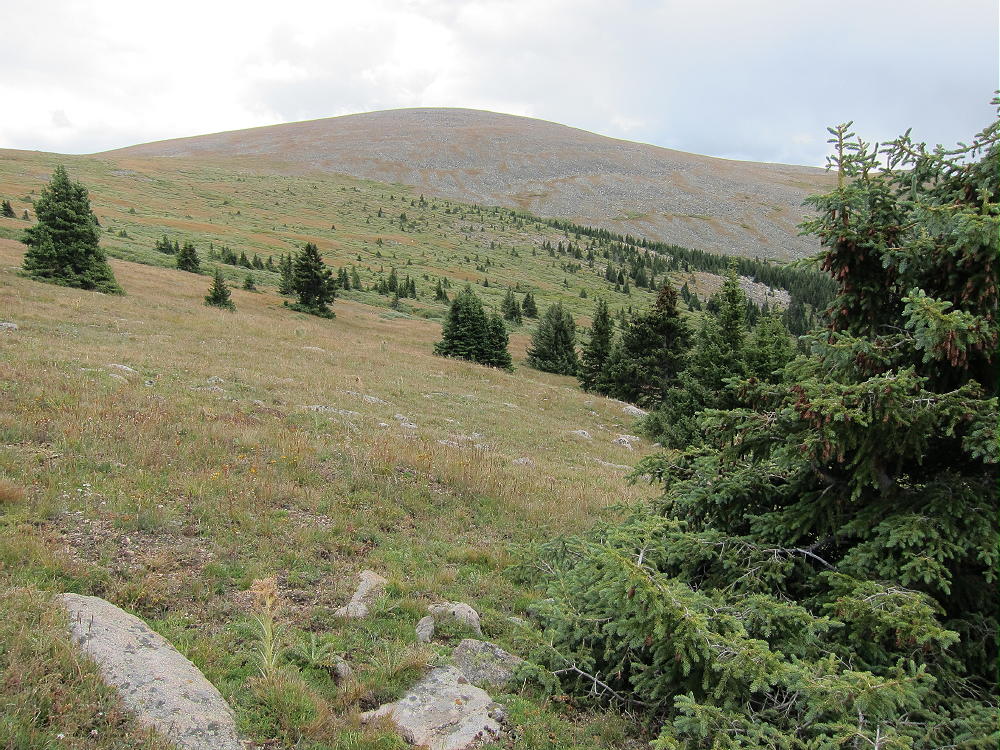
Donner Pass Trail above 10,000 Feet
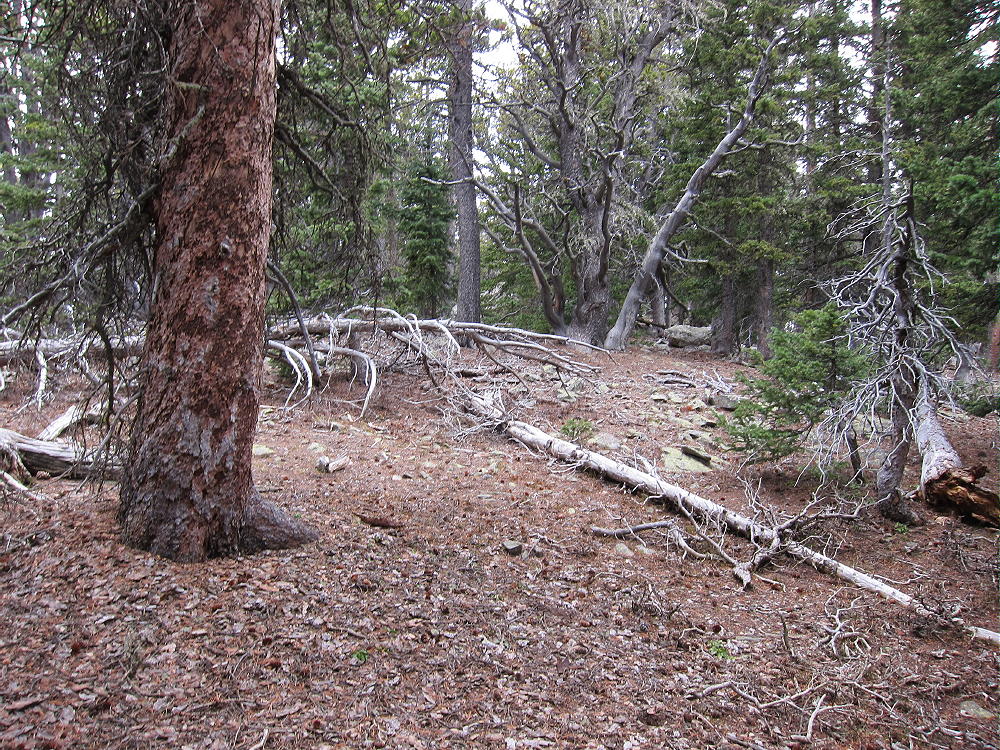
After a while Donner Pass is almost visible ahead, and you must choose whether to head northeast up to the ridge-line on the right, or keep going toward Donner Pass. If you cut up the slope too soon, you will be in a maze of fallen dead trees. Wait until the route looks easy, and then head up to the ridge, perhaps ¼ mile before Donner Pass – or go all the way to Donner and avoid the hassle. Once on the forested ridge, follow it southeast. This ridge leads over several small sub-peaks, through a goblin forest with large twisted trees, and through sections with some dead and downed trees.
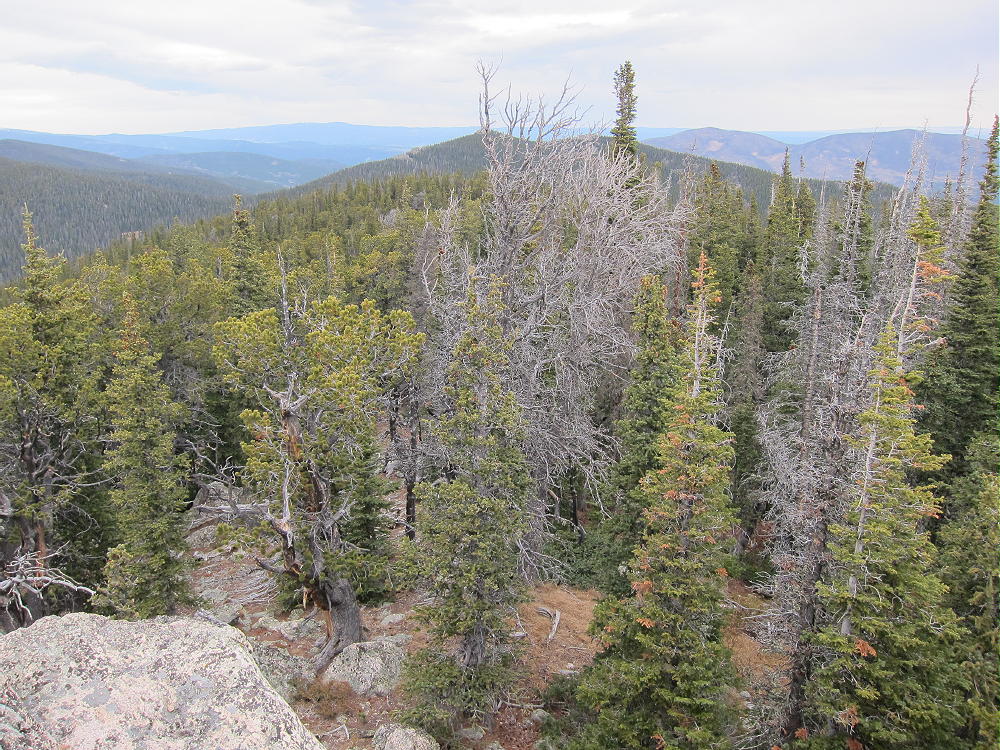
Goblin Forest on 10720 Ridge
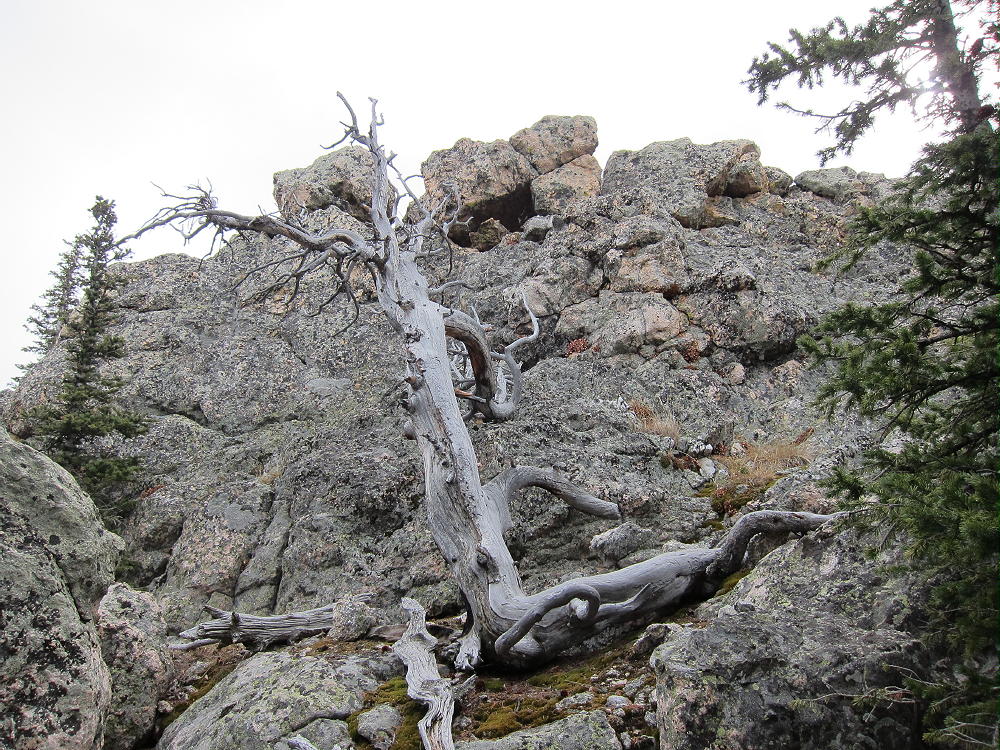
There are hints of a game trail as the route climbs progressively to the summit. Near the summit the route steepens and finally leads up to a large block of crystalline pegmatite, which you must climb to see the stunning view.
10720 Summit Block North Side
10720 Summit View
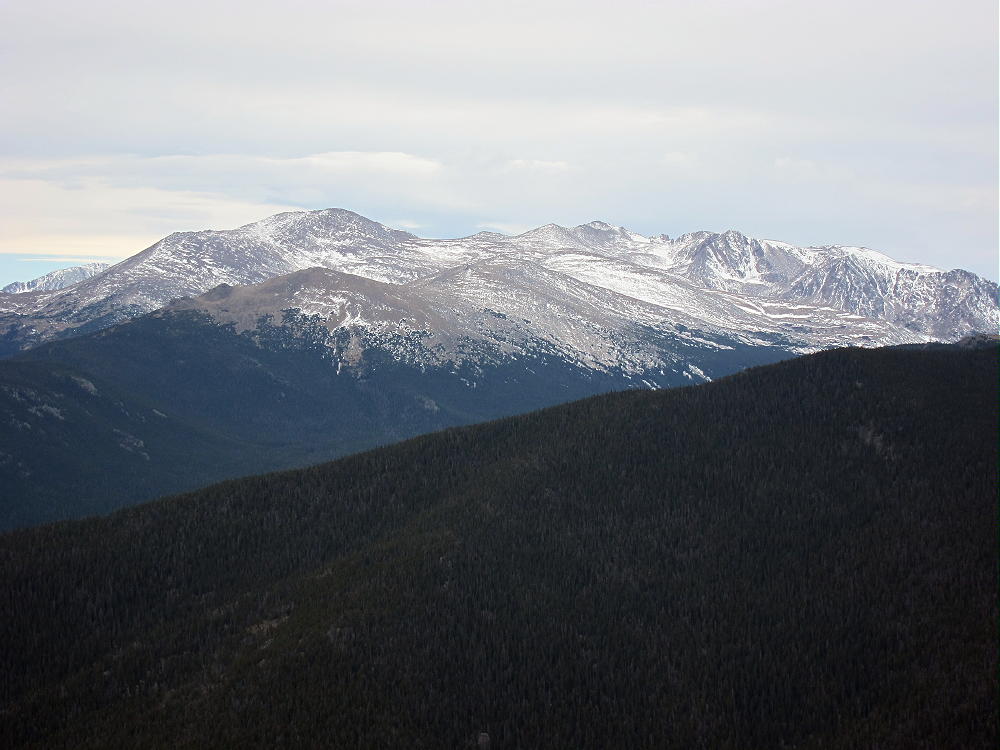
Mummy and Hagues Peaks from 10720
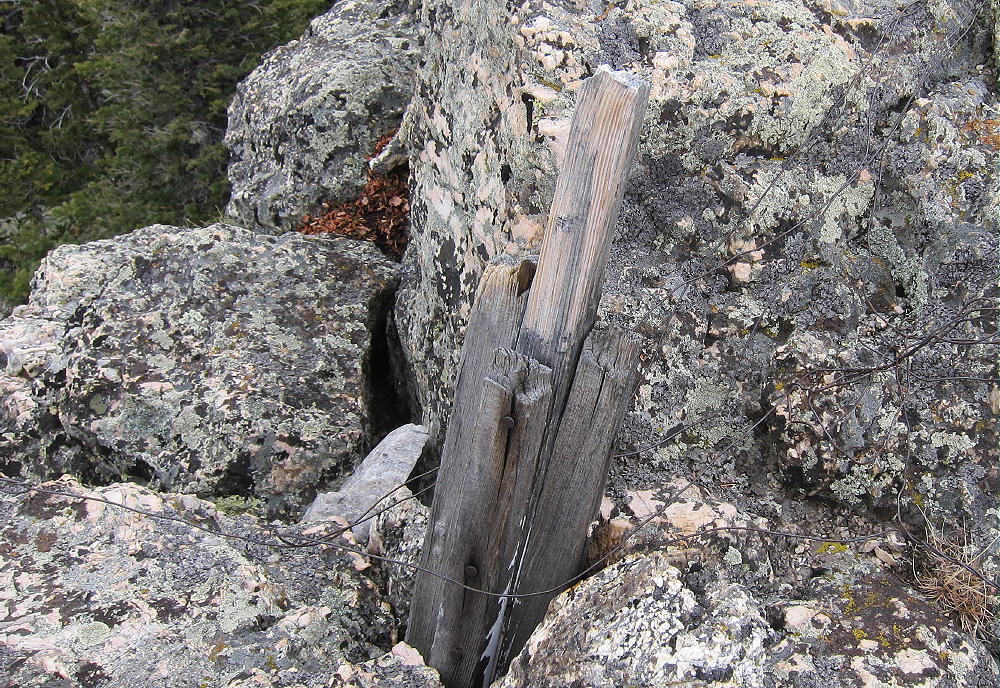
Remains of an old triangulation station – pieces of wood and wires – are on top of the summit rock.
Survey Station Remains on 10720
There is also a register jar with a few names – amazingly, the peak is actually climbed by others. The day I did it, I found the name of a runner I met on the trail earlier that morning!
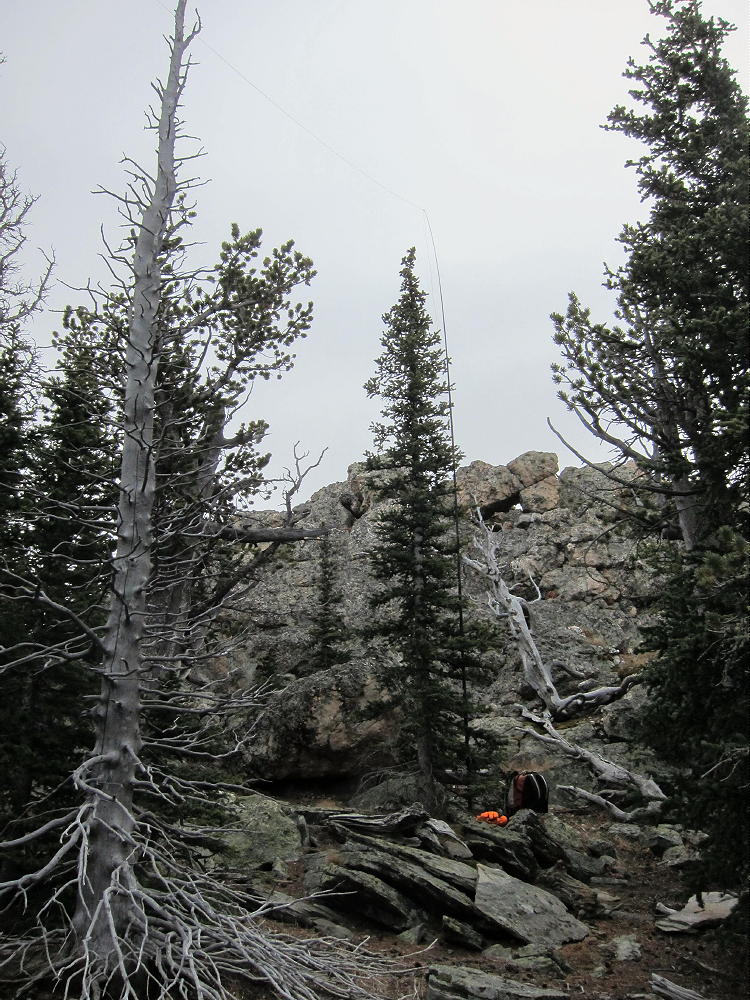
There are a couple of good spots to activate this mountain – I set up just northwest of the summit block, out of the wind, right on the ridge. With many useful trees on the site, you don’t really need a pole. Dead tree trunks are available to use as a mast, and you can also use the summit block!
10720 First Activation
For the return trip, just backtrack along the ridge toward Donner Pass.
10720 Ridge View North
If in doubt about where to descend, continue safely on to Donner Pass. If you descend too soon, you will find yourself in a hell of fallen trees on steep slopes!
I recommend using GPS with a topo map set to navigate this and other off-trail mountains. GPS navigation facilitates perfect backtracking, catches errors, and makes off-trail travel more efficient.
The return trip is fast and easy, down to the junction where the Indian Trail climbs back up to the Bulwark Ridge Trail.
Miller Fork Junction with Indian trail
This section is 1000 vertical feet up, and it will test your tired legs. From the top of the Indian Trail, there remains 1000 vertical feet back down to the parking area. The total vertical gain – and loss – is about 5000 vertical feet for the complete 14.9-mile round trip. The trail quality is much better than what Google Maps suggest. Donner Pass and 10720 may be climbed from the north and east, but I have not done this. It might be possible to reduce the amount of vertical gain by coming up from one of the alternate routes.
If you like activating Signal Mountain, by all means try 10720. The latter summit is longer and harder than Signal, because of the additional work required to descend and later ascend the Indian Trail. They make a nice pair, because each summit is visible from the other.
Unless you are Superman, forget about a dual activation of Signal and 10720 in the same day. However, if you are Superman, the way to do both summits together would be to climb Signal first, hike north one mile to the points near 10,500 feet, head southeast about 2.5 miles along the ridge toward Lookout Mountain, head for Donner Pass, and then pick up the ridge that leads southeast to 10720. To complete the loop hike, descend via the Donner Pass Trail to Miller Creek, and then return via the Indian and Bulwark Ridge trails. I have not tried this huge hike, so you are on your own – it would require a full day for sure!
10720 is a big hike with a SOTA activation of the Peak included for a nice rest break.
73
KX0R
George Carey Fuller
!! WARNING !! There are old mountaineers, and
bold mountaineers… there are no old-bold mountaineers.
Hiking and mountain climbing are potentially hazardous activities particularly in Colorado with its extreme elevations. I am not accepting responsibility for any death or injury resulting from activations based on my trip reports. Proper training, experience, and personal capability assessment is required – enjoy!
1) Drive west on Highway 285, down Crow Hill and past Bailey, and continue about 10 miles west to the town of Grant. Turn right at Grant on Road 62. This is the Geneva Road, and it also goes to Guanella Pass.
2) Drive up Road 62 about 3 miles to the Three Mile Trailhead. There is limited parking.
3) The marked trail 635 starts at about 9100 feet and heads up Three Mile Creek through a beautiful, moderately steep canyon.
Three Mile Creek Trail 1
Three Mile Creek Trail 2
Three MIle Creek Trail 3
Three Mile Creek Trail 4
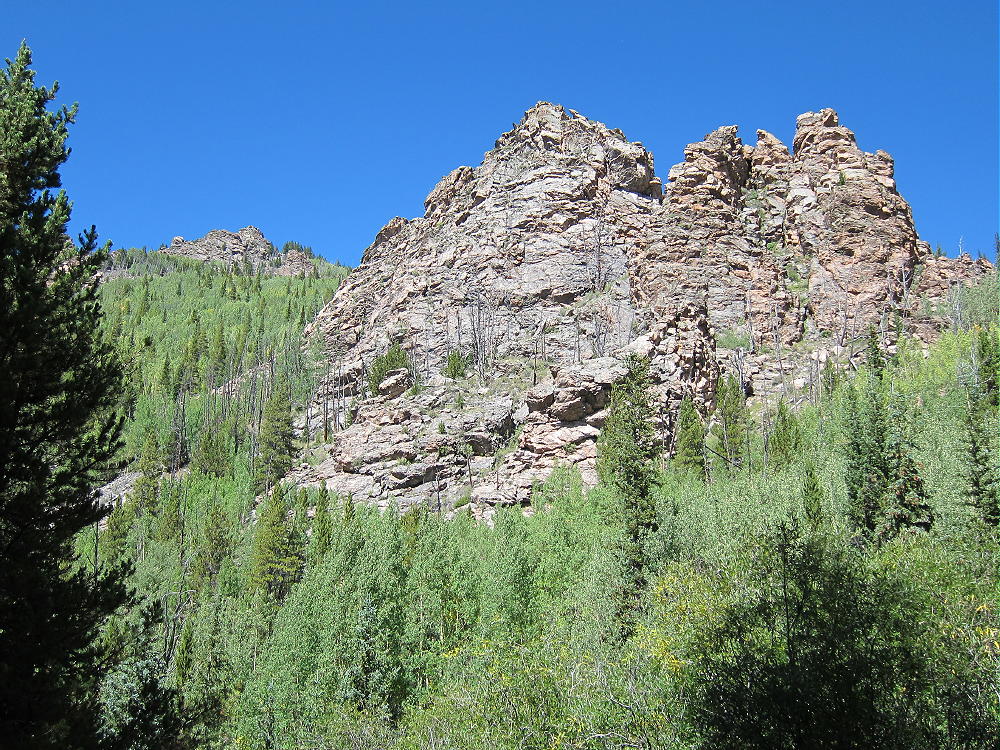
Cliffs along Three Mile Creek Trail
Willows Far below Mount Logan
The trail gains altitude efficiently and eventually leads to a high pass at about 11,900 feet. However, if you stay on the trail all the way to the pass, as I did, you will end up too far north and will have to do extra work to climb Mount Logan.
4) Follow the trail up the canyon past the north side of Spearhead Mountain. The canyon splits at about 10,600 feet, and the trail heads up a small creek east of Spearhead and then climbs southeast. Follow this trail up steeply through willows and open high country. You can see the slopes of Mount Logan up to the southeast. After climbing straight up the hill for several hundred feet, the trail switches back to the left and makes a sharp turn to the north at 11,565 feet elevation.
The GPS Coordinates of this point are: N39 30.725 W105 38.807
5) Leave the trail at this bend and continue up southeast through meadows and sparse trees.
Off-Trail Route to Logan near Treeline
Climb toward the broad pass just north of Mount Logan. There is no real trail or marked route, but this part of the trip is not difficult; avoid willow thickets and talus piles.
Mount Logan NW Slopes Route
6) At about 12,300 feet head south up the north slope of Mount Logan; climb across the tundra to the broad summit.
There are some remains from a helicopter crash north of the summit. A convenient wind shelter made from rocks is at the top – it makes an ideal spot to activate the mountain. Nearby are some old wooden remains from a geodetic triangulation station. Otherwise this mountain is wide open with no large rocks or other features – it is high and exposed. The incredible 360-degree view includes South Park, the Divide to the west, and the impressive alpine area around Mount Evans.
Mount Logan is a nearly perfect radio site. Human-caused radio noise and acoustic noise are minimal at this spot high in the Wilderness. On a day with good weather, it’s a pleasant place to do a SOTA activation. Be sure to bring a pole for an HF antenna.
KX0R Mount Logan HF Activation
This peak has good VHF/UHF coverage of some areas out on the plains, as well as South Park and the surrounding mountains. The stunning views and fun hike make for a rewarding expedition. The total vertical gain is about 3800 feet, and the hike is about 12 miles round trip. It’s not the easiest summit around, but Mount Logan is a SOTA classic!
George Carey Fuller
KX0R
Shower Headed for Mount Logan
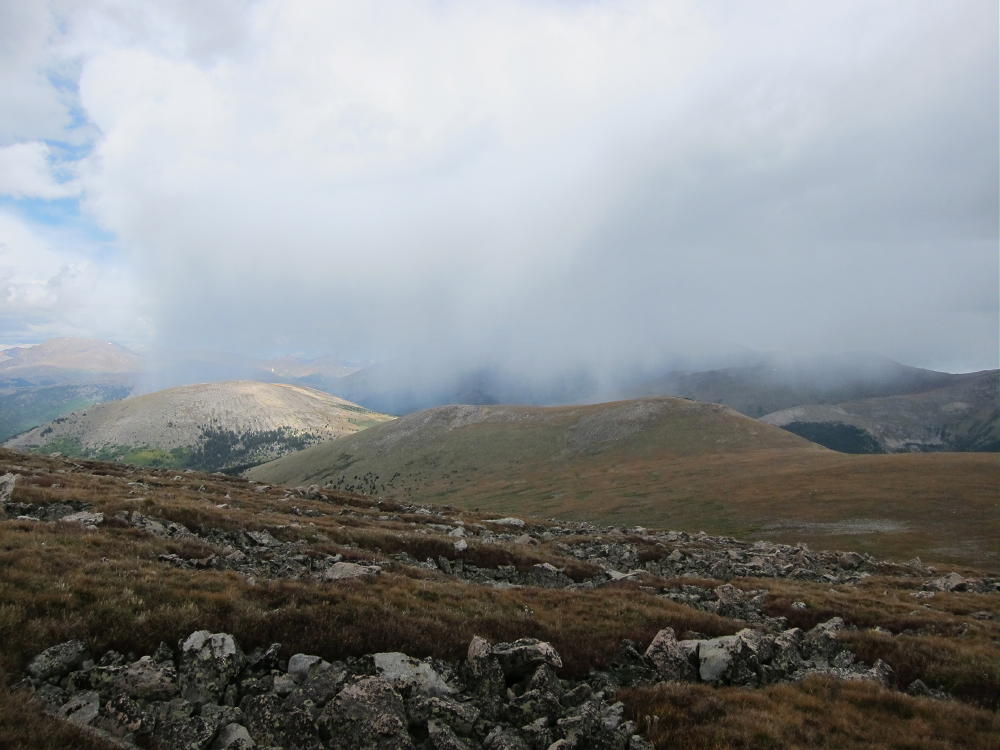
Kataka and Mount Logan from Geneva Mountain – Mid-October
!! WARNING !! There are old mountaineers, and
bold mountaineers… there are no old-bold mountaineers.
Hiking and mountain climbing are potentially hazardous activities particularly in Colorado with its extreme elevations. I am not accepting responsibility for any death or injury resulting from activations based on my trip reports. Proper training, experience, and personal capability assessment is required – enjoy!
W0C/SP-050
Geneva Mountain
3752 m / 12335 ft
Oct 19, 2014 First Activation
By KX0R
Activating Geneva Mountain for the first time was one my SOTA high points for 2014. Although it’s relatively high and exposed, I had the good fortune to climb it during a period of Indian Summer, on a calm, sunny day. I was up there for hours, and I had it all to myself.
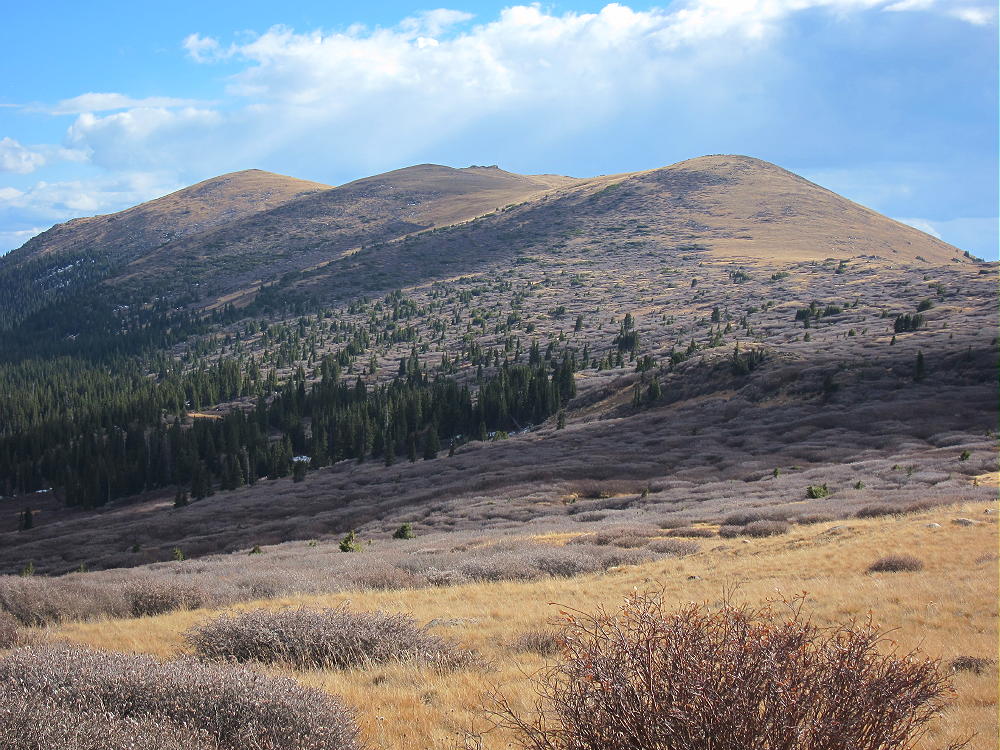
Geneva Summit and Two Sub-peaks
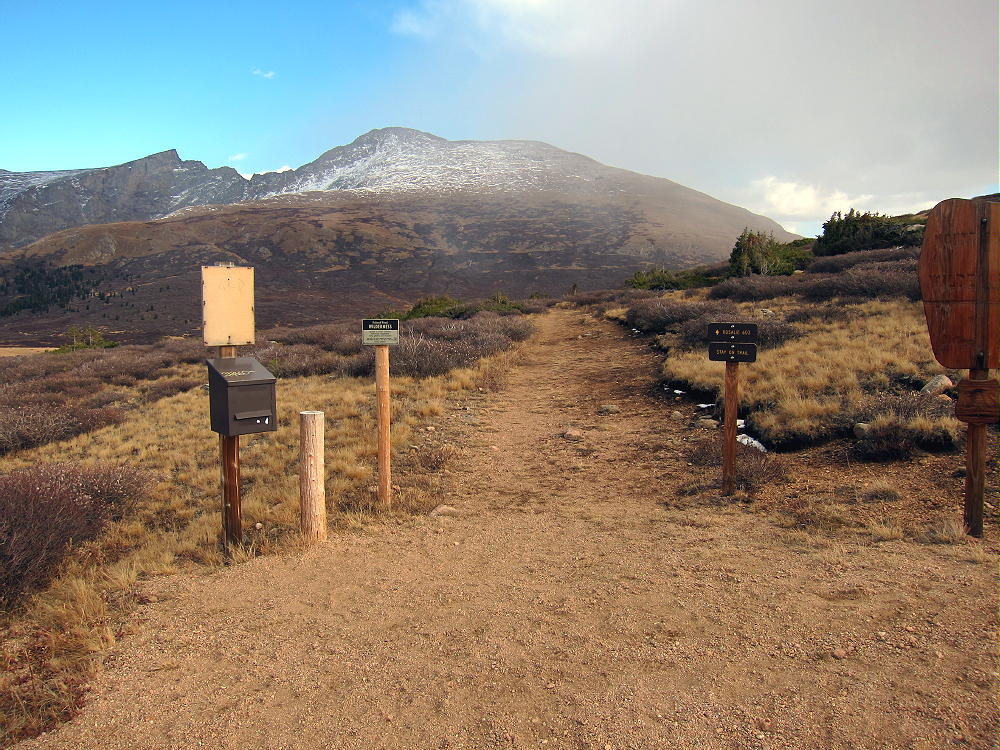
To reach the trailhead, drive up I-70 to Georgetown, exit, and follow the signs to Guanella Pass. A fine paved highway leads steeply up to the Pass. This high road may not be open at all times due to winter conditions – check in advance if in doubt. On busy weekends in good weather, the available parking may get filled – get up there really early. Park near the road crest and find the well-marked Rosalie Trail # 603 that leads south from the parking area into the Mount Evans Wilderness.
Trail 603 Trailhead – Shower on Bierstadt
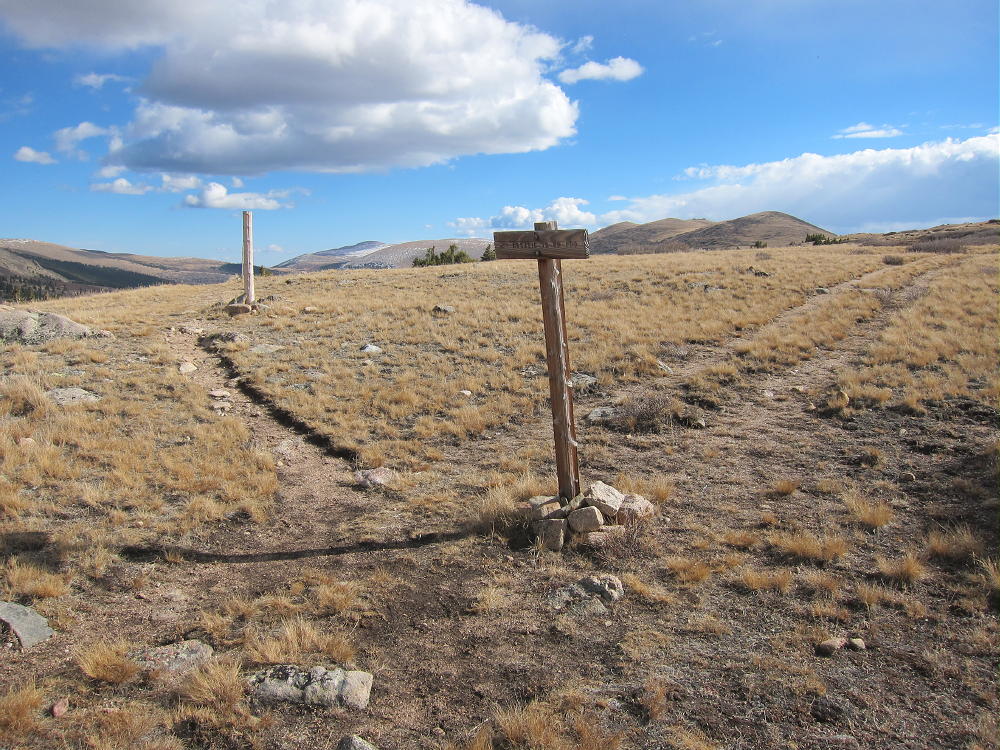
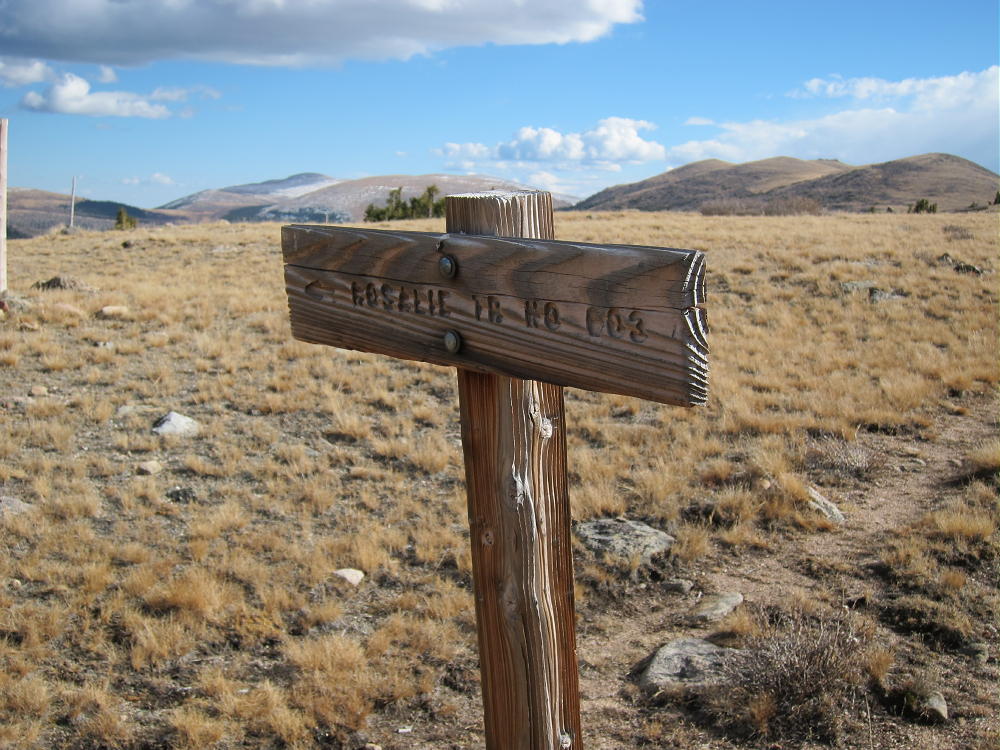
From the trail-head, contour east around a small summit for about a mile, until the trail splits at a sign; don’t follow Rosalie Trail 603 down toward Scott Gomer Creek, but take the right (west) path along an old closed road.
Trail Split 1 Mile South of Trailhead
Trail Sign 1 Mile South of Trailhead
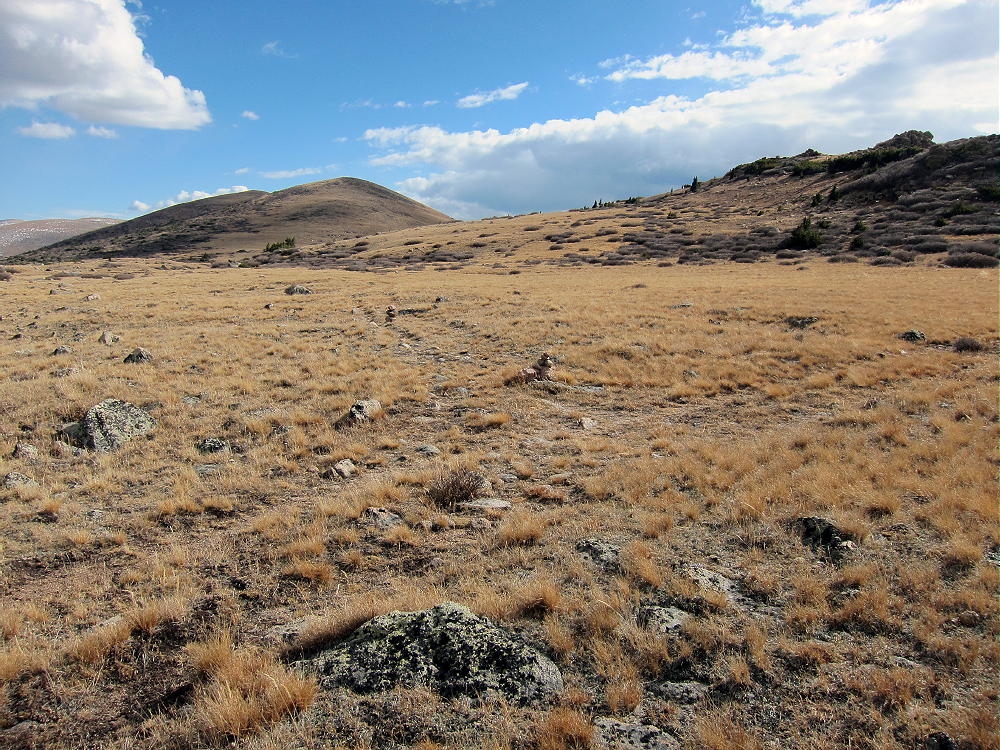
This pair of ruts efficiently follows the ridge south. In the distance three bumps are visible – Geneva Mountain is the last of the three. Follow the road almost as far as it goes along the ridge. Eventually you’ll come to a cairn marking a place where the ruts turn southwest, but a path leads south.
Trail Split North of Geneva
Leave the road and follow the path – first flat, and then up along the ridge. Just head for the ridge tops and follow the obvious route south across the tundra. There are hints of a trail, but most of the remaining route is in the grass and rocks. You can skirt or climb the small sub-peaks as you approach Geneva Mountain. Geneva is distinctly higher than the other bumps, so keep going until you’re really there. It’s almost 4 miles from the parking area, but it goes fast. The net vertical gain is only about 600 feet, but there’s some additional gain because of the bumps.
This is an easy alpine hike – but it’s at over 12,000 feet; don’t underestimate the weather – the entire route is above tree-line, with little shelter. It takes a long time to hike four miles south to Geneva, activate it, and hike four miles back. With a long multi-band activation, I was gone from my car for 7-3/4 hours. It takes at least two hours to hike each way.
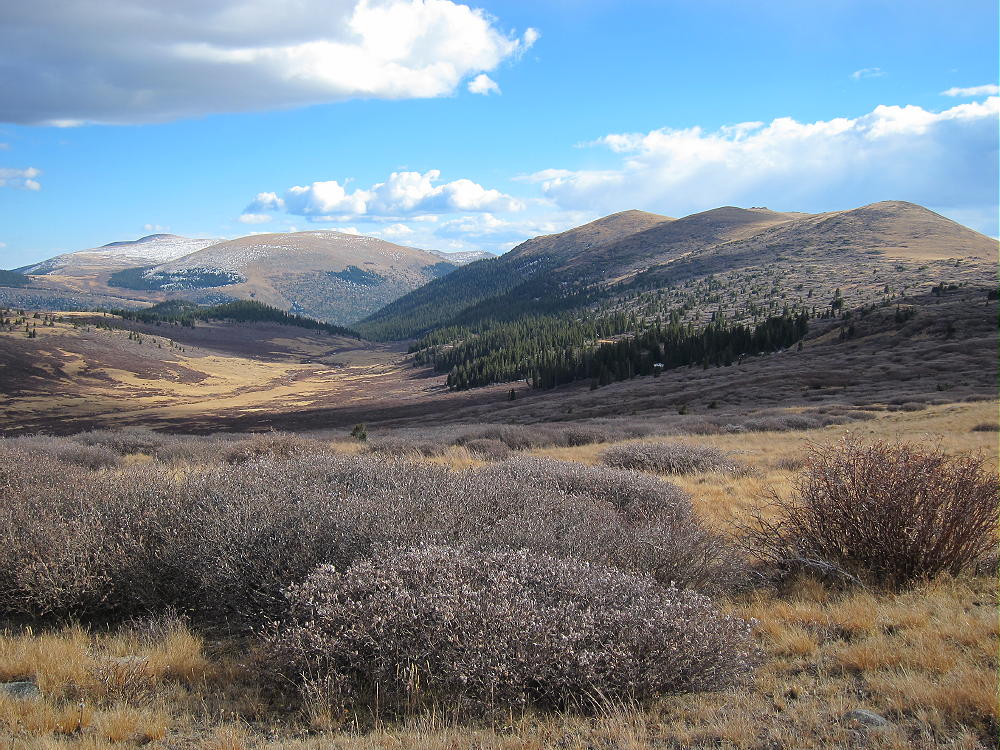
Logan, Kataka, and Geneva Summits
Geneva Ridge North to Guanella Pass
I thought I didn’t have to worry about hunters at such a high altitude, but I was wrong – I saw two parties dressed in bright orange and scouting the ridges. Fortunately they didn’t climb Geneva, and I had the mountain to myself the entire time. The summit is a small rock outcrop, and there is little protection from wind. With only a light breeze, I was able to set up next to the top. Bring a pole, and be prepared for conditions. I was able to run my 67-foot wire out from the pole with a 150-foot cord to the northern sub-peak, to give it some extra height – it looked nice flying up there along that high ridge!
Geneva First Activation 67′ EF Wire
KX0R First Activation of Geneva Mountain
Geneva First Activation Site at Summit
KX0R Activation Rig on Geneva
One of the big questions I had as I climbed this summit was “who can I work from this spot?” Even though the mountain towers above the drainages below, it’s dwarfed by 14,000 foot Square Top Mountain, Mount Bierstadt, Mount Evans, and Rosalie Peak, which block low-angle signals to the north and east. The paths west and south are better, but there are higher mountains in most directions. Just for kicks I started out on 21.063 MHz CW, not expecting any miracles. Immediately I was working all around the country, going right over the huge 14-ers to the east. Then I got EA2LU, DJ5AV, EA2IF, as well as many other eastern US stations. With the high solar flux, plus the big horizontal end-fed wire correctly oriented, the high angle path did the trick! On 14 Mhz signals were strong in all directions – it was an outstanding activation! On 40M I worked John, N0TA, 599-579 in Louisville, and that was totally off the sky NVIS! Then I worked several stations on 30M, including Frank, K0JQZ near Colorado Springs – not sure if that was NVIS or more direct. I went back to 20M and made a couple of S2S contacts, plus a whole bunch of other guys, including OK2PDT and CU3AA. It actually was one of my best activations! There were 53 contacts, and I was on the air for over 2 hours. It proved one more time that a low wave angle and power are not required to work DX.
This is a spectacular place to activate – surrounded by snowy higher peaks, away from cars and development, and well inside the Mount Evans Wilderness. The air is thin, the noise level is very low, and Geneva Mountain was a big surprise to me after many high activations. I would never have gone there, were it not for SOTA.
Rosalie Ridge
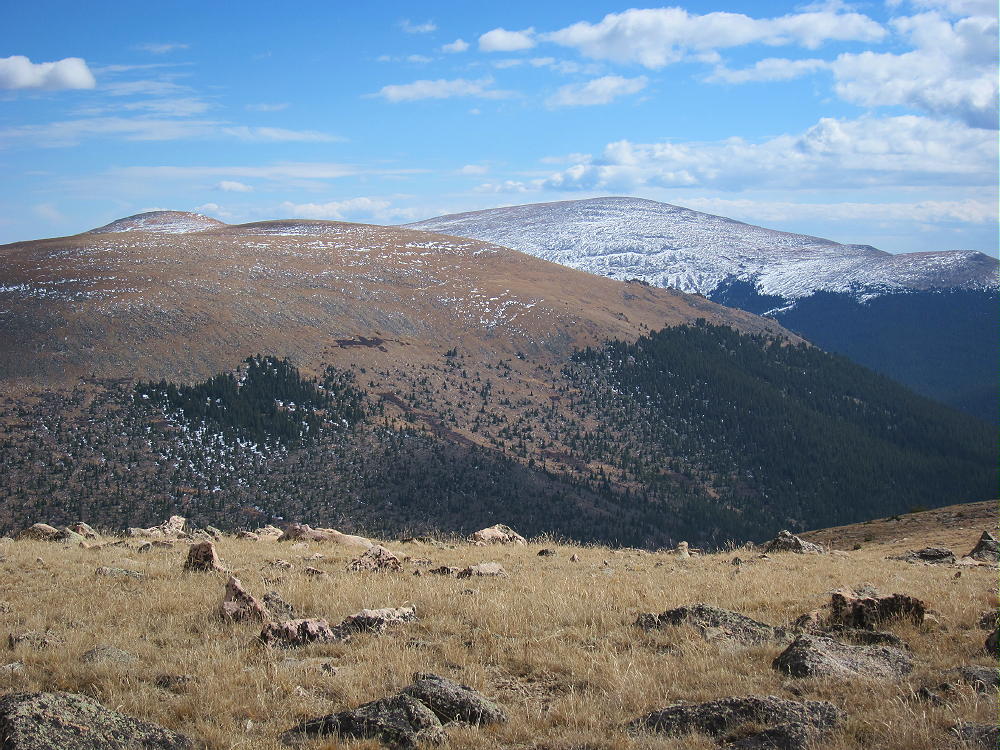
Square Top Mountain in October
Mount Logan, Kataka, and Scott Gomer Creek
Mount Bierstadt from Geneva Ridge
Check it out – on a good day, Geneva Mountain is a SOTA Classic!
KX0R
George Carey Fuller
!! WARNING !! There are old mountaineers, and
bold mountaineers… there are no old-bold mountaineers.
Hiking and mountain climbing are potentially hazardous activities particularly in Colorado with its extreme elevations. I am not accepting responsibility for any death or injury resulting from activations based on my trip reports. Proper training, experience, and personal capability assessment is required – enjoy!
To climb Saint Vrain Mountain, first drive along the Peak to Peak Highway 7 to the town of Allenspark. Turn south at the big hilltop, drive south a couple of blocks past some houses, and find dirt road USFS 107. Follow 107 about 1.5 miles south up the valley of Rock Creek. At about 8700 feet the road splits – take the right fork, USFS 116.1, uphill about 1/2 mile to about 9000 feet, where the road dead-ends at the trailhead. There is very limited parking, and access is free, so get up there early!
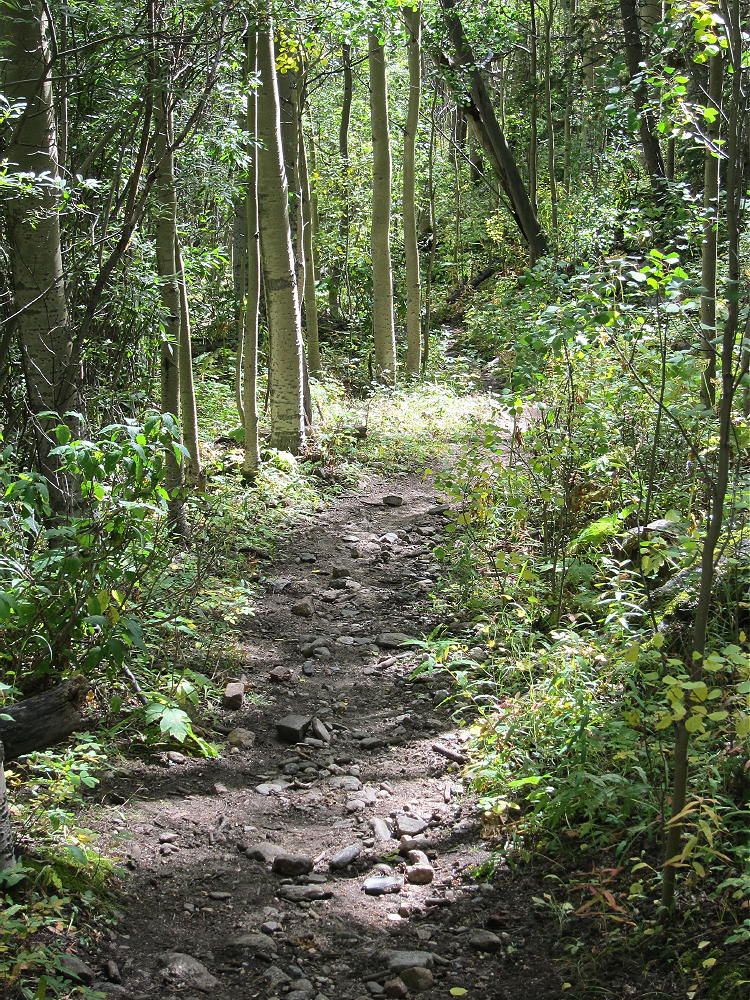
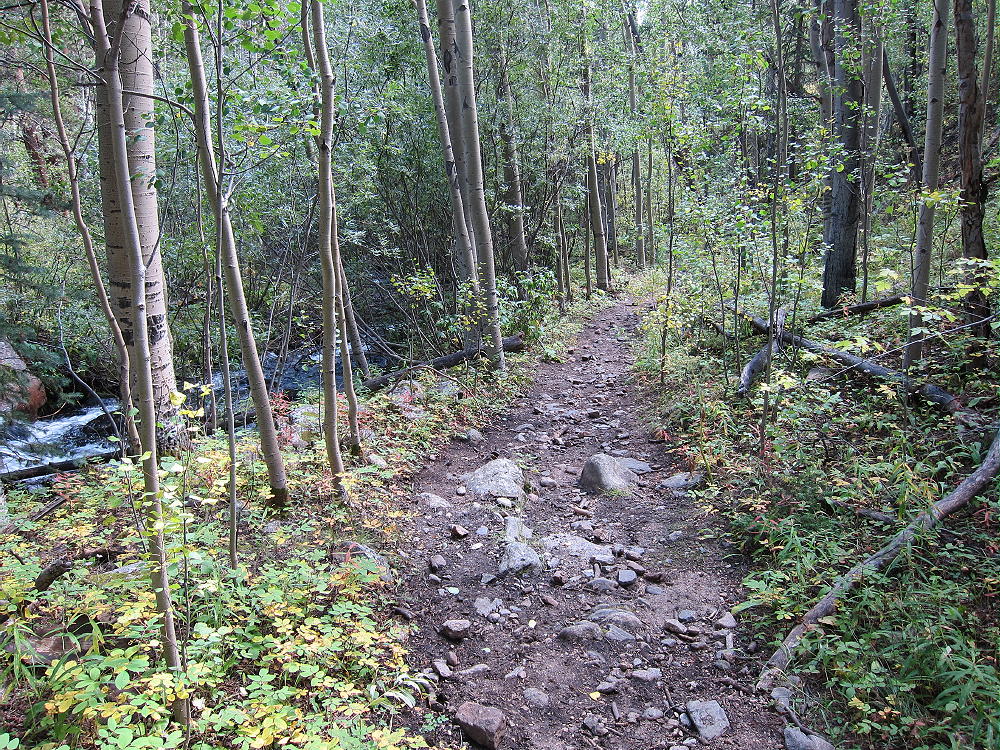
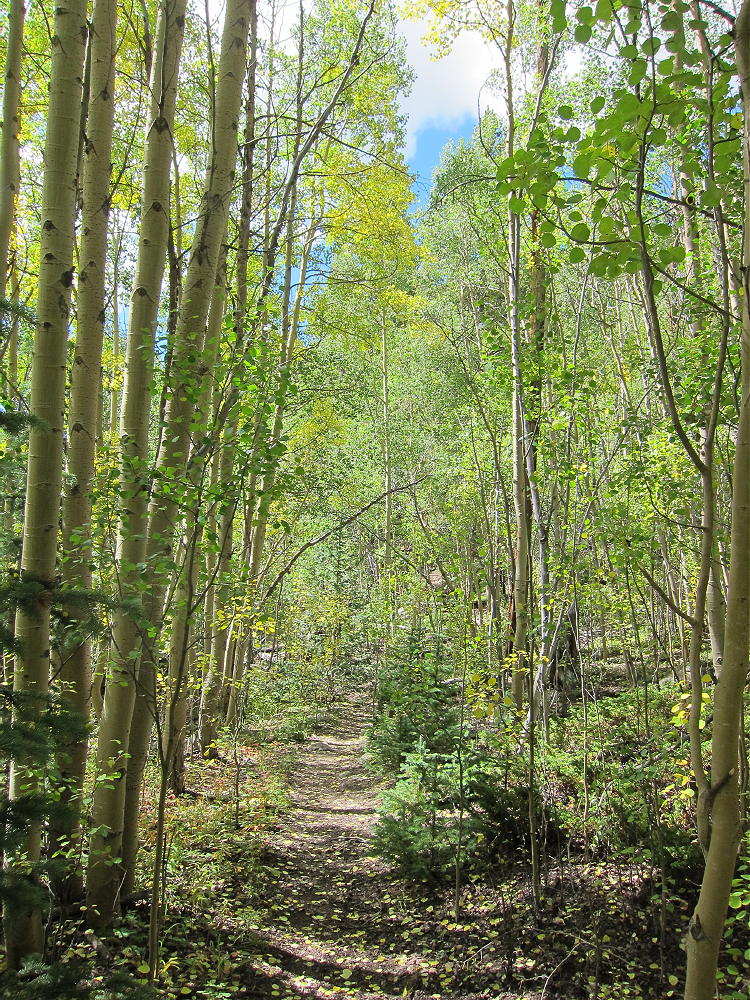
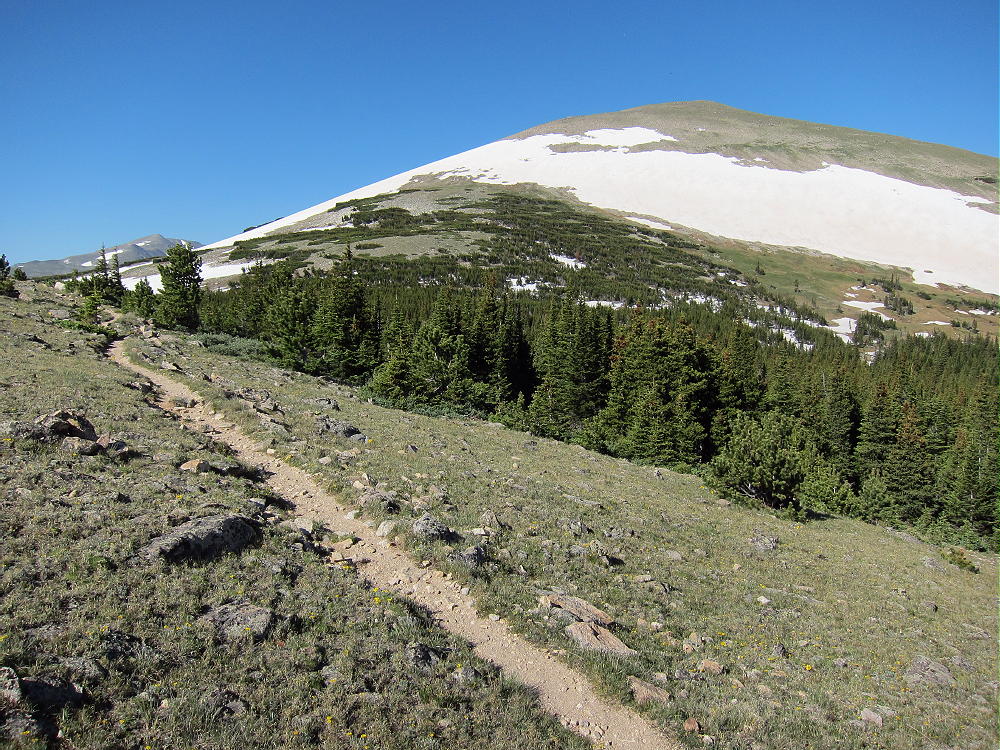
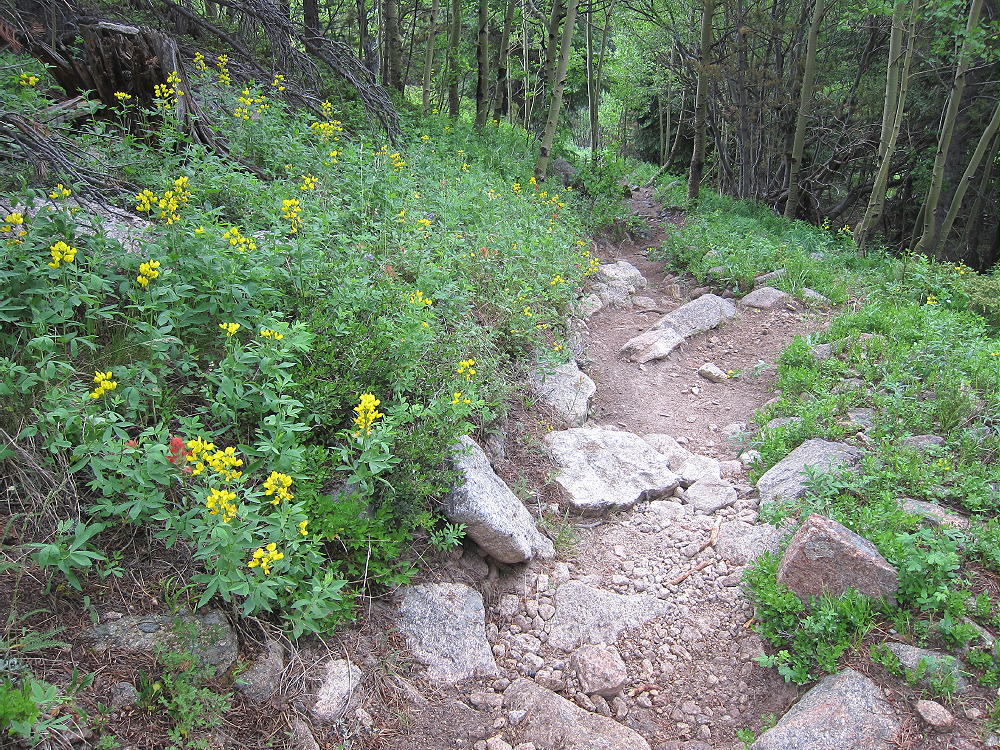
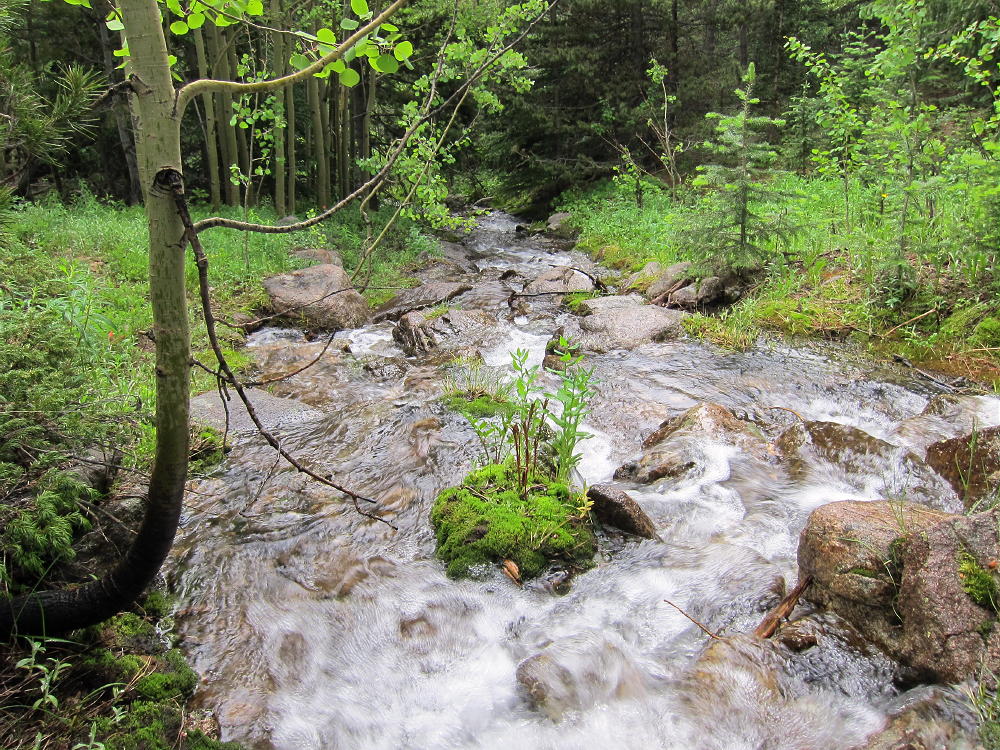
The beautiful trail climbs steeply up through the forest through aspen groves along a pretty creek.
Saint Vrain Mountain Trail
Saint Vrain Trail Creek
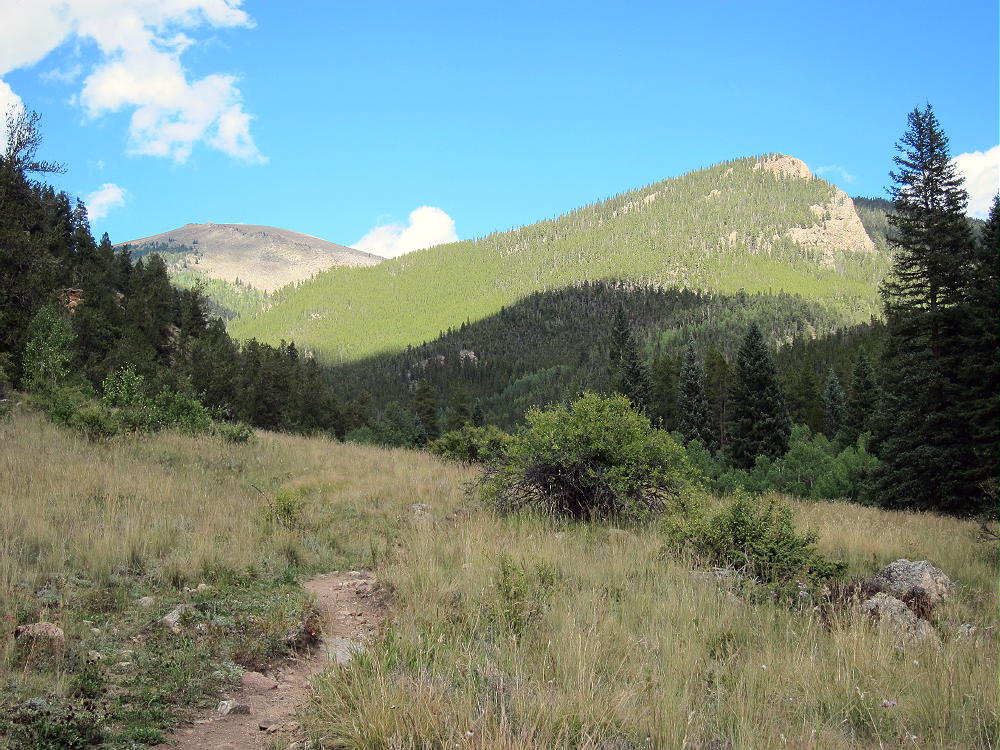
After about 3 miles the trail reaches a scenic alpine saddle just south of Meadow Mountain at 11,200 feet. Follow the trail south about a half mile through the sub-alpine forest and across the tundra to a point just east of Saint Vrain Mountain. Leave the trail and climb 800 vertical feet up the moderate east side of Saint Vrain. Depending on the season, this will either be snow fields or grassy slopes and rock. The route follows the marked National Park boundary.
Saint Vrain Trail near Saddle
Saint Vrain Mountain
Saint Vrain Mountain with Hikers on the Snow
The hike is 4.4 miles and about 3200 vertical feet from the trail-head to the summit. Views from the peak are spectacular in all directions, and many SOTA Peaks are visible.
Mount Audubon and Divide from Saint Vrain Mountain
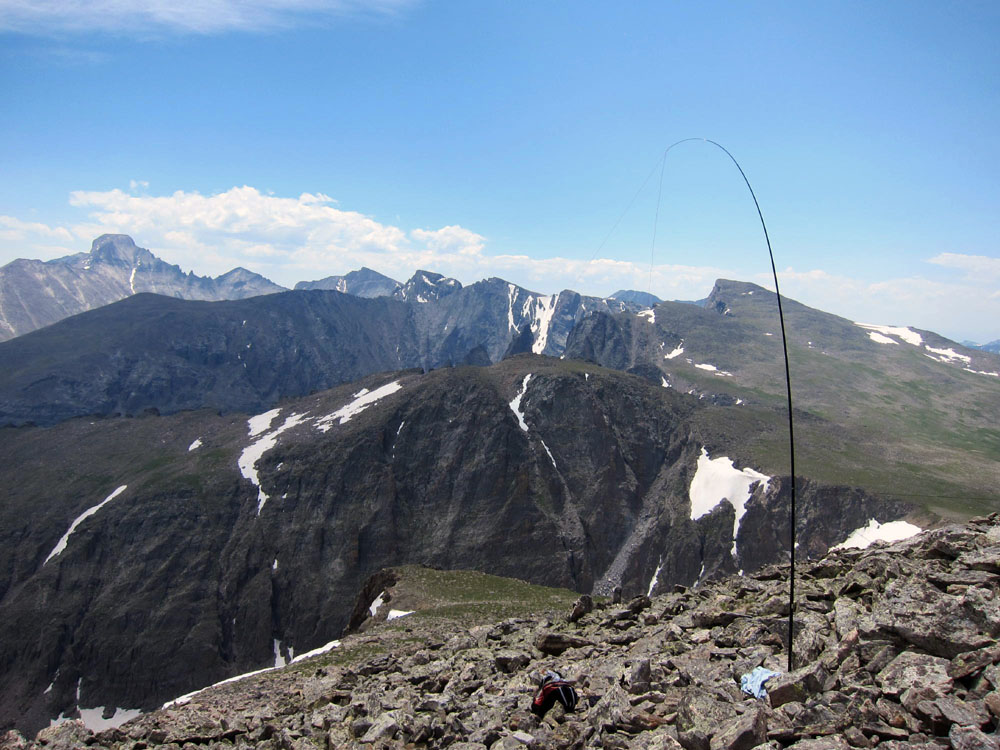
Wild Basin and Longs Peak from Saint Vrain Mountain
The rocky summit has plenty of room to share with other visitors. It may be better to set up just below the peak to escape people or wind. Saint Vrain is an excellent radio site for HF and VHF/UHF – it is east of the Divide, and it has a wide view across the Eastern Plains, as well as the east side of the Front Range.
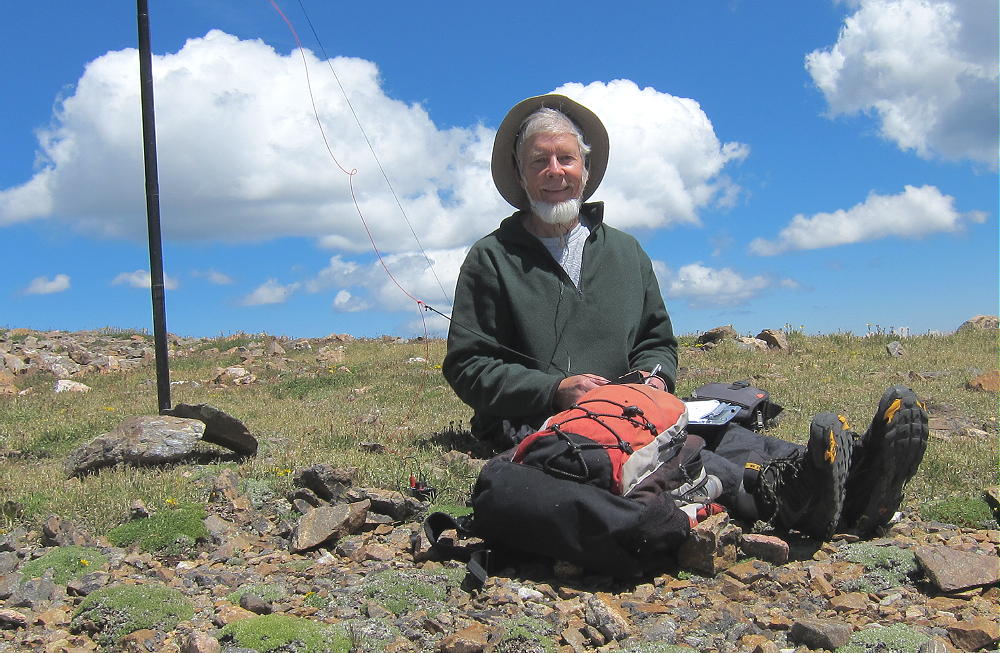
KX0R Saint Vrain First Activation with Dipole
KX0R First Activation of Saint Vrain with Dipole East
KX0R Second Activation of Saint Vrain
The region around Saint Vrain Mountain forms many thunderstorms in summer. Small cumulus clouds can turn into dark-bottomed monsters in a short time. Get an early start, and don’t push your luck.
George Carey Fuller
KX0R
Chiefs Head, Pagoda, Longs Peak, and Mount Meeker
Mount Audubon and Paiute Peak from Saint Vrain
Copeland Mountain from Saint Vrain Mountain
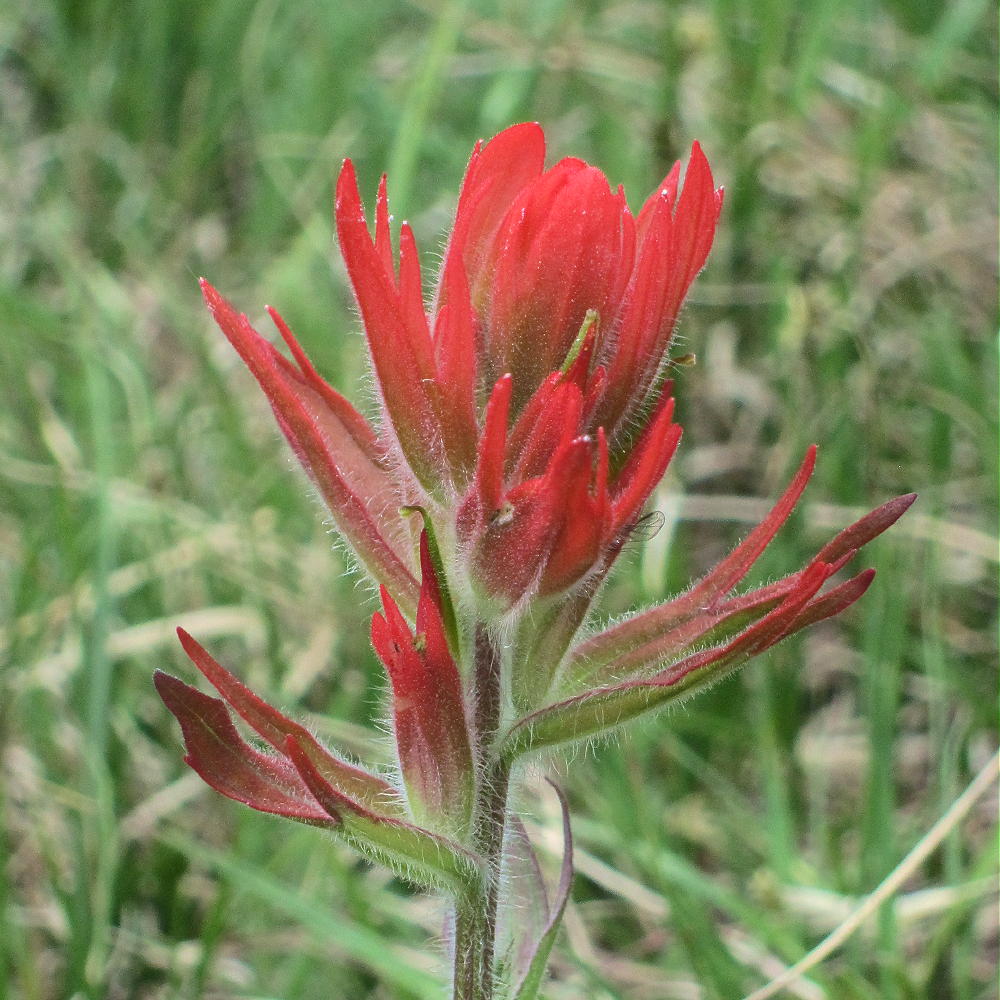
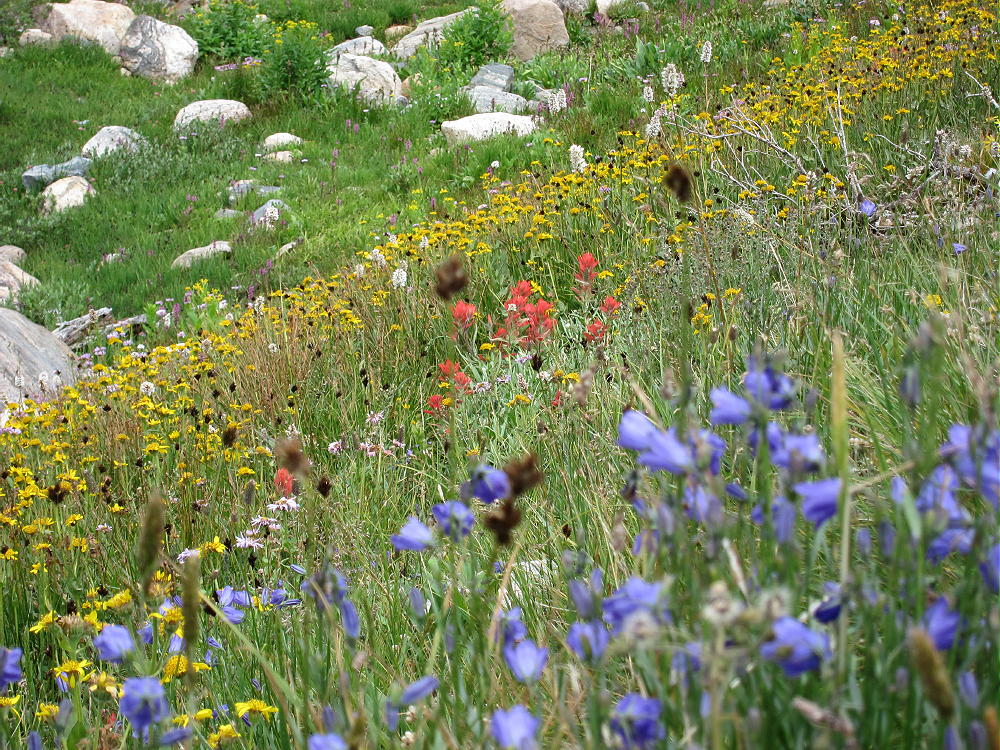
Paintbrush Garden on Saint Vrain Trail
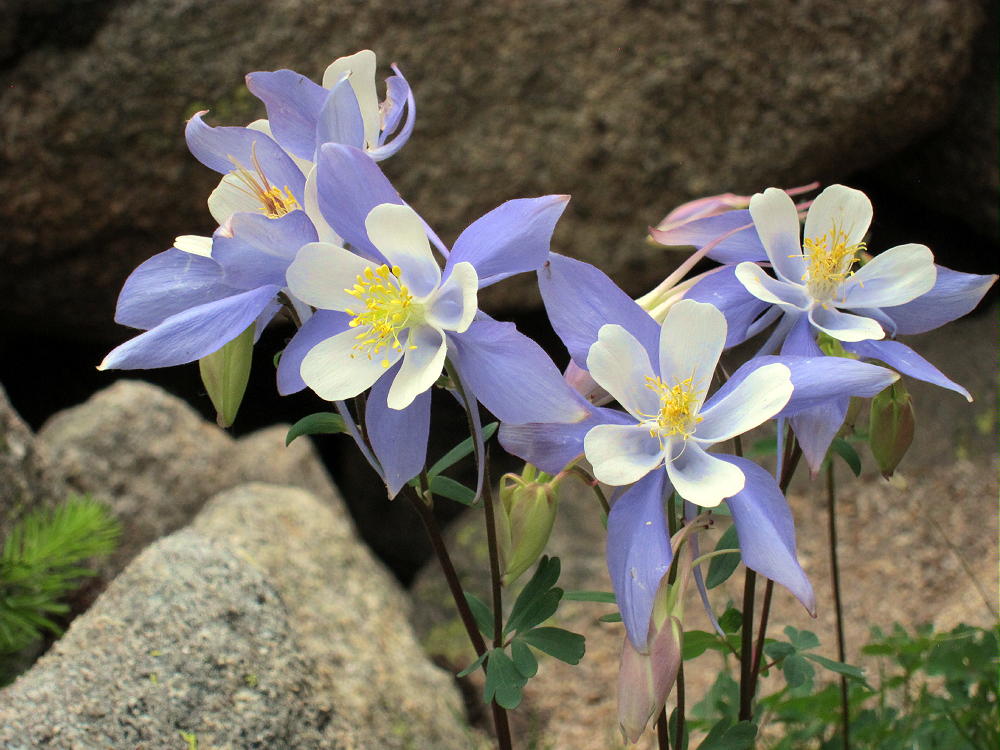
Columbines along Saint Vrain Trail
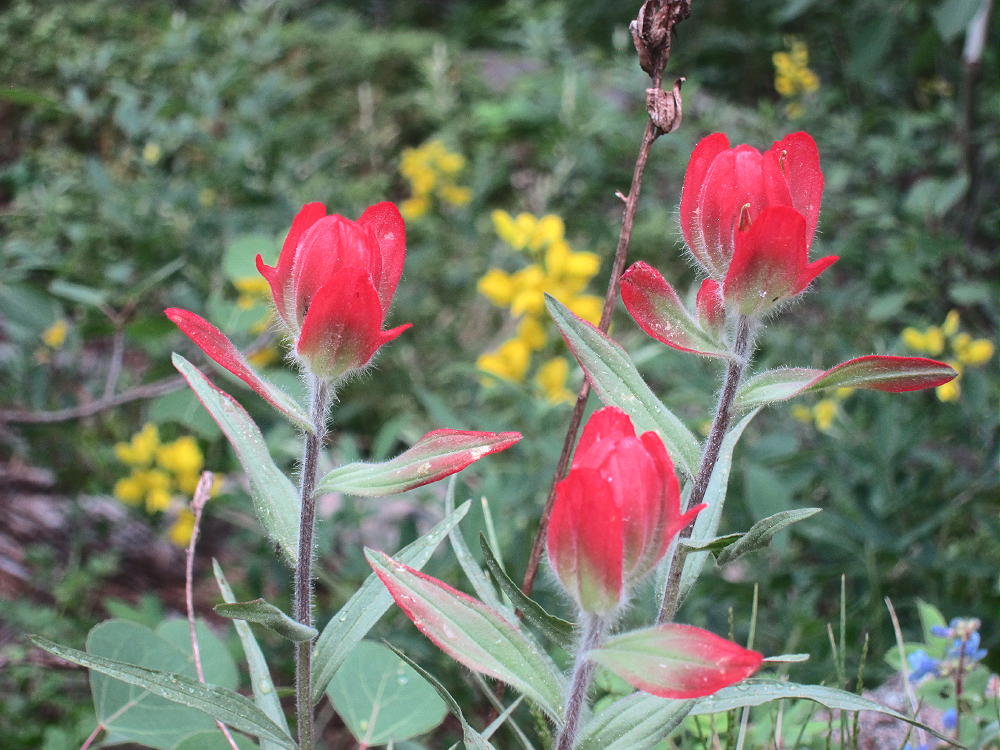
Indian Paintbrush on Saint Vrain
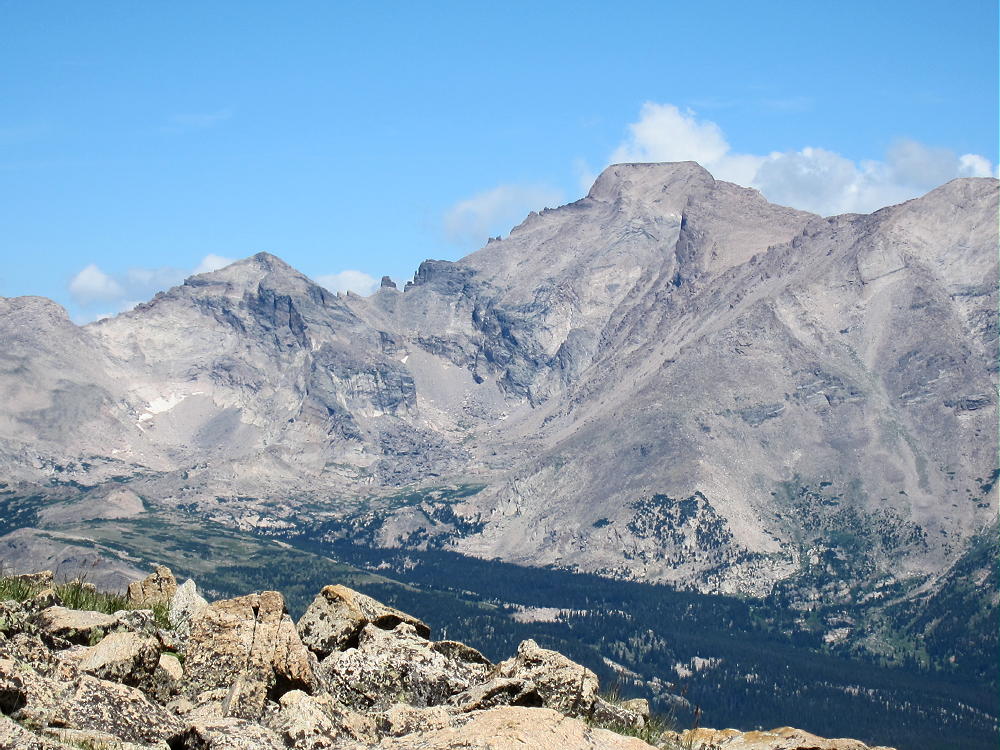
Longs Peak from Saint Vrain
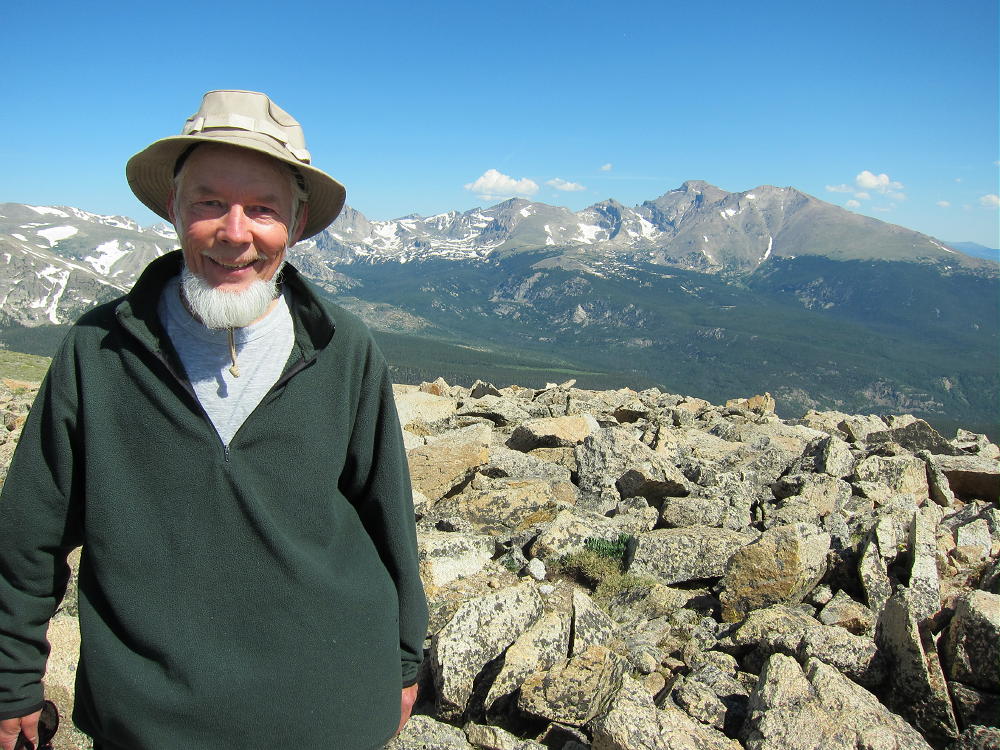
KX0R on Saint Vrain Mountain
!! WARNING !! There are old mountaineers, and
bold mountaineers… there are no old-bold mountaineers.
Hiking and mountain climbing are potentially hazardous activities particularly in Colorado with its extreme elevations. I am not accepting responsibility for any death or injury resulting from activations based on my trip reports. Proper training, experience, and personal capability assessment is required – enjoy!
W0C/SR-035
Mount Flora
3999 m / 13146 ft
August 29, 2013 First Activation
July 5, 2014 Second Activation
By KX0R
Mount Flora is a classic SOTA peak on the Continental Divide west of Denver. This summit is relatively easy to climb via the Continental Divide Trail (CDT) from the trail-head at 11,300 foot Berthoud Pass. To reach Berthoud Pass, drive west of Denver on I-70 and exit northwest toward Winter Park on Route 40. Park on the east side of the highway at the Pass; there are facilities there.
Follow the signs for the CDT. The trail starts up a gated dirt road behind the parking area on the east side of the Pass. The road leads up to a microwave facility on the Divide. Part way up to the facility, at a sharp switchback at about 11,700 feet, the CDT heads north off the dirt road at a signed junction. Leave the road and follow the CDT up across the tundra meadows to the Divide. This is a good, efficient trail. Do not continue up the road to the microwave facility on Colorado Mines Peak.
Note that Google Maps show only the route going up to Colorado Mines Peak and then along the Divide. The new trail is not shown on Google Maps, but this trail is shown clearly on the Google satellite images when zoomed in. From where the trail reaches the Divide at about 12,150 feet, the route climbs progressively northeast for about 1-1/2 miles to Mount Flora. This section of the Divide is pleasant and easy to hike in good weather. There are spectacular views in all directions; Ethel Lake enhances the scene below the steep east side of Flora.
CDT Route along Divide South of Flora
CDT Route toward Mount Flora
Mount Flora North Summit with Parry Behind
The trail is about 3.5 miles one way from Berthoud Pass to Mount Flora, with a vertical gain of about 1800 feet.
Mount Flora has two summits about 1000 feet apart horizontally. On the Google satellite image from the SOTA summits page for Mount Flora, the SOTA summit is shown by a red balloon marker on the NORTHERN summit; however, Google Maps shows the SOUTHERN summit as the peak! The USGS Empire quadrangle also shows the southern summit as the peak. There is a cairn near, but not on, the southern summit – this cairn is probably a trail marker.
Mount Flora North Summit to South Summit
When I first climbed Flora, I pondered which summit was the real summit. The summits look about the same height, and they’re too far apart to judge by eye. Even though the northern summit requires a few extra minutes of hiking, I decided to go there. My GPS was running the whole time, and I checked the altitudes of both bumps on the mountain. On the first pass it appeared that the northern summit is a few feet higher, so I activated that point. GPS is not very accurate for altitude, but my GPS has a barometric altimeter that effectively integrates the altitude data over several minutes. Now I have been up to Flora twice with the GPS, with four trips from one summit to the other, and my GPS data indicates:
1) The northern summit of Flora is the real summit.
2) The difference in height is only about 10 feet
3) The minimum point on the saddle between the summits is within the Activation Zone by about 10 feet
4) Both summits are in the very large Activation Zone
Therefore – it does not matter which summit you activate for SOTA!
Each summit appears higher than the other when viewed from the other.
The northern summit sees fewer visitors than the southern summit, which most visitors believe is the real summit. The northern summit is more private and has a spectacular view down to Ethel Lake. There is a pile of rocks on the summit that provides some shelter from the west wind, and there is a convenient spot to set up just below the rock pile, close to the cliff above the cirque, but wide enough to be safe. I guyed my pole to the rocks and suspended my wire above the cliff edge to the north.
Mount Flora First Activation
Mount Flora First Activation Gear
Mount Flora Second Activation 67′ Wire
Mount Flora Second Activation Gear
Mount Flora Activation Site on Divide
Mount Flora Activation Site High above Ethel Lake
This is a fine radio site for HF as well as VHF/UHF. It’s a SOTA Classic!
If you decide to climb Mount Flora, be sure to check the weather forecast and get an early start. The Divide is where thunder storms form, and Mount Flora is the highest point for several miles.
George Carey Fuller
KX0R
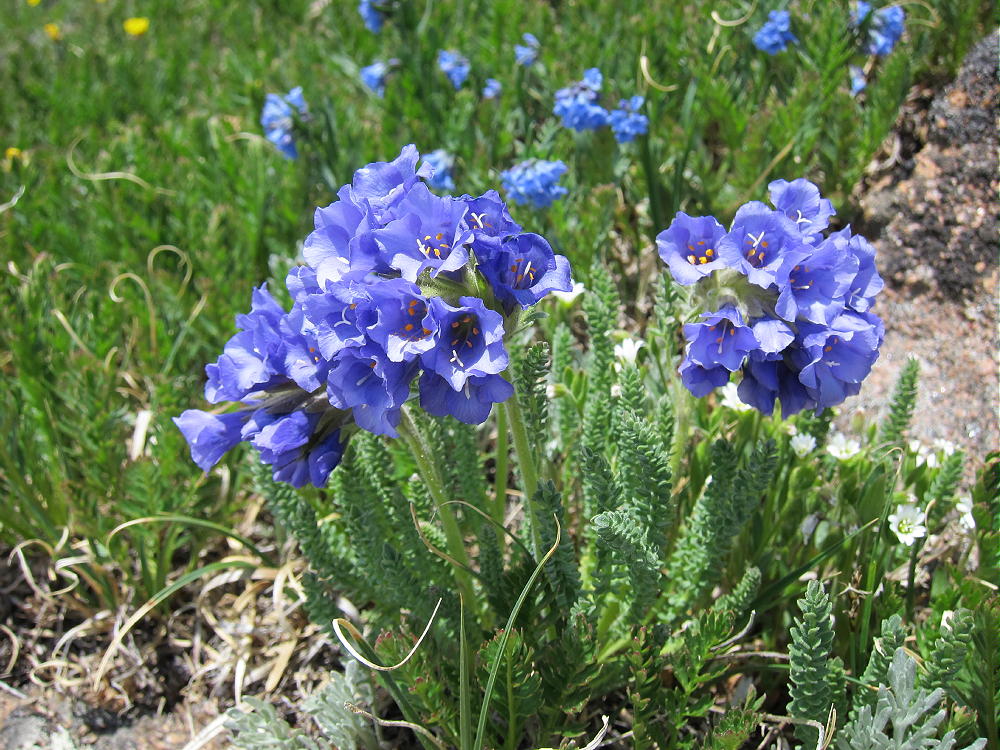
Sky Pilots on Flora
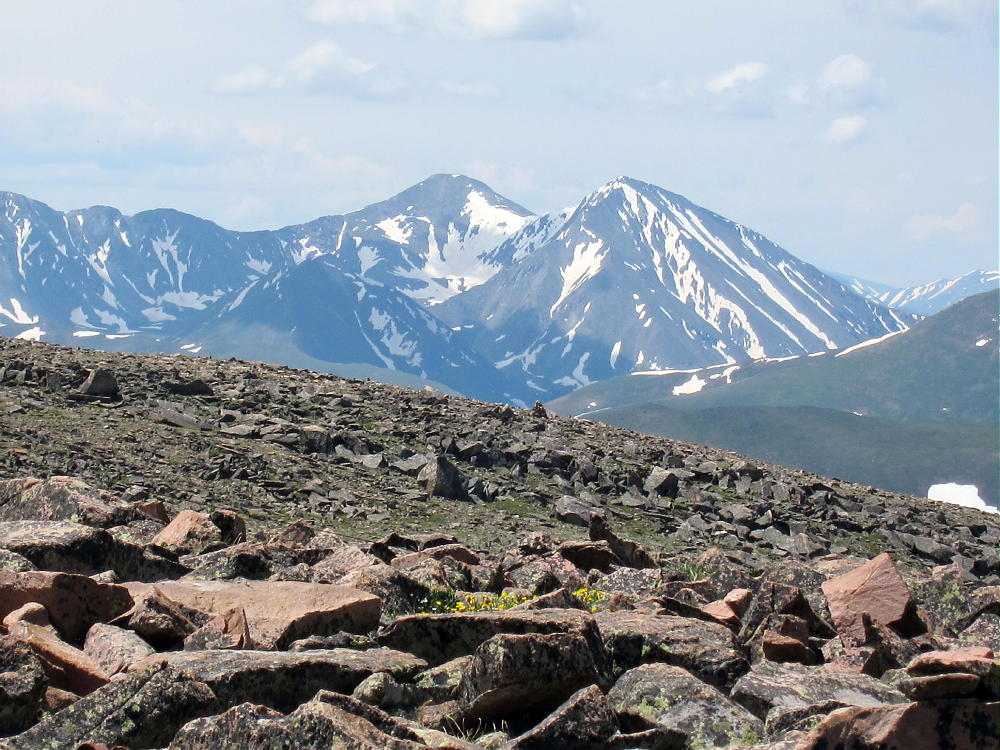
Gray and Torreys from near Mount Flora
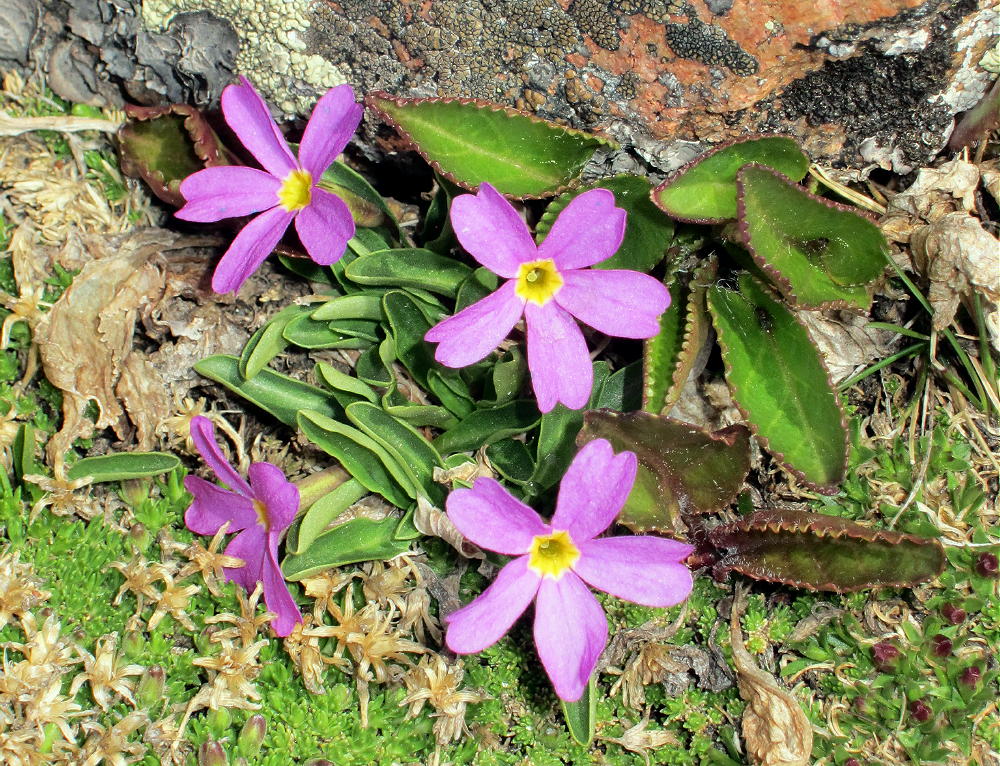
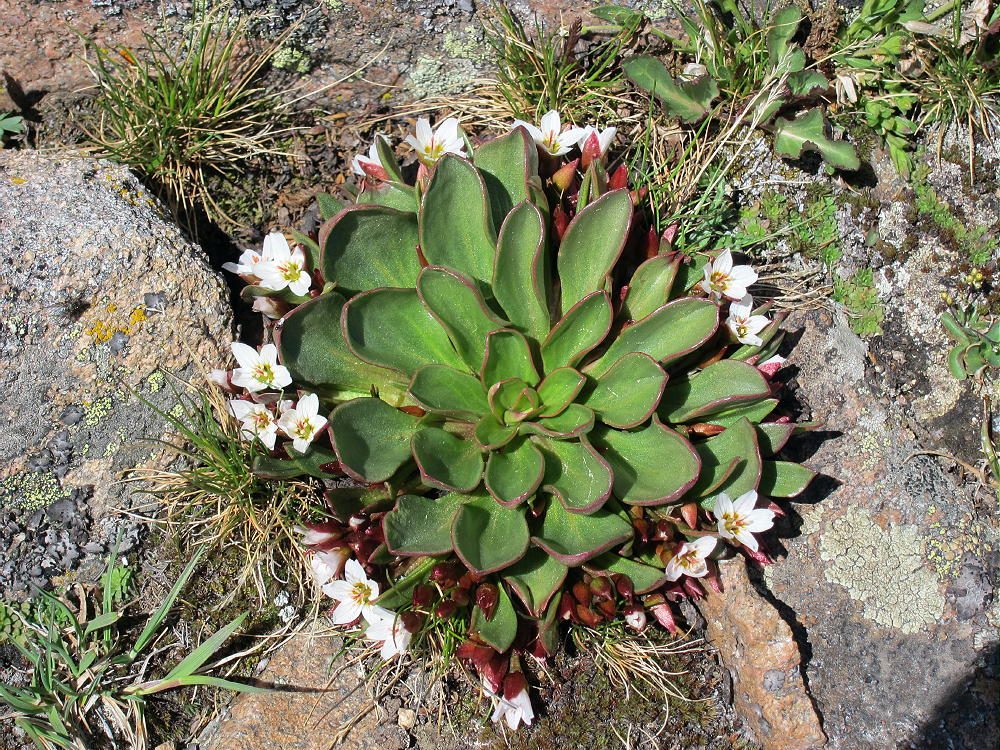
Alpine Primrose on Flora
Mount Flora View North
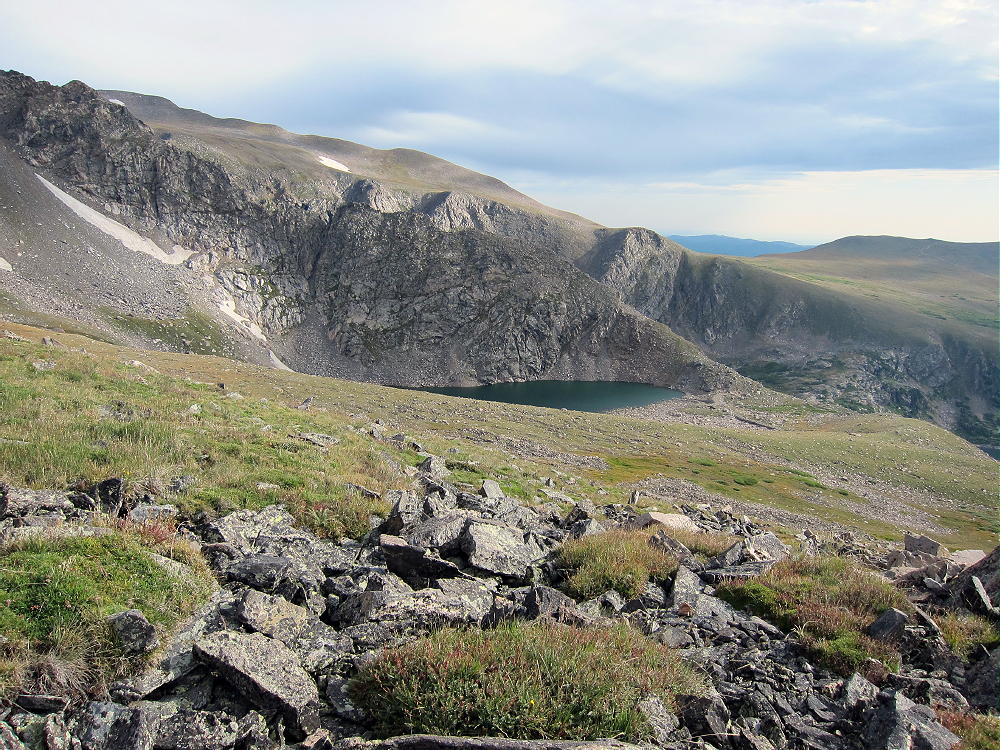
Mount Flora Cirque and Ethel Lake Looking East
Mount Flora View Southwest along Divide
Alpine Sunflowers on Mount Flora
Alpine Spring Beauties on Mount Flora
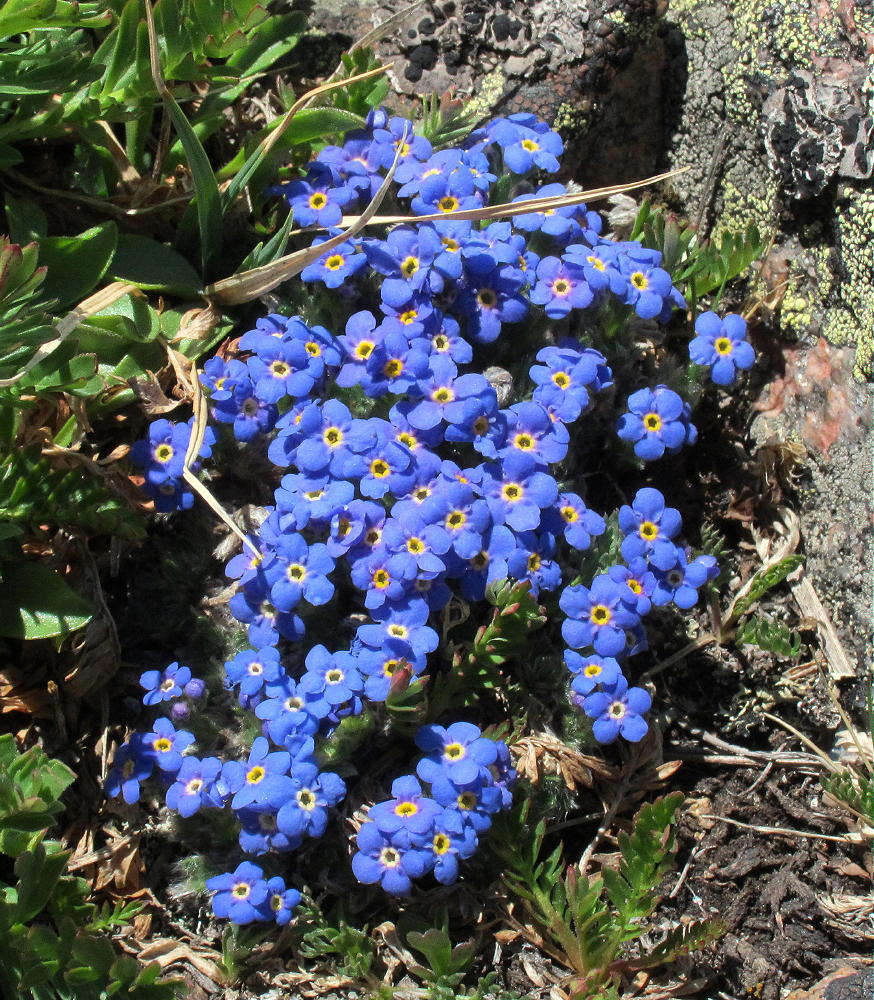
Alpine Forget-Me-Nots on Mount Flora
!! WARNING !! There are old mountaineers, and
bold mountaineers… there are no old-bold mountaineers.
Hiking and mountain climbing are potentially hazardous activities particularly in Colorado with its extreme elevations. I am not accepting responsibility for any death or injury resulting from activations based on my trip reports. Proper training, experience, and personal capability assessment is required – enjoy!
W0C/SR-029
Parry Peak
4074 m / 13391 ft
August 24, 2013 First Activation
August 02, 2014 Second Activation
By KX0R
Parry Peak is a classic alpine SOTA peak on the Continental Divide, west of Boulder and east of Winter Park. Climbing Parry requires a serious commitment and a good day. No regular roads are close to the summit, all the routes are long, and there is significant vertical gain. Since large parts of the route are not on marked trails, a good topo map and off-trail experience are critical. The thin air at 4000 meters increases the challenge and the risks.
Parry Peak from James Peak
My first ascent of Parry included a hike starting just west of the old mining town of Alice. To get to Alice, drive up the Fall River Road 275 north of I-70. At Alice, turn left on Alice Road and follow it about a mile to Steuart Road – this is the Loch Lomand 4WD Road. Most cars can go about ¼ mile, but the rough road requires a high clearance vehicle after that. Park near Alice at about 10,400 feet if you have a regular car. Follow the road to Loch Lomond, a large reservoir near treeline at 11,200 feet.
Find a closed road leading SW from Loch Lomond, and hike up past Lake Caroline to about 12,000 feet.
Lake Caroline from Ascent up Bancroft to Parry
Climb northwest up a long moderate ridge leading to Mount Bancroft. This ridge is grassy and nice for a while, and then it gets steeper and rockier near the top. Climb Bancroft or contour west to the Bancroft-Parry ridge; it an easy mile along the Divide from the Bancroft summit to Parry Peak. From near Alice to Parry Peak is about 4.5 miles one way, with about 3000 vertical feet of ascent.
Rose on Ridge Looking West to Parry
See the report on James Peak W0C/SR-031 or a description of how to combine an ascent of James with Parry. That route requires climbing James and then descending south along the Divide via the deep saddle between James and Bancroft. The Bancroft – Parry ridge completes the connection along the Divide.
Bancroft and Parry from James Peak
Ice Lake and Bancroft-James Saddle – Parry behind Lake
James Peak and Route on Divide from Bancroft
James – Bancroft – Parry Ridge from Parry Summit
The broad summit of Parry has a large activation zone, and there is a convenient rock shelter with some protection from wind. Few people visit Parry, and it’s an ideal radio site. A pole is required for an HF activation. There are fine views all around, and it’s a pleasant summit – as long as the weather is nice.
KX0R First Activation of Parry Peak
SOTA Activation Gear KX0R
KX0R Second Activation of Parry Peak
My second activation of Parry was a dual activation after climbing James. My daughter Rose accompanied me on this long, strong hike. We had good weather and enjoyed Parry. We descended Parry via the Bancroft to Loch Lomond route described above; then we hiked back up across the tundra and over Kingston Peak for almost three miles to our vehicle east of James. The total distance around the loop that day was 11.1 miles, and the total vertical ascent was about 3600 feet.
It’s possible to climb Parry from Berthoud Pass (US 40) via the Continental Divide Trail (CDT). This spectacular 5-mile (one way, approx) route leads over Mount Flora, W0C/SR-035, 3999M, 13146 ft, also on the Continental Divide. On a good, dry day it might be possible to activate both summits. The entire route is high and exposed – there is little shelter. The route starting at Berthoud Pass is less difficult than the routes from the east, but good weather is critical up on the Divide.
Parry Peak is a SOTA Classic any way you do it!
George Carey Fuller
KX0R
Flowers near Loch Lomand
James from Bancroft
KX0R Activating Parry 8-2-2014
!! WARNING !! There are old mountaineers, and
bold mountaineers… there are no old-bold mountaineers.
Hiking and mountain climbing are potentially hazardous activities particularly in Colorado with its extreme elevations. I am not accepting responsibility for any death or injury resulting from activations based on my trip reports. Proper training, experience, and personal capability assessment is required – enjoy!
For activating summits without trees, we usually need to bring a support for an HF antenna. The most common tool is a collapsible fiberglass pole. There are many types of poles available, and they have their pros and cons.
Black Widow Pole Guyed on Hallett Peak
1) Tall, strong poles are available, but they are heavy and impractical in high winds
2) Inexpensive large fishing poles and banner poles are practical, but they are long when collapsed and may be awkward to carry in difficult terrain
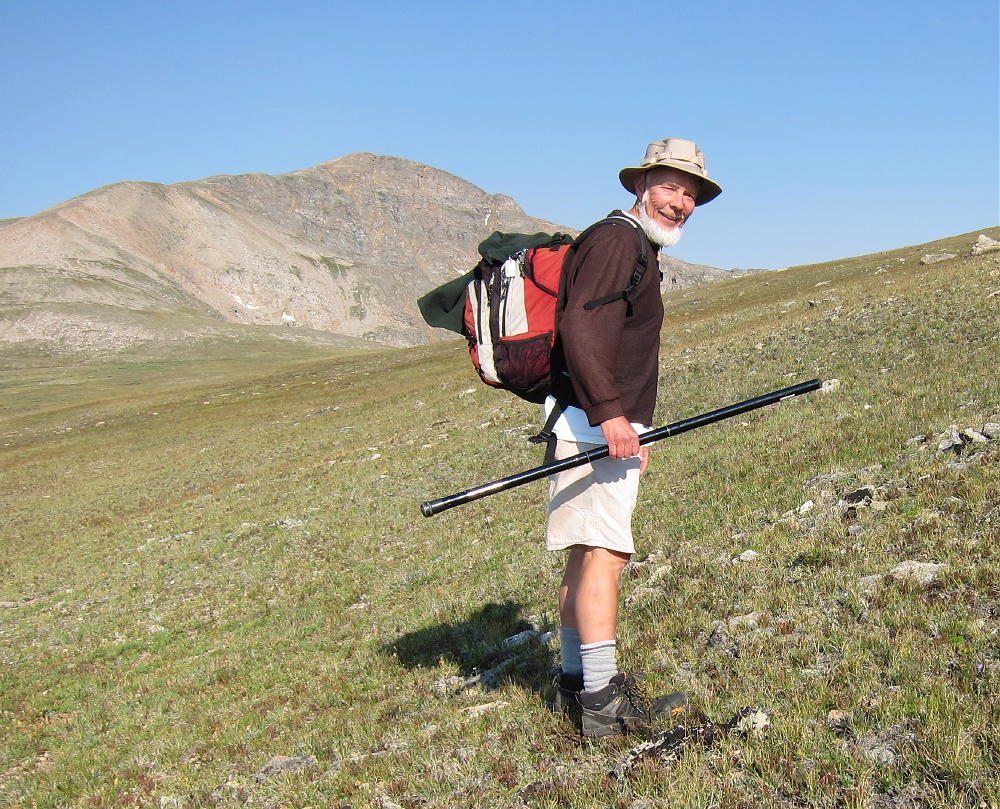
KX0R Hiking up James Peak
3) Carbon-fiber (graphite) poles are shorter when collapsed and easy to carry in rough country; but they are expensive and easily damaged, and they work best with very thin wire
There are many ways to support an antenna pole. The tips here will work on most high summits.
My simple guying “system” started when I did summits like Green Mountain south of
Golden, and various high alpine peaks, where there may not be big rocks to lean a pole against. Small ropes don’t hold the slick pole well, unless they’re at a
right angle to the pole…which is not always possible.
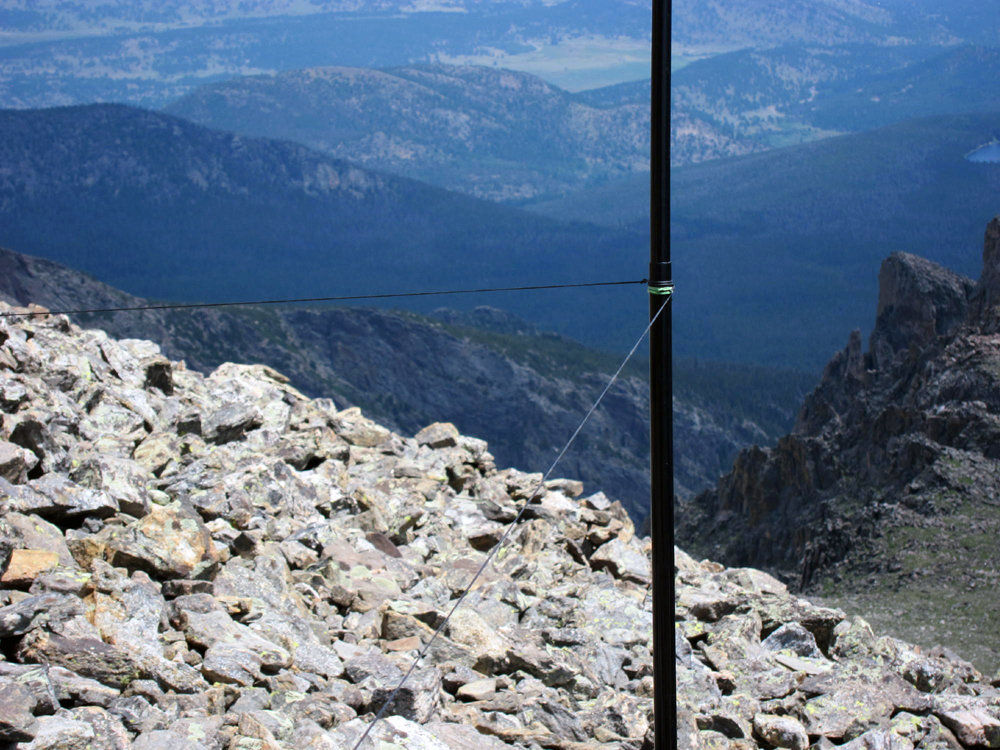
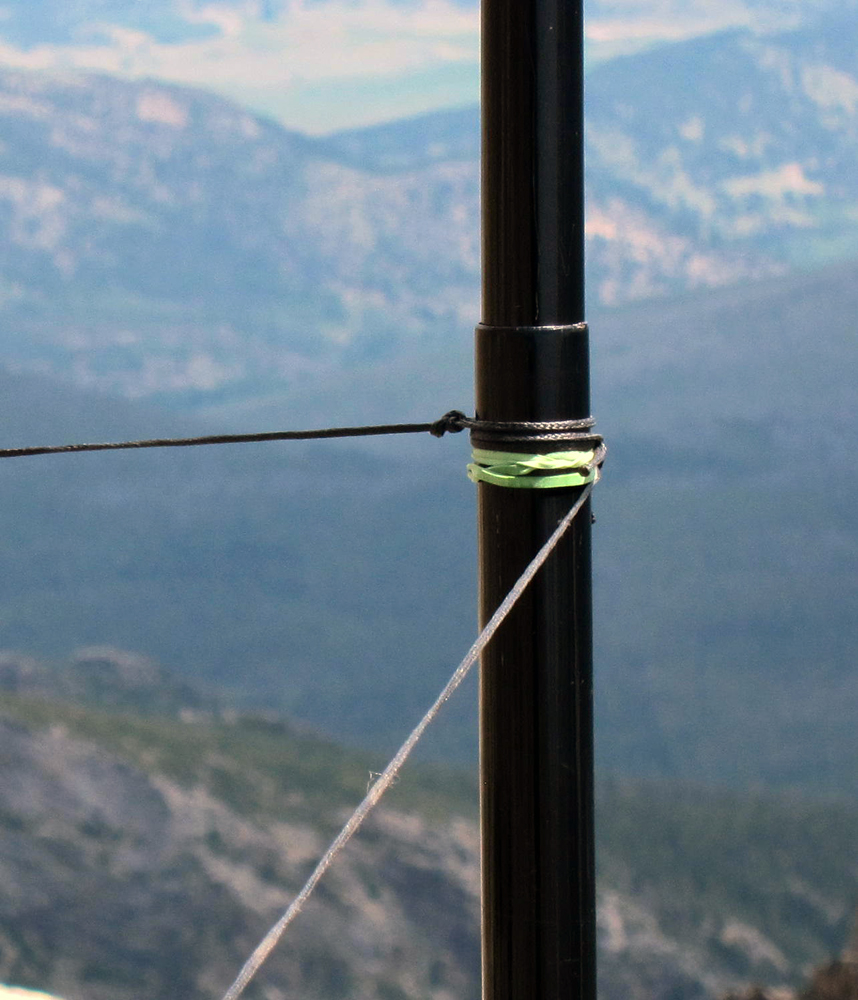
A tight rubber band or two are put on below the first or second pole joint, so that the lines can hold the pole, even when they come down at an acute angle to the pole.
Each time I try this set-up I learn a little more.
Closeup – 1
Closeup – 2
It is essential that the bottom of the pole be in a hole, or surrounded by
rocks, so that it cannot flip up when the pole is under stress from wind and
the wire. The wire at the top tries to pull the bottom of the pole up. The
two guy lines are the fulcrum of a lever – the top of the pole tries to
pivot around the attachment point and flip up at the bottom, if the tension on the top
of the pole is high.
Make sure the bottom of the pole is sufficiently secure. It must be in a depression, or confined by rocks. The tension on the pole must not be excessive.
The beautiful part is that when the pole is up, it can be taken down in
seconds just by lifting it a couple of inches, so the bottom comes up,
rotating the entire pole around the fixed point where the two guy ropes are
tied, and then laying it on the ground. The top lies in the direction of
the far end of the wire.
Now here’s the real secret: If the pole can be taken down in seconds, it
can be raised in seconds just the same way. Here’s how to set it up:
1) The guy ropes are located first. A good spot for the bottom of the pole
is chosen, and rocks for tying the guy ropes are selected.
2) The collapsed pole is placed sideways, the rubber bands are put on below the first or second joint, and the two guy lines are tied on. The attachment point for the lines is located above the spot where the pole bottom will be.
3) The lines are pre-adjusted so they will be tight at the right spot
horizontally when the pole is raised; it is possible to get them almost right.
4) The pole is extended horizontally. The antenna wire is attached to the tip of the pole. It helps if the top of the pole points away from the guy lines – so the wire
lies on the ground, below where it will eventually fly.
5) If the antenna wire has a loop tied at the apex point, there’s no
fooling with the length.
6) If the wire is going to slide freely through the top of the pole, the
bottom if the wire (the feedpoint) needs to be tied to something so it
doesn’t fly up into the air when the pole is raised. If the wire is fixed
to the top of the pole, which I usually do, it can be tied off later.
7) The pole is raised, and the bottom is fixed in place so it won’t move
around or flip out.
8) While holding the pole up, I grab the far end of the wire, put some
tension on the pole – it curves – and let go of it while I walk away,
keeping it curving under tension from the wire.
9) I walk to the end of the wire, which has about 50 feet of small line
attached, and continue out until I come to something to
tie to. Once the line is tied off, the system is usually stable.
10) Minor changes are made with the pole up. The guys can be adjusted,
the bottom of the pole can be shifted, or the direction of the wire can be adjusted somewhat.
11) Just by lifting the base of the pole, the pole can be tipped over toward the far end of the wire, with the guys acting as a fulcrum, and the wire will drop. A link in the wire can be connected or opened, and then the system can be raised back to normal height in seconds.
12) My 33 foot wire is really easy to get up, since about half of it is
vertical. There’s not much wire and line lying around to get caught in the
rocks. It’s fast and easy.
13) A 67 foot wire with the long dacron line is more tricky – it gets caught
on rocks, trees, or bushes, so stringing it out can take a few tries,
and it covers much more space on the mountain. The higher the far end the
better – often I use standing trees, dead tree trunks as poles, or large rocks to raise the far end. I have used a 6-foot fishing pole for a far-end support. I have run the wire up at a high angle with good results, or down the slope with OK results. Small wire is preferred, because it flies higher without bending the pole too much.
14) I use small spools for the wire. A variety of options are available.
15) Twisted wire can be prevented by winding the wire onto the spool in an alternating manner – 10 turns one way, 10 turns the other way, etc. Wire must not be unspoiled off the end of the spool, unless it was originally wound onto the spool in the reverse manner. Twisted wire causes kinks, and kinks are not acceptable.
16) Sometimes an antenna pole can be just wedged in the rocks, but a gust of wind
can take it down. A guyed system is more robust.
17) On summits with trees, I usually tie the pole to a limb. A tree several feet high is often enough to support the system. If the base of the pole is secured by a rock or a branch, just one quick tie about 4 feet up will hold it. Otherwise use two well-spaced ties to the tree. If winds are strong, guys may be needed even with a tree or rock support.
73
KX0R
!! WARNING !! There are old mountaineers, and
bold mountaineers… there are no old-bold mountaineers.
Hiking and mountain climbing are potentially hazardous activities particularly in Colorado with its extreme elevations. I am not accepting responsibility for any death or injury resulting from activations based on my trip reports. Proper training, experience, and personal capability assessment is required – enjoy!
W0C/SR-031 (James Peak)
4044 m / 13294 ft
First Activation
August 15, 2013
Second Activation
August 02, 2014
By KX0R
James Peak is a prominent SOTA peak on the Continental Divide west of Boulder. There are several popular routes up to the summit. No regular roads are close to the summit, and all the trails require significant effort.
Bancroft, Parry and James from Dakota Hill 6-1-2014
James from Dakota Hill 9-19-2013
The primary trail up the east side of James starts near Saint Mary’s Glacier above Alice. To get to Alice, take the Fall River Road 275 north of I-70 – this paved road begins about 2 miles west of Idaho Spings, north off I-70, at mile 238.
Another way to start the hike is via the Rollins Pass road west of Rollinsville. Just west of Tolland, Mammoth Gulch Road 4-N heads steeply up southwest, and one fork eventually climbs the long northeast ridge of James. At the first road divide, take the east fork – don’t go into Mammouth Gulch. In a 4WD vehicle it is possible to drive up this rough road to about 11,400 feet, within about 3 miles of the summit.
Note that Google Maps does not show this jeep road accurately – use the satellite image. Take a good topo map up this mountain! Hike either on the road or across the vast tundra, and continue up the east ridge of James. Eventually this route meets the trail up from Saint Mary’s Glacier. Continue up the gentle southeast side of James, up a few switchbacks, and climb to the pleasant peak.
James Peak East Slopes
KX0R Hiking up James Peak
Rose Fuller on East Slopes of James
The alpine summit has enough room to activate east of the summit if there are other visitors. The views are fine in all directions, and this is an almost perfect radio site for UHF, VHF, and HF.
KX0R First Activation of James Peak
View North along Divide from James
East Side of James Peak and Mammoth Gulch
KX0R Dipole on James Peak Summit
It is possible to combine James with Parry Peak for a rugged dual activation. Hike south from James along the Continental Divide Trail (CDT), descend the deep, rocky saddle to 12,600 feet west of Ice Lake, and climb up the moderately steep north ridge of Mount Bancroft. Hike west along the ridge about a mile and ascend up to Parry Peak. See the report on Parry Peak for the rest of the story.
Bancroft and Parry from James Peak
Ice Lake, Rose, Bancroft-James Saddle, and Parry Peak Behind
Mount Bancroft from James Peak
There is a long but interesting route up James from the Moffat Tunnel access to the James Peak Wilderness. Hike about 5 miles up to Rogers Pass Lake. Climb up past Heart Lake, and then hike up the switch-backed trail to Rogers Pass. Continue south along the Divide (CDT) about 1-1/2 miles, and up the broad north side of James to the top. This scenic route requires time and effort, but it goes through some of the best scenery in the area, and an ordinary car can drive to the trailhead at the East Portal of the Moffat Tunnel.
It is also possible to drive over Berthoud Pass to Winter Park, then up a dirt road, FR-128 and FR-149, route 80, up toward the west side of Corona Pass/Rollins Pass, and then climb James via the Rogers Pass jeep road and the CDT along the Divide. A 4WD high-clearance vehicle is required to drive up to Rogers Pass – otherwise hike up the 4WD road from the Corona Pass road.
James Peak is a classic alpine SOTA peak during the summer and early fall. Get an early start, travel light, and enjoy SOTA at altitude!
George Carey Fuller
KX0R
!! WARNING !! There are old mountaineers, and
bold mountaineers… there are no old-bold mountaineers.
Hiking and mountain climbing are potentially hazardous activities particularly in Colorado with its extreme elevations. I am not accepting responsibility for any death or injury resulting from activations based on my trip reports. Proper training, experience, and personal capability assessment is required – enjoy!
 !! WARNING !! There are old mountaineers, and
bold mountaineers… there are no old-bold mountaineers.
Hiking and mountain climbing are potentially hazardous activities particularly in Colorado with its extreme elevations. I am not accepting responsibility for any death or injury resulting from activations based on my trip reports. Proper training, experience, and personal capability assessment is required – enjoy!
!! WARNING !! There are old mountaineers, and
bold mountaineers… there are no old-bold mountaineers.
Hiking and mountain climbing are potentially hazardous activities particularly in Colorado with its extreme elevations. I am not accepting responsibility for any death or injury resulting from activations based on my trip reports. Proper training, experience, and personal capability assessment is required – enjoy!